
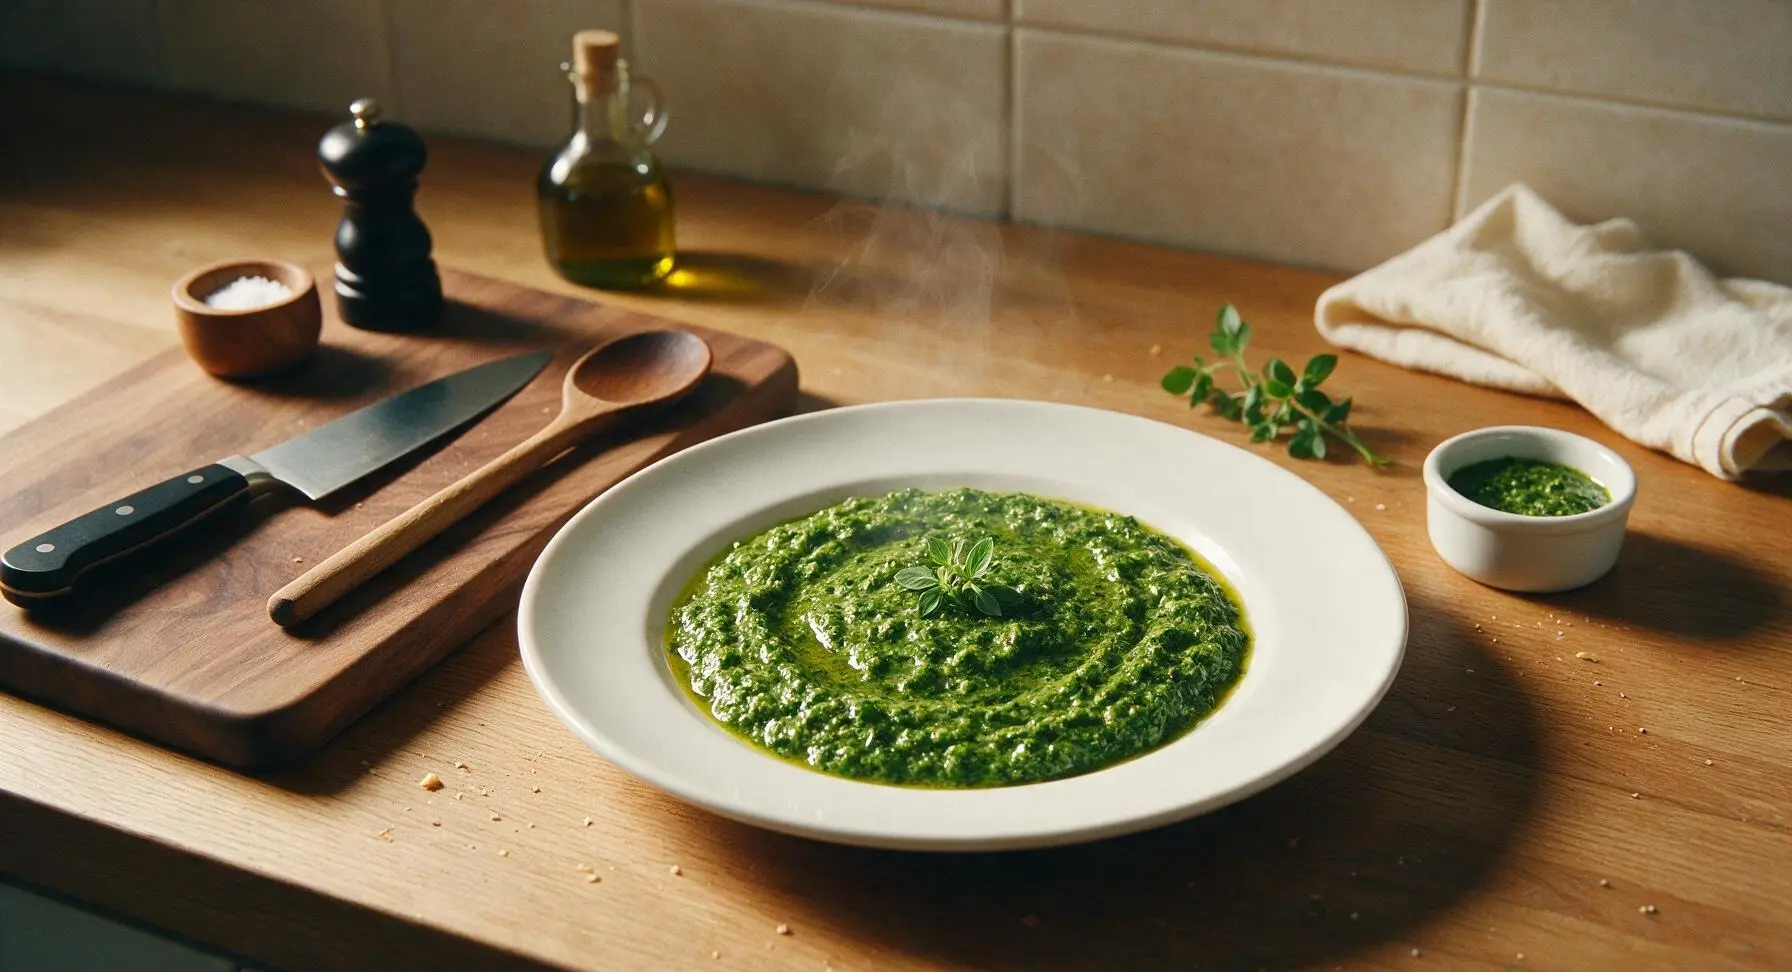
green sauce

title 1
green sauce
⏱️ cook time 0 minutes
🍽️ servings 6
⚡ Difficulty easy

intro

Bright, zingy, herb-packed Italian green sauce (salsa verde) is a versatile no-cook condiment, perfect for drizzling over grilled foods, veggies, or crusty bread, ready in 25 minutes.

Ingredients
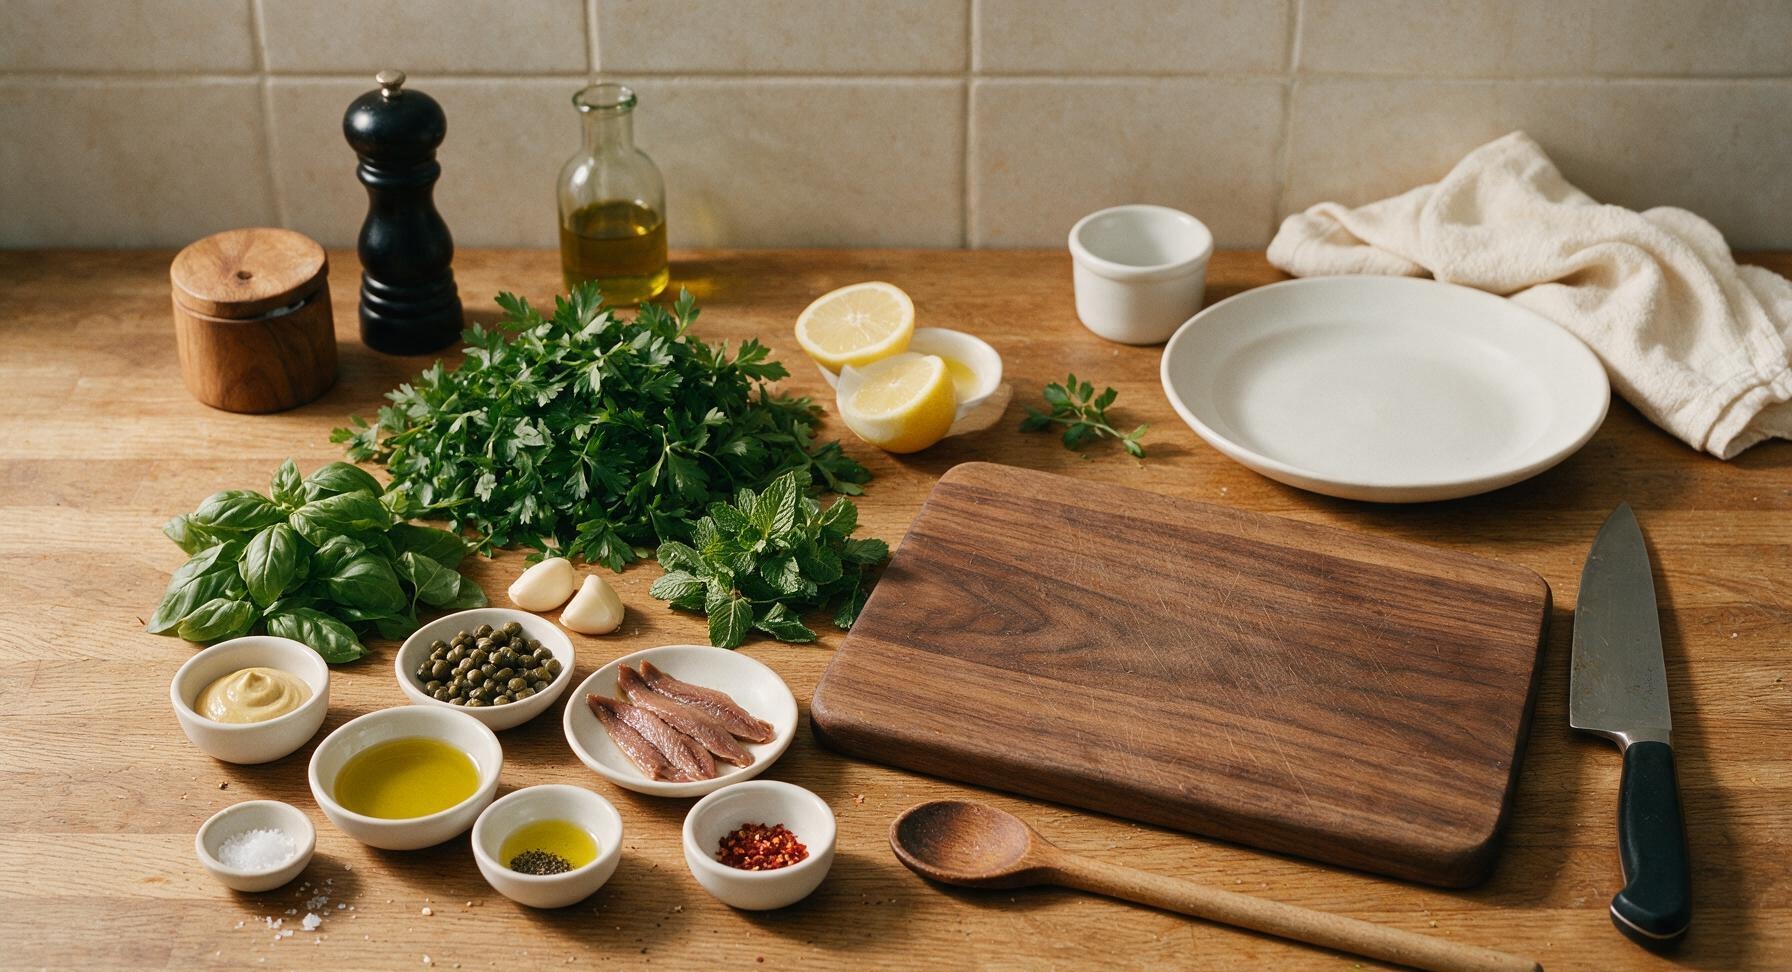
Fresh flat-leaf parsley 2 cups, tightly packed (leaves only, thick stems removed)
Fresh basil leaves 1/2 cup, tightly packed
Fresh mint leaves 1/4 cup, tightly packed
Garlic cloves 2 large, peeled
Capers, rinsed and drained 2 tablespoons
Oil-packed anchovy fillets, drained 3 fillets
Dijon mustard 1 teaspoon
Fresh lemon juice 2 tablespoons (from 1 small lemon)
Extra-virgin olive oil 1/3 cup, plus 1 teaspoon for finishing drizzle
Flaky sea salt 1/4 teaspoon, plus more to taste
Freshly ground black pepper 1/8 teaspoon, plus more to taste
Red pepper flakes (optional) 1/8 teaspoon

Steps

1

Wash and Dry Herbs

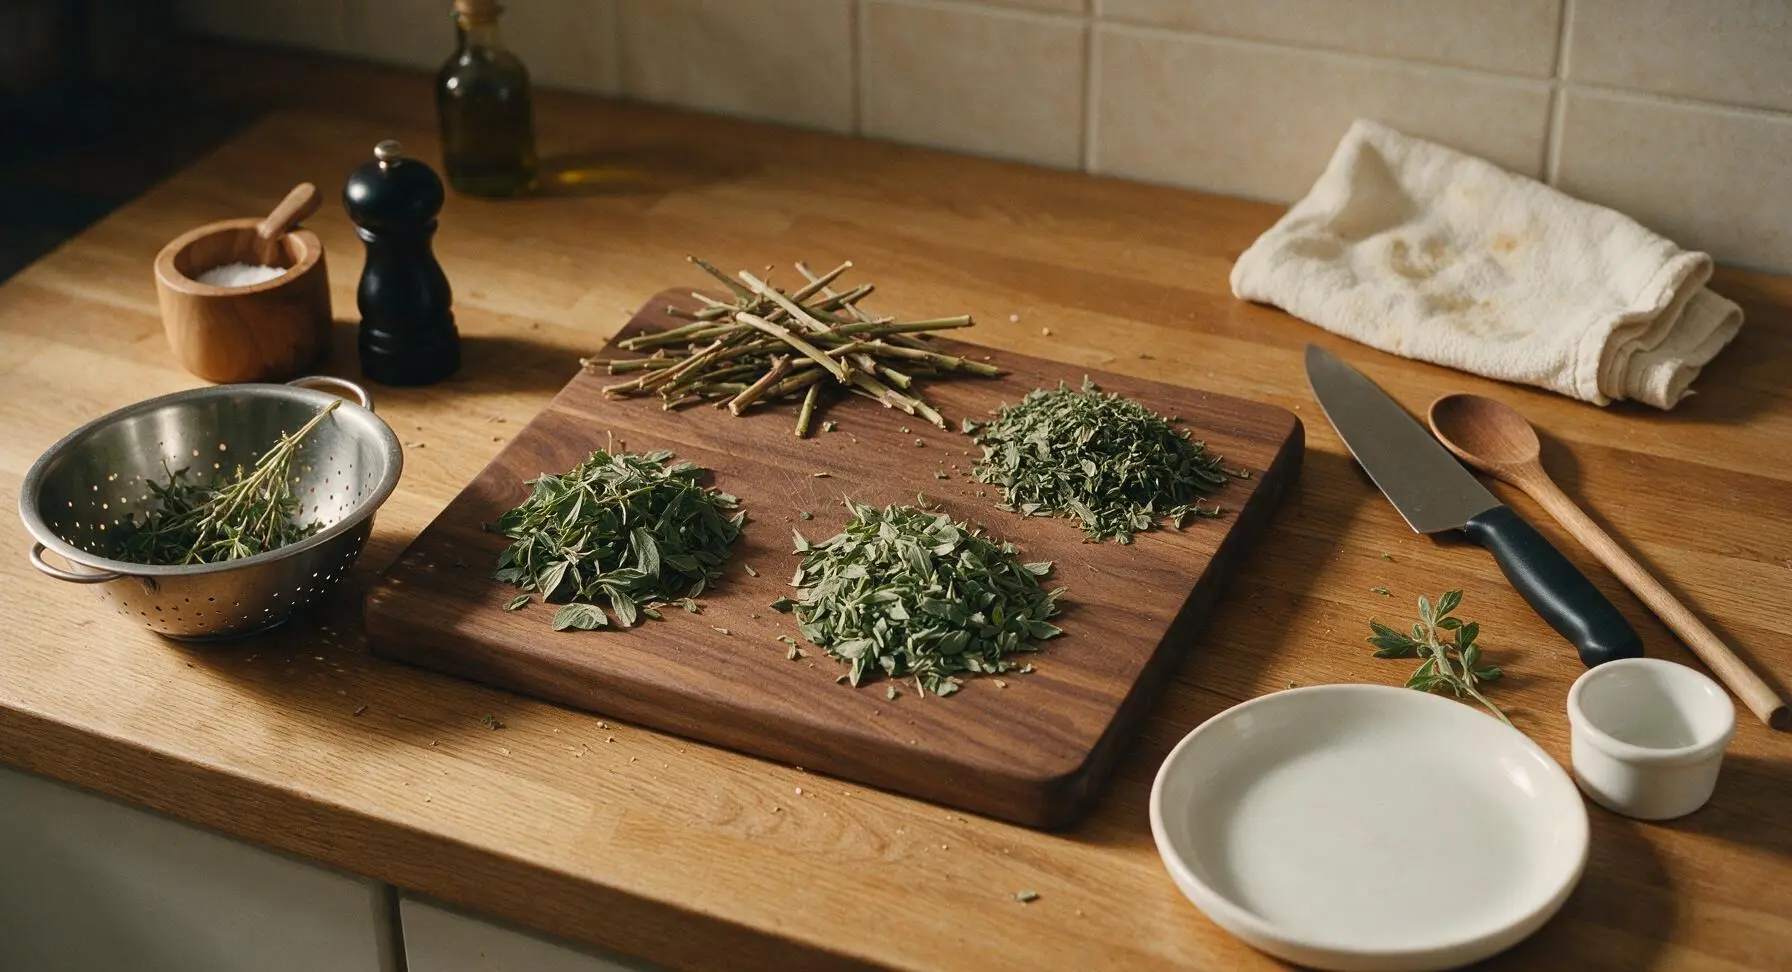
Separate leaves from the thick, woody stems of the flat-leaf parsley, basil, and mint, discarding all tough stems. Place the collected leaves in the stainless steel colander and rinse under cold running water to dislodge any trapped dirt or grit. Spin leaves completely dry in a salad spinner, or pat thoroughly dry with the indigo linen towel—wet herbs will create a watery, diluted sauce and dull the bright green color. When prepped, you should have 2 cups tightly packed parsley, 1/2 cup tightly packed basil, and 1/4 cup tightly packed mint. Return the colander to under-counter storage once herbs are dry.
Step 1
step1:Wash and Dry Herbs
2

Chop Aromatic Base

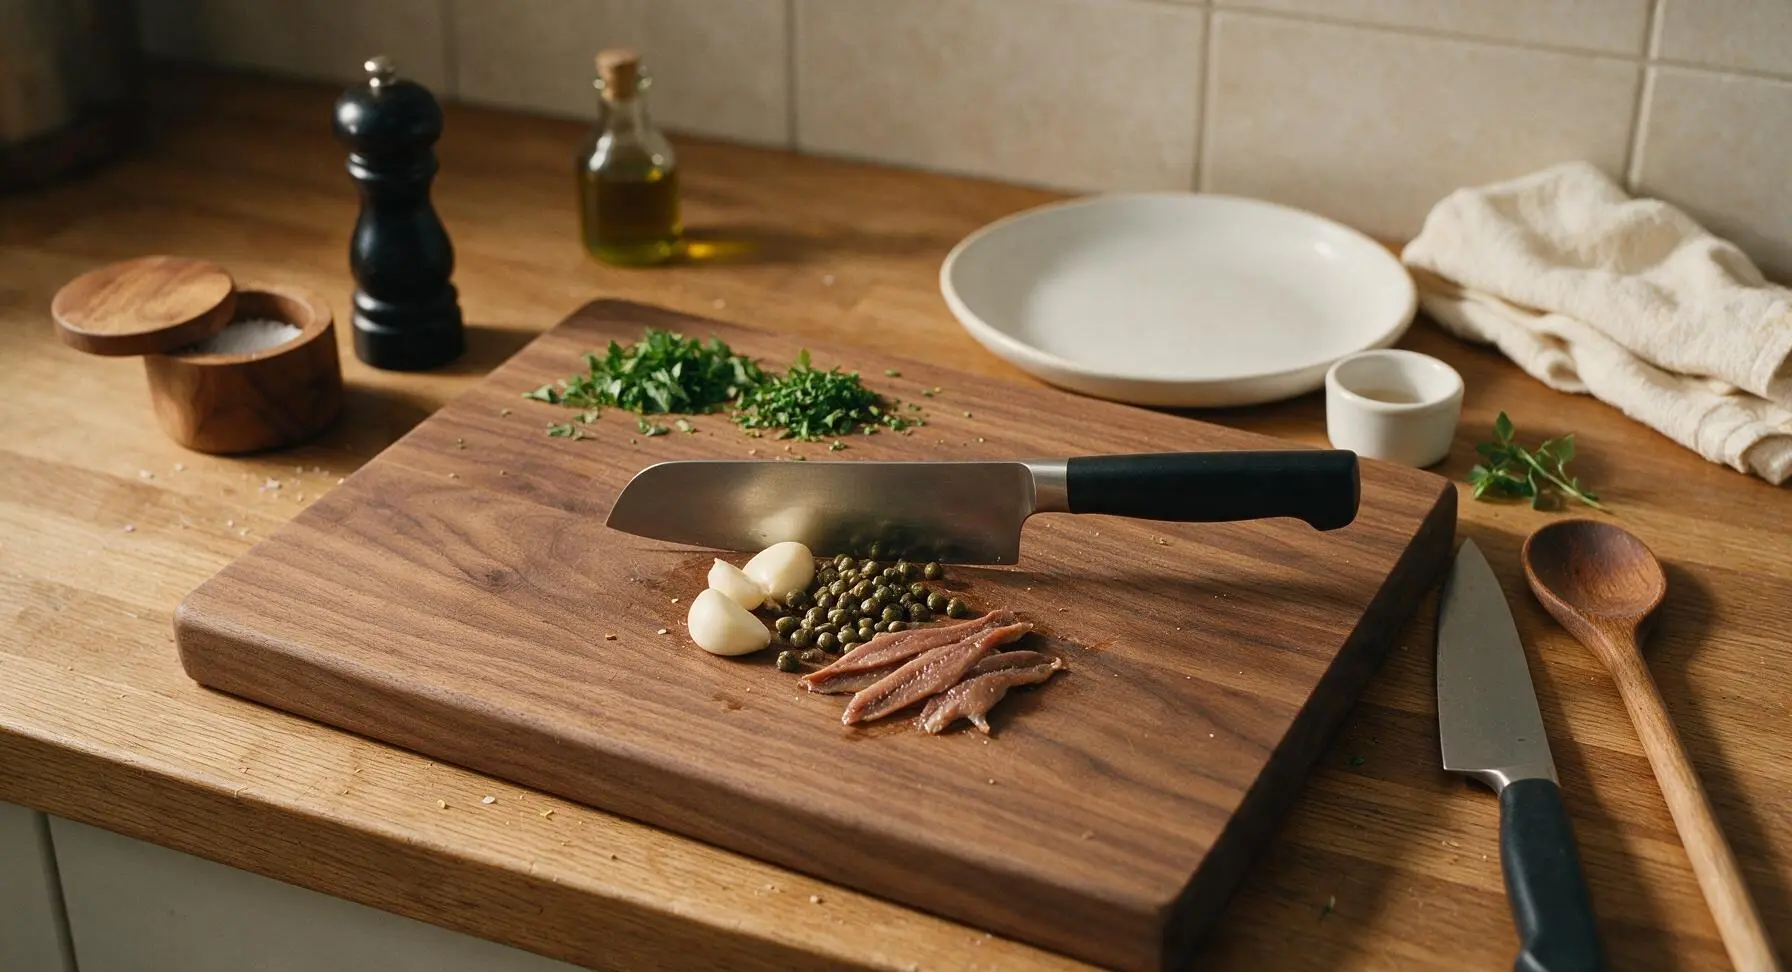
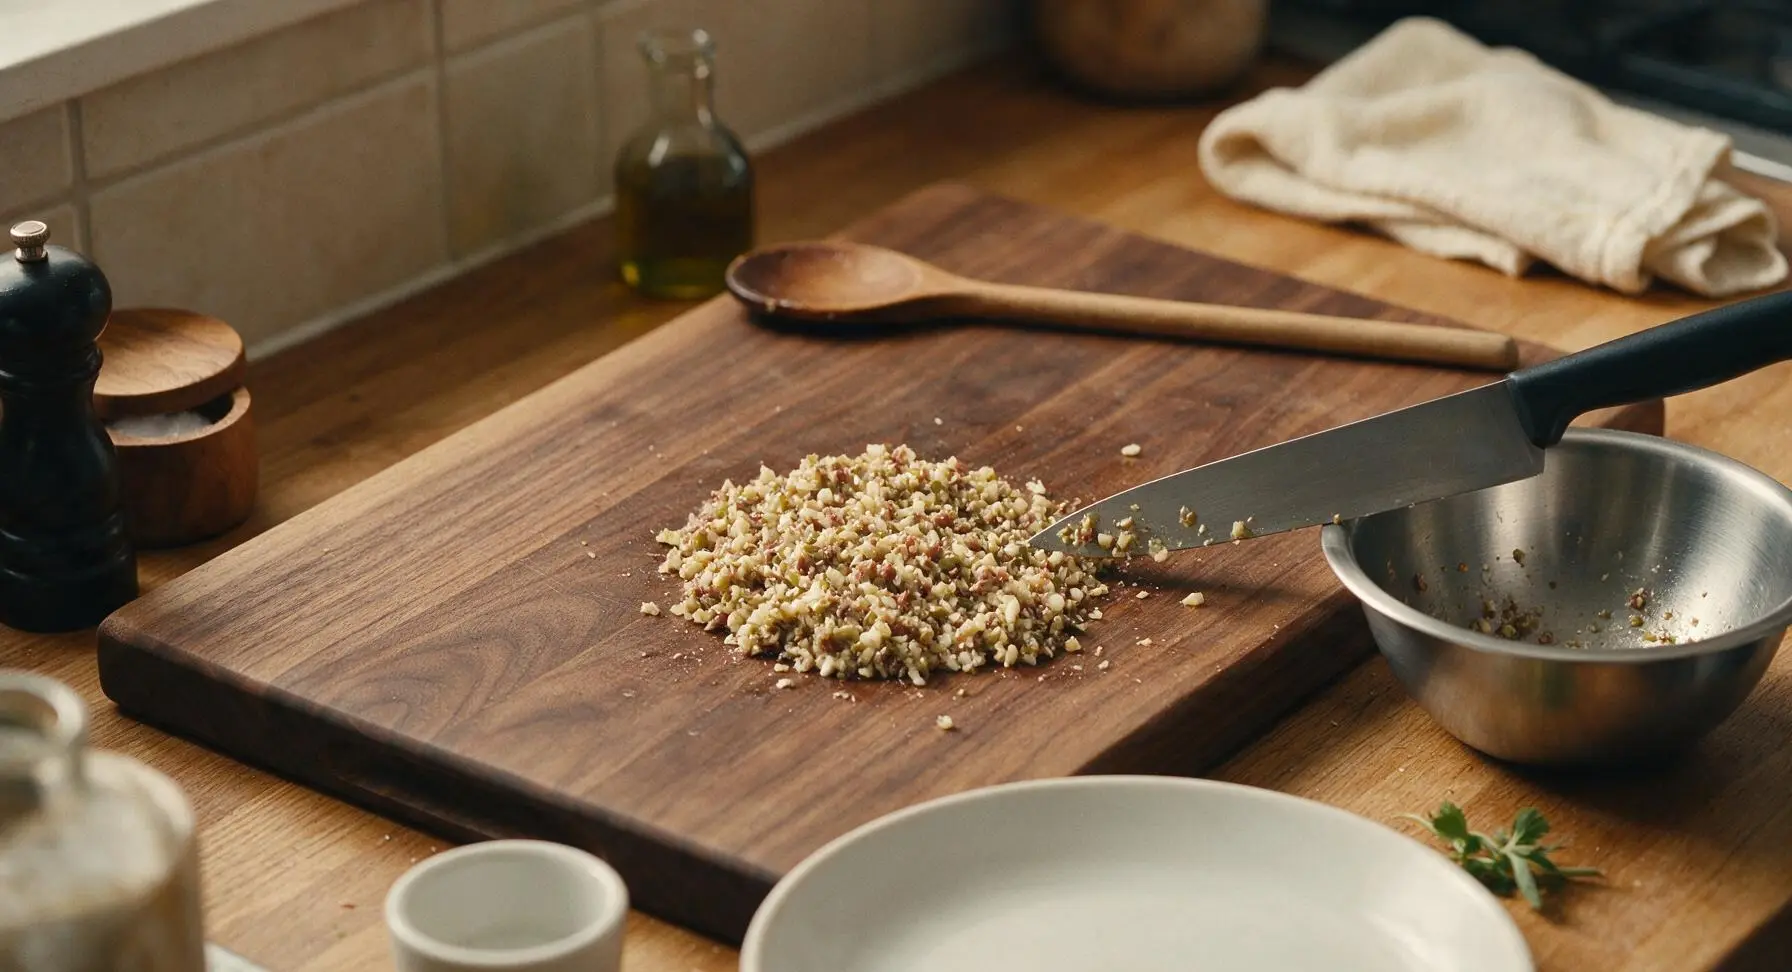
Push the prepped herb piles to the top edge of the maple cutting board to make workspace. Place the 2 peeled garlic cloves, 2 tablespoons rinsed drained capers, and 3 drained anchovy fillets in the center of the board. Using the 7-inch santoku chef knife, chop the mixture repeatedly for about 1 minute until it forms a coarse, evenly textured paste with no large chunks of garlic remaining. Scrape the finished paste into the brushed stainless steel mixing bowl. This fine chop prevents harsh, overpowering bites of raw garlic in the finished sauce.
Step 2
step2:Chop Aromatic Base
Step 2
step2:Chop Aromatic Base
3

Load Food Processor

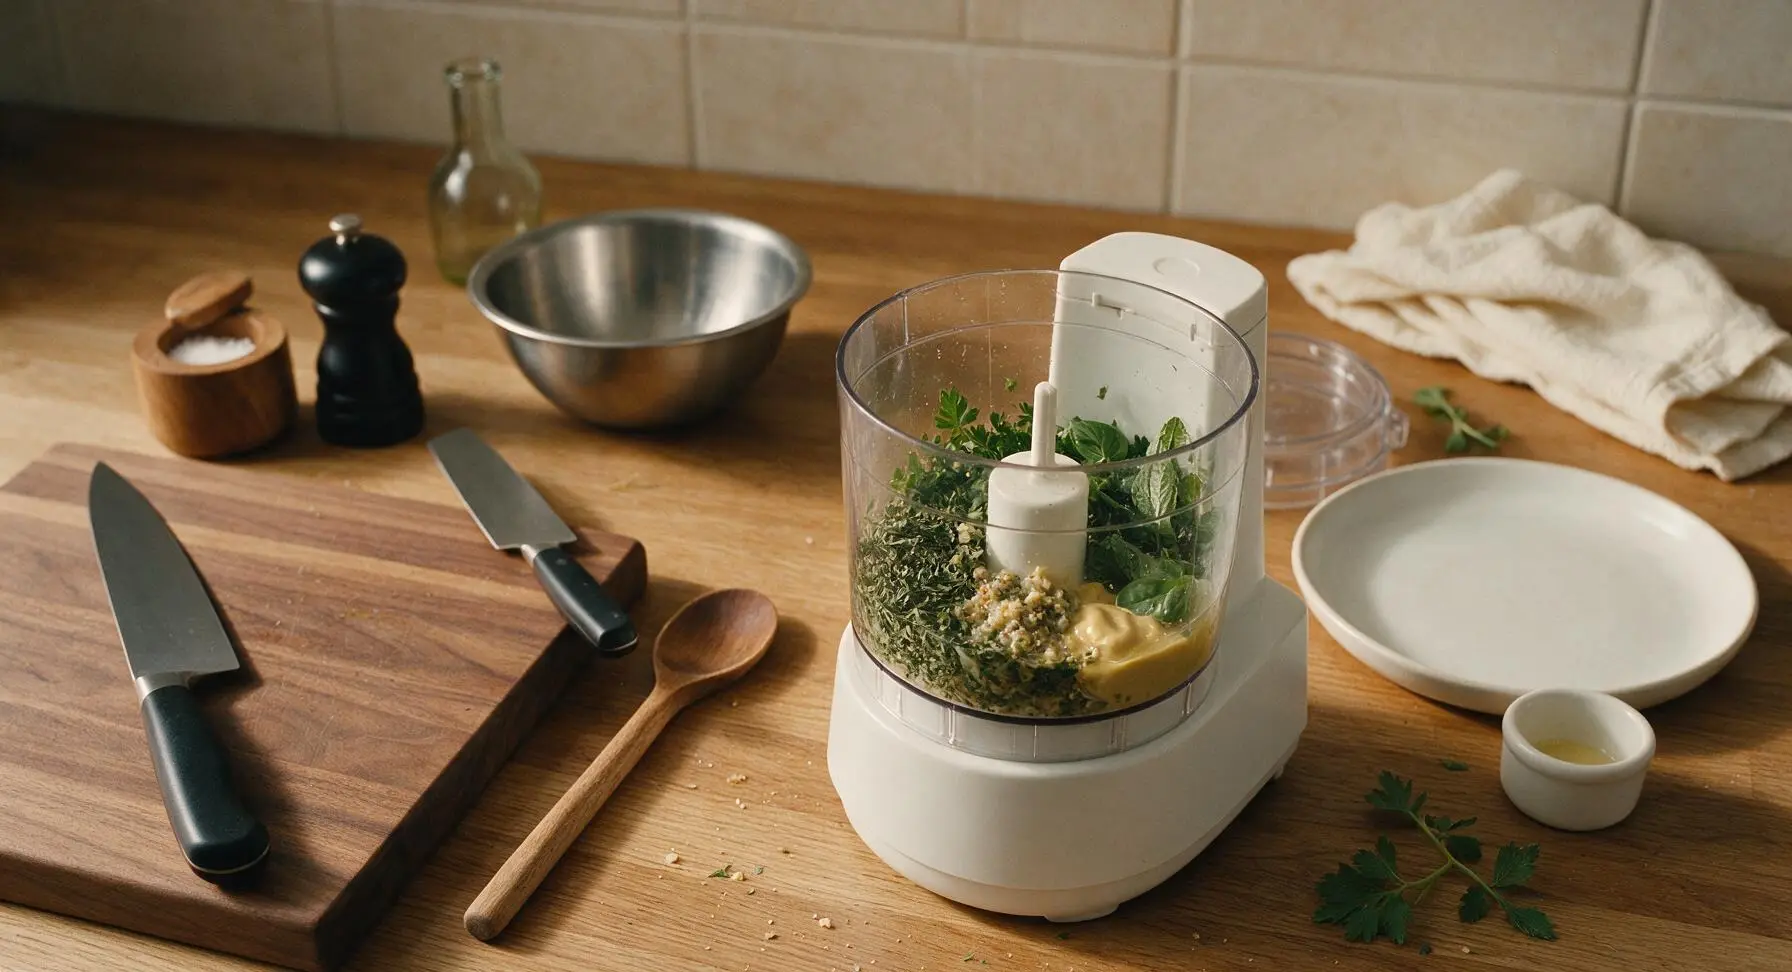
Transfer the fully dried parsley, basil, and mint leaves into the clear work bowl of the mini food processor. Add the chopped garlic-caper-anchovy mixture from the stainless steel bowl, plus 1 teaspoon Dijon mustard and 2 tablespoons fresh lemon juice. Do not add olive oil at this stage—pulsing the dry ingredients first creates an even chop without over-processing herbs into a mushy, bitter puree.
Step 3
step3:Load Food Processor
4

Pulse to Coarse Chop

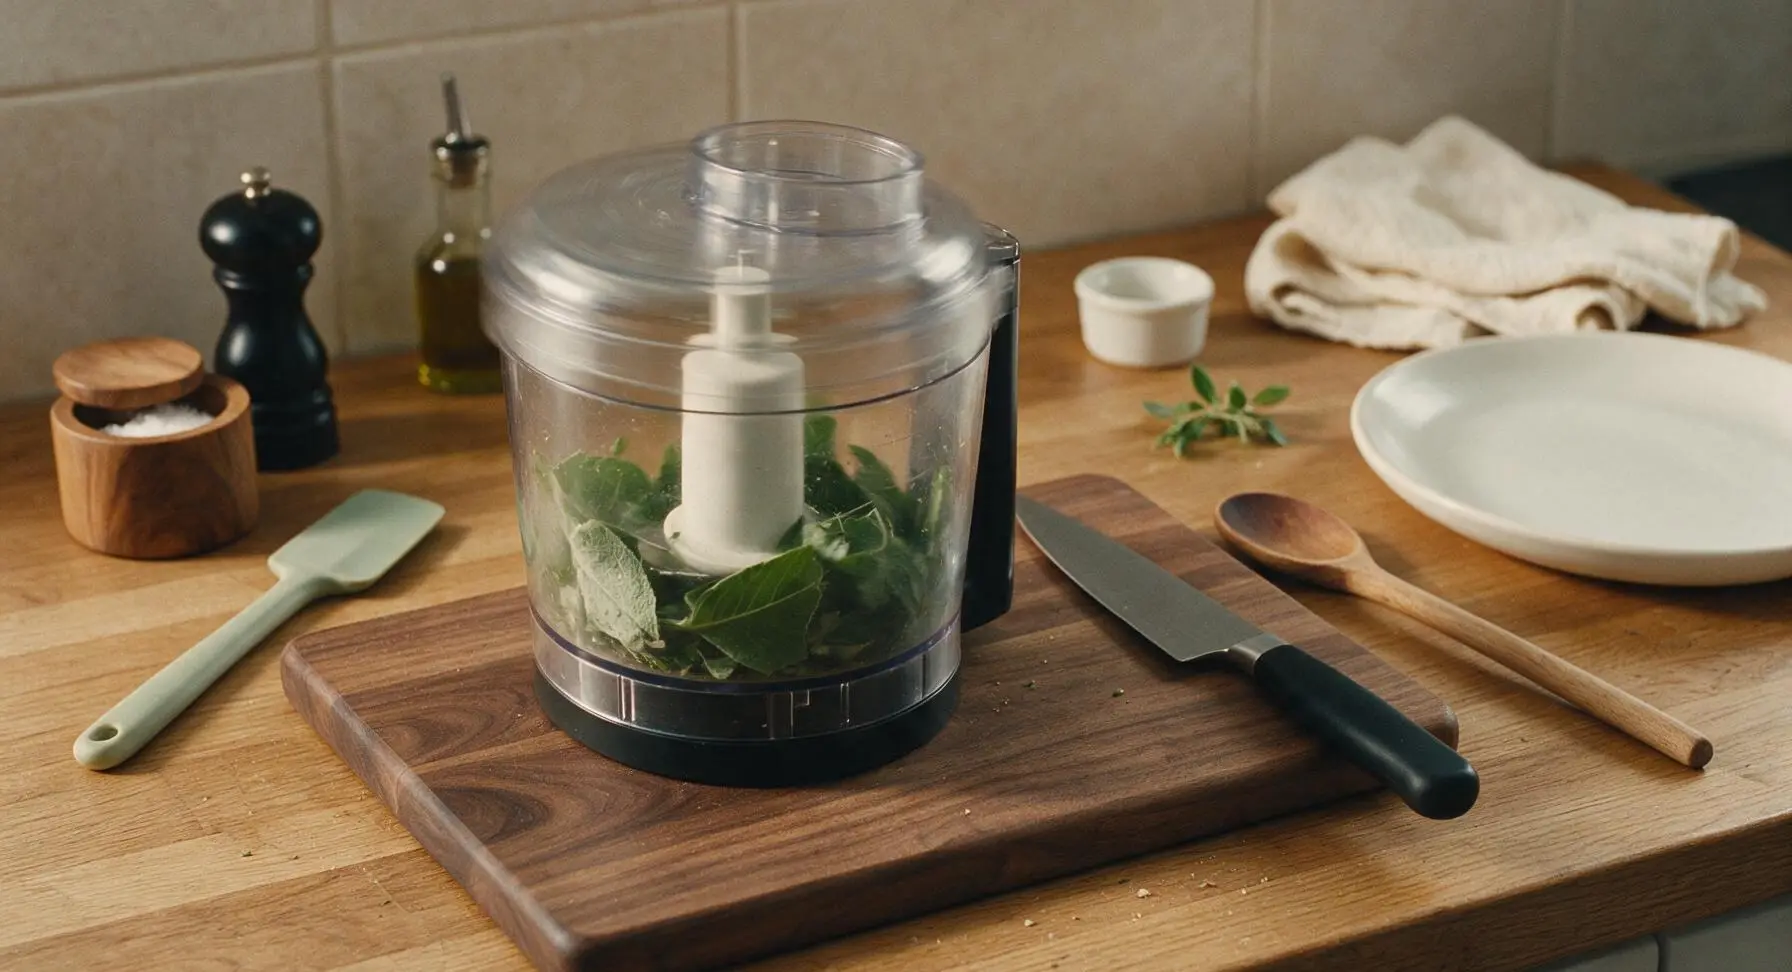
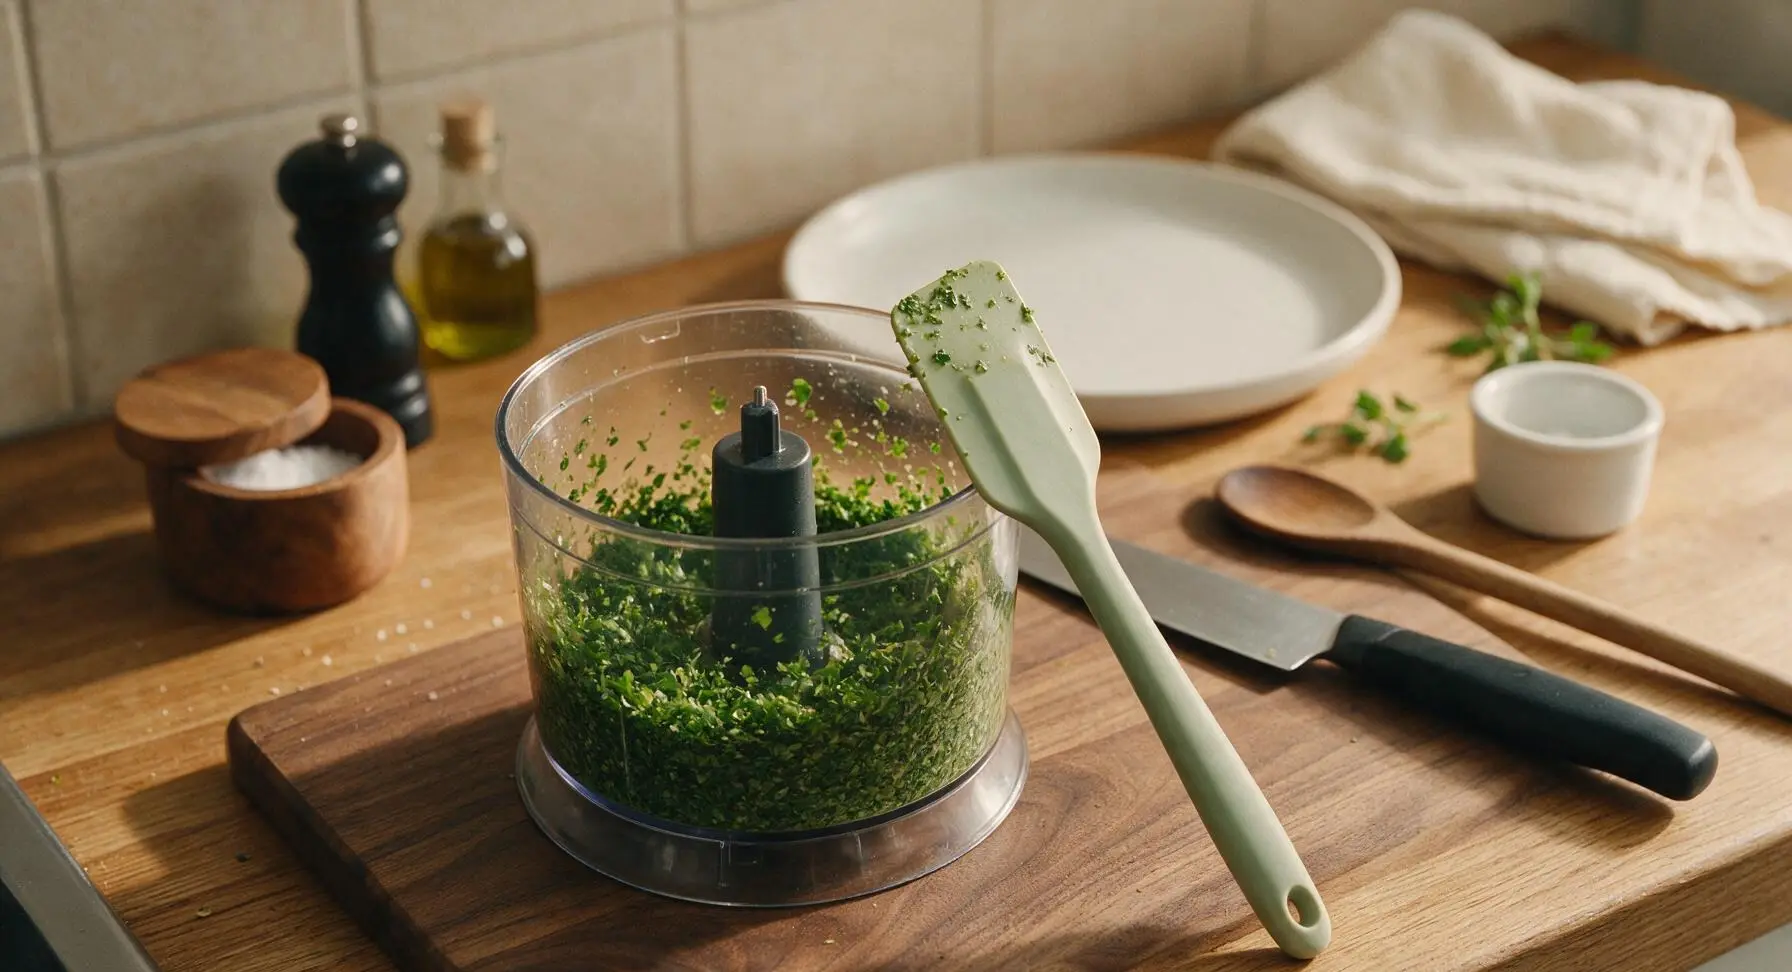
Secure the lid on the mini food processor, then pulse the mixture in 1-second bursts, 5 to 6 total pulses, stopping to scrape down the sides of the bowl with the pale sage green silicone spatula halfway through. The finished herb base should be finely chopped but not completely smooth, with visible small flecks of green leaf remaining. Stop as soon as you reach this texture—over-blending bruises herb cells, releasing bitter compounds and turning the sauce a dull, dark olive green.
Step 4
step4:Pulse to Coarse Chop
Step 4
step4:Pulse to Coarse Chop
5

Emulsify with Olive Oil

With the food processor running on low speed, slowly pour 1/3 cup extra-virgin olive oil through the feed tube in a thin, steady stream. This slow, steady addition creates a light, cohesive emulsion rather than a separated, greasy sauce. Stop processing immediately once all oil is fully incorporated—do not over-mix, as this will turn the sauce thick and pasty.
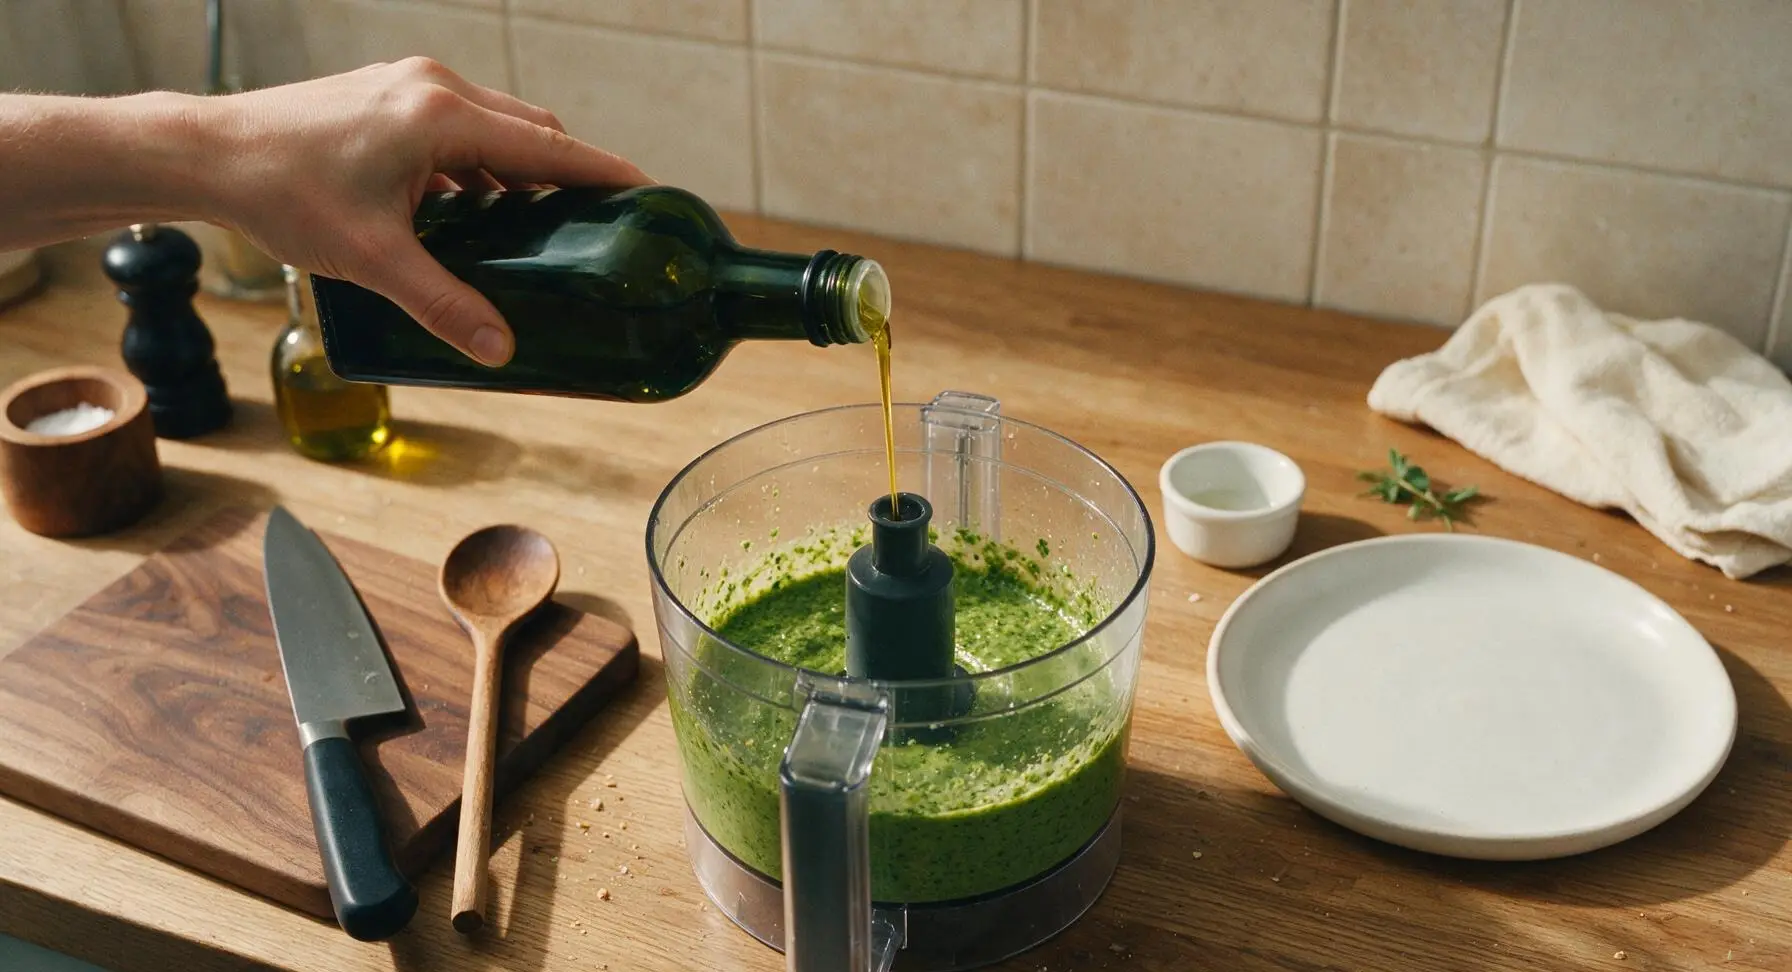
Step 5
step5:Emulsify with Olive Oil
6

Season to Taste

Transfer the mixed sauce from the food processor back into the brushed stainless steel mixing bowl. Add 1/4 teaspoon flaky sea salt, 1/8 teaspoon freshly ground black pepper, and optional 1/8 teaspoon red pepper flakes if using. Stir gently to combine, then taste a small amount with one of the cream white ceramic tasting spoons. Adjust seasoning as needed: add more lemon juice for extra brightness, more salt for savoriness, or a 1-teaspoon splash of cold water if the sauce is too thick to drizzle easily.
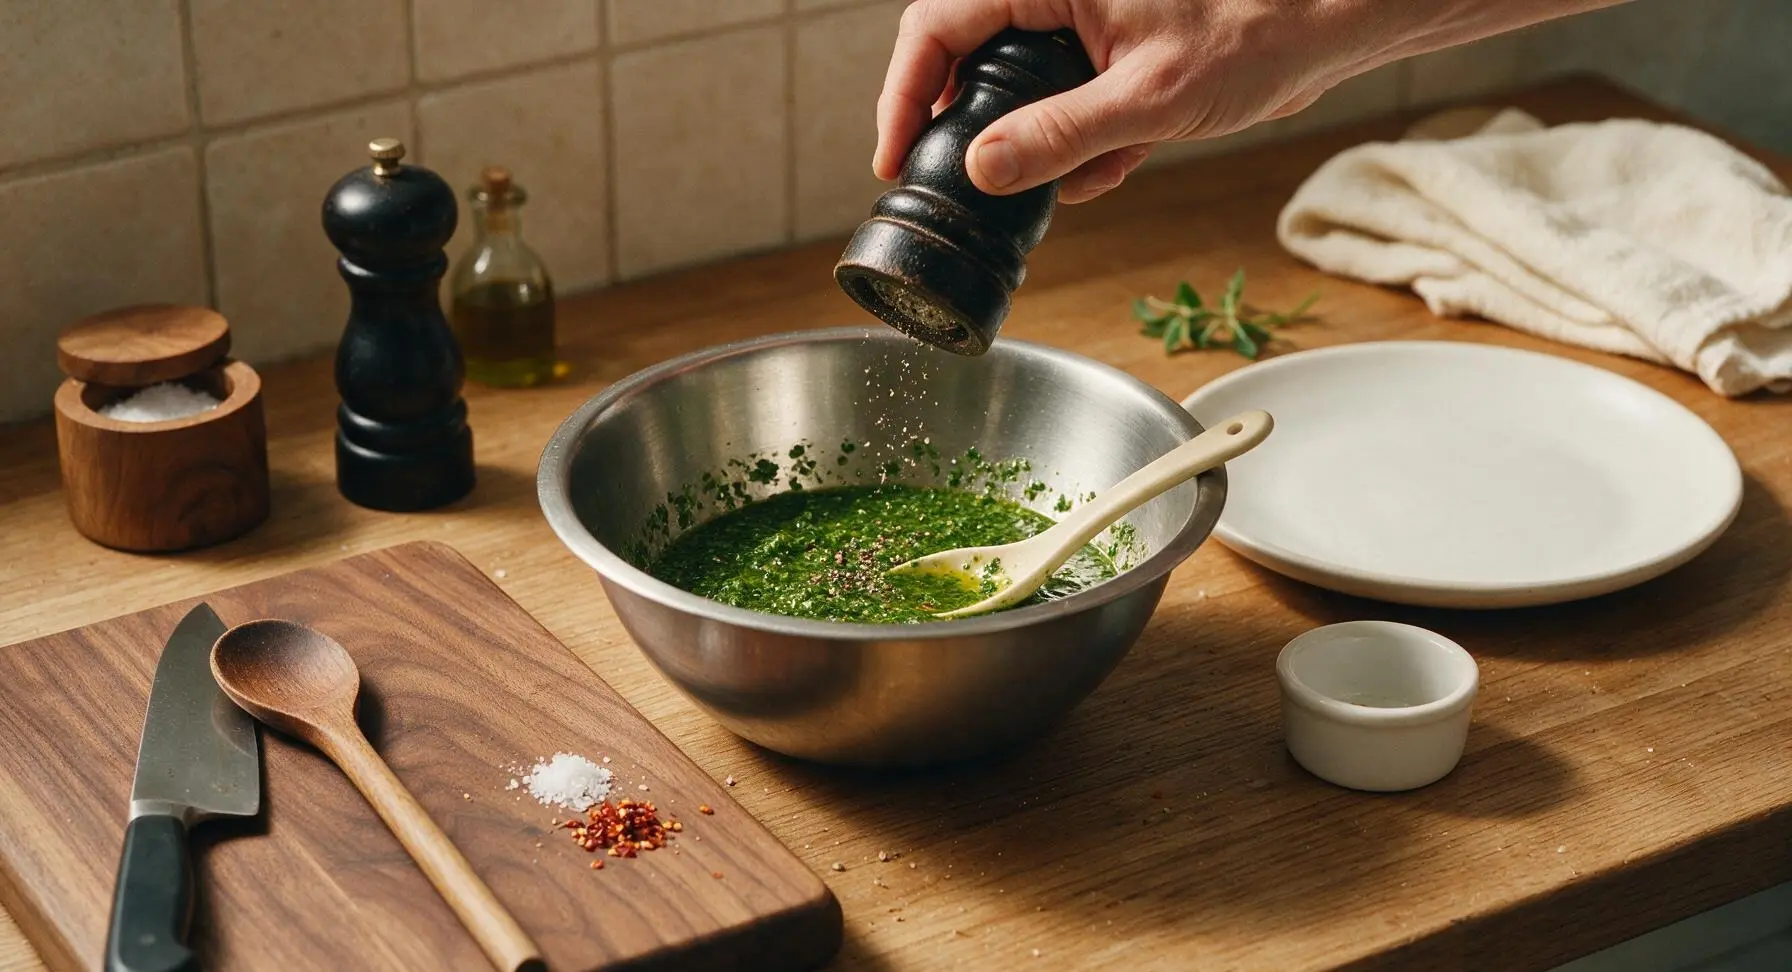
Step 6
step6:Season to Taste
7

Rest and Plate Sauce

Let the sauce sit at room temperature for 10 minutes to allow flavors to meld—this short rest softens the sharp bite of raw garlic and lets herb flavors infuse evenly into the oil. Give the sauce a final gentle stir, then transfer it to the terracotta serving bowl. Drizzle the remaining 1 teaspoon of olive oil over the top for a glossy finish, and garnish with a single small basil leaf.
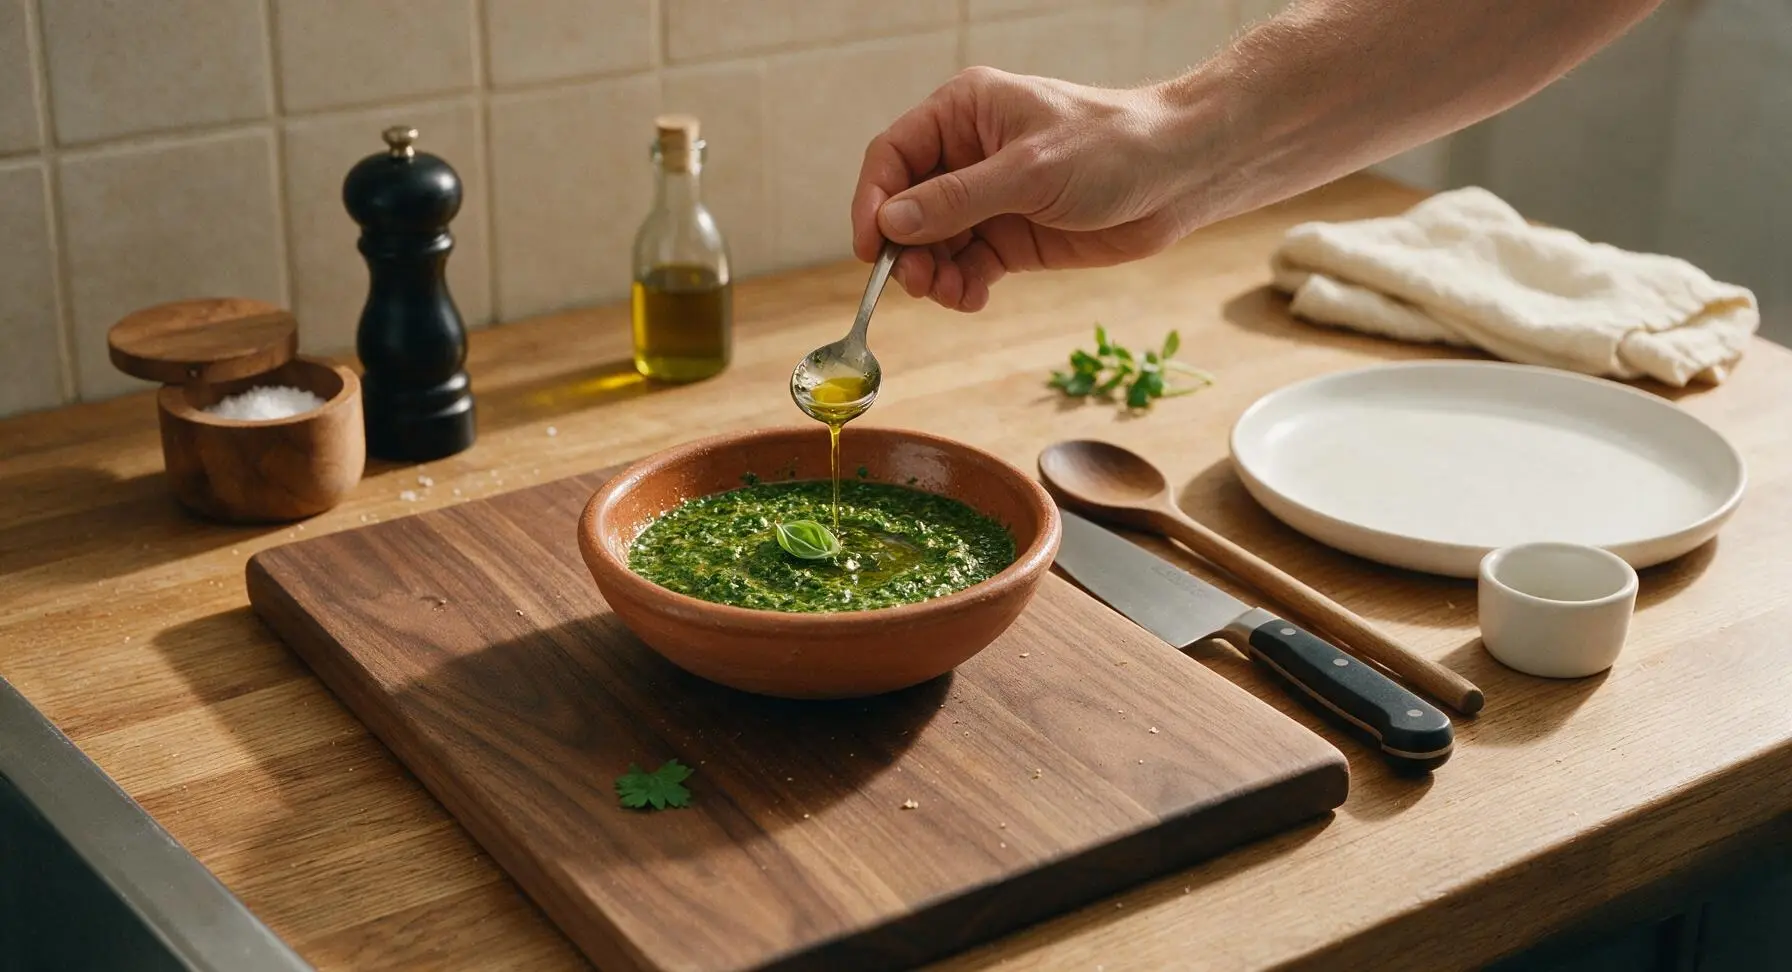
Step 7
step7:Rest and Plate Sauce

Tips

1.Dry herbs completely before processing: Any residual water on rinsed herb leaves will thin the sauce, break the olive oil emulsion, and create a watery, dull-tasting final product instead of a rich, bright, coating consistency.
2.Avoid over-processing the herbs: Short 1-second pulse bursts keep the sauce textured and vibrantly green; continuous blending bruises herb cell walls, releasing bitter compounds and turning the sauce an unappetizing dark olive color.
3.Make ahead for deeper flavor: The sauce can be stored in an airtight glass jar in the refrigerator for up to 3 days, with a thin layer of olive oil poured over the top to prevent browning. Let it come to room temperature for 15 minutes before serving, as cold olive oil thickens and mutes bright herb flavors.


✨ You May Also Like

Side Dishes
🍜 India

Velvety, aromatic all-purpose curry sauce perfect for tossing with roasted veggies, grilled protein, or rice for fast, cozy, flavorful meals.

⏱️ 25 minuteSide Dishes ★ 4.8
Side Dishes
🍜 Spain

Tender, starchy boiled yuca tossed in bright, garlicky citrus mojo sauce—an iconic, zesty side that pairs beautifully with roasted pork, grilled meats, and rice and beans.

⏱️ 40 minuteSide Dishes ★ 5
Side Dishes
🍜 United States

Tender, paper-thin potato flatbread, a beloved Norwegian-American Minnesota Christmas staple, griddled until softly spotted and served warm with butter.

⏱️ 1 hour 30Side Dishes ★ 4.6
Side Dishes
🍜 United States

Rich, deeply savory cured salt pork, a long-lasting kitchen staple perfect for frying crispy as a side or adding umami to stews, beans, and chowders.

⏱️ 7 days (2Side Dishes ★ 4.9
Side Dishes
🍜 United States

Crispy, tangy classic Southern fried green tomatoes with a crunchy cornmeal crust, served hot for a nostalgic, comforting summery bite.

⏱️ 25 minuteSide Dishes ★ 4.9
Side Dishes
🍜 United States

Moist, golden-crusted savory muffins with sweet corn, zesty jalapeño, and melted cheddar, perfect for pairing with smoky summer grilled fare.

⏱️ 30 minuteSide Dishes ★ 4.9

green sauce:Frequently Asked Questions

1.What foods pair best with this classic Italian salsa verde? ▾
This bright, zingy no-cook sauce is incredibly versatile! It’s traditionally served with slow-boiled Italian bollito misto, but it shines drizzled over grilled steak, chicken, or fish, tossed with roasted veggies, spread on crusty crostini, or dolloped on hard-boiled eggs for a quick, flavorful snack.
2.Can I make this salsa verde ahead of time, or does it need to be served immediately? ▾
You can make it up to 3 days ahead with proper storage! Transfer it to an airtight glass jar, press a piece of plastic wrap directly against the sauce’s surface to prevent browning, seal tightly, and refrigerate. Give it a quick stir before serving; it will lose its bright, fresh herb flavor after 3 days.
3.I don’t have fresh mint on hand—can I skip it or use a substitute? ▾
You can absolutely adjust the herb blend to match what you have! If mint is missing, swap in an equal amount of extra flat-leaf parsley, peppery fresh arugula, or a small handful of fresh oregano for an earthy twist. Just skip dried herbs entirely here, as they will make the sauce taste flat and dusty instead of bright.
4.Do I need a food processor to make this sauce, or can I prep it by hand? ▾
Traditional Italian salsa verde is actually hand-chopped for a coarser, more rustic texture, and even the hand-chopped version only takes about 25 minutes total to prep. A food processor works for a quick, smoother sauce, just use short pulses so you don’t turn the herbs into mushy paste. If chopping by hand, aim for a fine, even dice across all herbs, capers, and garlic for ideal texture.
5.Why does the recipe say to rinse the capers before adding them? ▾
Capers are packed in heavily salted brine, or sometimes sold dry-packed in salt, so skipping the rinse will leave your sauce overwhelmingly salty. Give them a 30-second rinse under cold running water, then pat them lightly dry with a paper towel before prepping to keep the sauce’s bright, balanced flavor intact.
6.Is this Italian salsa verde the same as Mexican green salsa made with tomatillos? ▾
These are completely different condiments, despite sharing a name! This Italian version is a raw, herb-forward sauce made with parsley, basil, mint, capers, and garlic, with zero tomatillos. Mexican salsa verde is tangy, usually cooked, and built around tomatillos and chiles for a totally distinct flavor profile.
7.My salsa verde turned out slightly bitter—what went wrong, and can I fix it? ▾
Bitter salsa verde almost always comes from over-processing herbs (which releases bitter chlorophyll compounds) or leaving tough, bitter garlic cores in the mix. Fix it by stirring in a tiny pinch of sugar, an extra squeeze of lemon juice, and a splash of good olive oil to mellow out harsh notes and rebalance the flavor.
8.Can I freeze leftover salsa verde for later use? ▾
Freezing works really well for longer storage! Pour the sauce into ice cube trays and freeze for 3 to 4 months, then pop the solid cubes into a labeled freezer bag. Thaw cubes in the fridge for an hour before use, or toss a frozen cube directly onto warm grilled food to melt quickly. The texture will be slightly softer after thawing, but the bright flavor holds up beautifully.
9.What type of olive oil works best for this no-cook sauce? ▾
Reach for a solid mid-range, fruity extra-virgin olive oil here. Since this is a no-cook recipe, the oil’s flavor comes through front and center, so skip flat, refined light olive oils. Save your ultra-pricy, intensely grassy finishing oil for a final drizzle on top, rather than mixing it fully into the base of the sauce.

Comments (6)

2 days ago

OMG this salsa verde is SO good!!! I whipped it up in 10 minutes flat to go with grilled chicken for our Sunday family dinner and everyone was raving. Even my super picky 7 year old asked for extra to dip his carrot sticks in. Total game changer, I’ll never buy store bought green sauce again!

1 day ago

Same! I made this for our neighborhood potluck last weekend and people were hovering over the bowl asking for the recipe. It pairs insanely well with grilled steak too!

1 day ago

That makes us so happy to hear! So glad your picky eater loved it—pro tip: toss a spoonful of this into your next egg salad for an extra zesty kick, you won’t regret it!

1 week ago

Perfect easy recipe for meal prep! I made a big batch on Sunday and it held up great all week in the fridge. Drizzled it over roasted veggies, mixed it into tuna salad, even used it as a sandwich spread. Zero cook time is such a win on busy weeknights.

3 days ago

Really solid base recipe! I added a tiny bit of extra anchovy and a pinch of red pepper flakes because I like a little heat and extra umami. Next time I might chop the herbs a little coarser for more texture, but the flavor was spot on for classic Italian salsa verde.

2 days ago

Great tweaks, Tony! Traditional versions do vary a bit by region in Italy, so adding red pepper flakes or extra anchovy is totally authentic to some variations. Coarser chopping is a fantastic call if you prefer a chunkier sauce—love that customization!

yesterday

Brought this to our office potluck yesterday alongside a platter of crusty bread and crostini and the whole bowl was gone in 15 minutes. Multiple coworkers chased me down for the link before I even left the break room! So fresh and bright, tastes way fancier than the effort it takes.

2 hours ago

This was pretty good! I think I over-blended mine by accident so it came out a little smoother than I wanted, almost like a pesto consistency instead of the chunkier sauce I was expecting. Flavor was still great though, I’ll just pulse it next time instead of running the food processor nonstop.

30 minutes ago

Oh I did the exact same thing my first time making it! I found that pulsing 5-6 times and then scraping down the sides gives the perfect chunky texture, no over-blending if you take it slow.

2 weeks ago

Finally a salsa verde recipe that doesn’t have random weird add-ins! I’m gluten free and dairy free so I’m always paranoid about sauces having hidden ingredients, but this one is just simple, fresh, whole ingredients and it tastes incredible. Served it over baked cod when I made it and my husband said it’s restaurant quality.

1 week ago

Oh I need to try this with cod! I’ve only used it on red meat and veggies so far, that sounds like the perfect light summer dinner.

5 days ago

So glad this fits your dietary needs, Gigi! This sauce is naturally gluten free, dairy free, and even vegan if you skip the anchovies (swap in a little extra capers for brininess!)—it works beautifully on all kinds of fish, especially flaky white fish like cod.



