
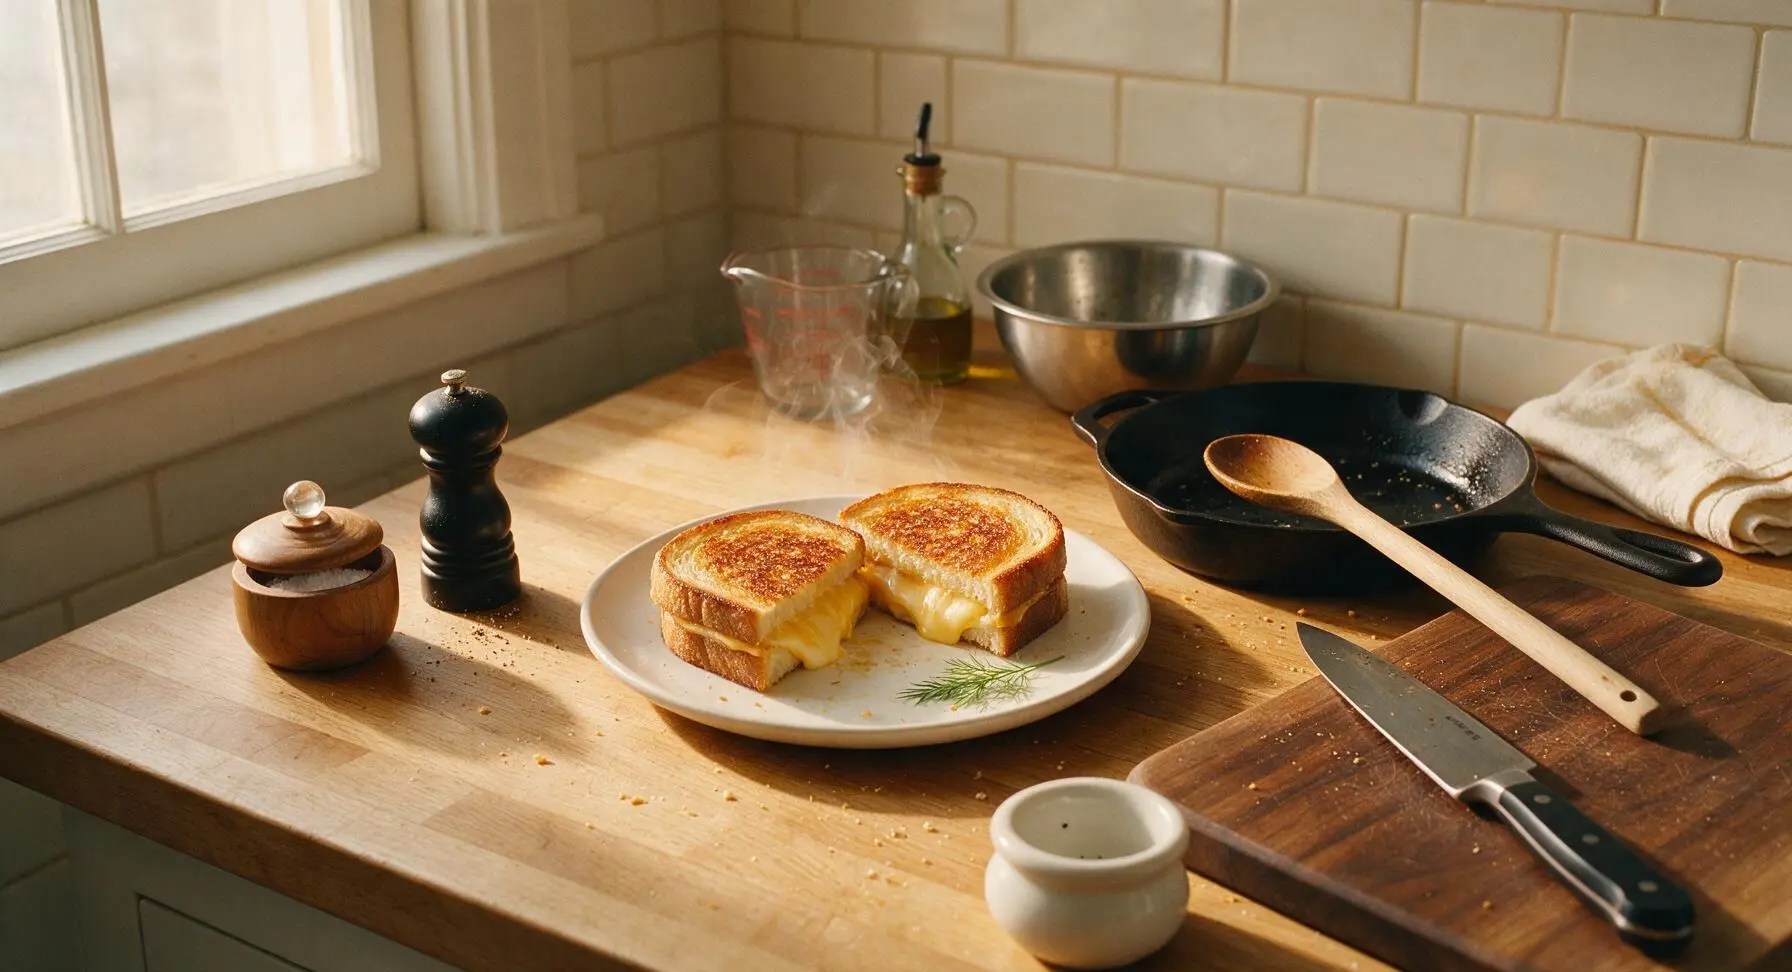
Grilled Cheese

title 1
Grilled Cheese
⏱️ cook time 6 minutes
🍽️ servings 2
⚡ Difficulty easy

intro

Crispy, buttery golden sourdough cradling smooth, stretchy melted sharp cheddar—this timeless grilled cheese is uncomplicated, cozy comfort food ready in just over 10 minutes.

Ingredients
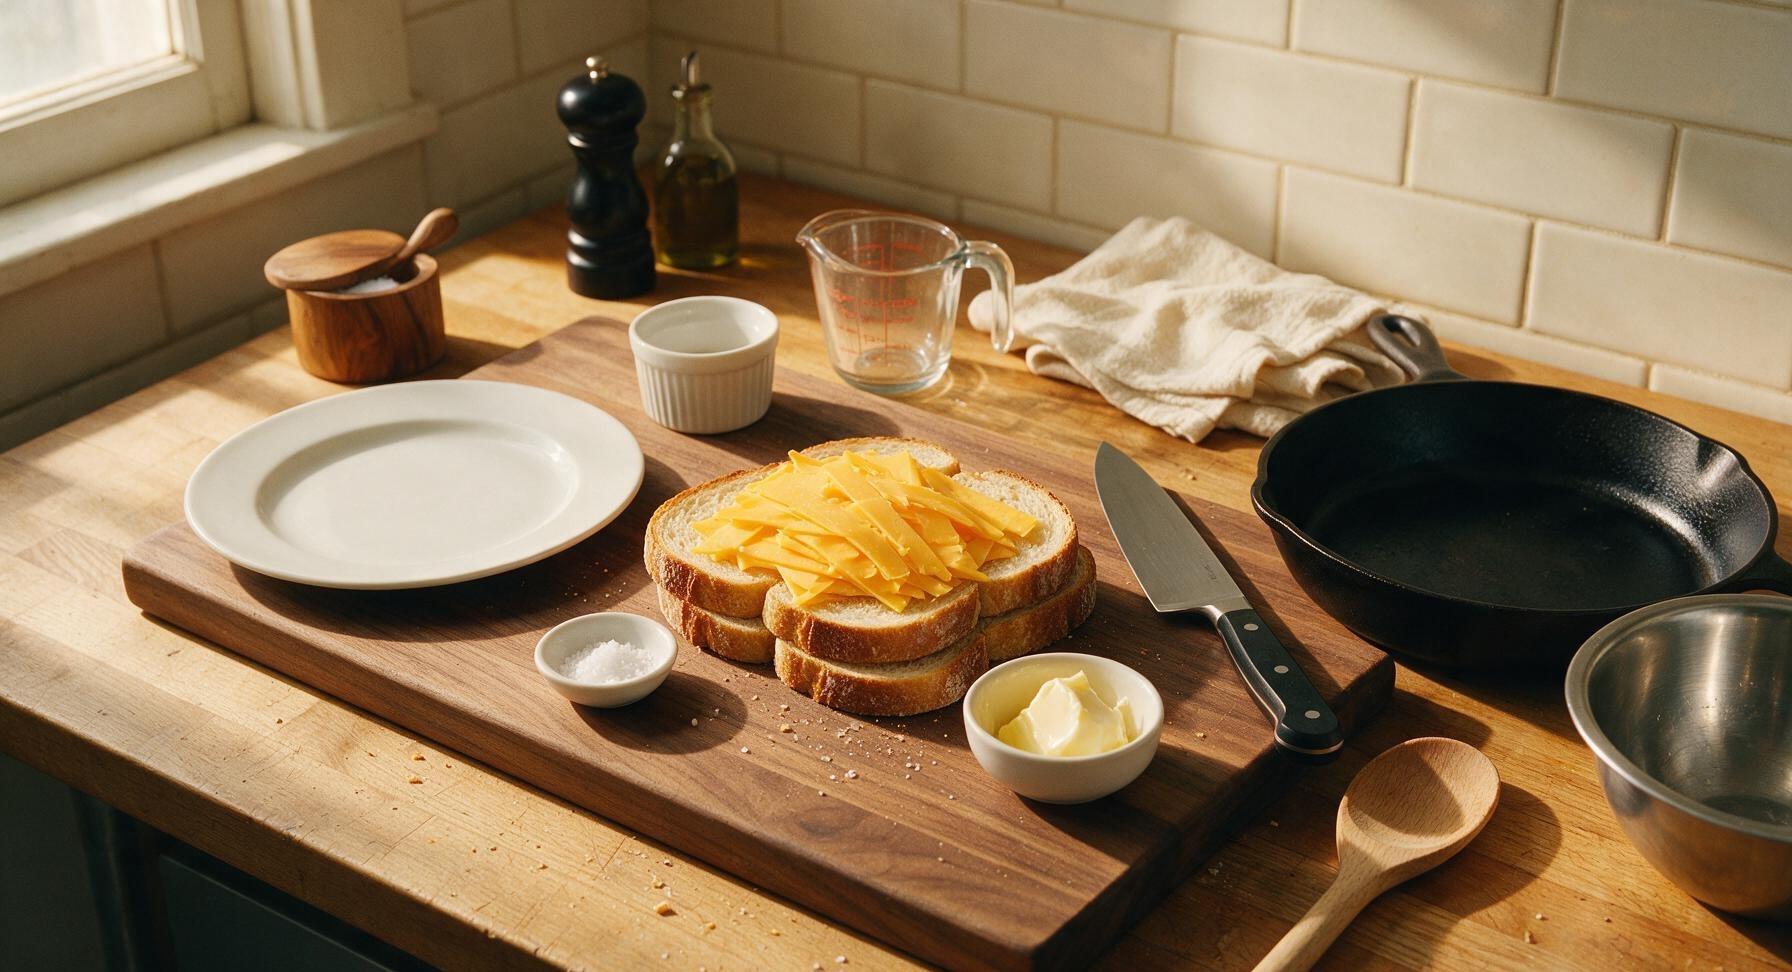
Sourdough bread 4 slices (1.5cm thick, ~120g total)
Sharp yellow cheddar cheese 120g, thinly sliced
Unsalted butter 2 tbsp (28g), softened to room temperature
Flaky sea salt 1/4 tsp

Steps

1

Prep Bread and Cheese

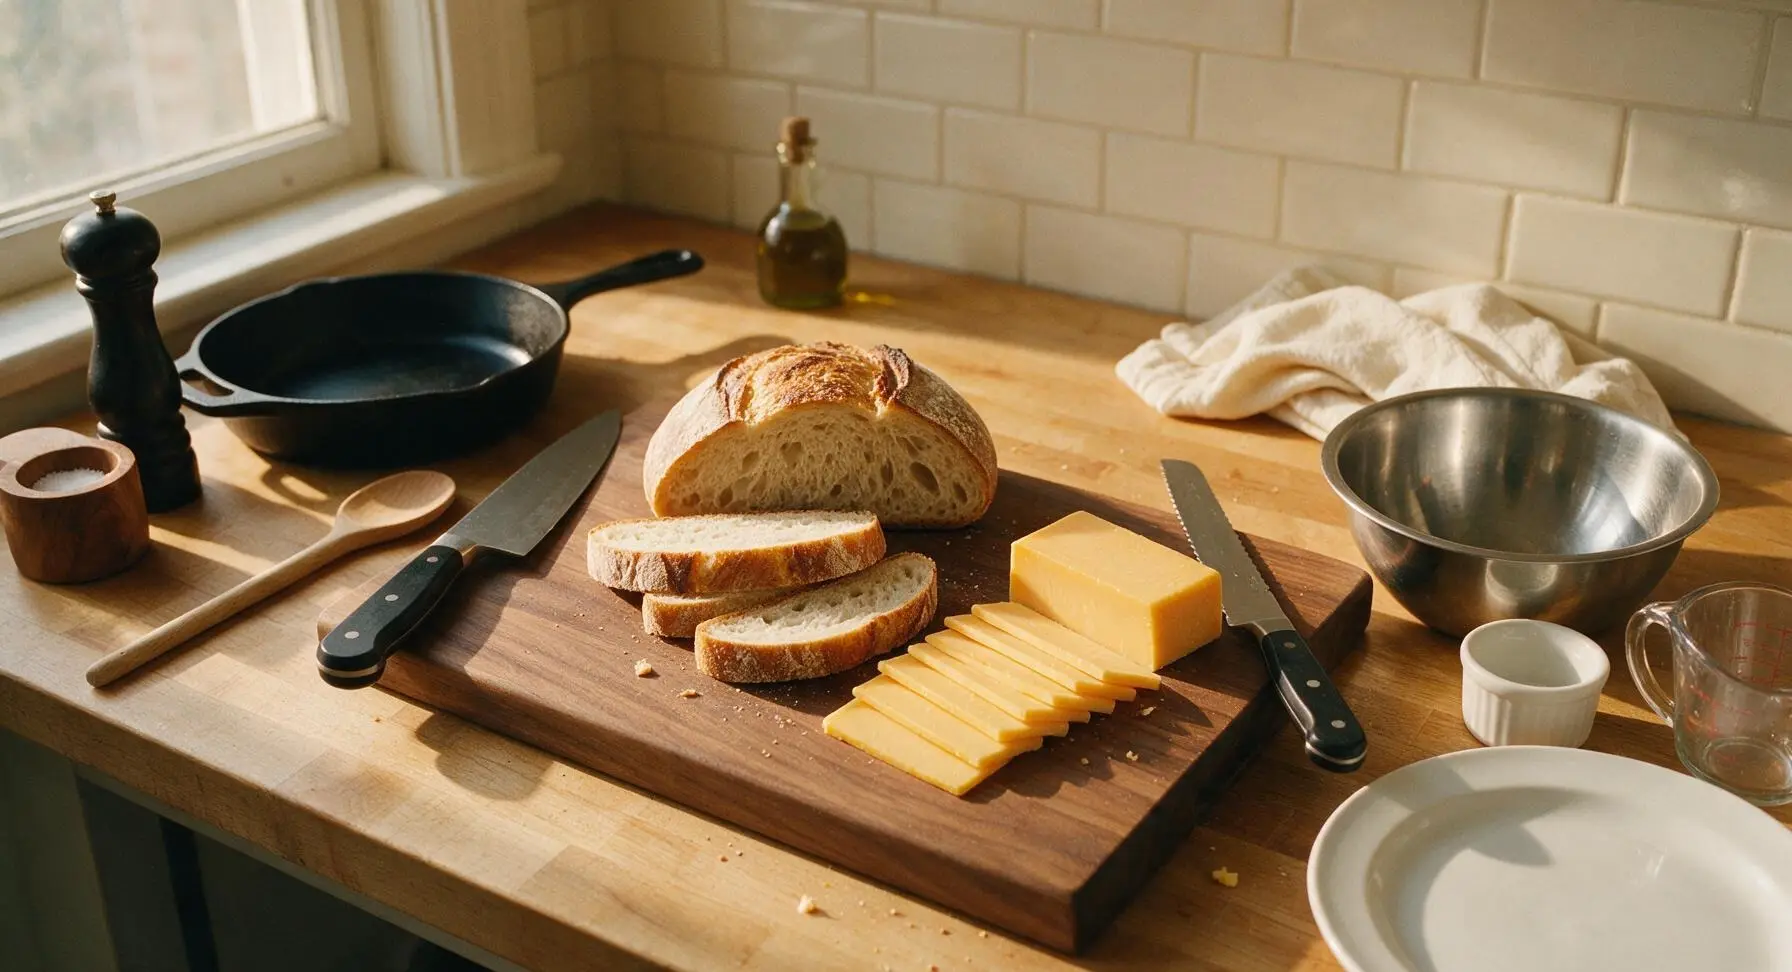
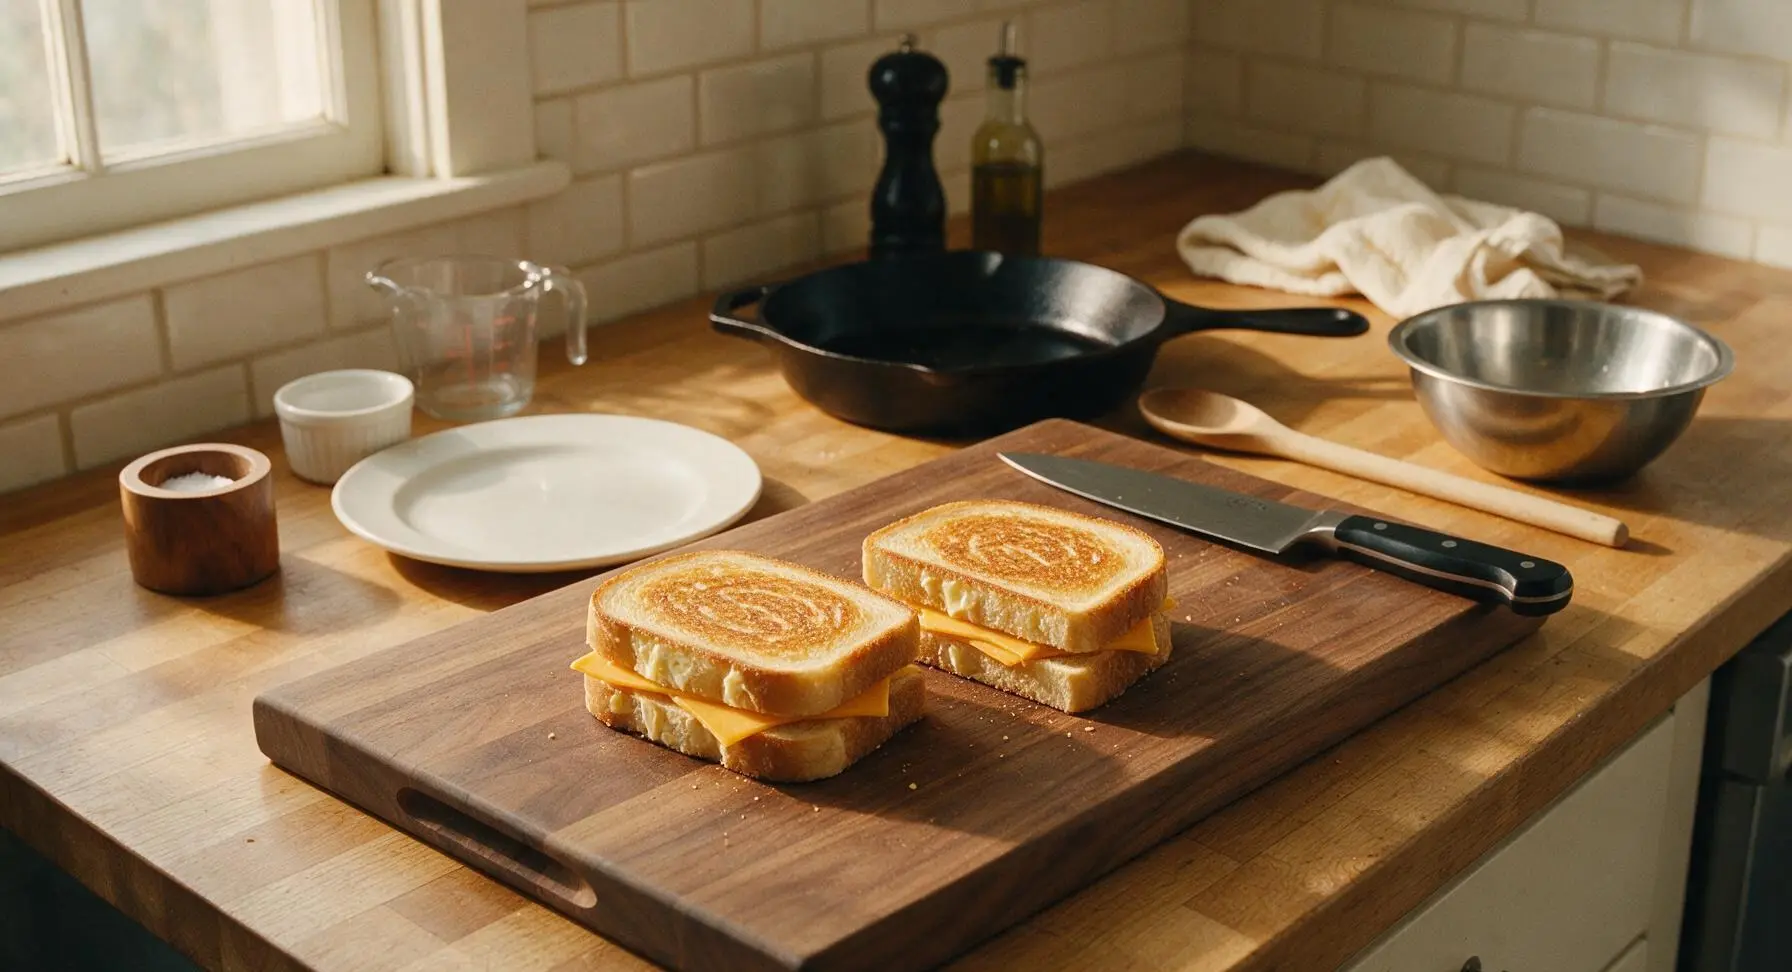
Place the beech wood cutting board in the center of the counter. Use the serrated utility knife to cut 4 even 1.5cm thick slices from the sourdough loaf, then slice the cheddar block into 8 thin, even slices (about 3mm thick) that fit neatly within the bread edges, avoiding overhang that will melt out onto the pan. Set slices aside on the cutting board.
Step 1
step1:Prep Bread and Cheese
2

Butter Bread Slices

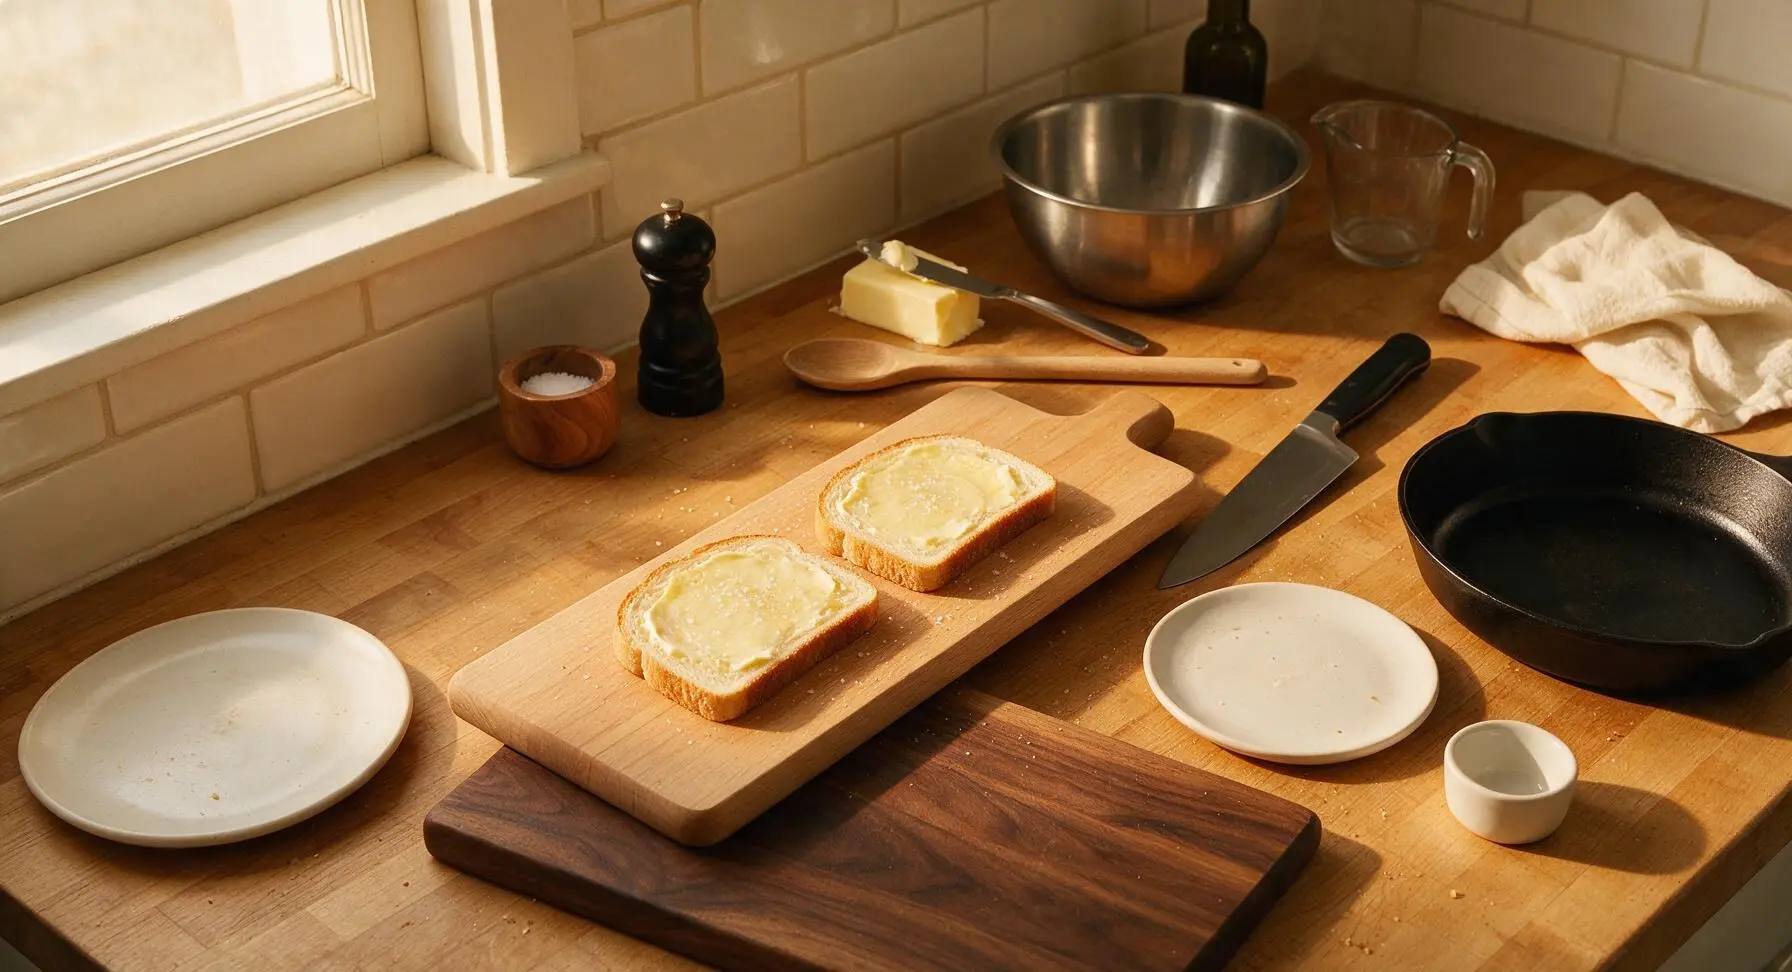
Use the stainless steel butter spreader to spread 1/2 tablespoon of softened unsalted butter evenly across one entire side of each bread slice, all the way to the crust edges. The butter layer should be thin and uniform, no thick clumps, to ensure even crisping without sogginess. Sprinkle a tiny pinch of flaky sea salt over the buttered side of each slice.
Step 2
step2:Butter Bread Slices
3

Assemble the Sandwiches

Flip 2 of the bread slices over so the buttered side faces down. Layer 4 slices of cheddar evenly over the unbuttered side of each of these two slices, making sure cheese covers the bread surface right to the edges but does not hang over. Top each with the remaining 2 bread slices, buttered side facing up, to form two complete sandwiches. Press down gently on the top of each sandwich with the palm of your hand to secure the layers.
Step 3
step3:Assemble the Sandwiches
4

Preheat the Skillet

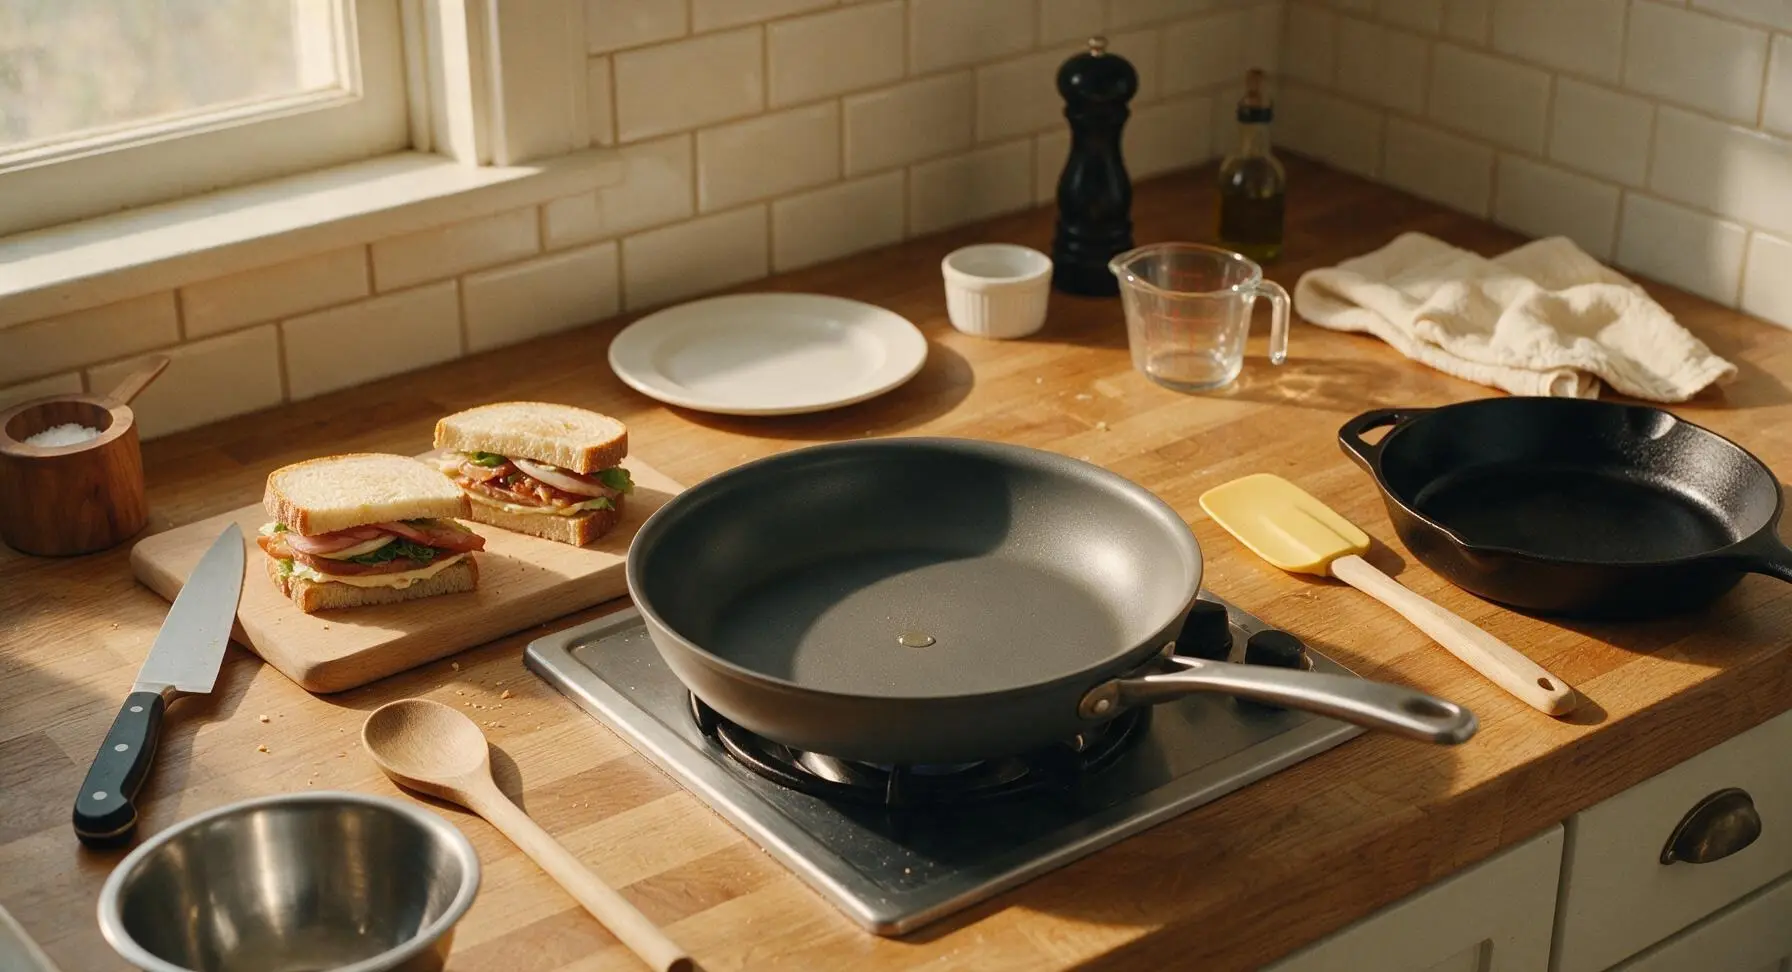
Place the 10-inch matte charcoal grey non-stick skillet on the central stovetop burner, preheating over medium-low heat (325°F / 160°C) for 2 minutes. Do not turn the heat higher—low and slow heat ensures the bread crisps evenly without burning before the cheese fully melts. Test the pan temperature by sprinkling a single drop of water: it should sizzle gently and dance across the surface, not evaporate instantly.
Step 4
step4:Preheat the Skillet
5

Cook First Sandwich Side

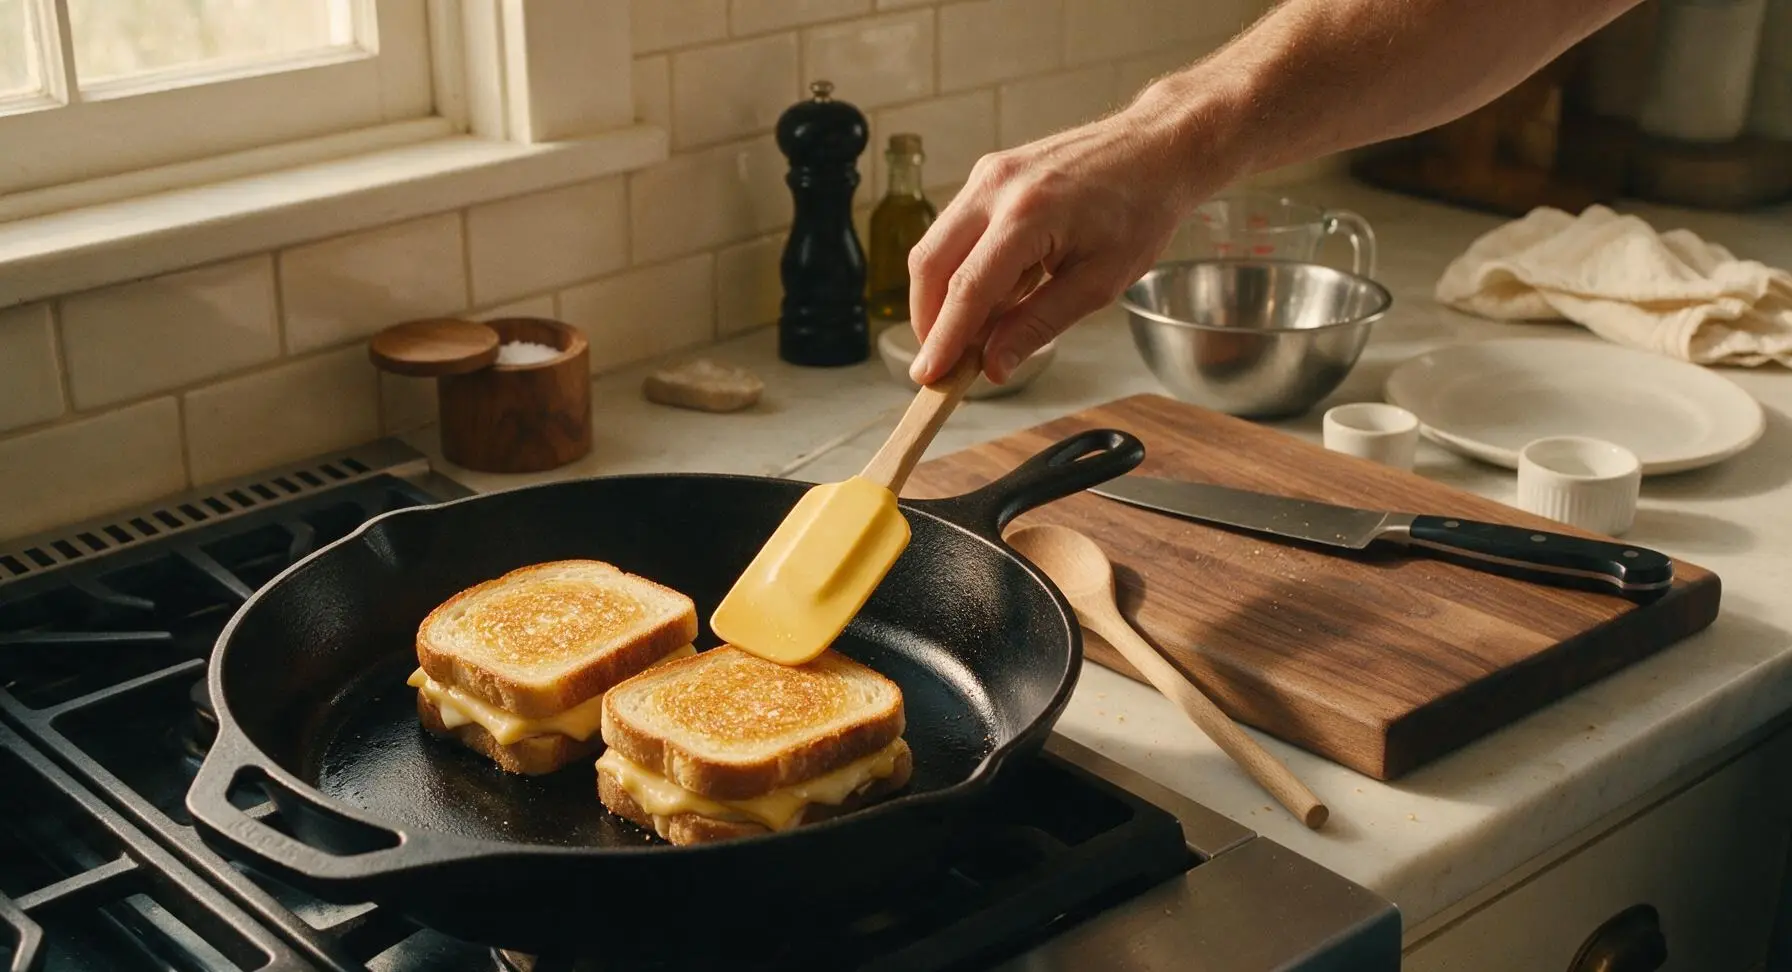
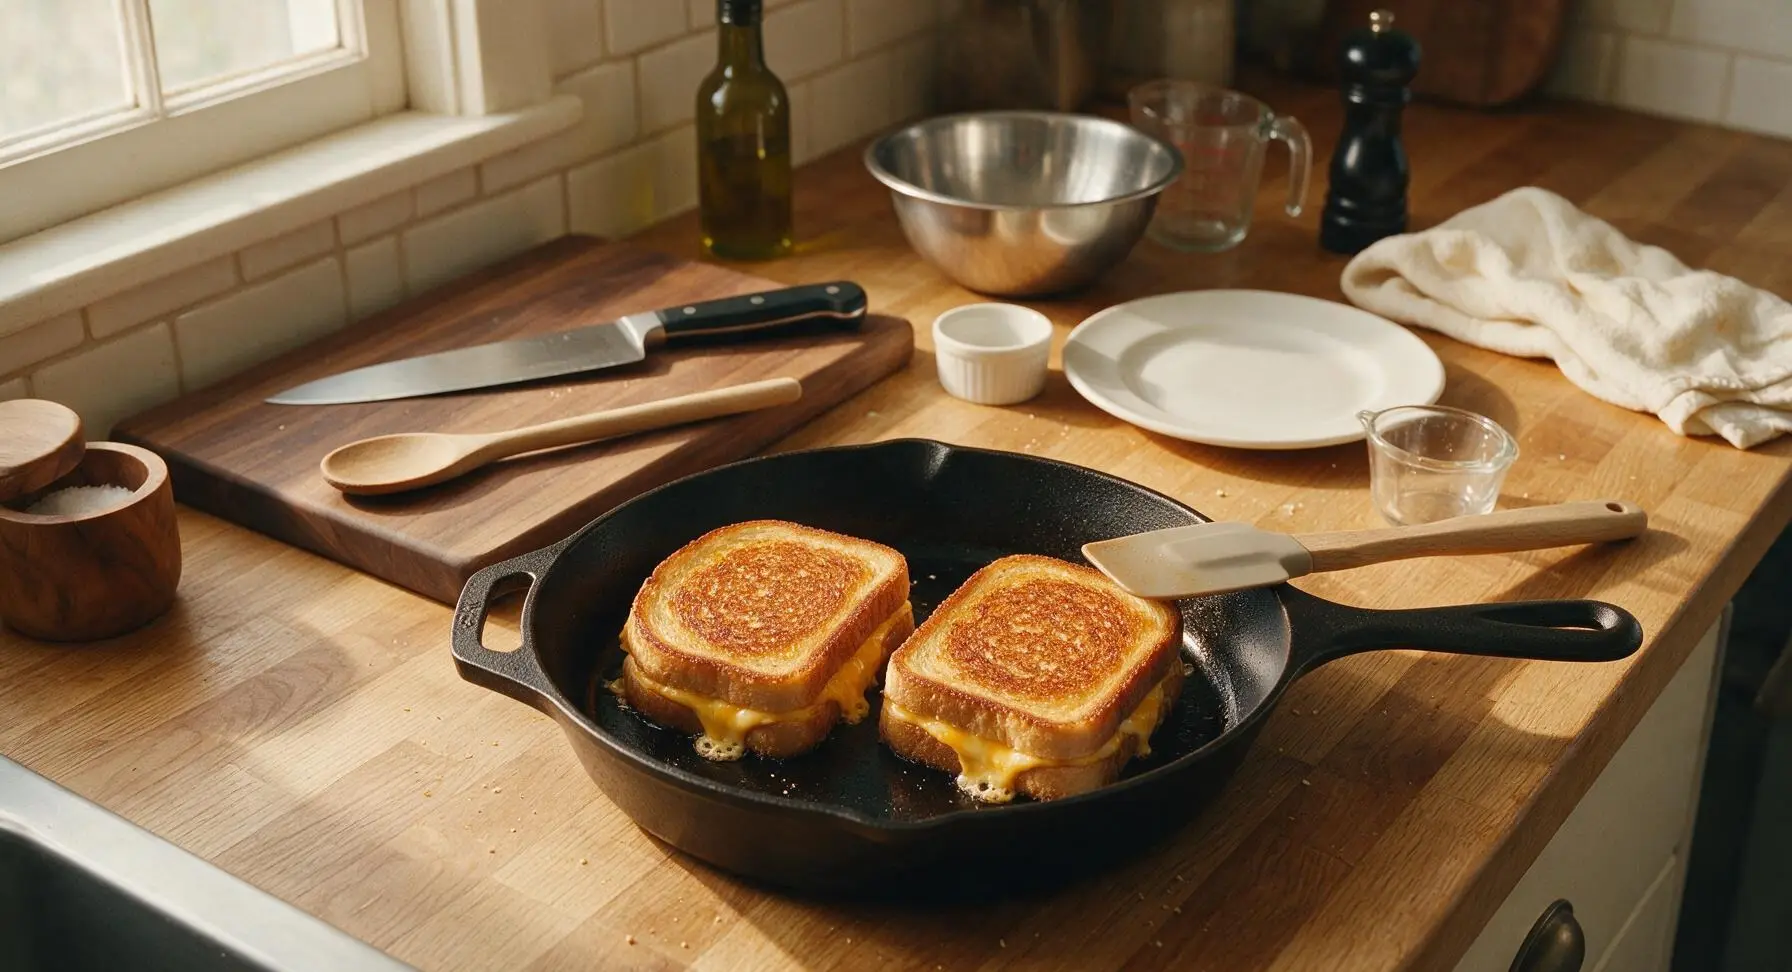
Carefully place both sandwiches into the preheated skillet using the silicone spatula. Cook for 3 minutes, resisting the urge to press down on the sandwiches with the spatula (this squeezes out melted cheese and creates soggy bread). The bottom bread slice should turn a deep, even golden brown, and the cheese closest to the pan should begin to look soft and melted at the edges.
Step 5
step5:Cook First Sandwich Side
Step 5
step5:Cook First Sandwich Side
6

Flip Sandwiches Carefully

Slide the silicone spatula fully under each sandwich, supporting the entire bottom to avoid tearing the bread, and flip each sandwich in one smooth motion. If any cheese oozes out onto the pan, simply tuck it back against the side of the sandwich with the spatula to form a crispy cheese frico edge.
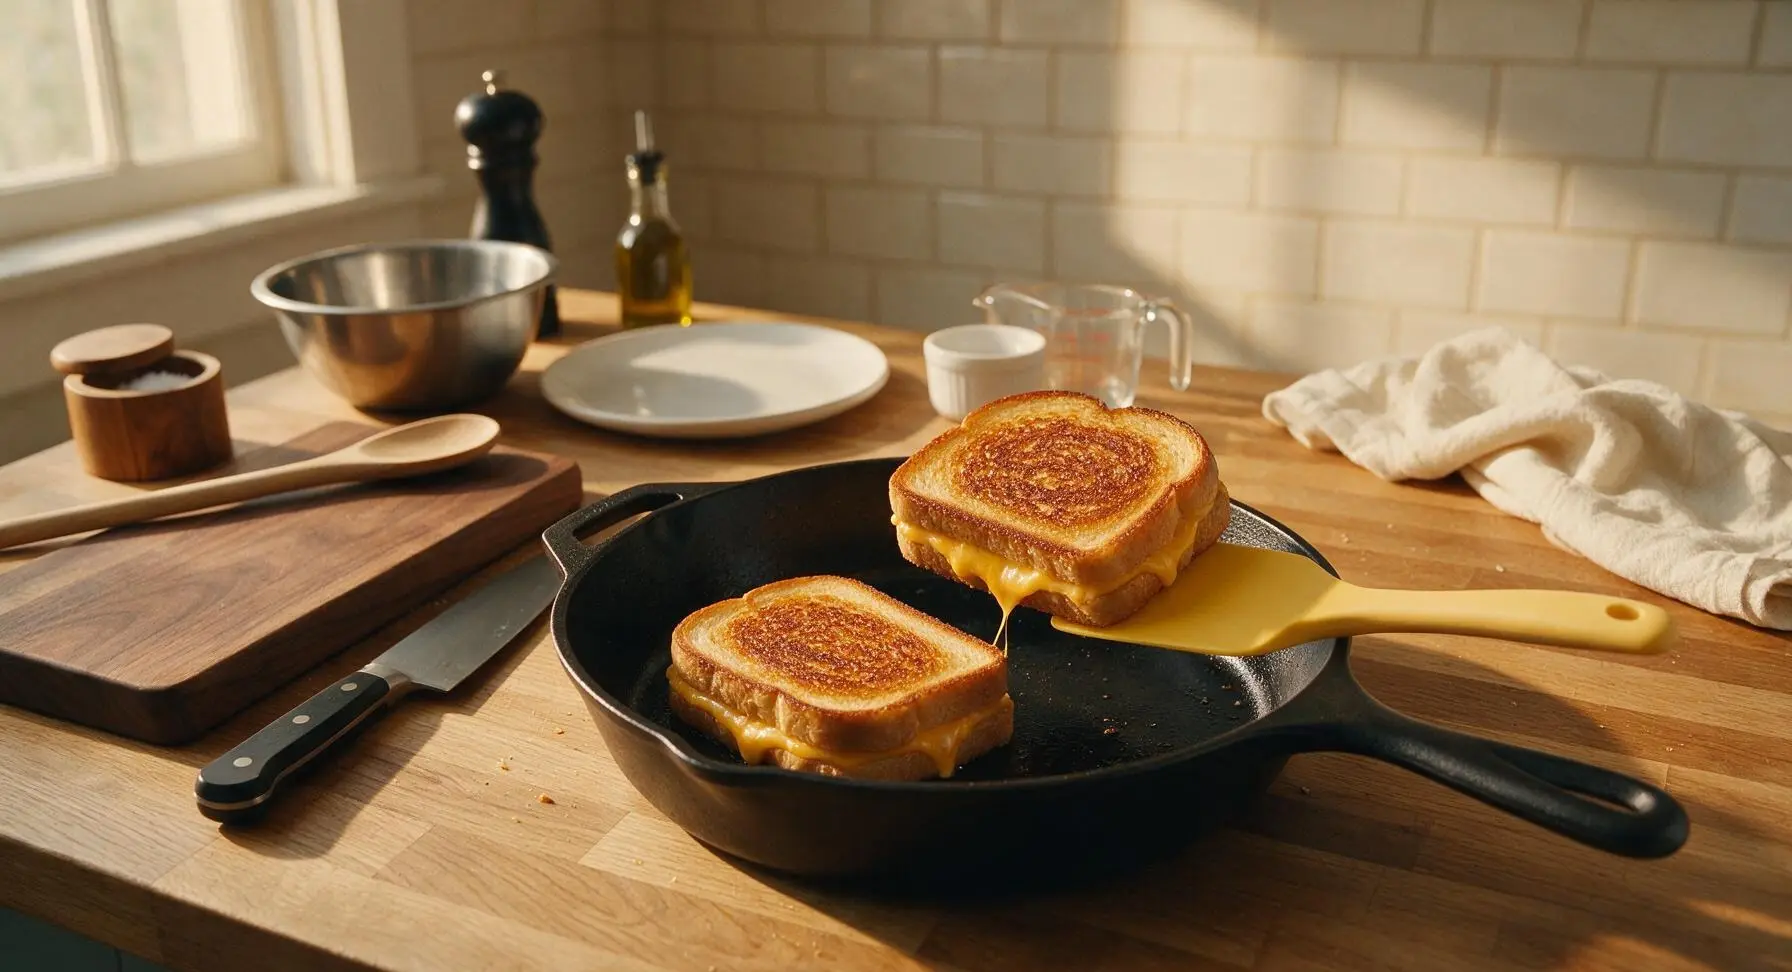
Step 6
step6:Flip Sandwiches Carefully
7

Cook Second Sandwich Side

Cook the second side for 2 to 3 minutes, until it matches the first side’s deep golden brown crispness, and the cheese in the center is fully melted and stretchy. To test for doneness, gently lift the edge of one sandwich with the spatula: there should be no un-melted firm cheese slices visible in the center, and the bread should feel crisp, not soft, to the touch.
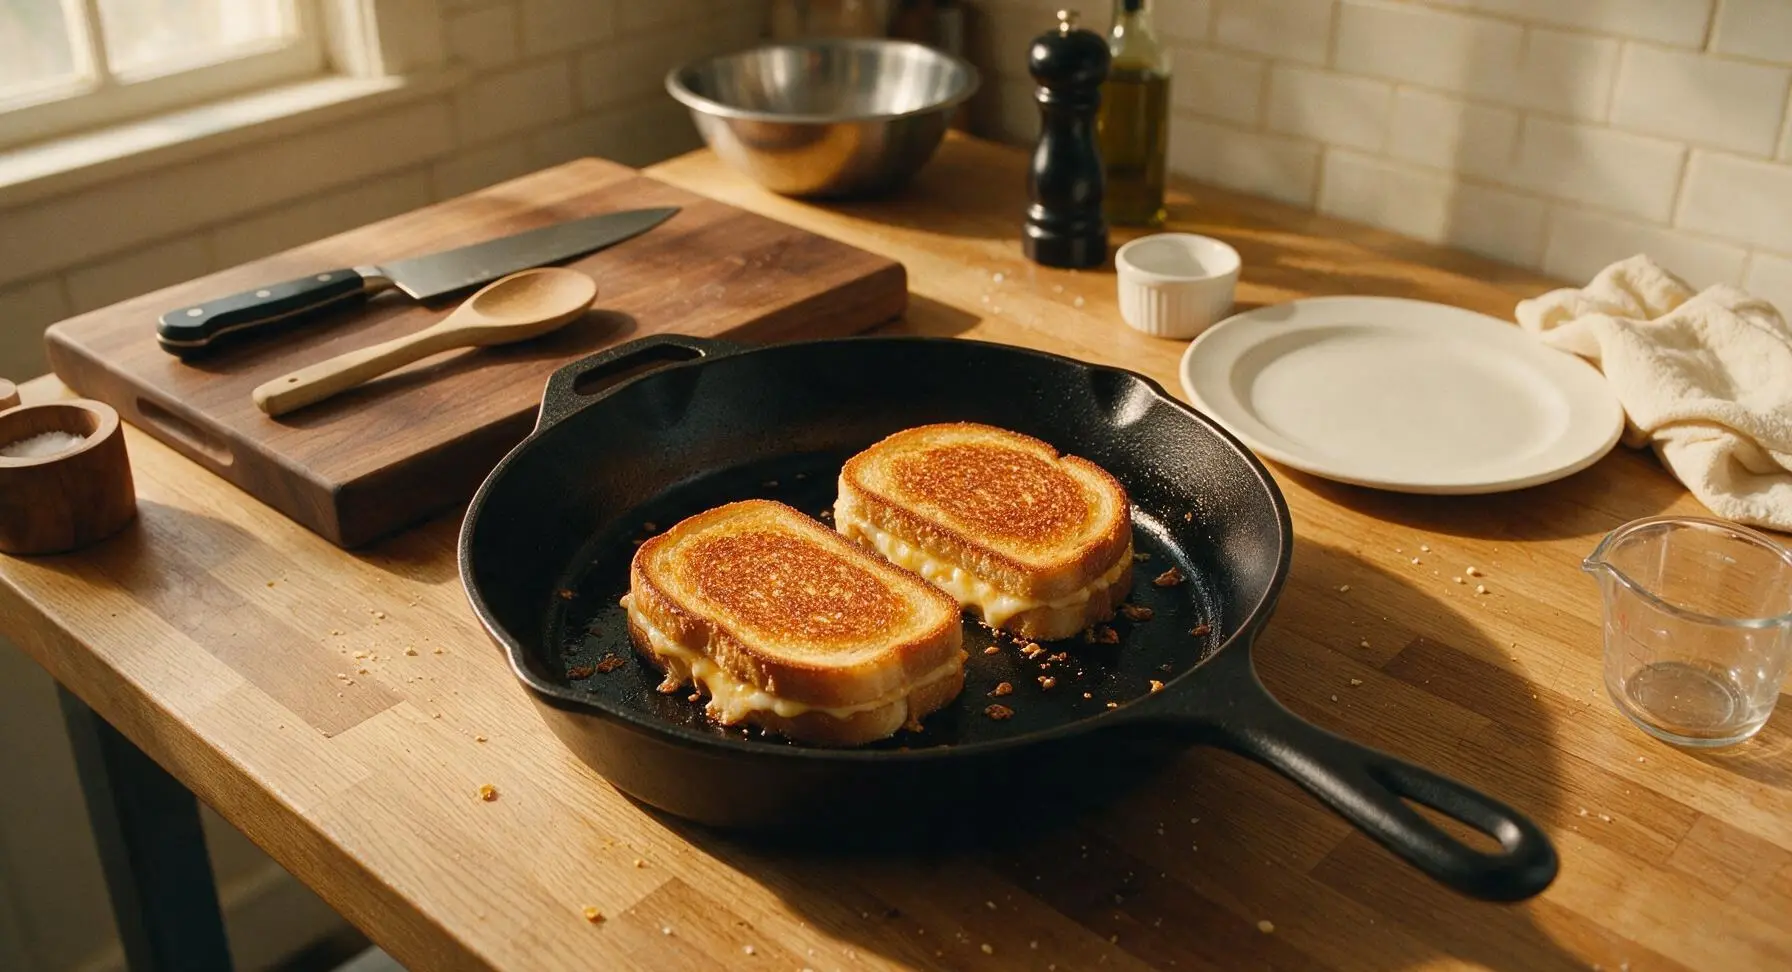
Step 7
step7:Cook Second Sandwich Side
8

Rest and Serve Sandwiches

Use the silicone spatula to transfer the cooked sandwiches to the small chrome wire cooling rack (lined with parchment paper) to rest for 1 minute—this prevents the bottom crust from getting soggy from trapped steam. Transfer the rested sandwiches to the matte cream white ceramic lunch plate, cut each diagonally in half with the serrated utility knife, and serve immediately.
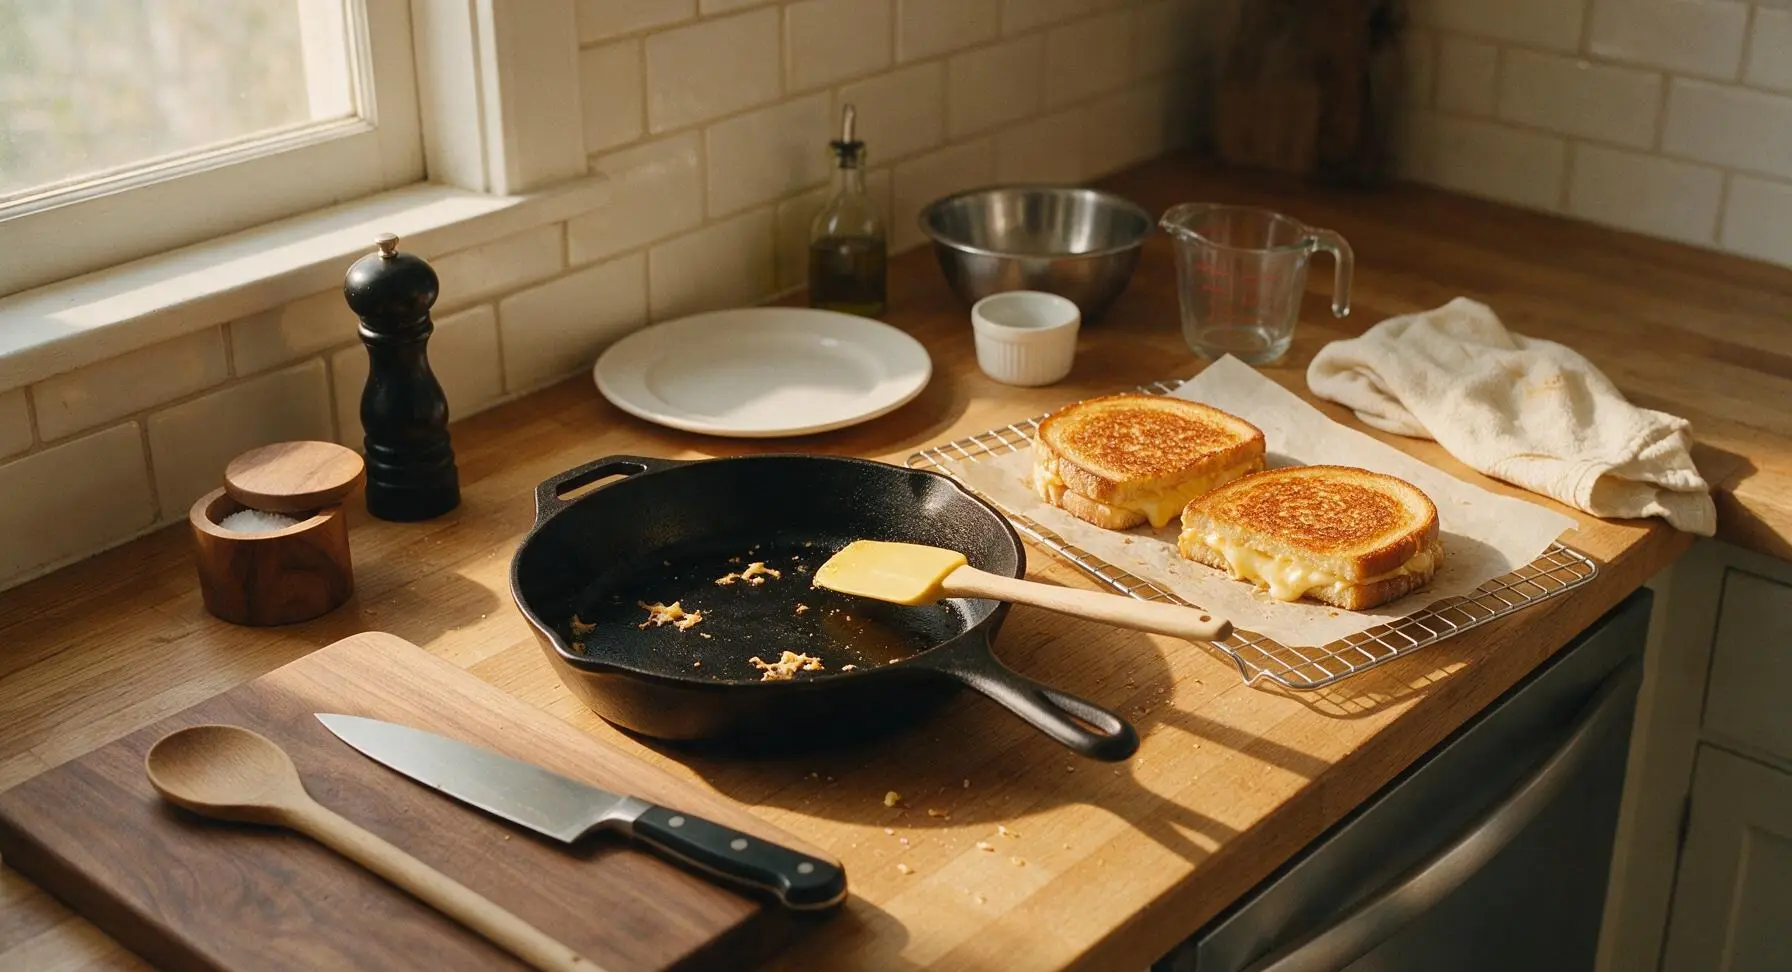
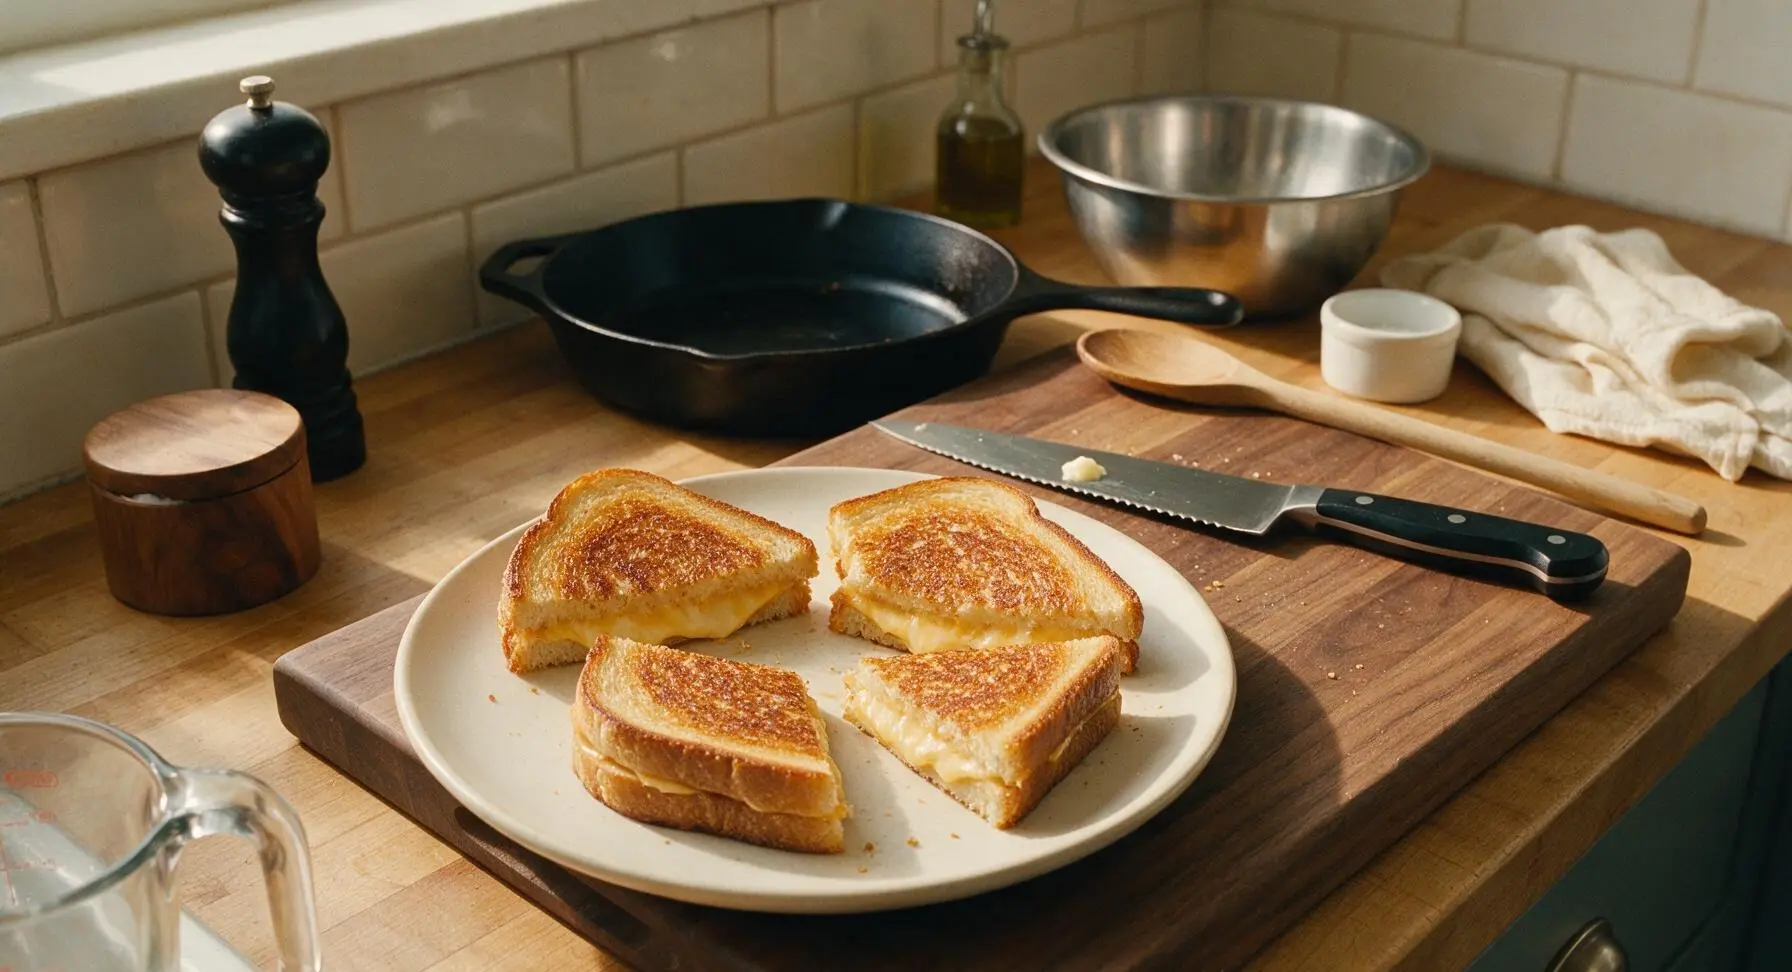
Step 8
step8:Rest and Serve Sandwiches
Step 8
step8:Rest and Serve Sandwiches

Tips

1.Use room-temperature butter rather than cold or melted butter: Cold butter tears soft sourdough when spreading, while melted butter soaks into bread to create soggy, uneven spots. Room-temperature butter spreads smoothly in a thin, uniform layer for crisp, golden crust all the way to the edges.
2.Keep stovetop heat at medium-low (325°F / 160°C), never high: High heat burns the bread exterior to a dark brown before the cheese in the center has time to fully melt, leaving you with a charred crust and cold, firm cheese. Low, even heat ensures the bread crisps gradually while the cheese melts into a smooth, stretchy texture.
3.Rest cooked sandwiches on a wire rack for 1 minute before cutting: Resting directly on a plate traps steam that makes the bottom crust soggy, while cutting immediately lets all the melted cheese run out onto the plate. The short rest lets the cheese set slightly so it stays stretchy but doesn’t ooze out with the first bite, and the rack keeps both crusts perfectly crisp.


✨ You May Also Like

Lunch
🍜 United States

Creamy, salty, tangy nostalgic Midwestern sandwich pairing rich peanut butter with crisp briny dill pickles for a fast, satisfying no-cook meal.

⏱️ 5 minutesLunch ★ 4.6
Lunch
🍜 United States

Crispy, melty pressed sandwich layered with savory roast pork, ham, Swiss cheese, pickles, and tangy mustard: a beloved Cuban-American comfort classic.

⏱️ 25 minuteLunch ★ 4.9
Lunch
🍜 United States

Hearty, briny New Orleans pressed sandwich stacked with cured Italian meats, provolone, and zesty olive salad, served cold for bold, portable flavor.

⏱️ 1 hour 20Lunch ★ 4.7
Lunch
🍜 United States

A tangy, creamy Southern American staple, this no-cook cheesy sandwich is packed with sharp cheddar and sweet pimentos for a satisfying, portable bite.

⏱️ 1 hour 15Lunch ★ 4.8
Lunch
🍜 United States

Crispy Cajun-spiced fried shrimp piled on crusty French bread with tangy remoulade and fresh toppings, the iconic Louisiana street food sandwich.

⏱️ 35 minuteLunch ★ 4.4
Lunch
🍜 United States

Stacked, savory deli-style corned beef sandwich with melted Swiss, tangy mustard, and crisp griddled rye— a fast, hearty, satisfying classic.

⏱️ 15 minuteLunch ★ 4.9

Grilled Cheese:Frequently Asked Questions

1.Why does this recipe use sourdough instead of regular white sandwich bread? ▾
Sourdough is the classic diner pick for a reason! Its subtle tang cuts through the richness of melted sharp cheddar perfectly, and its tight, sturdy crumb doesn’t turn soggy as it cooks. The thick, chewy crust gets ultra-crispy in butter without falling apart, nailing that perfect crunch-to-soft-center ratio.
2.How do I get the cheese fully melted without burning the bread? ▾
Stick to medium-low heat—that’s the trusted diner trick! If your pan is too hot, the bread will scorch before the cheddar softens into that perfect stretchy melt. Keep heat steady, butter the bread evenly, and cover the pan for 1 to 2 minutes to trap gentle heat that melts cheese all the way through without burning.
3.Can I use pre-shredded cheddar instead of grating my own? ▾
You can in a pinch, but freshly grated sharp yellow cheddar gives far better melt and flavor. Pre-shredded cheese is coated in anti-caking starch that keeps it from clumping in the bag, but those additives prevent that smooth, stretchy, oozy texture that makes this sandwich iconic. Fresh-grated is absolutely worth the 2 extra minutes.
4.Why use unsalted butter instead of salted butter for this recipe? ▾
Unsalted butter lets you control the exact salt level of your sandwich, so you don’t end up with an overly salty bite from butter with unevenly distributed added salt. It also browns more evenly at medium-low heat without scorching, so you get that perfect golden crust, then finish with flaky sea salt for a bright, crunchy salt pop.
5.How much cheese should I use per sandwich for that classic stretchy pull? ▾
Aim for 2 to 2.5 ounces of freshly grated sharp yellow cheddar per sandwich, piled evenly right to the edges of the bread. Too little cheese, and you won’t get that satisfying stretch when you cut the sandwich in half; too much, and cheese will ooze out the sides, burn on the pan, and leave a greasy, unbalanced bite.
6.My grilled cheese always gets soggy right after cooking—how do I fix that? ▾
Skip setting the finished sandwich directly on a plate right out of the pan! Rest it on a wire rack for 30 to 60 seconds first, so steam can escape instead of getting trapped against the bread’s underside and turning the crust soggy. Don’t wrap it in foil or paper towels while it rests, either—that traps moisture too.
7.What’s the best way to butter the bread to get an even golden crust? ▾
For the most even, buttery, crispy crust, spread softened (not melted) unsalted butter directly on the outer faces of each sourdough slice, all the way to the edges, instead of melting butter in the pan. Softened butter spreads uniformly without soaking too deep into the bread, so every bite gets that rich, golden crunch instead of soggy spots.
8.When do I add the flaky sea salt, and does it actually make a difference? ▾
Sprinkle the flaky sea salt on the hot, buttery crust as soon as you pull the finished sandwich off the heat, so the salt sticks properly. It makes a huge difference! The light, crunchy salt flakes add a bright, briny pop that cuts through rich cheese and butter, nailing that nostalgic, perfect diner-level flavor.
9.Can I make this grilled cheese ahead for meal prep or quick lunches? ▾
This sandwich is best served fresh off the pan for maximum crispness and cheese stretch, but you can prep components ahead to cut down on cook time. Grate your cheddar and slice your sourdough up to 3 days in advance, stored airtight in the fridge. Don’t cook it ahead, though—it will turn soggy as it sits; it only takes 10 minutes to make fresh.

Comments (10)

2 days ago

OMG this is exactly the grilled cheese I grew up eating at my local upstate NY diner after Saturday soccer practice! The crispy buttered white bread, the perfectly goopy melted American cheese… I made this for my two kids for dinner last night and they begged for seconds before they even finished their first half. Total game changer, no more sad soggy microwave grilled cheese for this household!

1 day ago

Same! My kids are so ridiculously picky I thought they’d turn their noses up at “plain old cheese sandwiches” but they demolished theirs in 5 minutes flat. I added a tiny sprinkle of garlic powder to the melted butter before toasting and *chef’s kiss* total upgrade.

20 hours ago

So glad your family loved it! That garlic powder tweak is such a good call, I do that sometimes too when I want a little extra savoriness without straying too far from that classic diner vibe.

3 days ago

Super easy to throw together for a quick work from home lunch, 6 minute cook time is no joke! Only misstep I made was using sourdough instead of the soft white sandwich bread the recipe calls for — it came out a little too crusty and tangy for that classic taste. Next time I’ll stick exactly to the recipe, no fancy bread swaps.

2 days ago

Great note! Sourdough can absolutely work if you prefer a heartier, tangier bite, but soft pillowy white bread is what gives that nostalgic melt-in-your-mouth diner texture we were going for. Thanks for giving it a try!

5 minutes ago

6 minute cook time? That’s faster than waiting in the dining hall line for a sad pre-made sandwich. Made this in my dorm with a $10 thrift store pan and cheap sliced cheese and it came out SO good, saved me like $12 on takeout tonight. Will be adding this to my weekly meal prep rotation no cap.

1 week ago

Made these for a neighborhood potluck last weekend and they were the first platter to get wiped clean! I cut them into little triangle dippers and served them with mini tomato soup shots, everyone was hounding me for the recipe before I even finished my first sandwich. Can’t believe how simple it is to get that perfect golden crisp without burning the bread.

5 days ago

The tomato soup dipper idea is straight up genius! I’m hosting a game night next weekend and 100% stealing that, everyone is going to lose their minds.

30 minutes ago

Wait, quick newbie question — the recipe says to cook on medium-low heat right? I tried making grilled cheese last week on high heat and the bread burned to a crisp before the cheese even melted lmao. Also, do you guys think I could add a couple slices of tomato in there without ruining it?

20 minutes ago

Medium-low is NON-NEGOTIABLE, trust me I’ve learned that the hard way too! I add tomato all the time, just pat the slices really dry with a paper towel first so your sandwich doesn’t get all soggy. Total game changer.

10 minutes ago

Great question! Medium-low heat is definitely the secret to getting that even golden crust and fully melted cheese without burning. The tomato tip from @HomeCookHero is spot on — patting them dry is key to avoiding soggy bread!

2 weeks ago

I’ve been chasing that perfect 1950s diner grilled cheese taste for literal YEARS and this recipe nailed it. I saw people online saying to slather the bread with mayo instead of butter and tried that for years, but no — the salted butter like this recipe uses is the real nostalgic flavor. 10/10, no notes.

2 hours ago

Me and my 7 year old made these together after school yesterday and it was such a fun little dad activity. He loved being able to butter the bread himself (even if he got butter all over the counter, his shirt, and the dog) and said it was way better than the grilled cheese they serve in the school cafeteria. Total dad win.

30 minutes ago

Love that! Cooking with kids is such a joy, and I’m so glad you two got to make a fun little memory with this recipe. A messy kitchen is always a sign of a good time, right?

5 days ago

It was good! But I definitely overdid it with the cheese, I piled on like 4 slices because I love extra cheesy sandwiches and it all oozed out all over my pan and left a huge burnt cheese mess. Tasted amazing, just not nearly as pretty as the recipe photos honestly. Next time I’ll stick to 2 slices like the recipe says 😅

4 days ago

Oh I did the EXACT same thing my first time making this! 2 slices is perfect, enough melty pull without the cheese volcano all over your stovetop. Learned that one the hard way too lmao.

3 days ago

No shame in loading up on extra cheese — I do it too! If you want to go heavy on the cheese, just line your pan with a little piece of parchment paper to catch all the oozing bits for way easier cleanup. It tastes just as good, no scrubbing required!

just now

I make a big batch of these on Sundays for quick grab-and-go lunches during the work week. They reheat so well in the toaster oven — 3 minutes and they’re just as crispy and cheesy as when I first make them. Way better than spending $15 on takeout lunch every day, saves me so much time and money.

yesterday

Just made this as a midnight snack after getting home from a concert in Chicago and holy cow it hit the spot. Crispy, buttery, perfectly melty cheese, everything I was craving. Paired it with a crispy dill pickle on the side like my grandma used to serve, 10/10 no notes.

5 hours ago

Dill pickle on the side is NON-NEGOTIABLE for grilled cheese, I will die on that hill. Adding a bag of plain potato chips too? *Chef’s kiss* perfect late night meal.



