
Grilled Cheese Sandwich
intro
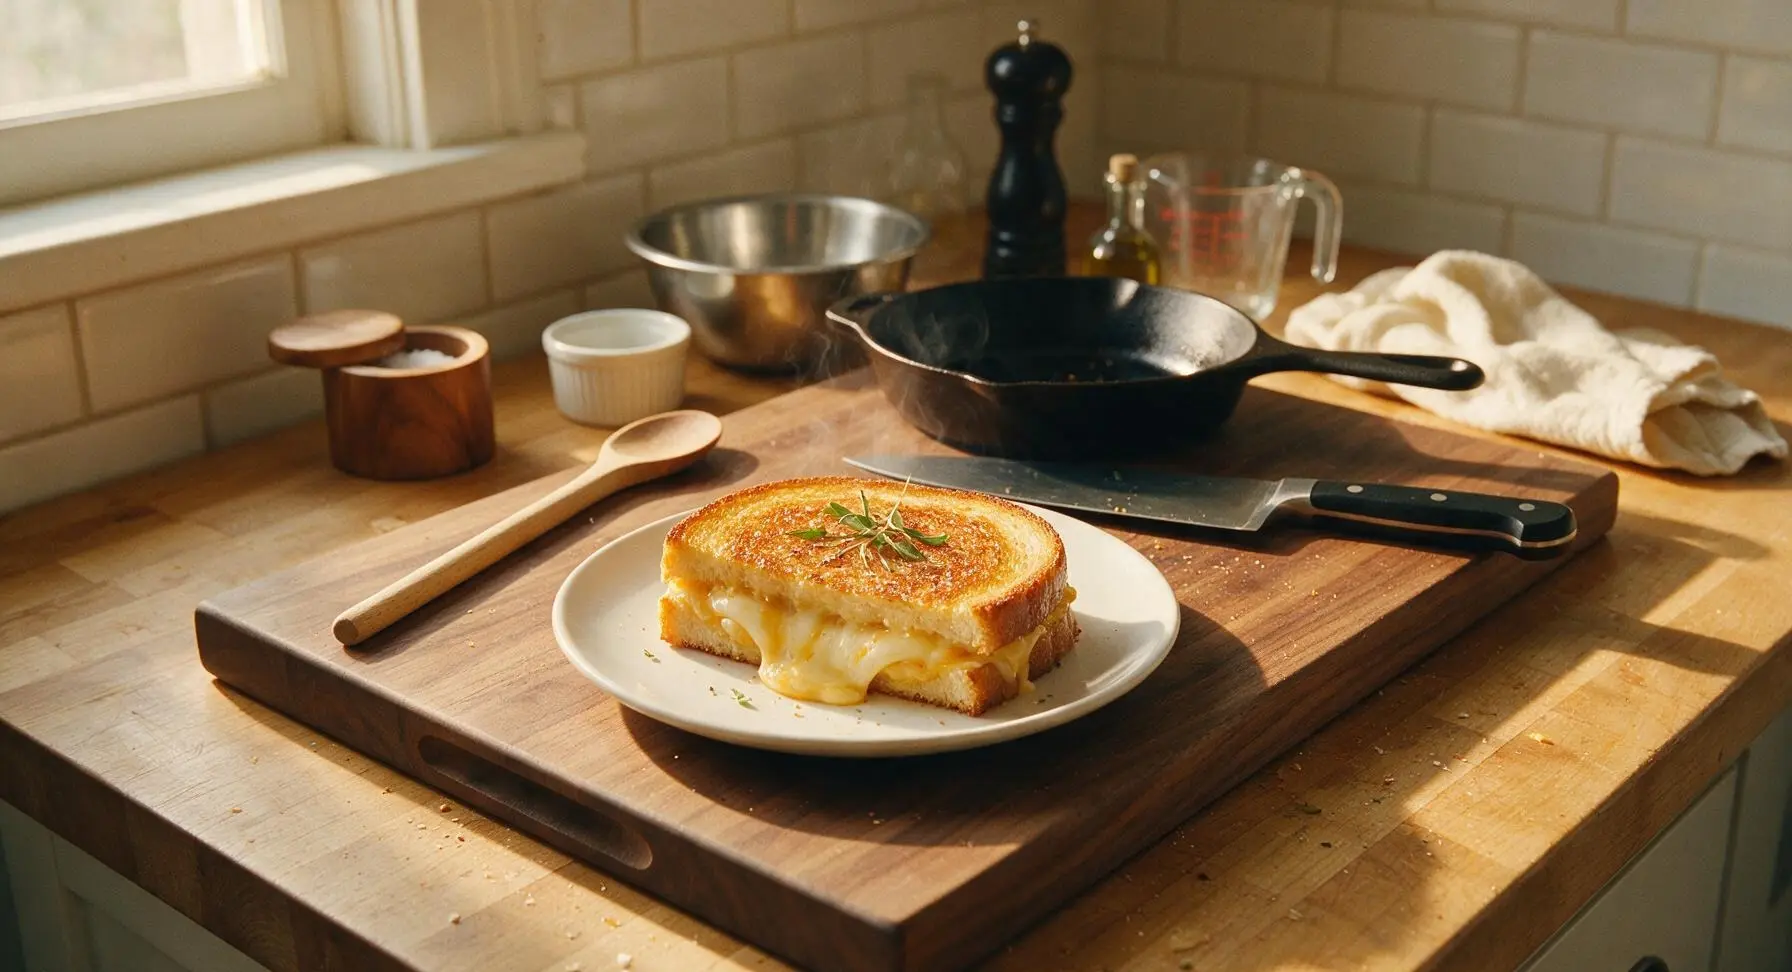
Golden buttery crispy bread oozing with stretchy melted cheese, this classic grilled cheese is the ultimate cozy comfort food, ready in 15 minutes for busy weeknights.
Ingredients
Steps
Prep Bread and Cheese
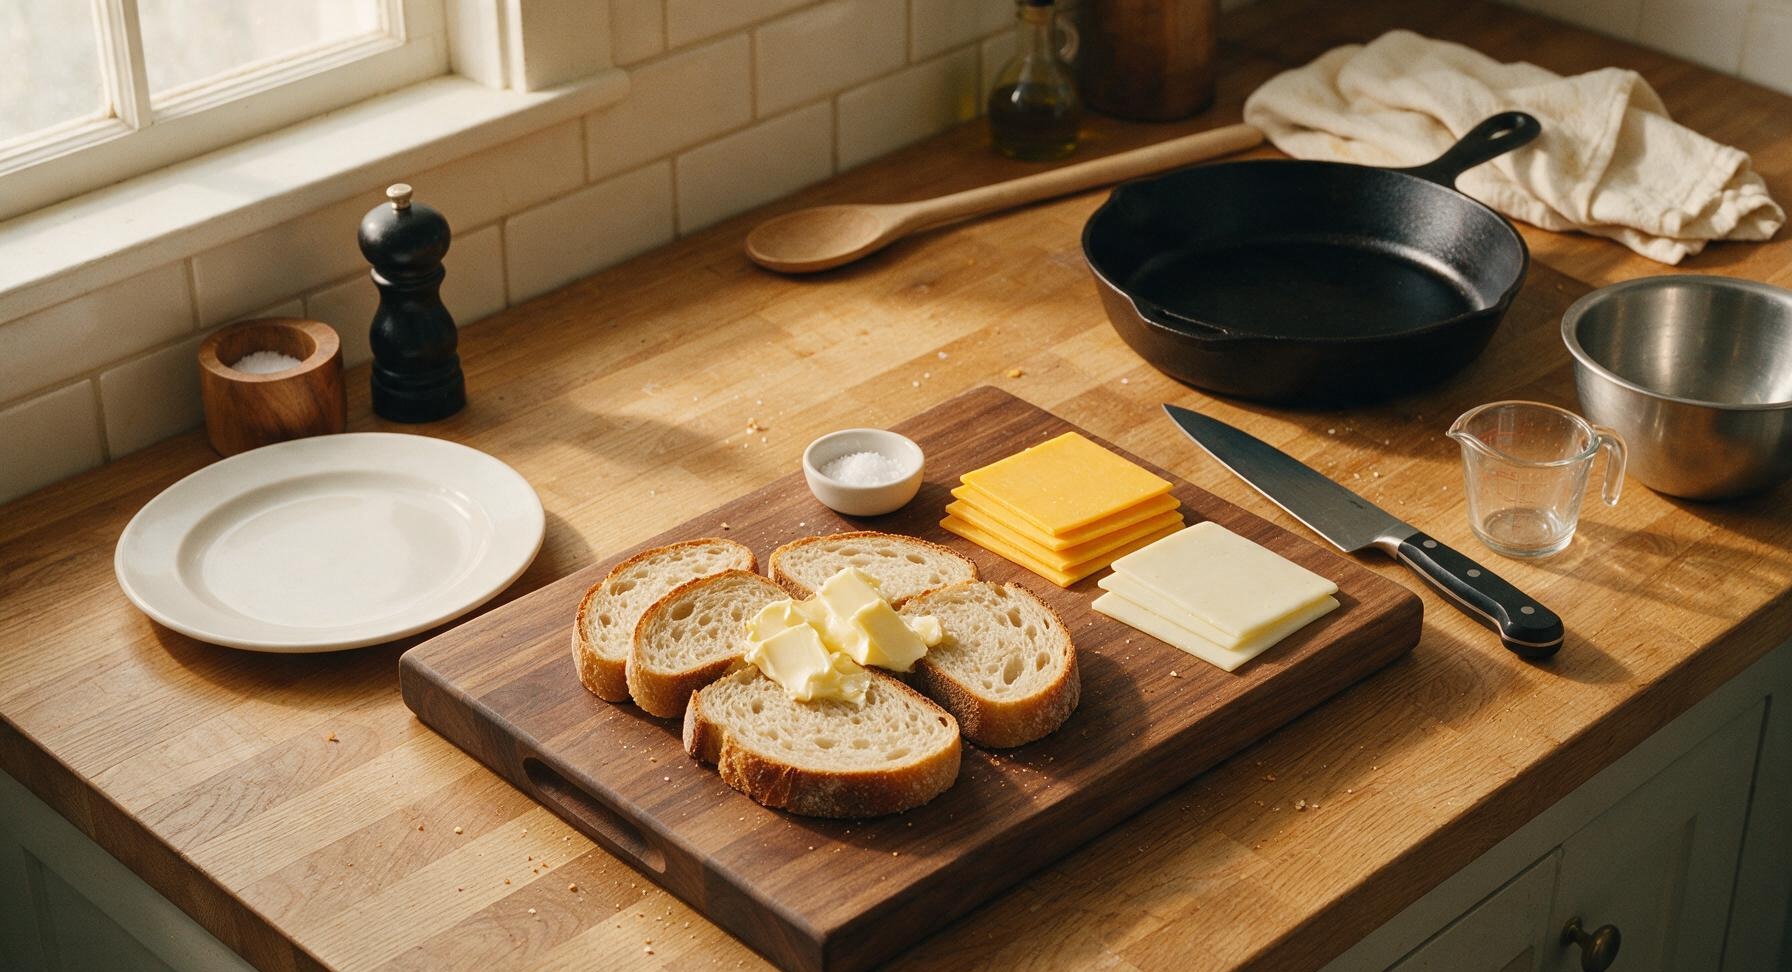
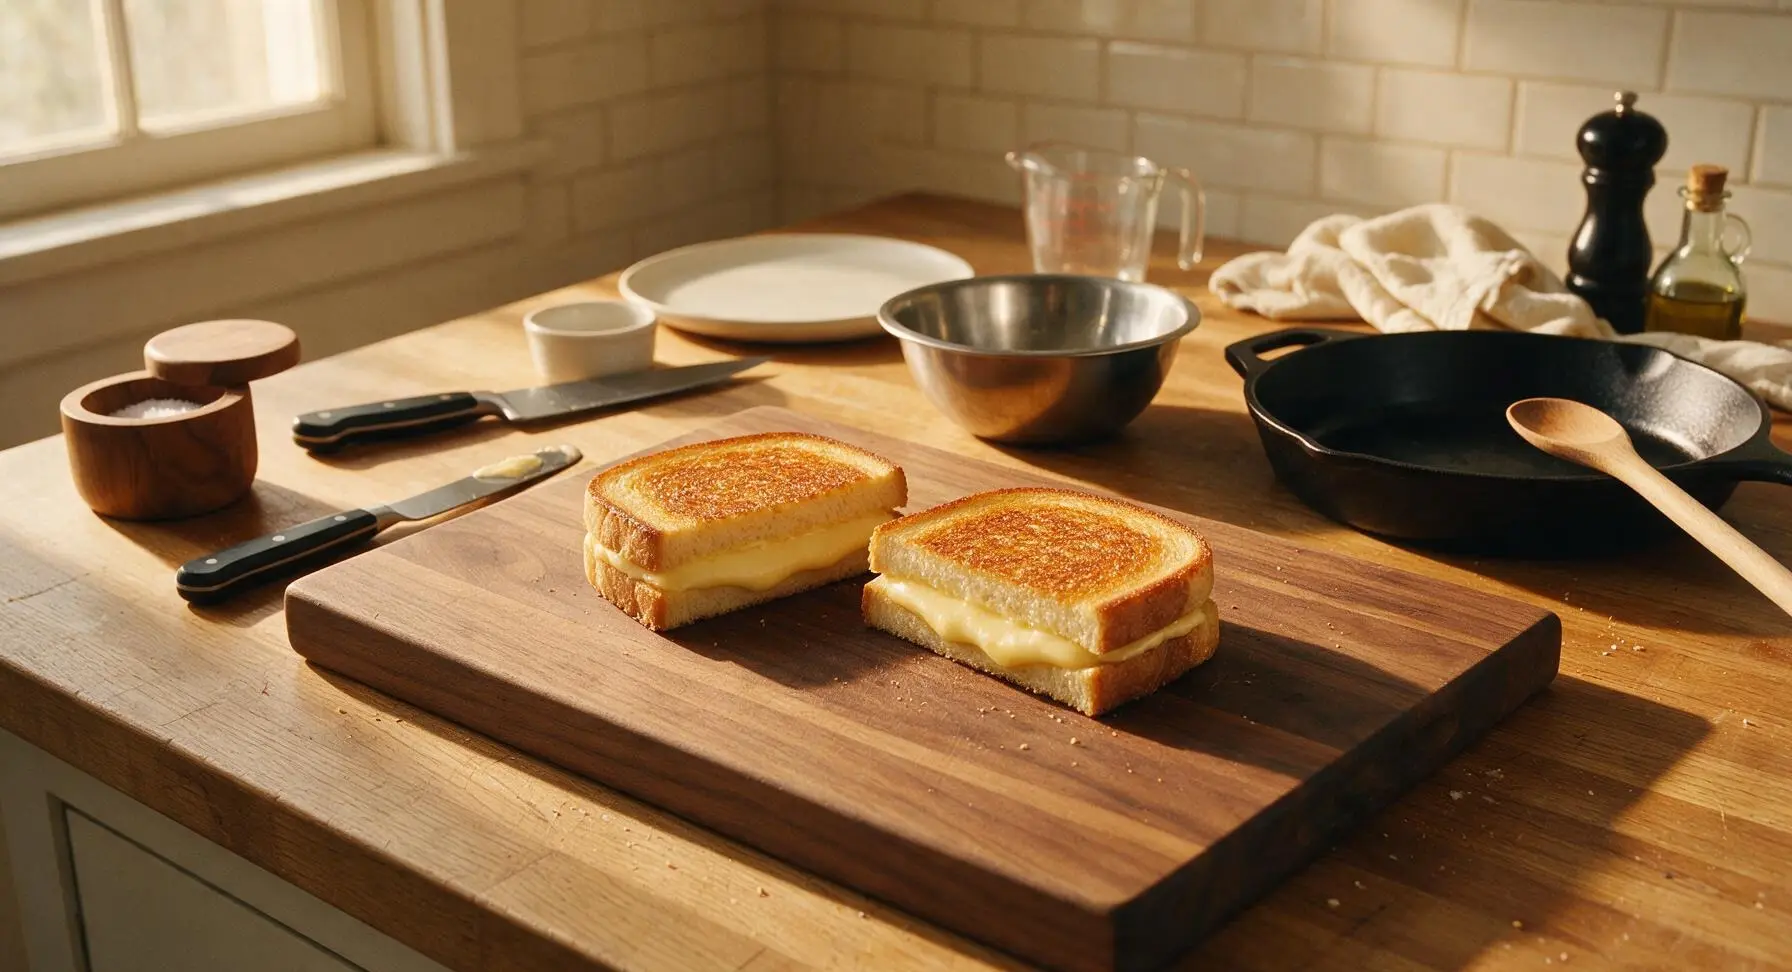
Place the light beech wood cutting board in the center of the work area. Lay the 4 sourdough slices flat on the board. If cheese is not pre-sliced, use the serrated bread knife to cut sharp cheddar into uniform 1/8-inch thick slices, trimming as needed so no cheese hangs over the bread edges (overhanging cheese will melt off and burn on the pan). Stack 2 slices of cheddar and 1 slice of American cheese per sandwich, set aside next to the board. Visual cue: cheese slices match the exact size of the bread slices for even melting.
Butter Bread Slices
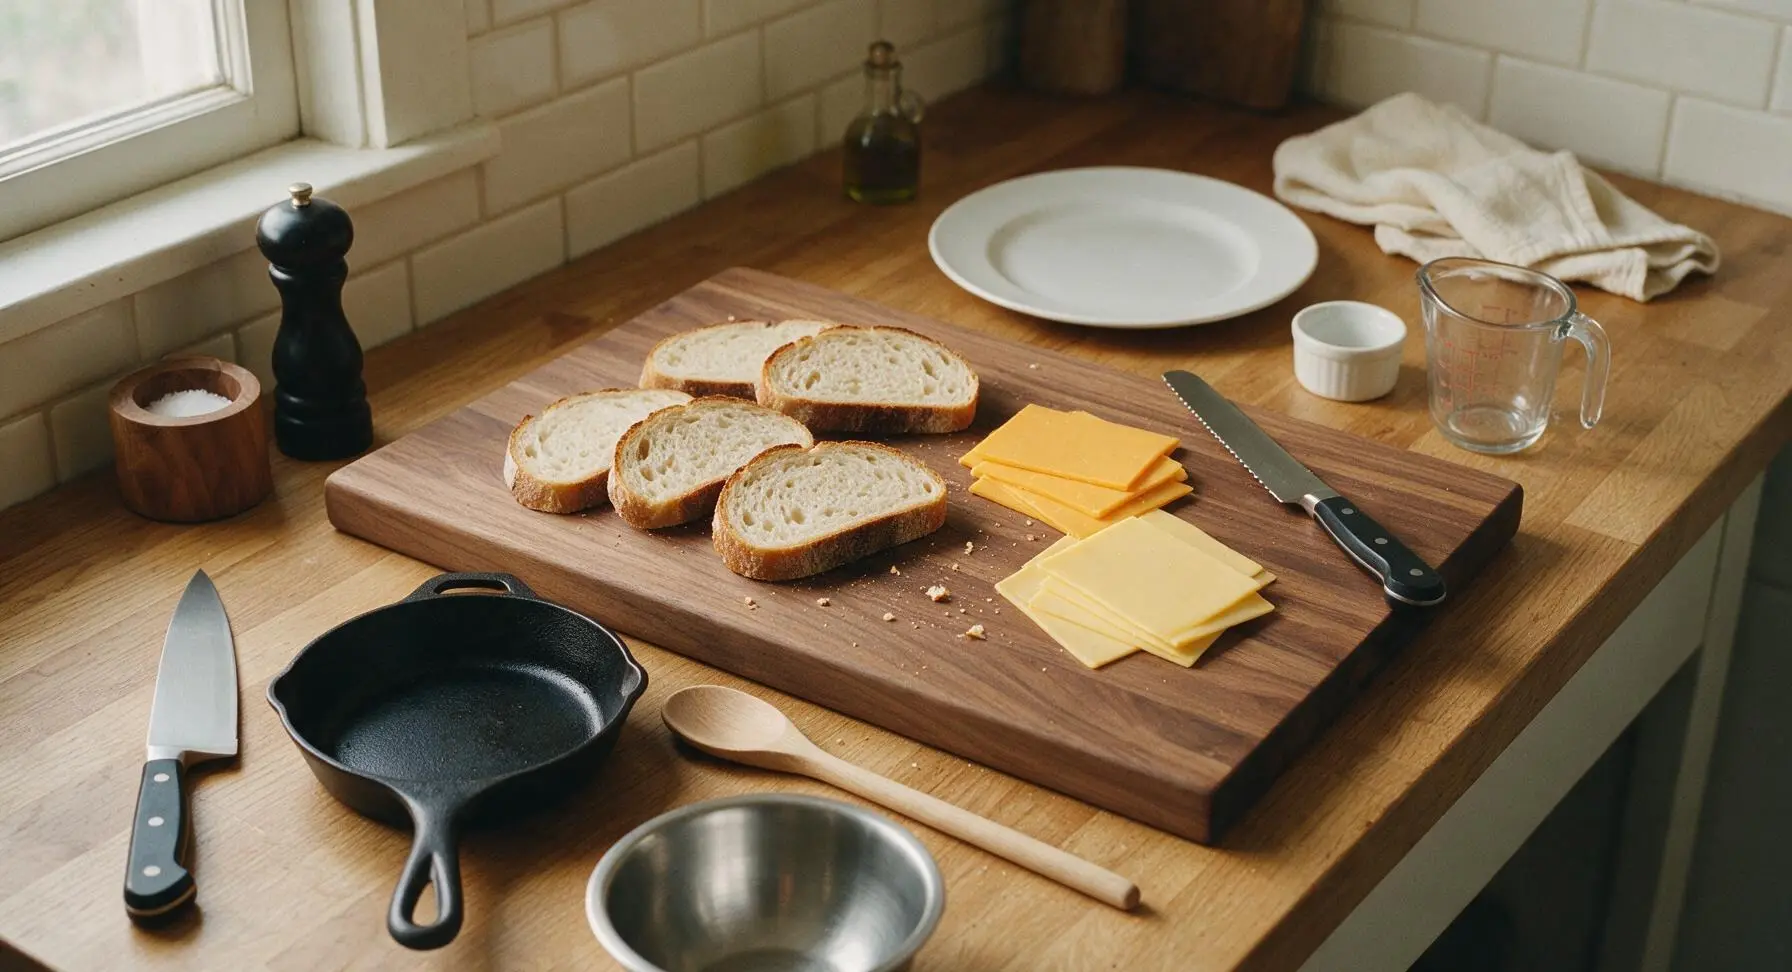
Use the stainless steel butter knife to spread 1/2 tablespoon of softened room-temperature butter evenly across one entire side of each bread slice, spreading all the way to the crust edges. Aim for a thin, uniform butter layer with no thick clumps, which causes uneven browning and soggy spots. Visual cue: every part of the bread surface has a thin, glossy butter coating, with no dry floury patches remaining.
Assemble the Sandwiches
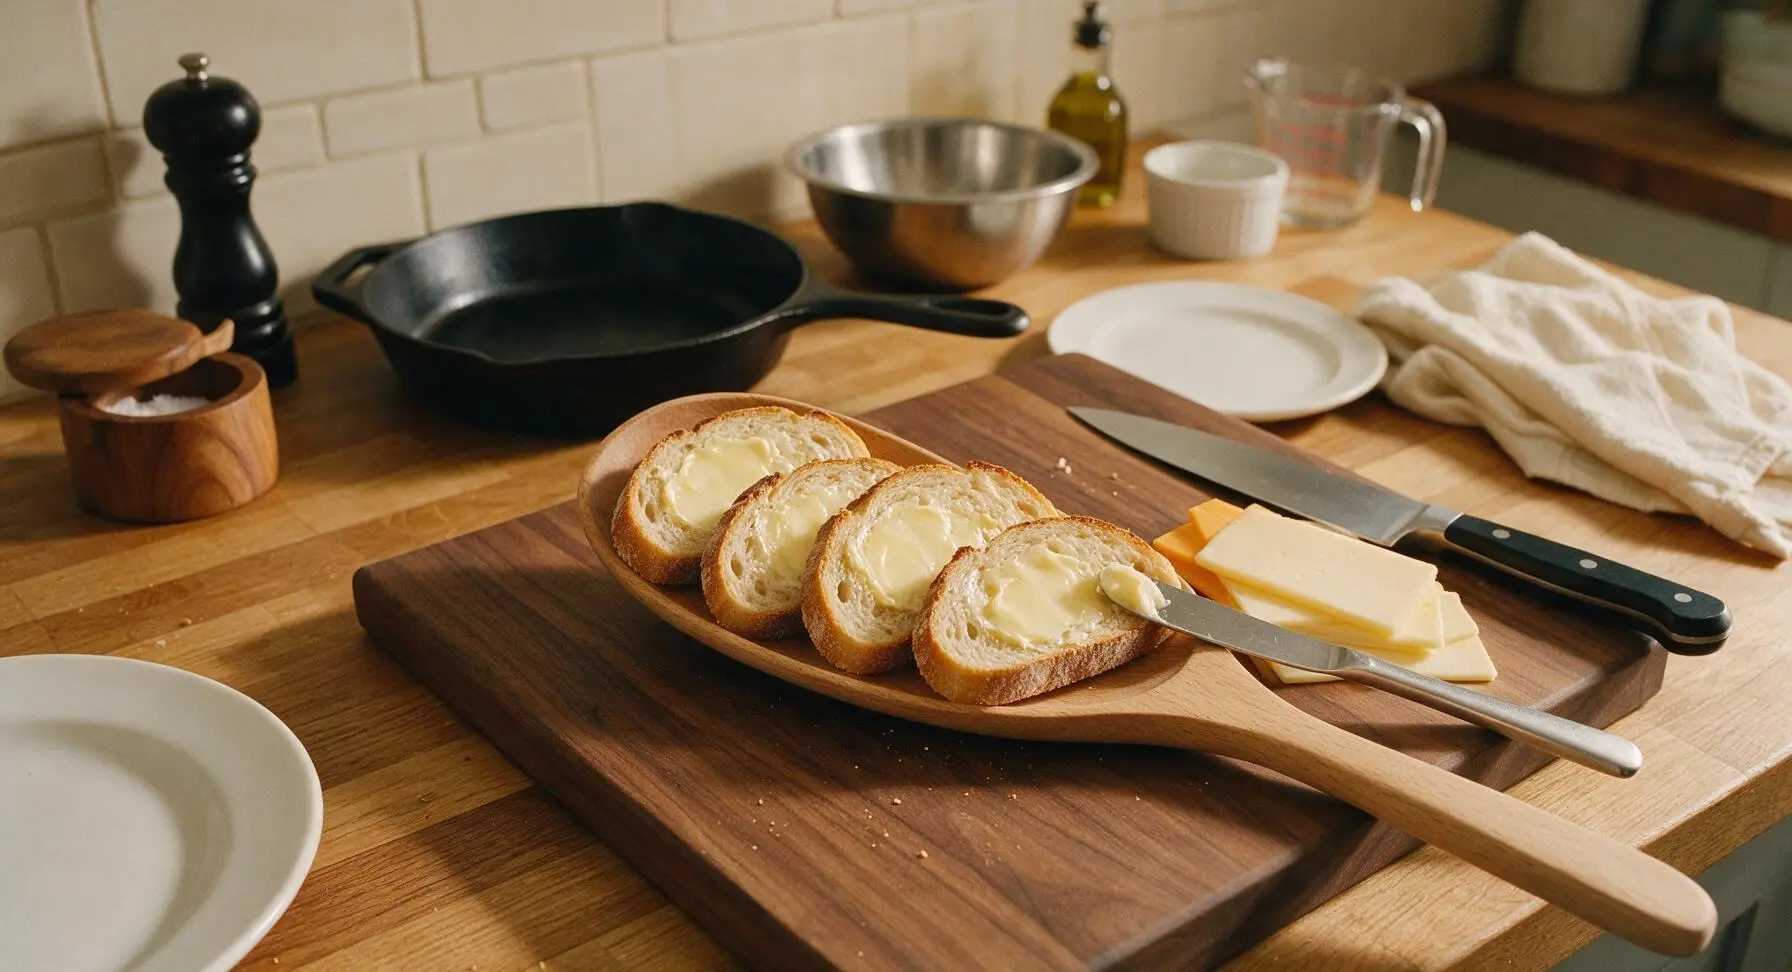
Flip two of the buttered bread slices over so the buttered side faces down on the cutting board. Layer the pre-portioned cheese stacks evenly on top of the unbuttered side of these two slices, making sure cheese covers the bread edge to edge. Top each stack with the remaining two bread slices, buttered side facing up. Press down gently on each sandwich with the palm of your hand to adhere the layers. Visual cue: sandwiches are of uniform thickness, with cheese fully contained between bread layers and no loose cheese hanging over edges.
Preheat Cooking Skillet
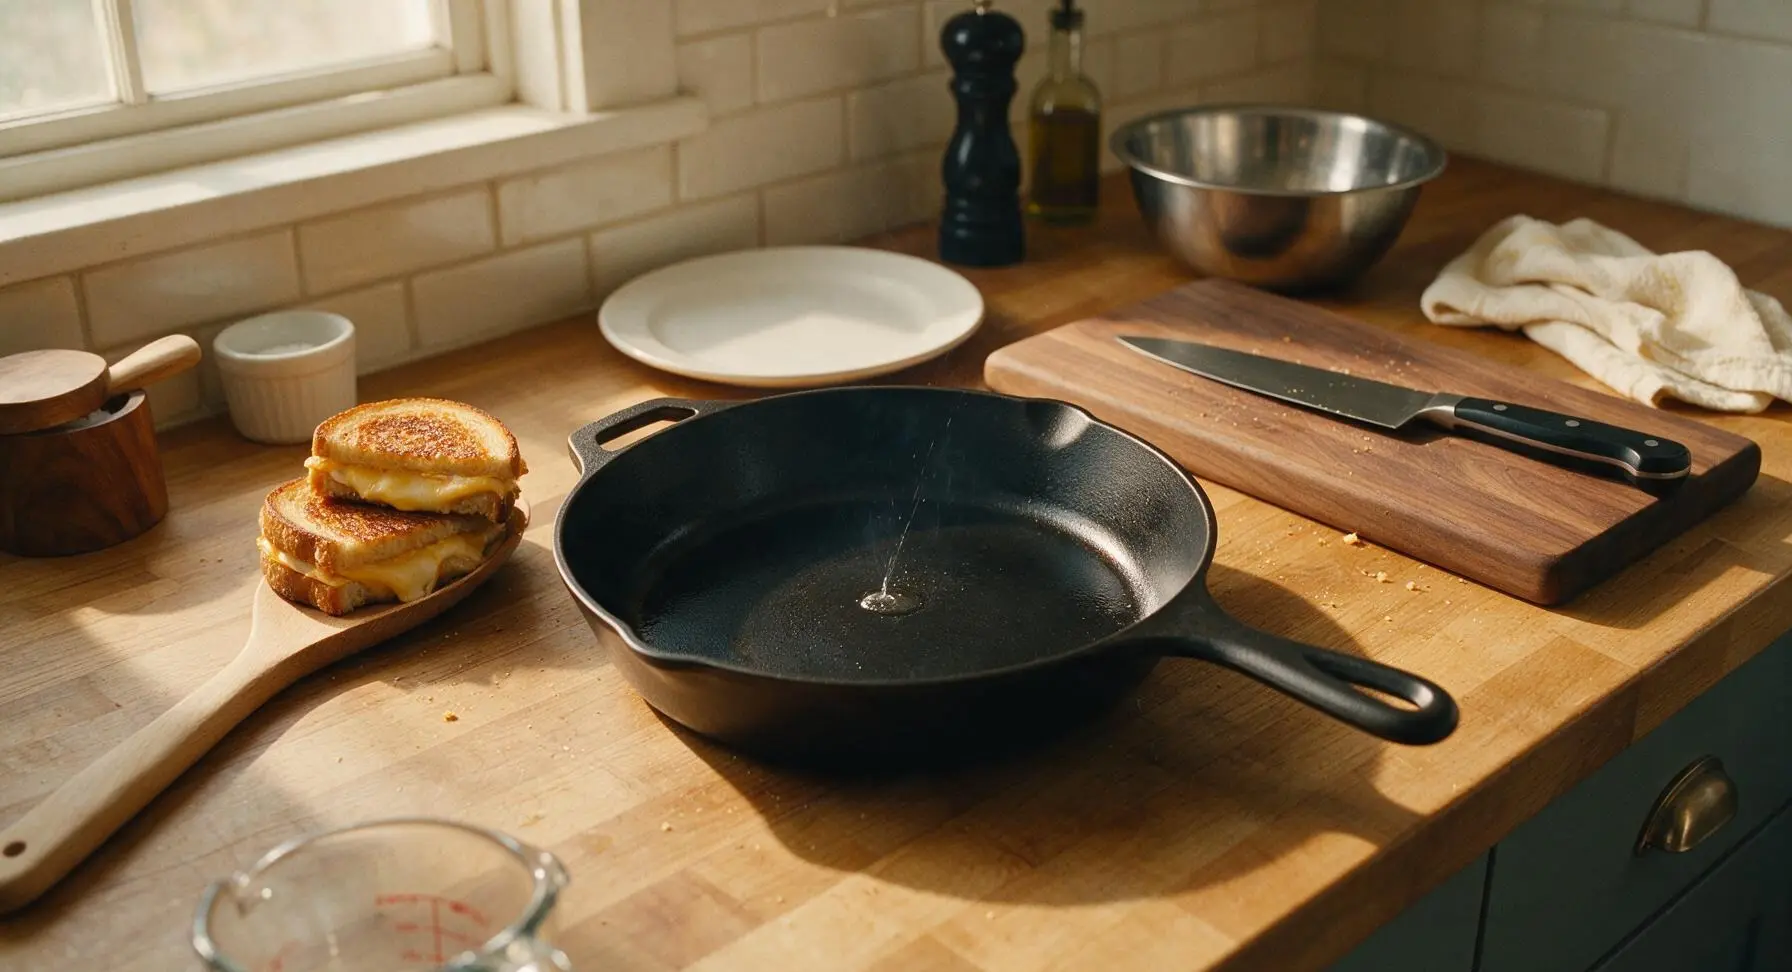
Place the 10-inch matte black carbon steel skillet on the cooking surface over medium-low heat (325°F / 160°C). Let the pan preheat for 2 full minutes—do not use higher heat, as this will burn the bread before the cheese melts. Test pan readiness by sprinkling a single drop of cold water: it should sizzle gently and dance across the pan surface, not evaporate instantly on contact. Visual cue: the pan is evenly heated, no hot spots that cause uneven browning.
Cook First Sandwich Side
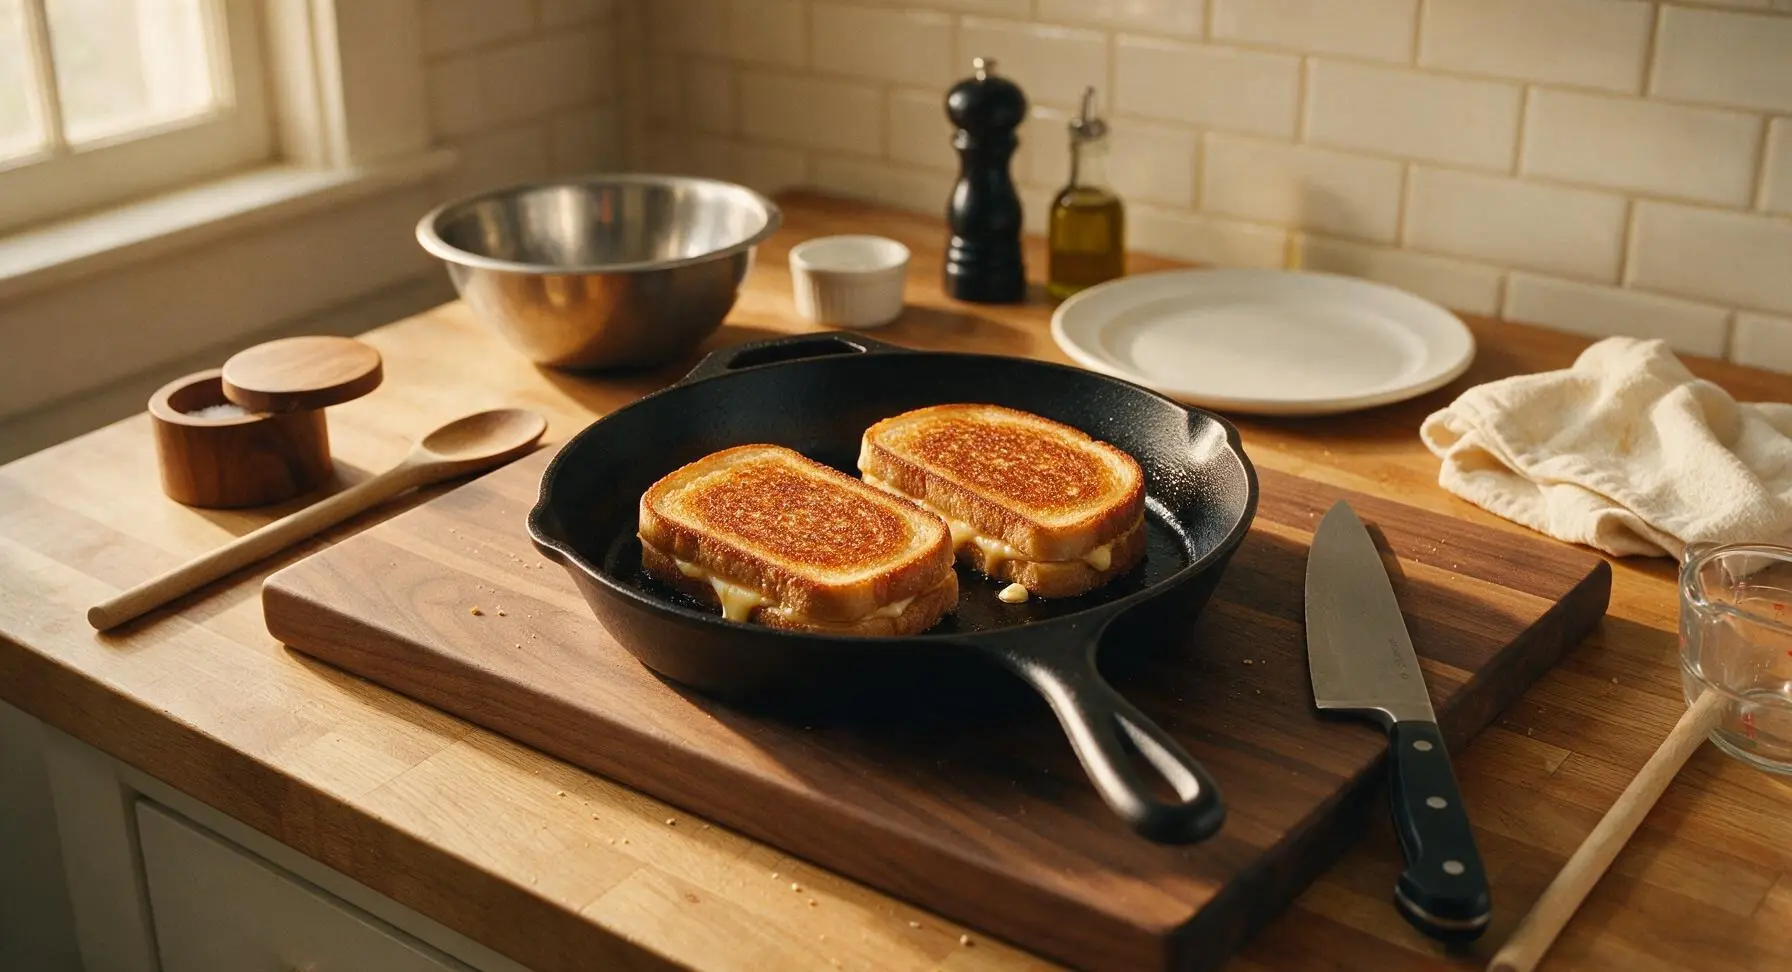
Carefully lift both assembled sandwiches with the flexible metal spatula and place them in the preheated skillet, buttered side down. Cook for 3 full minutes, resisting the urge to press down on the sandwiches (this squeezes out melted cheese and butter, leading to sogginess). Visual cue: the bottom bread surface is deep golden brown and crispy, and the cheese closest to the pan has just started to melt and look glossy at the sandwich seams.
Flip and Finish Cooking
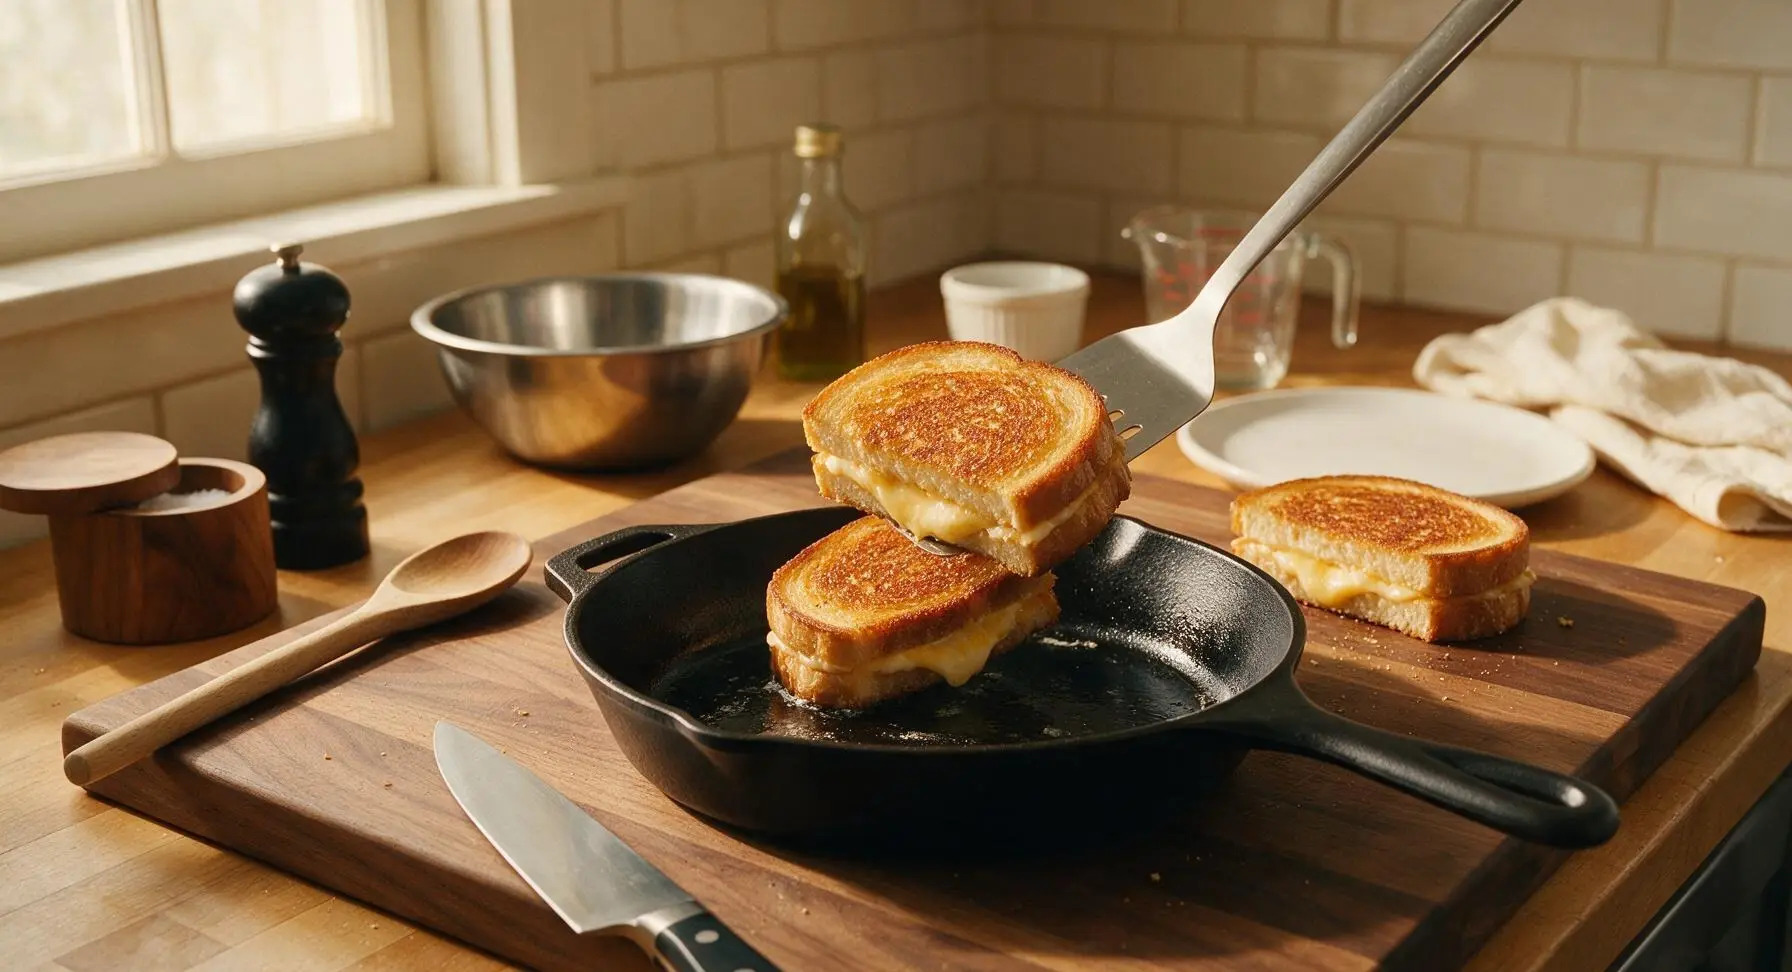
Slide the flexible spatula fully under each sandwich, supporting the entire bottom surface to avoid tearing the delicate crust, and flip gently. Cook the second side for another 2.5 to 3 minutes, until the second side is equally golden brown and crispy, and all cheese in the center is fully melted. Test for doneness by lifting the edge of the top bread slice with the spatula: cheese should be completely smooth and stretchy, with no solid chunks remaining. Visual cue: both sides are evenly golden, no pale or burnt patches.
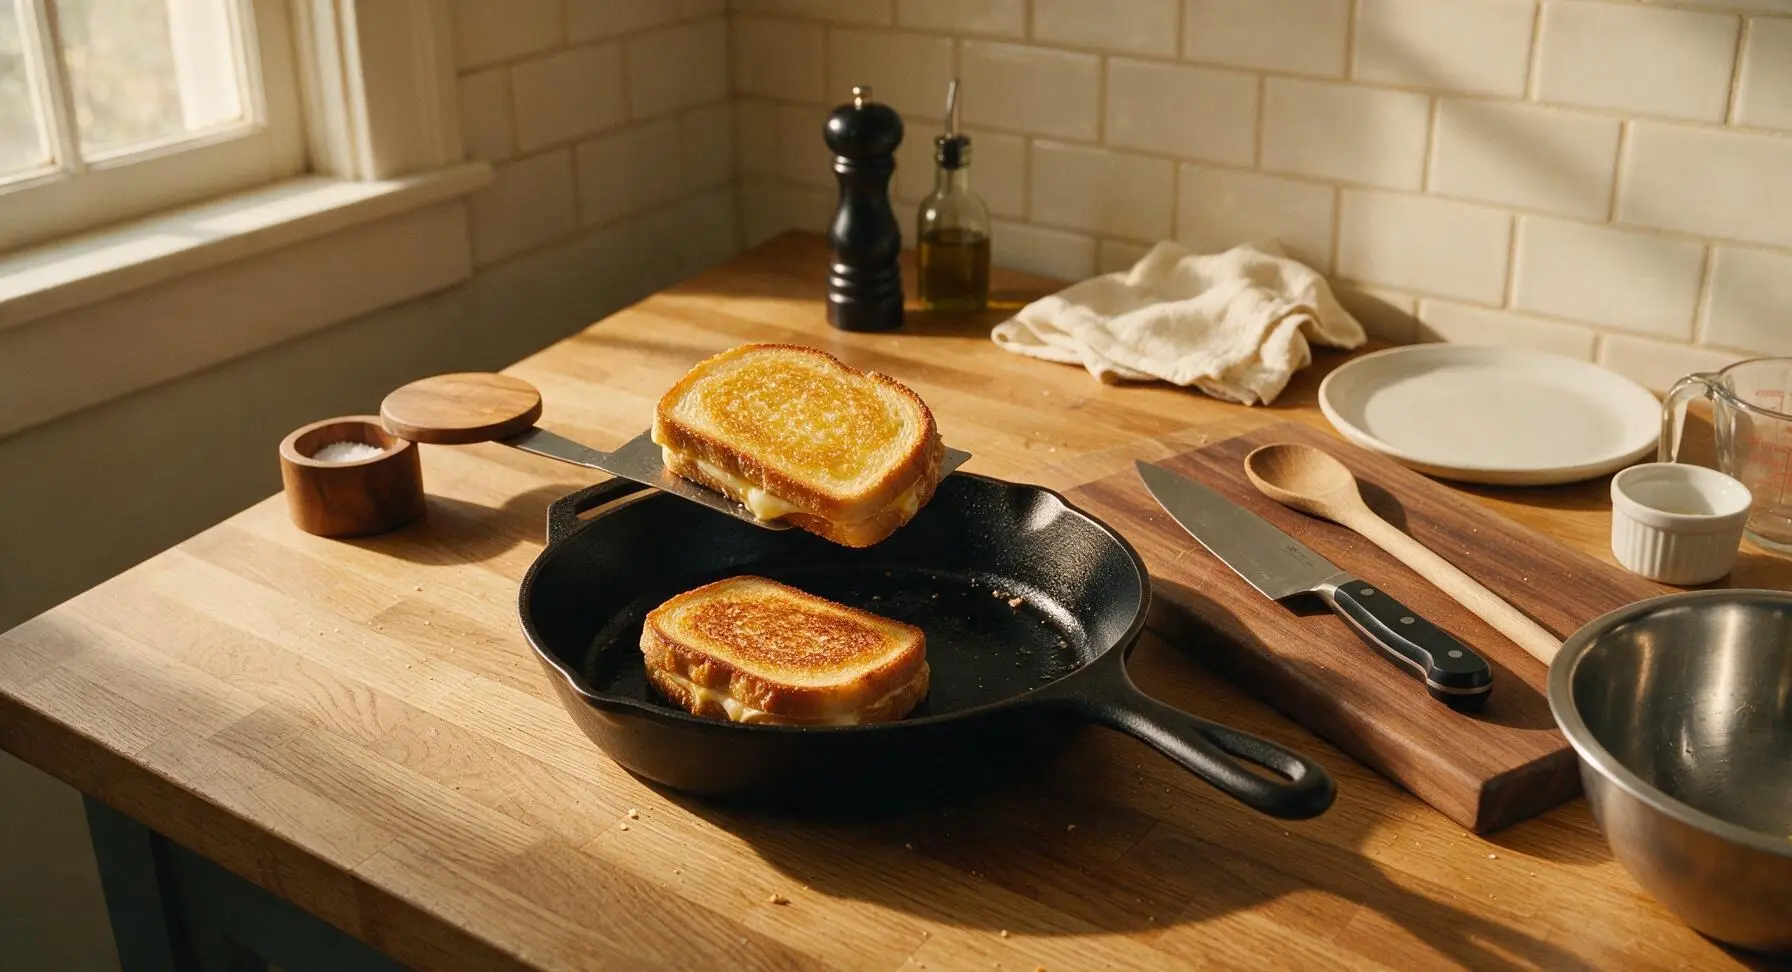
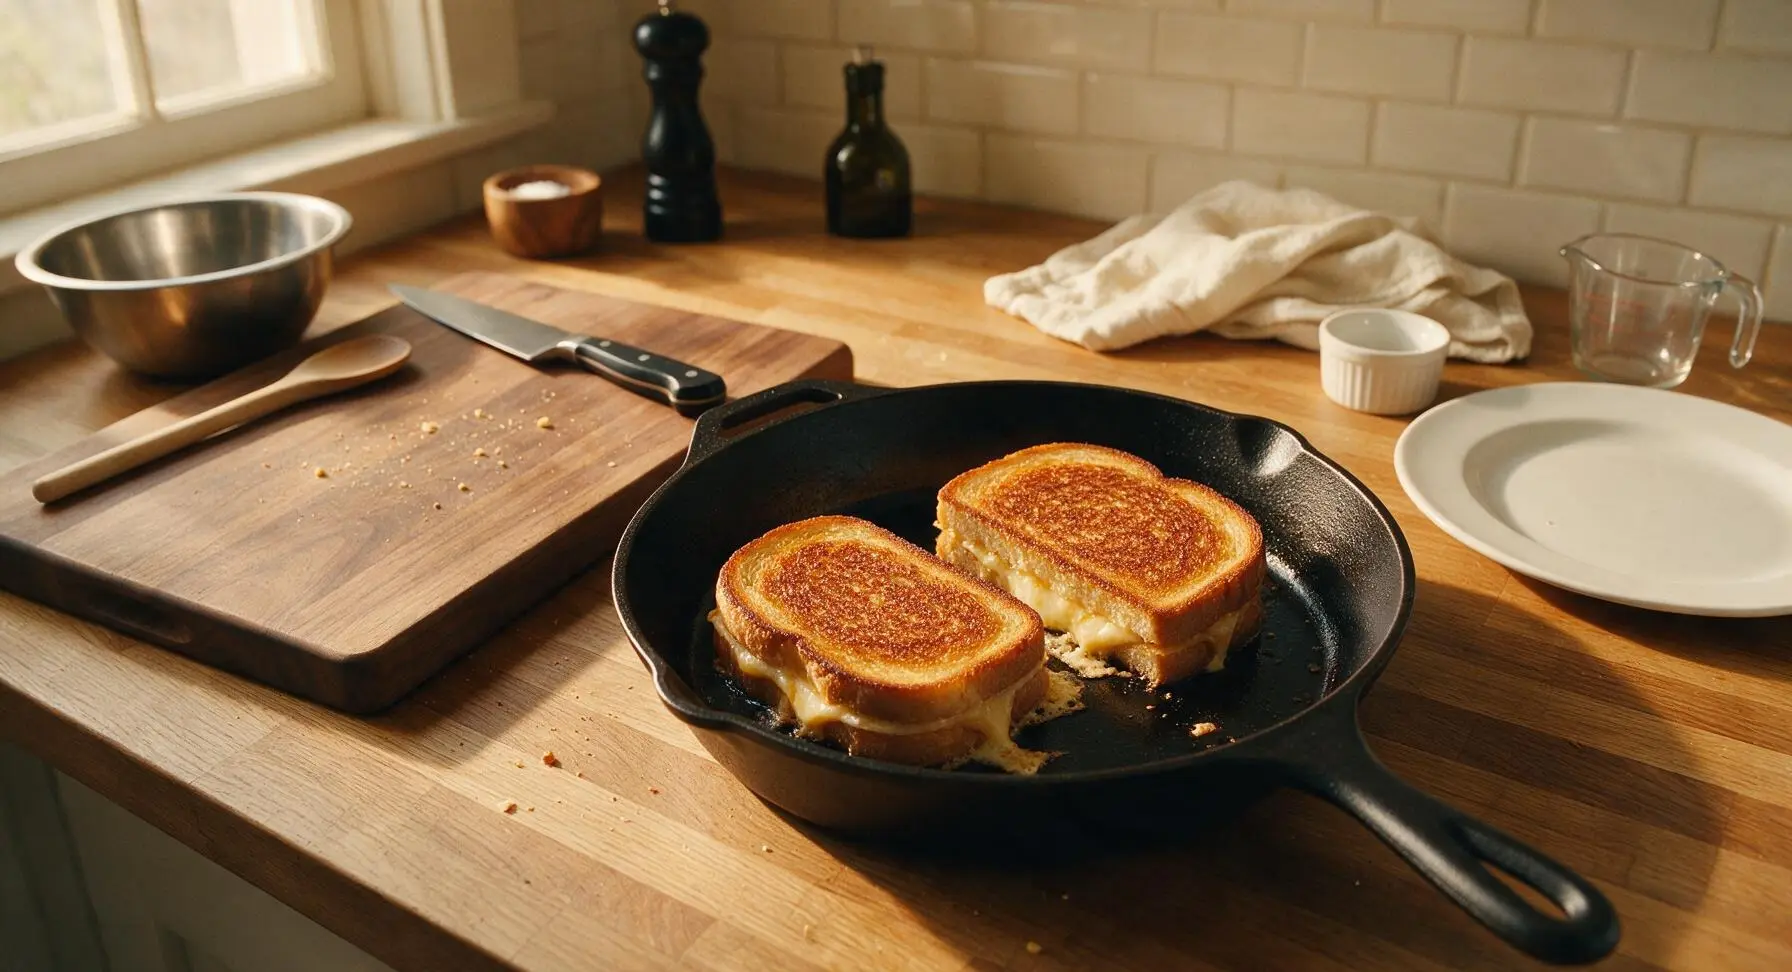
Plate and Serve Hot
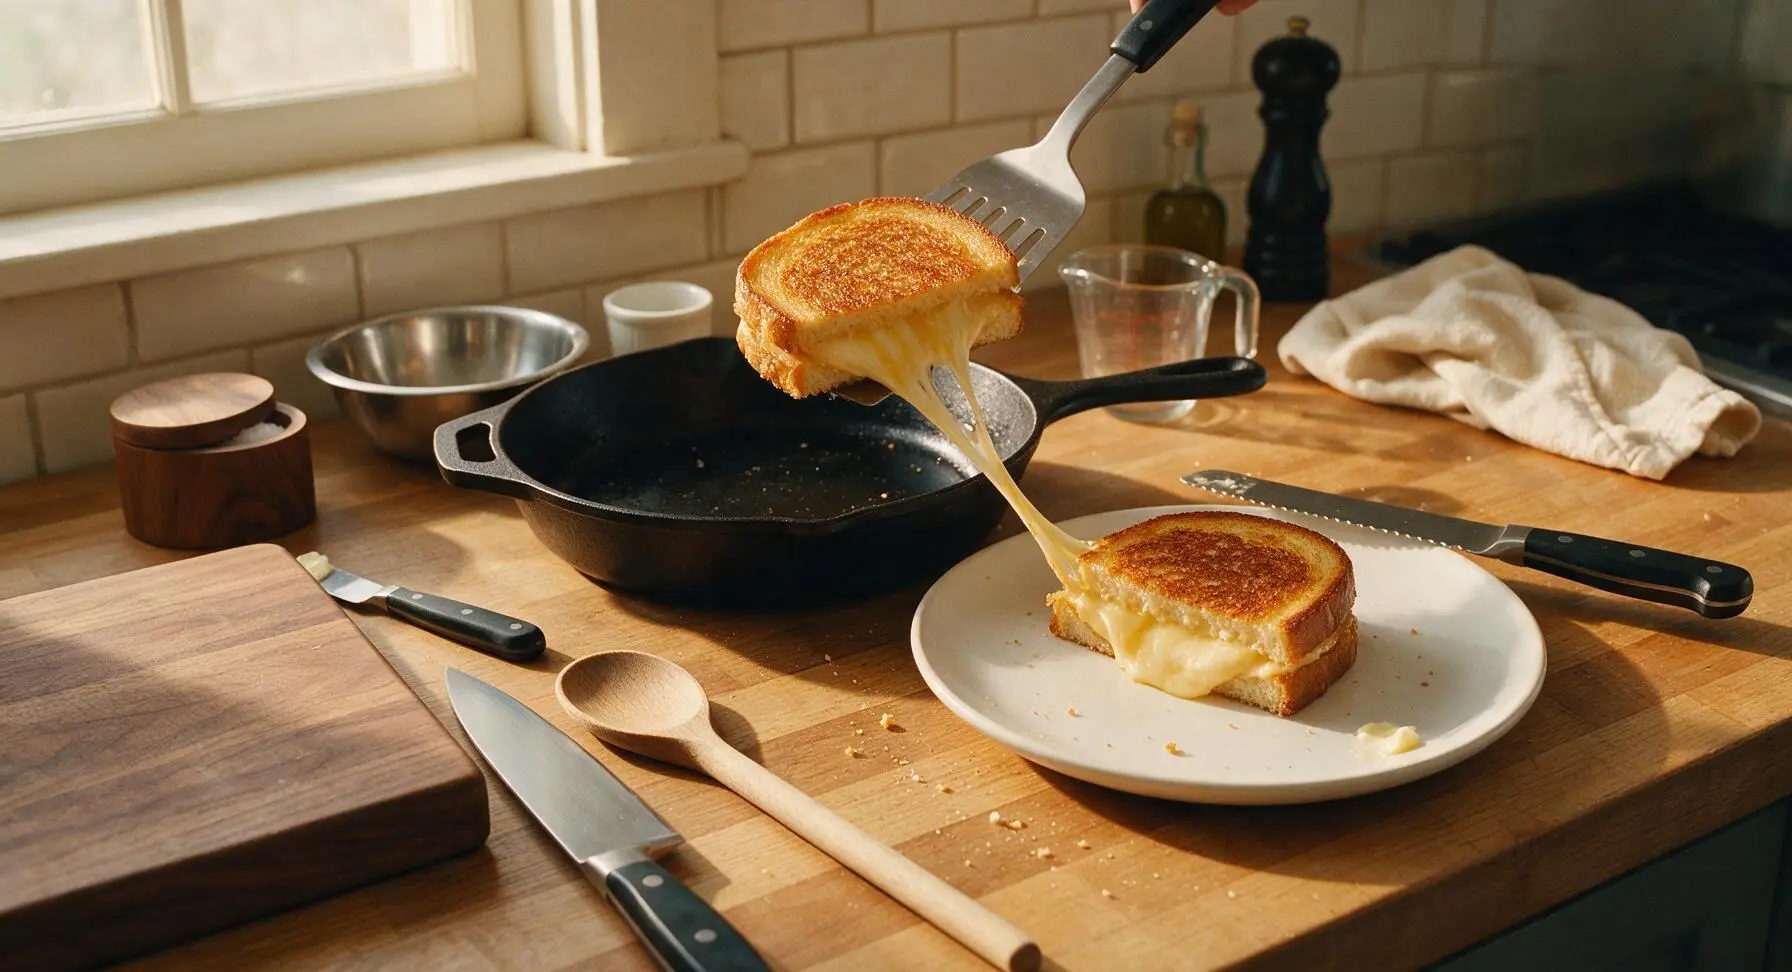
Use the spatula to lift the finished sandwiches out of the pan and transfer them to the cream ceramic lunch plate. Let rest for 1 minute (this lets the melted cheese set slightly so it does not all run out when cut), then cut each sandwich diagonally in half with the serrated bread knife. Sprinkle a tiny pinch of flaky sea salt over the top of the crispy crusts. Serve immediately. Visual cue: cheese stretches 1-2 inches between the two halves when you lift one triangle off the plate.
Tips
2.Use room-temperature softened butter: Cold butter will tear soft sourdough when spread, leading to uneven coverage, patchy browning, and dry, un-crisped spots on the bread crust. Soft butter spreads smoothly in a thin, even layer for consistent crunch.
3.Skip the urge to press sandwiches while cooking: Pressing down on the bread with a spatula squeezes melted butter and cheese out of the sandwich layers, leading to a soggy, greasy crumb and burnt cheese residue on your pan. The weight of the top bread slice is enough to keep even contact with the pan.






OMG this is the BEST grilled cheese I’ve ever made at home!!! I used sourdough and a mix of sharp cheddar and mozzarella, followed the exact cook time of 6 minutes and it was perfectly crispy, no soggy bread at all. My kids devoured theirs in 2 minutes flat and asked for seconds before I even sat down to eat. Game changer for quick weeknight dinners!
Dude, I’ve been messing up grilled cheese for years — always either burnt on the outside or cheese not melted in the middle. 6 minutes on medium low? Who knew? No more standing over the pan guessing if it’s done. Came out perfect first try. SO good.
Swapped the dairy butter for vegan butter and used dairy-free cheddar slices, and this still came out insanely crispy! Brought a couple to my neighborhood potluck last weekend and even the non-vegan folks were asking for the recipe. 10/10
Wait, has anyone tried adding a little garlic powder to the butter? I did that last night and oh my gosh, it took this to a whole new level. Crispy, cheesy, just a little garlic kick — perfect with tomato soup on a rainy day.
This is my go-to meal prep hack for busy school mornings! I make these ahead, wrap them in parchment, and reheat in the toaster oven for 2 minutes and they stay just as crispy as the day I made them. My picky 7 year old requests these every single week.
Took 6 minutes exactly like the recipe says, crispy on both sides, cheese pull for days. I used American and pepper jack for a little heat, absolutely slaps. Only knocking off one star because I forgot to salt the butter and it was a tiny bit bland, but that was totally my mistake, not the recipe’s. Way better than the grilled cheese I used to make on high heat that was charcoal on the outside and solid cheese in the middle.
Made these for our college football watch party on Saturday, cut them into little triangles as an appetizer and they were gone in 10 minutes. Everyone kept asking how I got the bread so perfectly crispy without it being greasy. Total win!
Used my favorite gluten-free sourdough for this and was worried it wouldn’t crisp up right, but it worked perfectly! The butter edge trick is chef’s kiss, no sad soggy GF bread here. Paired it with tomato basil soup for the coziest Sunday dinner.
I don’t even have a fancy pan, just a cheap nonstick from the dollar store and this still came out amazing. Super easy, barely any cleanup, way better than spending $12 on a grilled cheese from the campus sandwich shop. Saved me so much money this semester already.
Added a thin layer of pickled jalapeños inside and a sprinkle of tajin on the buttered crust — if you love a little sweet-spicy kick, do NOT sleep on this combo. The crispiness of the bread pairs so well with the tangy jalapeños and melted cheese. Obsessed.
I was skeptical a stovetop grilled cheese could be better than the ones I make on my outdoor flat top, but this method delivers. Got that perfect shatteringly crisp crust, cheese melted all the way through, no grease dripping down my wrists when I picked it up. 10/10, will make again.
I’ve been making grilled cheese for over 50 years and I have to say, this method is foolproof. I taught my 10 year old granddaughter how to make it last weekend and she turned out perfect crispy sandwiches all by herself. It’s the simple things that taste the best, right?