
grilled cheese toaster oven

title 1
grilled cheese toaster oven
⏱️ cook time 7 minutes
🍽️ servings 2
⚡ Difficulty easy

intro

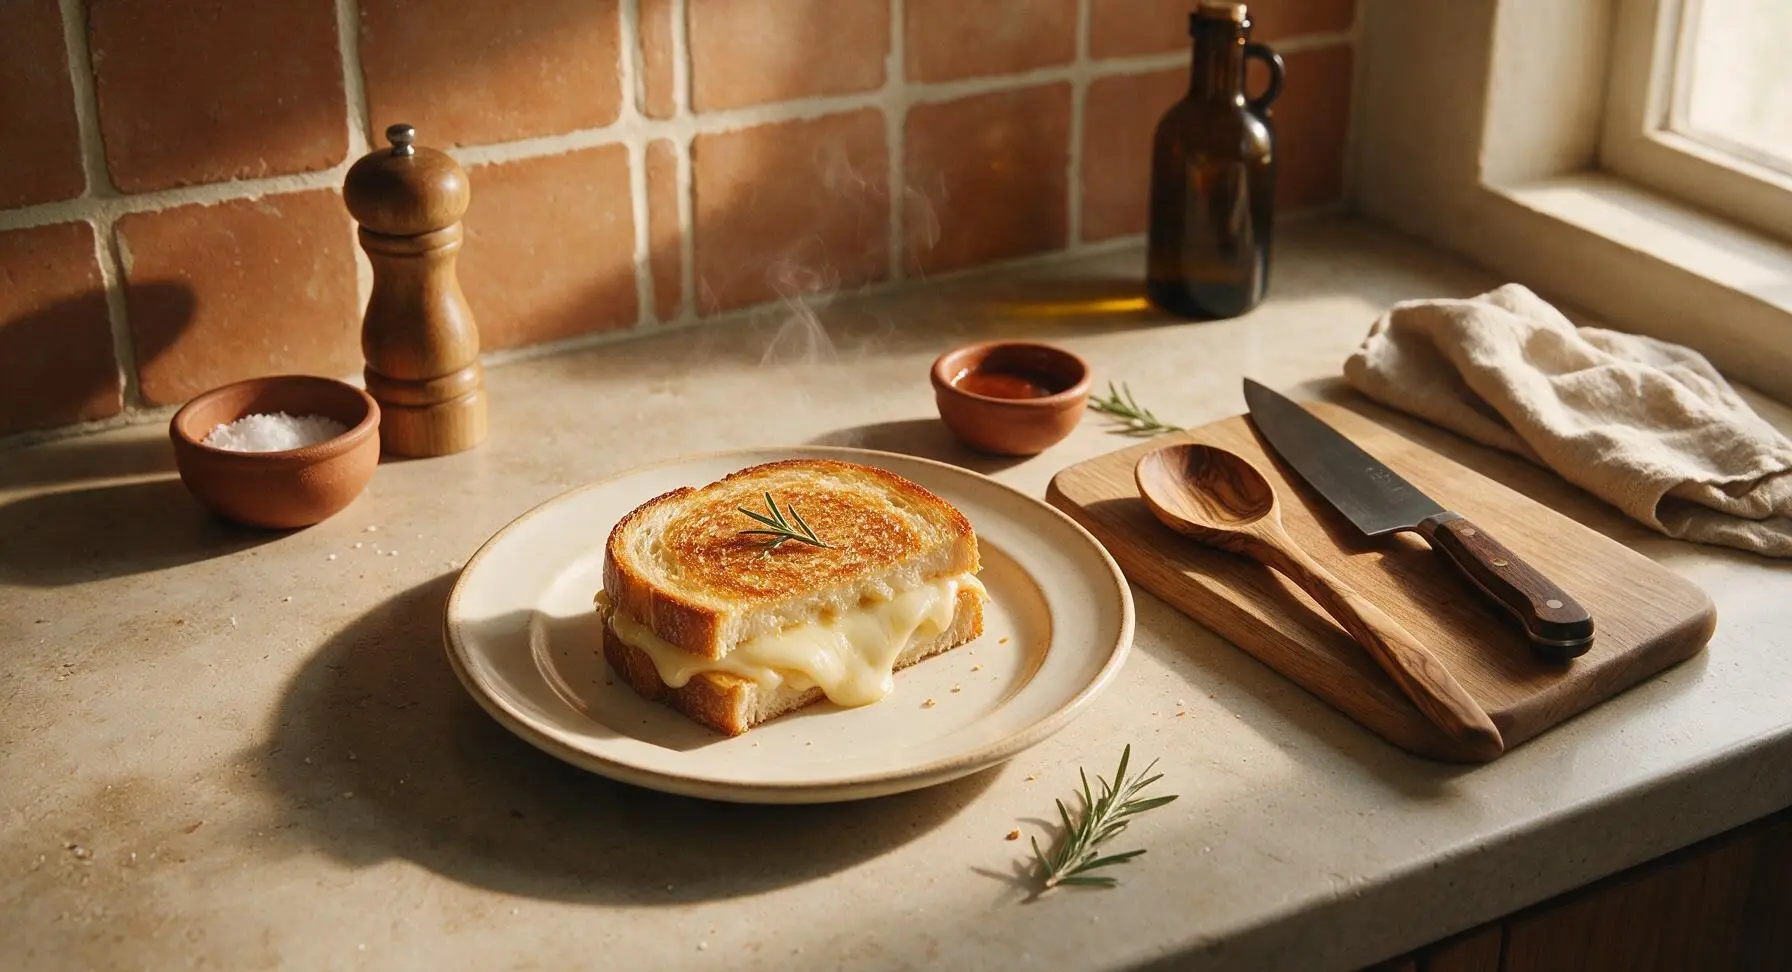
Crisp, golden buttery sourdough oozing with smooth, stretchy melted cheese, made fast in a toaster oven for zero stovetop fuss and perfect even browning every time.

Ingredients
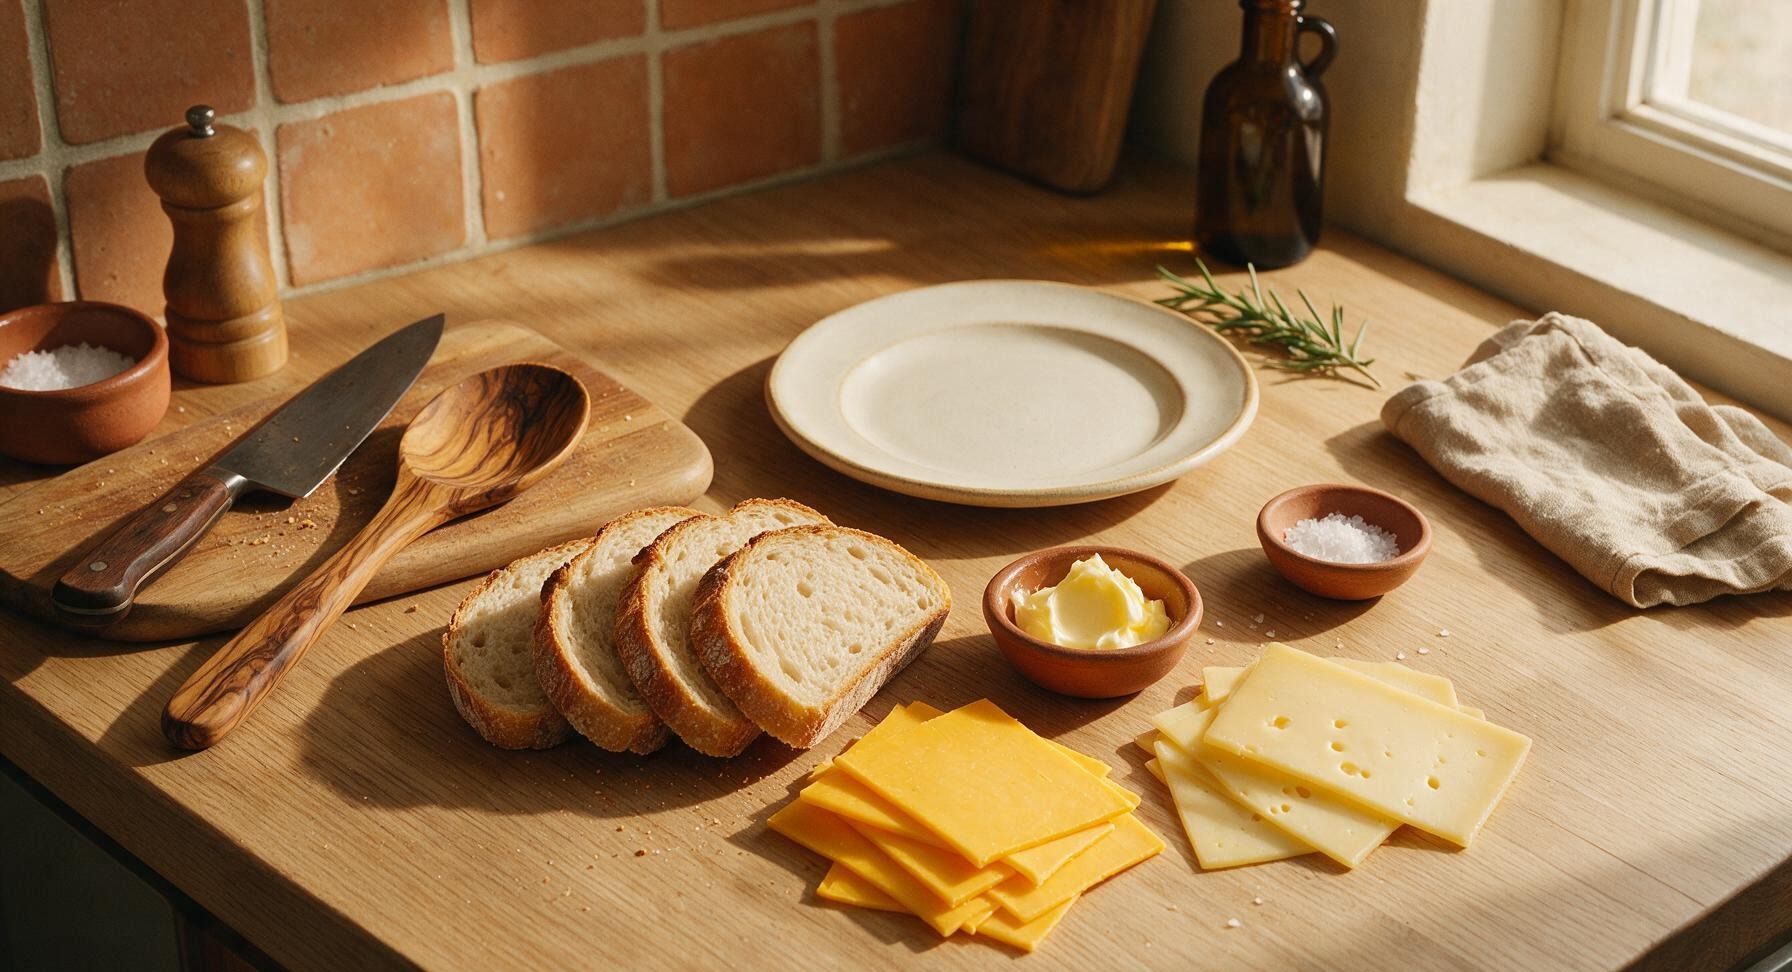
Sourdough bread (1/2-inch thick slices) 4 slices
Sharp yellow cheddar cheese 4 oz, thinly sliced
Gruyere cheese 2 oz, thinly sliced
Unsalted butter 2 tbsp, softened to room temperature
Flaky sea salt 1/8 tsp

Steps

1

Preheat Toaster Oven

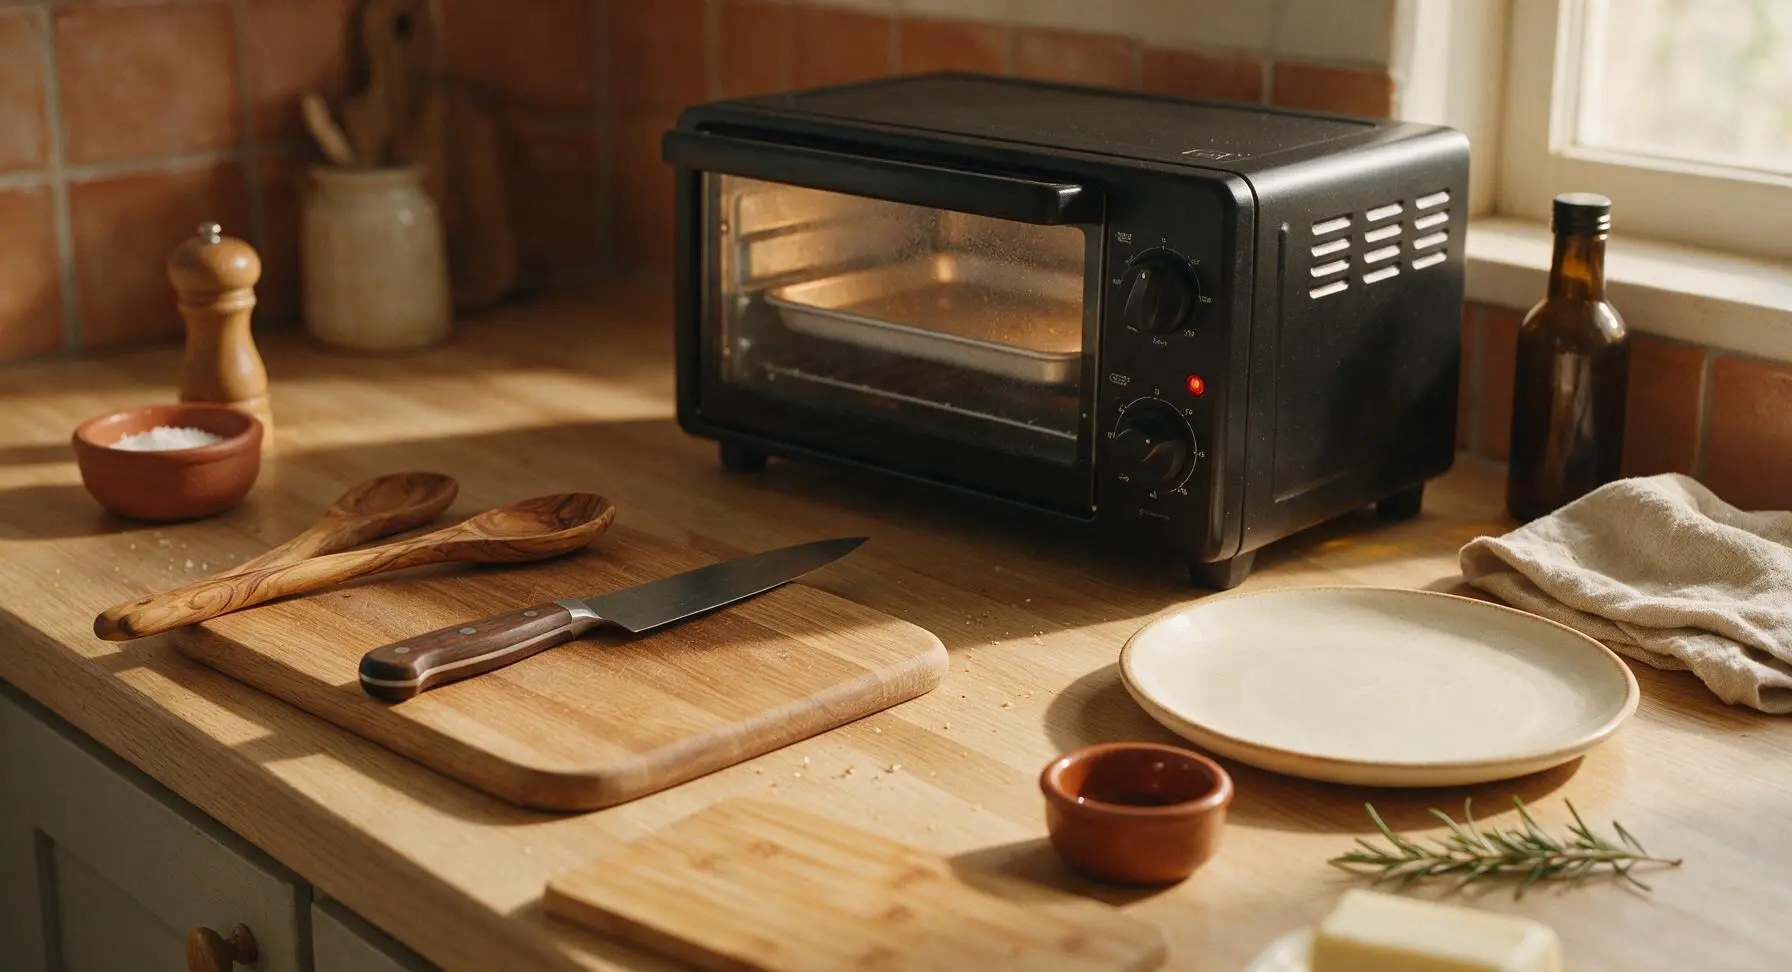
Adjust the toaster oven rack to the middle position, set the small uncoated aluminum baking sheet directly on the rack, and preheat the toaster oven to 425°F (220°C). Turn off the convection fan setting if your model has one, as forced air will blow loose bread crumbs and cause uneven cheese melting. Allow 3-4 minutes for full preheat, until the heating elements glow faint red and cycle off once to indicate target temperature is reached.
Step 1
step1:Preheat Toaster Oven
2

Butter Bread Slices

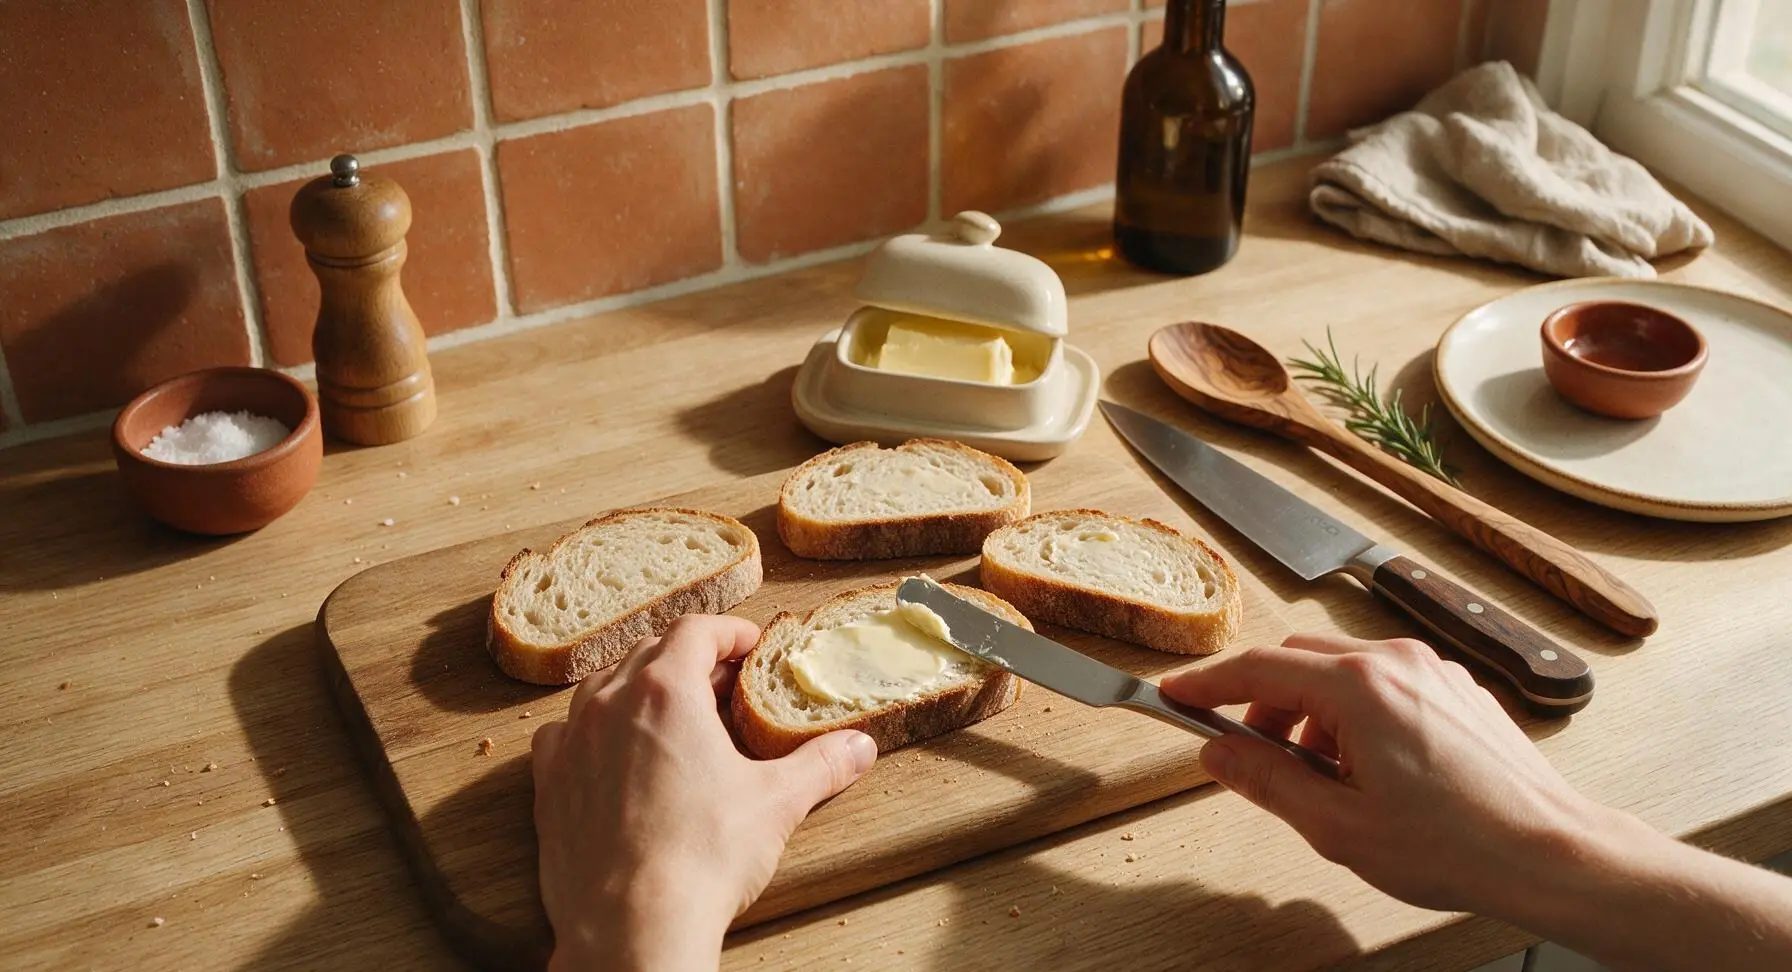
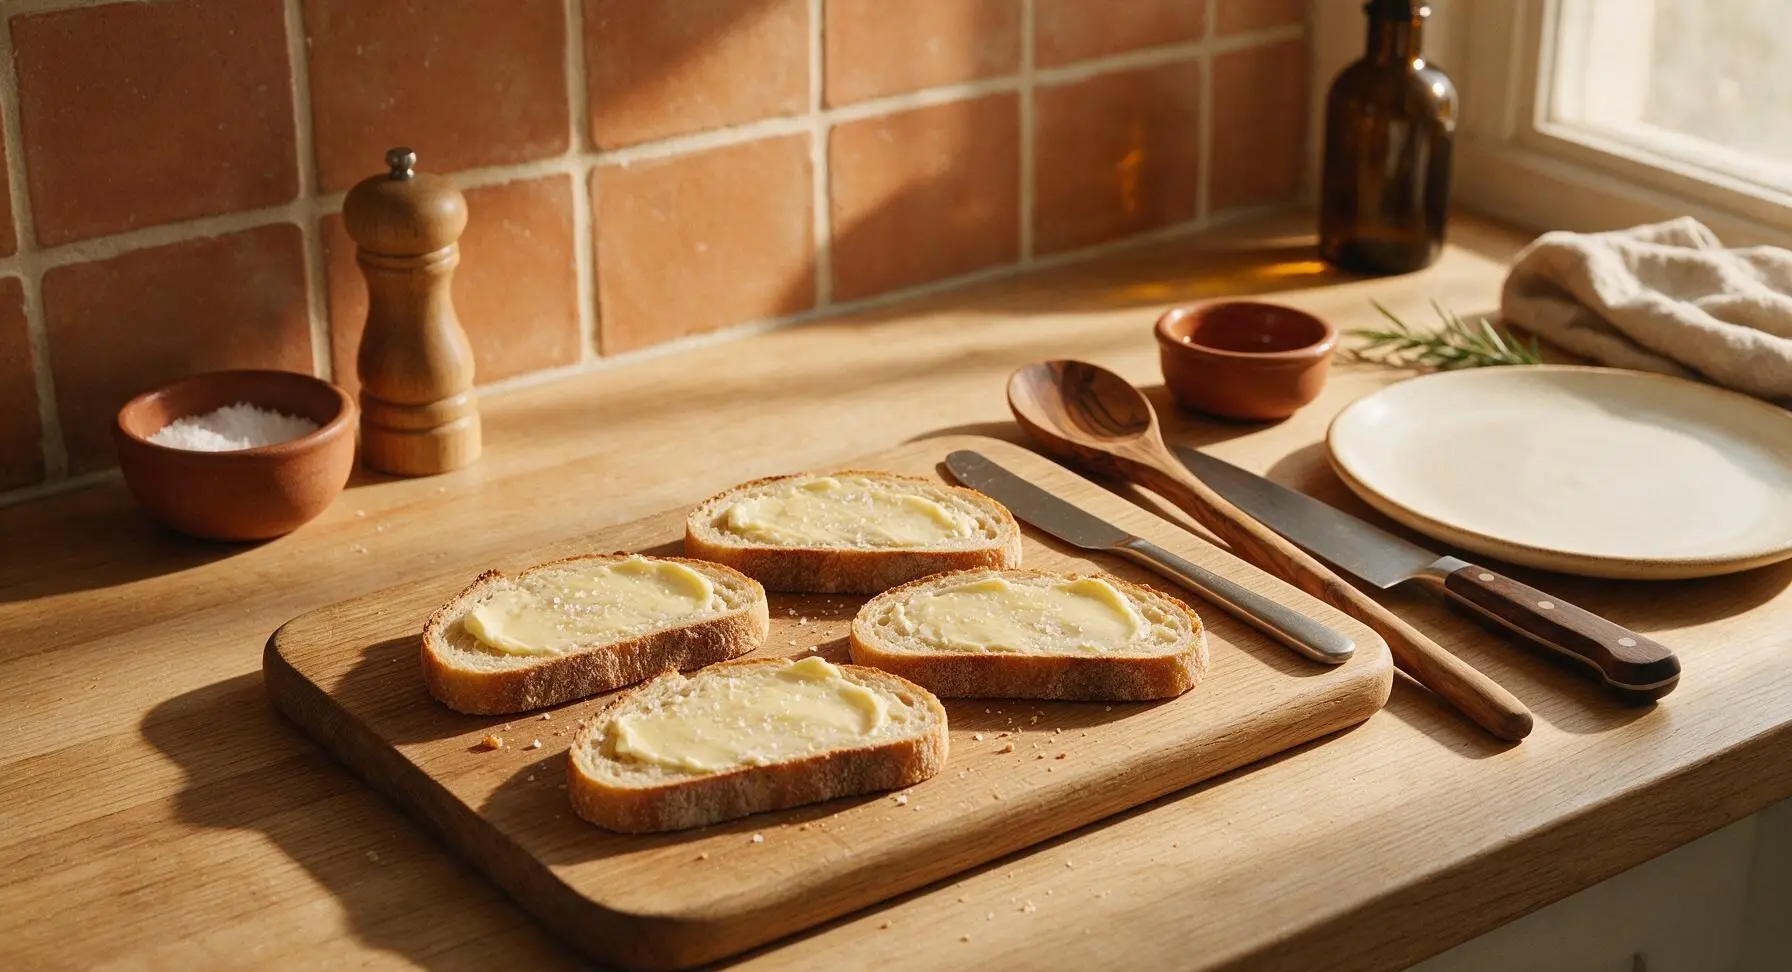
Lay all 4 sourdough slices flat on the honey bamboo cutting board. Use the matte stainless steel butter knife to spread ½ tablespoon of softened unsalted butter evenly across one full side of each slice, spreading all the way to the crust edges. The butter layer should be thin enough that bread texture is still visible through it, not thick enough to pool, to ensure crisp rather than greasy results. Sprinkle a tiny pinch of flaky sea salt across each buttered surface.
Step 2
step2:Butter Bread Slices
Step 2
step2:Butter Bread Slices
3

Layer Cheese Fillings

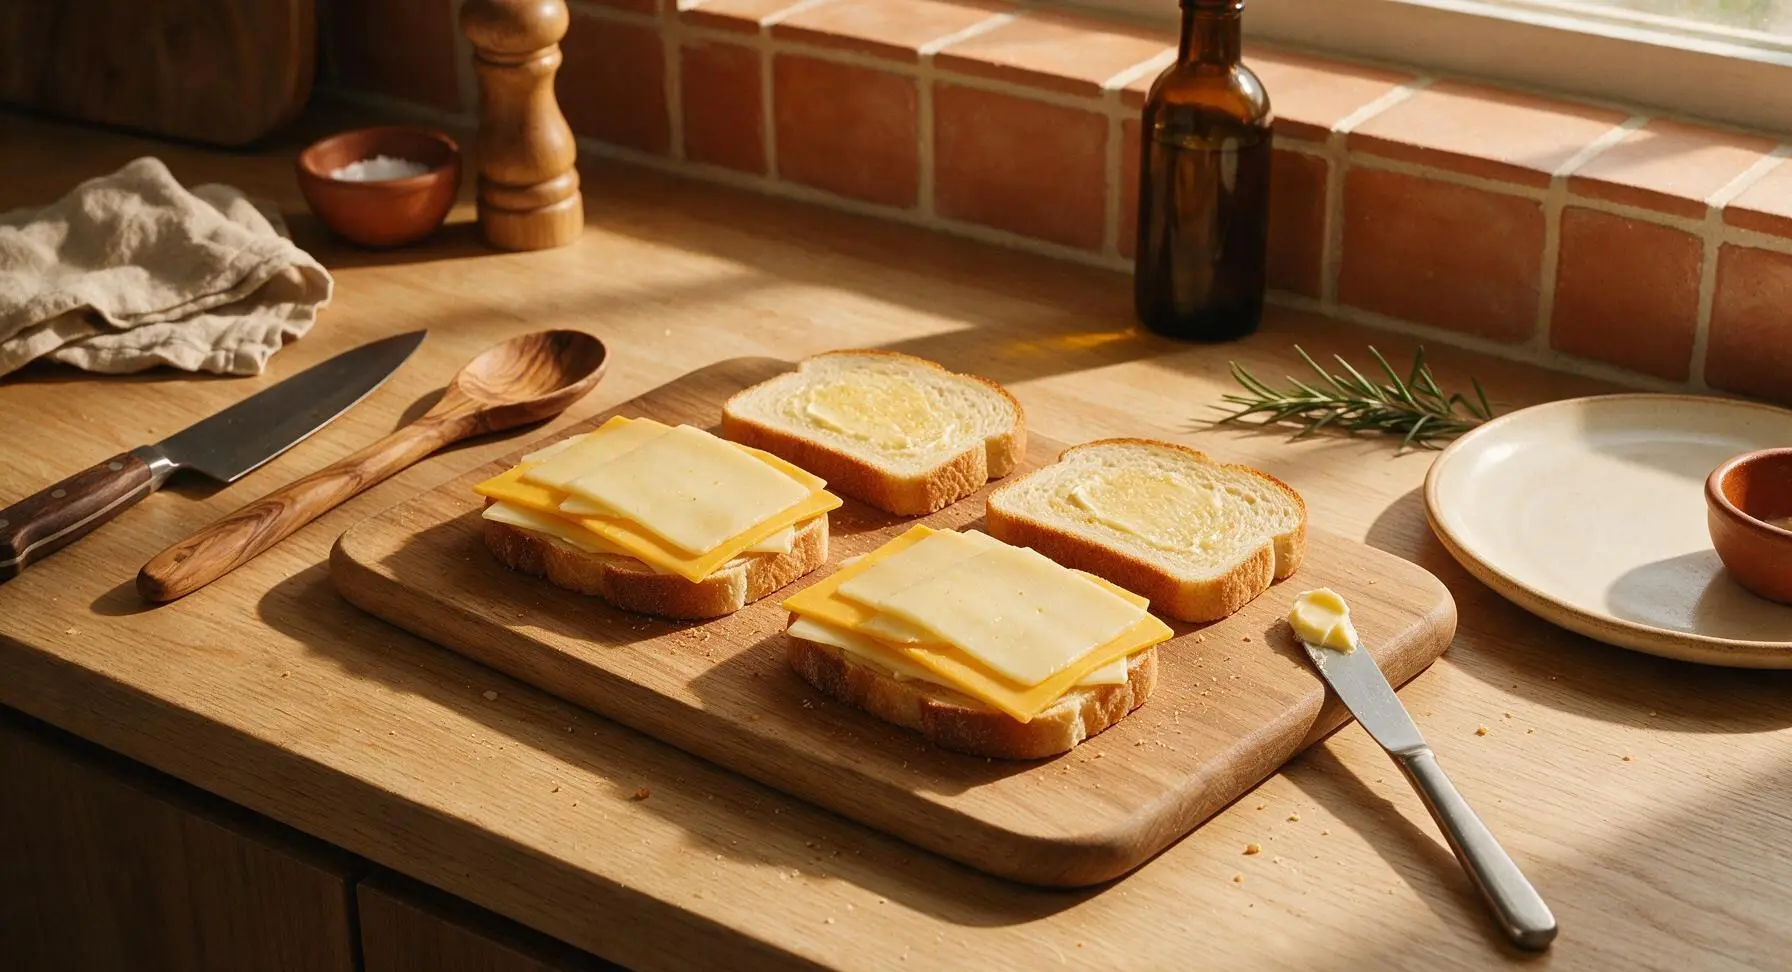
Flip 2 of the bread slices over so their buttered sides face down on the cutting board. Layer 2oz of thinly sliced sharp cheddar and 1oz of thinly sliced gruyere evenly across each unbuttered surface, making sure cheese extends all the way to the crust edges to avoid bare bites. Do not overstack cheese, as excess will melt and drip onto the baking sheet during cooking. Top each cheese-covered slice with the remaining 2 bread slices, buttered side facing up, to form two complete sandwiches. Press down gently on the top of each sandwich to adhere the layers.
Step 3
step3:Layer Cheese Fillings
4

Transfer Sandwiches to Oven

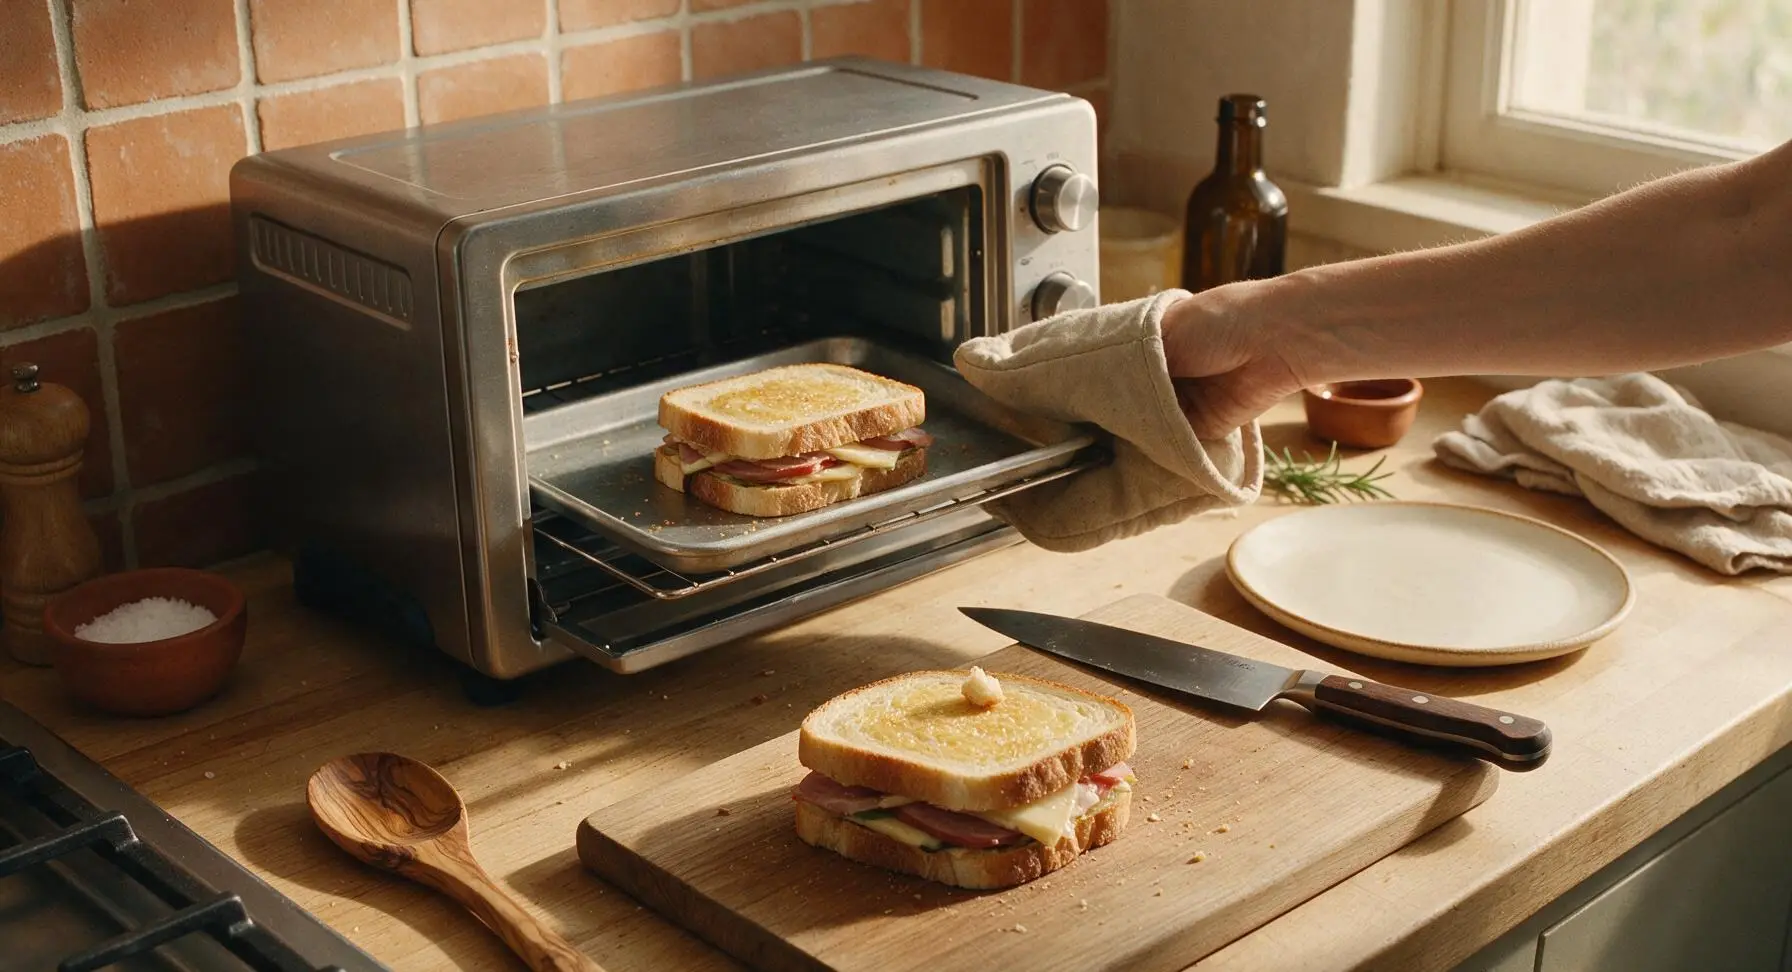
Pull the preheated toaster oven rack out slightly (use a thin oven mitt if the rack edge is hot to the touch) and place both assembled sandwiches directly on the hot aluminum baking sheet, spaced 2 inches apart to allow hot air to circulate around them. Do not line the baking sheet with parchment paper, as it will block direct conductive heat and prevent the bottom crust from crisping properly. Push the rack fully back into the toaster oven and close the door.
Step 4
step4:Transfer Sandwiches to Oven
5

Cook First Side

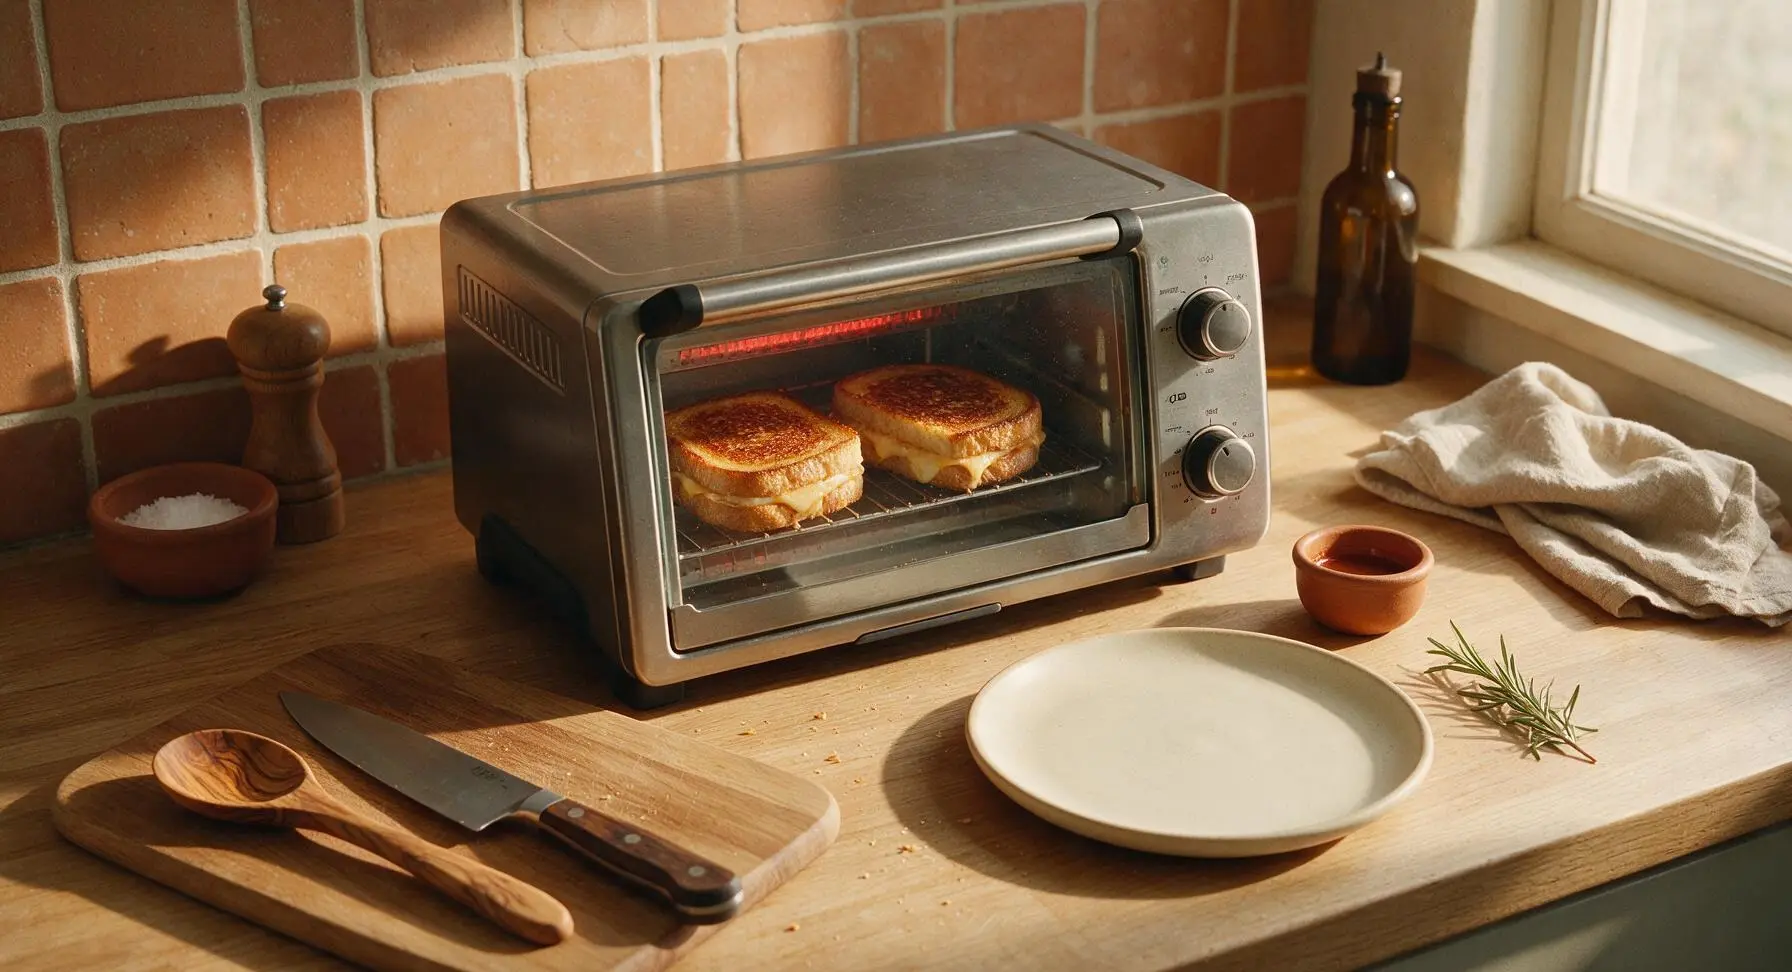
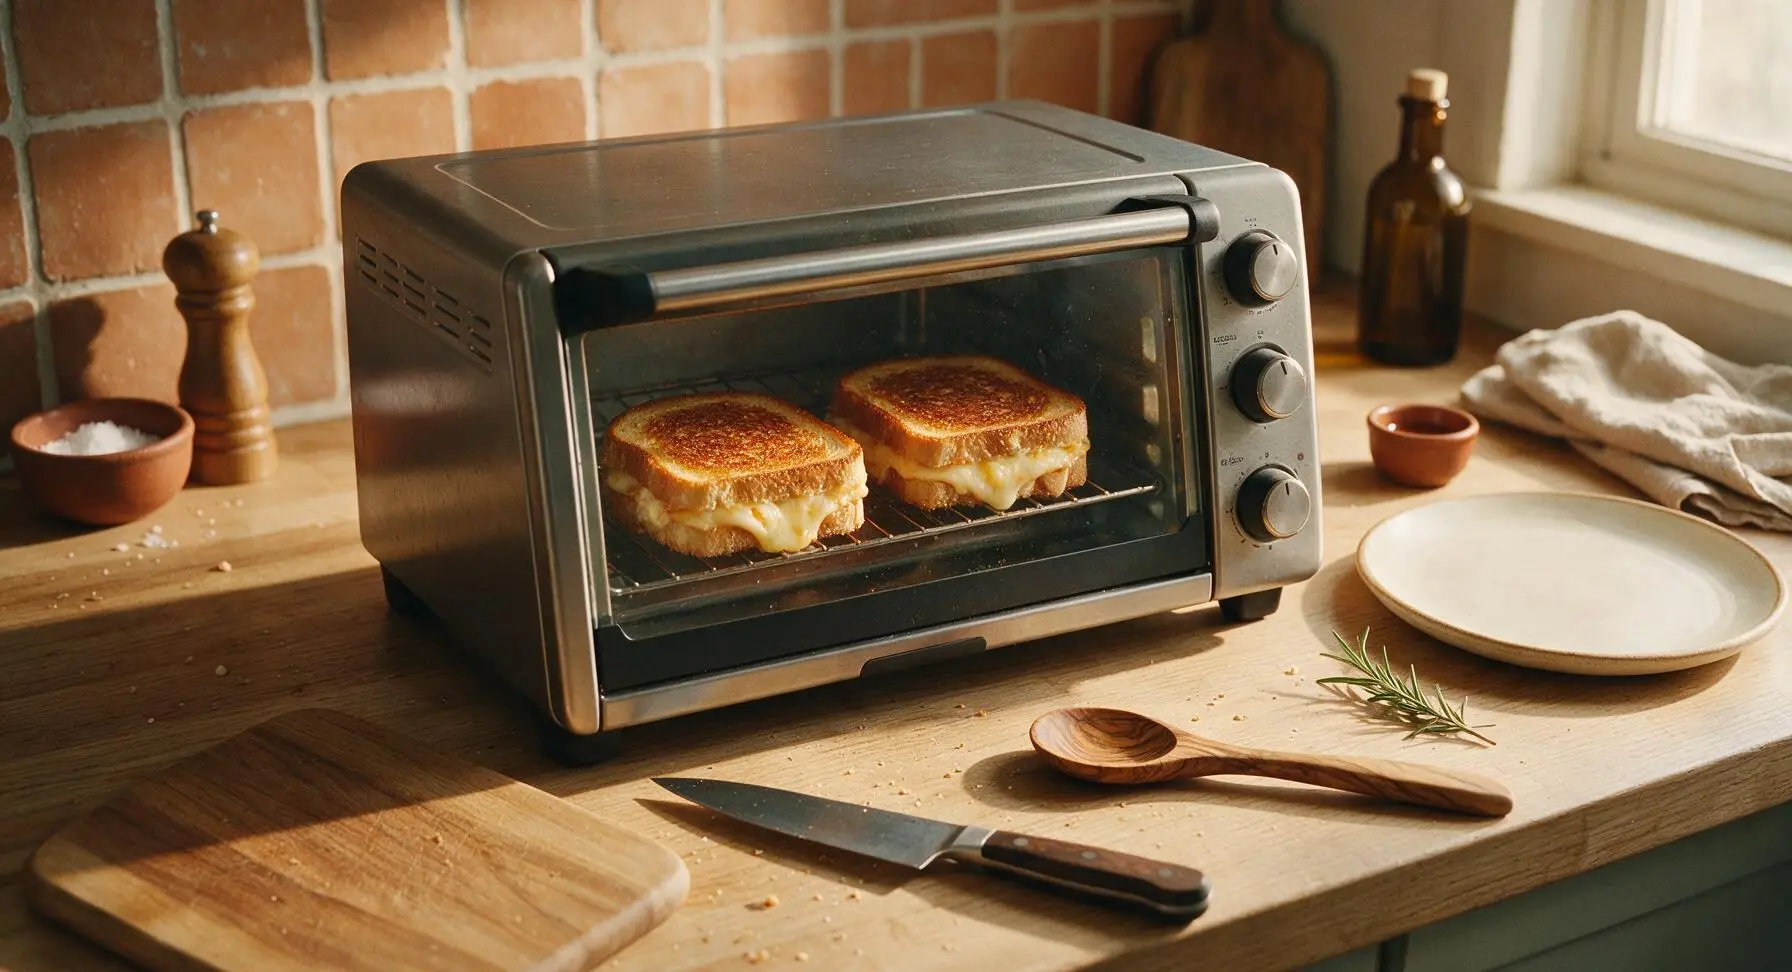
Cook the sandwiches for 4 full minutes, until the top buttered surface is deep golden brown and crisp. Do not open the toaster oven door for the first 3 minutes of cook time, as this will drop internal oven temperature by 50-75°F and slow browning. Check at the 4-minute mark: if bread is pale gold, cook for 30 additional seconds; if crust edges are darkening too quickly, reduce the oven temperature by 25°F.
Step 5
step5:Cook First Side
6

Flip Sandwiches Carefully

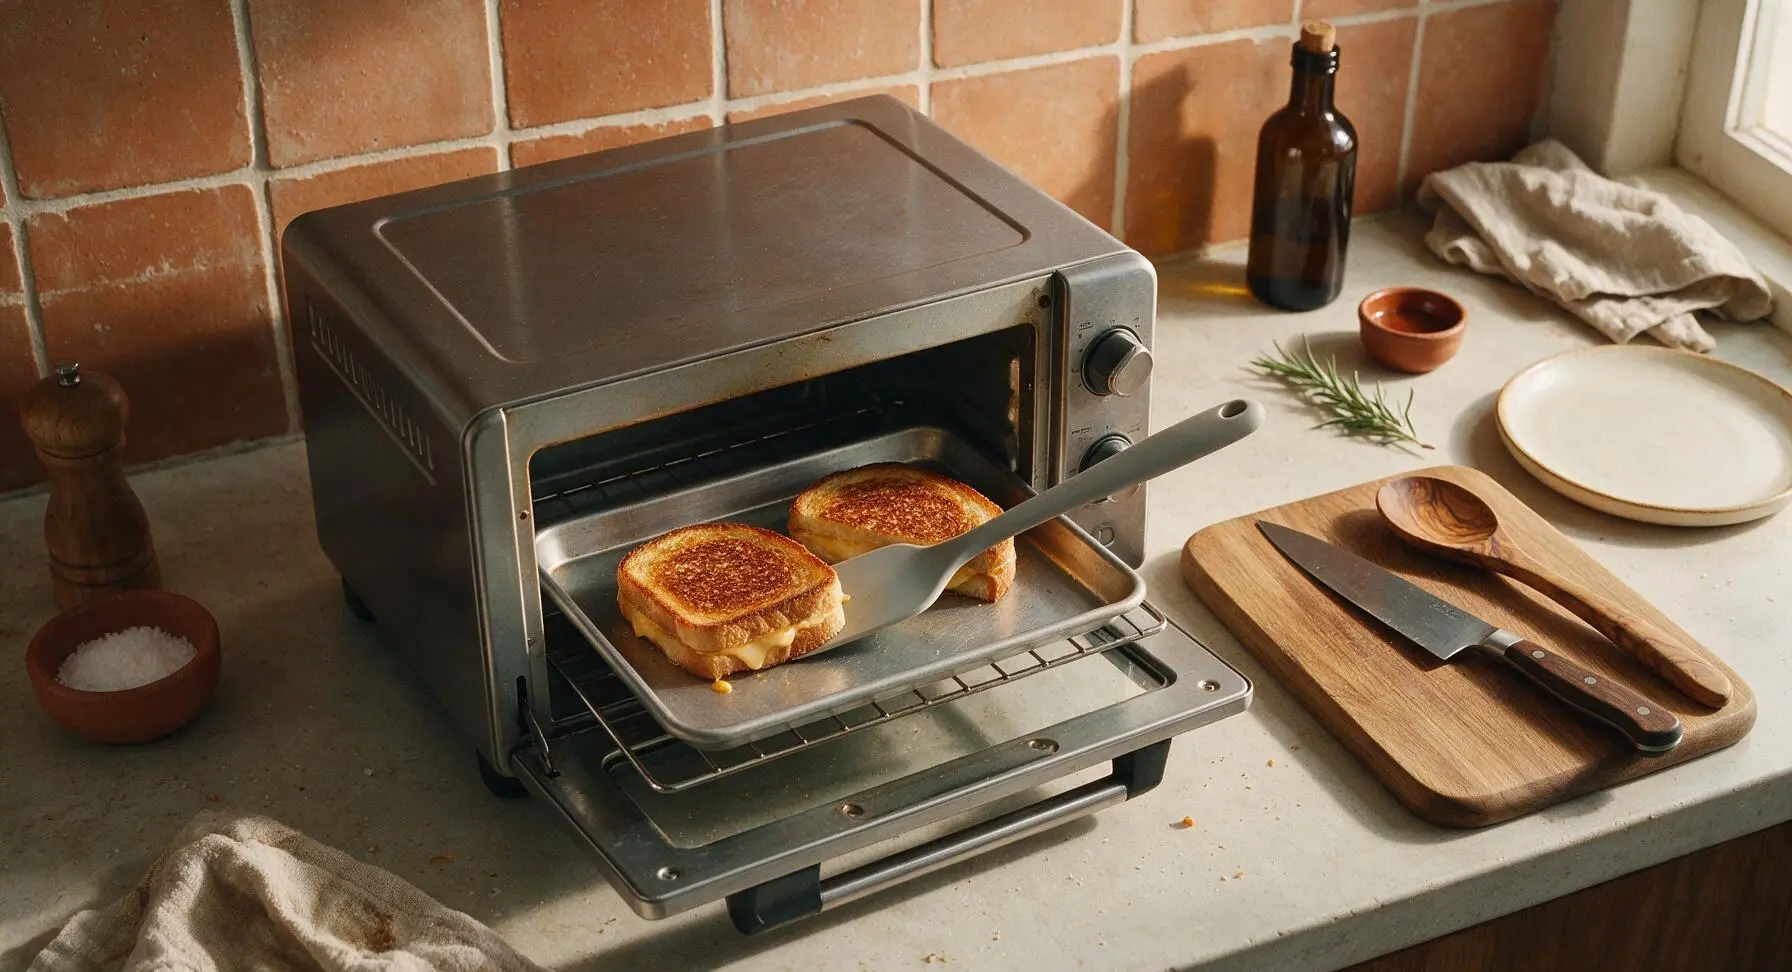
Open the toaster oven door, pull the rack out slightly, and use the light gray silicone spatula to flip each sandwich gently. The first cooked side should be evenly deep golden, with no pale soft undercooked spots. Close the oven door and cook for an additional 2-3 minutes, until the second side matches the first in golden color and cheese is fully melted with no firm lumps when you press the sandwich center gently.
Step 6
step6:Flip Sandwiches Carefully
Step 6
step6:Flip Sandwiches Carefully
7

Rest and Serve

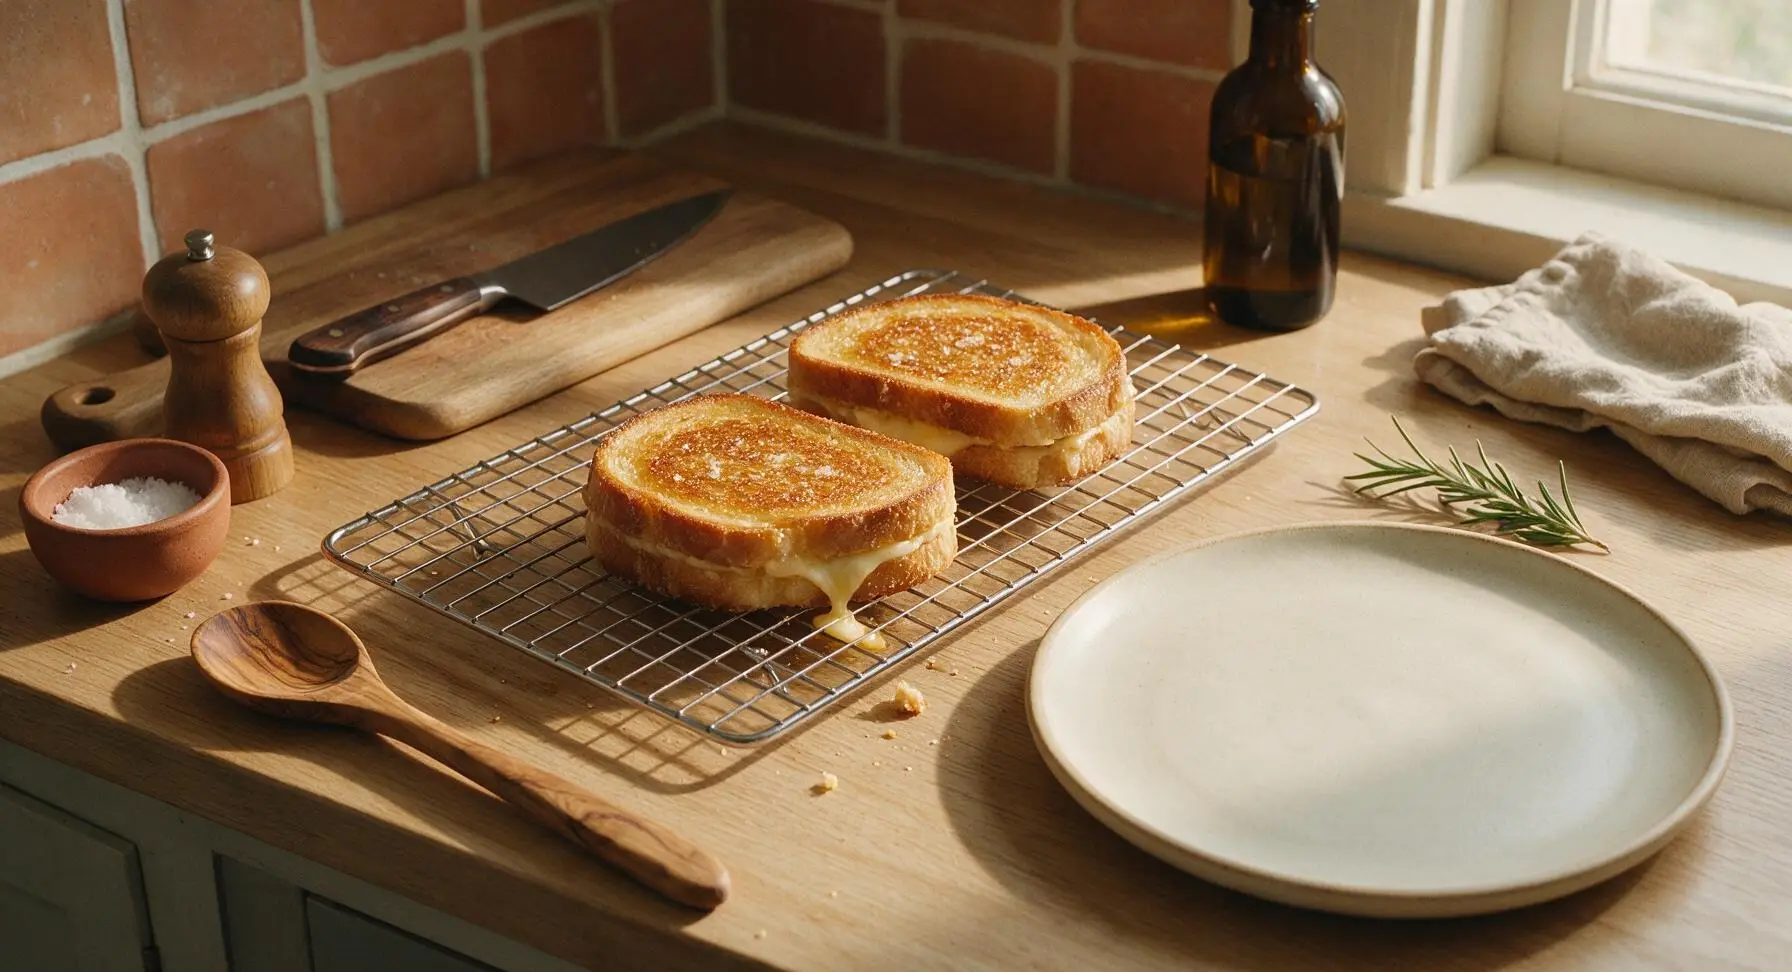
Once both sides are crisp golden and cheese is fully melted, use the silicone spatula to transfer the hot sandwiches to the chrome wire cooling rack. Let rest for 1 full minute to allow the melted cheese to set slightly—this prevents all the cheese from oozing out when the sandwich is cut. Transfer rested sandwiches to the matte cream white ceramic lunch plate, cut each diagonally into two triangles, and serve immediately.
Step 7
step7:Rest and Serve

Tips

1.Always use room-temperature softened butter instead of melted butter: melted butter soaks deep into bread crumb and creates greasy, unevenly browned spots, while softened butter spreads in a thin, even layer for a uniformly crisp crust all the way to the edges.
2.Skip pre-sliced deli cheese for this recipe: most pre-sliced packaged cheese is coated in potato starch or natamycin to prevent slices from sticking, which creates a grainy, non-stretchy melt. Freshly sliced cheese from a block melts smoothly into that classic stretchy grilled cheese texture.
3.Don’t skip the 1-minute rest after cooking: straight out of the oven, melted cheese is thin and runny, and will slide out the sides of the sandwich when you cut or bite into it. The short rest lets the cheese thicken slightly so it stays between the bread slices, without letting the sandwich get cold.


✨ You May Also Like

Lunch
🍜 United States

Creamy, salty, tangy nostalgic Midwestern sandwich pairing rich peanut butter with crisp briny dill pickles for a fast, satisfying no-cook meal.

⏱️ 5 minutesLunch ★ 4.6
Lunch
🍜 United States

Crispy, melty pressed sandwich layered with savory roast pork, ham, Swiss cheese, pickles, and tangy mustard: a beloved Cuban-American comfort classic.

⏱️ 25 minuteLunch ★ 4.9
Lunch
🍜 United States

Hearty, briny New Orleans pressed sandwich stacked with cured Italian meats, provolone, and zesty olive salad, served cold for bold, portable flavor.

⏱️ 1 hour 20Lunch ★ 4.7
Lunch
🍜 United States

A tangy, creamy Southern American staple, this no-cook cheesy sandwich is packed with sharp cheddar and sweet pimentos for a satisfying, portable bite.

⏱️ 1 hour 15Lunch ★ 4.8
Lunch
🍜 United States

Crispy Cajun-spiced fried shrimp piled on crusty French bread with tangy remoulade and fresh toppings, the iconic Louisiana street food sandwich.

⏱️ 35 minuteLunch ★ 4.4
Lunch
🍜 United States

Stacked, savory deli-style corned beef sandwich with melted Swiss, tangy mustard, and crisp griddled rye— a fast, hearty, satisfying classic.

⏱️ 15 minuteLunch ★ 4.9

grilled cheese toaster oven:Frequently Asked Questions

1.Why does this recipe use 1/2-inch thick sourdough slices instead of thinner sandwich bread? ▾
Half-inch sourdough holds up perfectly to toaster oven heat without getting soggy, toasting to a crisp golden crust on the outside while staying soft inside. Its subtle tang cuts through rich, melted cheddar and Gruyere for balanced flavor. Thinner slices often burn before the cheese fully melts, so skip flimsy generic white sandwich bread here.
2.Do I need to preheat my toaster oven before making this grilled cheese? ▾
Absolutely—preheat to 400°F for 3 to 5 minutes for even, consistent browning instead of soggy, unevenly toasted bread. A preheated cavity melts the cheddar and Gruyere at the same rate the bread crisps, so you won’t end up with burnt edges and rock-hard, unmelted cheese in the sandwich center.
3.Can I use pre-sliced packaged cheese instead of shredding my own cheddar and Gruyere? ▾
I strongly recommend shredding your own cheese for this recipe. Pre-sliced and pre-shredded cheeses are coated in anti-caking agents that prevent that smooth, stretchy, oozing melt we want. Freshly shredded cheddar and Gruyere melt evenly, blend beautifully, and give you that perfect cheese pull with every bite.
4.What rack position should I use in my toaster oven for the best results? ▾
Stick to the middle rack position for this grilled cheese. Placing the sandwich too close to the top heating element will burn the buttered bread top before the cheese melts, while the lowest rack can over-toast the bottom first. The middle position delivers even radiant heat from both elements for uniform golden browning.
5.Do I need to flip the sandwich halfway through toasting? ▾
Yes, flip the sandwich once after the first 3 to 4 minutes of cooking, once the first side is deep golden and crisp. Flipping ensures both buttered sourdough sides toast evenly, and helps the cheddar and Gruyere melt fully through without leaving cold, un-melted cheese chunks in the sandwich center.
6.Can I make this recipe without butter for a lower-fat version? ▾
You can swap butter for a thin layer of light mayonnaise on the outside of the bread if you want to cut back on saturated fat, but don’t skip a fat coating entirely. The fat creates that crisp, golden, non-soggy crust, and helps the flaky sea salt stick evenly to the finished sandwich exterior.
7.Why use a mix of sharp cheddar and Gruyere instead of just one type of cheese? ▾
That blend gives you the best of both worlds: sharp yellow cheddar brings that bold, classic tangy grilled cheese flavor, while Gruyere adds a nutty, creamy, ultra-stretchy melt that single-cheddar sandwiches often lack. The two cheeses melt at similar rates for a smooth, cohesive, non-greasy filling.
8.How do I keep the bread from getting soggy as the cheese melts? ▾
Start with room-temperature butter spread evenly all the way to the edges of each sourdough slice, and don’t overstuff the sandwich with cheese. Too much cheese releases excess moisture as it melts, which seeps into the bread. Preheating your toaster oven also flash-crisps the bread surface before moisture can soak in.
9.When do I add the flaky sea salt, and can I use regular table salt instead? ▾
Sprinkle flaky sea salt on the buttered outside of the bread right after you pull the finished sandwich out of the toaster oven, while the butter is still hot and melted. Skip regular table salt here—it’s much denser and saltier, so it will make the sandwich taste overly briny instead of adding a subtle, crunchy salt pop.
10.Can I add extra fillings like tomato or bacon to this grilled cheese? ▾
You absolutely can, but prep extra fillings first to avoid soggy bread. Cook bacon until crisp, and pat sliced tomato dry with paper towels to remove excess juice before tucking them between the cheese layers. Keep fillings thin so the cheese melts evenly, adding 1 to 2 minutes of cook time if needed.

Comments (11)

just now

Just popped this in the toaster oven for me and my toddler’s lunch, smells amazing already! The 7 minute cook time is perfect for our rushed weekday schedule, can’t wait to dig in.

1 week ago

As a college student with zero access to a full stove, this recipe saved my grilled cheese cravings! Super easy, no fancy equipment needed, I just used the basic toaster oven in my dorm common room. Tossed a little garlic powder on the bread before cooking and it was chef’s kiss. 10/10 would make again.

3 days ago

This works so well with gluten free sourdough! I was worried the bread would get too dried out in the toaster oven, but following the timing here left it perfectly crispy on the outside and soft inside, with my dairy free cheddar melted all the way through. Great quick lunch option for my meal prep!

2 weeks ago

Tried this last night for dinner after soccer practice and it was a hit! Only thing is my toaster oven runs a little hot, so mine got a touch too dark at the 7 minute mark. Still tasted great though!

1 week ago

So glad it was a hit! Toaster oven temperatures can vary a lot between models, so if yours runs hot, try dropping the cook time to 5 minutes and checking it every 30 seconds after that until the cheese is melted to your liking. Thanks for the helpful note for other readers!

1 week ago

I made a whole batch of these for our neighborhood block party last weekend, cut them into little bite sized squares, and they were gone in 10 minutes! People kept asking how I got them all perfectly evenly cooked without standing over the stove for an hour. Total win.

5 days ago

That’s such a smart idea! I’m hosting a playgroup next week and was stressing about easy snacks, I’m totally stealing this. Did you keep them warm in the toaster oven until people arrived?

3 days ago

I made this for a quick casual lunch with my neighbor earlier this week and we both agreed it’s better than stovetop grilled cheese! The even heat from the toaster oven means no burnt spots, which I always get when I’m rushing on the stove. Added a couple slices of tomato and it was *chef’s kiss*

yesterday

Wait adding tomato sounds so good! Did you pat the slices dry first so the bread didn’t get soggy? I always mess that up when I add veggies to grilled cheese.

yesterday

Wait, do I need to line the toaster oven tray with foil? Last time I made grilled cheese in mine the cheese oozed off and made a huge mess I was scrubbing for 20 minutes 😂

2 hours ago

Great question! Lining the tray with a small piece of parchment or foil makes cleanup a total breeze, just make sure it doesn’t touch the top heating elements! You can also put a small baking rack on the tray to catch any drips if you have one handy.

1 week ago

This base recipe is so good! I mixed a little smoked paprika and grated parmesan into the softened butter I spread on the outside of the bread and it came out so flavorful, better than any restaurant grilled cheese I’ve had recently. So easy to customize too!

5 days ago

Oh that sounds insane! I’m going to try that with garlic powder and a little Italian seasoning next time I make these. Do you use salted or unsalted butter for the spread?

3 days ago

We love that customization! That parmesan and paprika crust sounds absolutely delicious. If you try it with extra mix-ins on the bread, just keep an eye on it while it cooks since cheese and spices can brown a little faster than plain butter!

5 days ago

Wait a second, I’ve been making grilled cheese wrong my whole life? Why did I never think to use the toaster oven for this? No flipping, no burnt butter, no uneven melt? This is life changing. I added a little ham and it tasted exactly like the grilled cheeses my grandma used to make at her diner.

3 days ago

Right?! I was the same way, I thought you *had* to make them in a cast iron on the stove. My grandma even tried this recipe last week and said she’s never going back to stovetop! The ham addition sounds incredible.

2 days ago

The no flipping part is what sold me. I always manage to fling half the cheese out of the sandwich when I try to flip it on the stove, zero mess with this method.

2 days ago

Has anyone tried this with vegan cheese? I’ve had bad luck in the past where vegan cheese doesn’t melt all the way in the toaster oven, but I’d love to give this recipe a shot!

yesterday

I used Violife cheddar slices for this last week and it melted perfectly! I let it cook an extra 30 seconds and it was just as gooey as regular cheese, no weird rubbery texture at all.

2 hours ago

Great tip from PlantBasedBaker! If you’re using vegan cheese, we also recommend letting the slices sit at room temp for 10 minutes before cooking to help them melt more smoothly without needing extra cook time that might burn the bread.

30 minutes ago

OMG this is such a game changer for busy school nights! I used to stand over the stove forever making grilled cheese, but 7 minutes in the toaster oven? Perfectly crispy bread, melty cheese every single time. My kids devoured two each last night and asked for it again for lunch today. SO good.

15 minutes ago

This sounds amazing! How well do these hold up if I make them ahead for work lunches? I usually pack sandwiches for the week but I’ve never tried pre-making grilled cheese, I worry it’ll get soggy in the fridge.

5 minutes ago

They hold up great for meal prep if you store them correctly! Let them cool completely before tucking them into an airtight container in the fridge, then reheat in the toaster oven for 2-3 minutes at lunch time (skip the microwave, it makes the bread chewy!). They’ll be just as crispy and melty as fresh.



