
Grilled Cheese with Jalapeños
intro
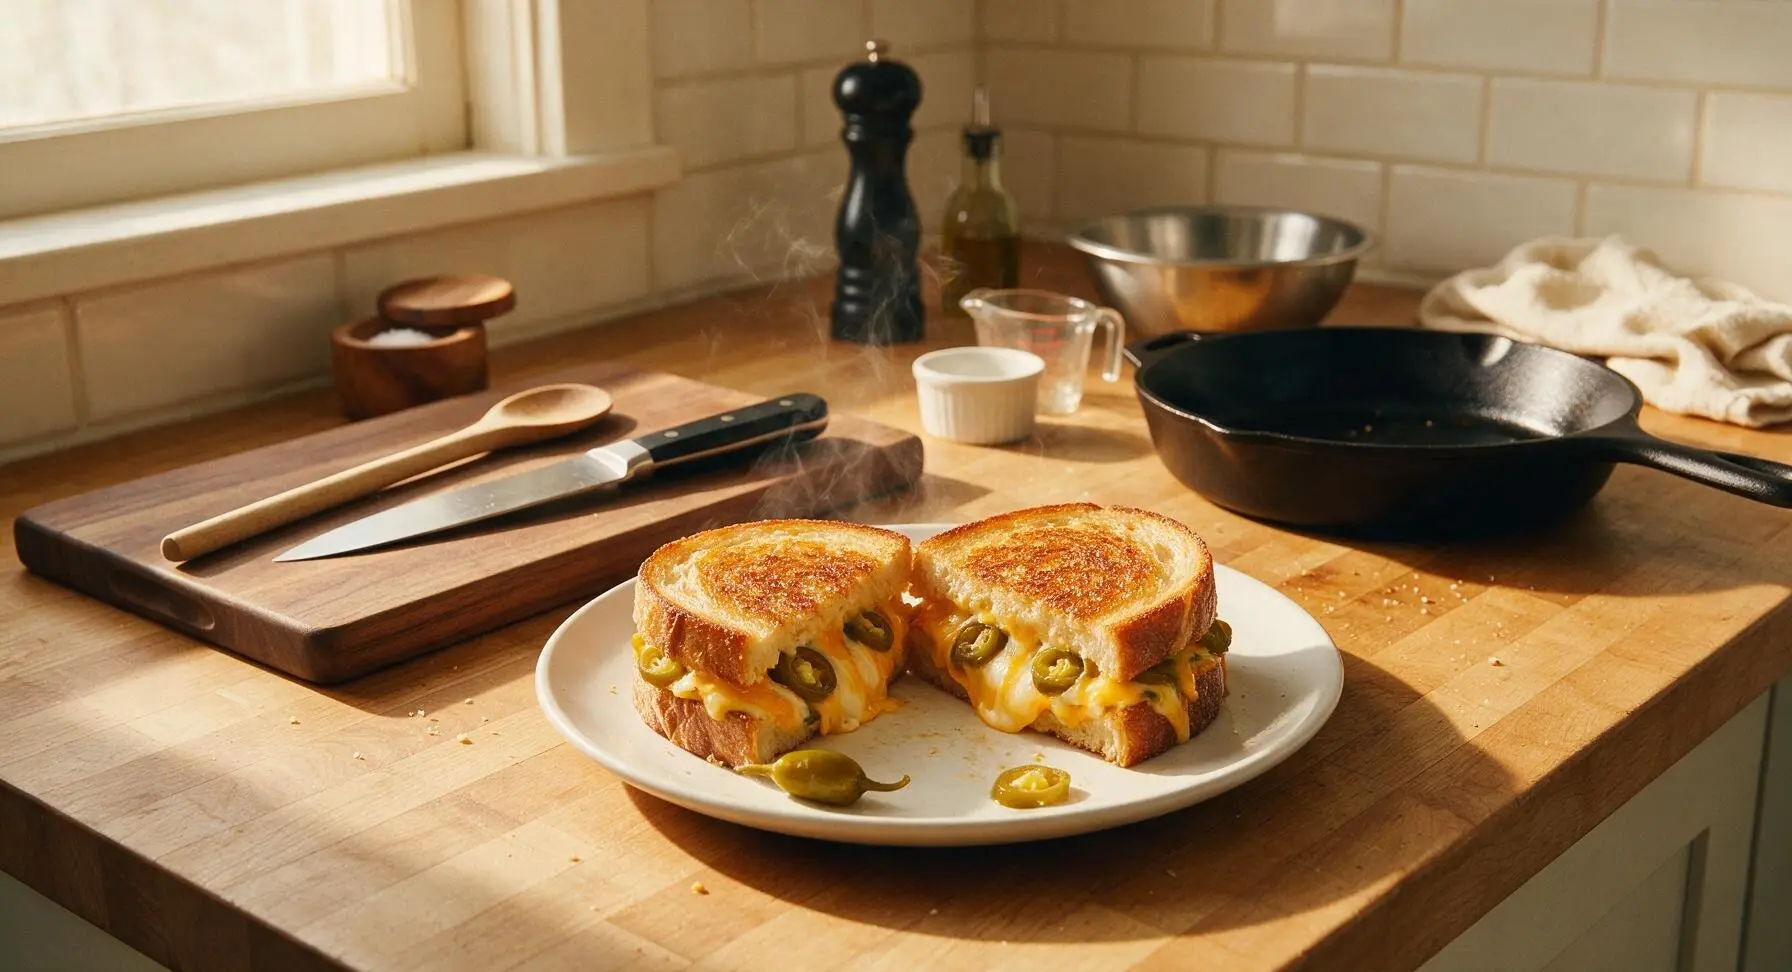
Crispy golden buttery sourdough oozing with melted sharp cheddar and pepper jack, punctuated by bright tangy pickled jalapeños for a perfect, cozy kick of heat in every bite.
Ingredients
Steps
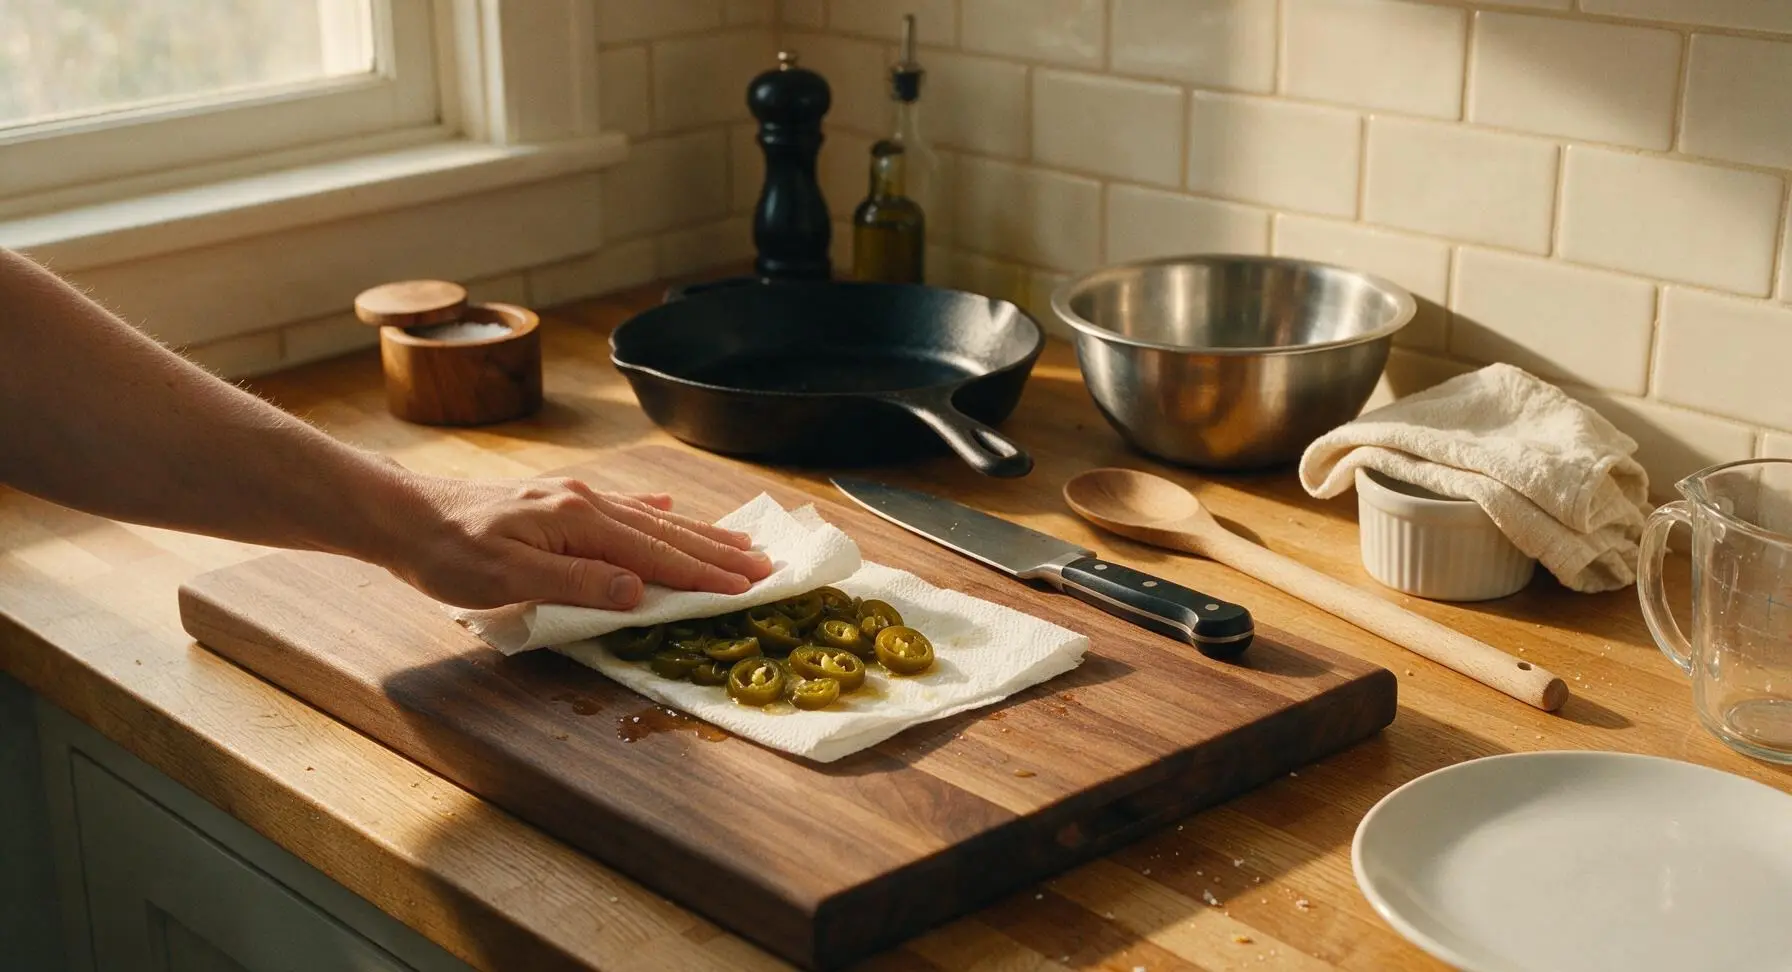
Drain and dry jalapeños
Place the pickled jalapeño slices on a small piece of paper towel, pat firmly on top with a second paper towel to remove all excess brine. Wet jalapeños will make the sandwich soggy, so ensure slices are dry to the touch before setting aside. This takes about 1 minute.
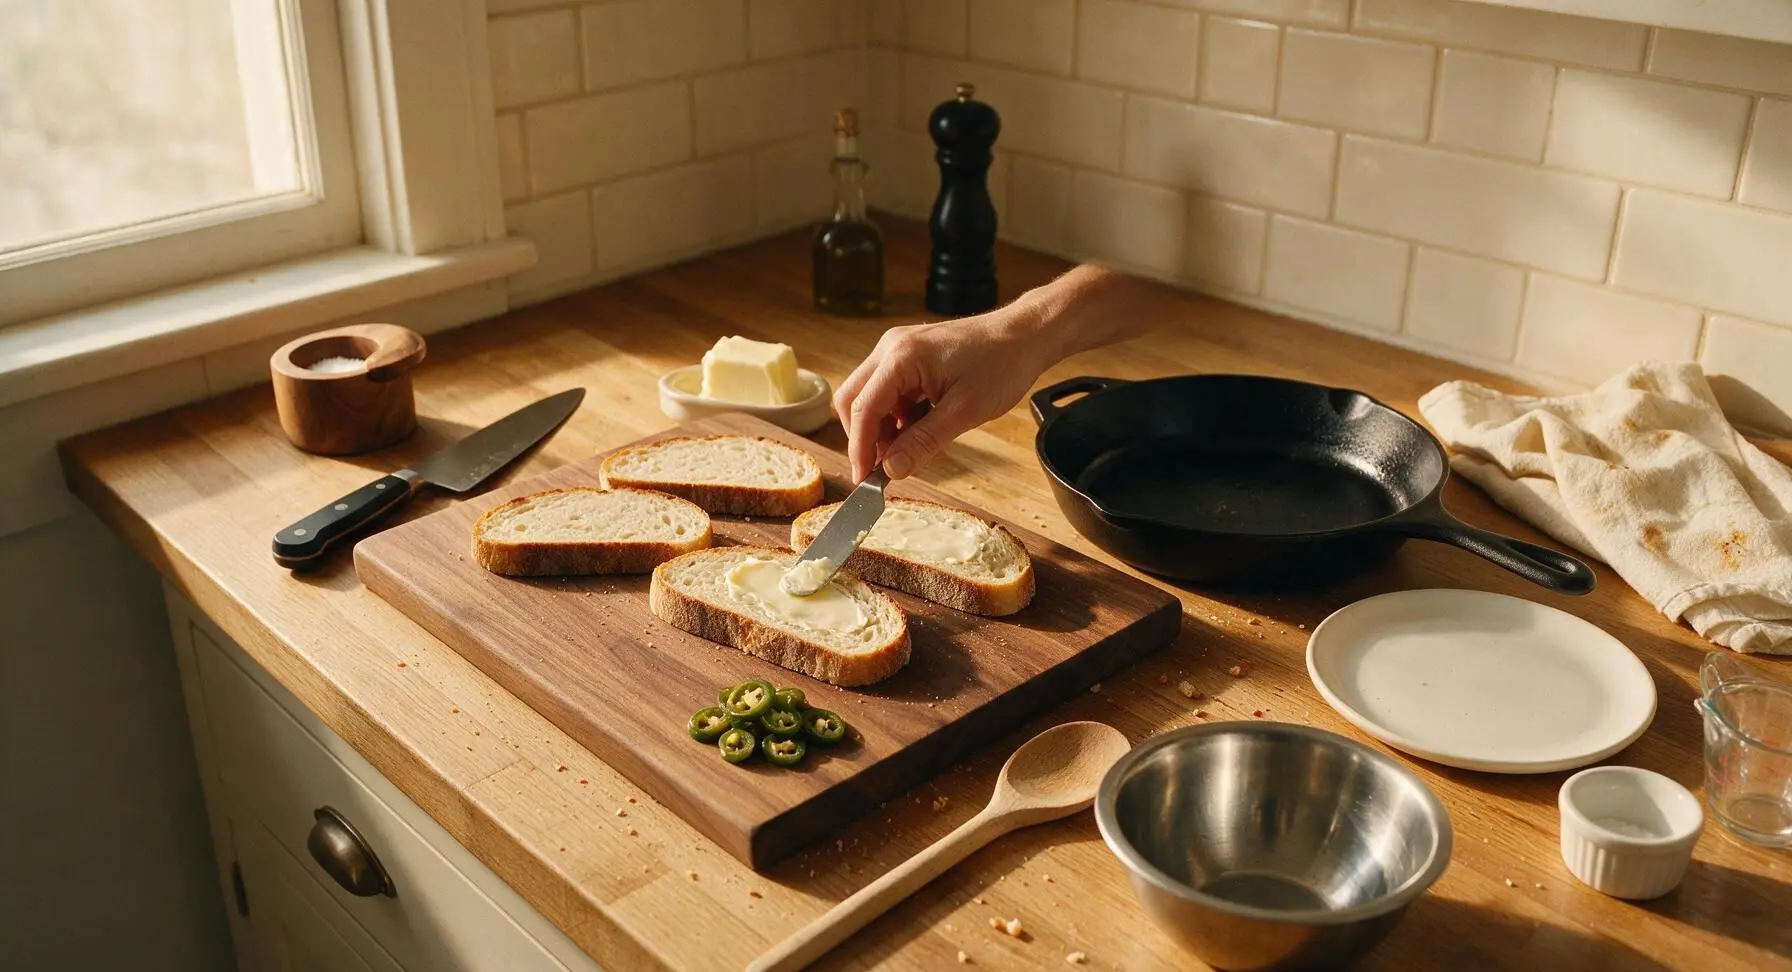
Butter bread slices evenly
Lay all 4 sourdough slices flat on the maple cutting board. Use the small offset metal spatula to spread 1/4 tablespoon of softened salted butter evenly across one entire side of each bread slice, spreading all the way to the crust edges. The butter layer should be thin enough to see bread texture through it, not thick enough to clump or drip when the sandwich is lifted. Sprinkle a tiny pinch of flaky sea salt over each buttered surface.
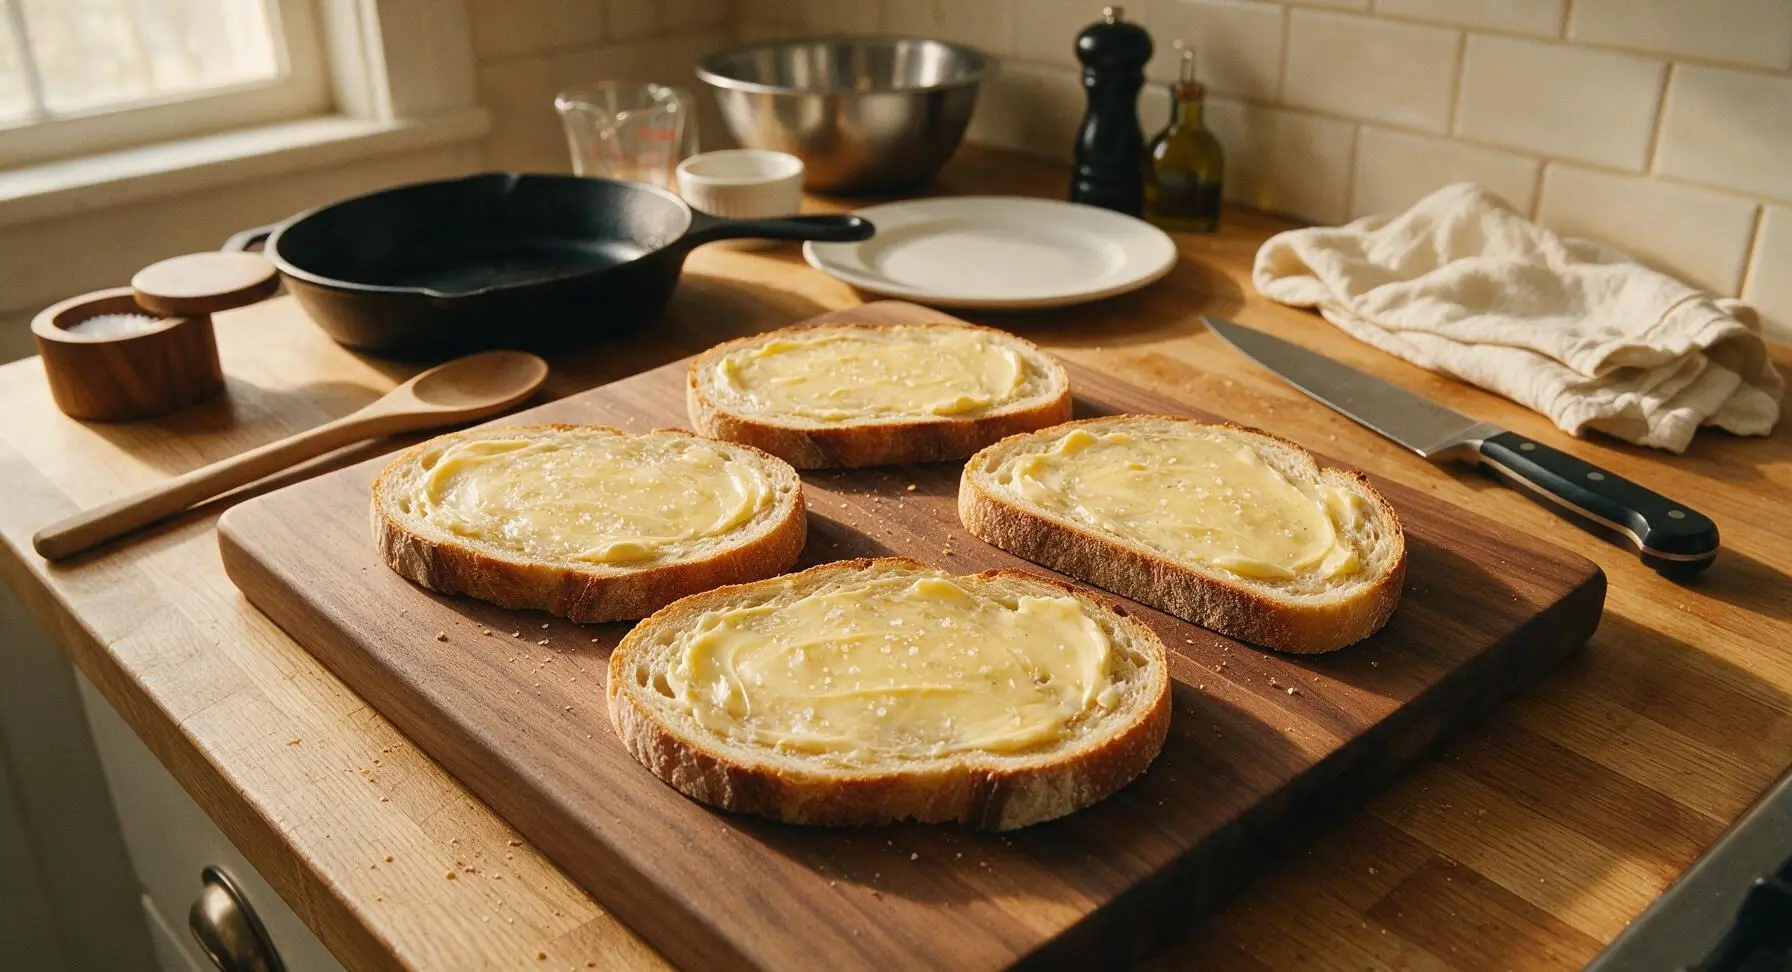
Layer fillings evenly
Flip two of the bread slices so the buttered side faces down on the cutting board. Layer half the sharp cheddar slices across the unbuttered side of each, followed by half the pepper jack slices, then arrange the dried jalapeño slices in a single even layer across the cheese. Top the jalapeños with the remaining cheese, dividing evenly between the two sandwiches. The cheese layer should extend all the way to the bread edges to prevent bare spots when melted, and will help seal the jalapeños inside the sandwich so they don't fall out while eating.
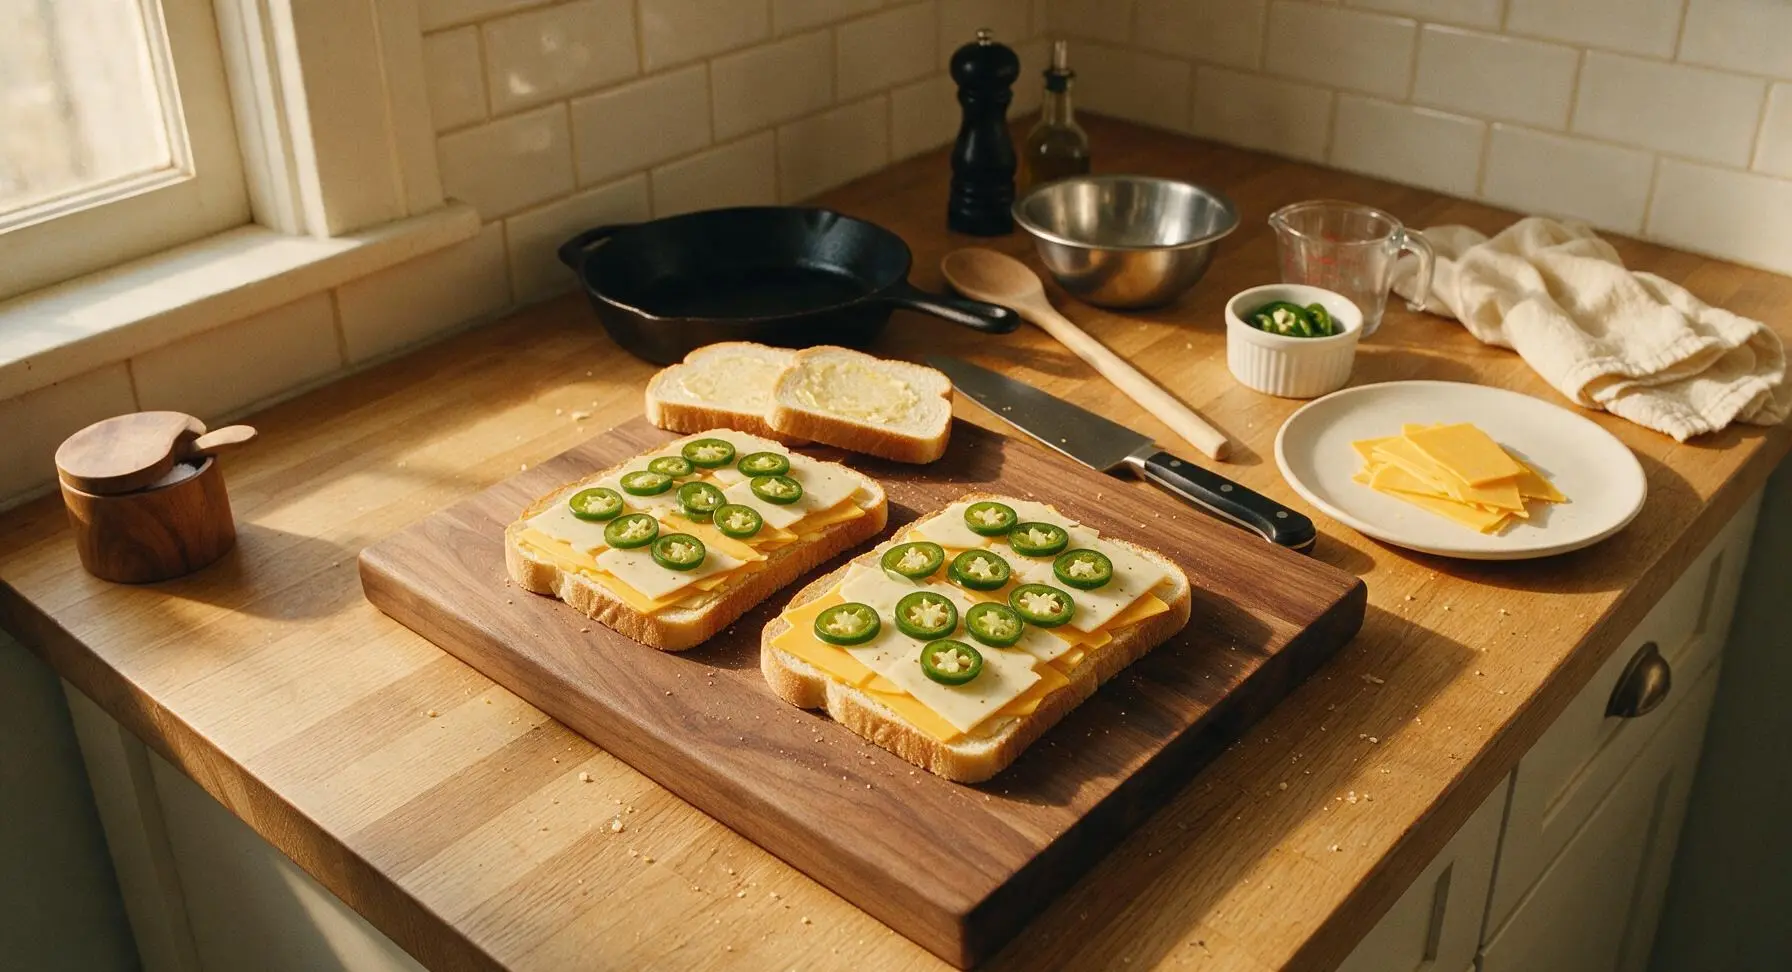
Seal sandwich halves
Place the remaining two bread slices on top of the filled stacks, buttered side facing outward. Press down firmly on the top of each sandwich with the palm of your hand to compact the fillings slightly and help the cheese stick to the bread. The sandwiches should be evenly flat, around 3.5cm thick, with no fillings spilling out the sides.
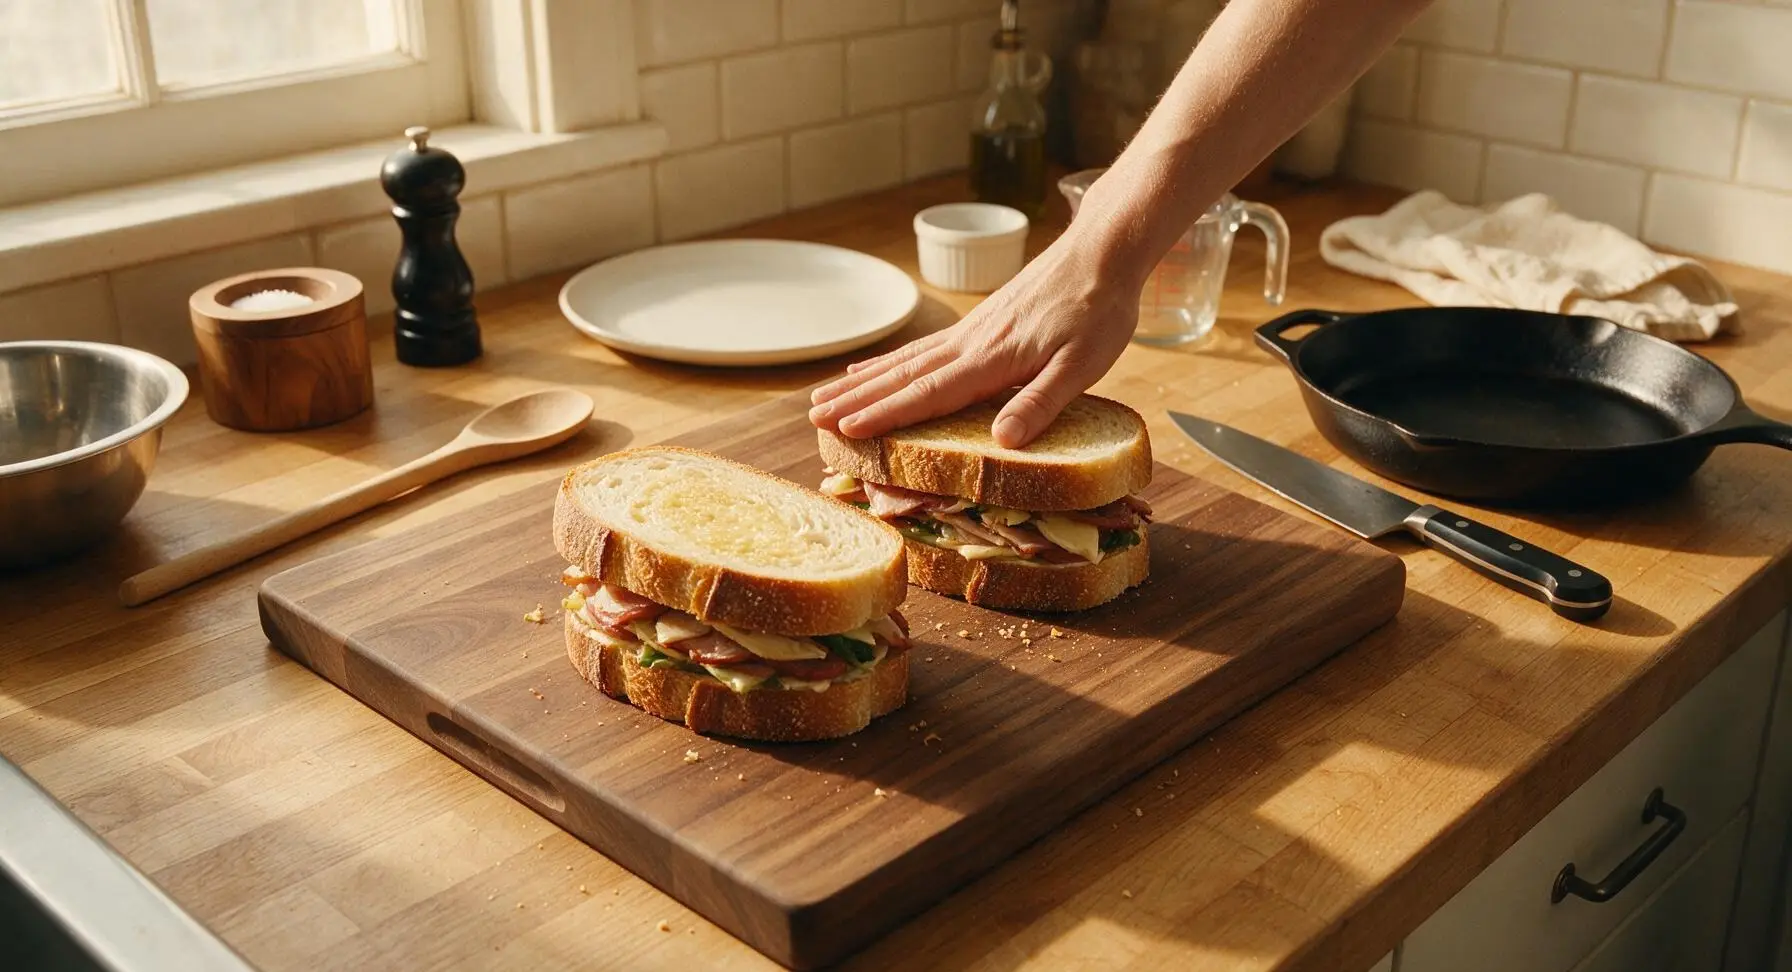
Heat the cooking skillet
Place the 10-inch matte black carbon steel skillet on the stovetop burner set to medium-low heat (325°F / 160°C). Let the pan preheat for 2 minutes — it is ready when a flick of cold water sizzles and dances across the surface immediately without evaporating instantly. Do not use high heat, as this will burn the bread before the cheese melts through to the center.
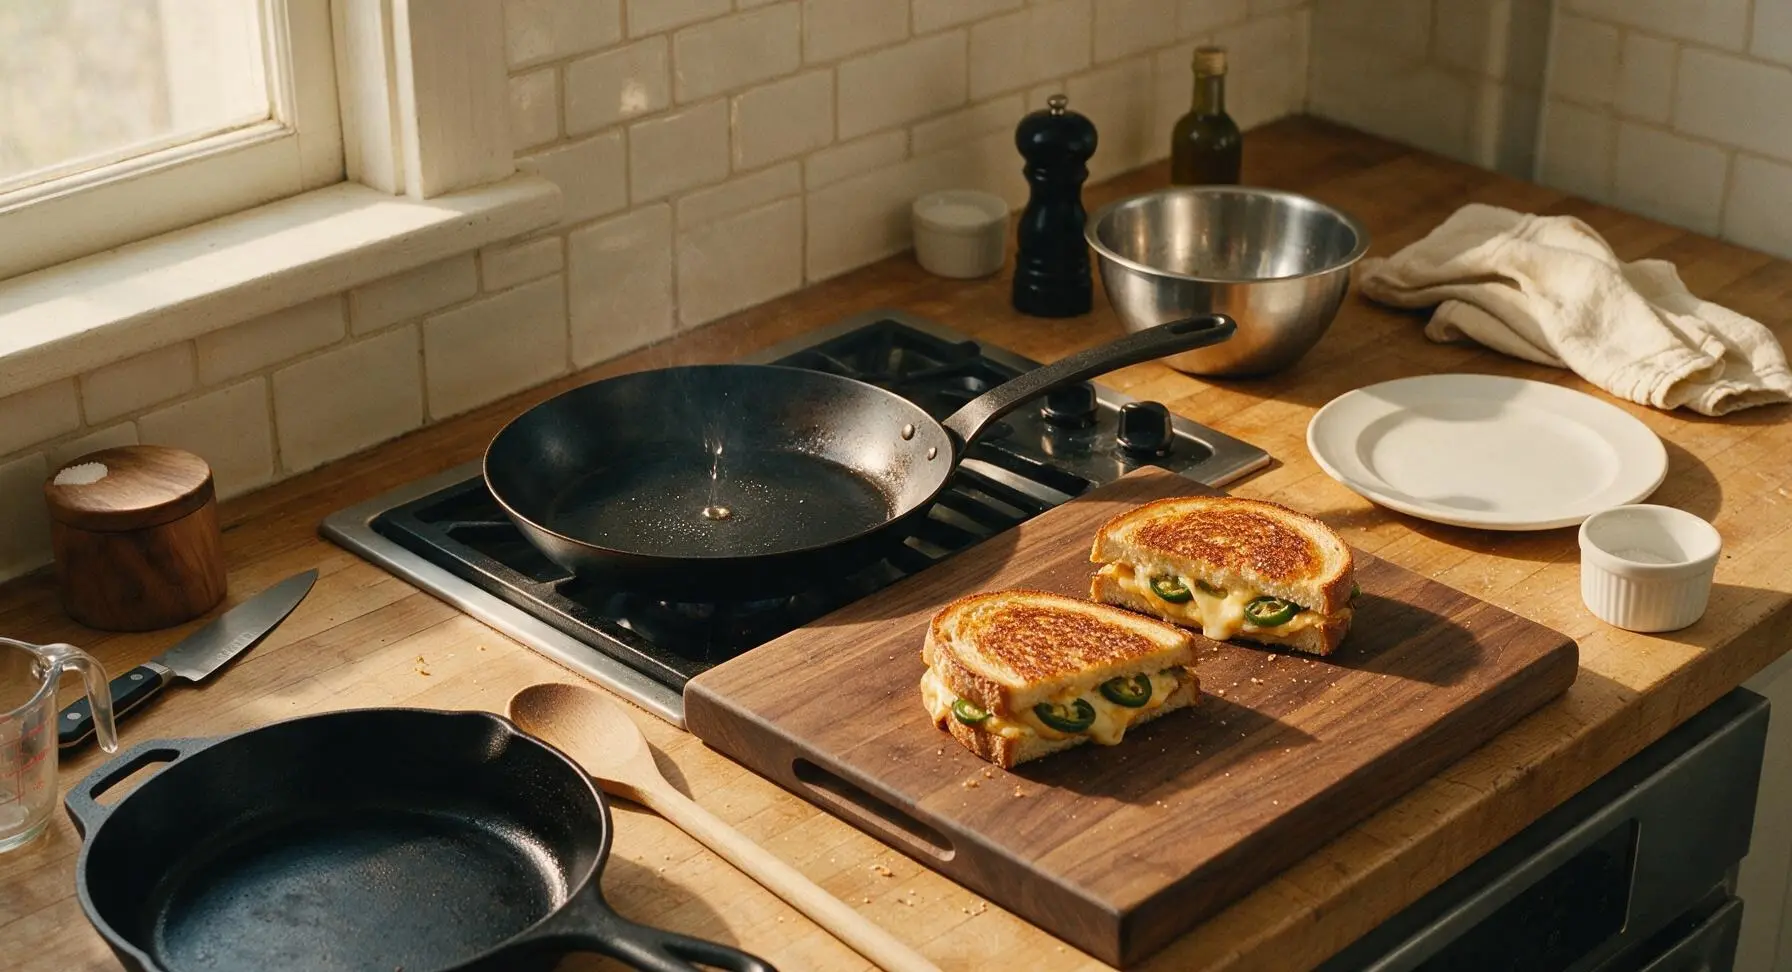
Grill first side golden
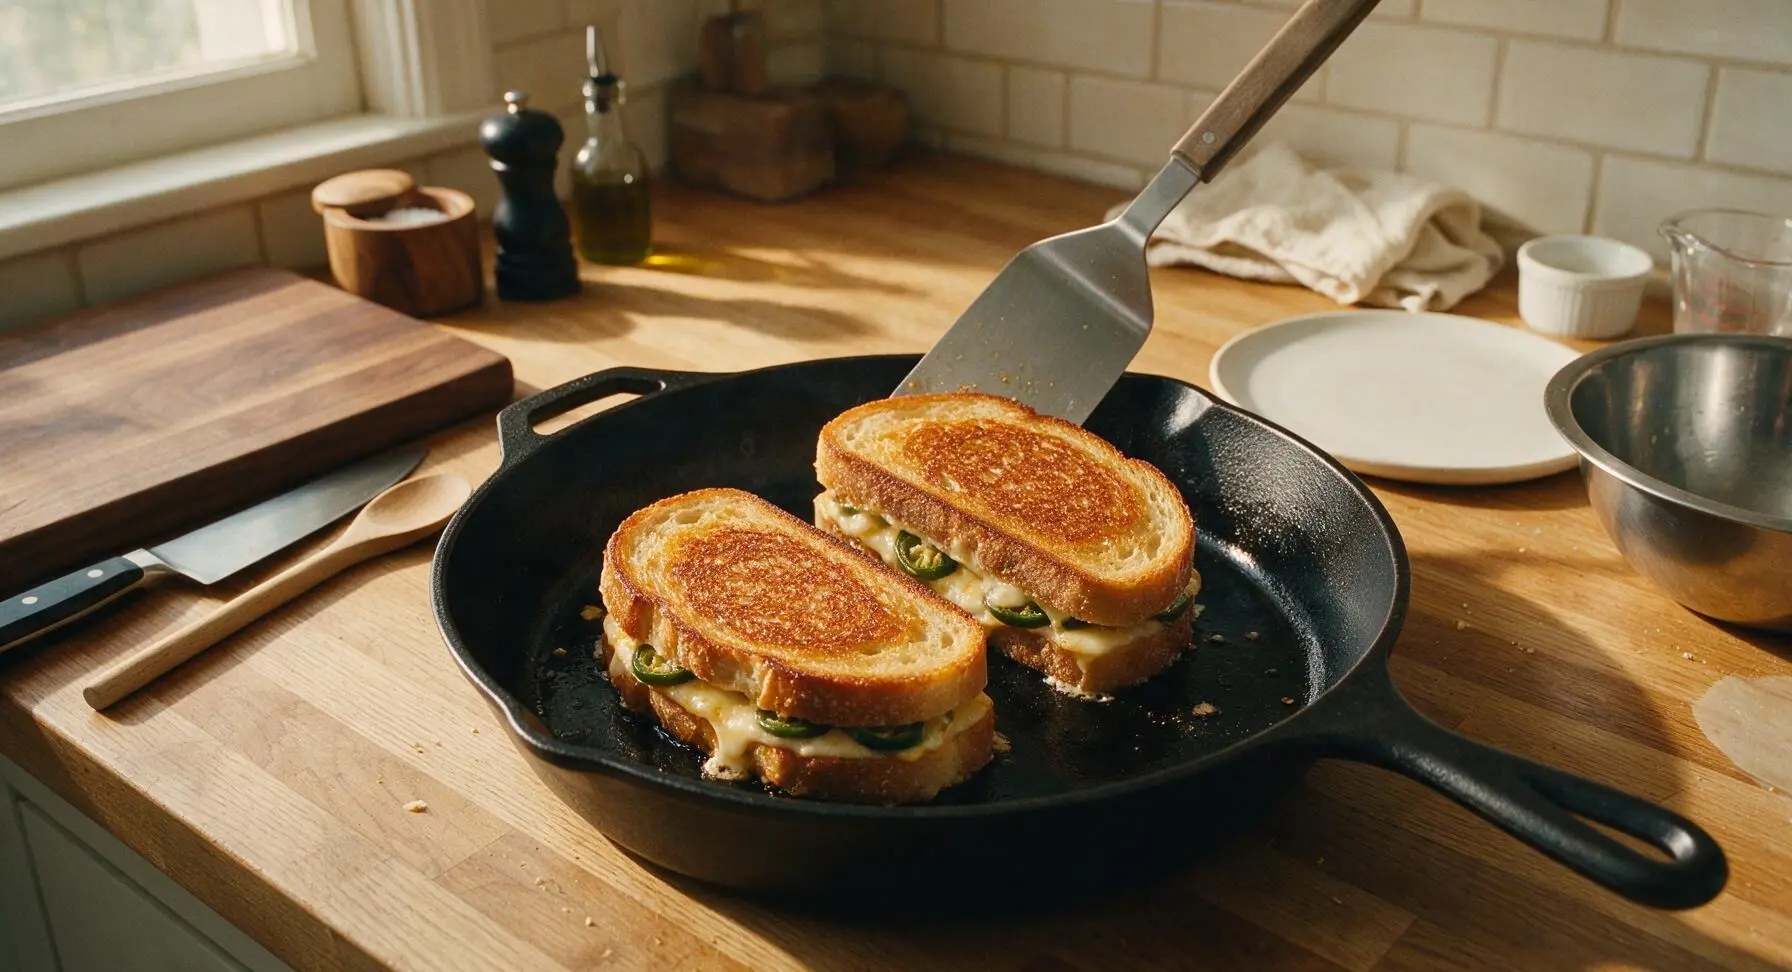
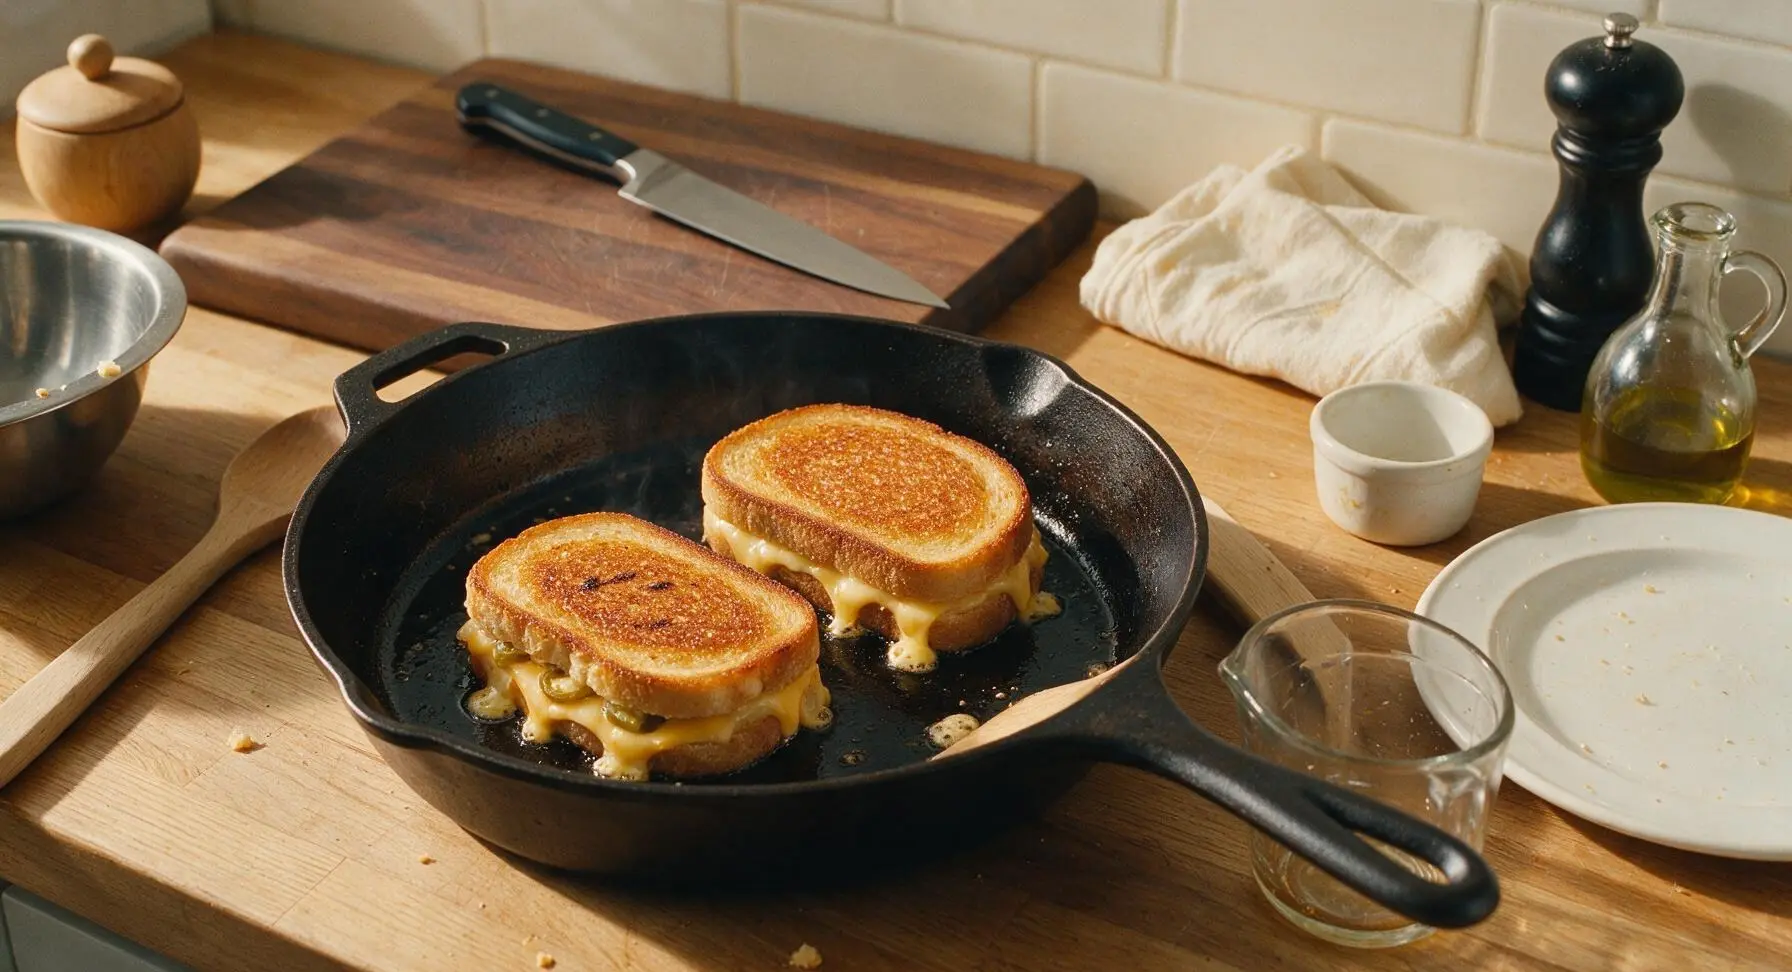
Carefully place both assembled sandwiches in the preheated skillet, leaving 1cm of space between them to allow even cooking. Cook for 3 to 4 minutes, resisting the urge to press down hard on the sandwiches with the spatula (this squeezes out melted cheese and creates dry, less gooey sandwiches). The first side is done when it is a deep, even golden brown, crisp to the touch, and the cheese along the edges is just starting to bubble and melt.
Flip and finish cooking
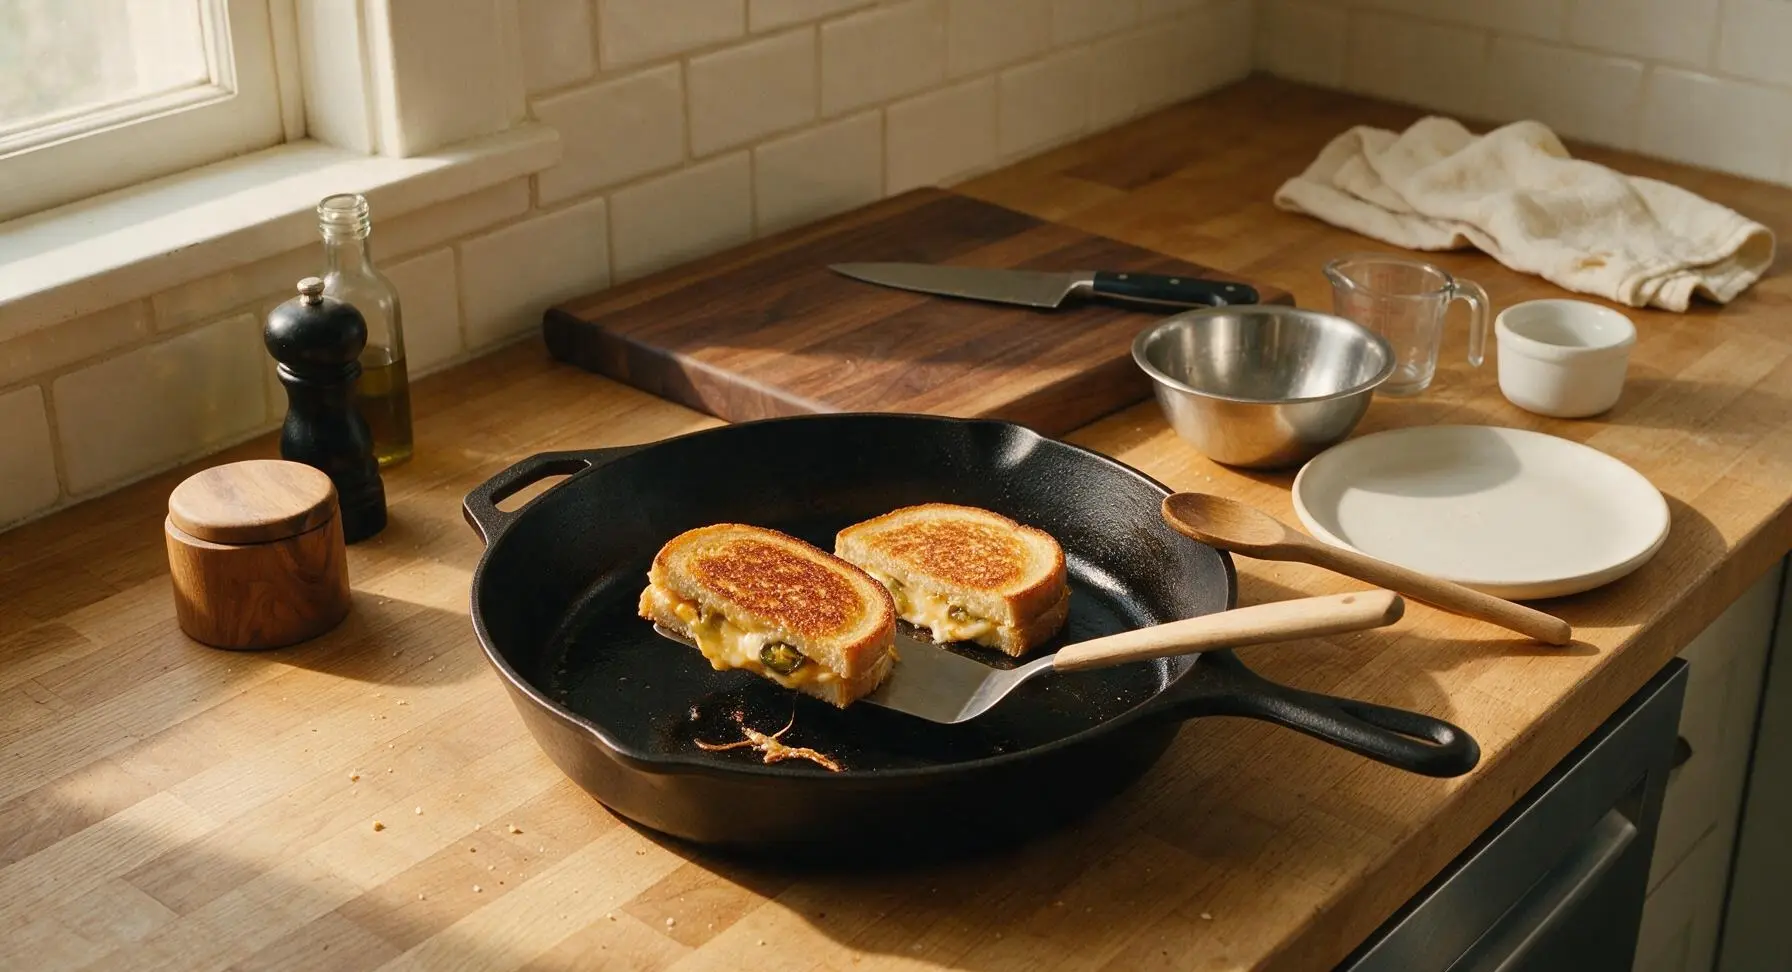
Slide the offset spatula under each sandwich, flip them quickly and carefully in one smooth motion. Cook the second side for another 2 to 3 minutes, until it is equally golden brown and crisp, and all the cheese in the center is fully melted with no firm, un-melted chunks visible when you peek at the sandwich edge. Transfer the finished sandwiches to the matte cream ceramic plate.
Rest and slice diagonally
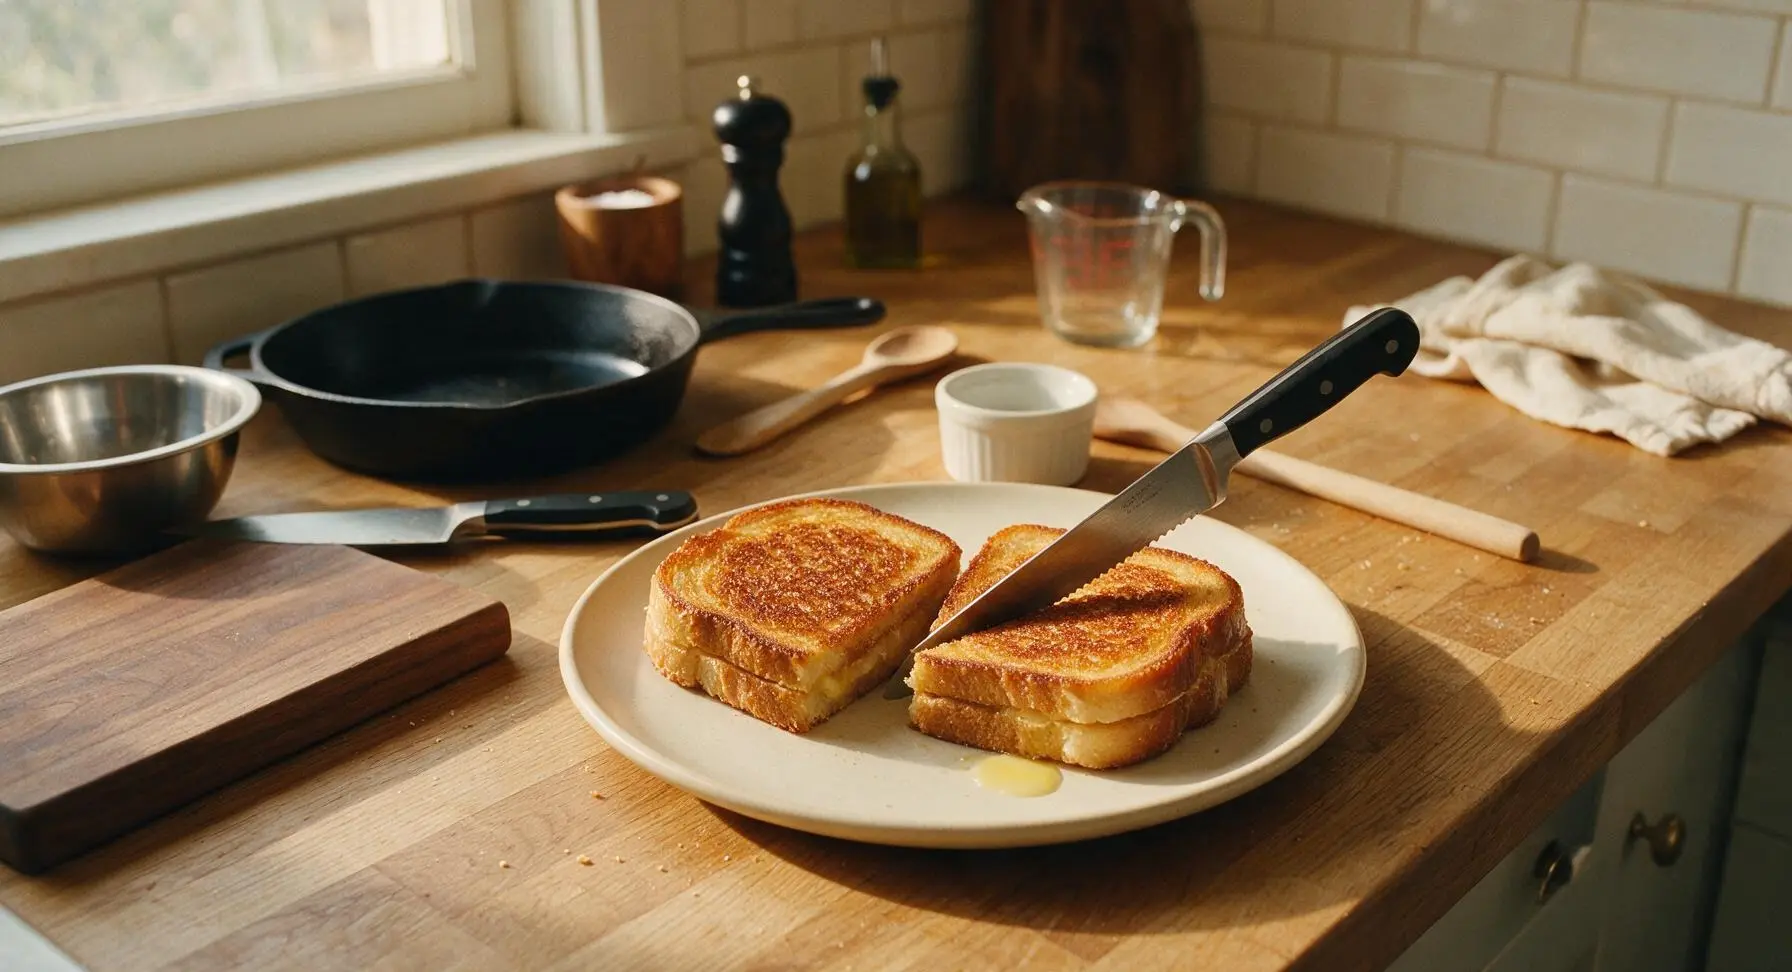
Let both cooked sandwiches rest on the cream ceramic plate for 1 minute to allow the cheese to set slightly (this prevents all the cheese from oozing out when you cut). Use the serrated utility knife to slice each sandwich diagonally into two triangular halves. Do not use a harsh sawing motion that tears the crisp crust — use one smooth, firm downward cut to get clean, even edges.
Tips
2.Skip the urge to press down on the sandwiches with a spatula while they cook: pressing squeezes out melted cheese, leading to less gooey filling and burnt cheese bits stuck to your pan.
3.Use a mix of melting cheeses for the best texture: sharp cheddar adds bold, tangy flavor, while pepper jack adds creamy melt and a subtle extra heat that pairs perfectly with the pickled jalapeños.






OMG this is such a game changer! I’ve been making boring plain grilled cheese for years and decided to throw in pickled jalapeños like the recipe says for my husband’s lunch yesterday. He texted me 10 minutes after leaving for work saying it was the best sandwich he’s ever had. 7 minute cook time is no joke too, perfect for busy weekday mornings!
My kids went crazy for this! I was worried the jalapeños would be too spicy for them so I scooped out all the seeds and membranes, and they kept asking for seconds. Served it with tomato soup for our weekly Sunday family dinner, total hit.
SO good and so cheap to make! I’m on a super tight meal plan this semester and this only took me 10 minutes total (counting grabbing ingredients from my mini fridge). Used that cheap pre-sliced American cheese and jarred jalapeños, tasted like something I’d pay $12 for at a food truck.
Brought these cut up into bite sized squares to our neighborhood potluck last weekend and they were GONE in 10 minutes flat. Multiple people asked me for the recipe, I felt like a celebrity. Only note: I added a little sprinkle of cotija cheese on the inside for extra savoriness, chef’s kiss.
Wait I made these last night and they were delicious, but has anyone tried making them ahead for meal prep? I’m wondering if they reheat well in the toaster oven for work lunches, or if the bread gets soggy? I’d love to add these to my weekly rotation if they hold up!
Just made this for a quick late night snack after my shift and wow. I added a drizzle of hot honey on top after grilling and I think I’ve found my new go-to midnight meal. Crispy bread, melty cheese, the little kick from the jalapeños? 10/10 no notes.
Super easy even for someone who burns toast half the time! I was nervous I’d mess up the cheese melt but sticking to the 7 minute cook time on medium low meant everything turned out perfectly, no burnt bread at all. Didn’t even make a huge mess!
Made a vegan version of this with dairy-free cheddar and pickled jalapeños, and even my meat-and-cheese obsessed boyfriend loved it! Used sourdough bread for extra crunch, will absolutely be making this again on busy weeknights.
Made these for our college football tailgate last Saturday and they were a massive hit. Grilled them up on a cast iron on the portable grill outside, added a little bacon to a few of them for the guys who hate veggies. 10/10 will be making these every game day from now on.
Used gluten free sourdough for this and it turned out AMAZING. I was worried the GF bread would get too crumbly when I flipped it, but it held up perfectly. The jalapeños add just enough zing to cut through the richness of the cheese, so good.
I used to think adding jalapeños to grilled cheese was a weird crime against cheese, but my roommate made this for me last night and I’m almost a total convert. The heat is mild if you seed the peppers, and it adds such a nice tang that plain grilled cheese is missing. I’ll be making this for my roommate as a thank you later this week, just might add a little extra cheese for my taste!
Made this for brunch today alongside mimosas and it was chef’s kiss. I added a thin layer of cream cheese on the bread too, and it made everything so creamy and decadent. Who else is adding extra mix-ins to theirs? I want ideas for next time!
Total win for cheap, fast meals. I already had all the ingredients in my fridge: bread, cheddar, jarred jalapeños, butter. No extra trip to the grocery store needed, cooked up in 7 minutes exactly like the recipe said. Perfect for when I don’t feel like putting effort into dinner after work.
Told my kids we were having “grilled cheese with a kick” for dinner and they groaned, but once they took a bite they were quiet for 10 whole minutes. That’s the highest praise a dad cook can get, honestly. 10/10, will be making this again just for the peace and quiet.
Tried making this in my air fryer instead of a skillet because I hate doing dishes, and it worked perfectly! 370 degrees for 6 minutes, flipped halfway through, bread was crispy and cheese was fully melted. Game changer for zero cleanup.