
Grilled Cheese with Kewpie Mayo

title 1
Grilled Cheese with Kewpie Mayo
⏱️ cook time 6 minutes
🍽️ servings 2
⚡ Difficulty easy

intro

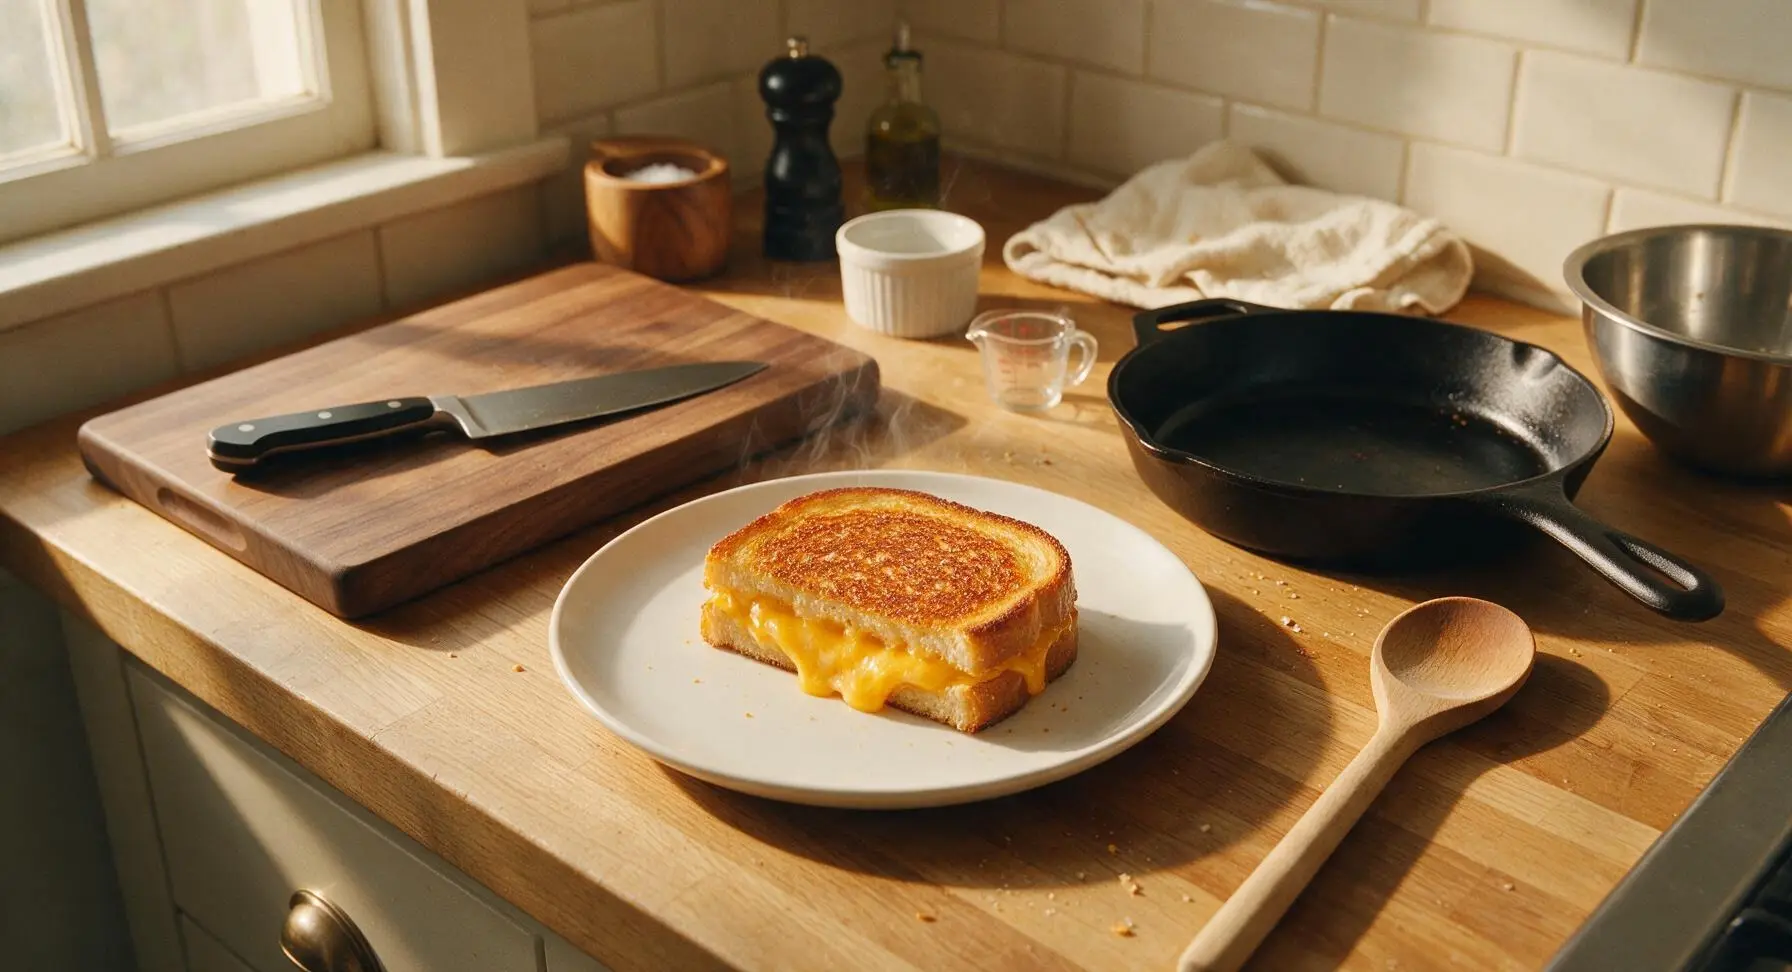
Crispy, golden-crusted grilled cheese oozing with melted sharp cheddar, upgraded with tangy umami-rich Kewpie mayo for a shatteringly crisp crust and rich, unforgettable flavor.

Ingredients
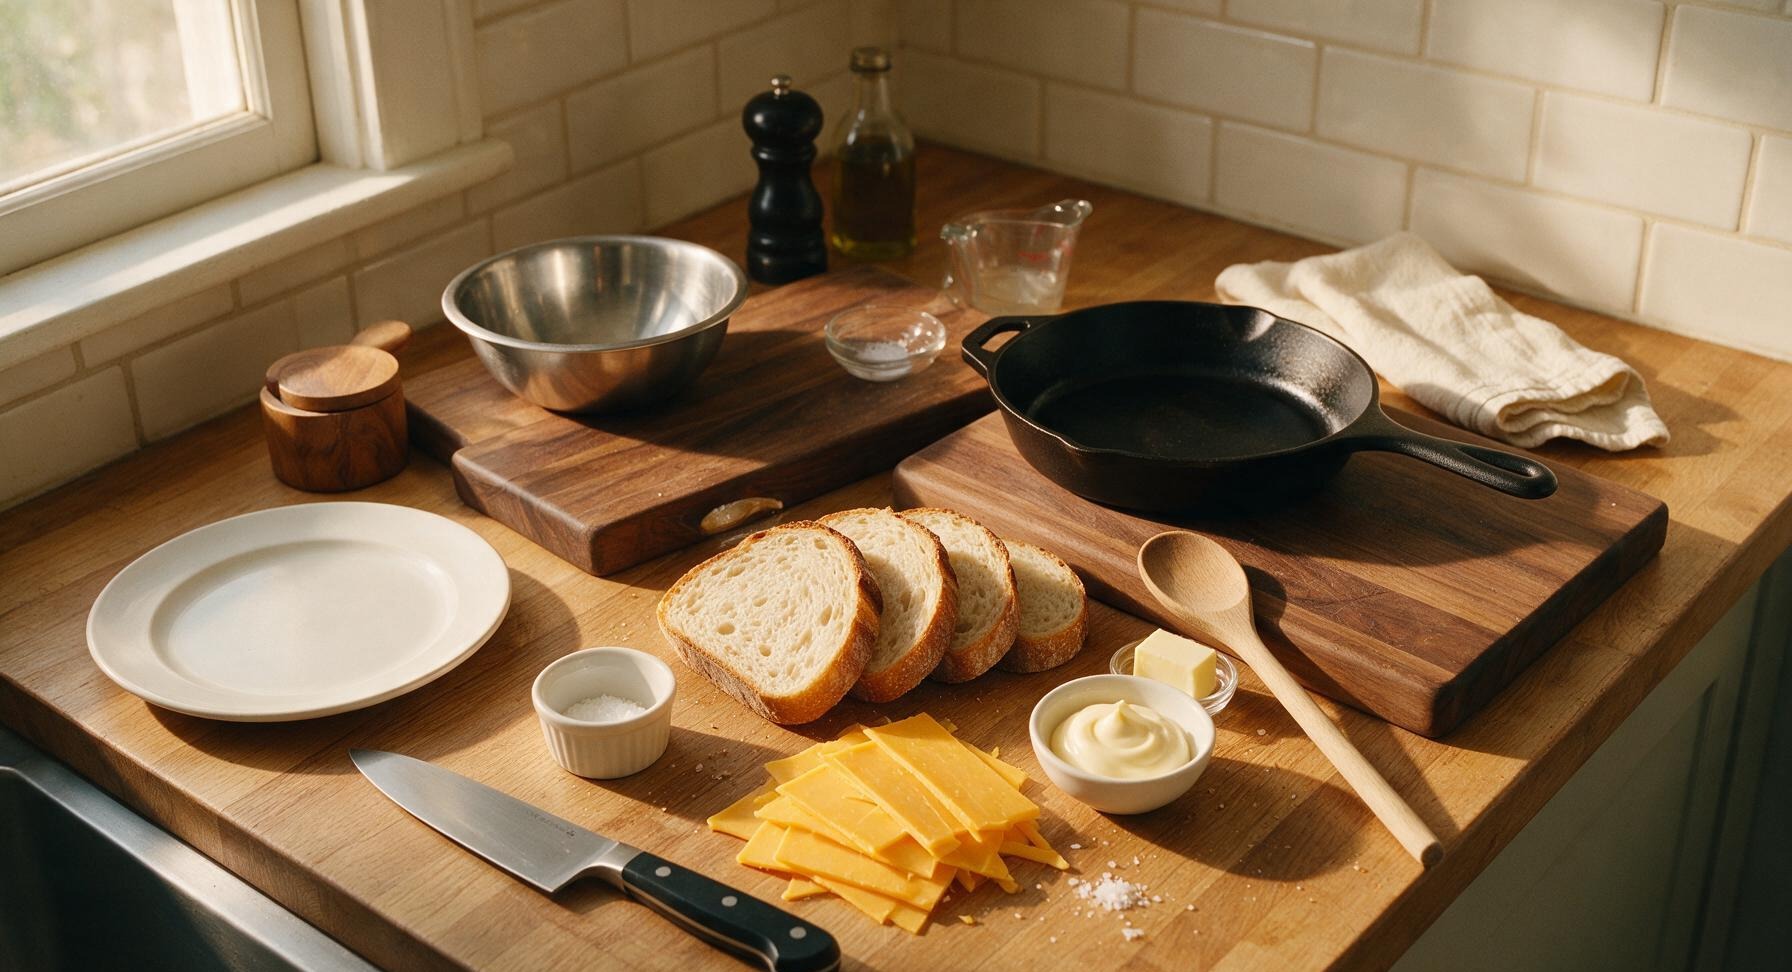
Sourdough bread 4 slices (1.5cm thick, ~160g total)
Sharp yellow cheddar cheese 100g, thinly sliced
Kewpie Japanese mayonnaise 2 tablespoons (30ml)
Unsalted butter 1 tablespoon (14g)
Flaky sea salt 1/4 teaspoon

Steps

1

Prep Bread and Cheese

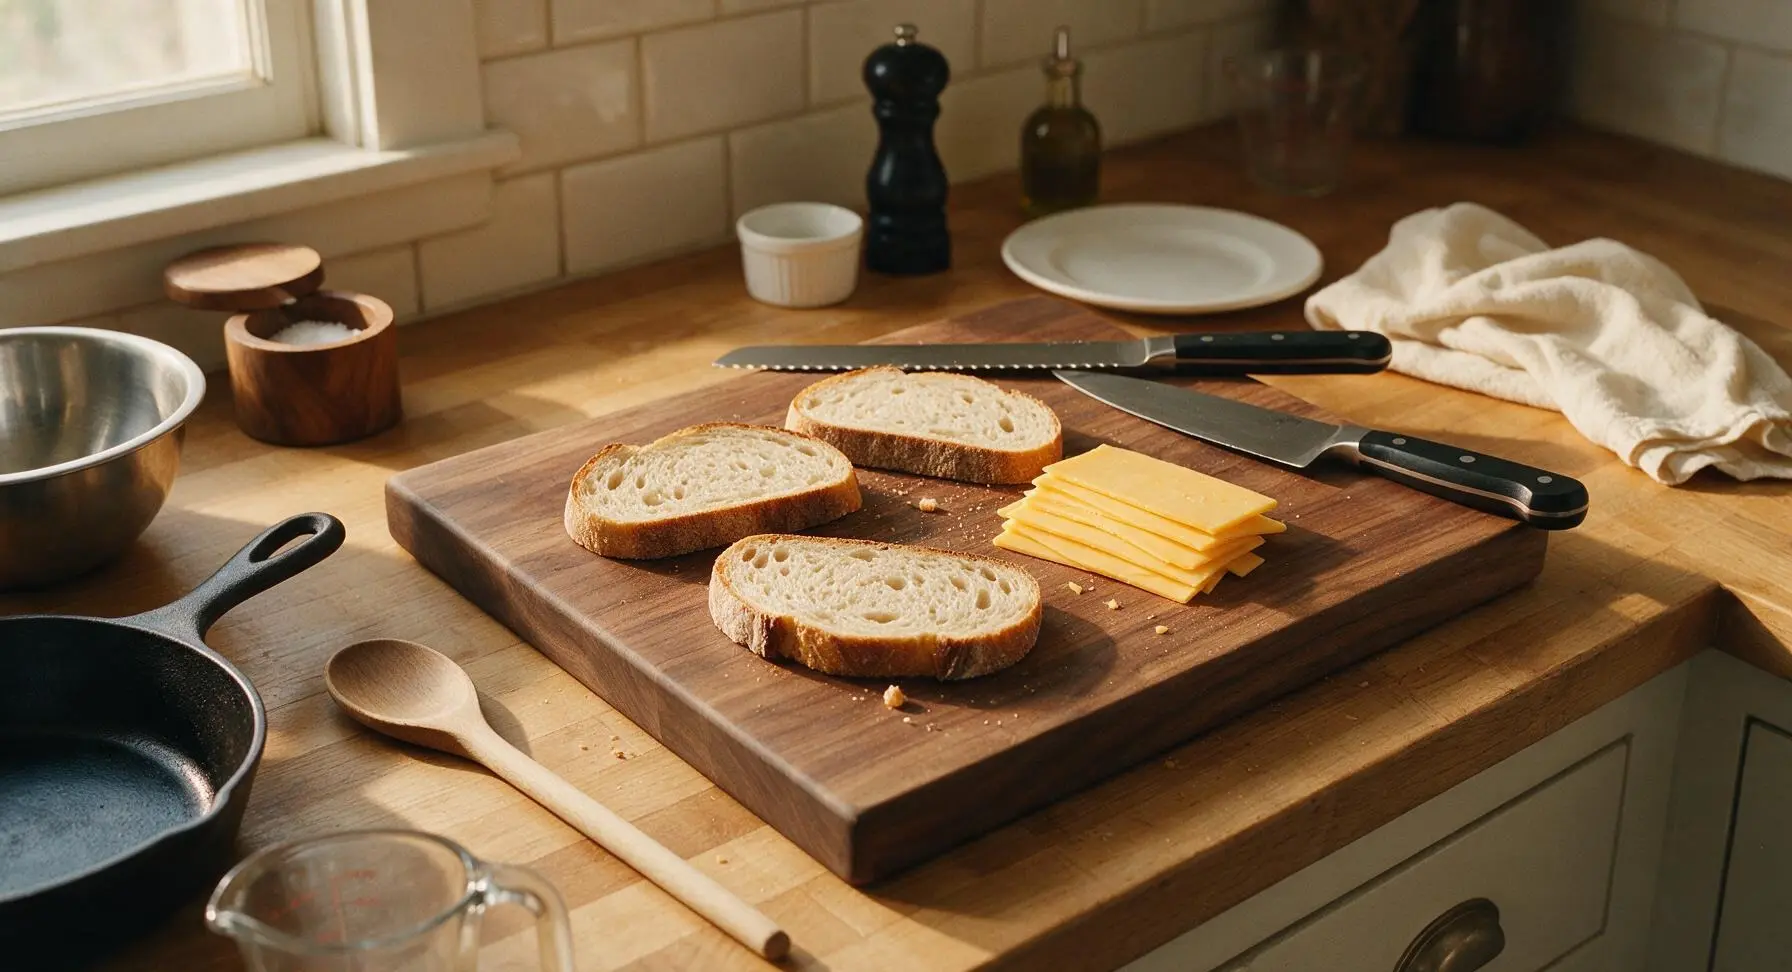
Lay the 4 sourdough slices flat on the bamboo cutting board. Use the serrated bread knife to thinly slice the sharp cheddar into even 3mm thick slices, enough to fully cover two slices of bread with a 5mm edge overhang for ideal cheese pull. Avoid overstacking cheese thicker than 6mm, as this will leak out of the sandwich before fully melting. The bread slices should be evenly thick to ensure uniform toasting.
Step 1
step1:Prep Bread and Cheese
2

Spread Kewpie on Bread

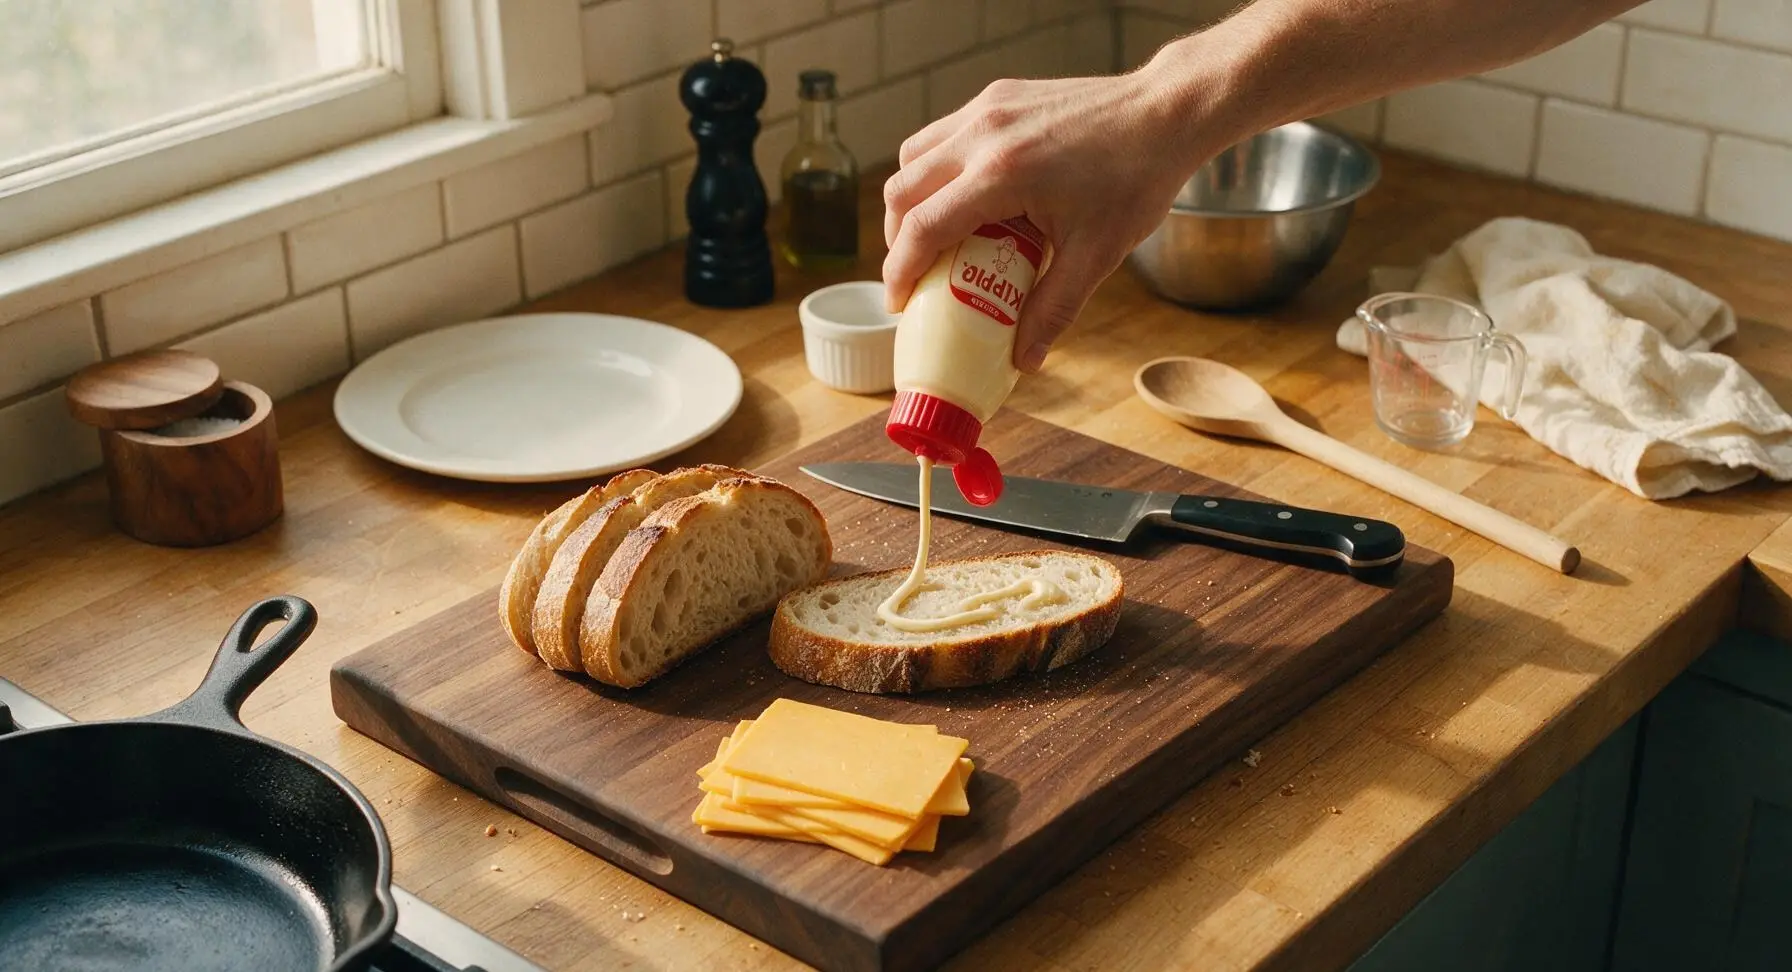
Squeeze 1.5 teaspoons of Kewpie mayonnaise onto the outer face of each of the 4 bread slices. Use a clean finger to spread the Kewpie into a thin, even layer that extends all the way to the crust edges—do not leave bare spots, as these will not crisp evenly. The Kewpie layer should be thin enough that the porous texture of the sourdough is faintly visible through the pale creamy mayo, not thick and gloppy.
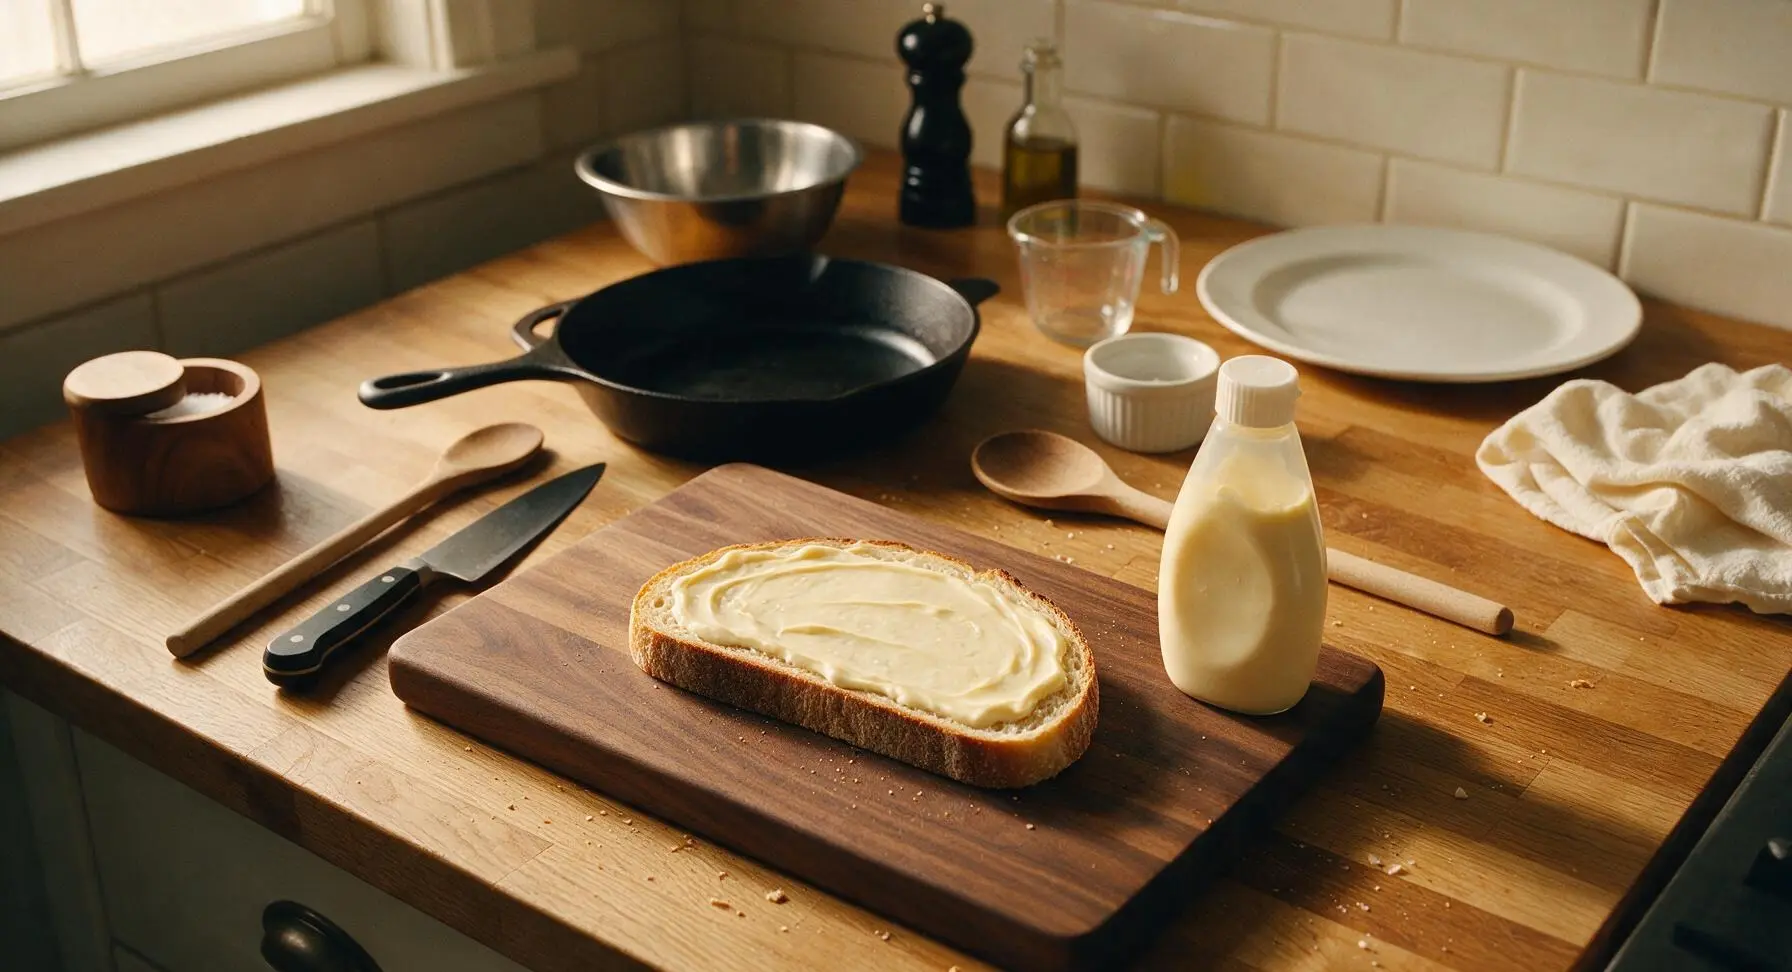
Step 2
step2:Spread Kewpie on Bread
Step 2
step2:Spread Kewpie on Bread
3

Assemble the Sandwiches

Flip two of the Kewpie-coated bread slices so the Kewpie-covered side faces down on the cutting board. Layer the thinly sliced cheddar evenly across the uncoated inner surface of these two slices, maintaining the 5mm edge overhang. Top each with the remaining two bread slices, Kewpie-coated side facing up, to form two full sandwiches. Press down gently on the top of each sandwich with your palm to help the bread and cheese adhere, preventing slices from sliding during cooking.
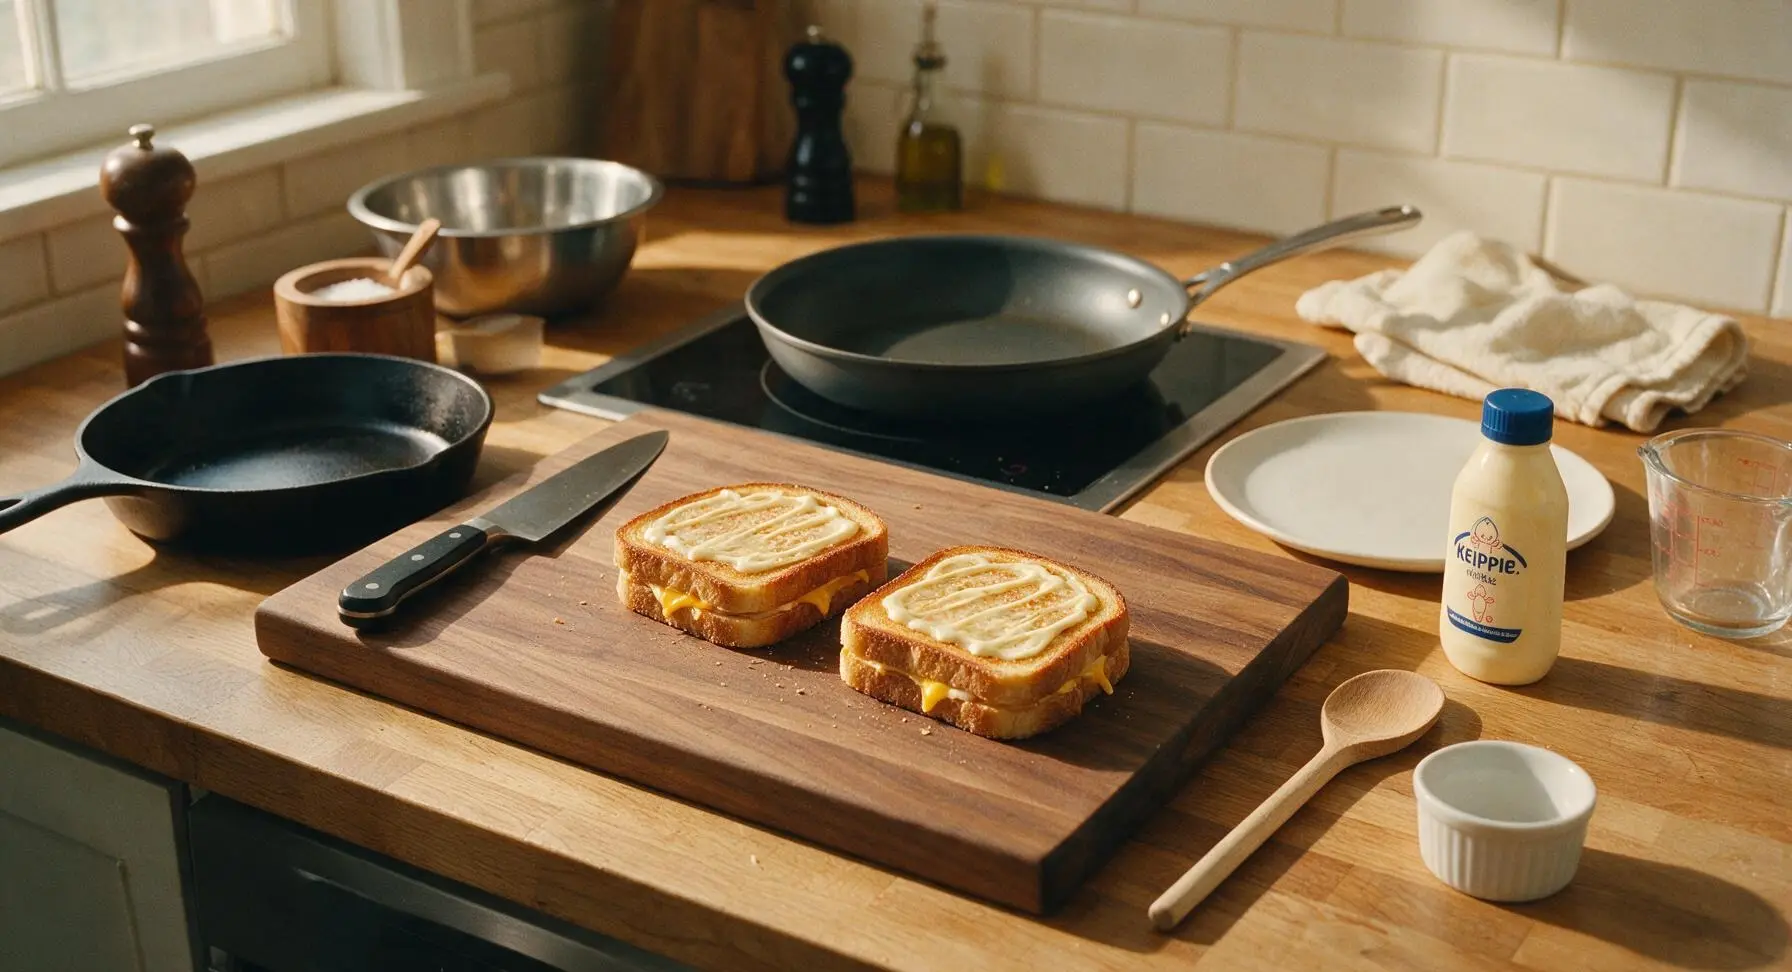
Step 3
step3:Assemble the Sandwiches
4

Preheat Pan with Butter

Turn the induction burner to medium-low heat (325°F / 160°C) under the skillet and preheat for 2 minutes. Add the 1 tablespoon pat of unsalted butter to the pan, swirling the pan handle as the butter melts to coat the entire pan bottom evenly. Wait until the butter is foamy and pale golden, but not nut-brown—if it browns instantly, the pan is too hot and will burn the bread before the cheese melts.
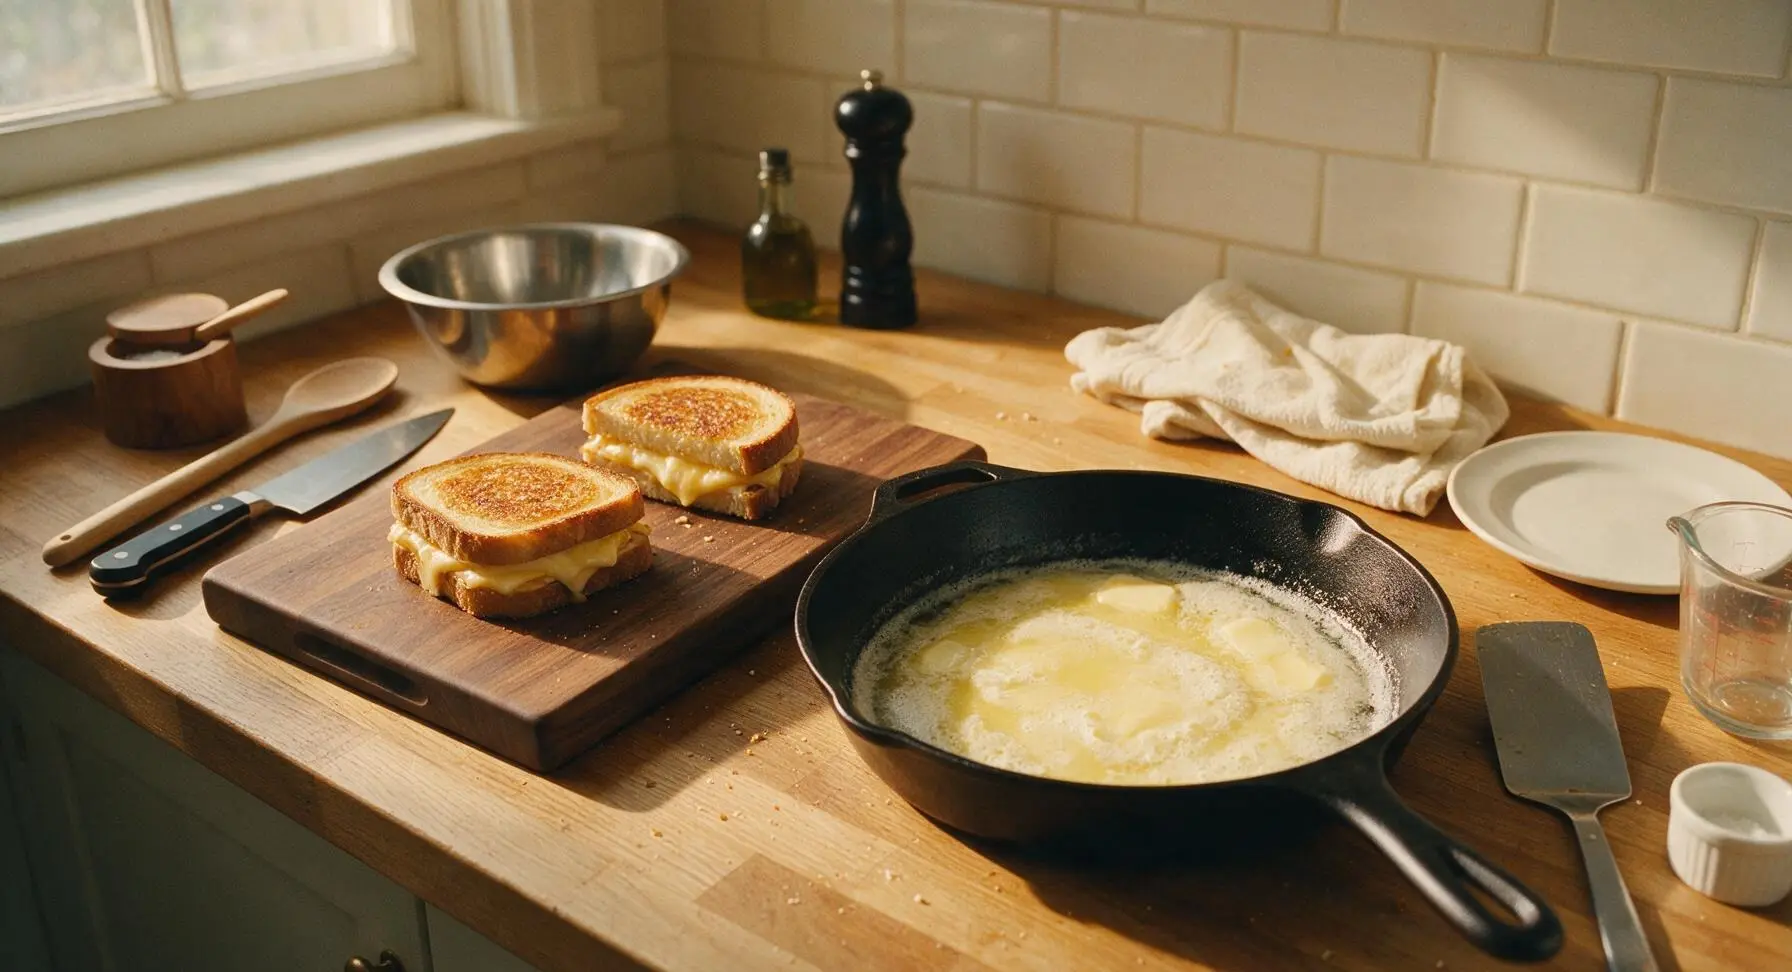
Step 4
step4:Preheat Pan with Butter
5

Grill First Side Golden

Use the offset spatula to carefully place both sandwiches into the preheated, buttered skillet. Cook for 3 minutes on the first side, resisting the urge to press down hard on the sandwiches (this squeezes out melted cheese and compresses the bread into a soggy texture). The first side is ready to flip when it reaches a deep, even golden brown across the entire surface, with no pale soft spots.
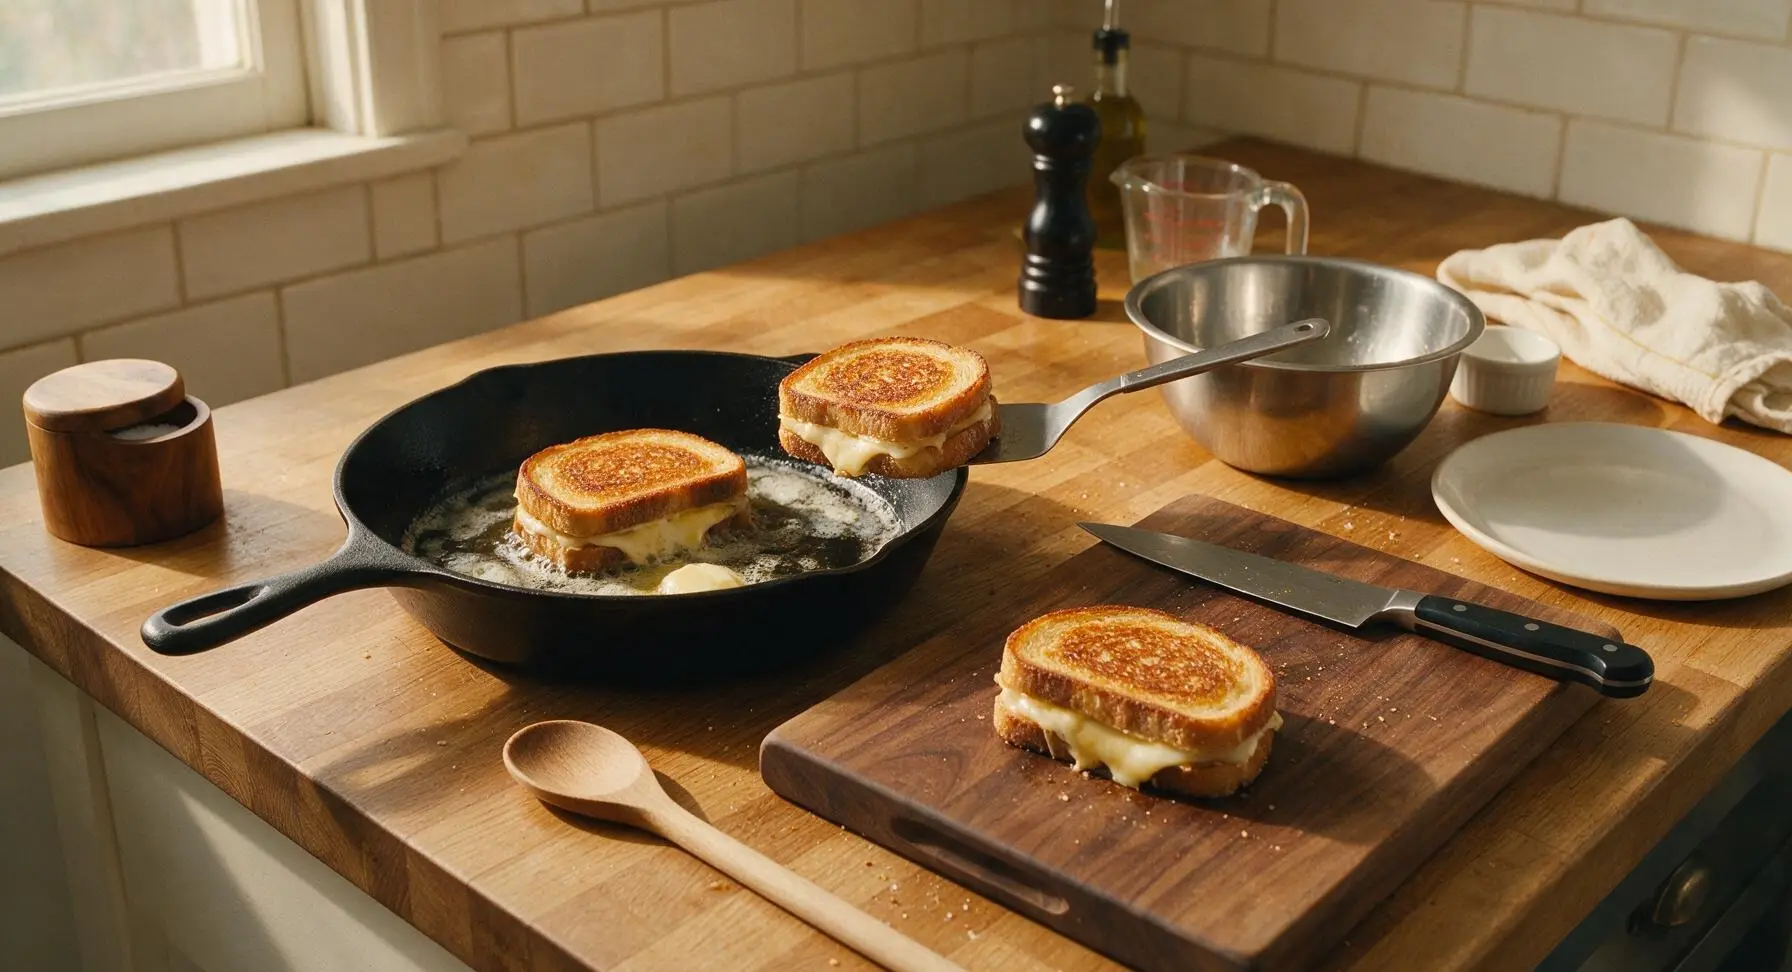
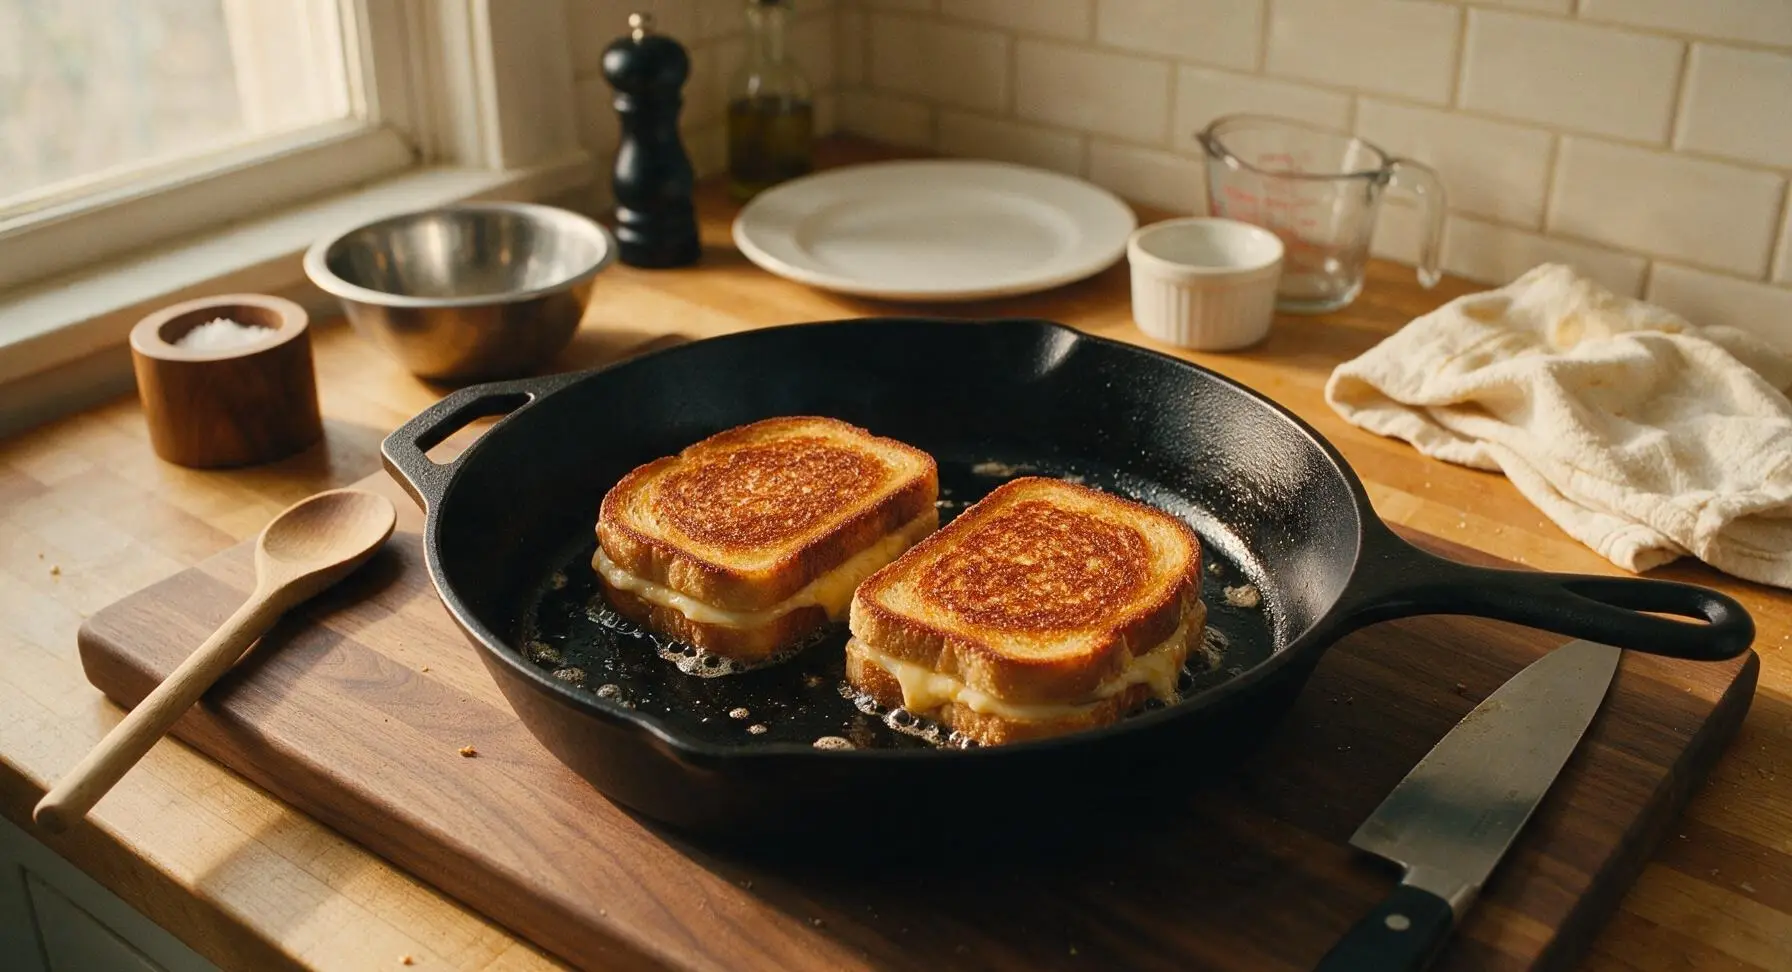
Step 5
step5:Grill First Side Golden
Step 5
step5:Grill First Side Golden
6

Flip and Melt Cheese

Slide the offset spatula fully under each sandwich to carefully flip it to the second side. Cook for an additional 2.5 to 3 minutes, until the second side is equally golden and crispy, and the cheddar center is fully melted—you will see small amounts of cheese oozing out the sandwich edges when it is ready. If the crust darkens faster than 2 minutes, turn the heat down to low to avoid burning before the cheese melts.
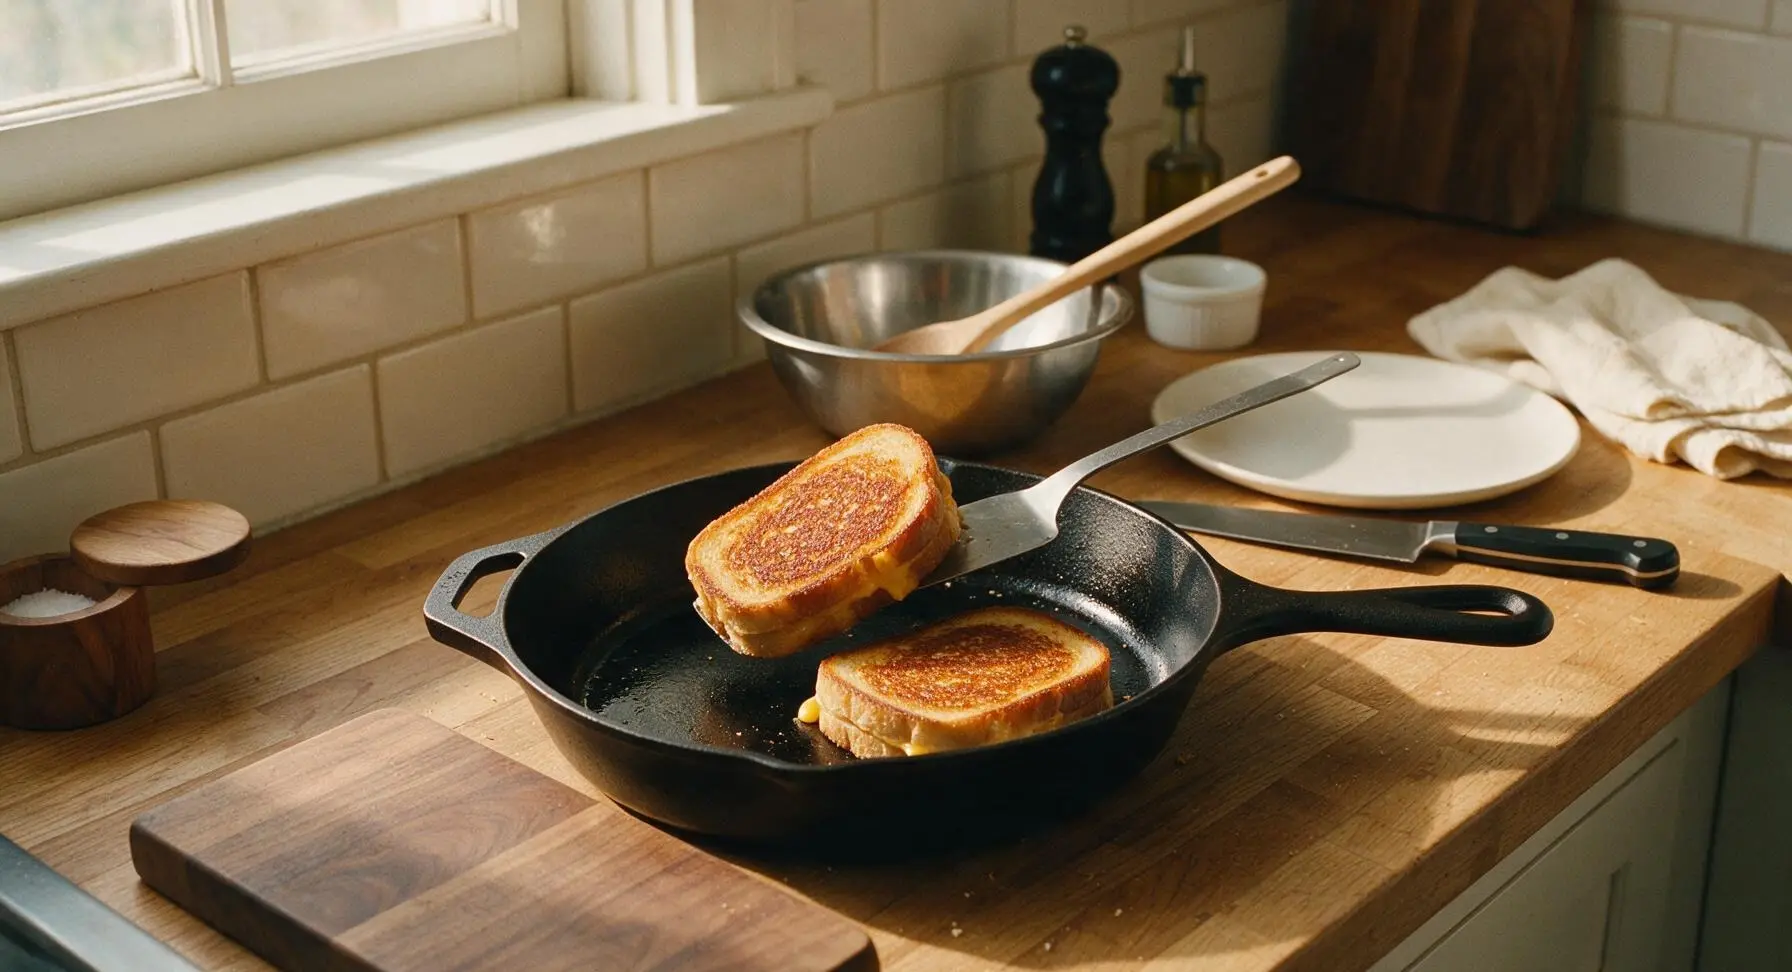
Step 6
step6:Flip and Melt Cheese
7

Rest and Season Lightly

Use the offset spatula to transfer the cooked sandwiches from the skillet back to the bamboo cutting board. Let them rest for 1 full minute to allow the melted cheese to set slightly—this prevents all the cheese from running out when you cut into the sandwich. Sprinkle a tiny 1/4 teaspoon pinch of flaky sea salt evenly over the top crispy crust of each sandwich for a subtle salty crunch.
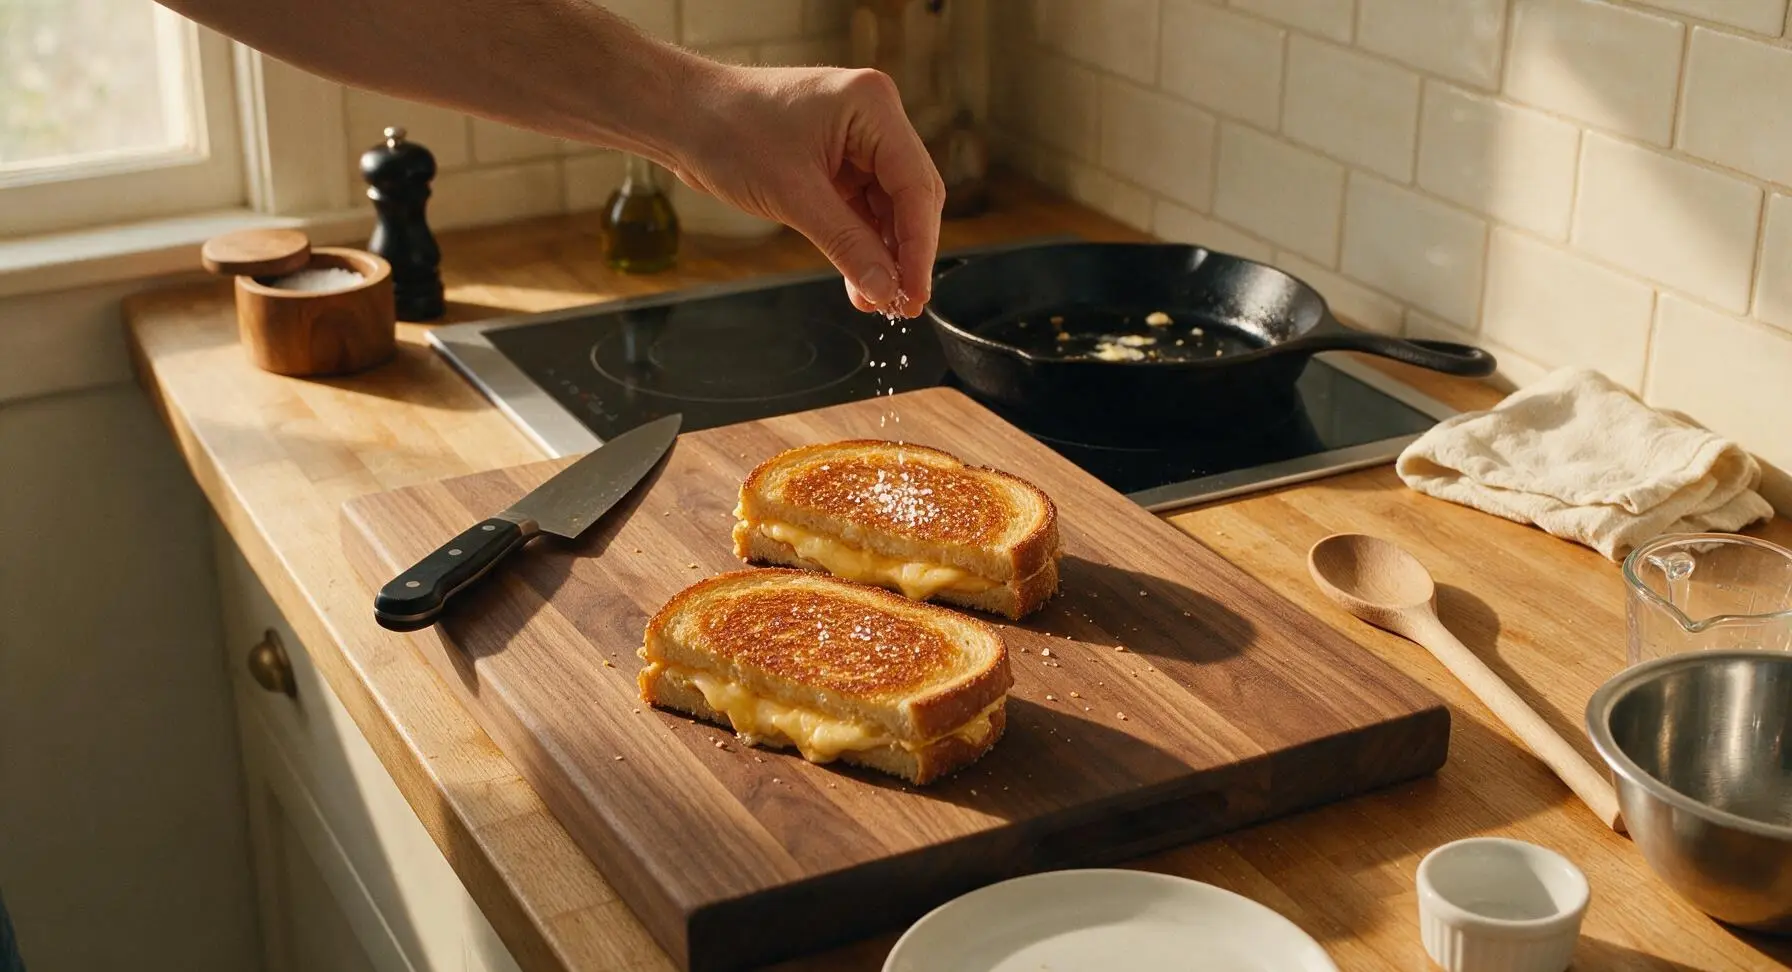
Step 7
step7:Rest and Season Lightly
8

Cut and Serve Warm

Use the serrated bread knife to cut each sandwich diagonally into two equal triangles. Arrange the four triangles on the matte cream ceramic dinner plate, overlapping slightly to showcase the melted cheese center. Serve immediately while the crust is crisp and the cheese is stretchy and hot.
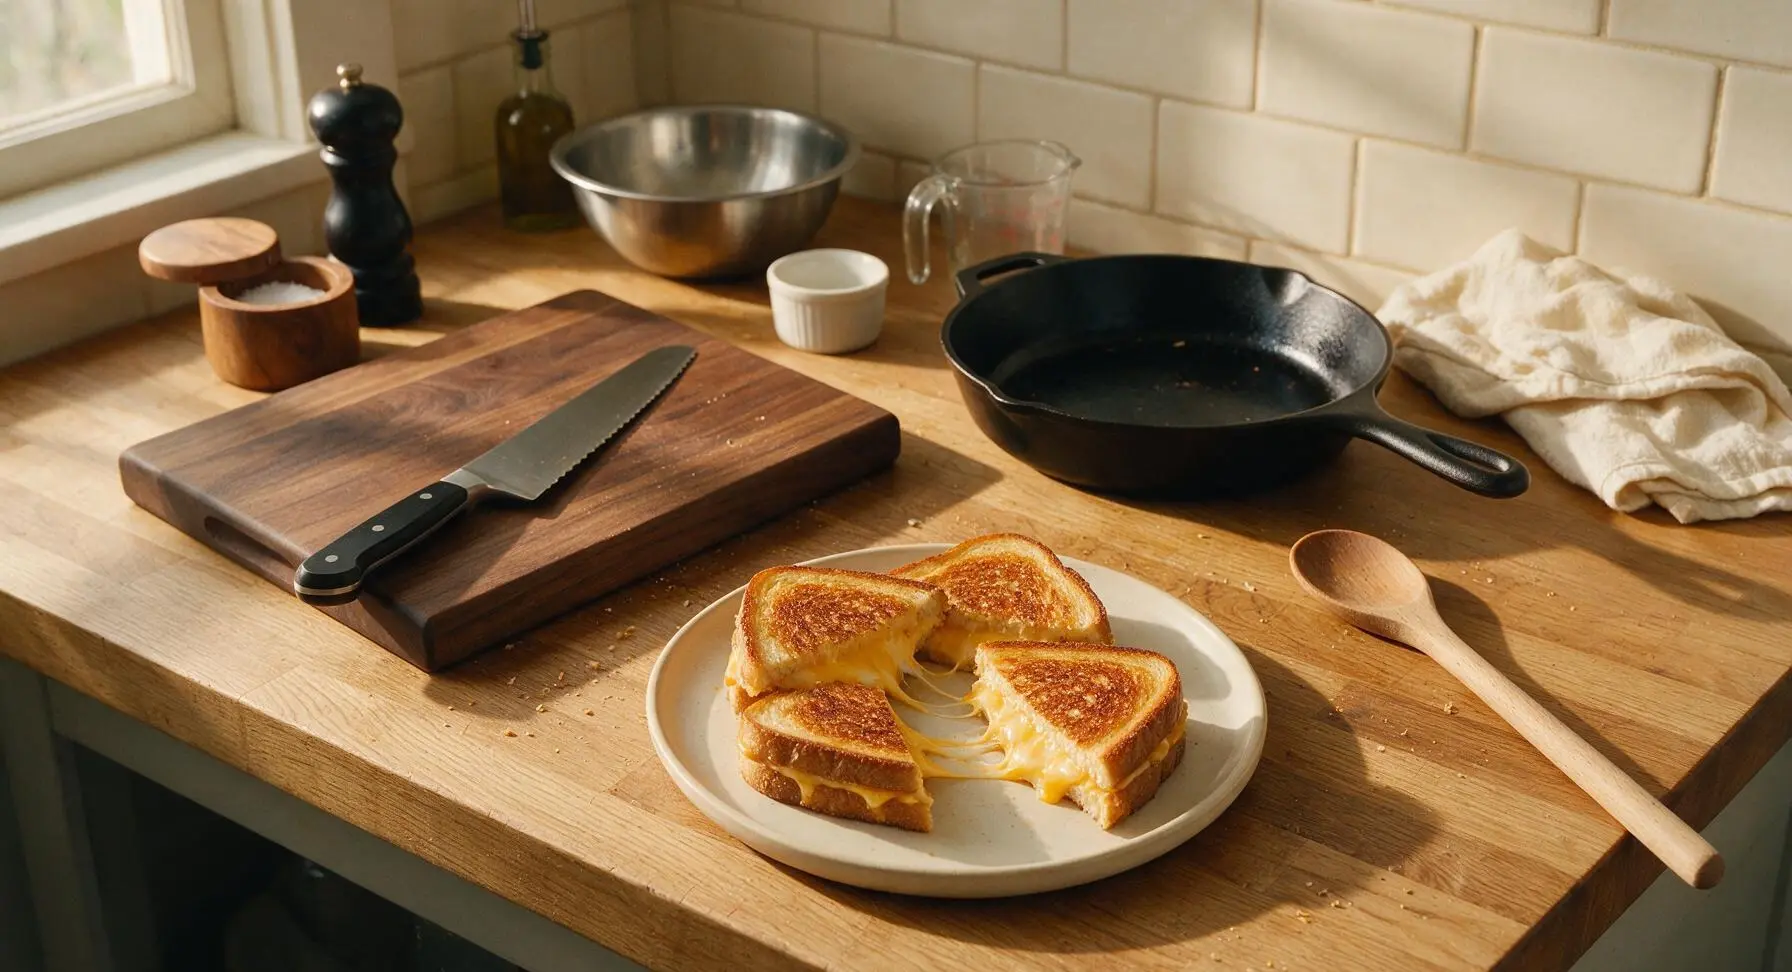
Step 8
step8:Cut and Serve Warm

Tips

1.Use Kewpie instead of plain butter or regular mayo on the bread exterior for a superior crust: Kewpie’s egg yolk base and subtle umami from MSG toasts to a shatteringly crisp, deep golden crust with a faint tang, rather than the softer, richer crust from butter alone.
2.Cook over steady medium-low heat (325°F / 160°C) rather than high heat: High temperatures will char the bread crust before the center cheese fully melts, leading to a burnt outside and cold, un-melted cheese inside. Low, even heat ensures uniform toasting and perfectly gooey cheese.
3.Let the cooked sandwiches rest for 1 full minute before cutting: Slicing immediately causes molten cheese to slide out of the sandwich onto the plate, but a short rest lets the cheese thicken slightly, creating the ideal stretchy cheese pull with every bite.


✨ You May Also Like

Lunch
🍜 United States

Creamy, salty, tangy nostalgic Midwestern sandwich pairing rich peanut butter with crisp briny dill pickles for a fast, satisfying no-cook meal.

⏱️ 5 minutesLunch ★ 4.6
Lunch
🍜 United States

Crispy, melty pressed sandwich layered with savory roast pork, ham, Swiss cheese, pickles, and tangy mustard: a beloved Cuban-American comfort classic.

⏱️ 25 minuteLunch ★ 4.9
Lunch
🍜 United States

Hearty, briny New Orleans pressed sandwich stacked with cured Italian meats, provolone, and zesty olive salad, served cold for bold, portable flavor.

⏱️ 1 hour 20Lunch ★ 4.7
Lunch
🍜 United States

A tangy, creamy Southern American staple, this no-cook cheesy sandwich is packed with sharp cheddar and sweet pimentos for a satisfying, portable bite.

⏱️ 1 hour 15Lunch ★ 4.8
Lunch
🍜 United States

Crispy Cajun-spiced fried shrimp piled on crusty French bread with tangy remoulade and fresh toppings, the iconic Louisiana street food sandwich.

⏱️ 35 minuteLunch ★ 4.4
Lunch
🍜 United States

Stacked, savory deli-style corned beef sandwich with melted Swiss, tangy mustard, and crisp griddled rye— a fast, hearty, satisfying classic.

⏱️ 15 minuteLunch ★ 4.9

Grilled Cheese with Kewpie Mayo:Frequently Asked Questions

1.Why use Kewpie mayo instead of regular American mayo for this grilled cheese? ▾
Kewpie has a richer, tangier, umami-packed profile from its egg yolk-only base, rice vinegar, and subtle MSG, compared to regular mayo which uses whole eggs and sharper distilled vinegar. It spreads ultra-thin, frying to a shatteringly crisp, evenly golden crust without the greasy, splotchy browning you often get with standard mayo or plain butter alone.
2.Do I spread Kewpie on the inside of the sandwich too, or just the outside? ▾
Stick to spreading Kewpie only on the outer faces of the sourdough slices to build that signature crisp crust. Slathering it on the inside will make the cheese filling overly rich and slightly soggy, taking focus away from the bright, tangy melt of sharp yellow cheddar. If you love that Kewpie tang, serve a small ramekin on the side for dipping.
3.Why do you use both Kewpie and unsalted butter for this recipe? ▾
The two fats team up to deliver perfect texture and balanced, nostalgic flavor. Kewpie has a higher smoke point than plain butter, so it prevents burnt, splotchy crusts, while a small pat of unsalted butter melted in the pan adds that nutty, classic grilled cheese richness mayo can’t match. Finish with a pinch of flaky sea salt right off the heat to make every flavor pop.
4.Can I use a different bread instead of sourdough for this recipe? ▾
Sourdough’s tangy, chewy crumb and sturdy crust pairs perfectly with rich Kewpie and sharp cheddar, but you can absolutely swap it if needed. Opt for other thick, sturdy sliced breads like country white, pullman loaf, or mild whole grain—just skip ultra-soft, thin sandwich bread, which will get soggy or fall apart before the cheese fully melts.
5.What’s the best pan temperature to cook this grilled cheese so the crust crisps before the cheese melts? ▾
Cook this over medium-low heat, right around 325°F if you’re using an electric griddle, for ideal results. Higher heat will burn the Kewpie and butter crust before the sharp cheddar has time to fully melt into that gooey, oozing texture, while too-low heat will make the bread soak up excess fat and turn greasy instead of crisp.
6.Can I substitute pre-shredded cheddar for block sharp cheddar here? ▾
Pre-shredded cheddar is coated in anti-caking agents like potato starch that keep it from melting as smoothly as freshly grated or hand-sliced block cheddar. If pre-shredded is all you have, it will work in a pinch, but 1/8-inch thick hand-cut slices of block sharp yellow cheddar will give you that perfect, stretchy, even melt with no grainy texture.
7.Do I need to add flaky sea salt if Kewpie already has salt in it? ▾
Kewpie does contain added salt, but the tiny pinch of flaky sea salt sprinkled on the hot crust right after cooking serves a different purpose. The large, crisp salt crystals hit your tongue first, brightening the nutty crust, tangy Kewpie, and sharp cheddar without making the sandwich overly salty. Skip fine table salt here, as it dissolves too fast and can over-season the bread.
8.My crust got really dark really fast—what did I do wrong? ▾
That almost always means your pan heat was too high, or you spread Kewpie too thickly on the bread. Kewpie browns quickly when exposed to high heat, so turn your burner down a notch, and spread a super thin, even layer of Kewpie across the entire outer surface of the bread—no thick globs—to get even golden browning without burnt spots before the cheese melts.
9.Is there a good substitute for Kewpie if I can’t find it at my grocery store? ▾
If you can’t track down Kewpie, mix 1/4 cup of regular full-fat American mayonnaise with 1 teaspoon of unseasoned rice vinegar and 1/4 teaspoon of granulated sugar to mimic its signature tangy, slightly sweet profile. It won’t be an exact match, but it will get you close to that crisp, flavorful crust instead of the blander browning from plain standard mayo.
10.How do I keep my grilled cheese from getting soggy once it’s off the pan? ▾
Don’t set finished grilled cheese directly on a solid plate right away, especially if you’re making multiple sandwiches—rest it on a wire rack set over a baking sheet for 1 minute before serving. Trapping steam between the hot sandwich and a flat surface will make that crisp Kewpie crust go soft fast. Skip wrapping it in foil too, as that trapped steam ruins the shatteringly crisp texture.
11.Can I add extra fillings like tomato or bacon to this Kewpie grilled cheese? ▾
You absolutely can, but take one small step to avoid sogginess. If adding sliced tomato, pat slices completely dry with paper towels first to remove excess juice, and cook bacon until fully crisp before tucking it in with the cheddar. Stick to 1-2 thin extra fillings max so they don’t weigh the sandwich down or block even cheese melting.
12.Should I grate my cheddar or slice it for this recipe? ▾
Both work, but thin 1/8-inch hand-cut slices of sharp yellow cheddar are the most foolproof for even, consistent melting. Grated cheese melts faster, but it can easily ooze out the sides of the sandwich and burn on the pan if you overstuff it. If you prefer grated, stick to about 1.5 ounces per sandwich, tucking stray shreds back inside before cooking.
13.Can I make this grilled cheese dairy-free for a vegan diet? ▾
You can make a solid dairy-free version with a few simple swaps. Swap the unsalted butter for a neutral vegan butter, use your favorite meltable vegan sharp cheddar-style cheese, and note that standard Kewpie is not vegan—look for plant-based Kewpie, or use the earlier Kewpie dupe made with vegan mayo, rice vinegar, and a pinch of sugar to keep that crisp crust.
14.What are the best dips to serve with this Kewpie grilled cheese? ▾
The tangy, rich profile pairs perfectly with classic creamy tomato soup, of course, but you’ve got lots of great dip options. A quick mix of extra Kewpie with a pinch of garlic powder works beautifully, as does spicy sriracha, tangy dill pickle dip, or even simple crisp dill pickle spears to cut through the richness of the melted cheese and buttery crust.
15.How do I reheat leftover Kewpie grilled cheese without making it soggy? ▾
Skip the microwave entirely, which will turn the crust rubbery and the cheese grainy. Instead, reheat the sandwich in a dry skillet over medium-low heat for 2-3 minutes per side, until the crust crisps back up and the cheese is fully melted again. You can also reheat it in a 350°F air fryer for 3-4 minutes, checking halfway to avoid burning the crust.
16.Is Kewpie safe to spread on bread and cook, since it’s raw egg-based? ▾
Absolutely. Kewpie is made with pasteurized egg yolks, so it’s completely safe to eat straight from the bottle, and cooking it on the outside of the bread over medium-low heat brings it to a food-safe temperature quickly. You don’t have to worry about any raw egg risk with this recipe, even when serving it to kids or people with mild immune sensitivities.
17.How much cheese should I use per sandwich to get that perfect oozing melt without making a mess? ▾
Stick to 2 ounces (about 2 thin slices) of sharp yellow cheddar per sandwich, layered evenly to cover the entire bread surface without hanging over the edges. Too much cheese will ooze out the sides, burn on the pan, and make the sandwich slide apart when you pick it up, while too little will leave you with dry bread without that classic gooey cheese pull.
18.Can I make this recipe in a panini press instead of a stovetop skillet? ▾
You can, just adjust your cooking time and heat to avoid burning the delicate Kewpie crust. Set the panini press to medium heat, and cook the sandwich for 3-4 minutes total, until the crust is deep golden and the cheese is fully melted. Don’t press down hard on the lid, or you’ll squeeze out melted cheese and flatten the bread into a tough, dense texture.

Comments (5)

2 hours ago

Wait why did I never think to use Kewpie for grilled cheese before??? I saw this recipe pop up on my feed this morning and made it for lunch, and WOW. The bread gets that perfect golden crunch and the mayo adds that little umami kick regular butter just can’t compete with. My roommate stole half my sandwich and is already asking when I’m making it again.

30 minutes ago

Right??? I tried this last week and added a little sprinkle of furikake to the outside of the bread too, chef’s kiss. Game changer level stuff.

5 minutes ago

So glad you and your roommate loved it! The umami from the Kewpie is really what makes that crust next level – if you want to mix it up next time, try adding a dash of garlic powder to the mayo before spreading, it’s unreal.

1 week ago

Super easy weeknight meal win! Cook time was exactly 6 minutes like the recipe said, which was perfect for a busy night when we had 10 minutes to get dinner on the table between soccer practice and homework. I used sharp cheddar and a little pepper jack, and the Kewpie crust didn’t burn at all even on my kinda janky old stovetop pan. My youngest is a super picky eater and ate his whole sandwich without complaining, which is basically a miracle.

5 days ago

Love to hear that! This recipe is so forgiving even on older pans, which makes it perfect for busy weeknights. So stoked your picky eater enjoyed it – that’s the best win we can ask for!

3 days ago

I was skeptical at first because I usually hate mayo on anything, but I had a bottle of Kewpie in my fridge from making sushi bowls last week so I gave this a shot. Used sourdough and vegan mozzarella, followed the cook time exactly, and it was SO good. I even added a little sriracha inside for a kick, will absolutely be making this for my next potluck with friends.

2 weeks ago

Added this to my weekly meal prep rotation! I make a batch on Sunday, wrap them up, and they reheat so well in the toaster oven – the crust stays crispy instead of getting soggy like regular butter grilled cheese does when you reheat it. Total hack for quick work from home lunches.

1 week ago

Wait does the Kewpie make the bread greasy when you reheat it? I tried this once with regular mayo and it was a total oily mess, thinking of giving Kewpie a shot instead.

yesterday

Just made this and I’m kicking myself for wasting so many years using butter on grilled cheese. The Kewpie gives the bread such a perfect, crispy, slightly tangy crust that pairs so well with creamy melted American cheese. I will never go back. Only downside is my whole apartment smelled like grilled cheese for hours, but honestly that’s a pro in my book.

2 hours ago

Wait try it with a slice of tomato and a little crispy bacon inside, you’ll lose your mind. The tang from the Kewpie cuts through the bacon grease so well!

just now

So happy you’re a convert! That tang from the Kewpie is truly unmatched for grilled cheese crust. Don’t sleep on adding a pinch of paprika to the mayo spread next time for a little smoky kick!



