
Grilled Cheese with Kimchi
intro
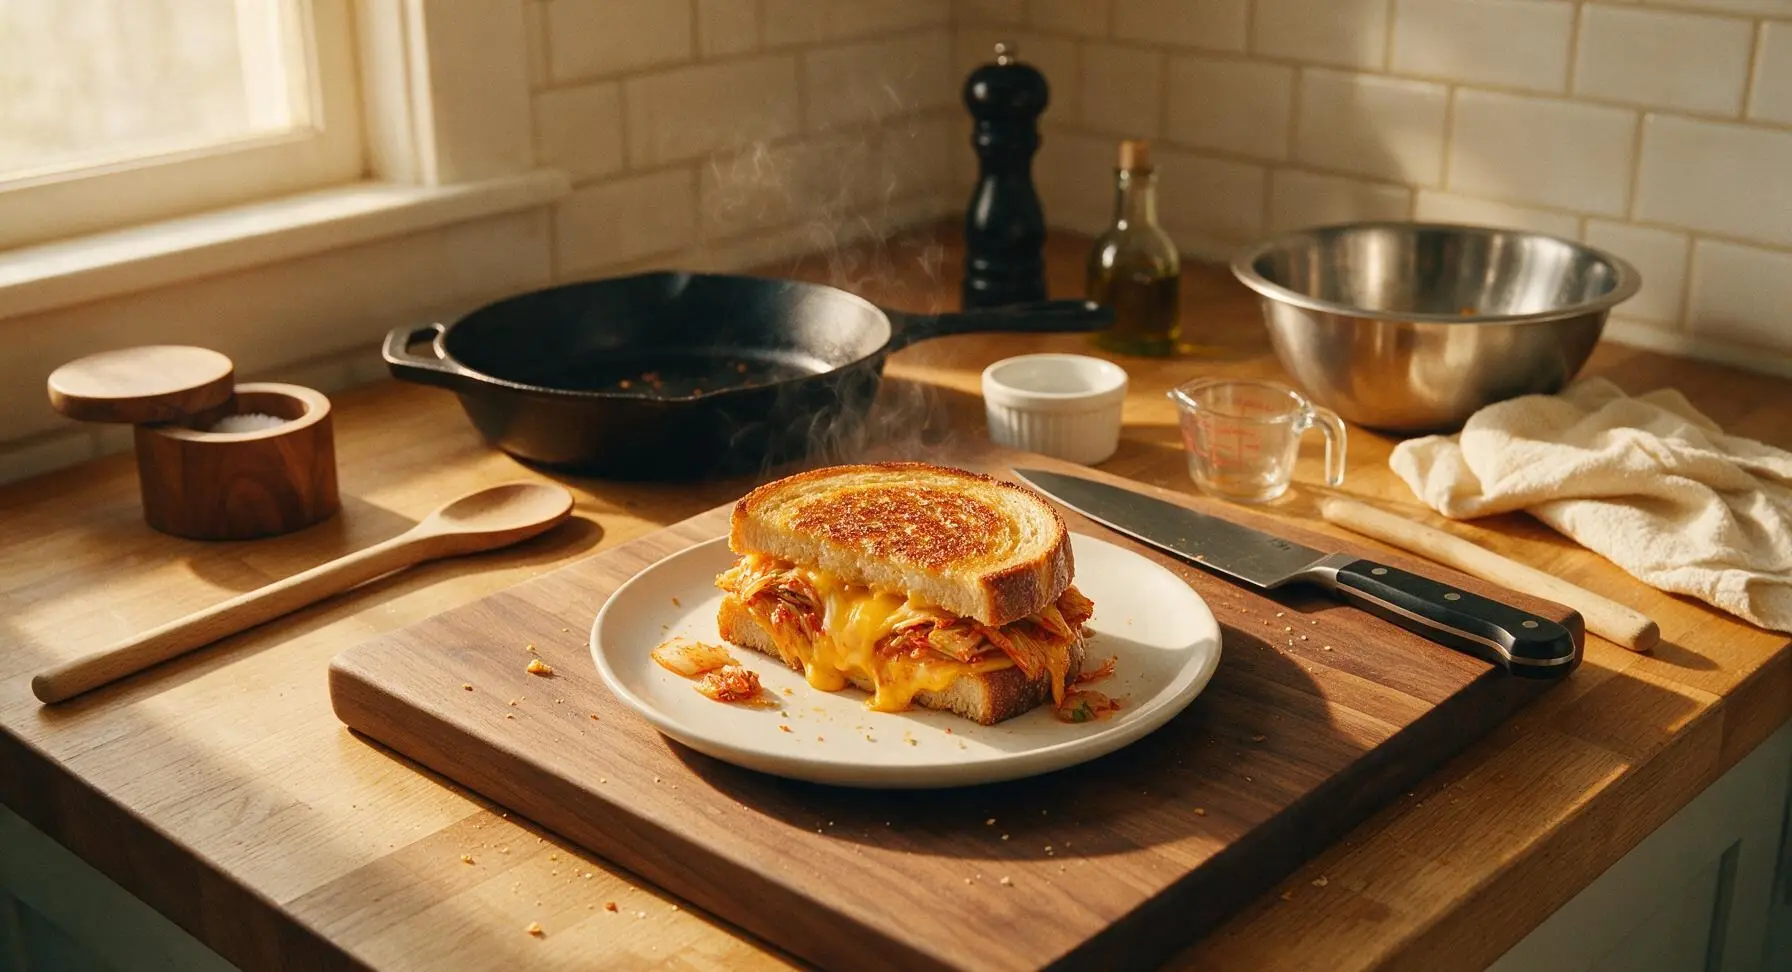
Crispy butter-toasted sourdough oozing with melted sharp cheddar and tangy, spicy kimchi—this Korean-American twist on grilled cheese is fast, bold, cozy comfort food.
Ingredients
Steps
Squeeze excess kimchi brine
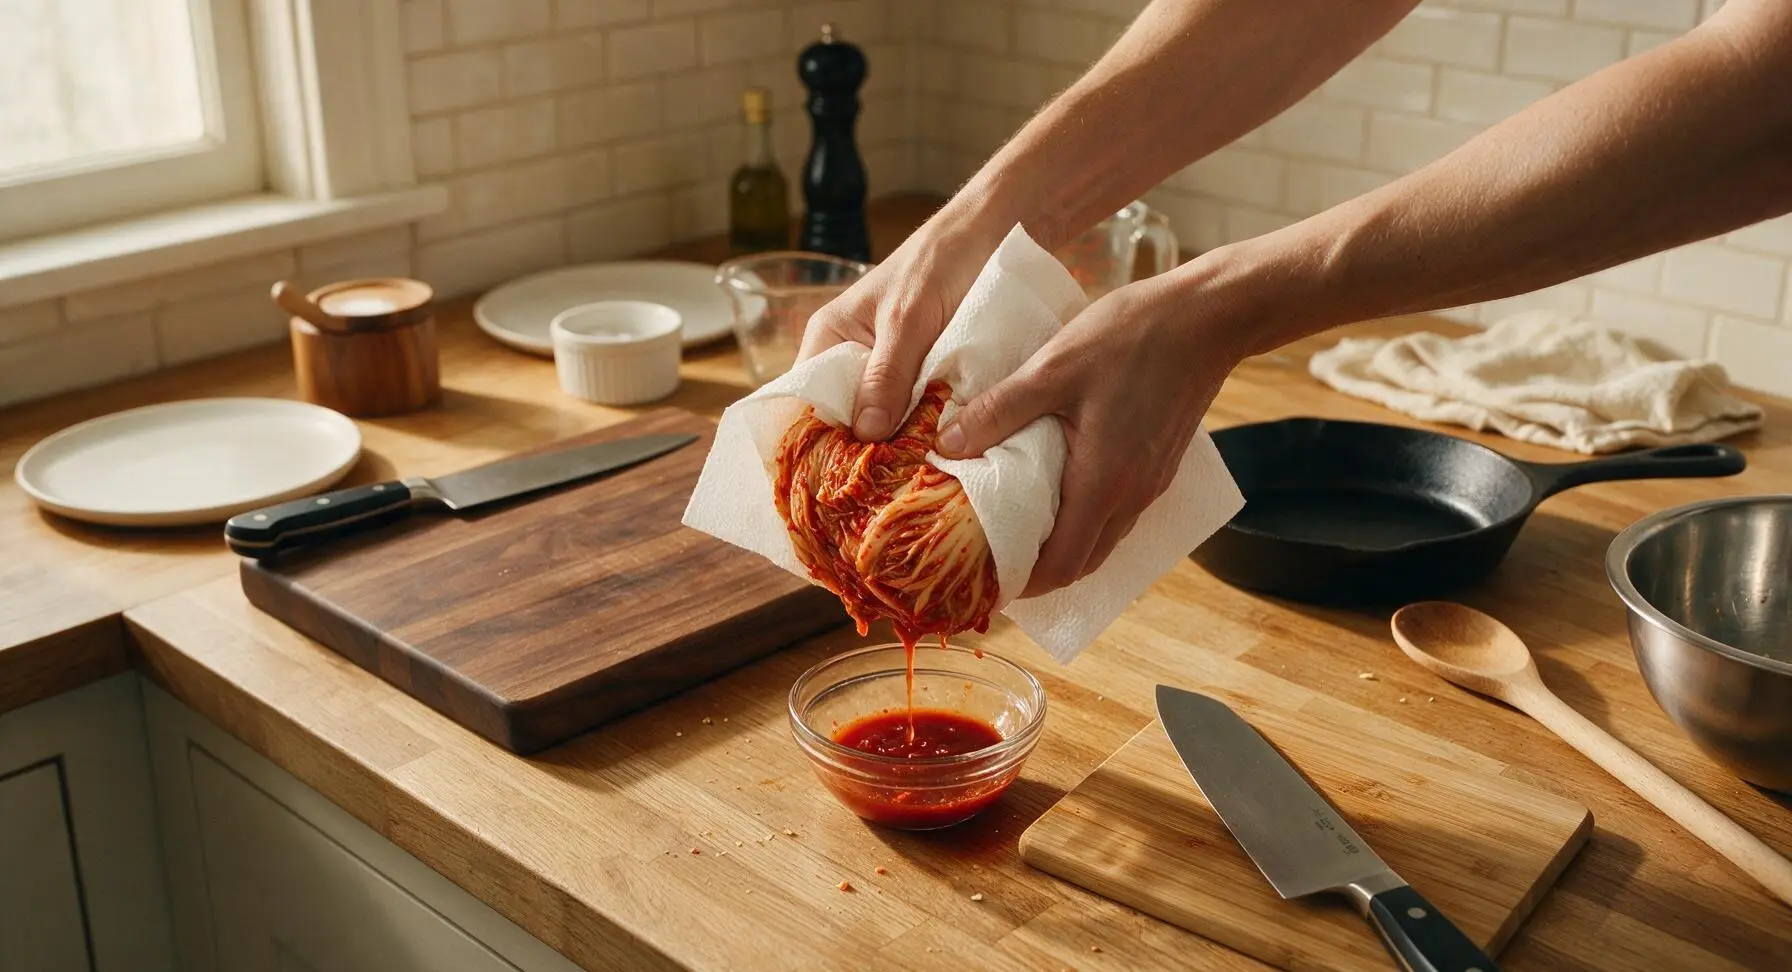
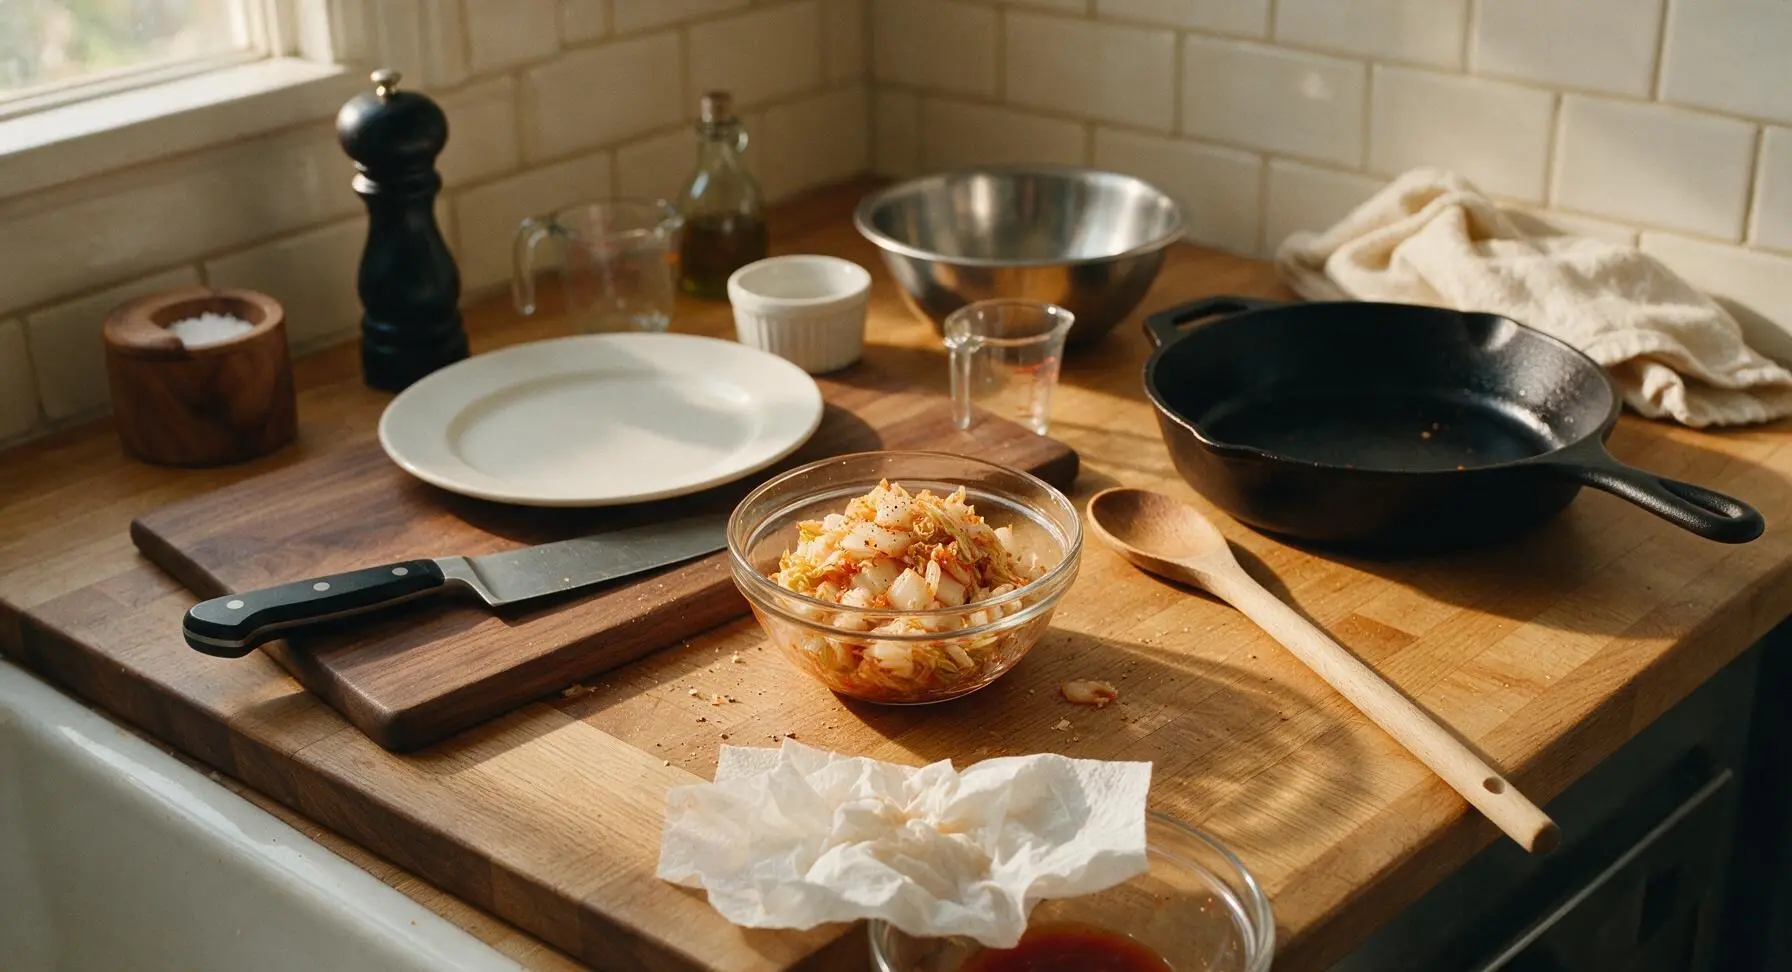
Place 1/2 cup (70g) napa cabbage kimchi on a double layer of unpatterned white paper towel set over the small clear glass condiment bowl. Gently squeeze firmly to remove as much excess brine as possible (reserve brine for dressings or fried rice if desired)—this critical step prevents soggy, limp bread. Transfer squeezed kimchi to the small bamboo cutting board, use the 7-inch santoku knife to roughly chop into 1cm pieces, then scoop into a small clear glass prep bowl. Toss with 1/8 tsp freshly ground black pepper, set aside. The kimchi is ready when no more brine drips when you squeeze a small piece.
Grate the cheddar cheese
Set the stainless steel box grater over a second small clear glass prep bowl. Hold the block of sharp white cheddar against the large holes of the grater, and grate 1 cup (113g) of cheese, taking care not to pack the shreds too tightly—loosely grated cheese melts more evenly and quickly than compacted shreds. Set the bowl of grated cheese aside.
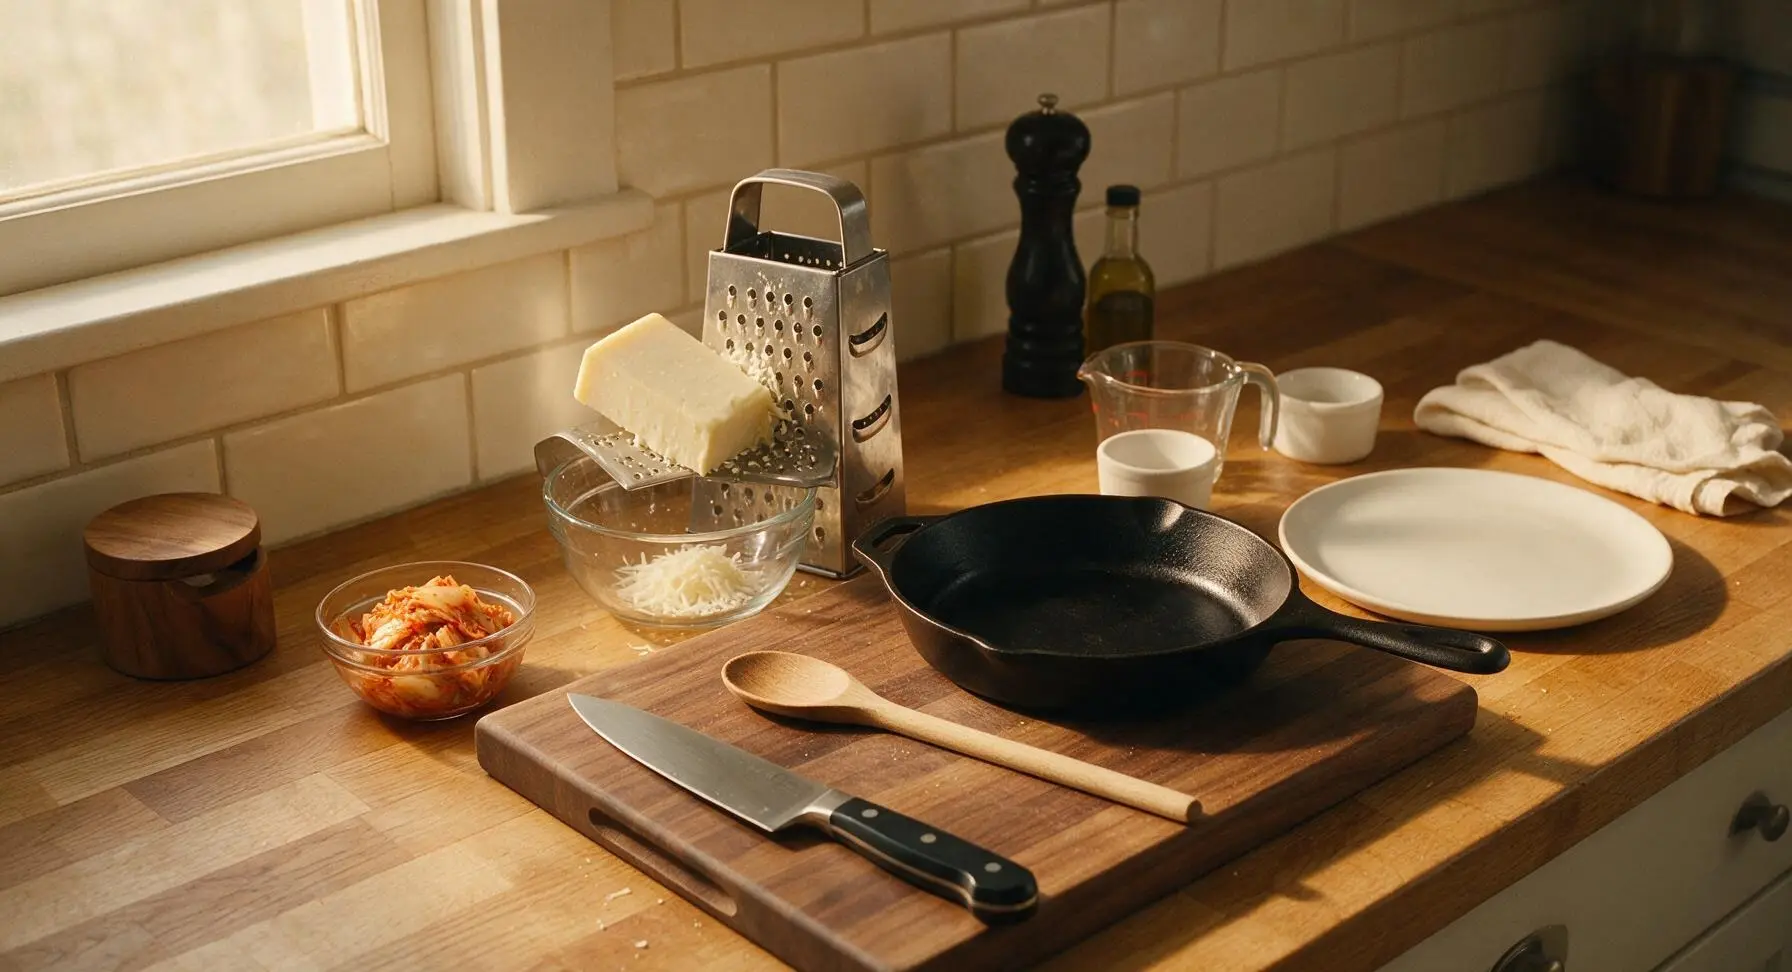
Butter bread slices evenly
Lay all 4 thick slices of sourdough bread flat on the bamboo cutting board. Use the flexible matte black silicone spatula to spread 1/2 tbsp of softened unsalted butter evenly across one entire side of each bread slice, spreading all the way to the crust edges. The buttered side will form the crispy, golden exterior of the sandwich—do not leave dry unbuttered patches, as these will burn unevenly and fail to crisp.
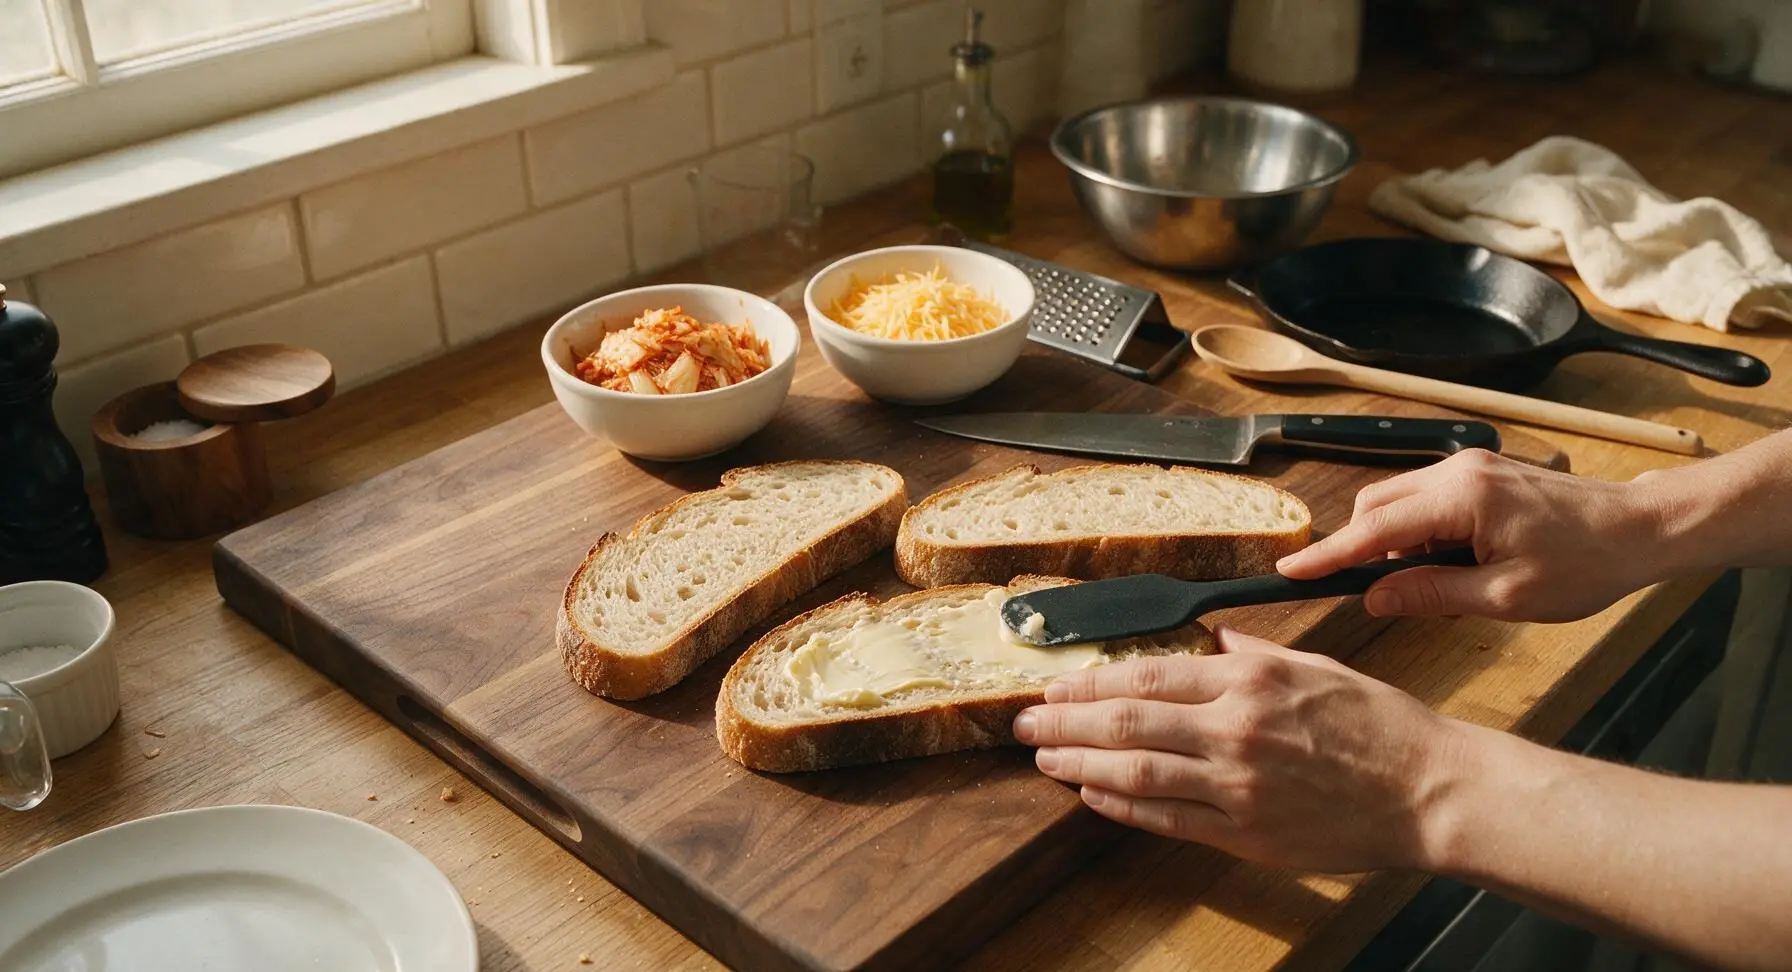
Layer cheese and kimchi
Flip two of the bread slices over so the buttered side faces down on the cutting board. Divide half of the grated cheddar evenly between the two slices, spreading it in a thin, even layer right to the edges. Top the cheese with all of the chopped kimchi, spreading it out to cover the cheese, then add the remaining half of the cheddar over the kimchi. Top with the remaining two bread slices, buttered side facing up. Press down gently on each sandwich to compact the layers slightly—this helps the cheese adhere to the bread and fillings, preventing ingredients from falling out while cooking.
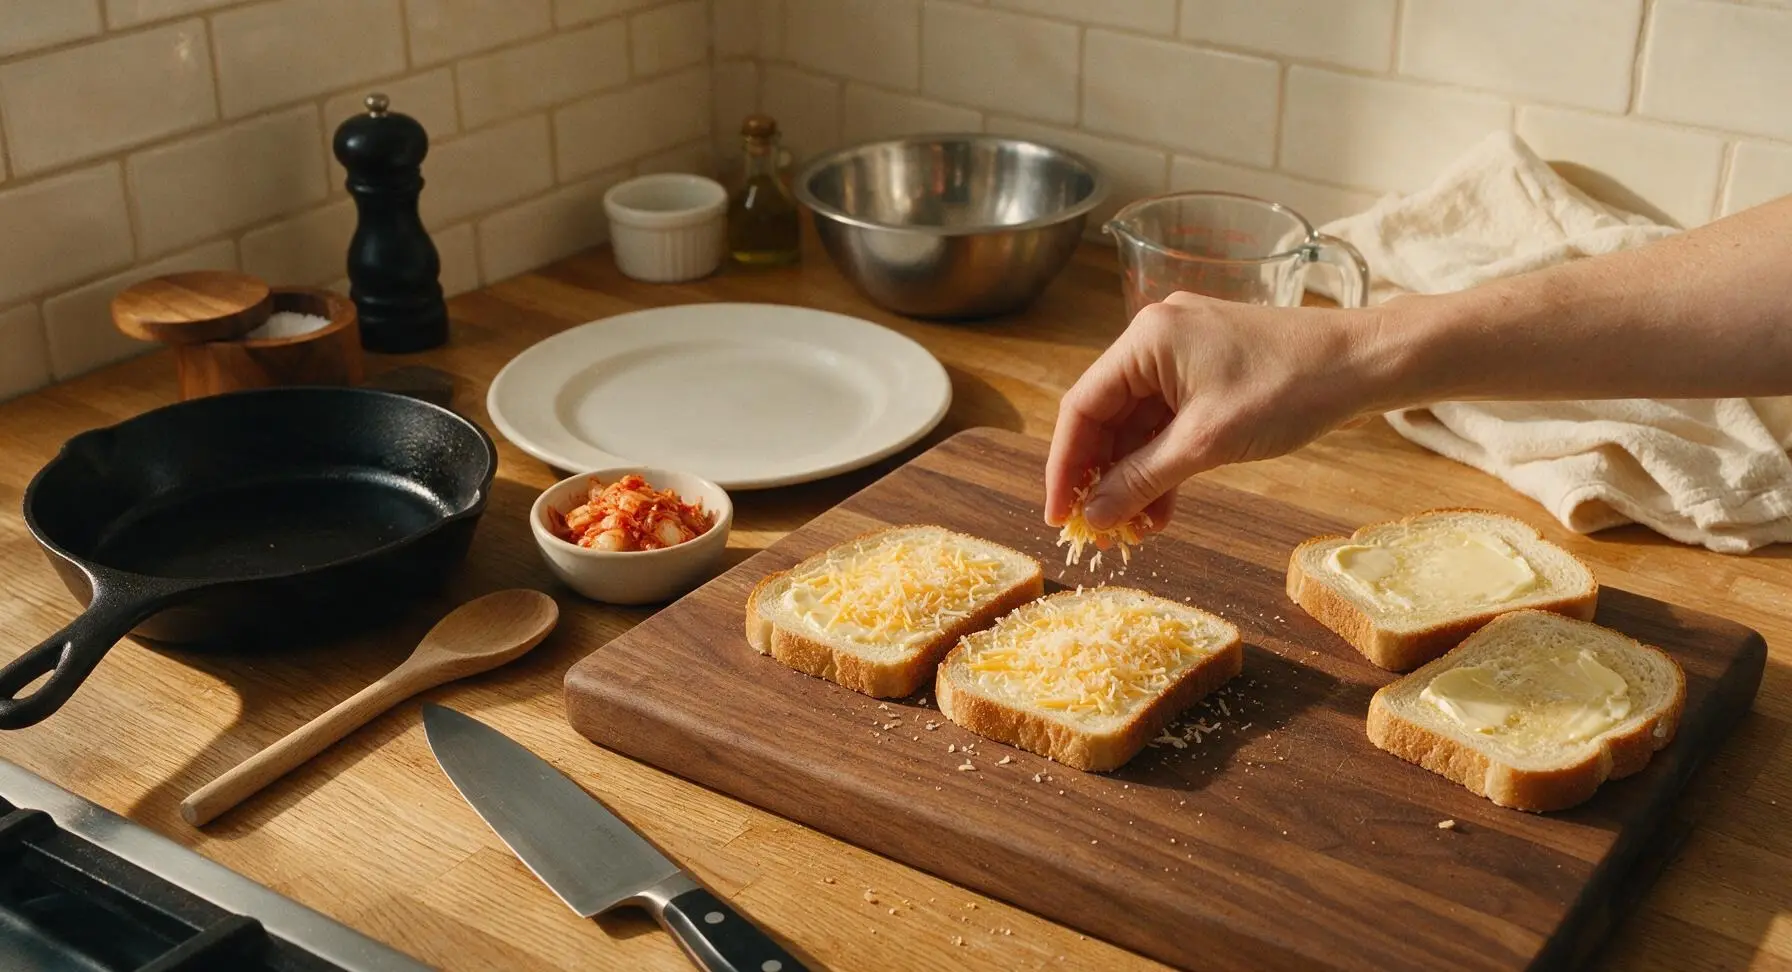
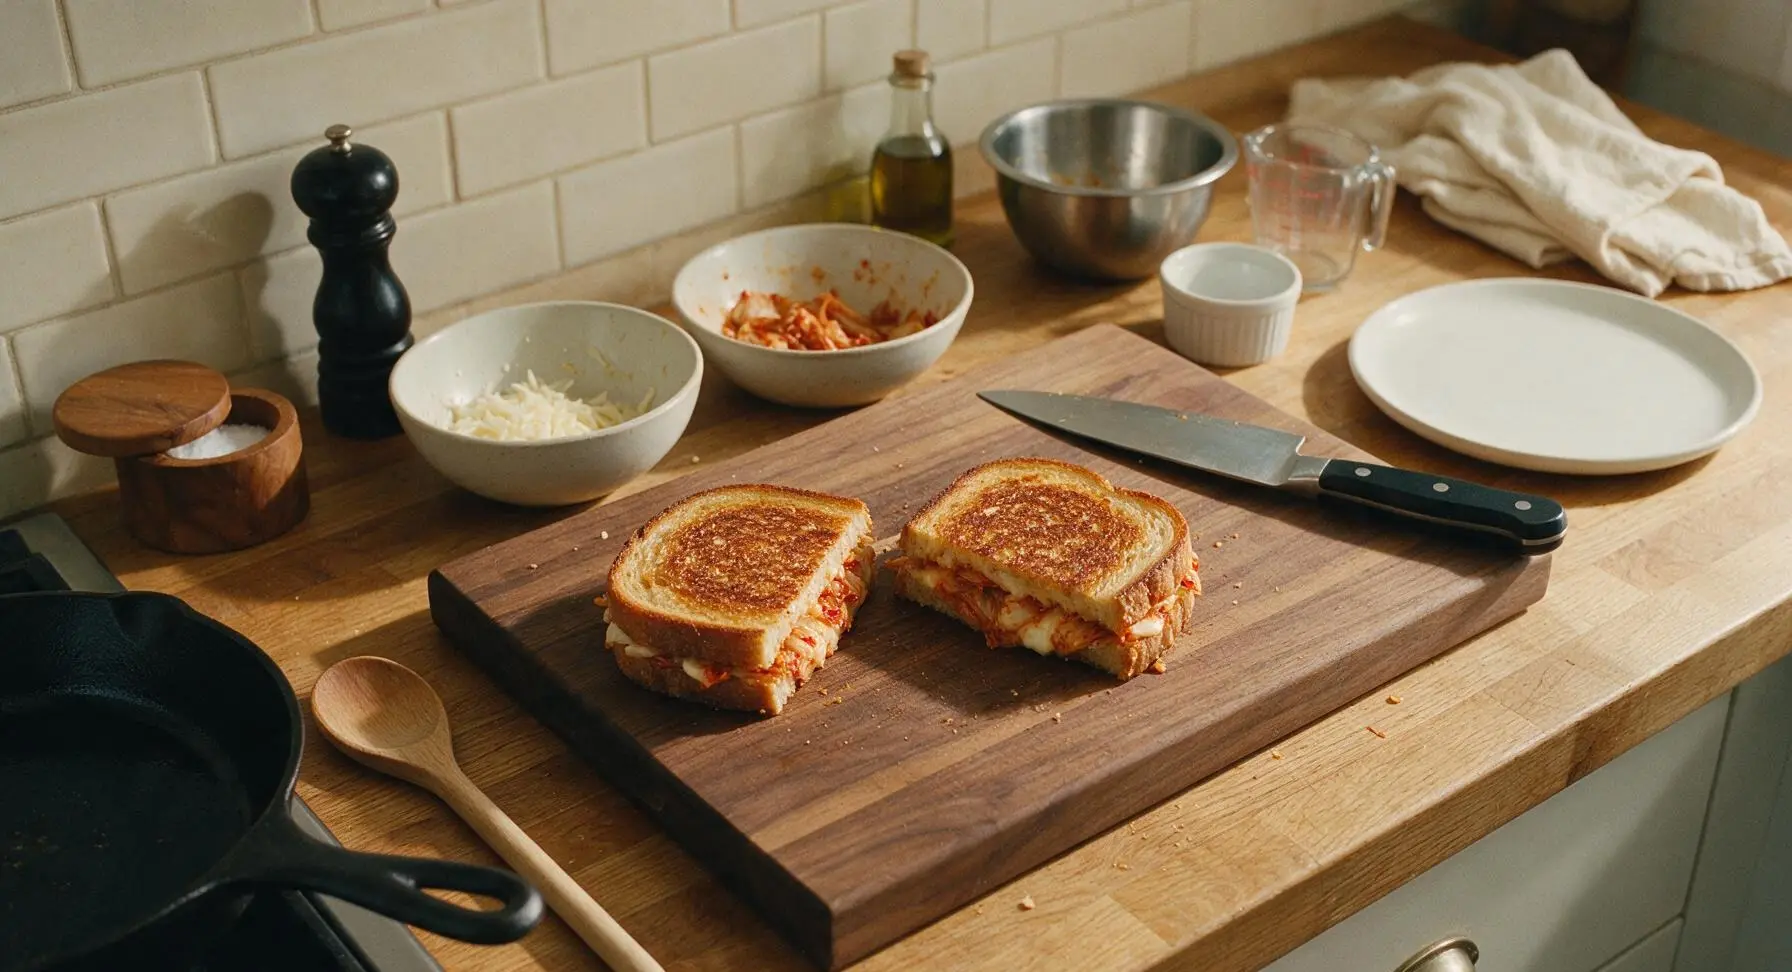
Grill first side until golden
Set the 10-inch matte charcoal nonstick skillet on the cooking surface over medium-low heat (325°F / 160°C). Once the pan is warm (no smoking, butter will sizzle gently if touched to the surface), carefully place one assembled sandwich in the center of the pan. Cook for 3-4 minutes, until the bottom bread slice is deep golden brown and crispy, and the cheese closest to the pan has started to melt and turn glossy. Do not press down hard on the sandwich while cooking, as this will squeeze out melted cheese and create a dry filling.
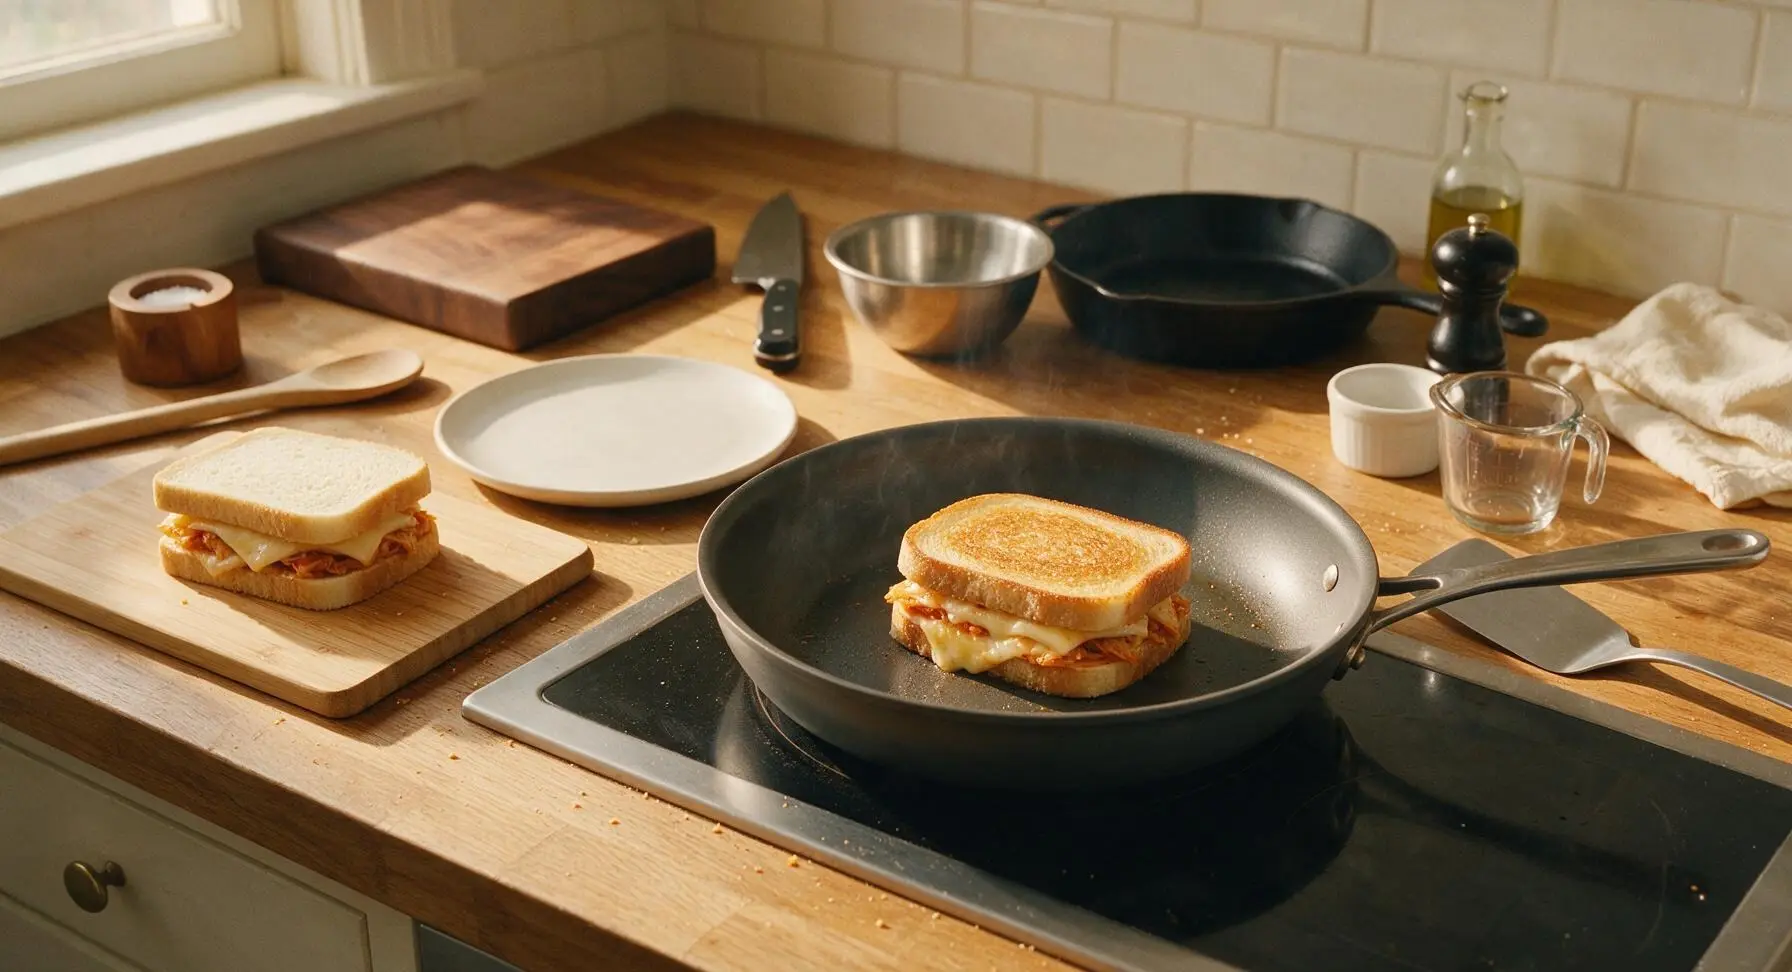
Flip and finish grilling
Use the stainless steel turner spatula to carefully slide under the sandwich and flip it in one smooth motion. Cook for another 2-3 minutes on the second side, until the bread is equally deep golden brown and crispy, and all of the cheese is fully melted with no firm, un-melted shreds left. If the bread is browning faster than the cheese melts, turn the heat down to low to avoid burning. Transfer the first finished sandwich to the cream matte stoneware plate, then place the second assembled sandwich in the skillet to cook using the same timing and temperature for both sides.
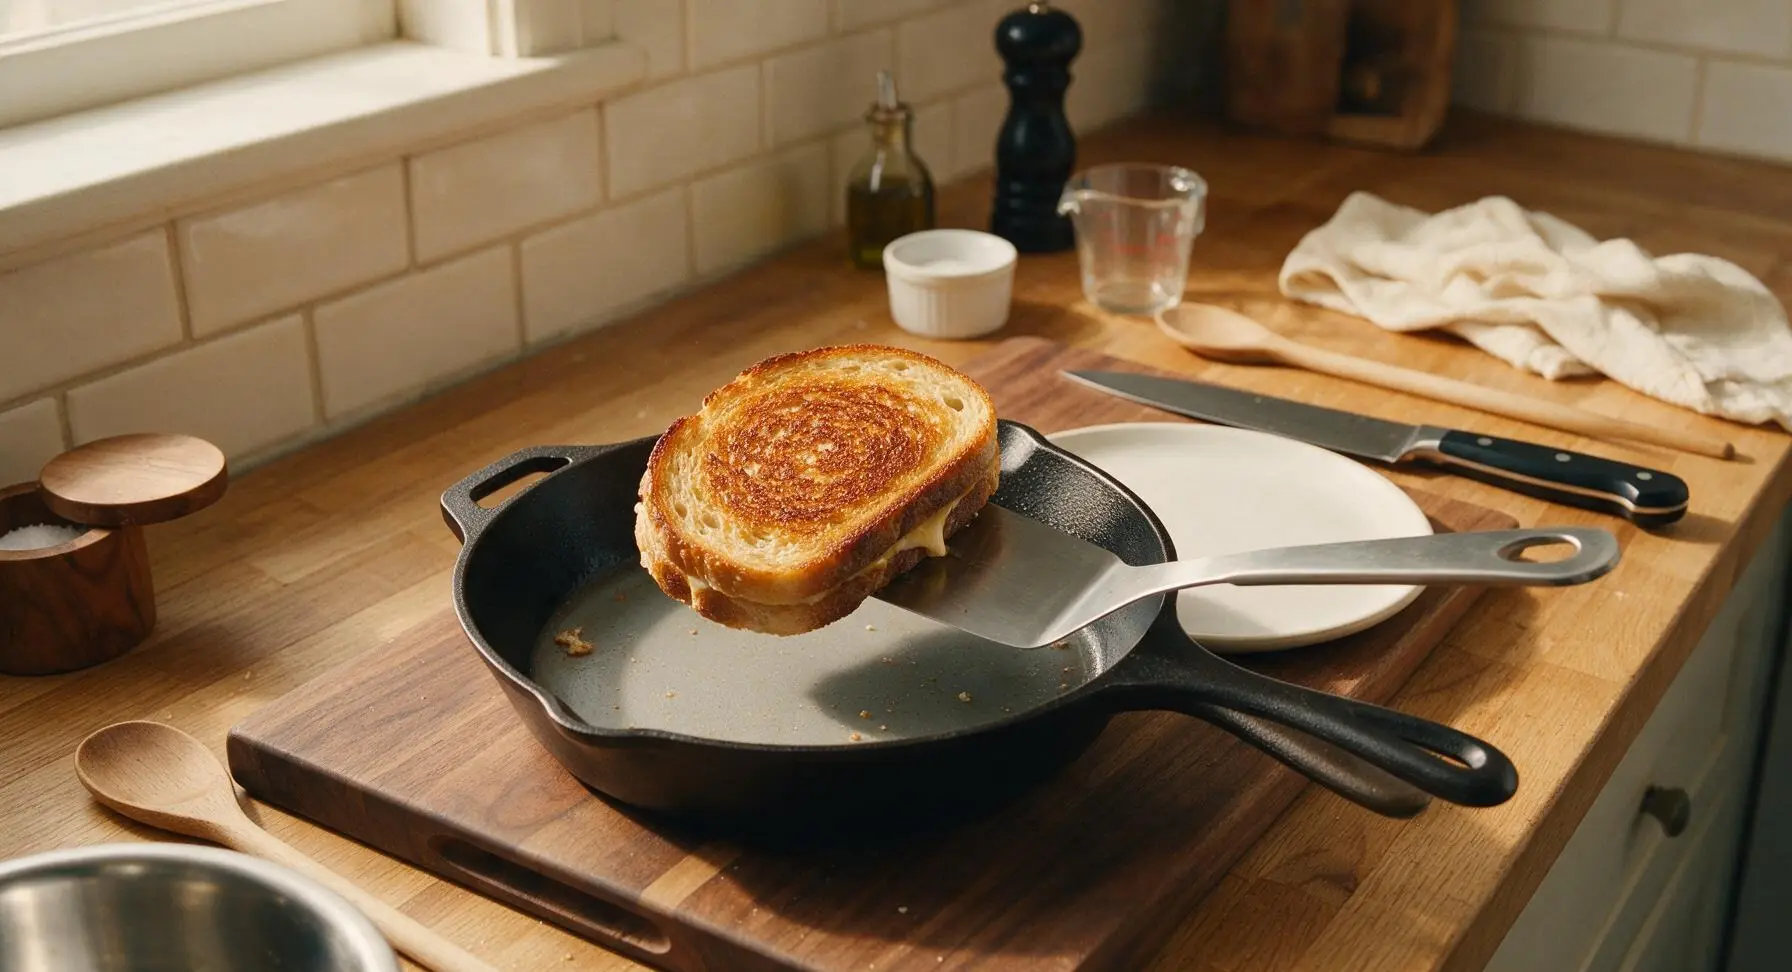
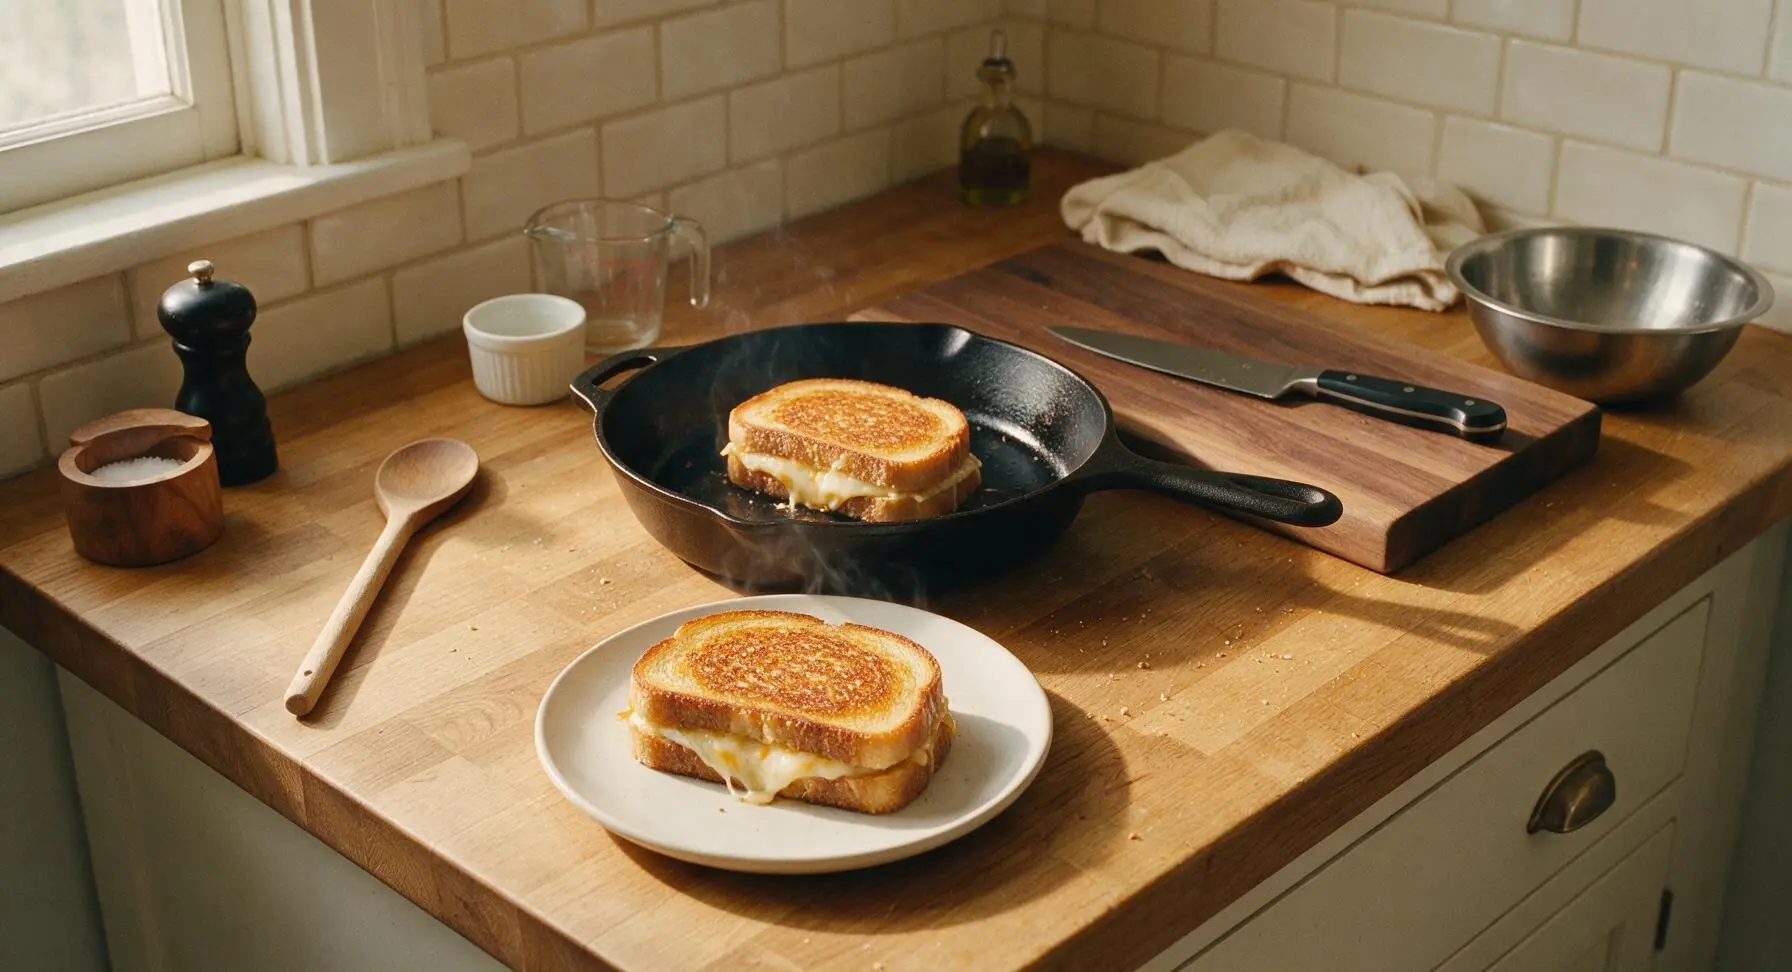
Cut and rest sandwiches
Once both sandwiches are fully cooked, transfer them to the cream matte stoneware plate. Let rest for 1 minute to allow the cheese to set slightly—this prevents all the cheese from oozing out the sides when you cut or bite into the sandwich. Use the santoku knife to cut each sandwich diagonally into two equal triangles. Tuck the dill pickle spear onto the plate beside the sandwiches, and serve immediately.
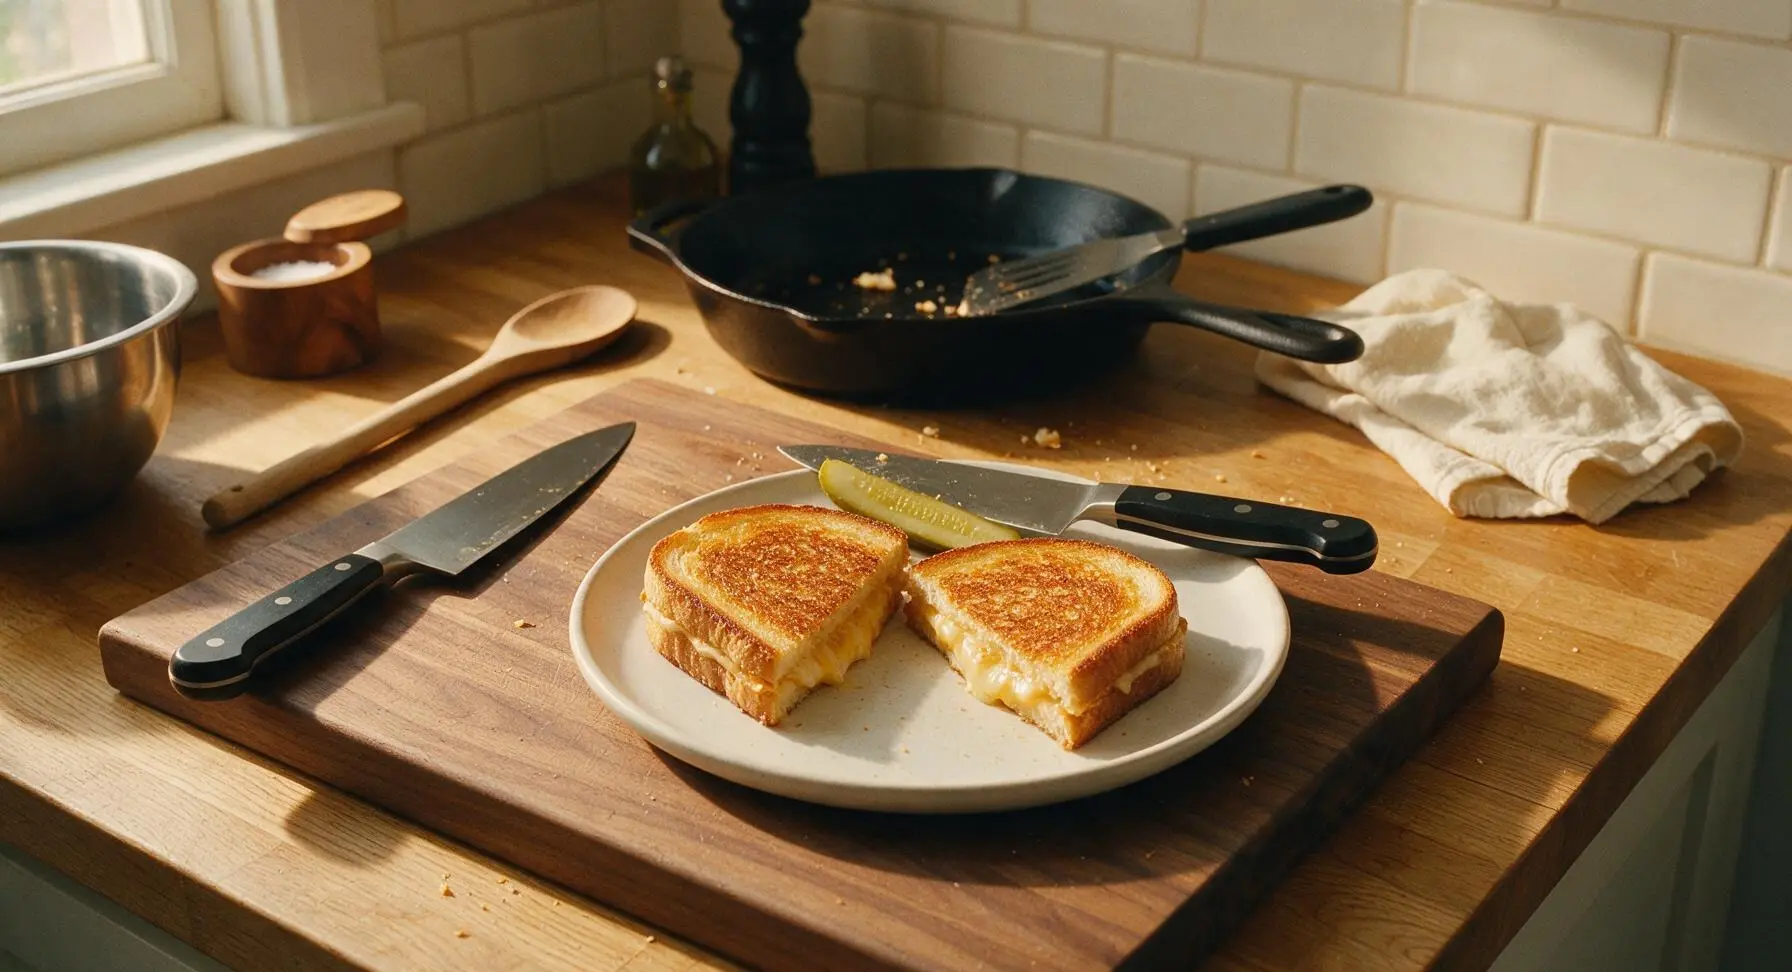
Tips
2.Grate your own cheese from a block instead of using pre-shredded cheese. Pre-shredded cheese is coated in potato starch or natamycin (anti-caking agents) that prevent it from melting smoothly into a creamy, pullable texture.
3.Cook over medium-low heat instead of high heat. High heat will burn the buttered bread crust before the cheese has time to fully melt, resulting in a bitter, charred crust and cold, un-melted filling.






OMG this is such a game changer! I had random kimchi sitting in the back of my fridge from last week's takeout and didn't know what to do with it, threw this together in literally 8 minutes like the recipe said and my husband ate two whole sandwiches before I even finished my first. SO good, will be making this for our weeknight dinners from now on.
Super easy weeknight lunch, I threw this together between work meetings today and it hit so much better than my usual sad microwave meal. The crunch of the kimchi against the melty cheese is unreal, no fancy ingredients needed either. 10/10
My kids loved it!!! I was so worried the kimchi would be too spicy for them but I rinsed it just a tiny bit before adding it and they gobbled their sandwiches right up. Even my picky 7 year old asked for seconds! This is going into our regular rotation for quick after-school dinners.
Brought these to my friend's potluck last weekend and everyone was begging for the recipe! I cut them into little bite-sized squares and they were gone in literally 10 minutes. Who knew such a simple twist on classic grilled cheese could be such a crowd pleaser? Only knocked off a star because I added a little too much kimchi the first time and made the bread soggy, definitely pat it dry first like the recipe note says!
Wait this is genius? I've been putting kimchi on everything lately but never thought to add it to grilled cheese. Used sourdough bread and a little vegan cheddar for my dietary preferences and it still slapped. 8 minutes total cook time is perfect for when I get home from the gym and don't want to spend an hour cooking.
Saw this recipe pop up this morning and decided to make it for a late breakfast, no regrets. The salty, tangy kimchi pairs so perfectly with buttery toasted bread and melted American cheese. I added a little drizzle of hot honey on top and *chef's kiss* no notes. Will be making this at least once a week from now on.