
grilled cheese with mayo
intro
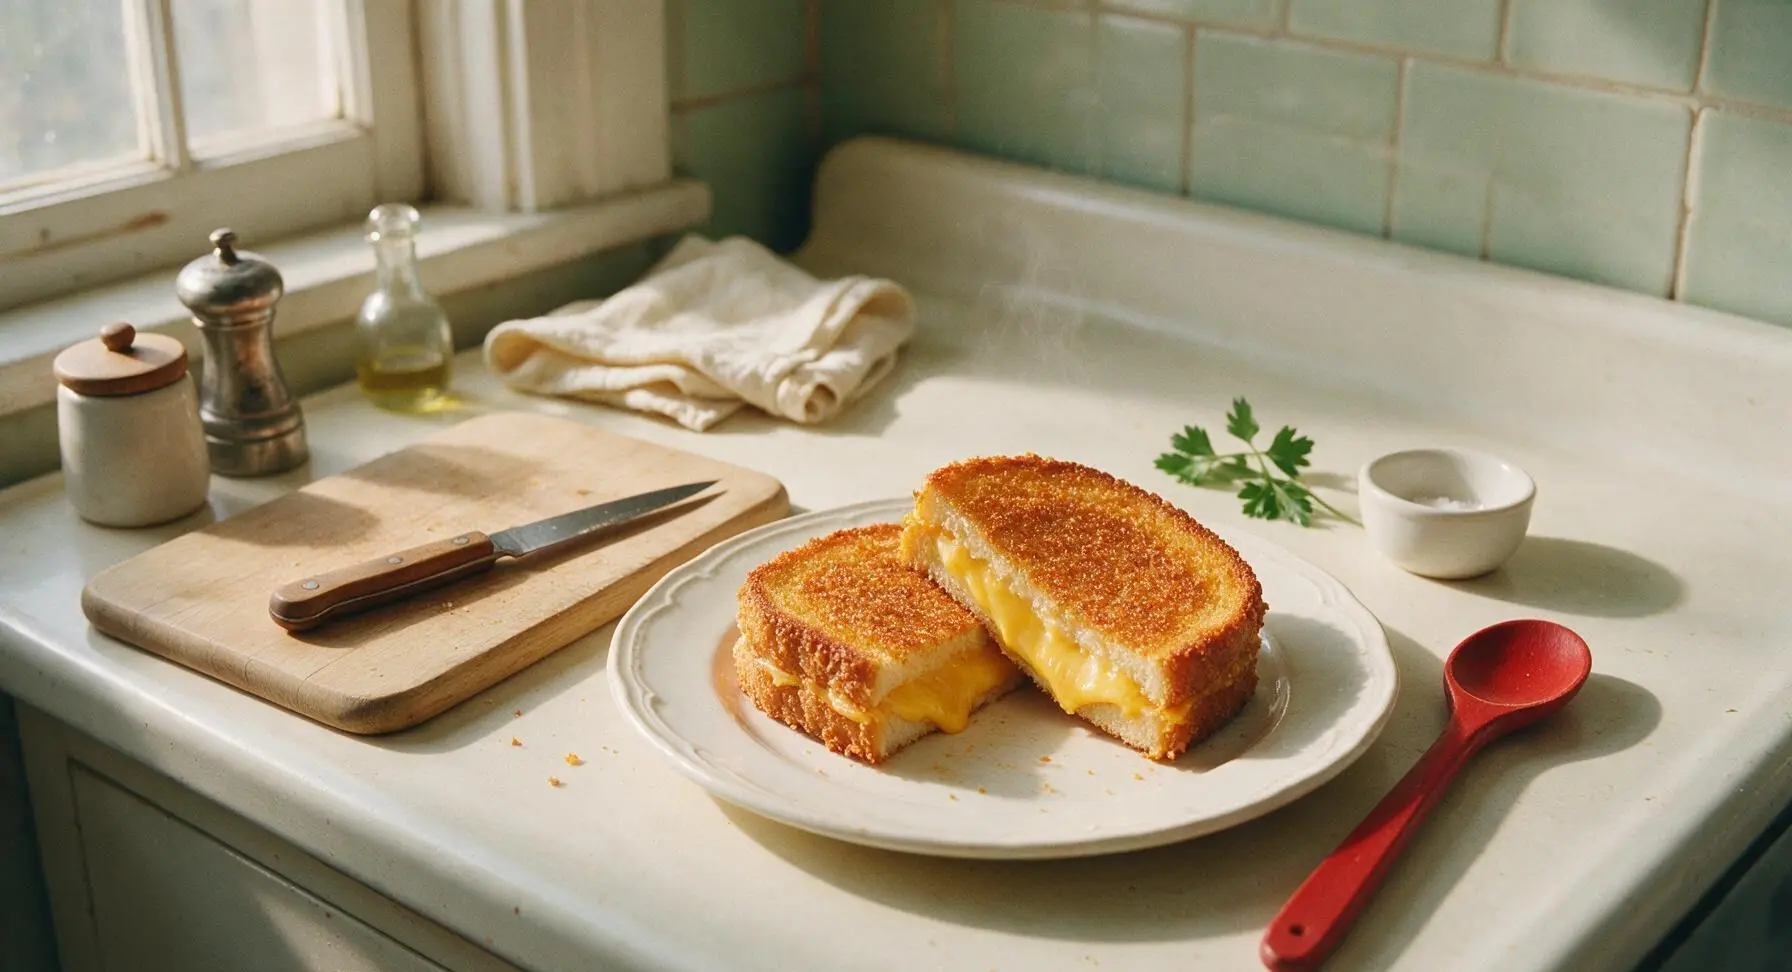
Shatteringly crisp, golden-crusted grilled cheese made with the genius mayo hack: no burnt butter, evenly melted cheddar, ready in minutes for the coziest quick meal.
Ingredients
Steps
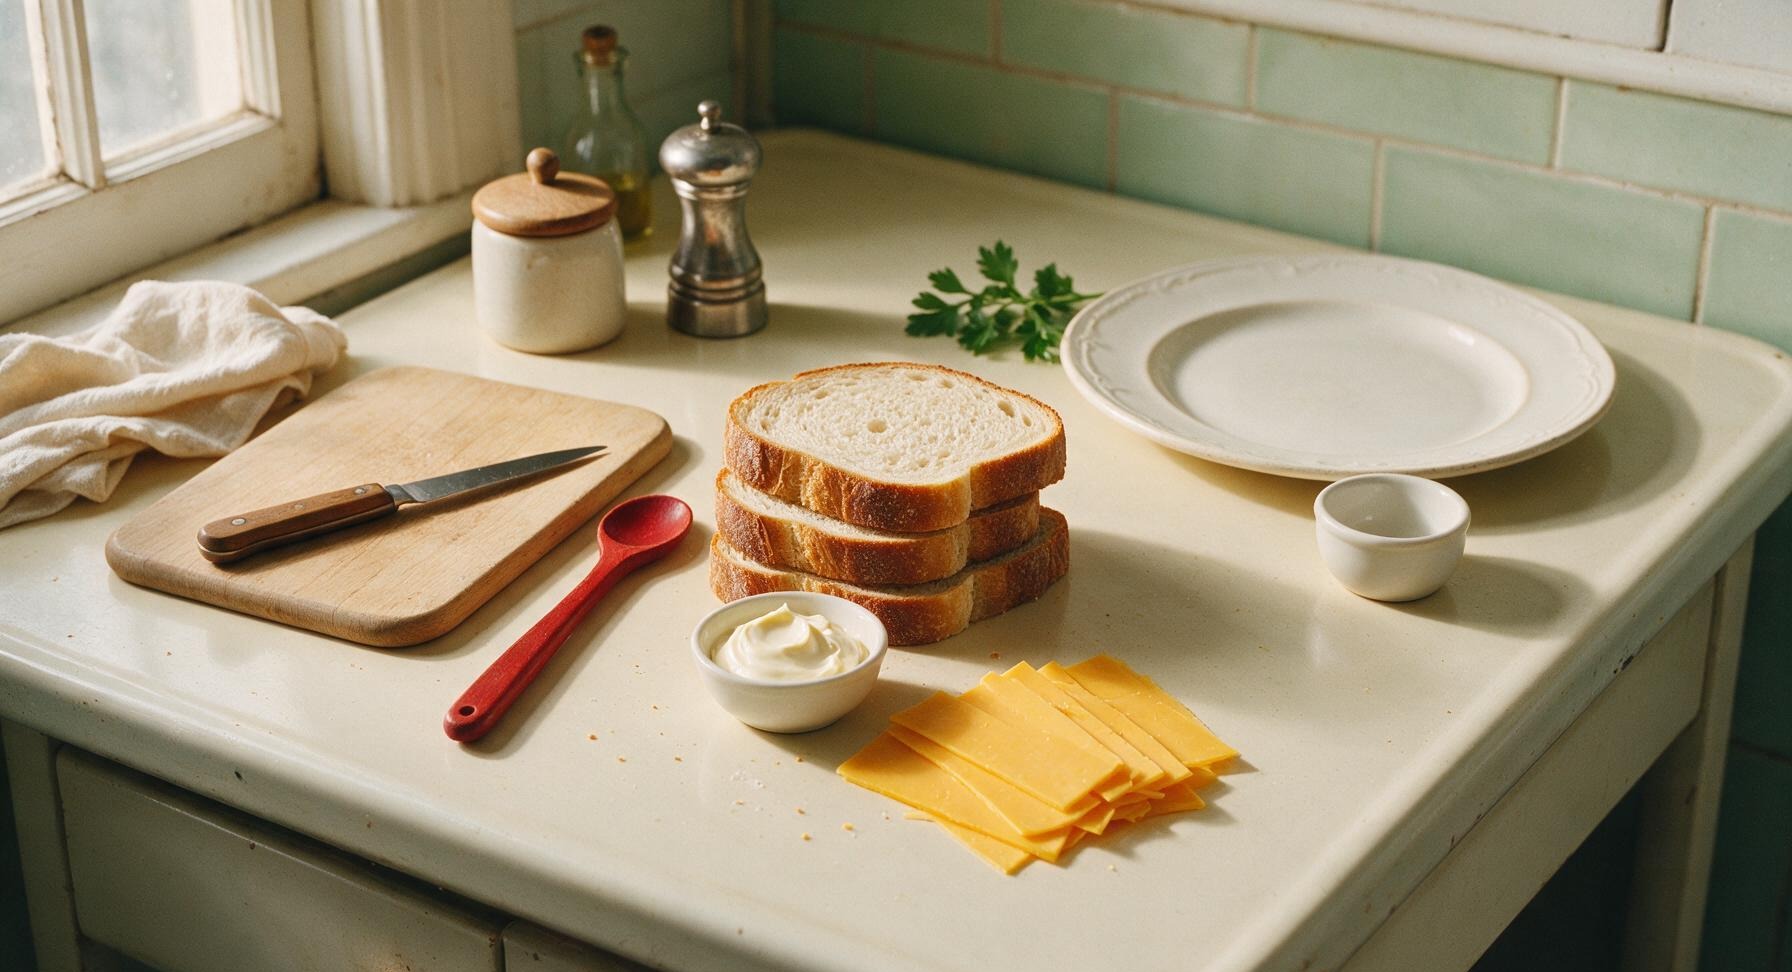
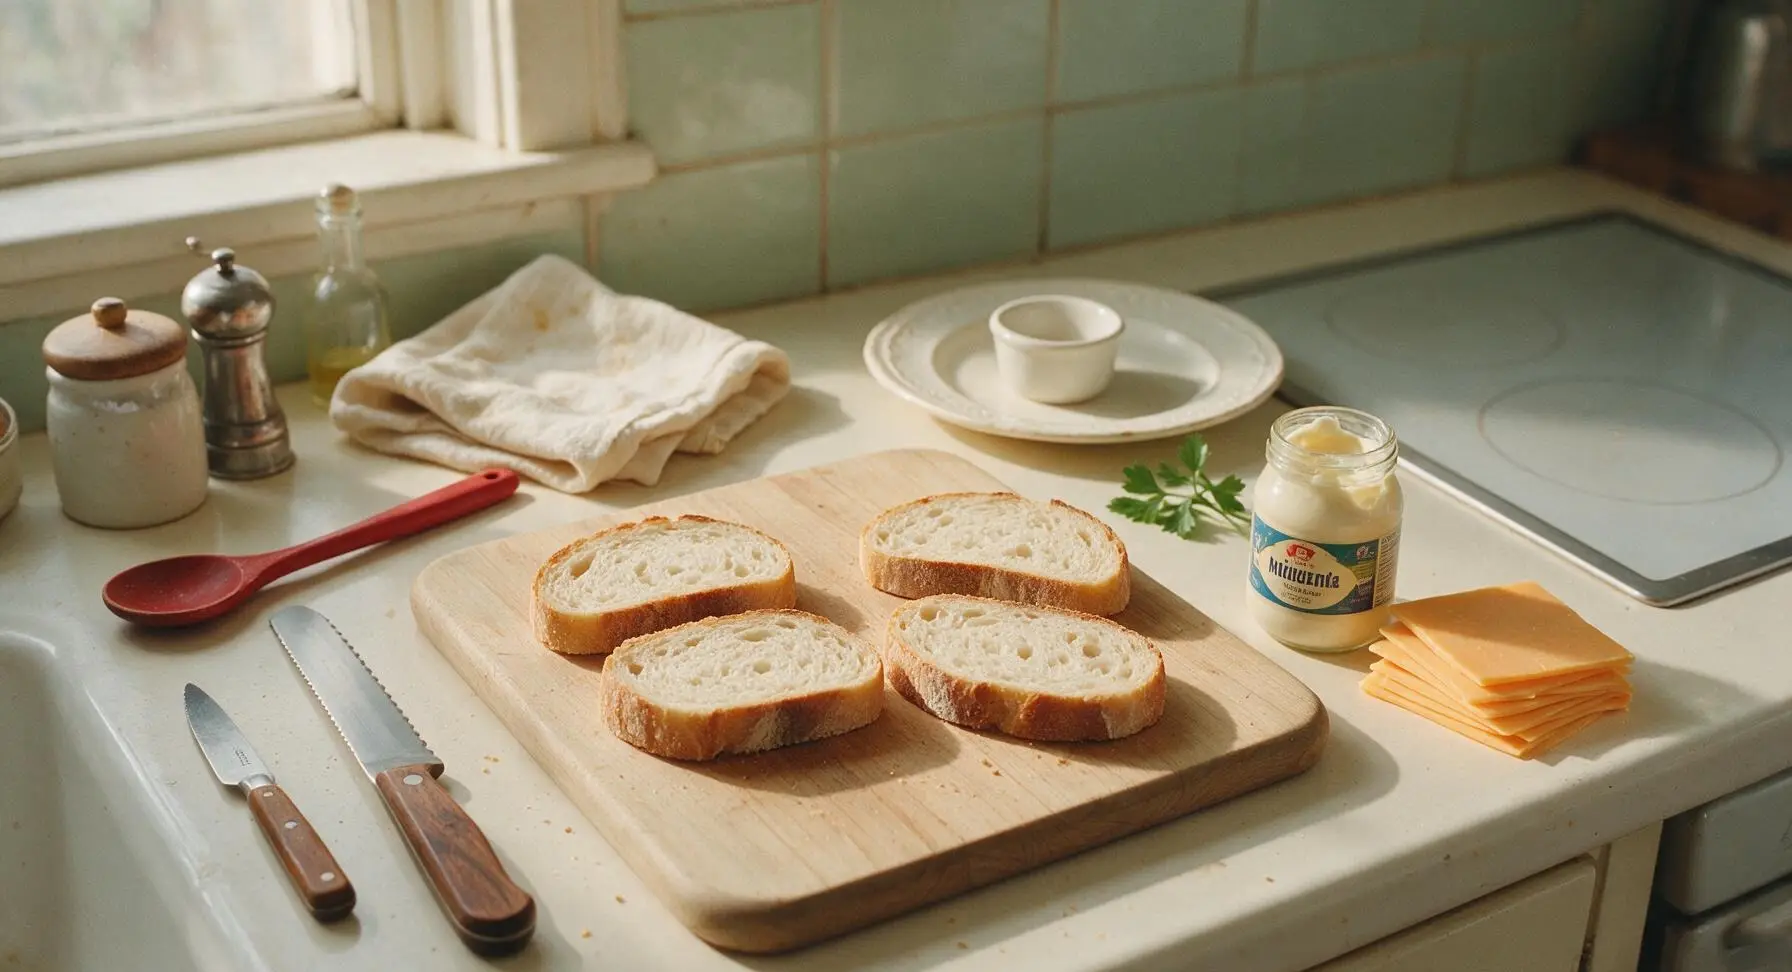
Arrange bread slices
Lay all 4 slices of sourdough bread flat on the beech wood cutting board. Inspect slices to ensure no large holes in the crumb (which would let cheese leak out during cooking); set aside any flawed slices for another use if needed. Leave the soft cut side of each slice facing up.
Spread mayo evenly
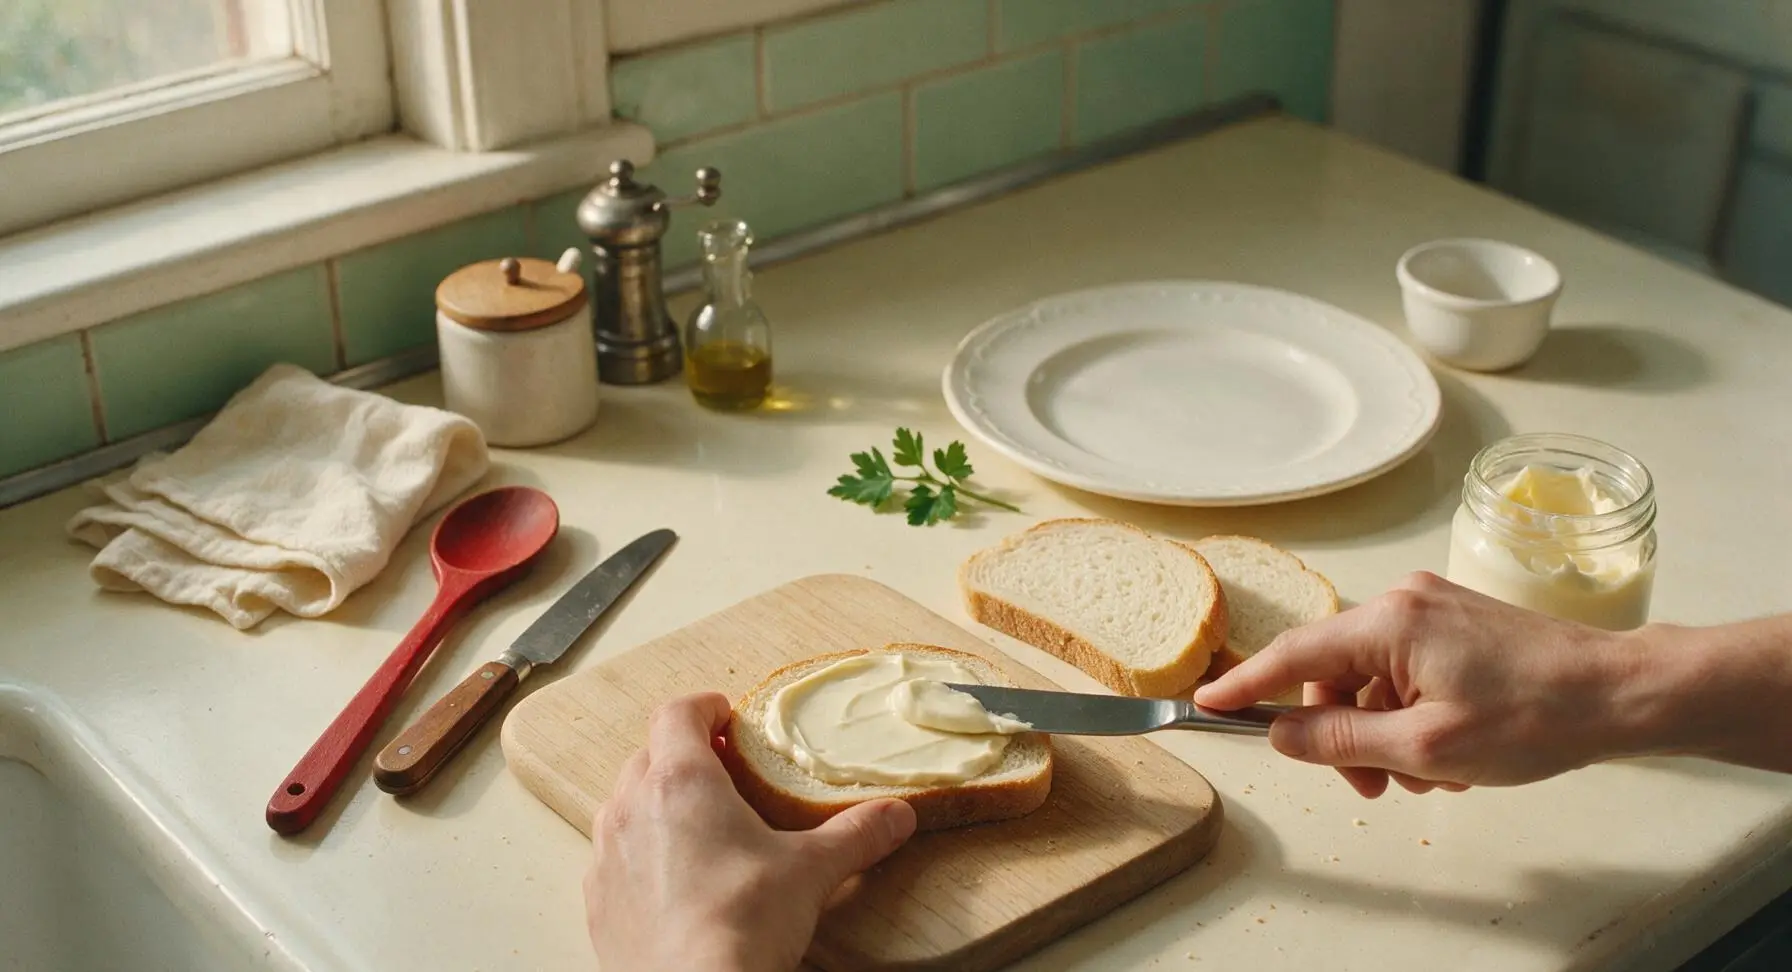
Using the stainless steel butter knife, scoop 1/2 tablespoon of mayonnaise onto the outer (crust-facing) side of each bread slice. Spread the mayo in a thin, even layer all the way to the very edges of the crust—do not leave bare patches, as these will not crisp up. The mayo layer should be thick enough to coat the bread completely but not so thick that it drips when lifted. Note: spread mayo on the OUTSIDE of the sandwich, not the inside, to build the crisp crust.
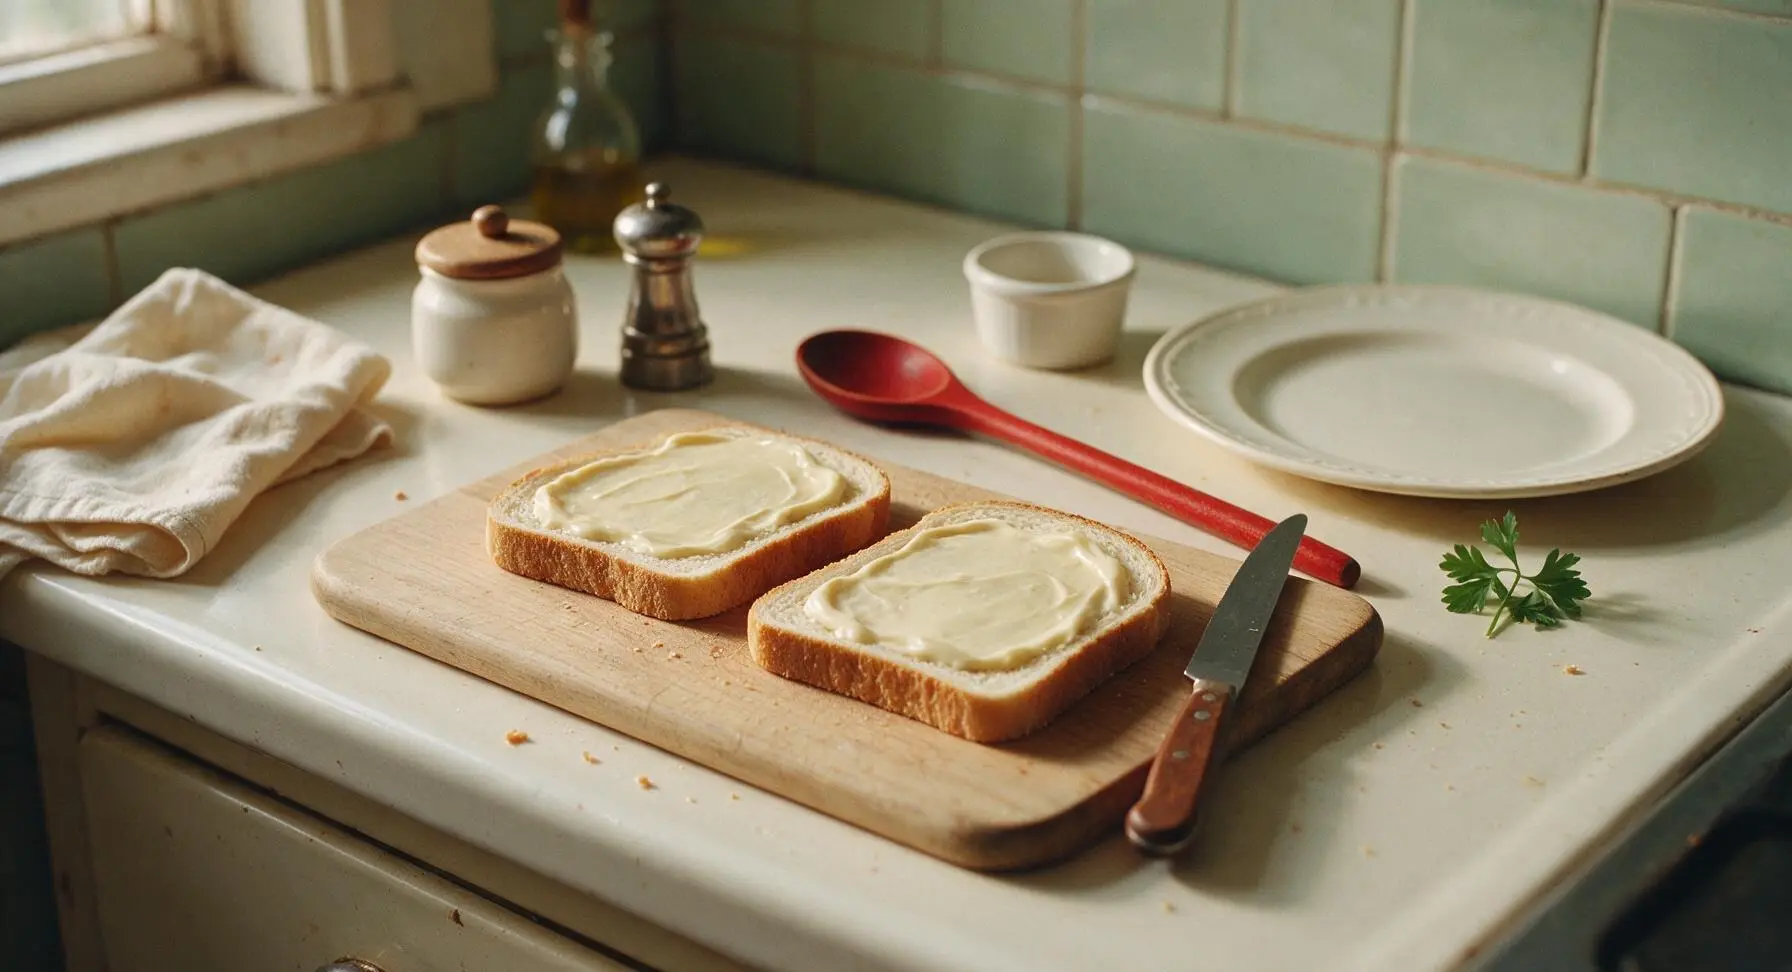
Add cheese filling
Flip two of the bread slices so the mayo-coated side faces DOWN on the cutting board. Pile 1.5 ounces of thinly sliced sharp cheddar evenly across the uncoated (inner) side of these two slices, spreading the cheese all the way to the edges to avoid bare bites. Do not overstuff the sandwich—too much cheese will leak out and burn on the pan before it fully melts. Top with the remaining two bread slices, so the mayo-coated side faces UP, creating two complete sandwiches with mayo on both outer surfaces.
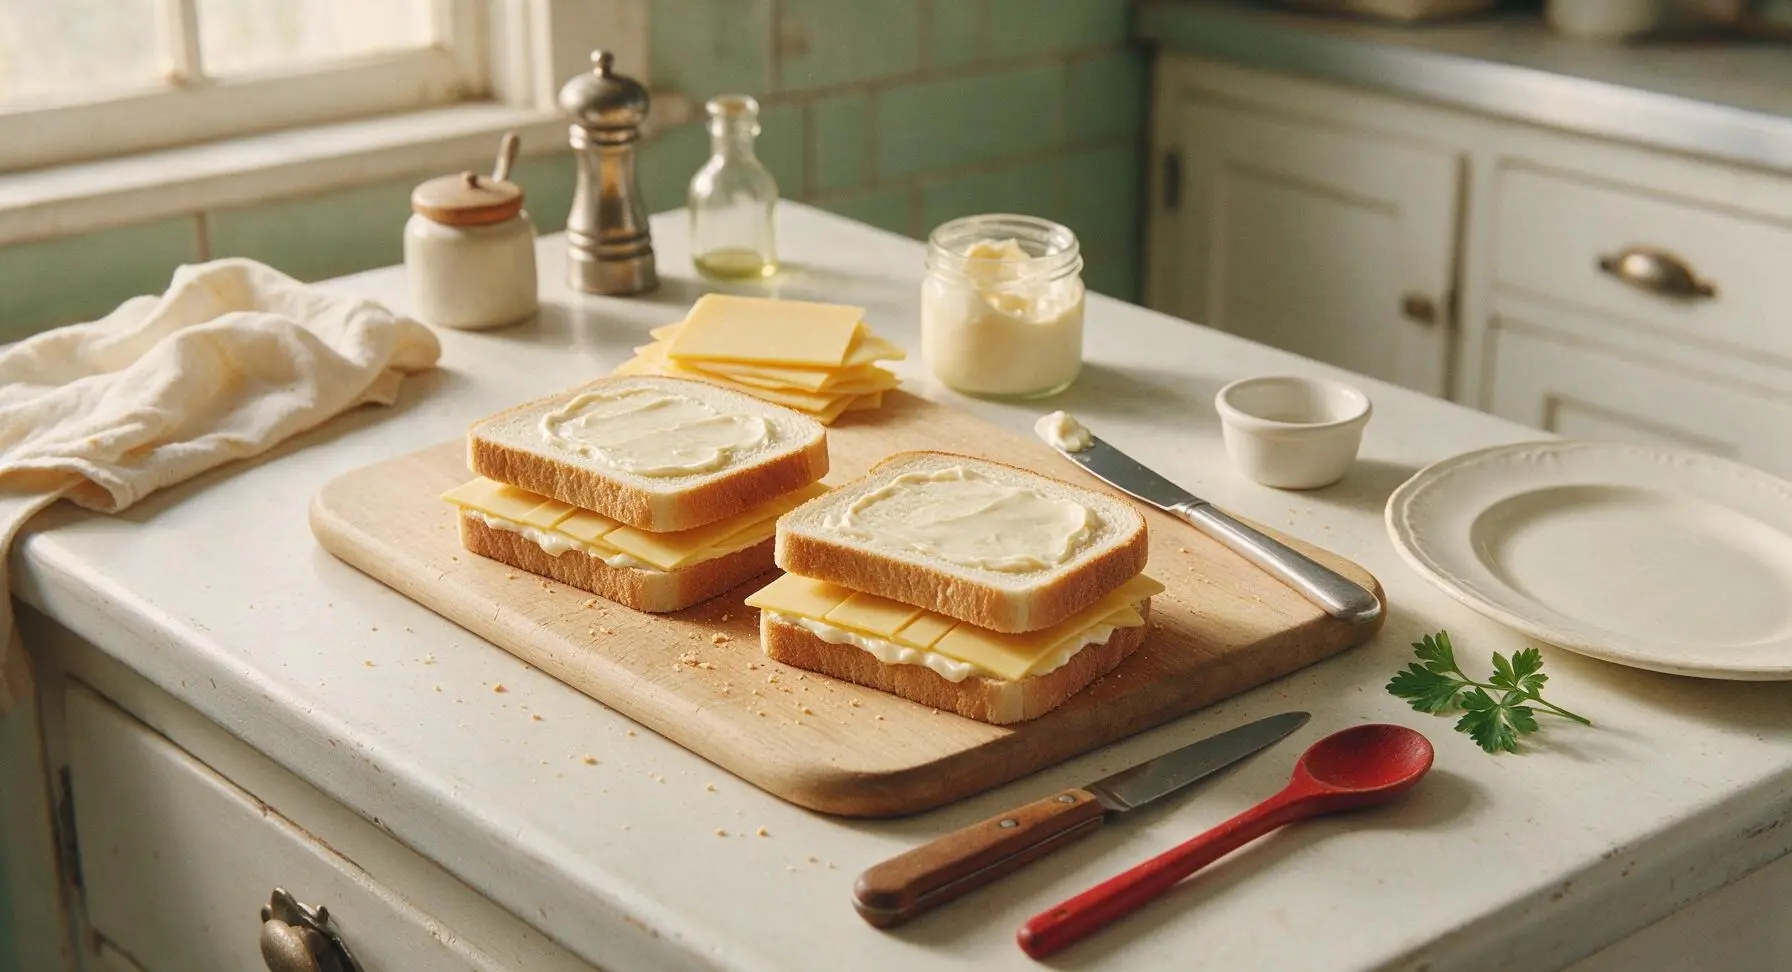
Preheat non-stick skillet
Place the 10-inch non-stick skillet on the center-right induction burner, set to medium-low heat (325°F / 160°C). Let the pan preheat for 2 full minutes—do not rush this step, as an evenly heated pan prevents burnt spots and uneven crisping. There is no need to add extra butter or oil to the pan, as the thin mayo layer on the bread will provide all the fat needed for crisping.
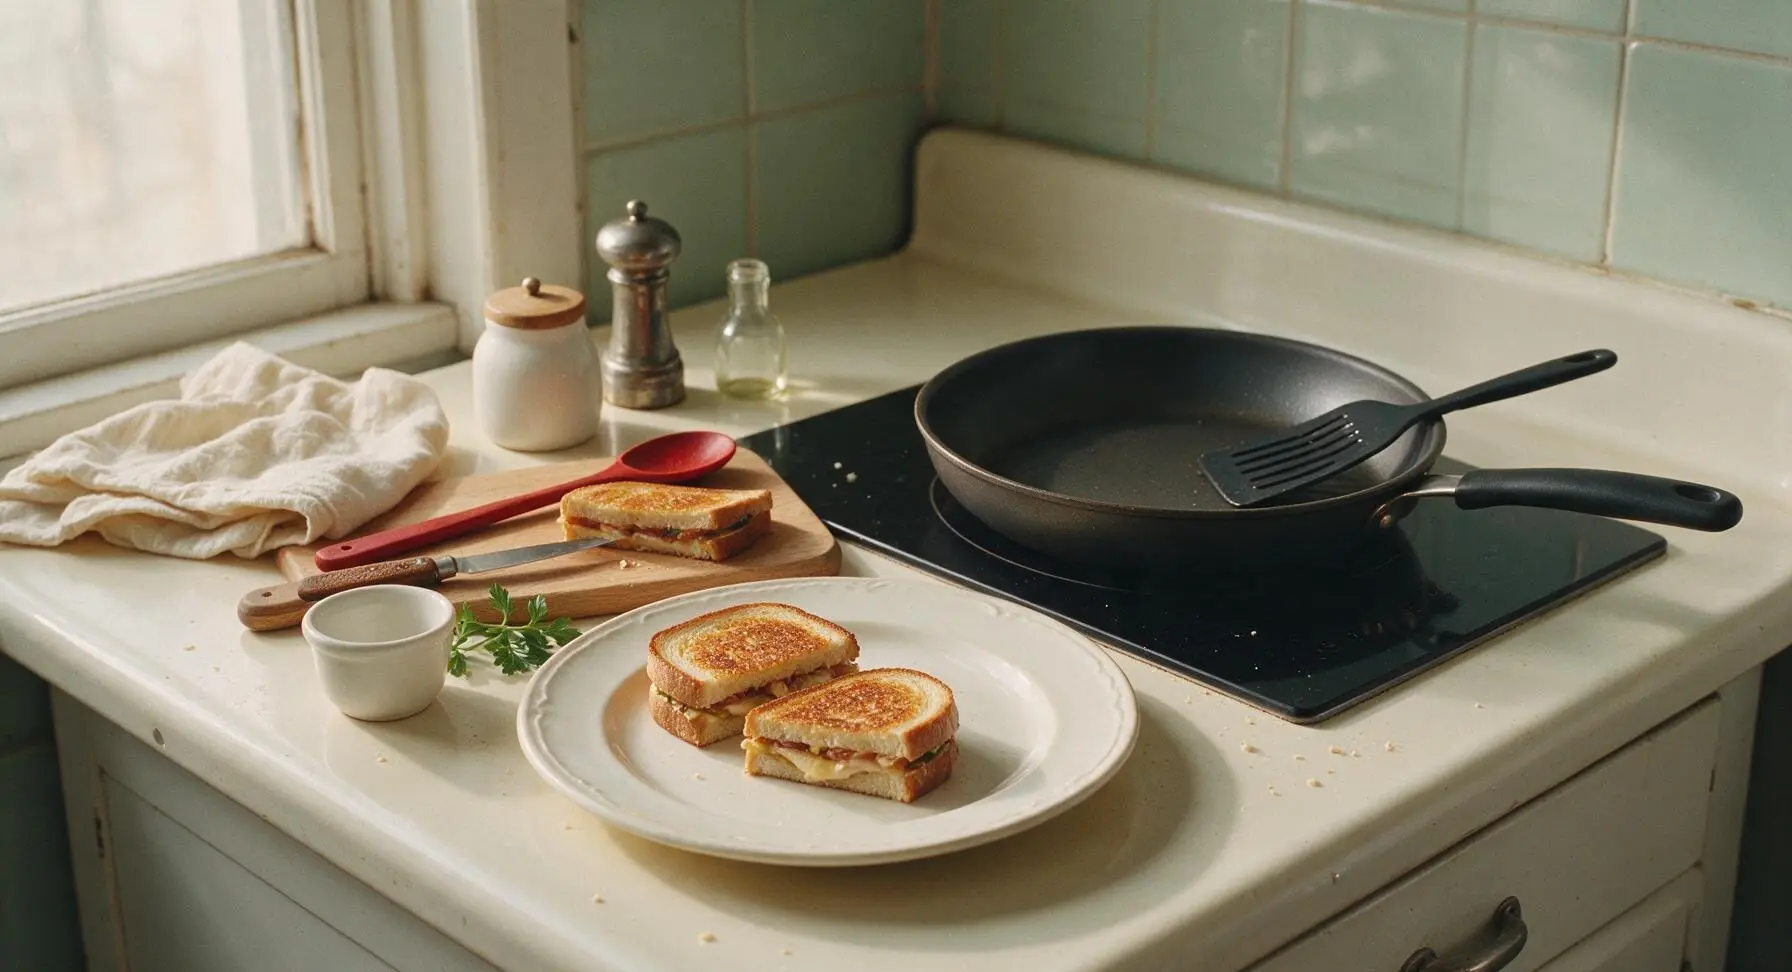
Cook first sandwich side
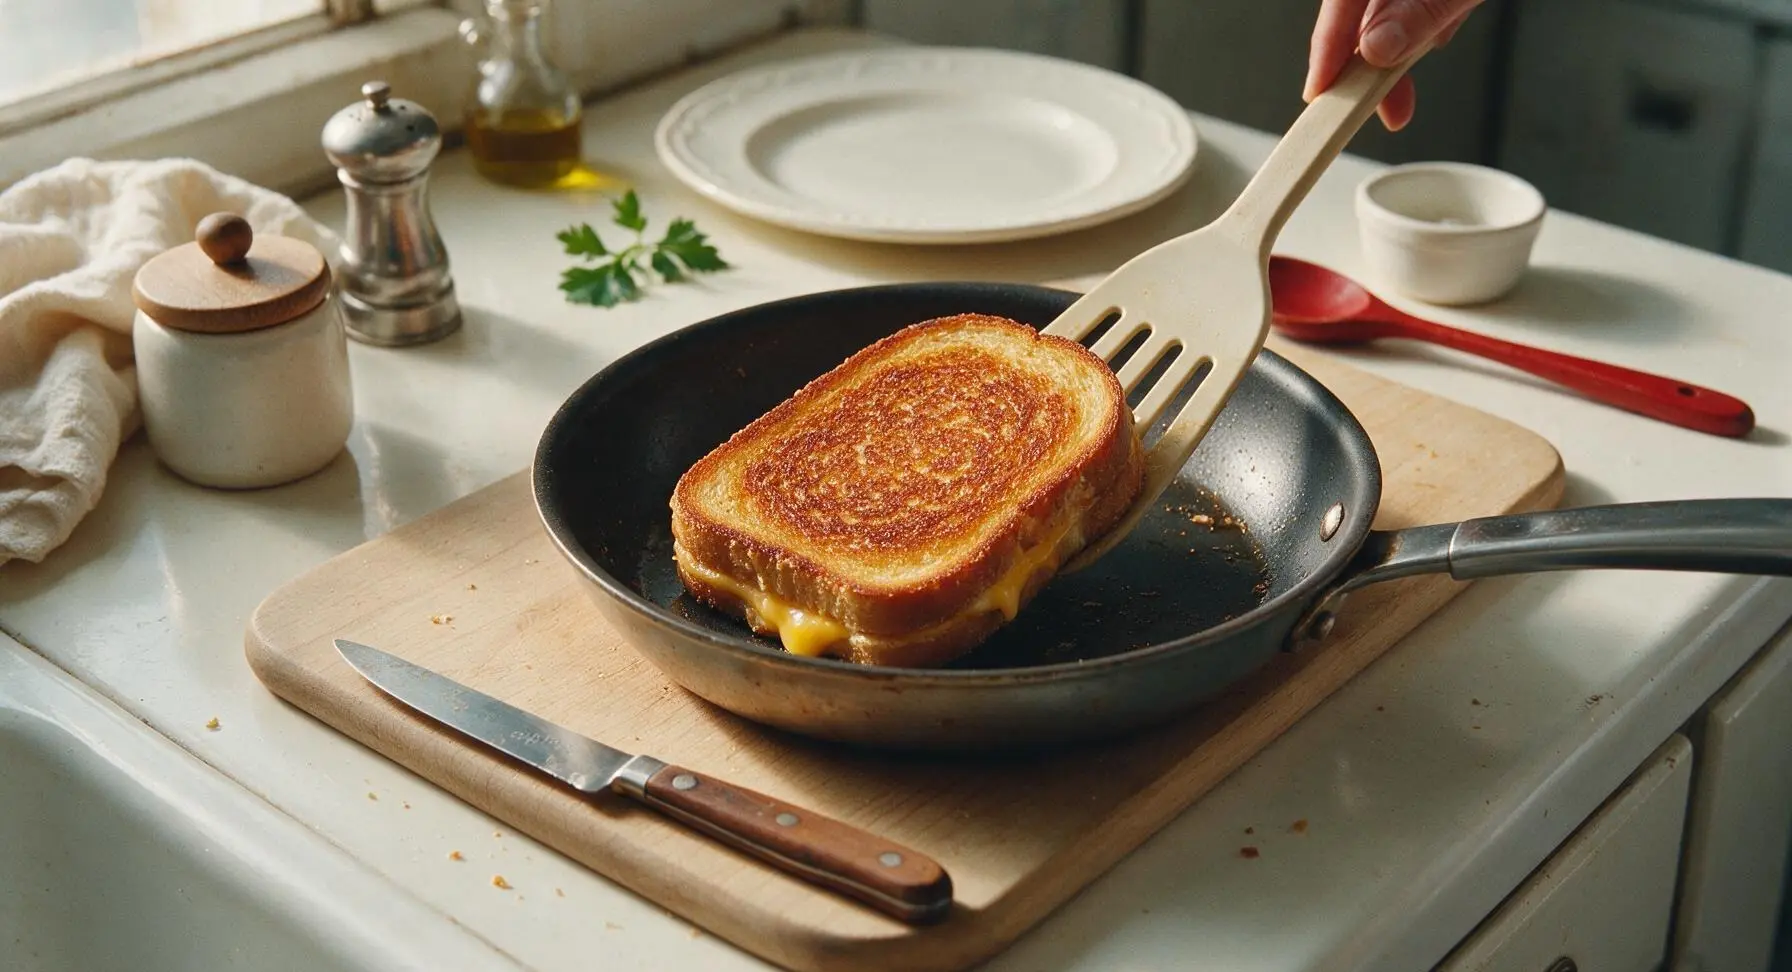
Carefully lift one sandwich with the slotted nylon spatula and place it in the preheated skillet. Cook for 3 to 4 minutes, resisting the urge to press down on the sandwich (this squeezes out cheese and creates soggy spots). The bread is ready to flip when the outer surface is a deep, even golden brown, and the cheese closest to the pan has just started to melt.
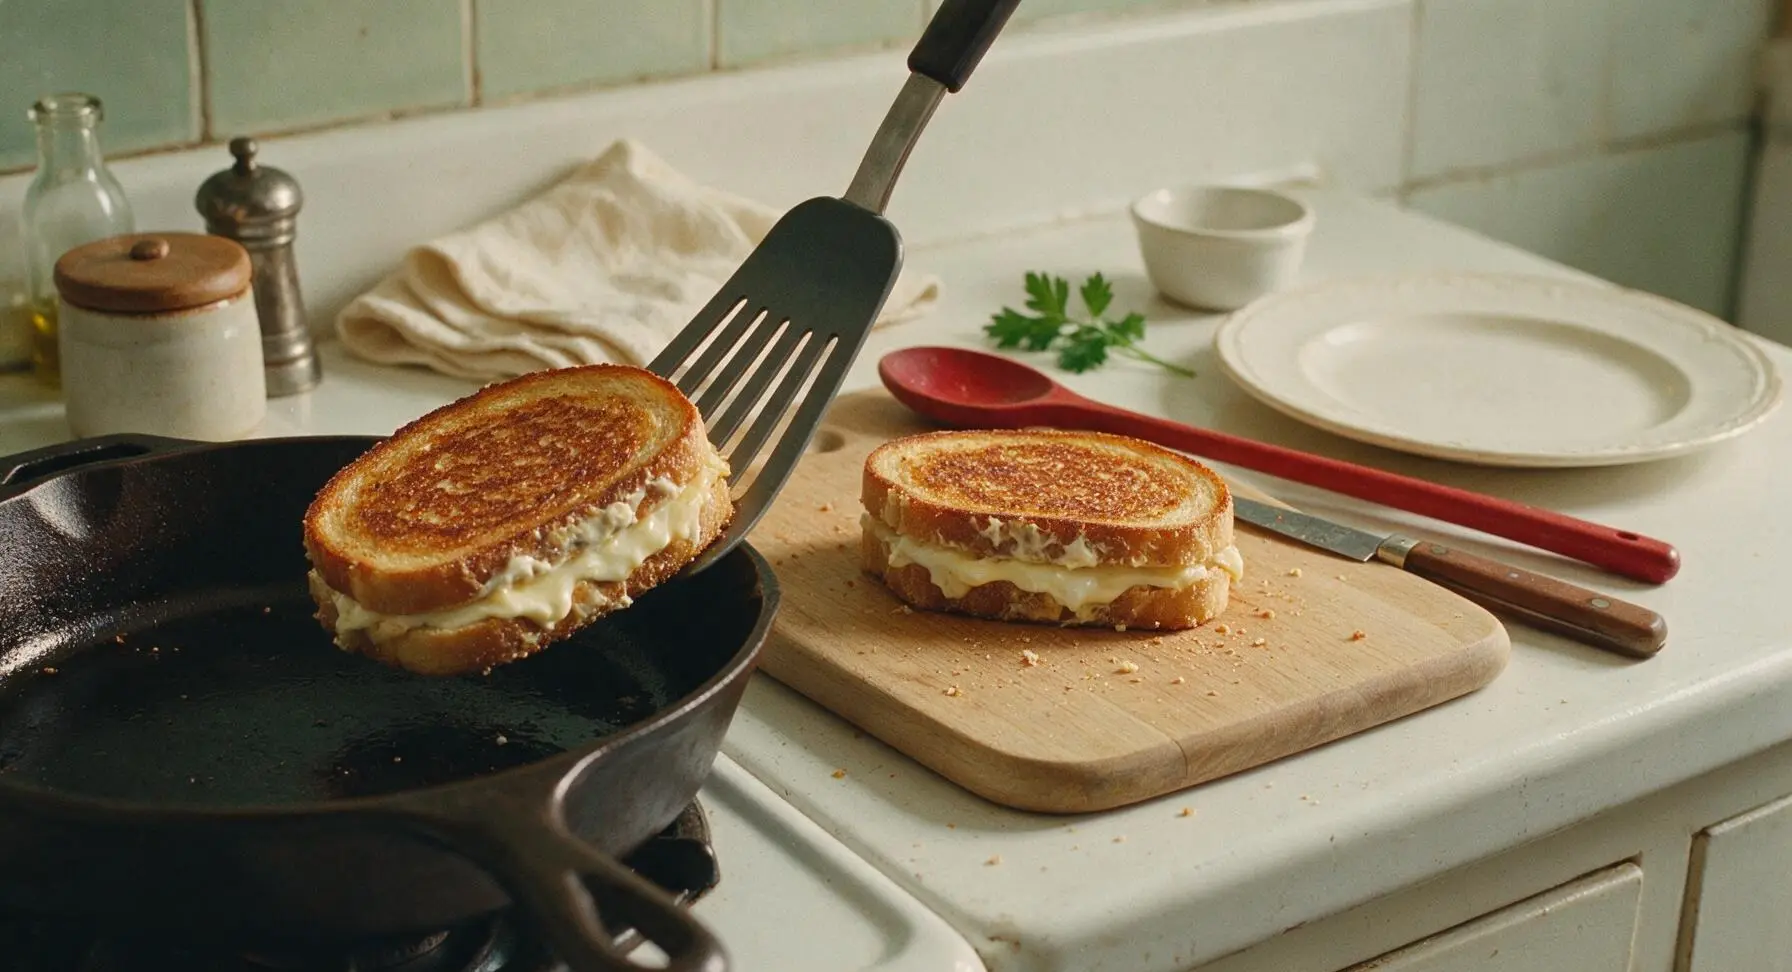
Flip and cook second side
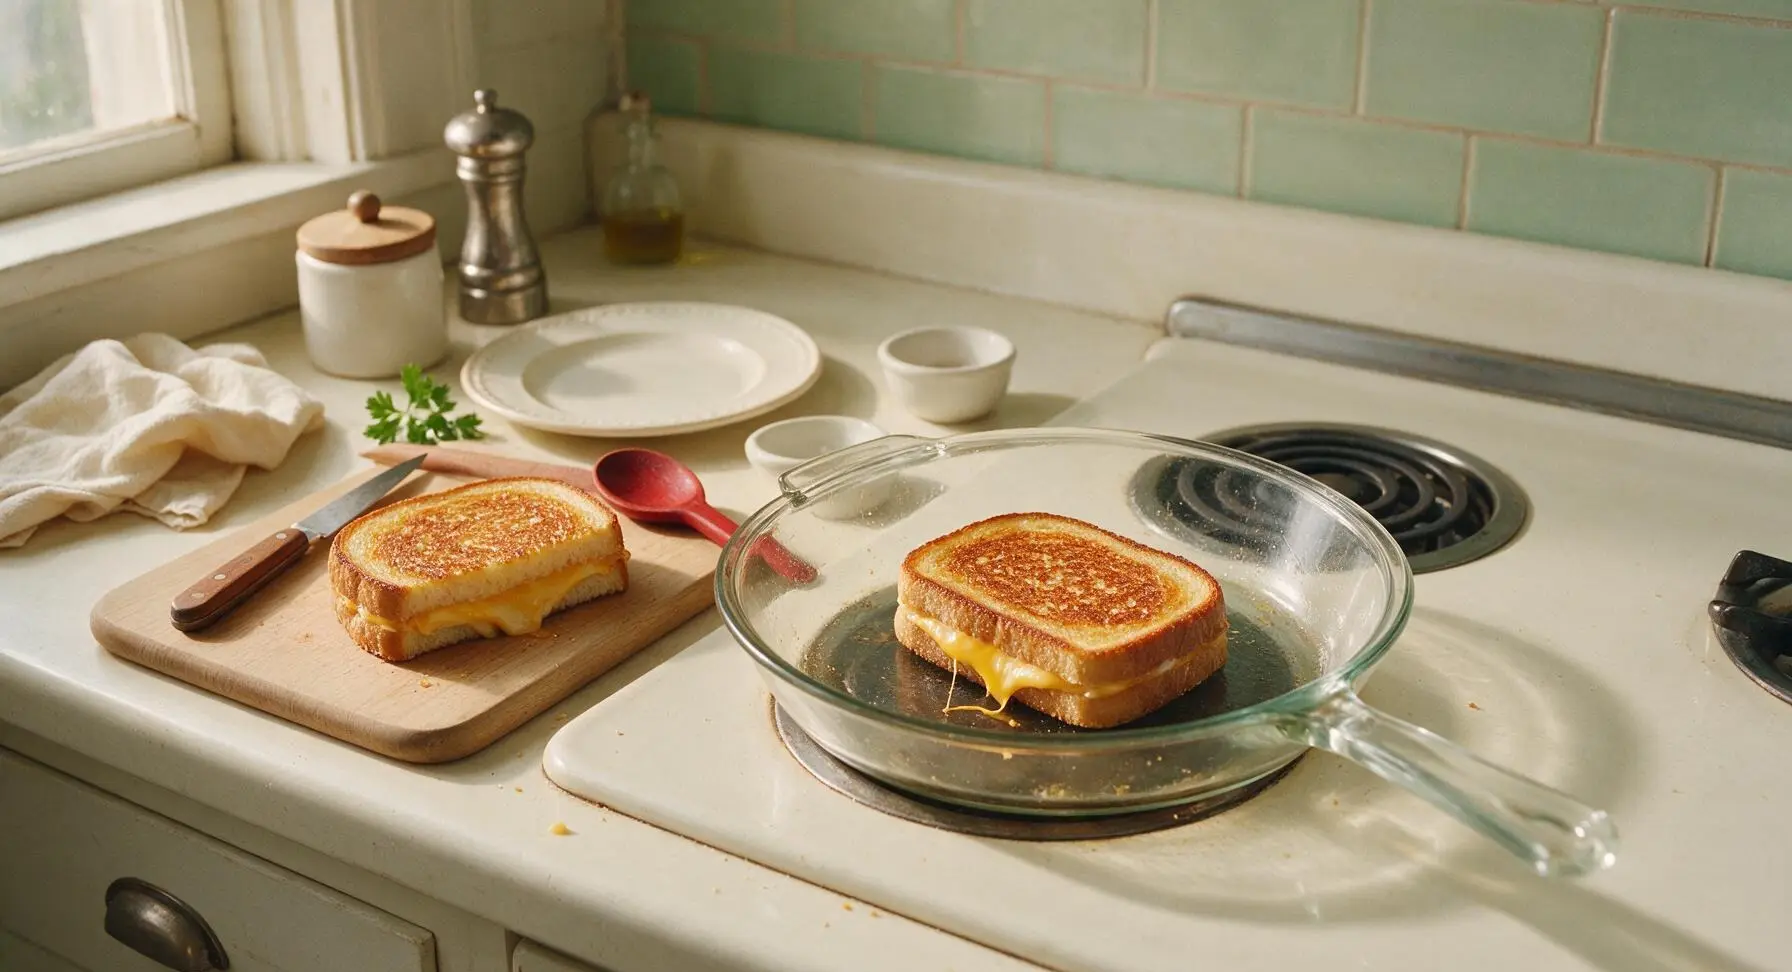
Slide the spatula fully under the sandwich, then flip it gently in one smooth motion. Cook the second side for another 2 to 3 minutes, until it matches the first side’s golden crispness, and all the cheese in the center is fully melted (you will see cheese oozing slightly from the sandwich edges when it is ready). If the bread is browning too fast, turn the heat down slightly to avoid burning before the cheese melts.
Rest and cook second sandwich
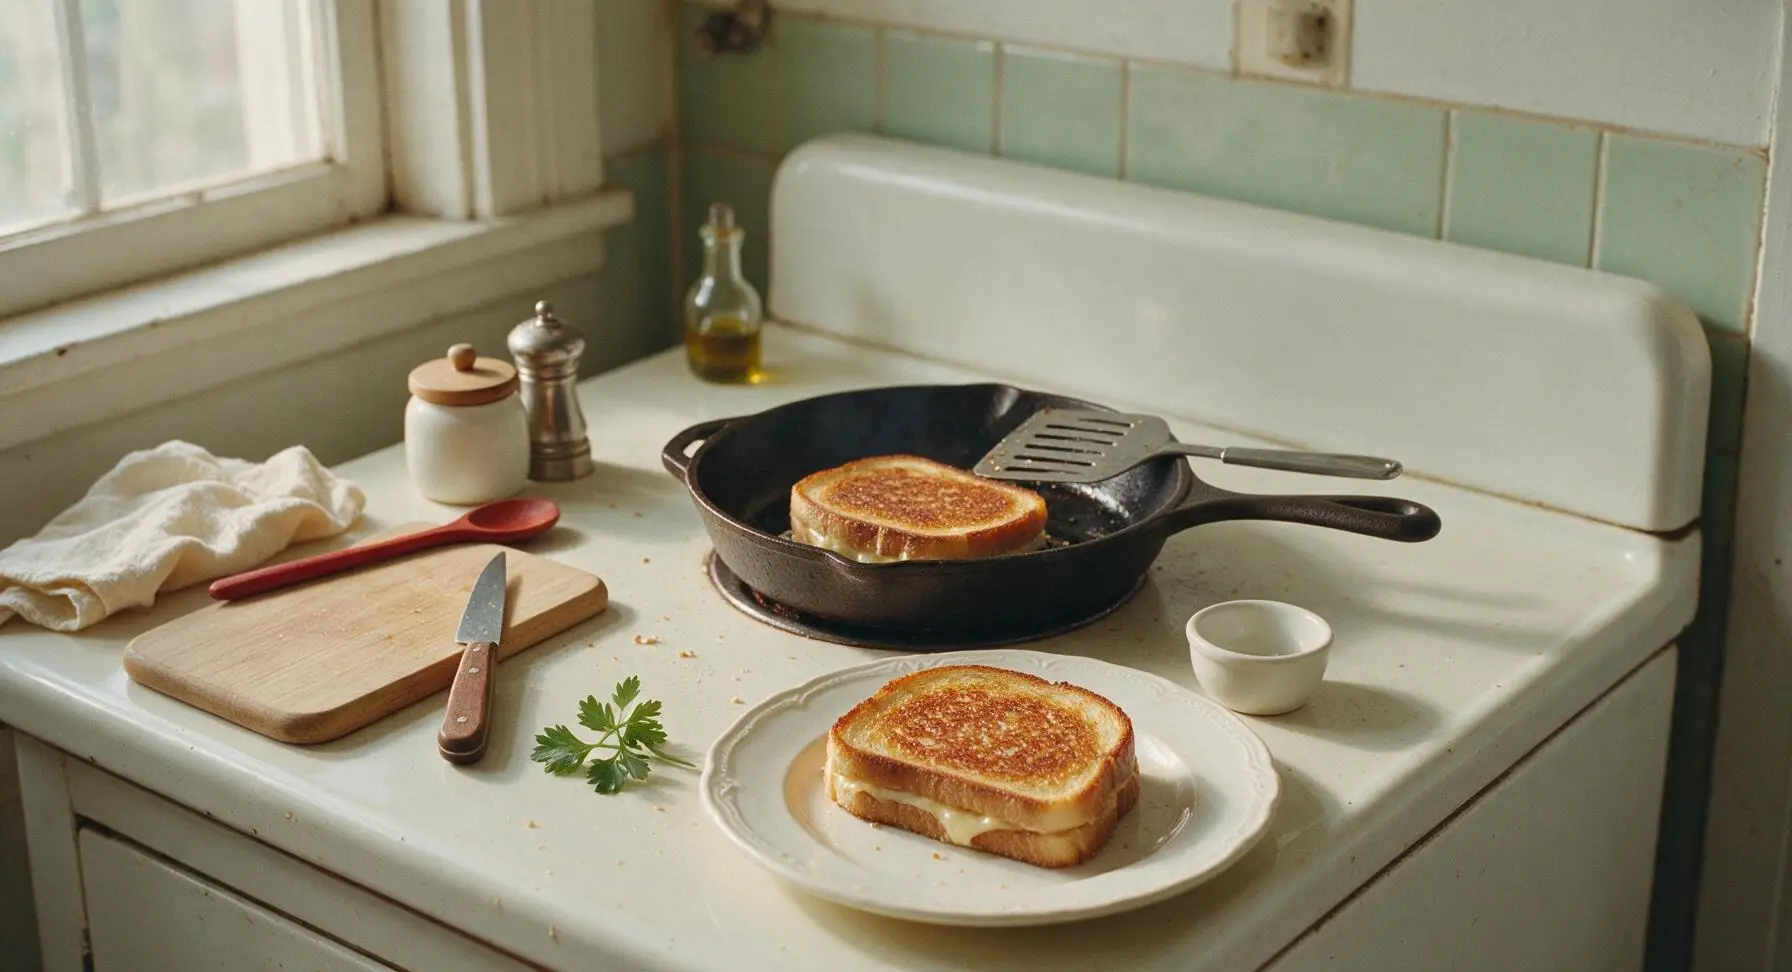
Use the spatula to lift the finished first sandwich from the pan and place it on the top matte white ceramic plate. Let it rest for 1 minute (this lets the cheese set slightly so it doesn’t all run out when you cut it). Place the second assembled sandwich in the skillet, repeating the cooking process: 3 to 4 minutes on the first side, 2 to 3 minutes on the second side, until both sides are golden crisp and cheese is fully melted (look for small bubbles of oozing cheese at the sandwich edges as a doneness cue).
Cut and serve immediately
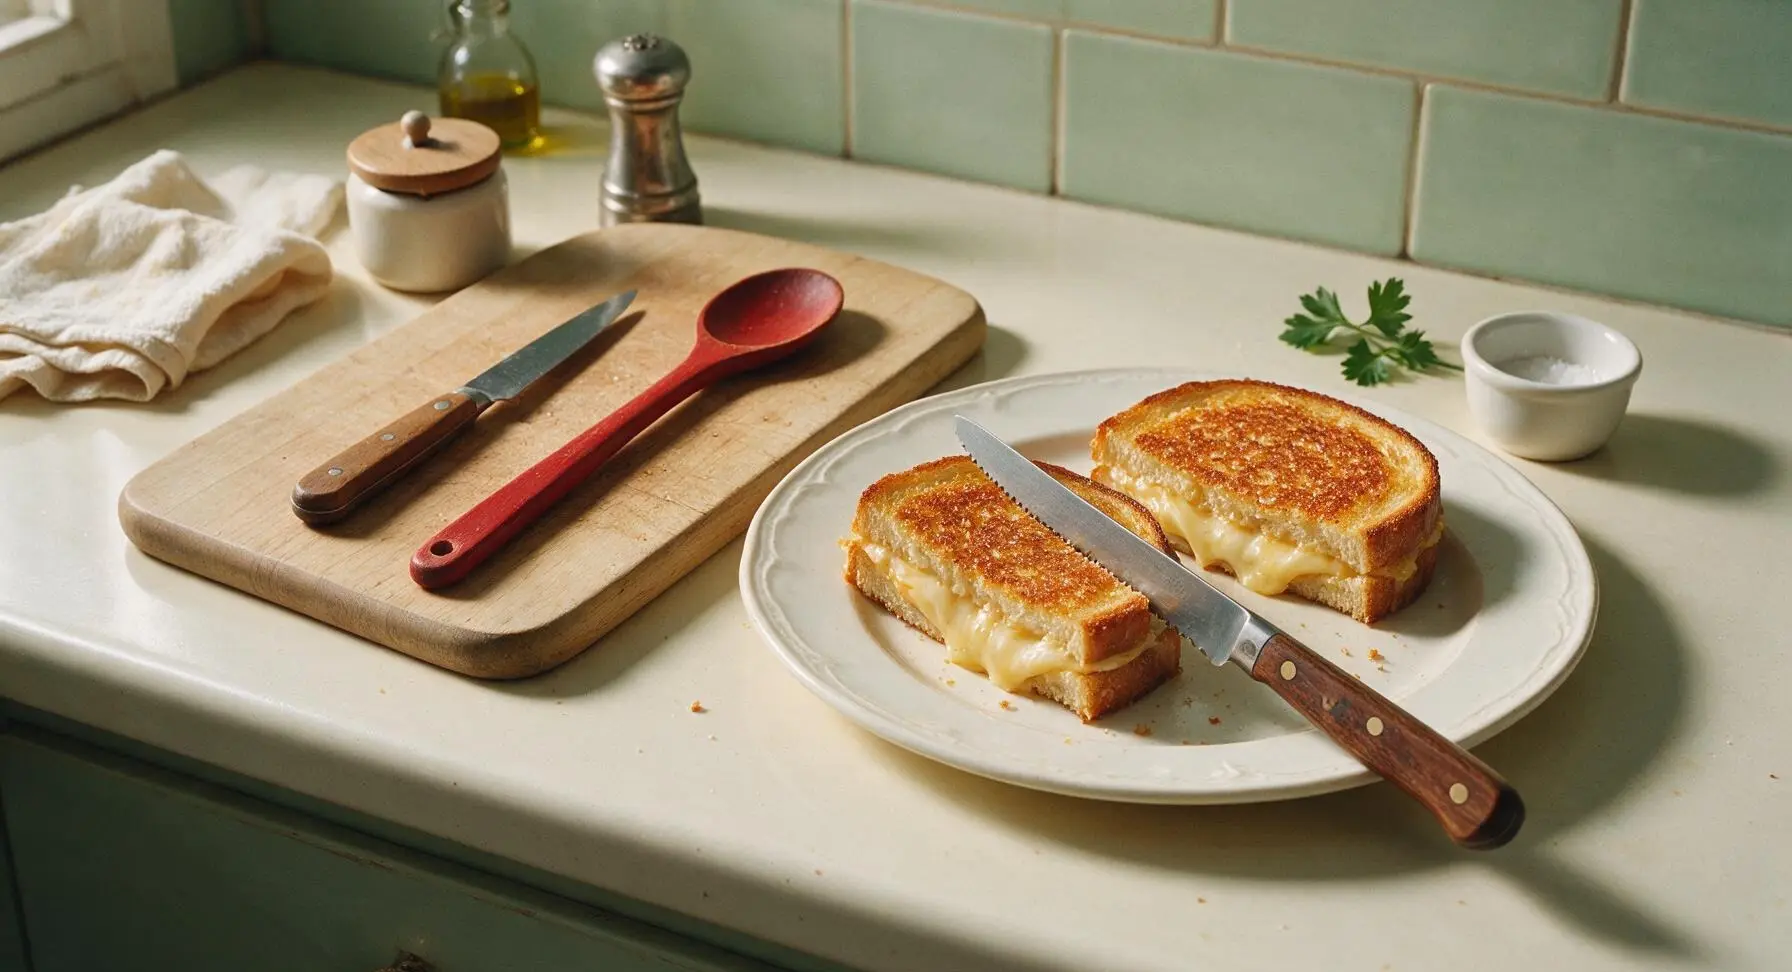
Once the second sandwich is finished, add it to the plate next to the first. Use the serrated walnut-handled bread knife to cut each sandwich diagonally into two triangles—do not use a dull knife, as this will squish the sandwich and squeeze out melted cheese. Serve immediately, while the crust is crisp and cheese is hot and stretchy.
Tips
2.Never press down on the sandwich with the spatula while cooking: this squeezes melted cheese out onto the pan and compresses the light bread crumb, leading to a greasy, flat, soggy sandwich instead of a crisp, airy texture with fully contained melted cheese.
3.Slice cheese thinly (or grate it) instead of using thick chunks: thin slices melt evenly at the recommended medium-low heat in the time it takes the bread to crisp up, so you won’t end up with burnt bread surrounding cold, unmelted cheese in the center.






OMG y’all, this crispy mayo crusted grilled cheese is a total GAME CHANGER. I always used butter before and it would burn half the time, but the mayo crust gets perfectly golden and crunchy without that burnt aftertaste! My 6 and 8 year old devoured theirs in 5 minutes flat and asked for seconds at dinner last night. 10/10, will be making this every week for quick school lunches too.
This is such a perfect quick meal for busy weeknights! 10 minute cook time is no joke, I threw this together between work meetings yesterday and it came out perfectly crispy. I used sourdough bread and a mix of cheddar and pepper jack, and the crunch on the crust was insane. SO good, even better than the grilled cheese I get at my local diner.
Brought a batch of these cut into little squares to my neighborhood potluck last weekend and they were gone in 10 minutes flat! Everyone was asking me for the recipe, they couldn’t believe the secret to the crispy crust was just mayo. I even made a few with tomato slices inside for the folks who like a little extra freshness, total hit.
Wait why did no one tell me mayo on the outside of grilled cheese works this good?? I’m a broke college student with basically no cooking skills, and this came out perfect on my first try. No fancy equipment needed, just a pan, bread, cheese, and mayo. Way better than the sad microwave grilled cheeses I used to make.
I made this with my favorite gluten free sourdough and dairy free cheddar for my kid who has food allergies, and it worked perfectly! The mayo crisped up just like it does on regular bread, no soggy mess at all. We’ve been missing good crispy grilled cheese since we went gluten free, so this is such a win for our family.
Made this for a lazy Sunday brunch last weekend alongside some creamy tomato soup, and my partner said it’s the best grilled cheese I’ve ever made. The crust is shatteringly crisp, no uneven burnt spots like I get when I use butter. I even spread a little dijon on the inside of the bread for a tiny tang, chef’s kiss. Only reason it’s not 5 stars is I wish I’d thought to add crispy bacon on the inside, but that’s on me, not the recipe!
Tried this with a little hot sauce mixed into the mayo and used pepper jack + a slice of habanero cheddar, and wow. The crispy crust holds up so well even with the extra melty cheese, no grease dripping all over the place like my old grilled cheese recipe. Will absolutely be making this again for my next movie night with friends.
I’ve been making grilled cheese for over 50 years, and I have to say, this mayo trick is something I never thought to try. I was skeptical at first, but it really does make the crispiest crust! I made it for my grandkids when they visited last week, and even my picky oldest granddaughter ate every bite. Great recipe, super easy even for us old folks who are used to doing things the old way.
I prepped a bunch of these for my work lunches this week, and they reheat really well in the toaster oven! The crust stays crispy instead of getting soggy like other grilled cheese recipes I’ve tried. 10 minutes to make, zero fuss, perfect for when I don’t feel like putting together a whole meal after the gym.
This saved my sanity yesterday when my toddler was having a total meltdown and needed lunch STAT. It came together in literally 10 minutes, the crust was crispy, the cheese was perfectly melty, and he ate the whole thing without throwing half of it on the floor. Win in my book! I added a little sprinkle of Italian seasoning to the mayo and it was chef’s kiss.