
Grilled Cheese with Miso
intro
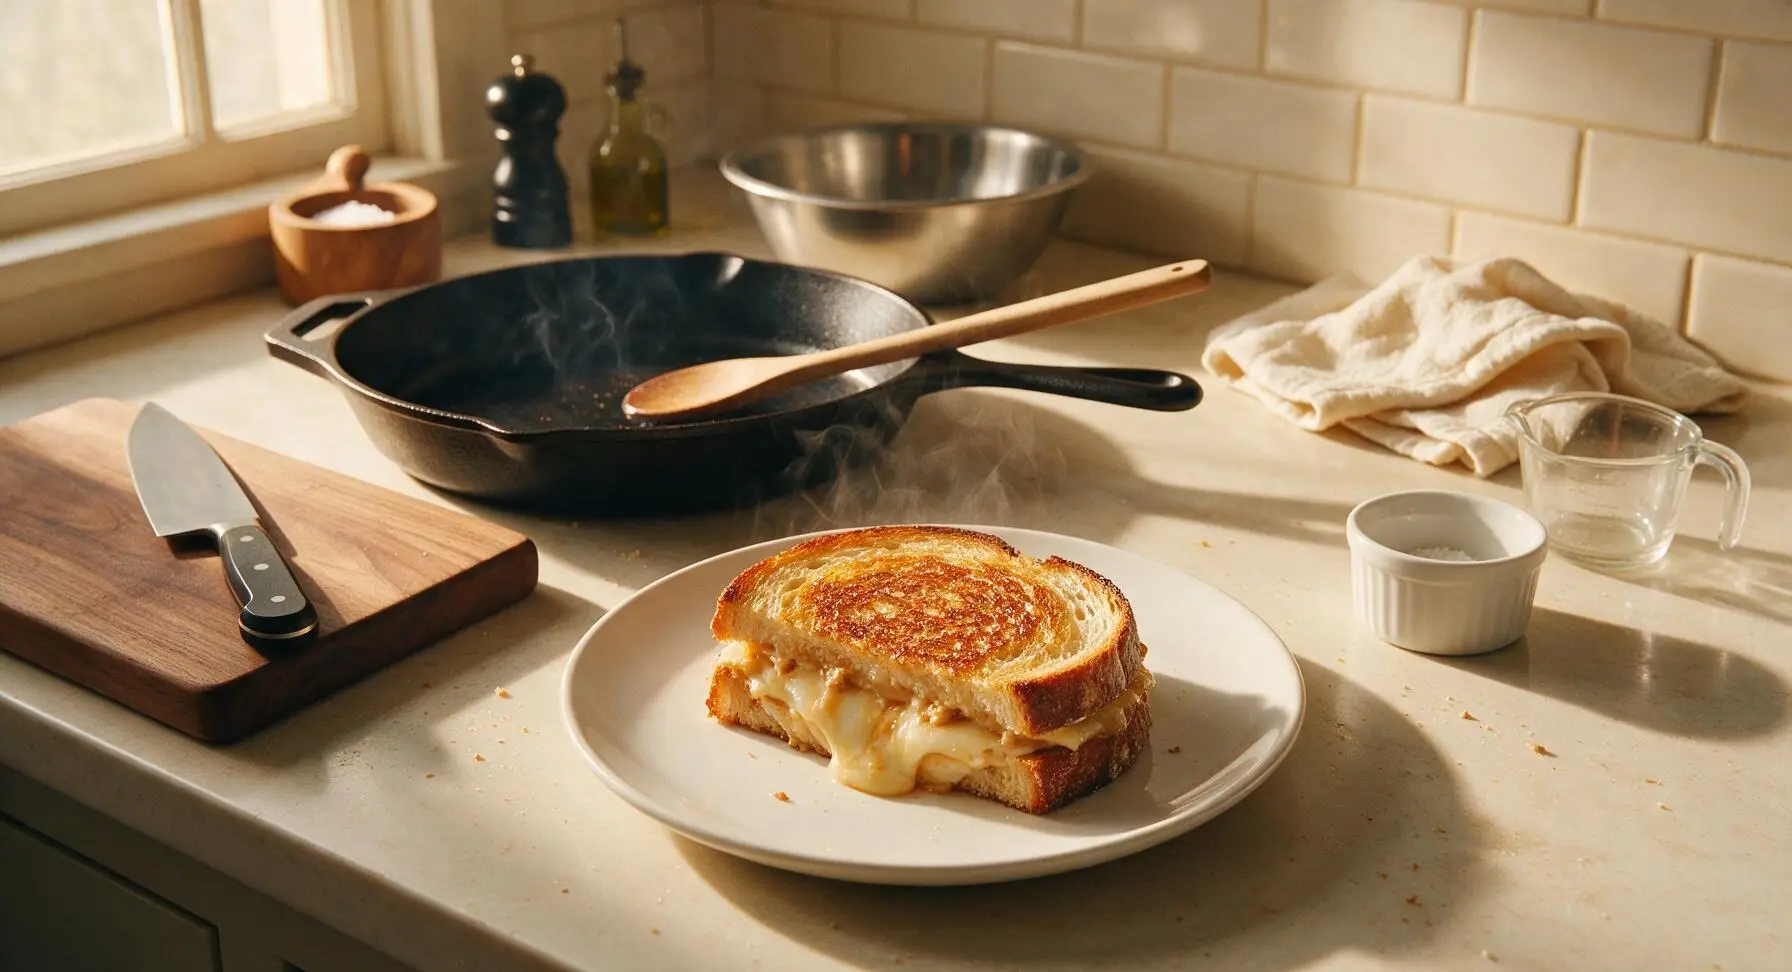
An umami-packed twist on classic American comfort food: crispy buttery sourdough, gooey melted cheese, and savory white miso adding deep, salty-sweet depth to every bite.
Ingredients
Steps
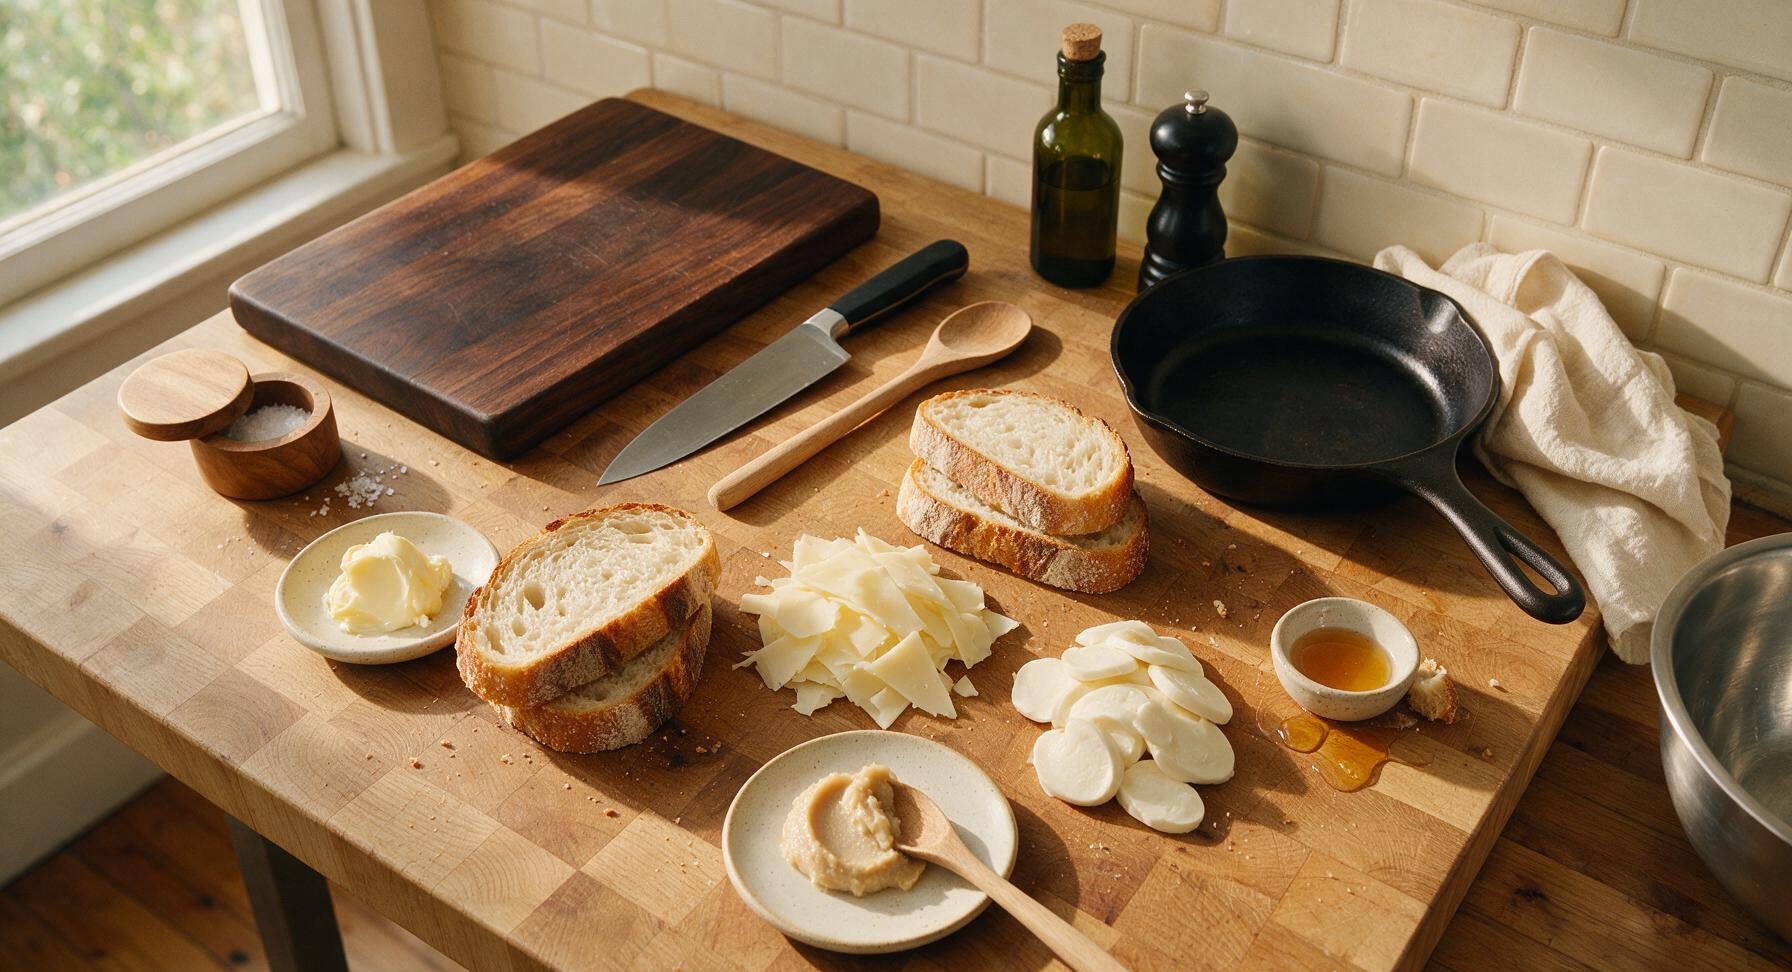
Mix miso butter
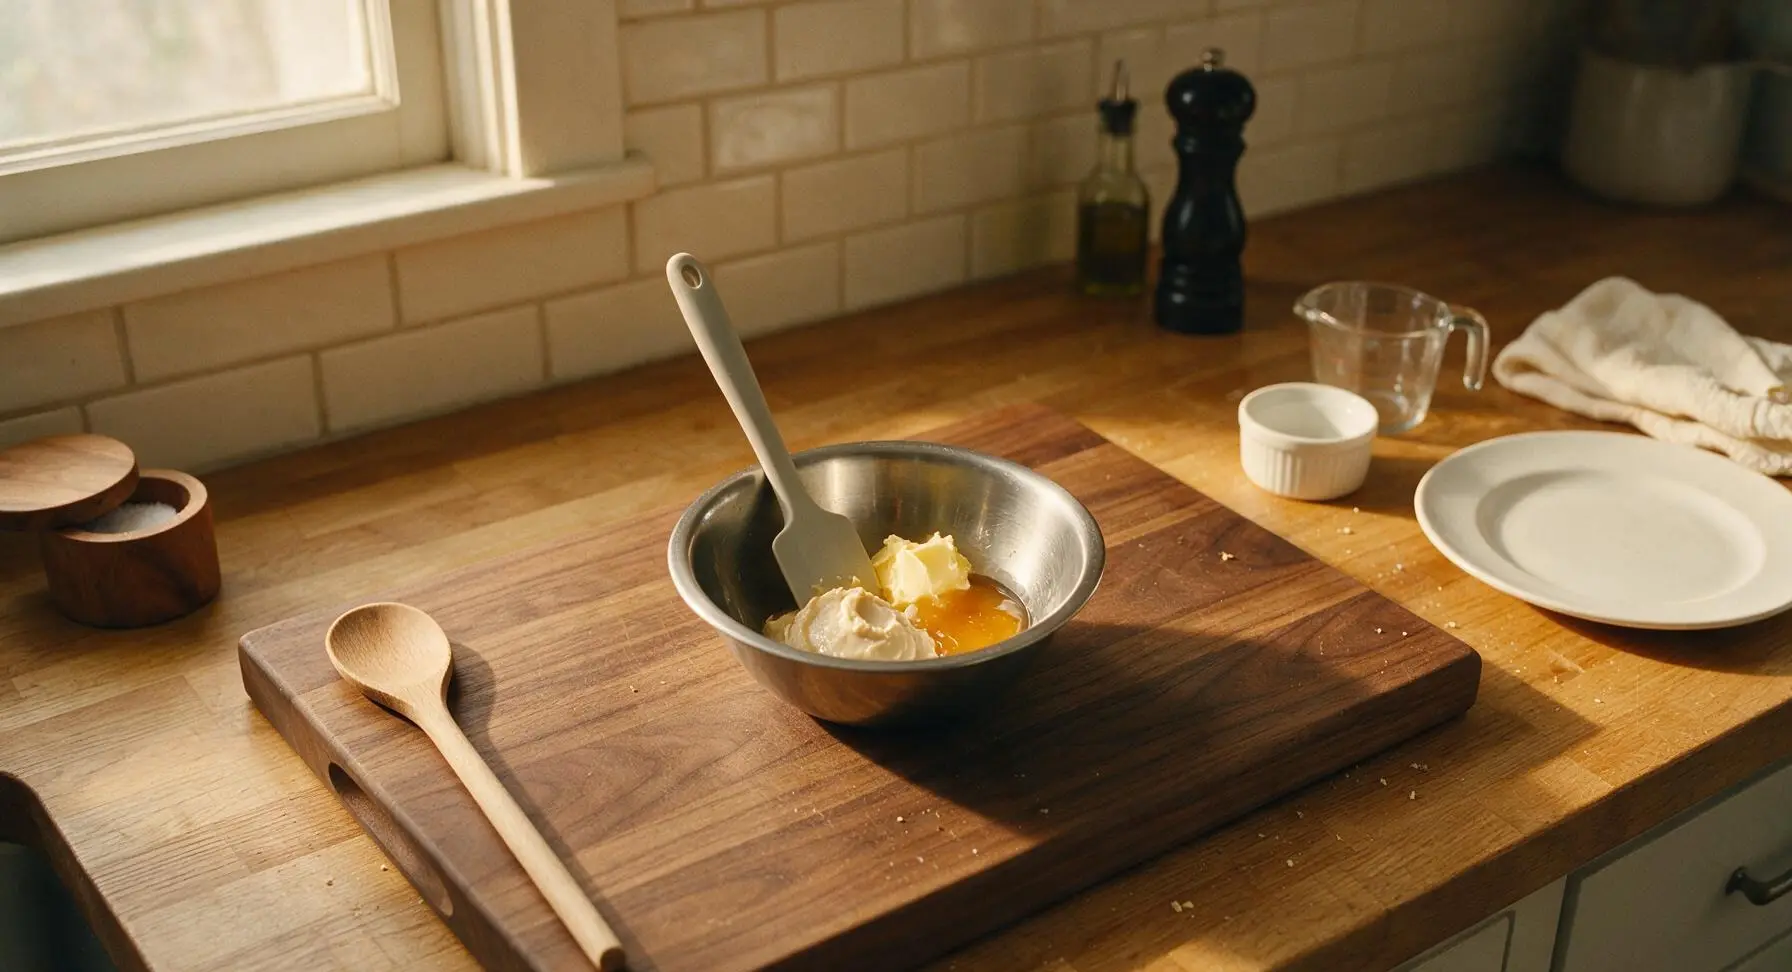
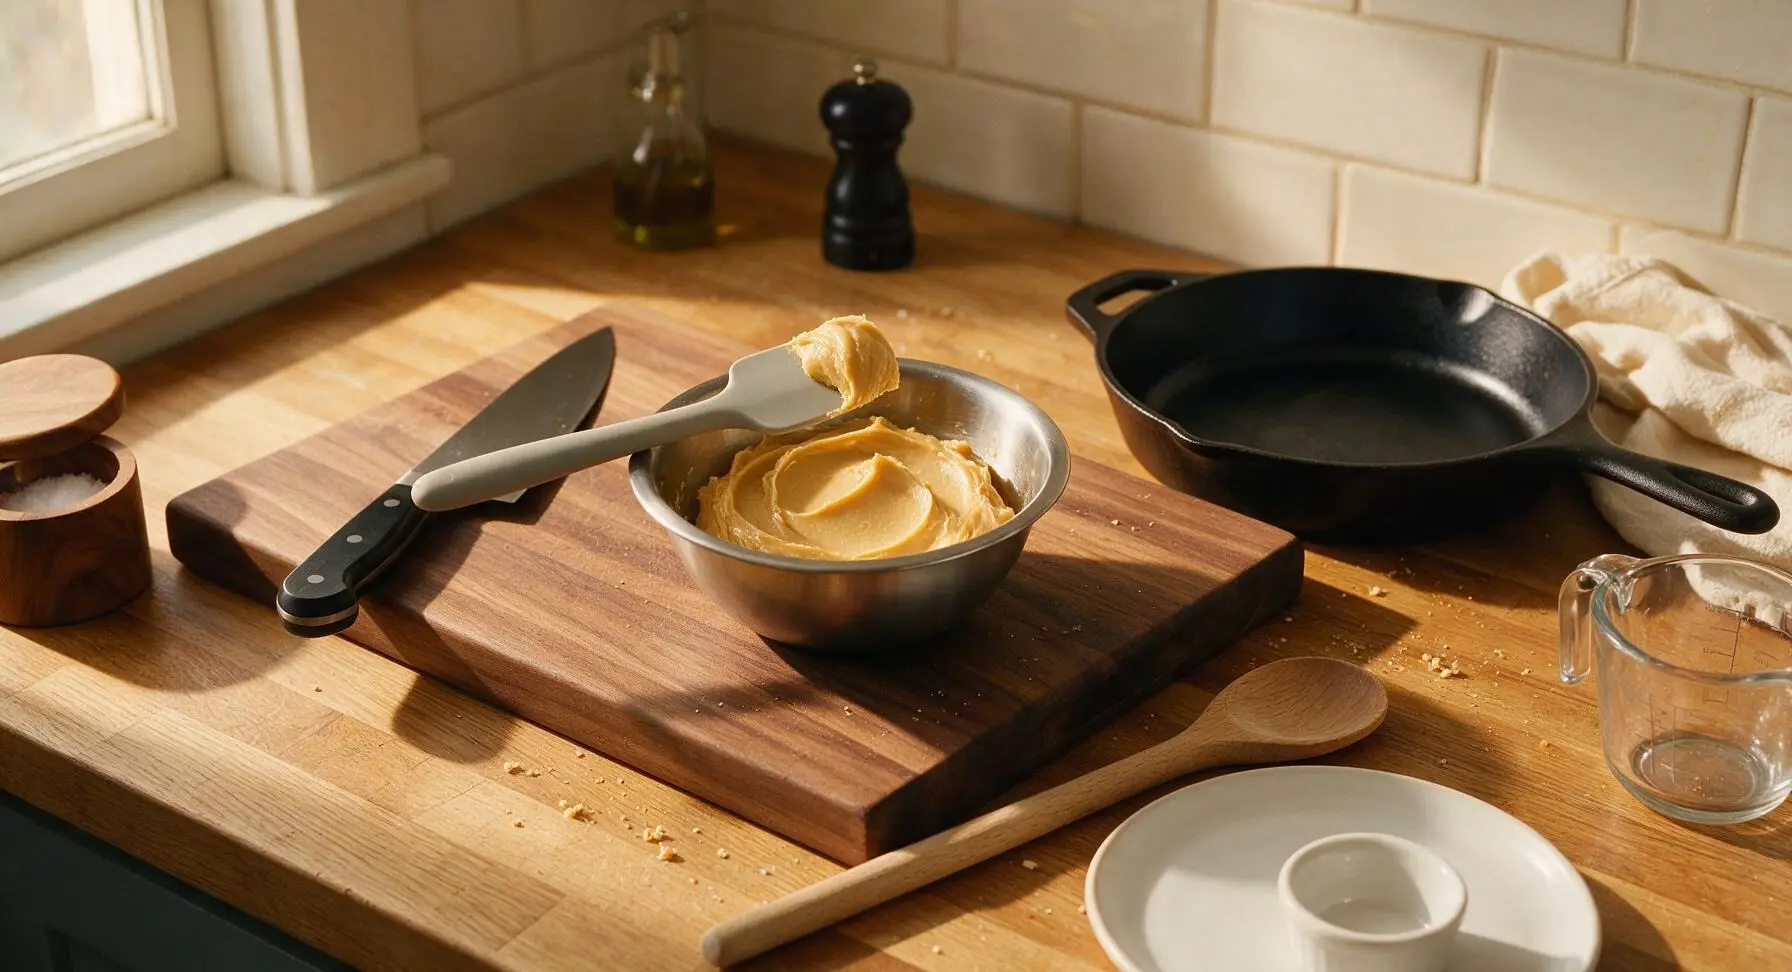
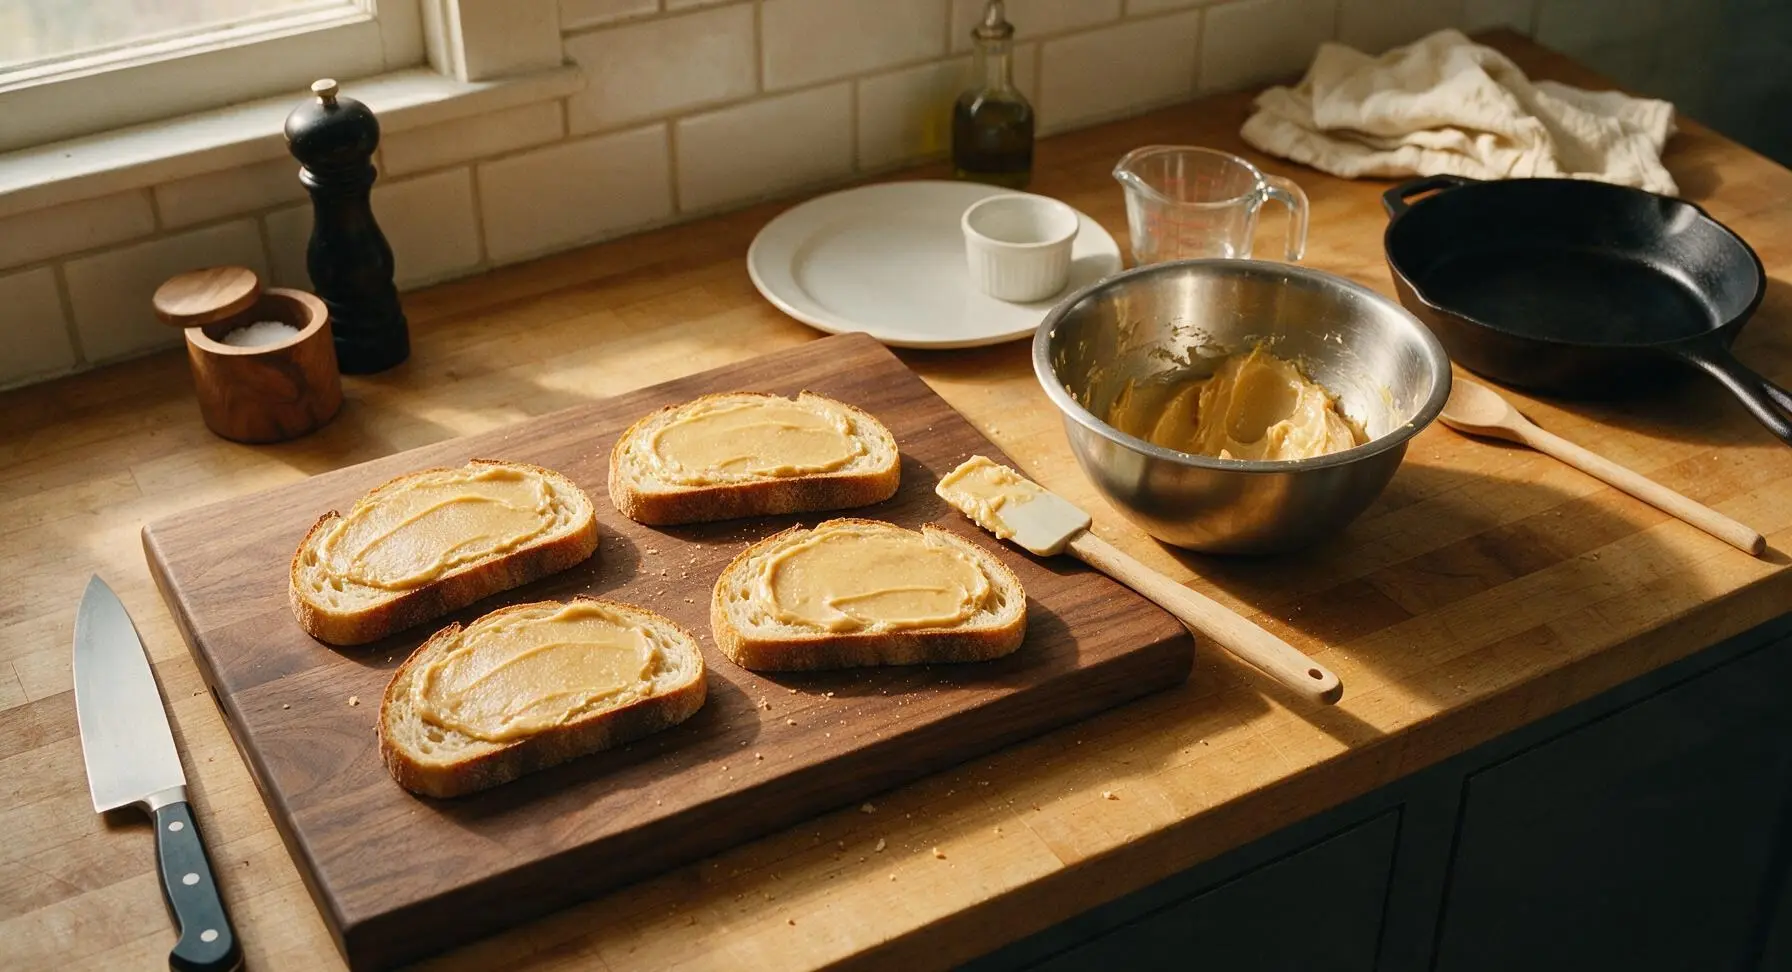
Place the 2 tbsp softened unsalted butter, 1.5 tsp white shiro miso, and ½ tsp raw honey into the small stainless steel mixing bowl, set on top of the beech wood cutting board. Use the matte light gray silicone spatula to stir and mash the mixture until completely smooth, with no visible lumps of miso remaining. The finished spread should be a uniform pale golden color, soft and easily spreadable at room temperature, which takes about 1 minute of steady mixing.
Butter bread slices
Lay all 4 slices of sourdough flat on the beech wood cutting board. Use the silicone spatula to spread a thin, even layer of the miso butter mixture on one entire side of each bread slice, using approximately half the total miso butter for this step. Ensure butter coverage reaches all the way to the crust edges to avoid dry, pale spots on the finished sandwich.
Layer cheese fillings
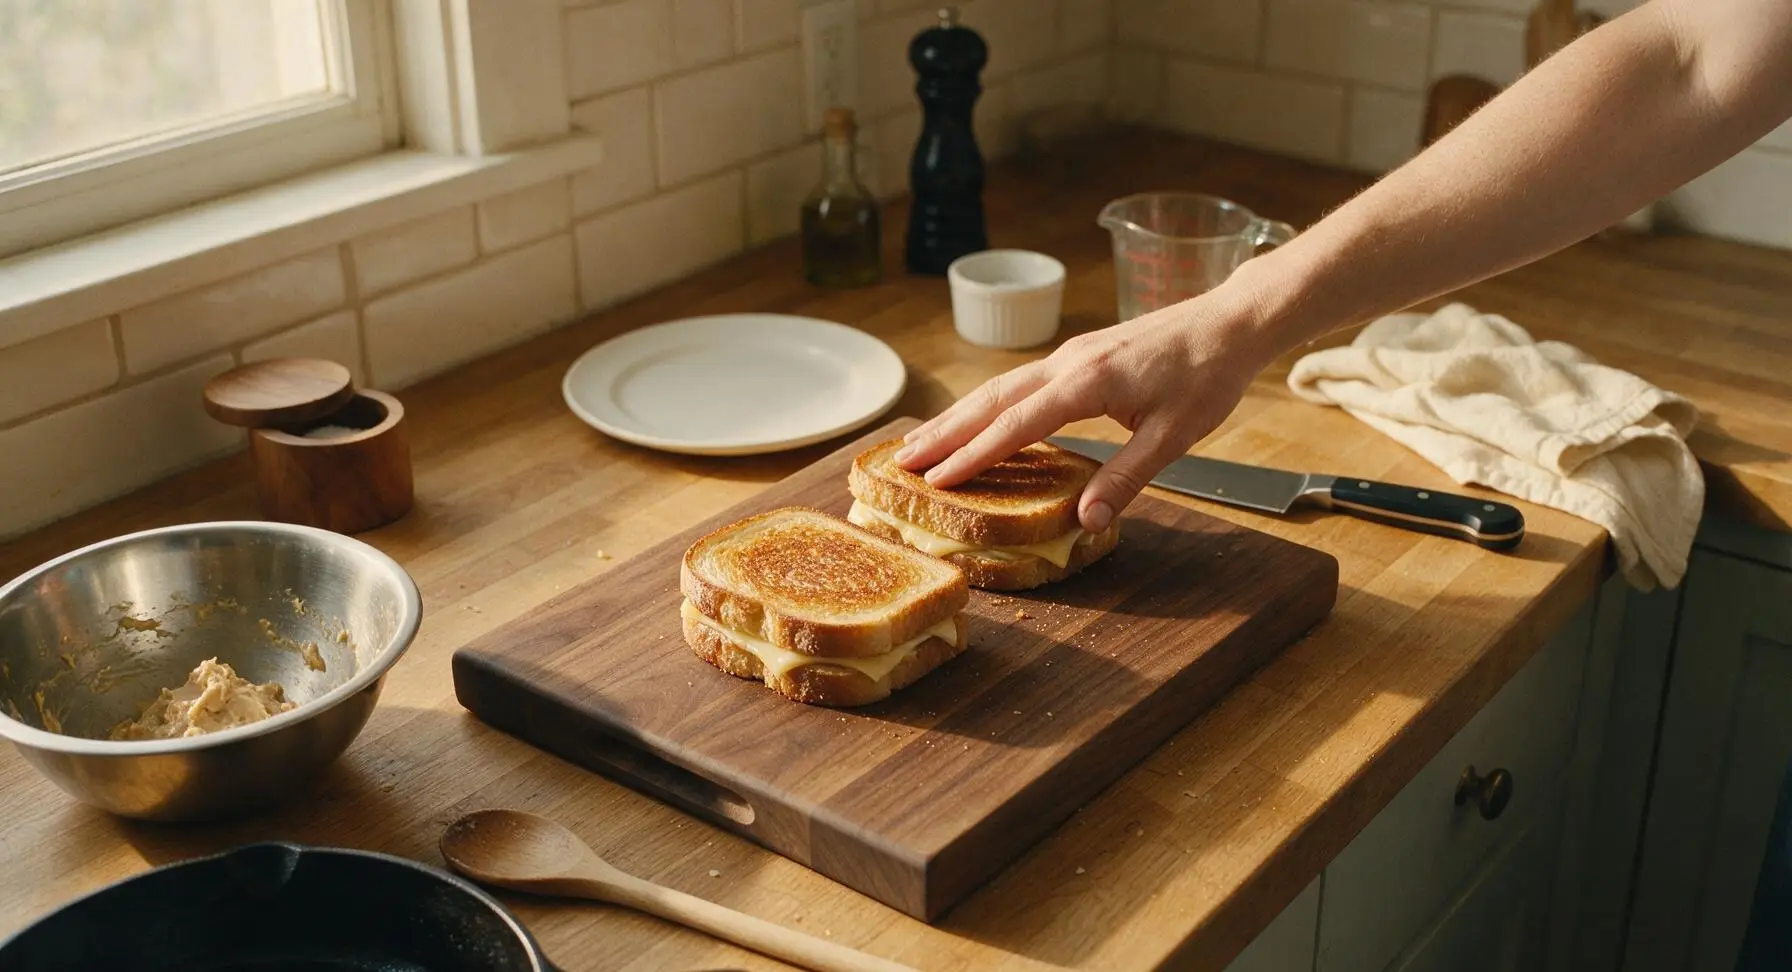
Flip two of the bread slices over so the buttered side faces down on the cutting board. Evenly divide the 60g sliced sharp white cheddar and 30g low-moisture mozzarella across these two slices, stacking the cheese to cover the bread surface completely without overhanging the edges (overhanging cheese will melt and burn in the pan). Top each cheese stack with the remaining two bread slices, buttered side facing up, to form two closed sandwiches. Press down gently on each sandwich with the palm of your hand to adhere the layers.
Preheat cooking skillet
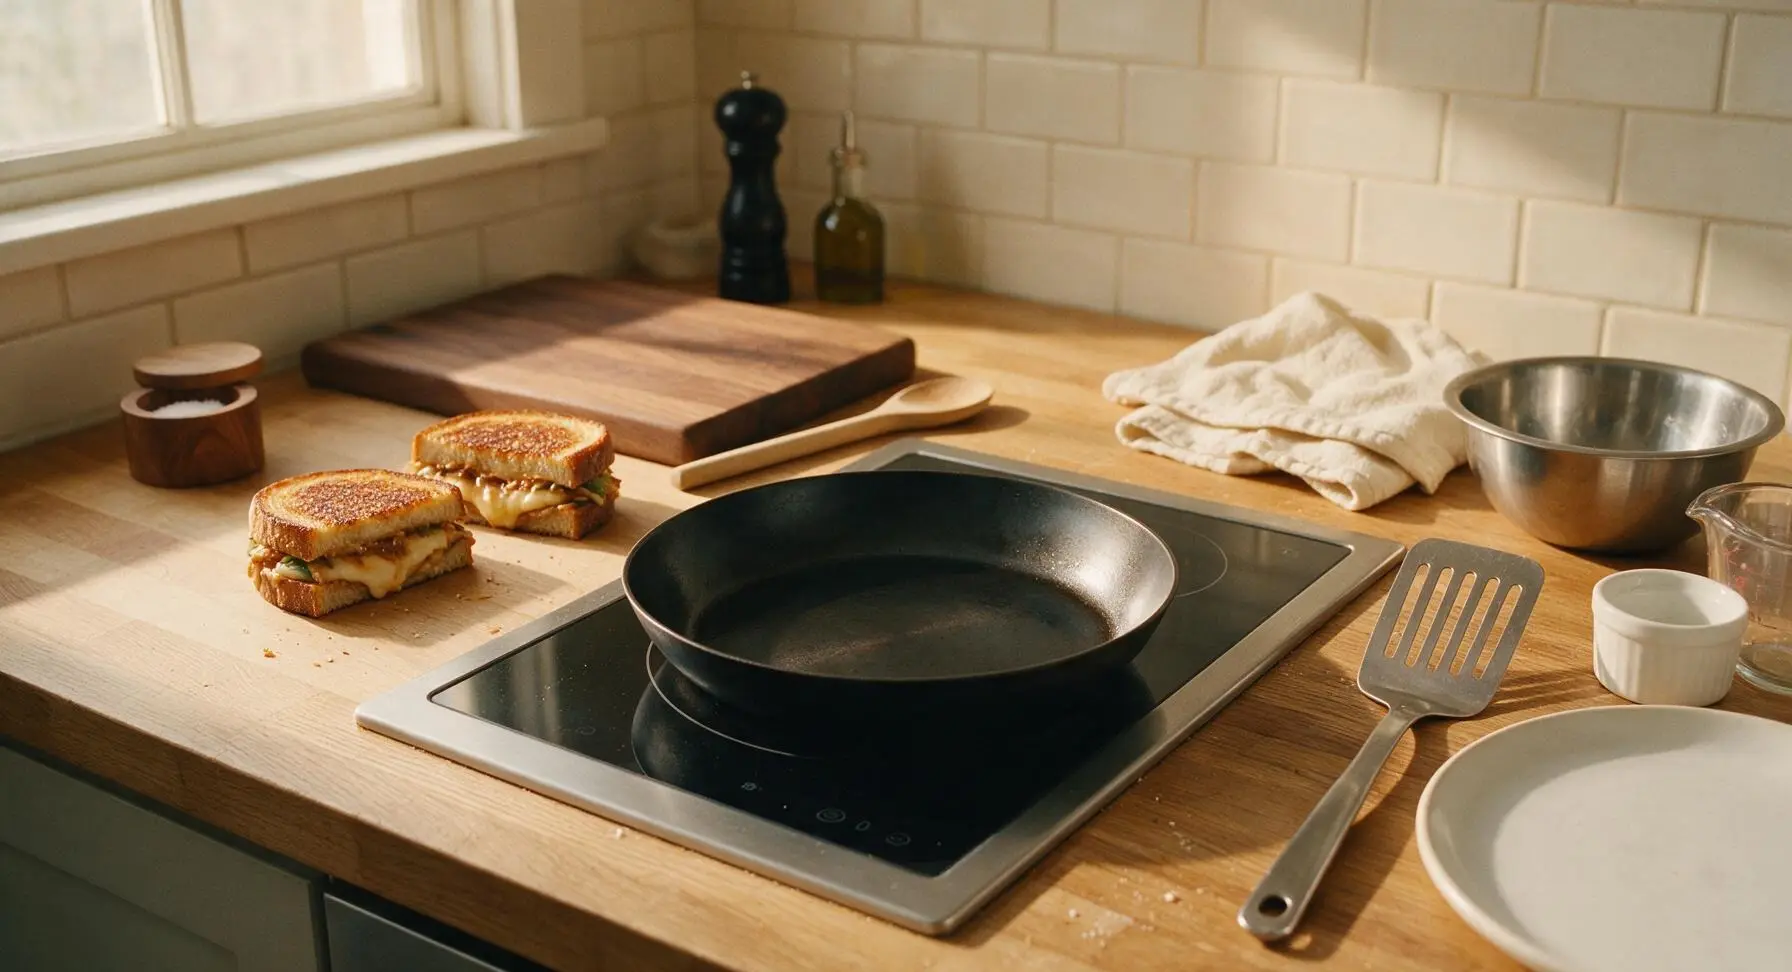
Place the 10-inch matte black carbon steel skillet on the flush central induction burner, and set heat to medium-low (325°F / 160°C). Preheat the empty skillet for 2 minutes. Do not heat the pan to high heat, as miso burns quickly and will turn bitter. Rest the slotted stainless steel turner on the counter to the right of the skillet for easy access.
Grill first sandwich side
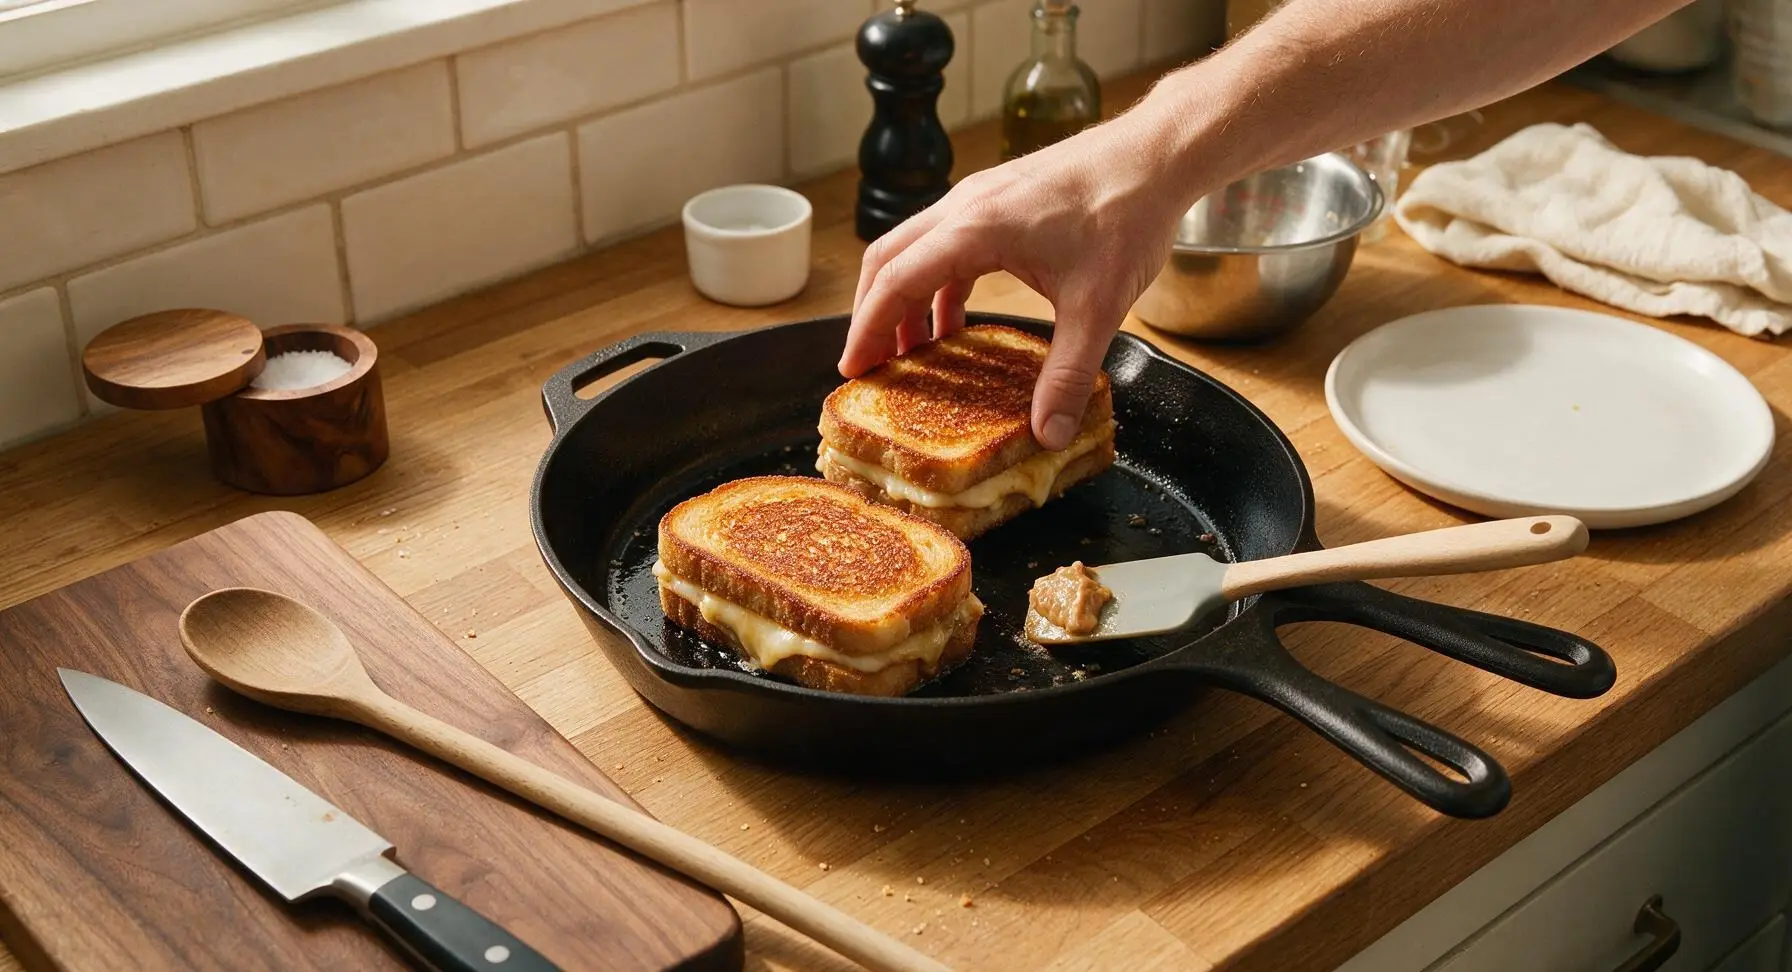
Carefully place both assembled sandwiches into the preheated skillet, buttered side down. Use the silicone spatula to spread the remaining miso butter in a thin, even layer on the top (unbuttered) side of each sandwich. Cook for 3-4 minutes on medium-low heat, resisting the urge to press down hard on the sandwiches with the turner (this squeezes out cheese and creates dry sandwiches). The first side is done when it reaches a deep, even golden brown, with crispy edges, and the cheese closest to the pan has started to soften and melt.

Flip sandwiches gently
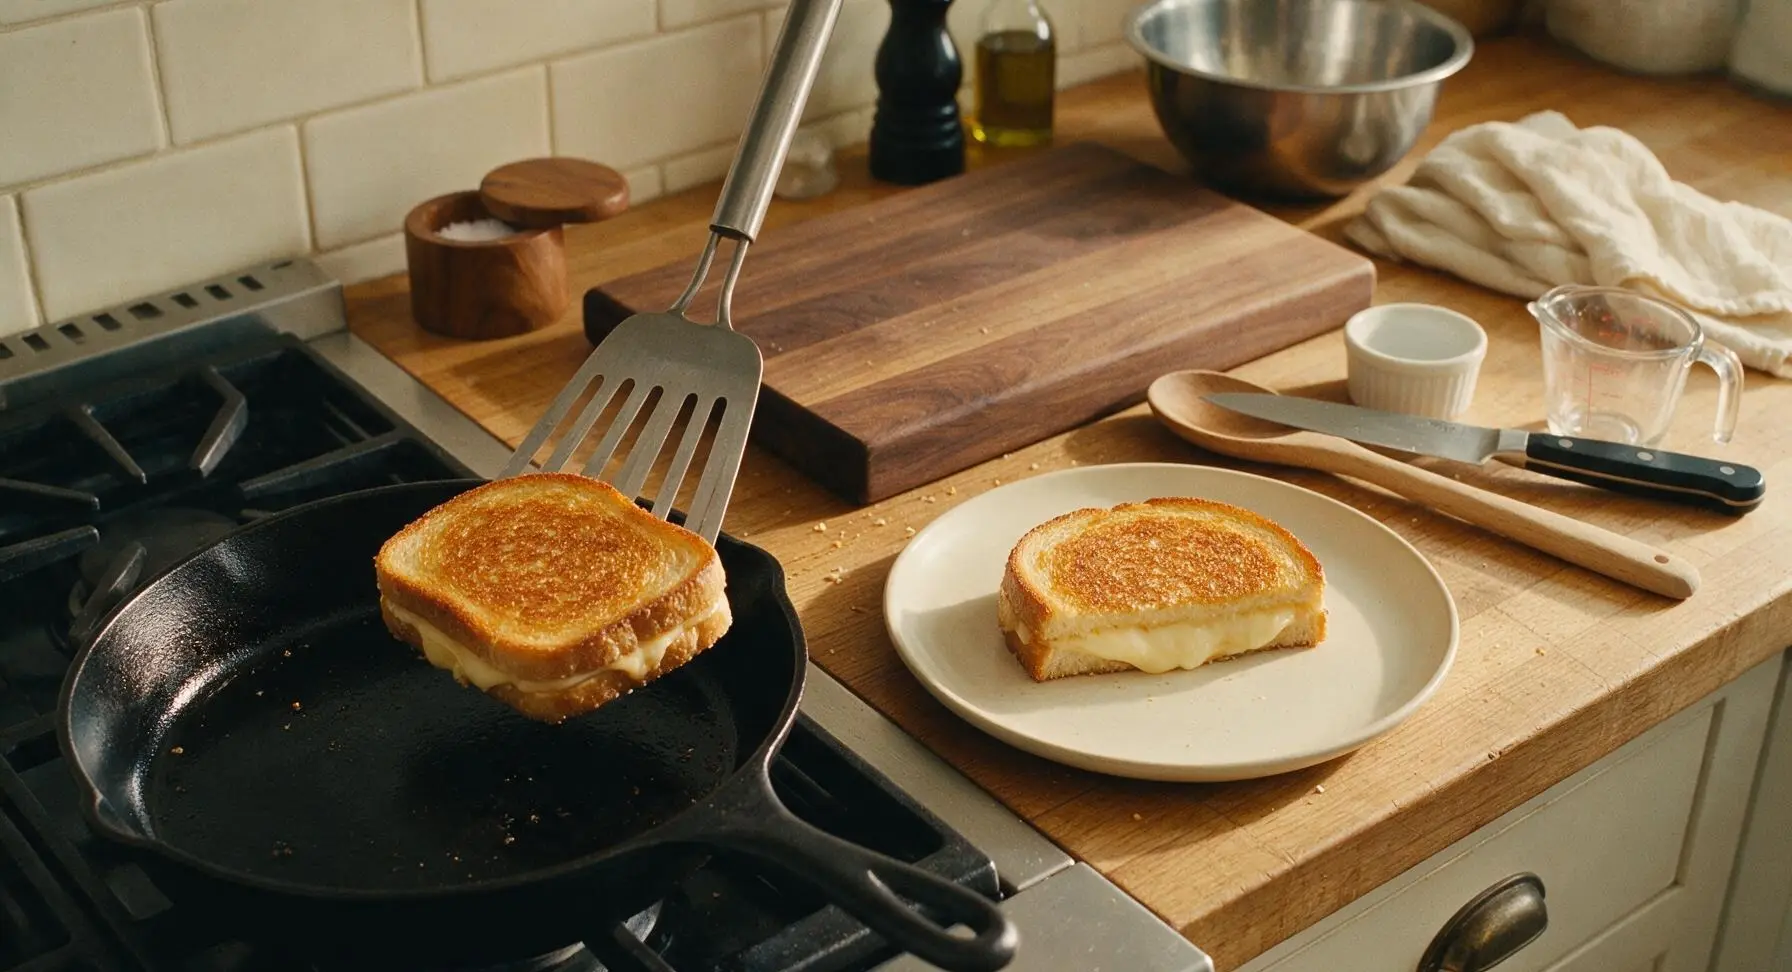
Slide the slotted stainless steel turner fully under each sandwich, supporting the entire base to avoid tearing the delicate crispy bread, and flip each sandwich in one smooth, steady motion. The second, freshly buttered side is now facing down against the hot skillet. Cook for another 3-4 minutes, adjusting heat to low if the bread starts to brown faster than the cheese melts.
Check cheese melt
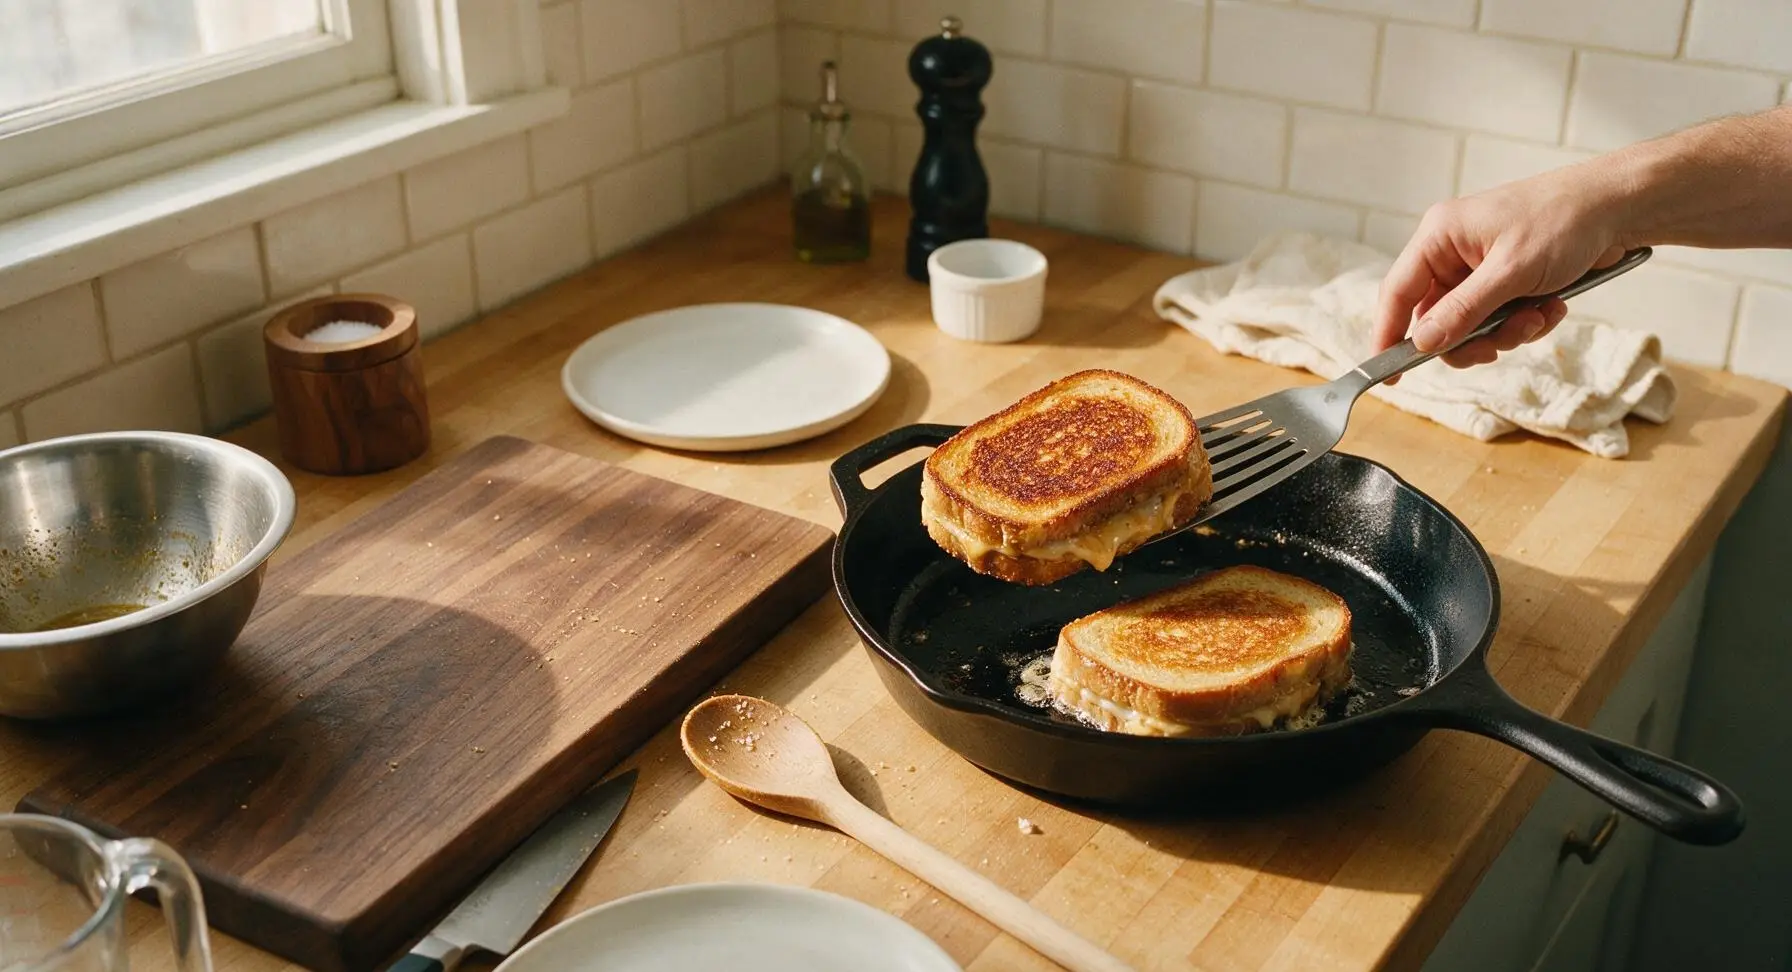
After 3 minutes of cooking on the second side, gently lift one corner of a sandwich with the turner to check for doneness. The second side should be a matching deep golden brown, and the cheese in the center should be fully melted and gooey, with no firm, unmelted slices remaining. If the bread is browned but cheese is not fully melted, reduce heat to low, cover the skillet with a lid for 1 minute to trap steam and melt cheese without burning the bread.
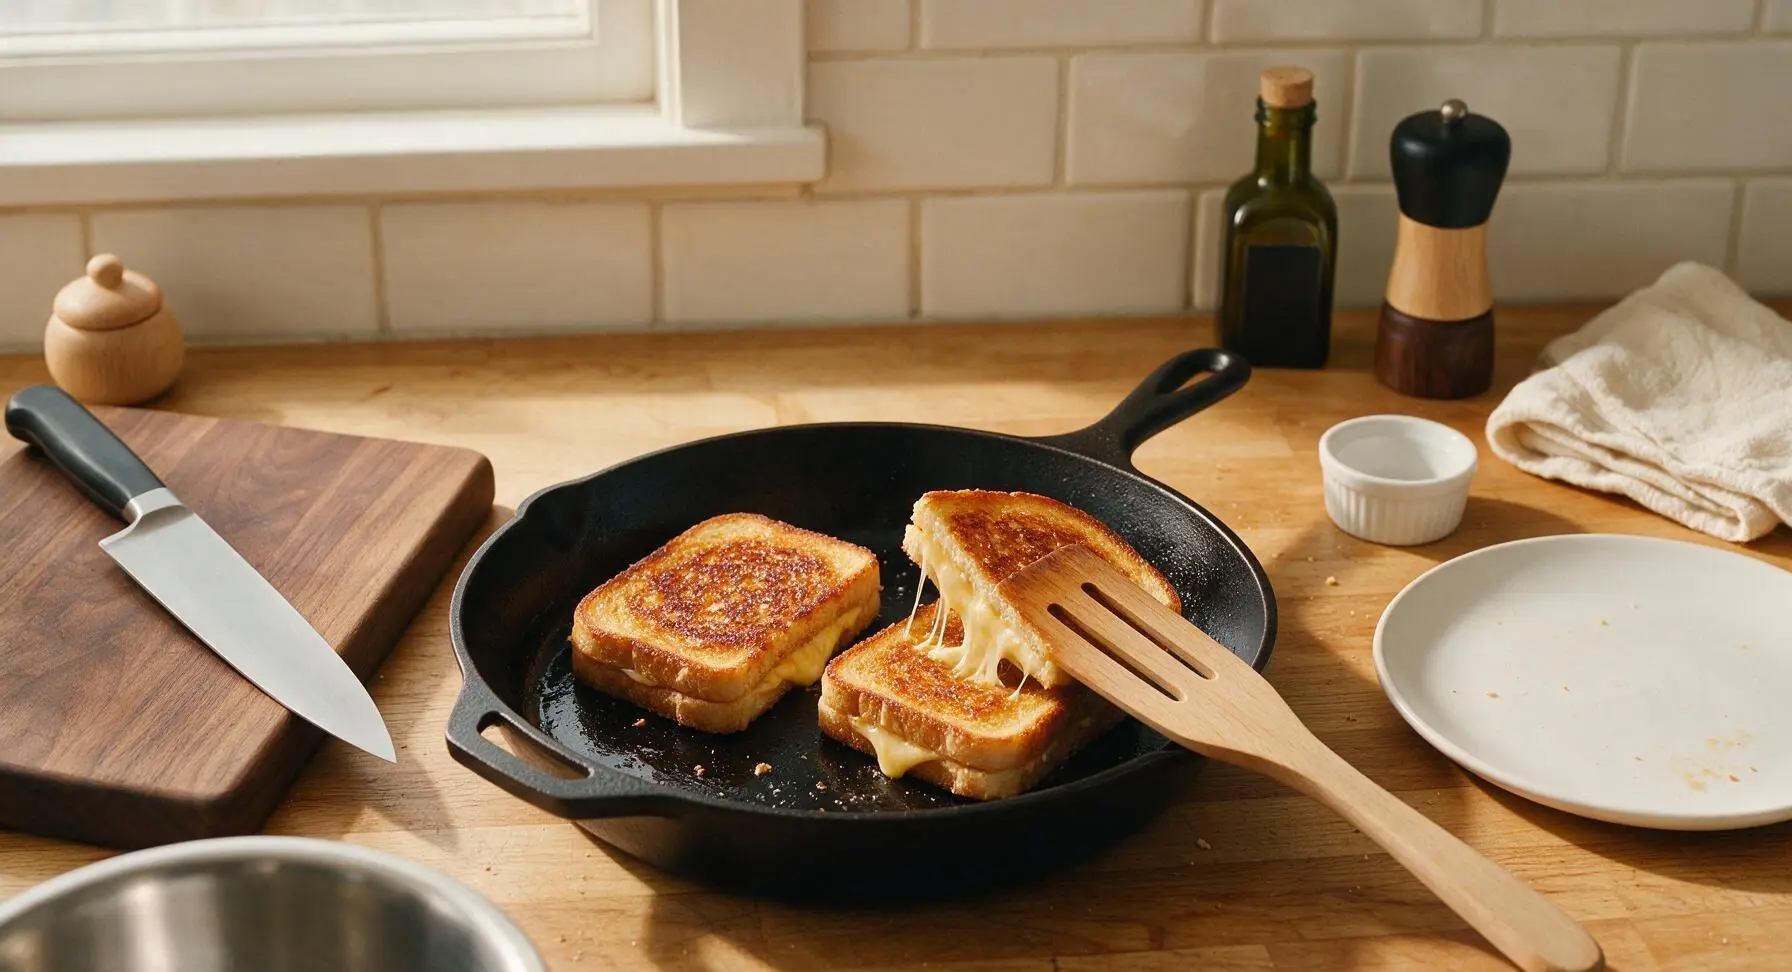
Plate and cut sandwiches
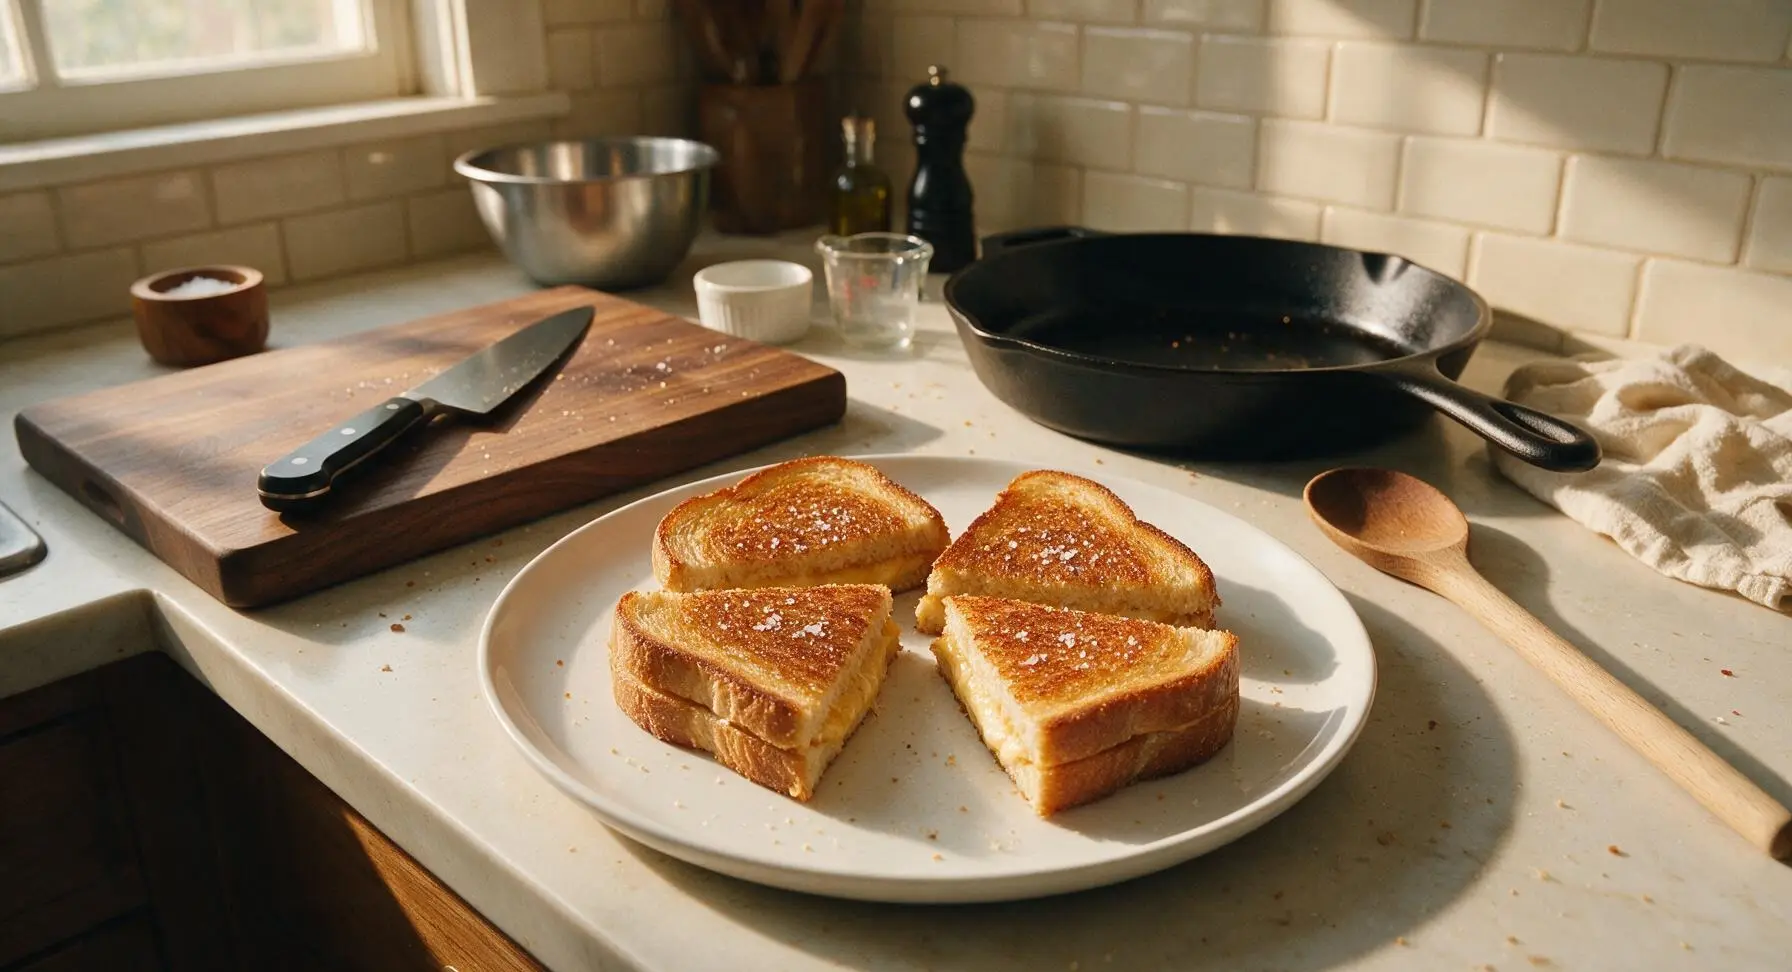
Use the slotted stainless steel turner to transfer both cooked sandwiches from the skillet to the cream white ceramic lunch plate, positioned to the right of the burner. Let the sandwiches rest for 1 full minute to allow melted cheese to set slightly (this prevents all the cheese from running out when sliced). Use the 8-inch chef knife to cut each sandwich diagonally into two equal triangles, then sprinkle the tops lightly with flaky sea salt from the salt cellar.
Tips
2.Keep cooking heat at medium-low the entire time: miso contains natural sugars and fermented compounds that burn very quickly at high heat, creating a bitter, acrid crust instead of the deep savory-sweet, umami-rich crisp you want. Low, slow cooking ensures evenly browned bread and fully melted cheese.
3.Never press down on the sandwiches with your spatula while cooking: this squeezes melted butter and cheese out from the sandwich edges, leading to dry, less flavorful bread and burnt cheese drippings in your pan. The natural weight of the bread and cheese is enough to press layers together as it cooks.






OMG this is such a game changer! I’ve been making boring regular grilled cheese for my kids’ school lunches for years, and adding that little bit of white miso took it from blah to chef’s kiss. My 7 year old asked for seconds before he even finished his first! Cook time really is only 8 minutes too, perfect for chaotic weekday mornings.
Wait, miso in grilled cheese? I was super skeptical at first but I had a tub of white miso in my fridge from making ramen last week so I gave it a shot. SO good. The salty, savory miso cuts through the richness of the melted cheddar so perfectly. I brought a batch to our neighborhood potluck last weekend and people were begging for the recipe.
This is perfect for dorm cooking! I have a tiny countertop grill in my room and this took literally no time at all to throw together between study sessions. Way better than the sad dining hall grilled cheese, 10/10.
Has anyone tried this with gluten free sourdough? I have a gluten sensitivity but I’m dying to make this, it looks so good.
Made this for family dinner last night when I forgot to plan anything else – can’t believe how fast it came together. We paired it with tomato soup and everyone cleared their plates. Even my super picky teenager who turns his nose up at everything thought it was great!
Wait a second, can you prep these ahead for the week? I do meal prep every Sunday for work lunches and would love to add these to the rotation if they reheat well.
Added a dash of chili crisp to mine and wow, that little kick with the miso and cheese? Out of this world. Will be making this at least once a week from now on.
I’m literally just learning to cook and this was the first recipe I didn’t burn! It’s so easy to follow, and the instructions are super clear. I was so proud of myself when it turned out crispy and melty just like the photos.
I swapped the regular cheddar for vegan cheddar and used dairy free butter, and it still came out so tasty! The miso adds so much depth you don’t even miss the dairy.
Made these on my portable grill at the tailgate last weekend and they were a total hit. So much more interesting than regular burgers and hot dogs, and they cooked so fast I could make them for the whole group without missing any of the game.
I’m usually a sweet breakfast person but I had this for breakfast this morning with a fried egg on top and it changed my whole day. 10/10, no notes.
Let me start by saying I burn toast on a regular basis. This recipe? Even I couldn’t mess it up. The 8 minute cook time is no joke, and it tastes like something you’d order at a fancy cafe for $12. Wild.
Full transparency: I thought I hated miso. My partner made me try this and I’m eating my words (and two whole sandwiches). The miso flavor is subtle, not overpowering at all, it just makes the cheese taste extra cheesy? How does that even work? Obsessed.
Made this at 2am after a night out with friends and it was the best late night snack I’ve ever had. Crispy, melty, salty, perfect. No notes, will be making this every time I get home late from now on.
I made a mini version of these for my book club appetizer spread last night, cut into little triangles with toothpicks, and every single one was gone in 10 minutes. People kept asking what my secret ingredient was! So fun to have a little elevated twist on a classic comfort food.