
grilled pastrami sandwich
intro
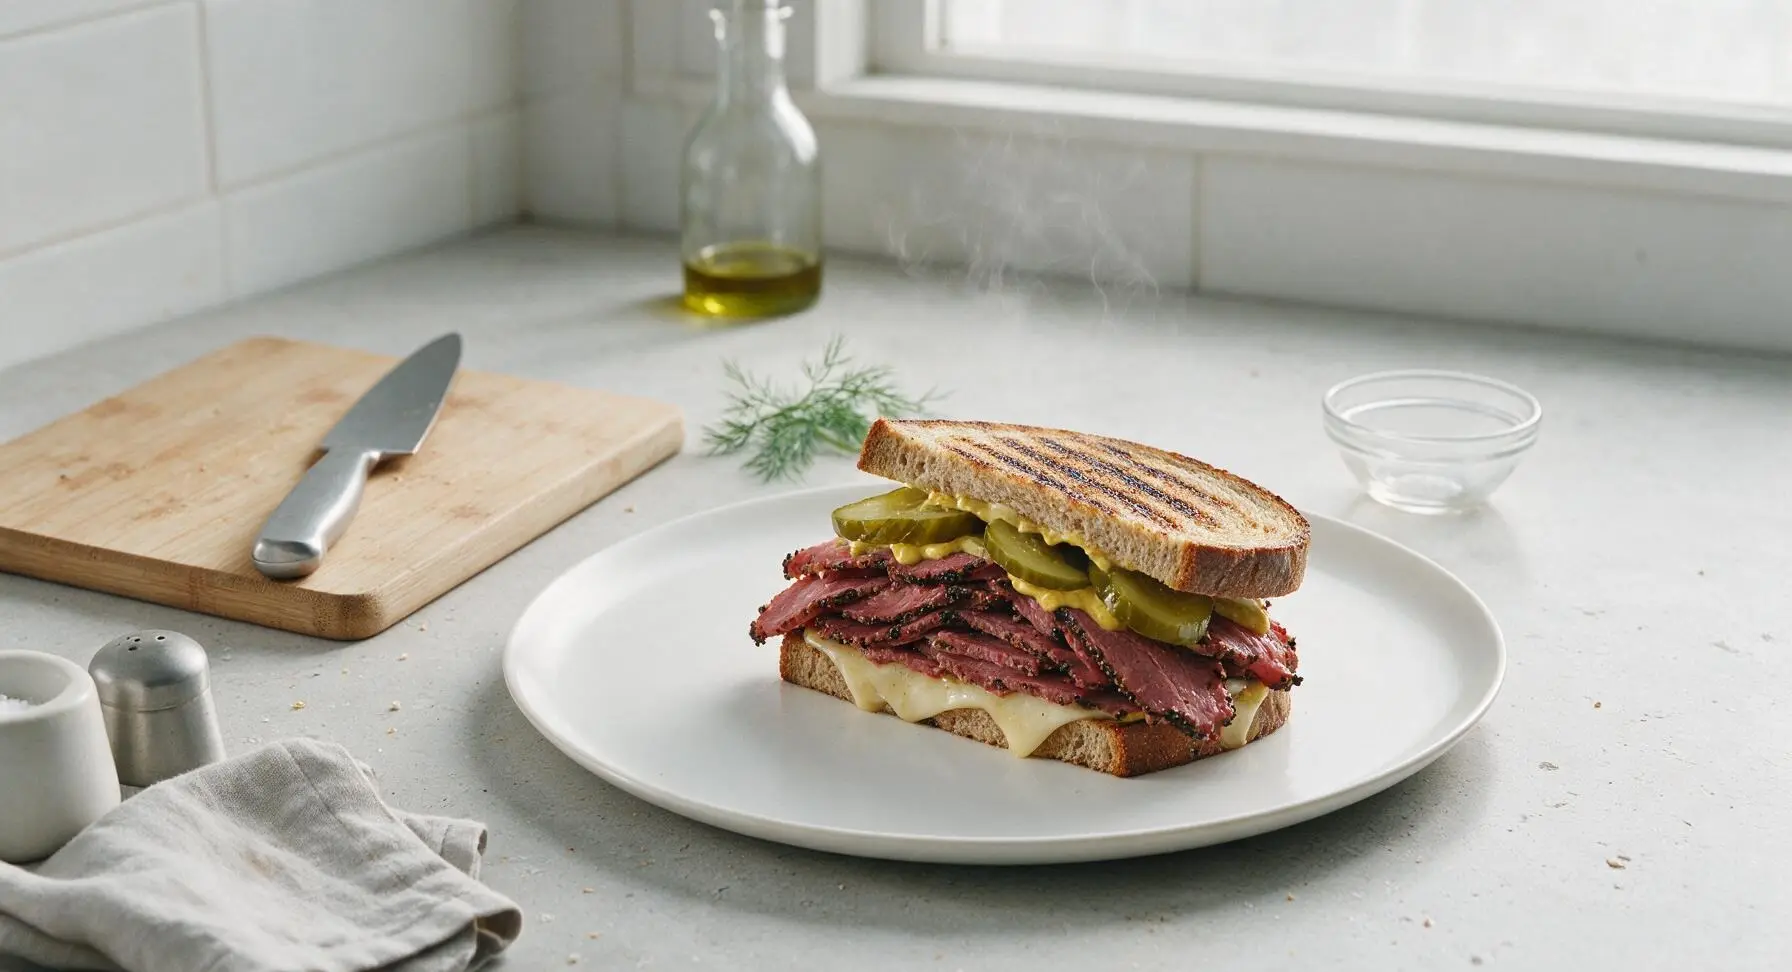
Smoky, peppery pastrami piled high on grill-marked rye, melted Swiss, tangy mustard, and crisp pickles: this classic deli sandwich delivers warm, savory comfort in every bite.
Ingredients
Steps
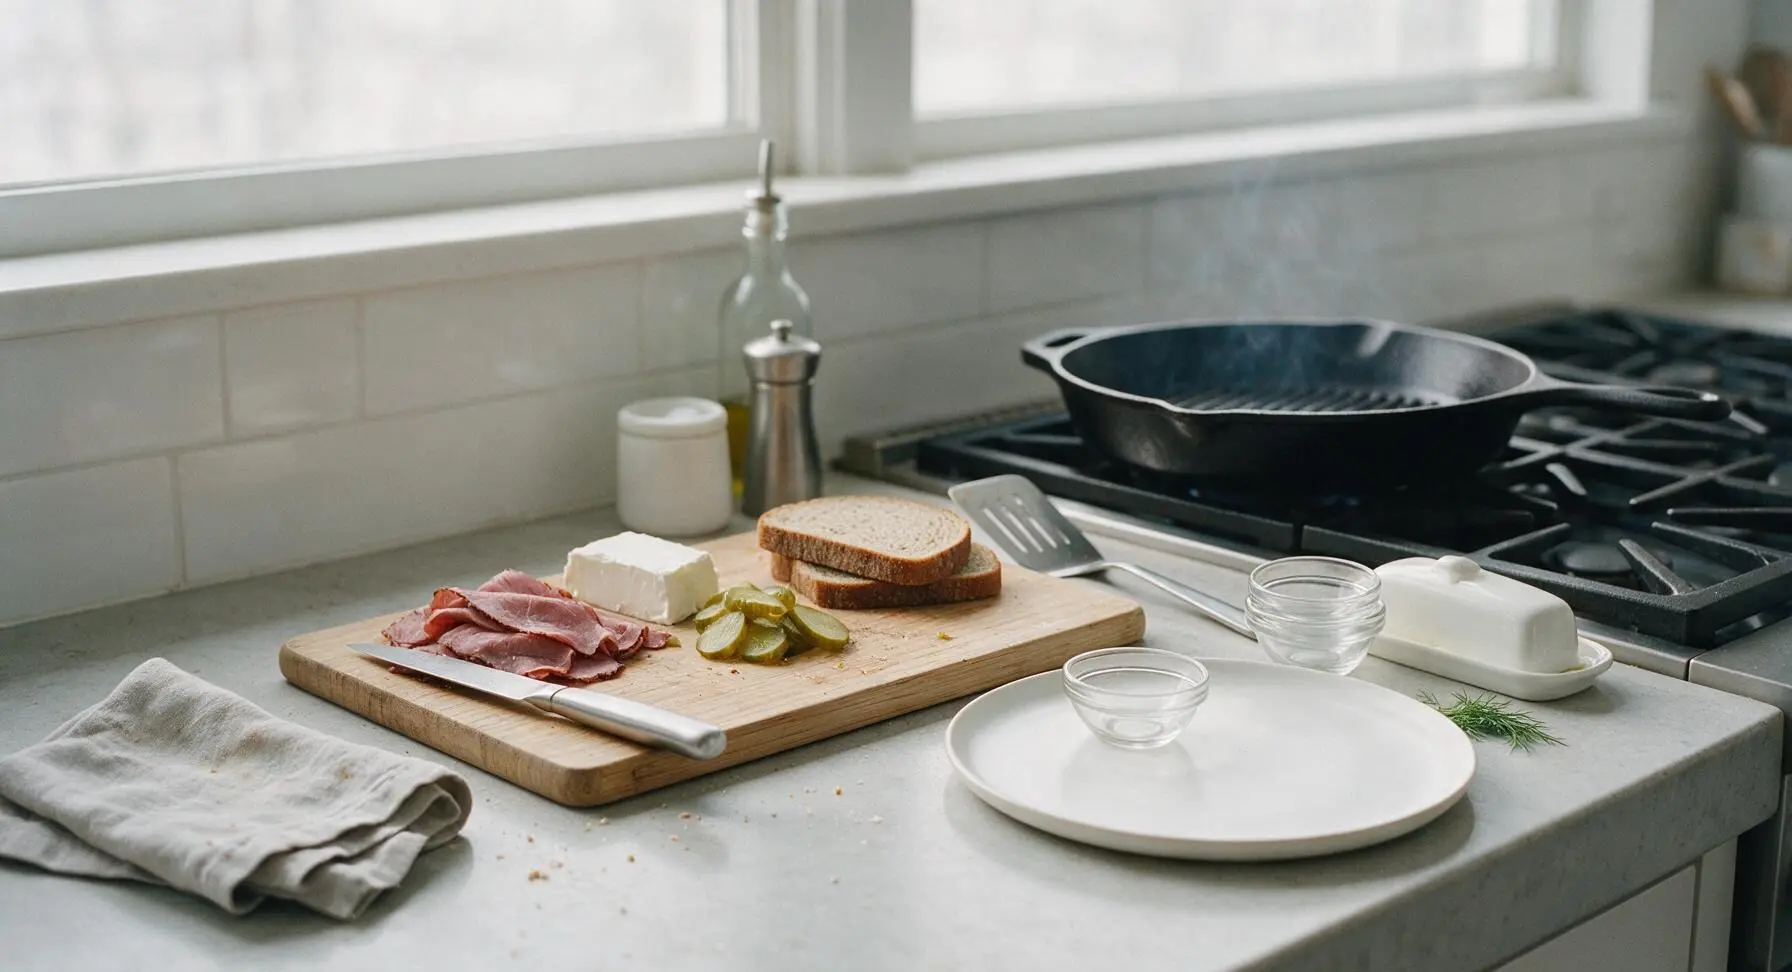
Preheat Grill Pan
Place the 12-inch cast iron grill pan on the rear-right burner over medium heat. Allow it to preheat for 3 minutes, until a drop of water flicked onto the surface sizzles and evaporates in 2 seconds. Do not oil the pan at this stage.
Butter Bread Exteriors
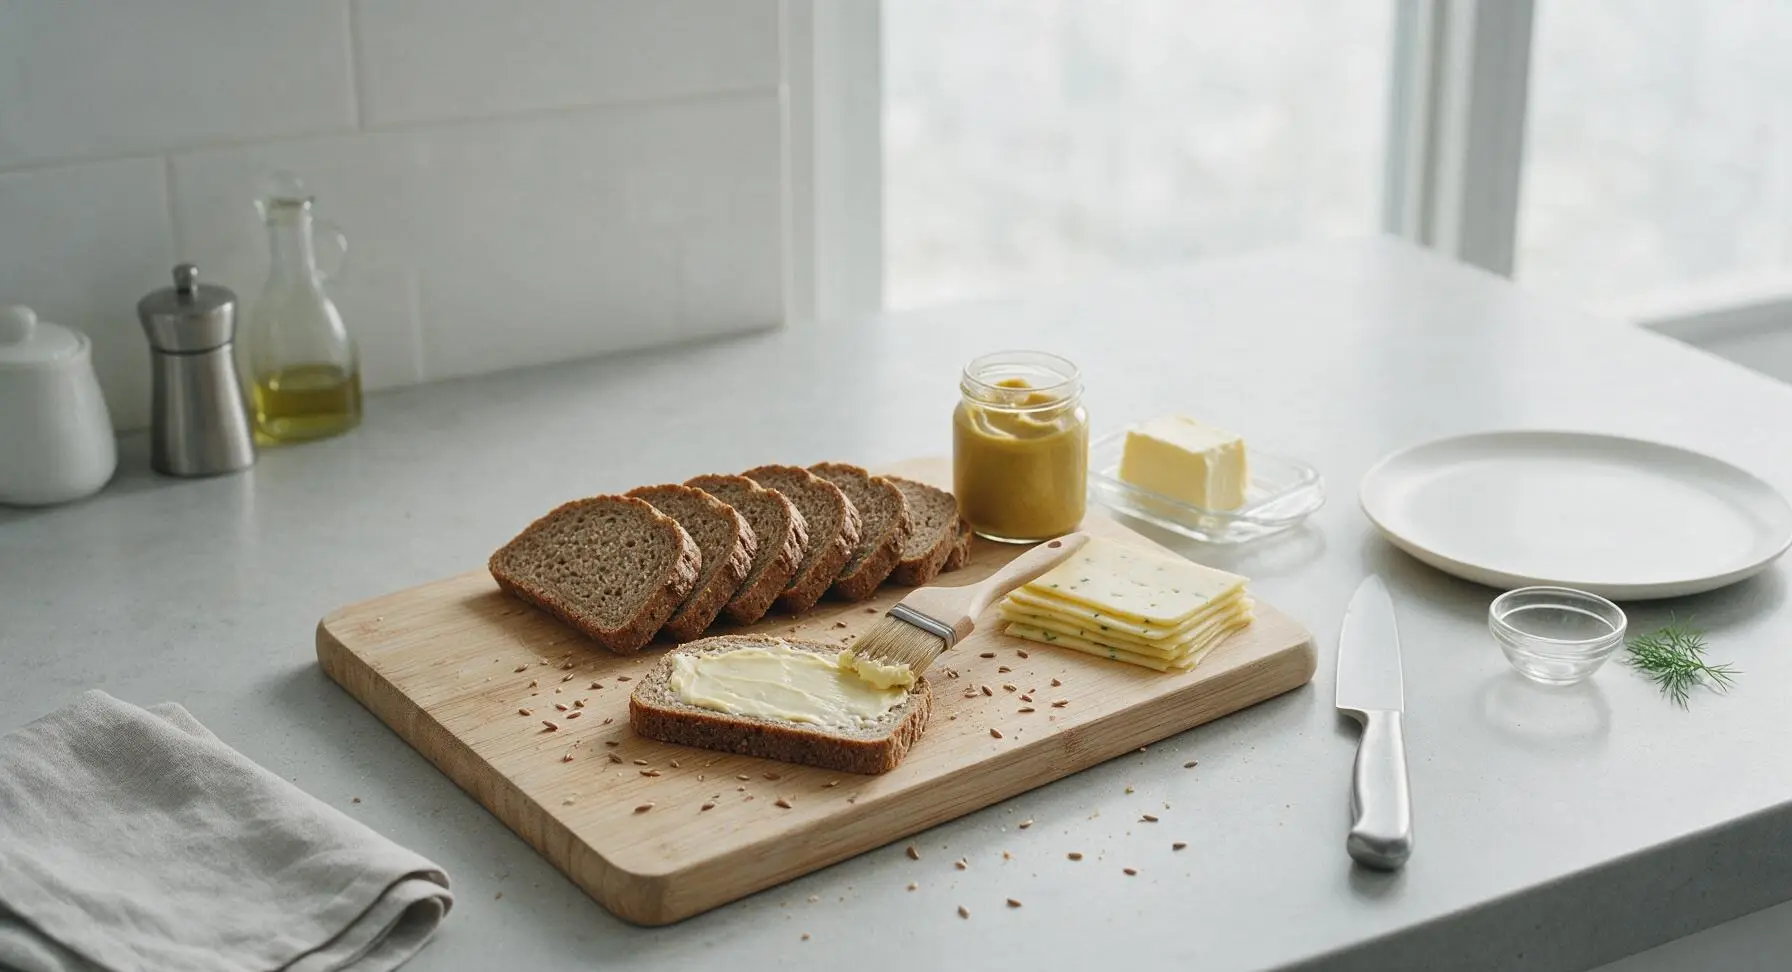
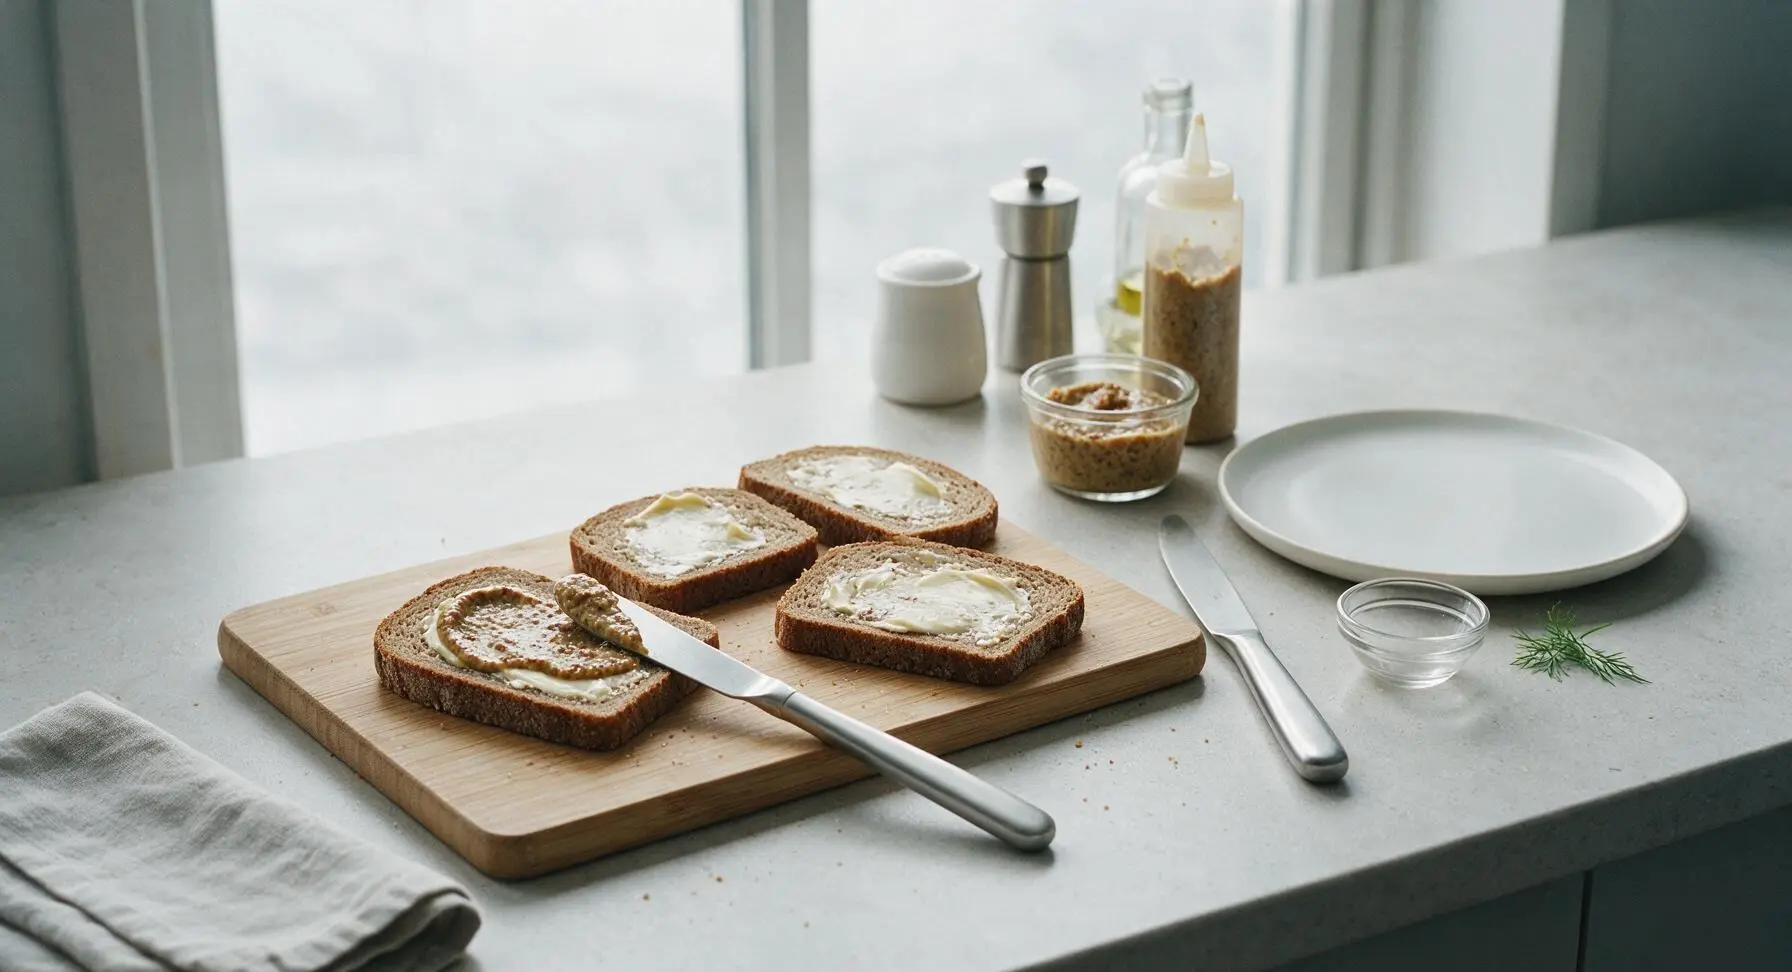
Lay all 8 rye bread slices flat on the honey maple cutting board. Remove the pastry brush from the terracotta utensil crock, and use it to spread 1/2 teaspoon of softened salted butter evenly over one entire side of each bread slice. Ensure butter coverage extends all the way to the crust edges to prevent dry, untoasted spots during grilling. Set the pastry brush back in the crock once all slices are buttered.
Spread Mustard Layer
Flip 4 of the buttered bread slices so the unbuttered side faces up. Take one clear glass ramekin from the stack at the right of the counter, squeeze 1/4 cup of spicy brown deli mustard into it. Scoop 1 tablespoon of mustard onto each of the 4 bread slices, using the offset spatula to spread it in a thin, even layer all the way to the crust edges. The remaining 4 bread slices will form the sandwich tops, with their buttered side facing out.
Layer Sandwich Fillings
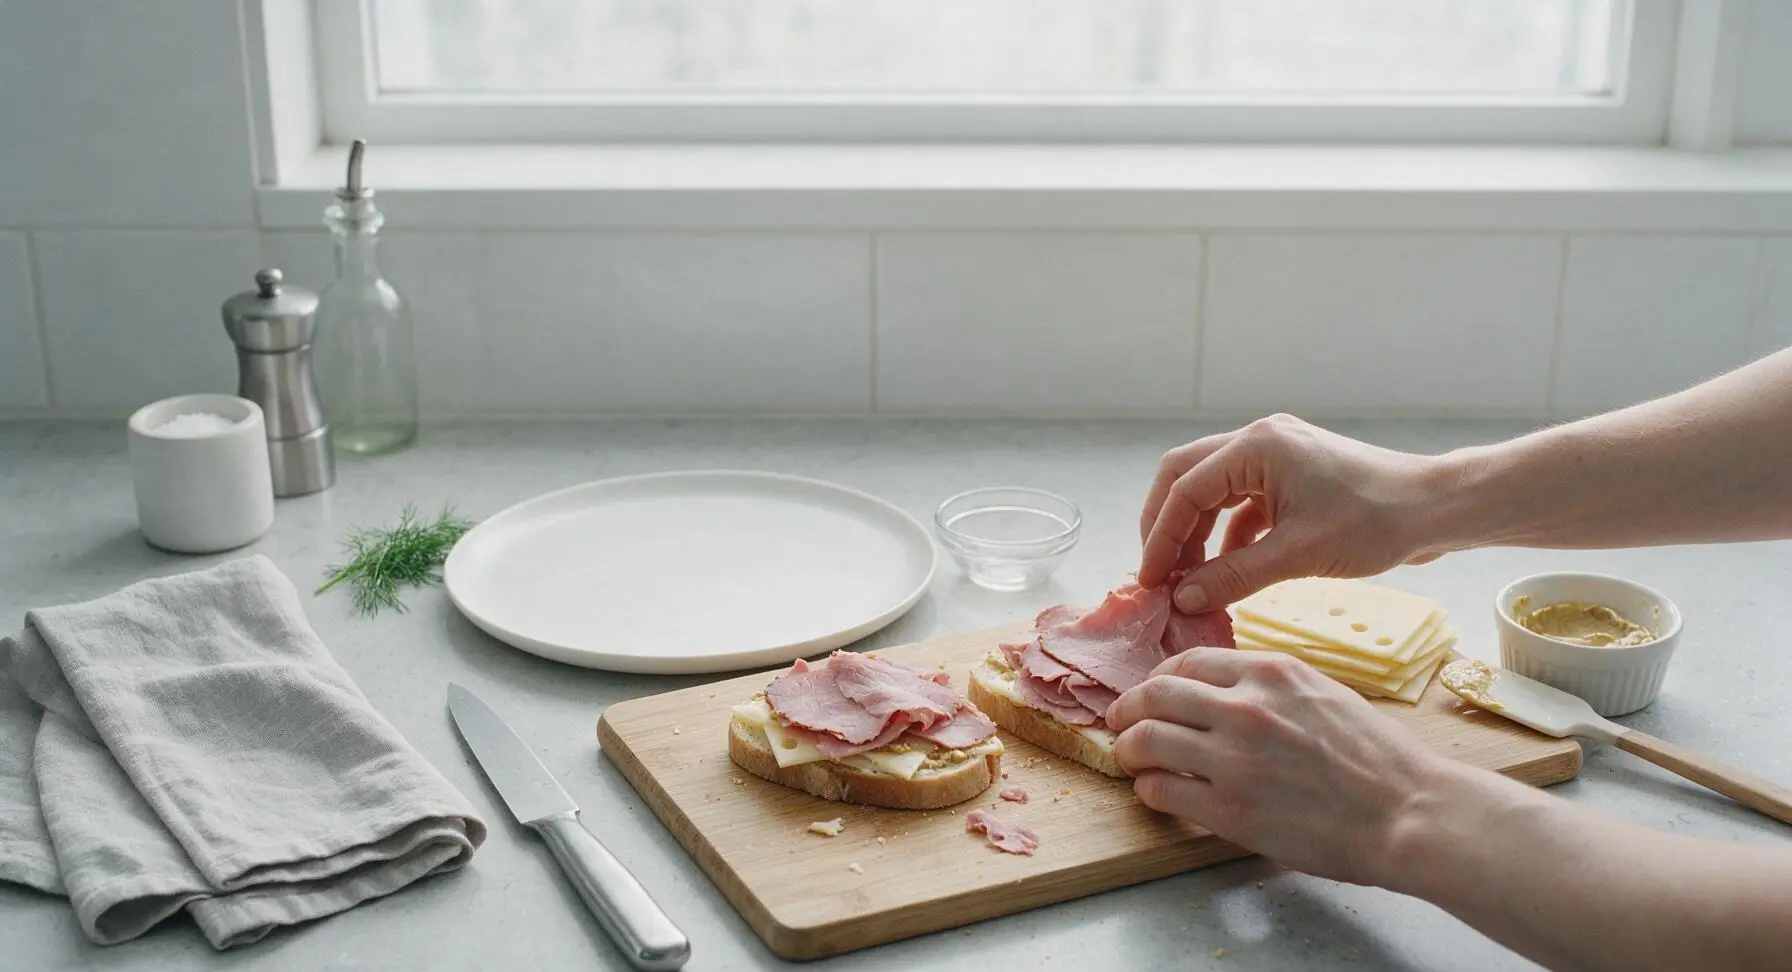
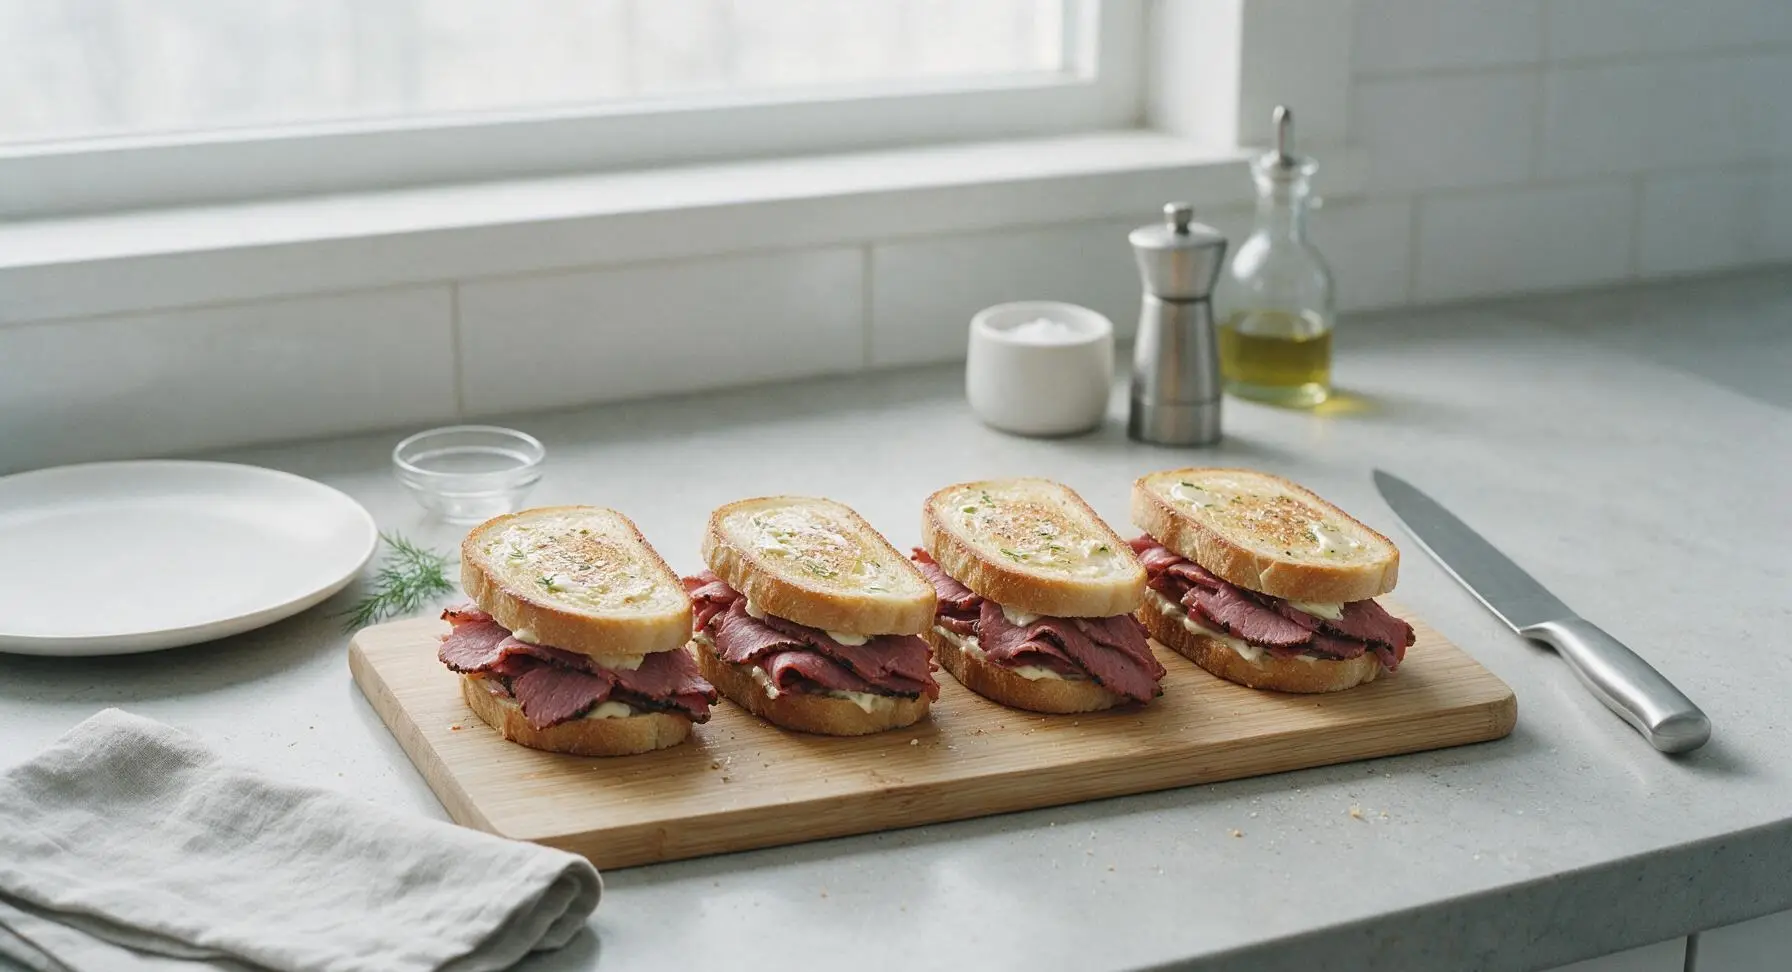
Top each mustard-schmeared bread slice with 1 slice of Swiss cheese, followed by 115g (4oz, about 1/4 inch piled high) of thinly sliced pastrami. Gently separate pastrami slices as you layer them to avoid dense, clumped bites, then add a second slice of Swiss cheese on top of the pastrami. Cap each stack with the remaining 4 bread slices, buttered side facing out, to form 4 complete sandwiches.
Grill Sandwiches Crisp
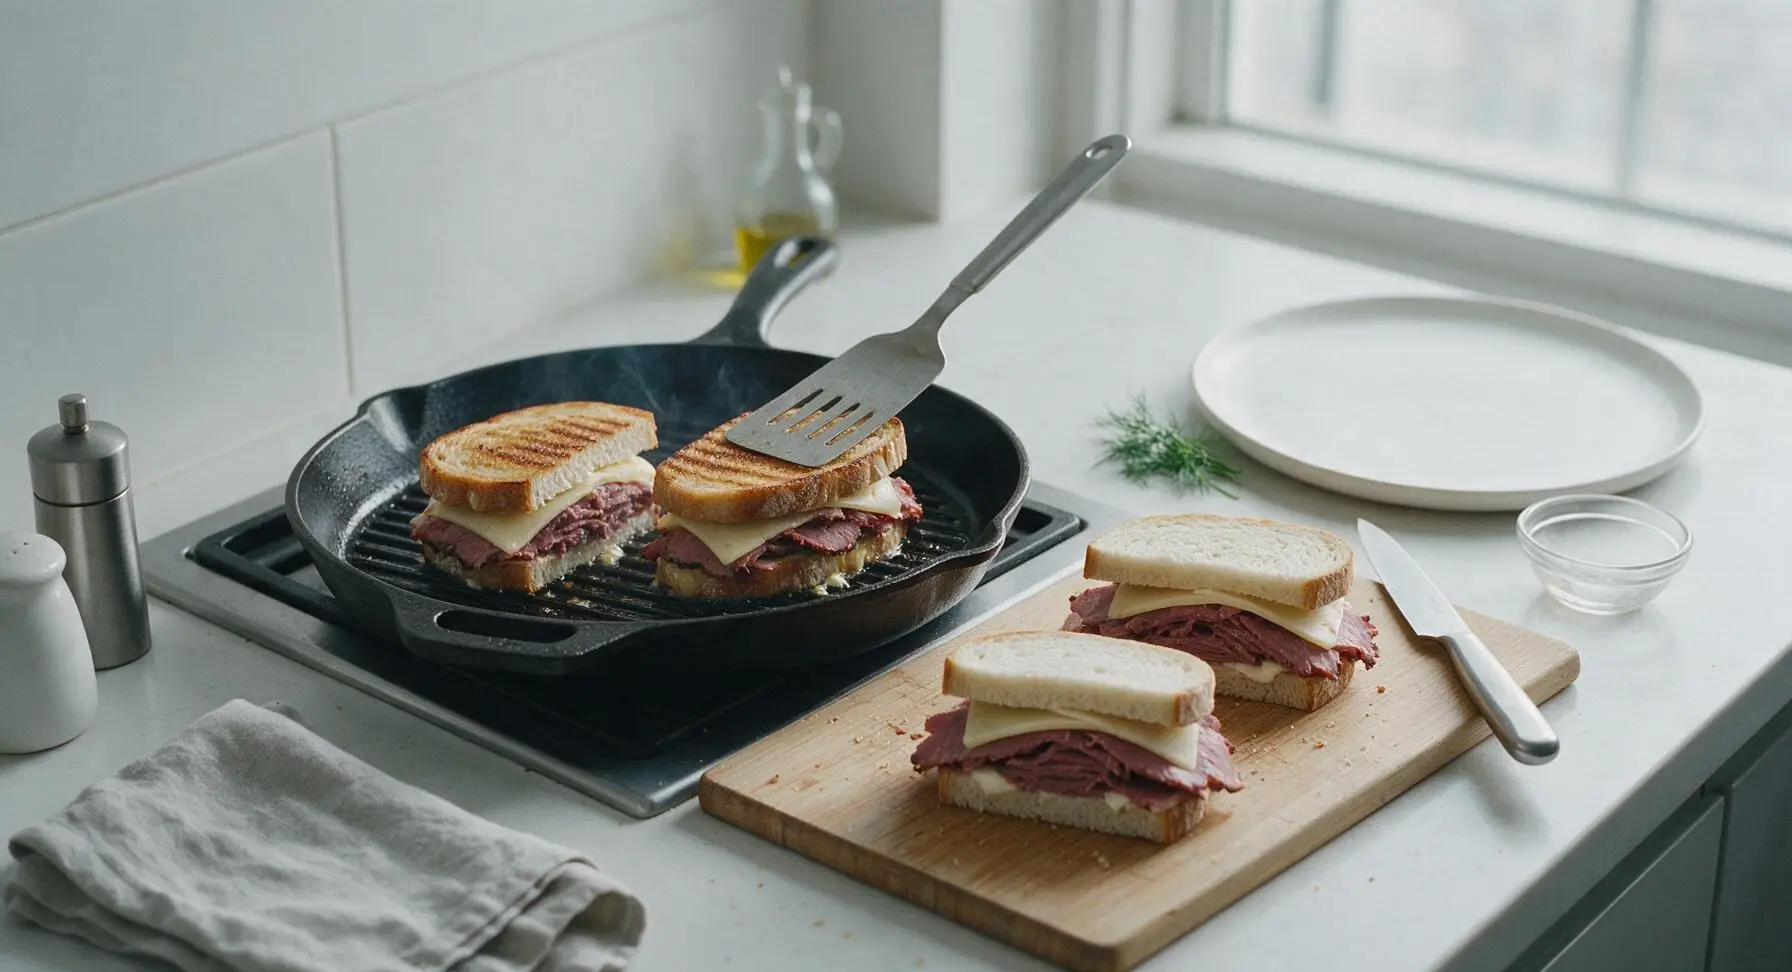
Carefully transfer 2 sandwiches at a time to the preheated cast iron grill pan. Cook for 2 minutes per side, pressing gently with the offset spatula every 30 seconds, until the bread is deep golden brown with distinct dark grill marks, and the Swiss cheese is fully melted and oozing slightly at the edges. Internal temperature of the sandwich center should reach 165°F to ensure the pastrami is warmed through. Transfer cooked sandwiches to a clean plate while you cook the remaining 2 sandwiches.
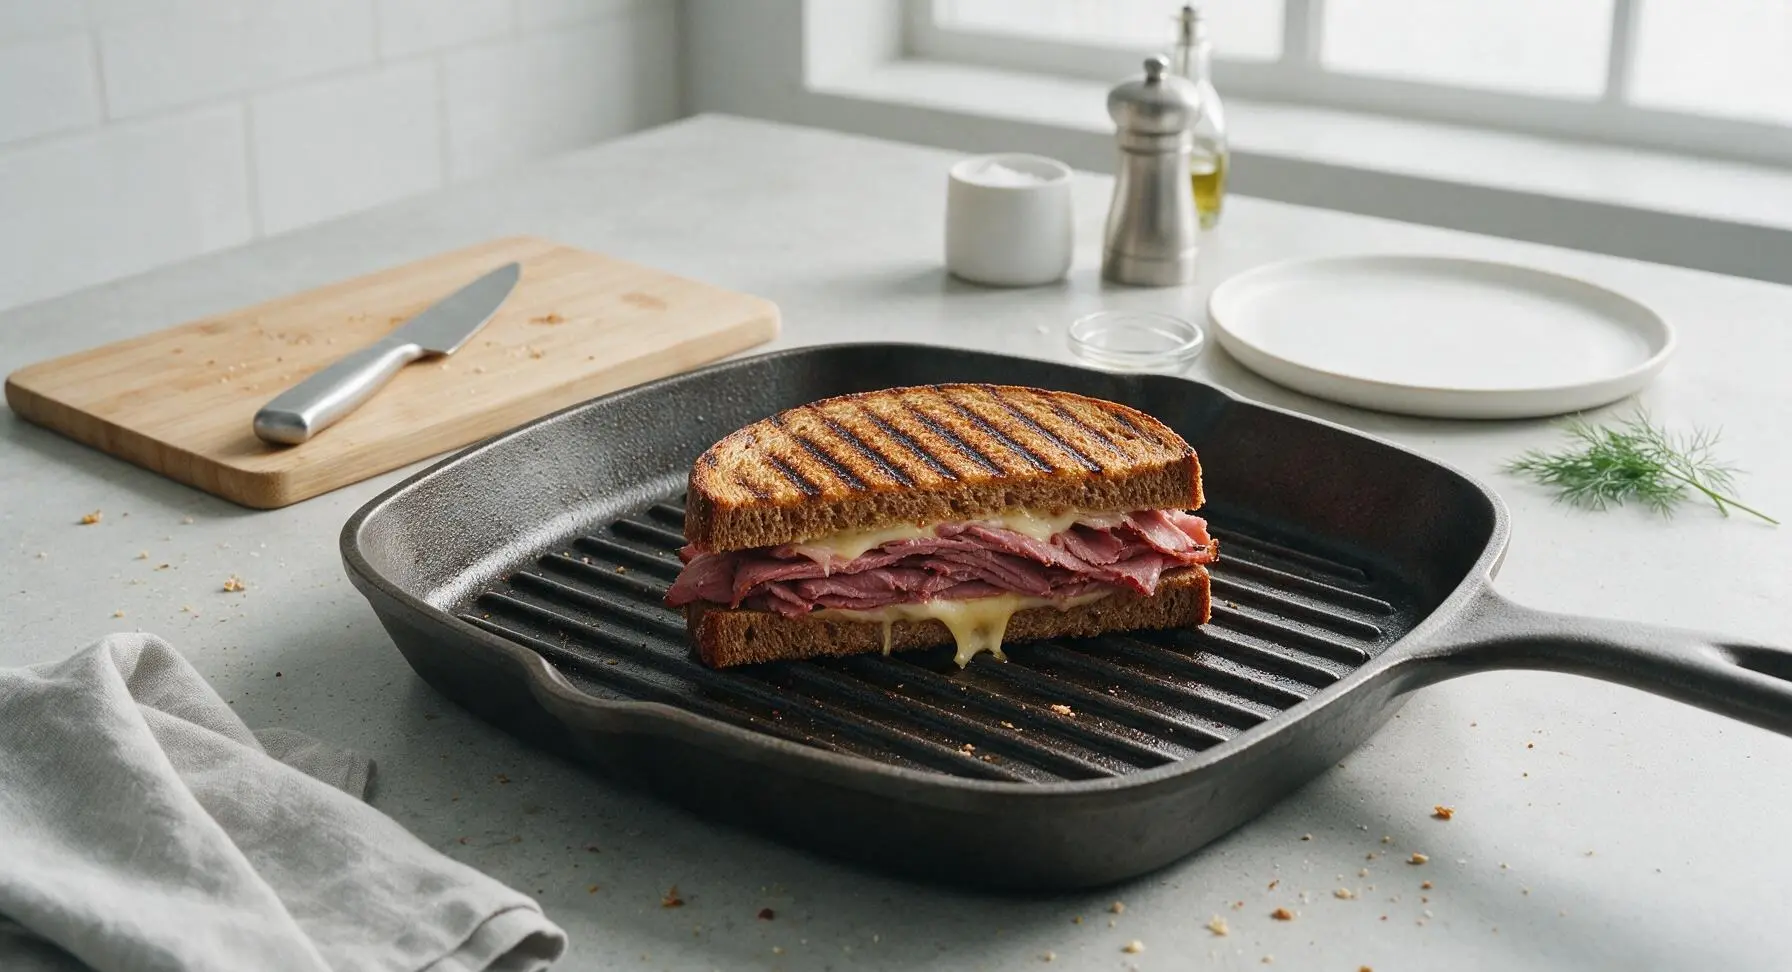
Rest and Slice Sandwiches
Transfer all grilled sandwiches back to the maple cutting board once cooked. Let them rest for 1 minute to allow the cheese to set slightly (this prevents fillings from sliding out when sliced). Pick up the chef’s knife from its resting spot on the board corner, and use it to cut each sandwich diagonally into two equal triangular halves, applying even downward pressure to avoid squishing fillings out.
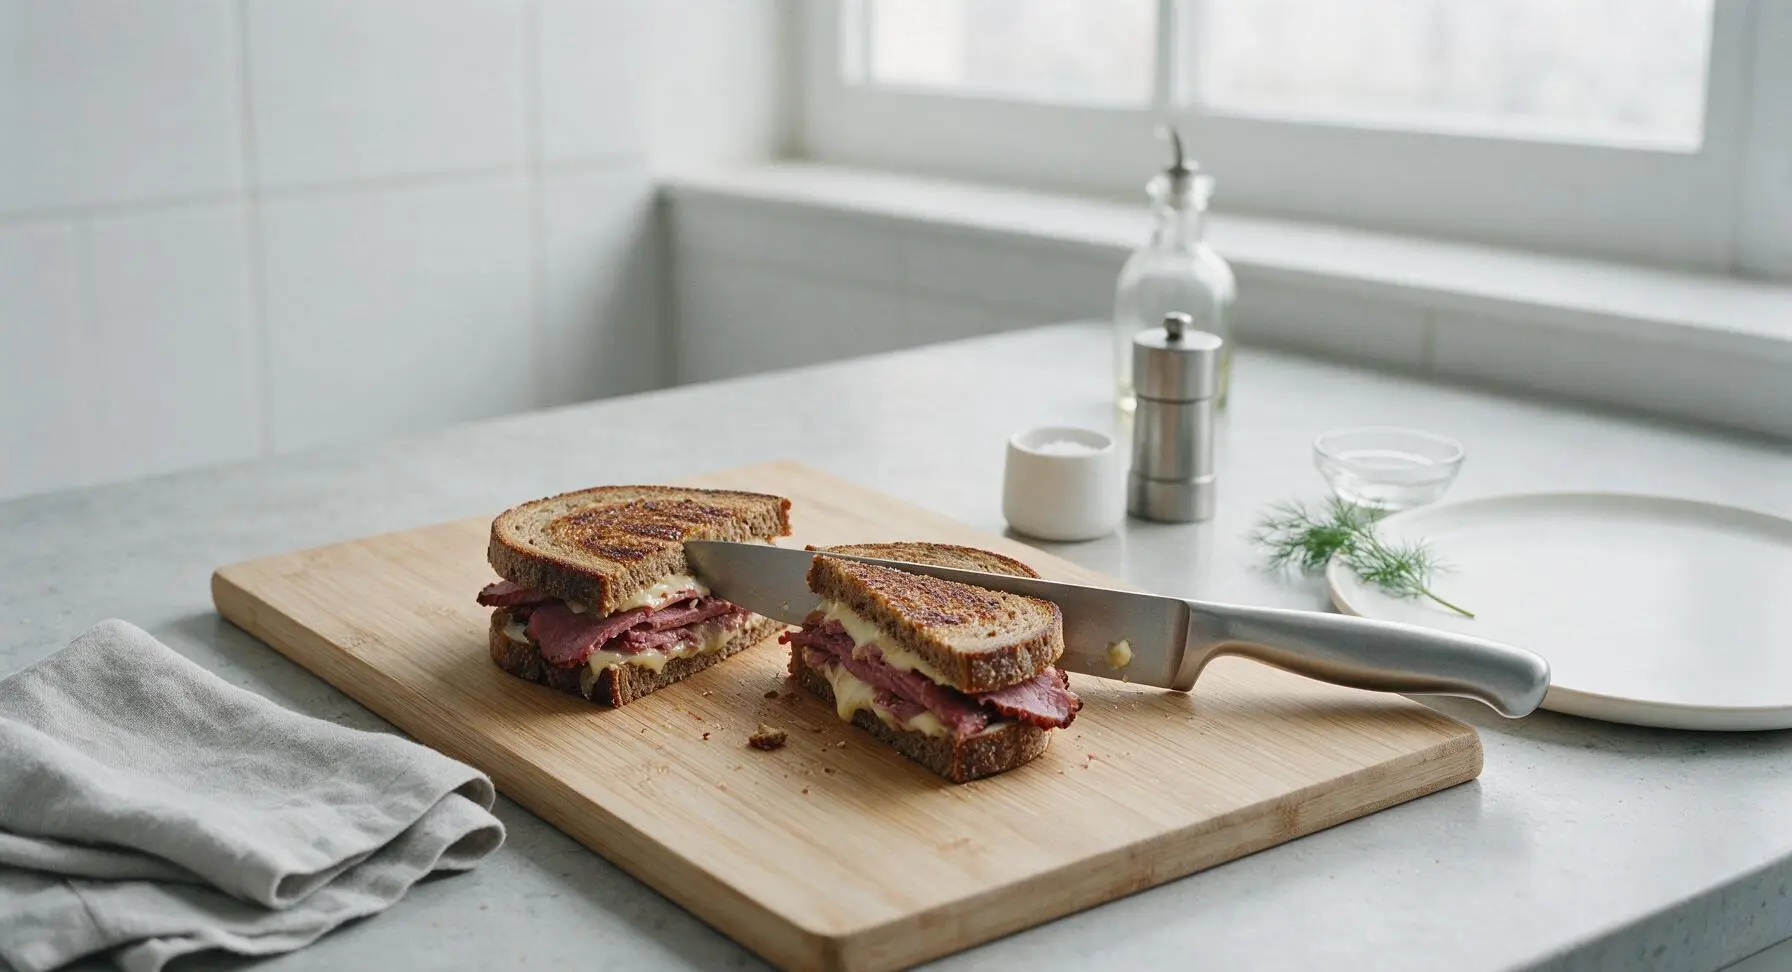
Plate and Serve Warm
Take the matte cream white dinner plates from the stack at the far right of the counter. Arrange two sandwich halves per plate, propping one half slightly against the other to show the layered cross-section. Add 2 dill pickle spears (taken from the glass pickle jar at back left) to each plate beside the sandwich. Serve immediately while warm, with extra mustard on the side if desired.
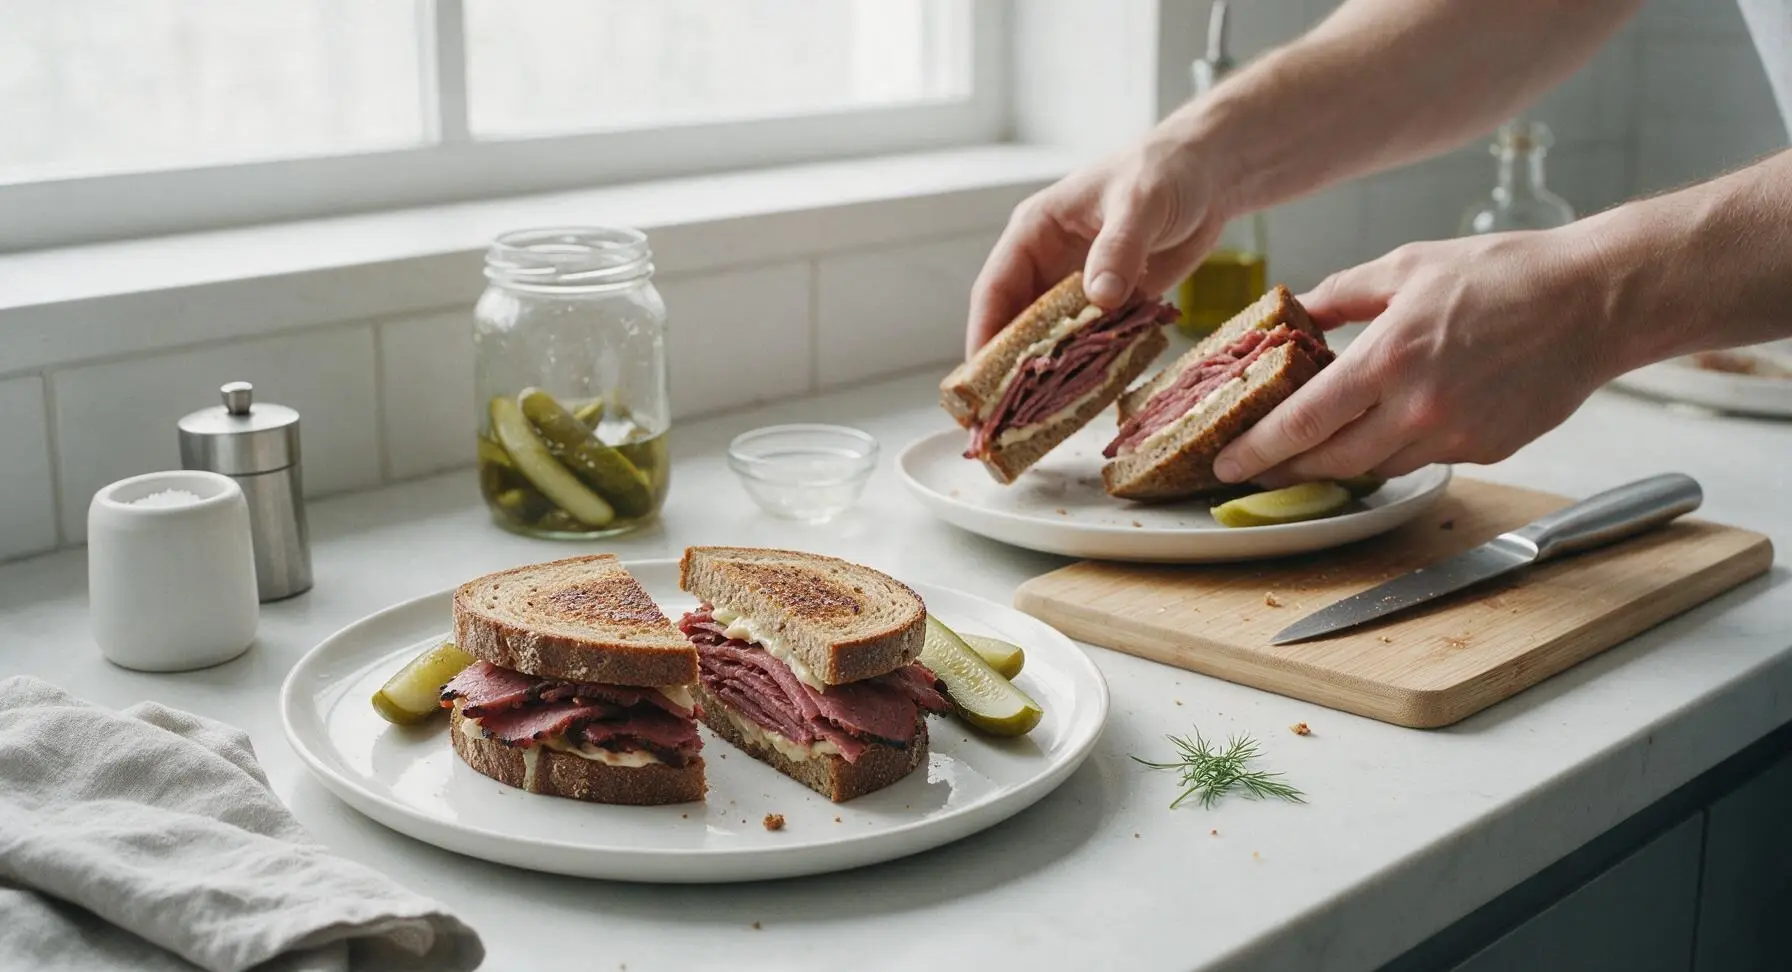
Tips
2.Don’t skip buttering the bread all the way to the crust edges. Unbuttered bread edges will dry out and turn hard on the hot grill pan, instead of toasting to a uniform, crisp golden finish.
3.Resist the urge to slice sandwiches immediately after grilling. The 1-minute rest lets melted cheese set slightly, so it won’t gush out the sides when you cut, and keeps pastrami layers from sliding out as you eat.






OMG this grilled pastrami sandwich is an absolute game changer! I threw it together for a quick weeknight dinner last night since it only takes 10 minutes, and my whole family went crazy for it. I added a little extra Swiss cheese and a swipe of spicy brown mustard, and *chef’s kiss*. Will 100% be making this again for our next backyard cookout!
My kids are super picky and they both asked for seconds of this sandwich! It was so easy to whip up between school drop off and soccer practice, I didn’t even have to prep anything ahead of time. I used a little light rye instead of marbled and it was still SO good. Perfect quick lunch idea for busy weeks!
Tried this for my weekly meal prep and it held up way better than I thought it would! I grilled the pastrami and toasted the bread on Sunday, assembled the sandwiches (wrapped tight in parchment) and they stayed perfect for 3 days of work lunches. The only tweak I made was adding a little pickled red onion for tang. So easy, so tasty!
Made these for our football watch party potluck last weekend and they were gone in 10 minutes flat! Everyone was asking me for the recipe, I felt like a total grill hero. I did a little mix of pastrami and corned beef for extra depth and it worked so well. 10/10, will be a regular in our rotation.
Wait this is so much better than the sad pastrami sandwiches from the campus deli! I made it on my little apartment grill pan (don’t have a full outdoor grill) and it still turned out perfectly crispy and flavorful. Super easy even for a total cooking newbie like me, no fancy skills needed. Knocked off one star only because I wish the recipe mentioned which cheese pairs best, I used American and it was fine but I bet Swiss is way better!
So happy I found this recipe! I swapped the rye bread for gluten free sourdough and it still turned out absolutely delicious. My husband is obsessed with pastrami sandwiches and he said this is better than the ones we get at our local sandwich shop. So quick to make on busy weeknights too, total win!