
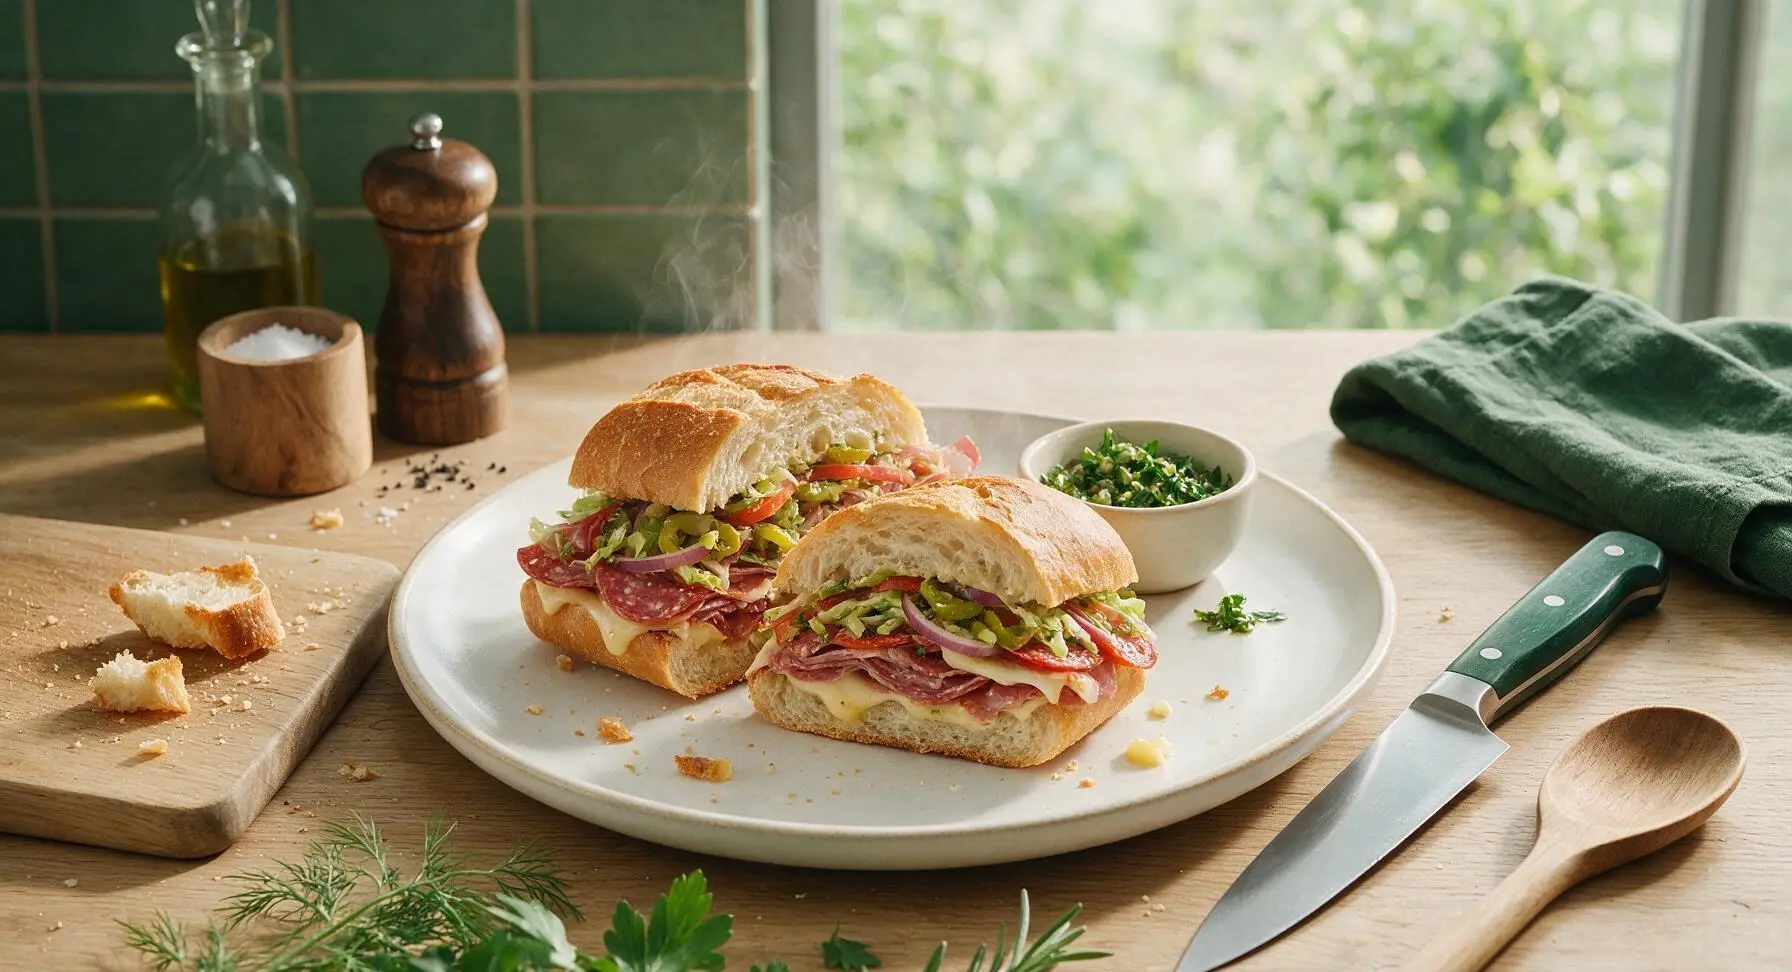
grinder sandwich

title 1
grinder sandwich
⏱️ cook time 10 minutes
🍽️ servings 4
⚡ Difficulty easy

intro

Crusty toasted hoagie rolls loaded with savory cured Italian meats, melted provolone, crisp fresh veggies, and zesty herb vinaigrette. This hearty, satisfying handheld meal is perfect for busy nights.

Ingredients
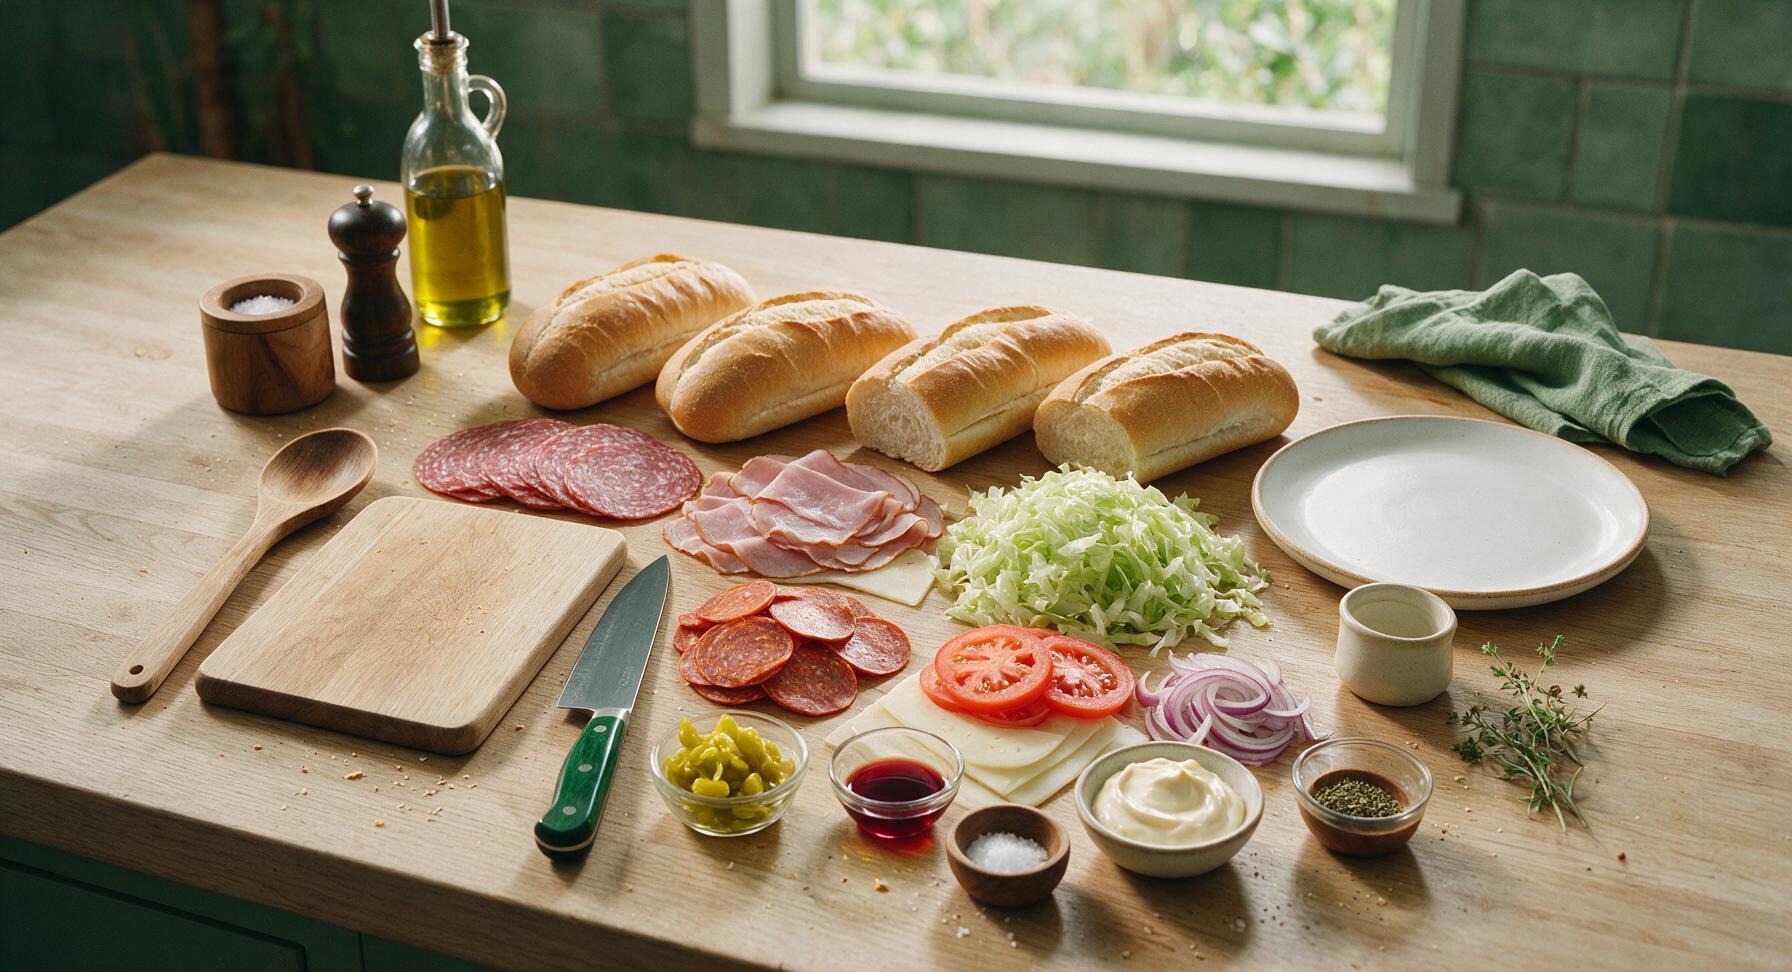
8-inch crusty hoagie rolls 4 count
Thin-sliced Genoa salami 120g
Thin-sliced Black Forest ham 120g
Thin-sliced pepperoni 80g
Thin-sliced provolone cheese 8 slices (120g)
Iceberg lettuce 2 cups, shredded
Roma tomatoes 2 medium, thin sliced
Small red onion 1/2, thinly sliced
Pickled banana peppers 1/4 cup, drained
Mayonnaise 1/4 cup
Red wine vinegar 2 tbsp
Extra virgin olive oil 1 tbsp
Dried oregano 1 tsp
Kosher salt 1/2 tsp
Freshly ground black pepper 1/4 tsp

Steps

1

Prep Fresh Vegetables

Place the large light acacia wood cutting board at counter center. Use the 8-inch chef knife to shred iceberg lettuce into 1/4-inch wide strips, slice Roma tomatoes into 1/8-inch thick rounds, and thinly slice the red onion into half-moons. Transfer each prepped vegetable into a separate terracotta ramekin, along with the drained banana peppers, and set aside at back right.
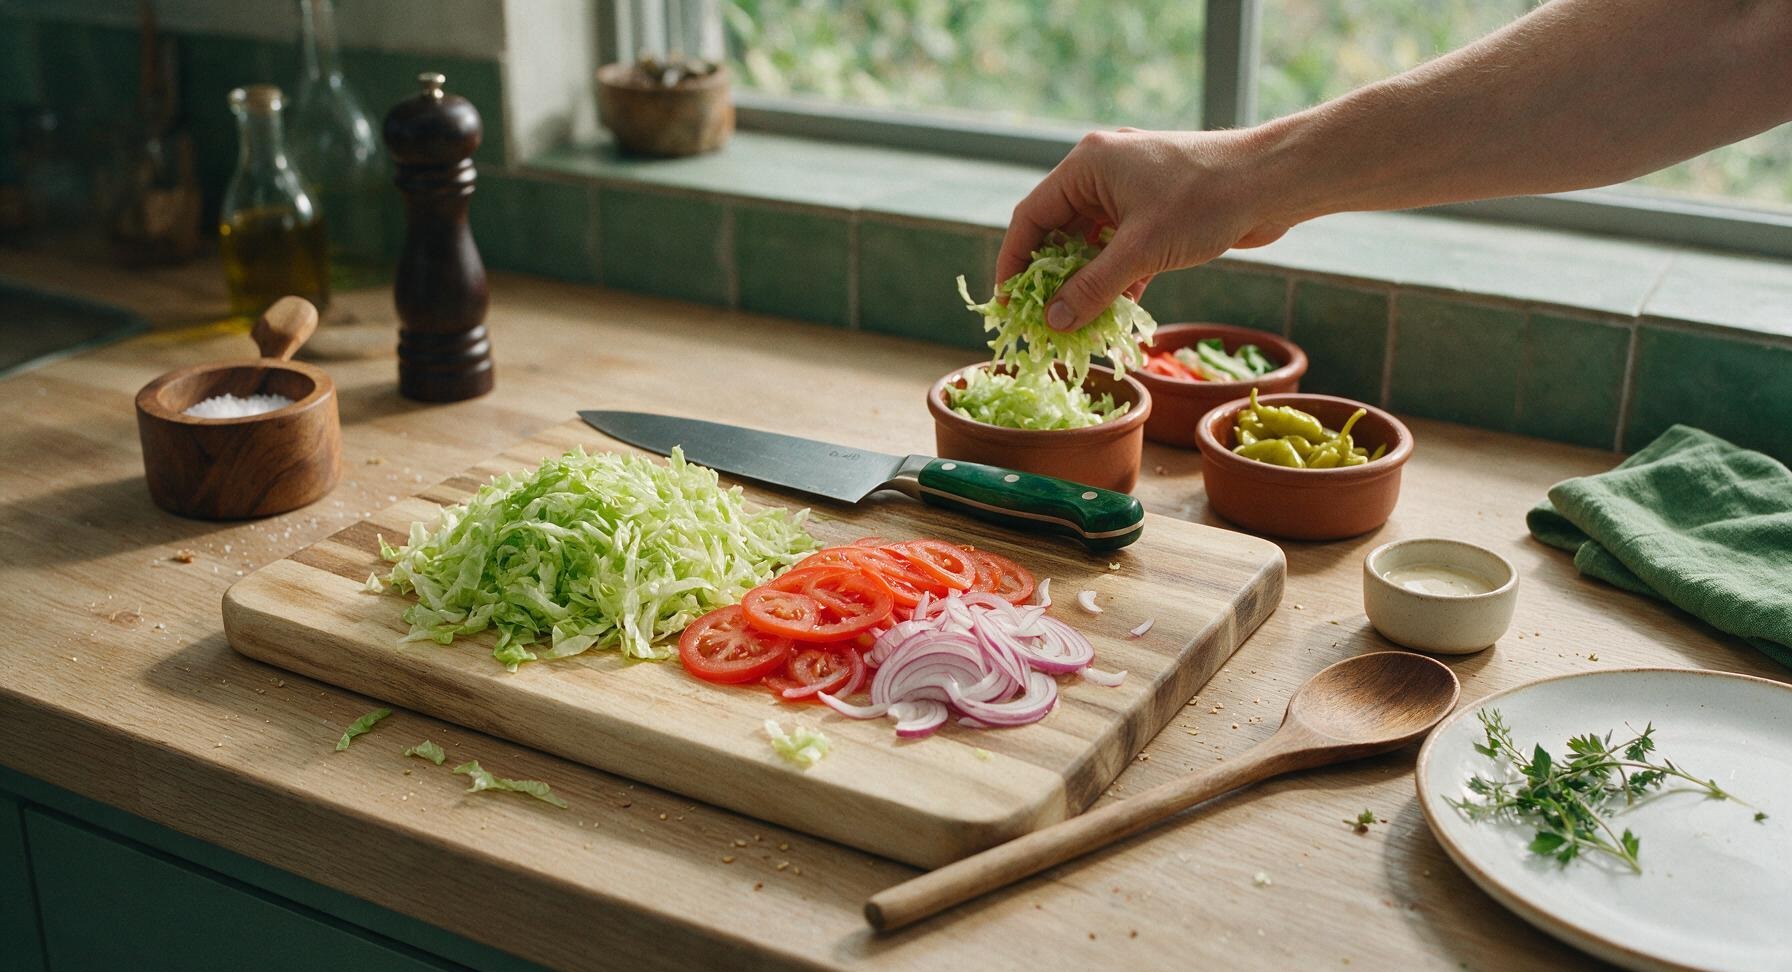
Step 1
step1:Prep Fresh Vegetables
2

Mix Zesty Vinaigrette

Place the small brushed stainless steel mixing bowl to the right of the cutting board. Add red wine vinegar, olive oil, dried oregano, kosher salt, and black pepper to the bowl. Use the stainless steel whisk to mix vigorously for 30 seconds until the dressing is fully emulsified, with no separate oil and vinegar layers visible.
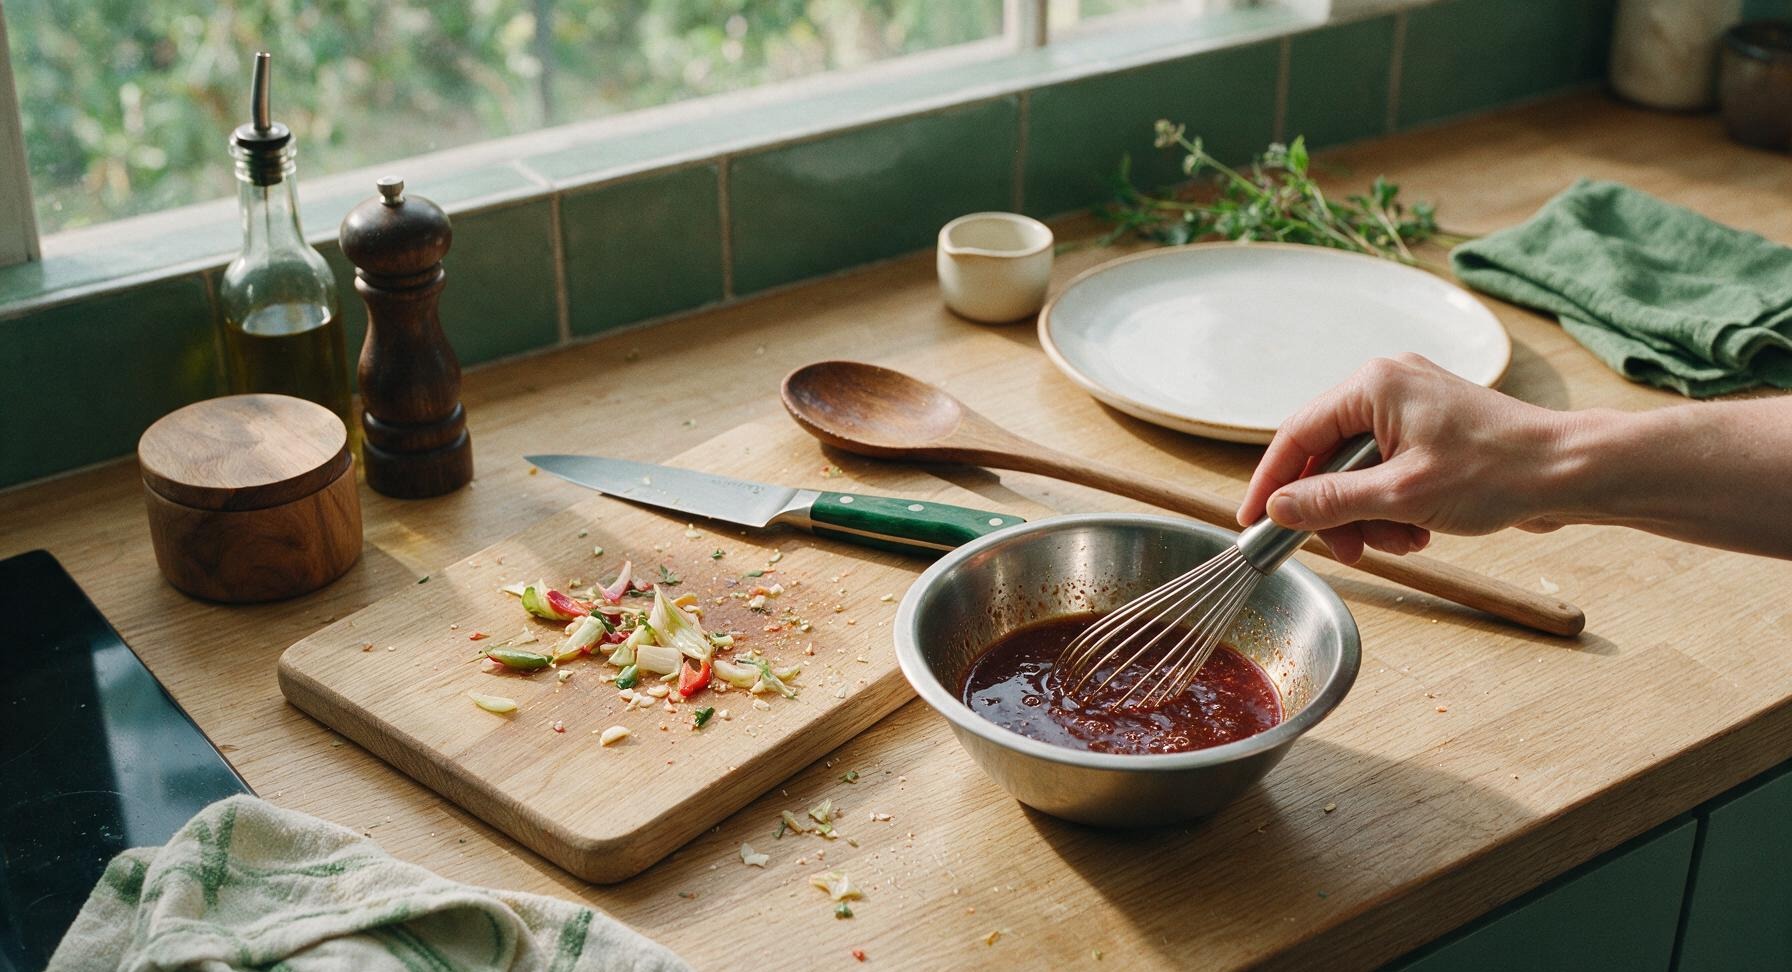
Step 2
step2:Mix Zesty Vinaigrette
3

Toast Hoagie Rolls

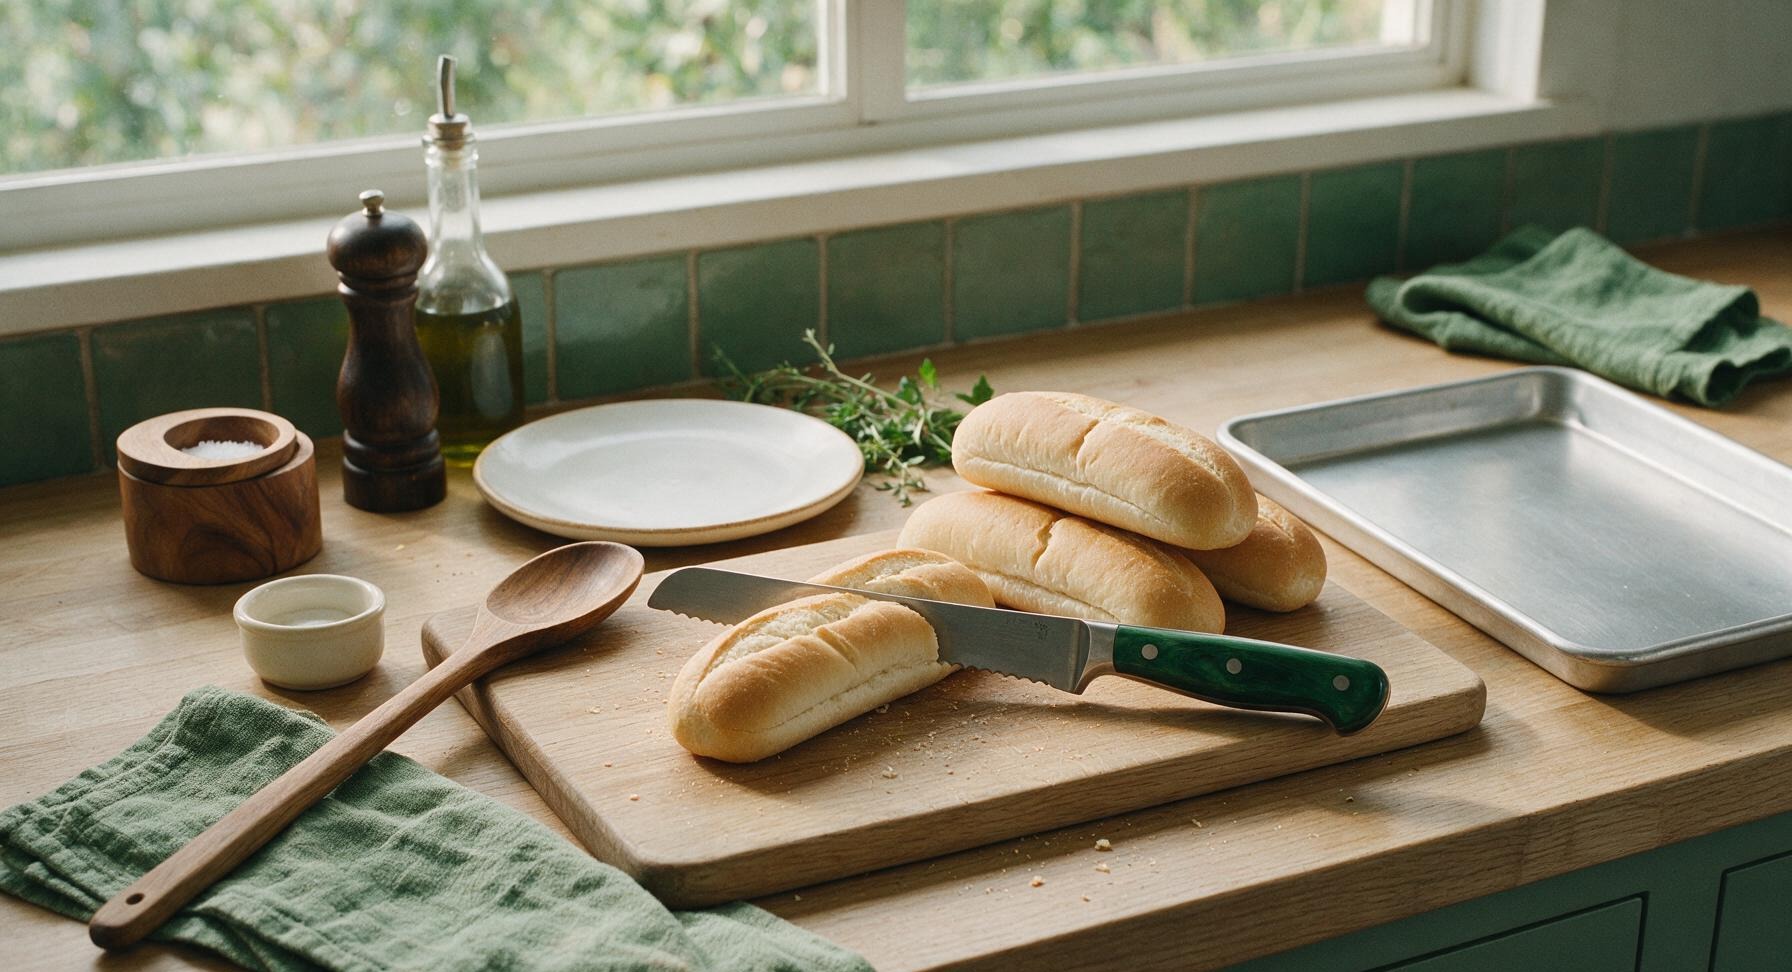
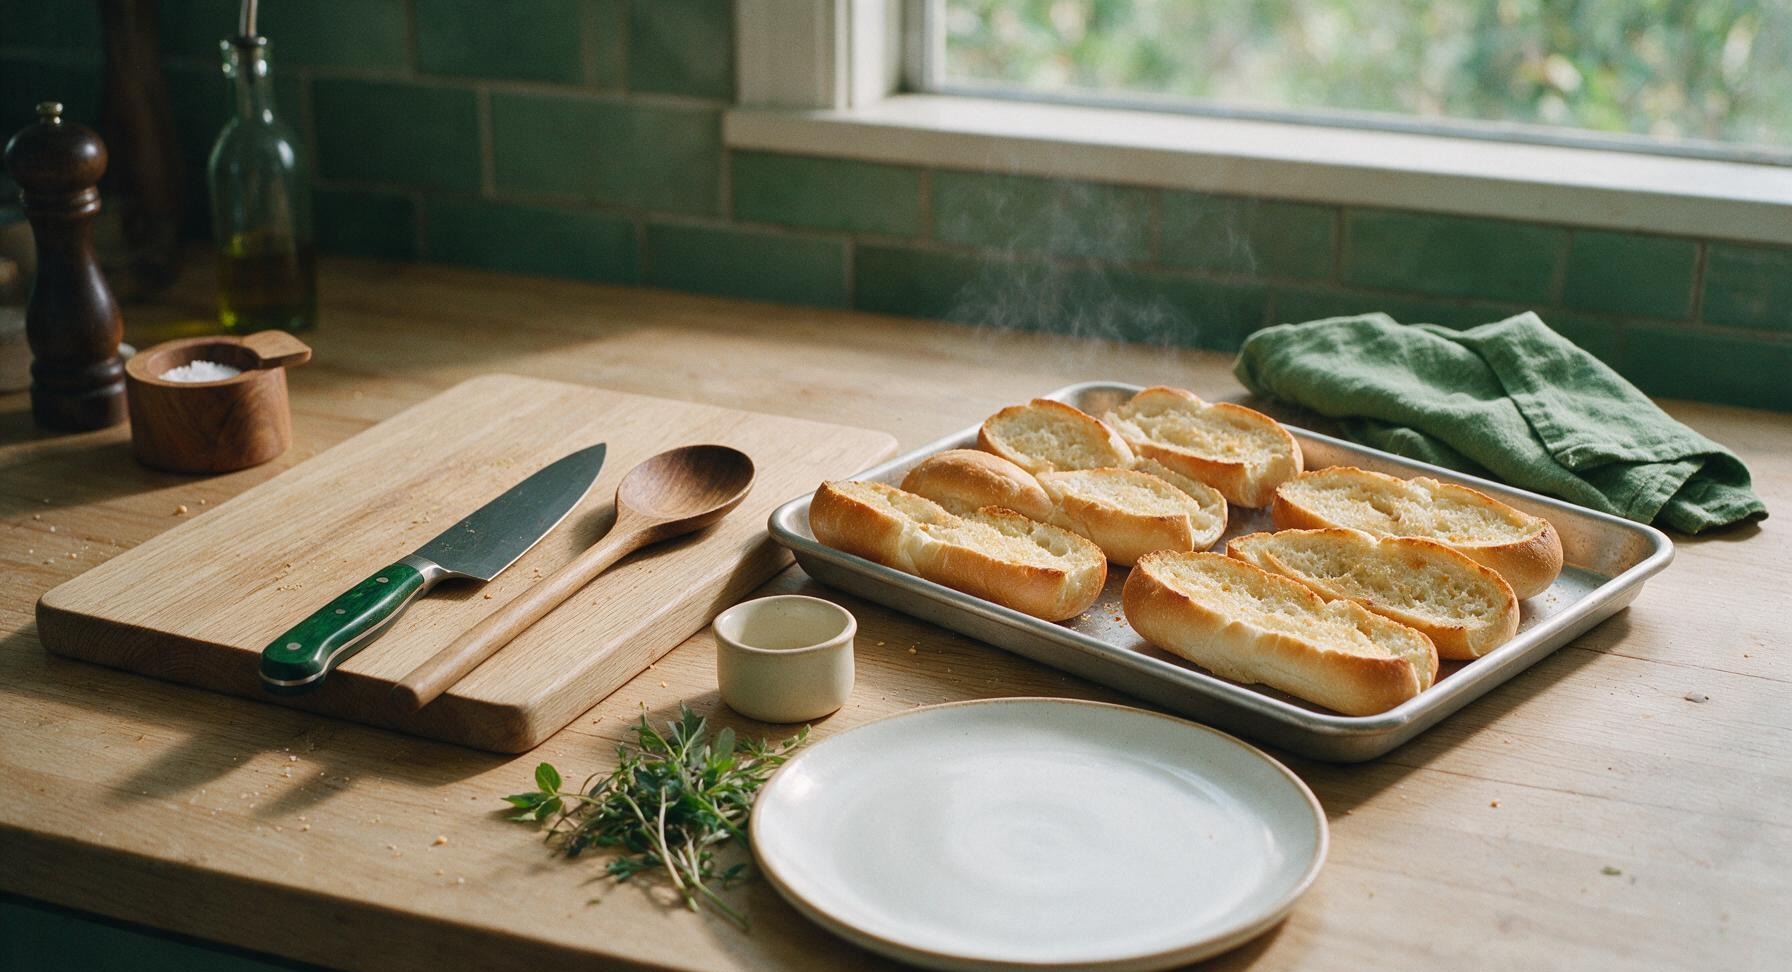
Preheat oven to 200C (400F). Place the rimmed aluminum baking sheet to the right of the cutting board. Use the serrated bread knife to split each hoagie roll lengthwise, leaving a 1/2-inch hinge along one side so the roll does not separate fully. Arrange split rolls cut-side up on the baking sheet, then bake for 3-4 minutes until cut surfaces are lightly golden and crisp around the edges, but not hard all the way through.
Step 3
step3:Toast Hoagie Rolls
Step 3
step3:Toast Hoagie Rolls
4

Melt Provolone Cheese

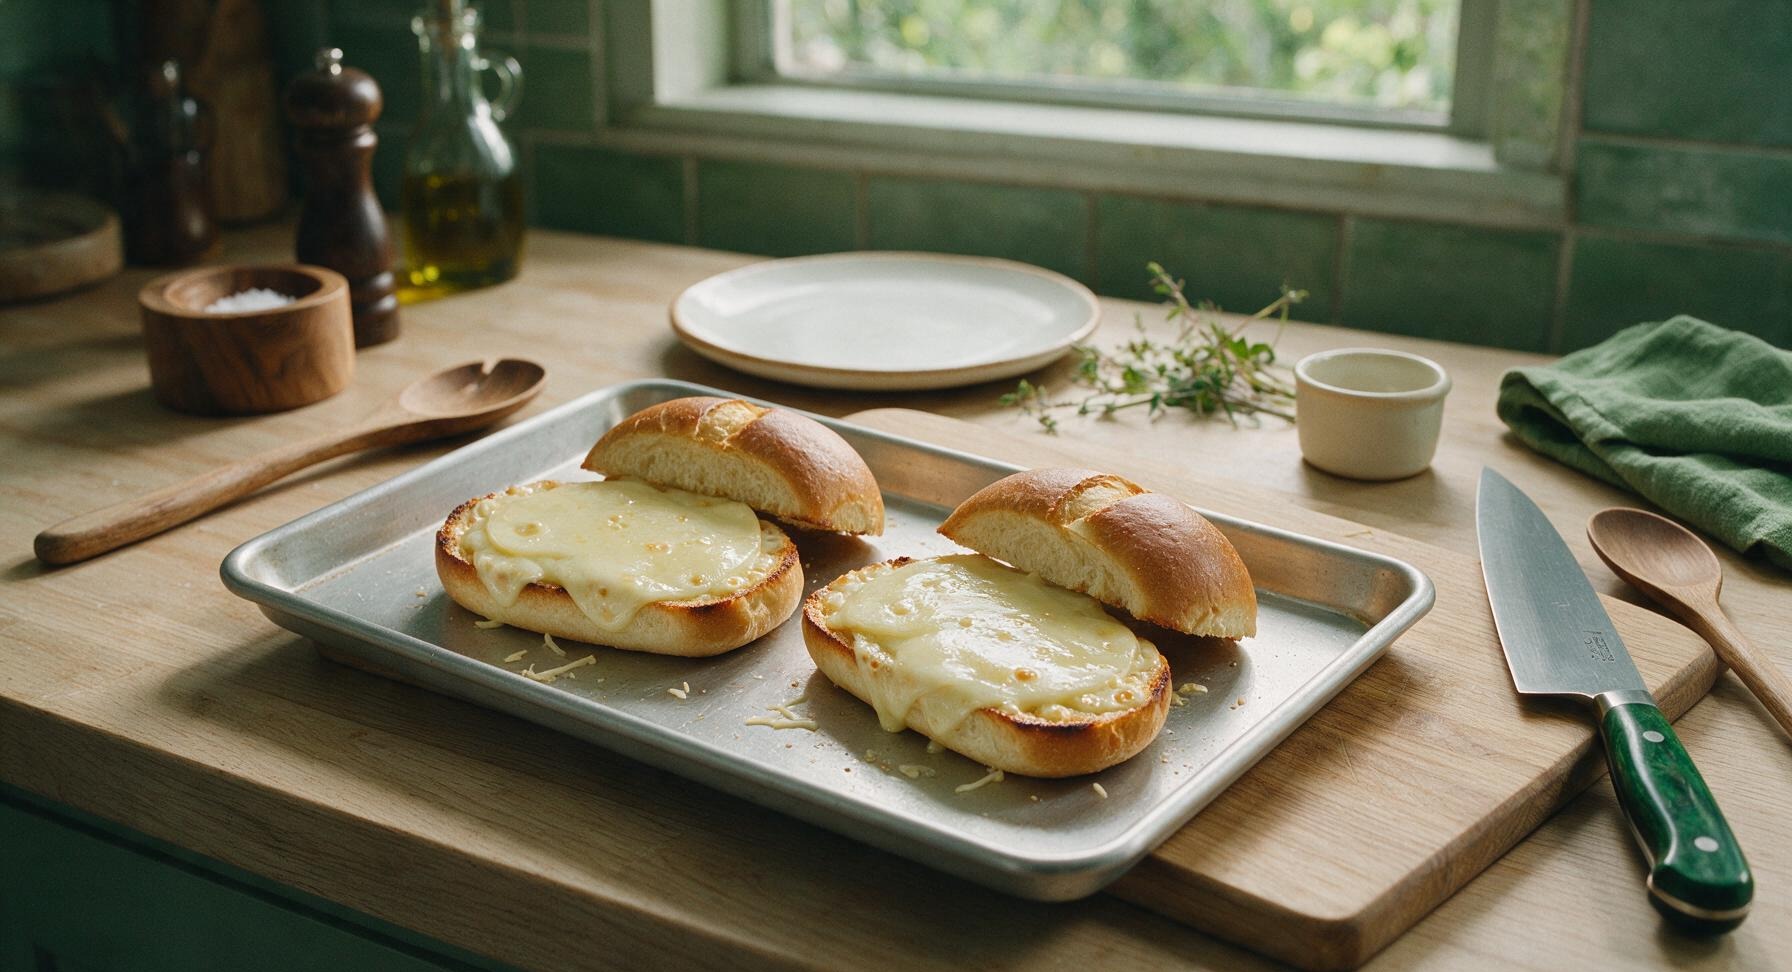
Remove the baking sheet of toasted rolls from the oven. Layer 2 thin slices of provolone cheese on the bottom half of each split roll, overlapping slightly to cover the bread surface. Return the baking sheet to the oven for 2 minutes, until cheese is fully melted and bubbly around the edges, with no firm un-melted spots remaining.
Step 4
step4:Melt Provolone Cheese
5

Layer Cured Meats

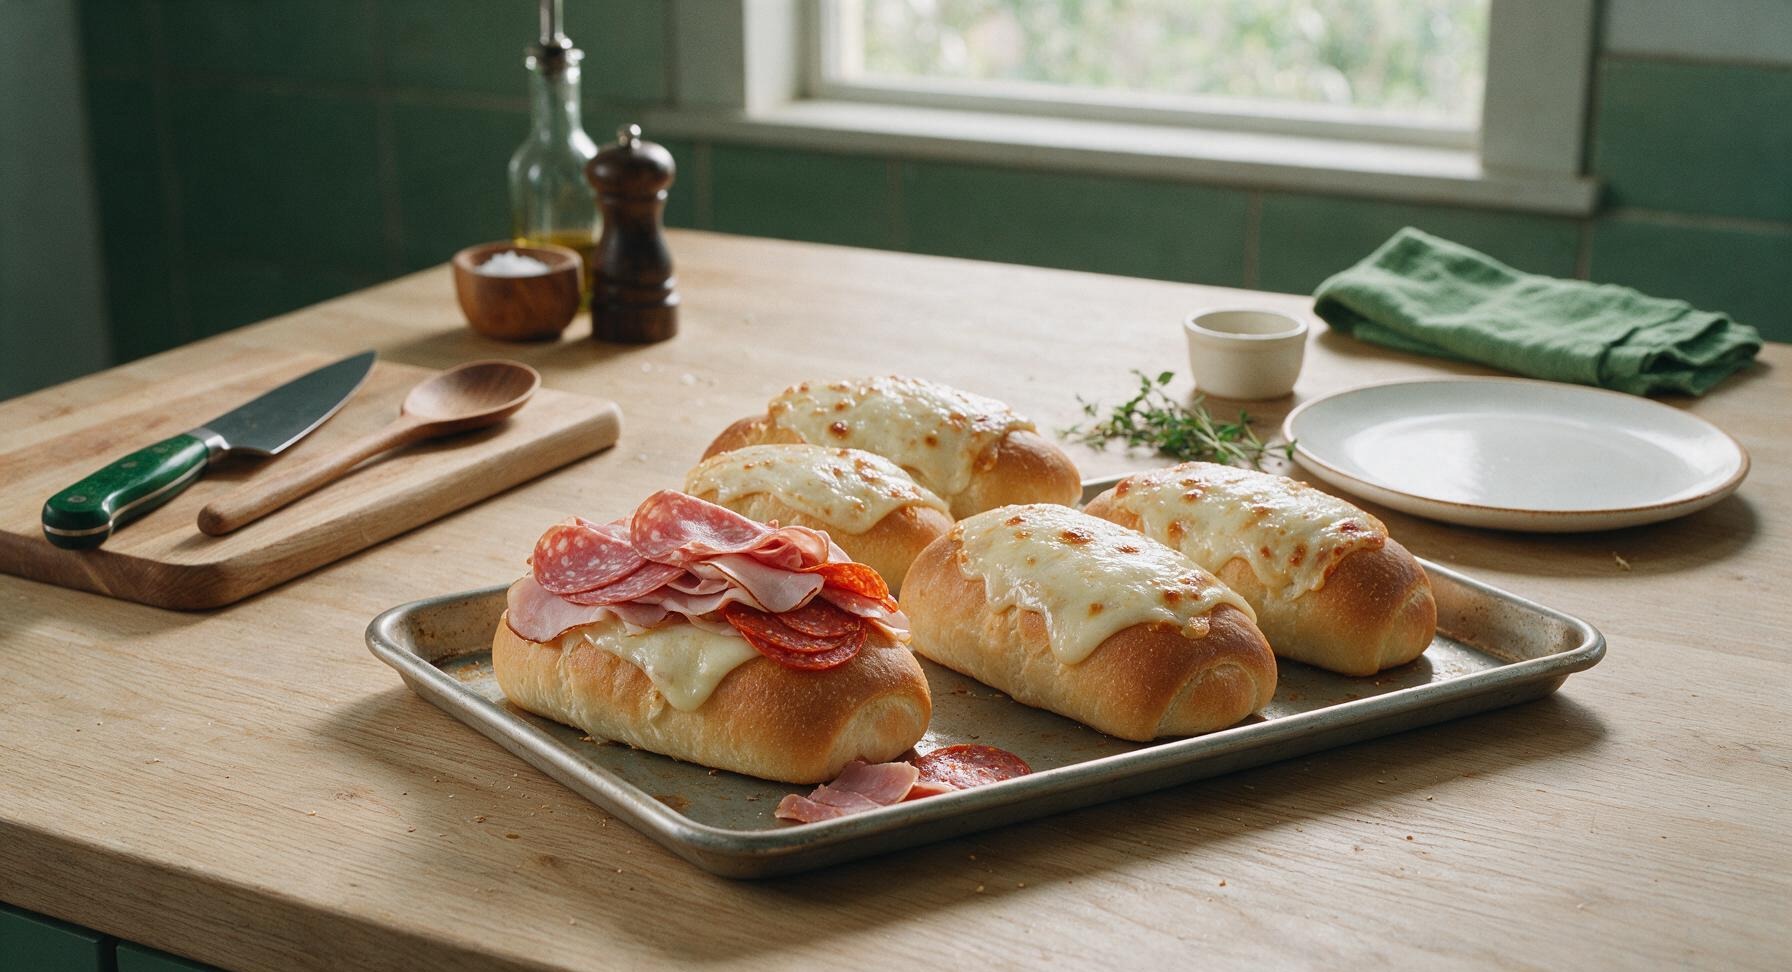
Remove the baking sheet from the oven once cheese is melted. Evenly divide the Genoa salami, Black Forest ham, and pepperoni across the four rolls, stacking the meats directly on top of the melted provolone. Lightly press the meats down so they adhere to the warm cheese, using approximately 3 slices of each meat per sandwich for even coverage.
Step 5
step5:Layer Cured Meats
6

Add Crisp Vegetables

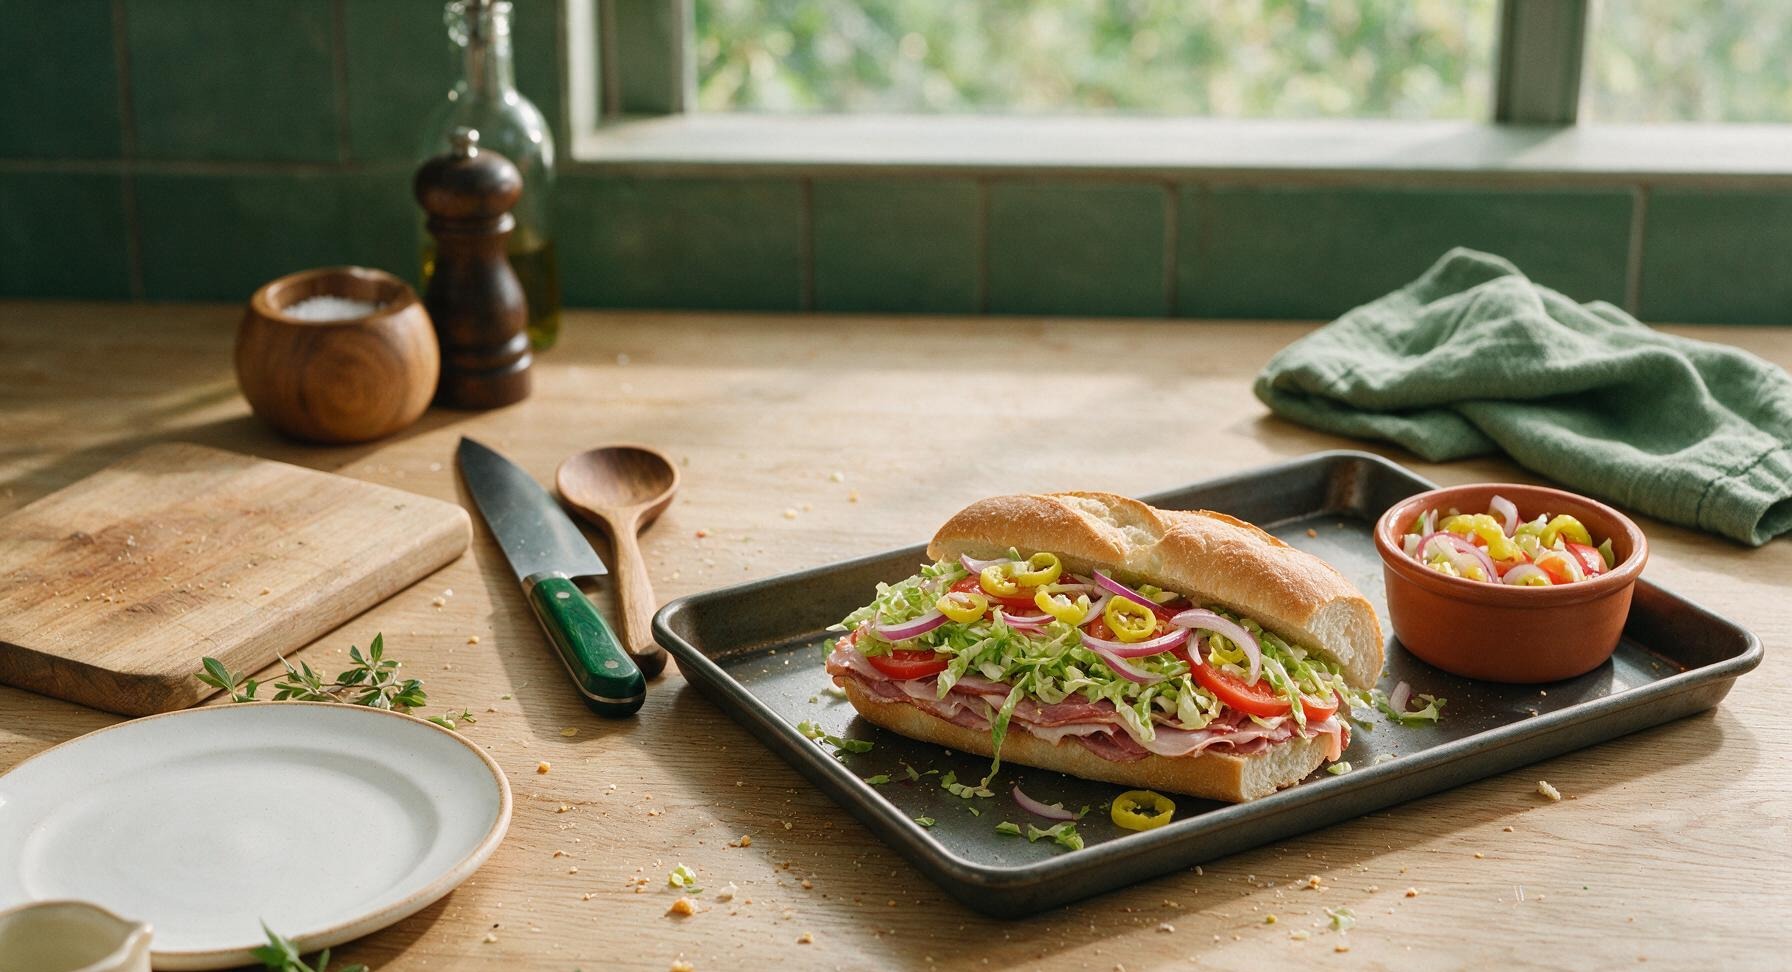
Top the layered meats with even portions of shredded iceberg lettuce, thin tomato slices, red onion half-moons, and drained pickled banana peppers. Pile the veggies loosely rather than pressing them flat, to keep the lettuce crisp and maintain light sandwich texture.
Step 6
step6:Add Crisp Vegetables
7

Drizzle Zesty Dressing

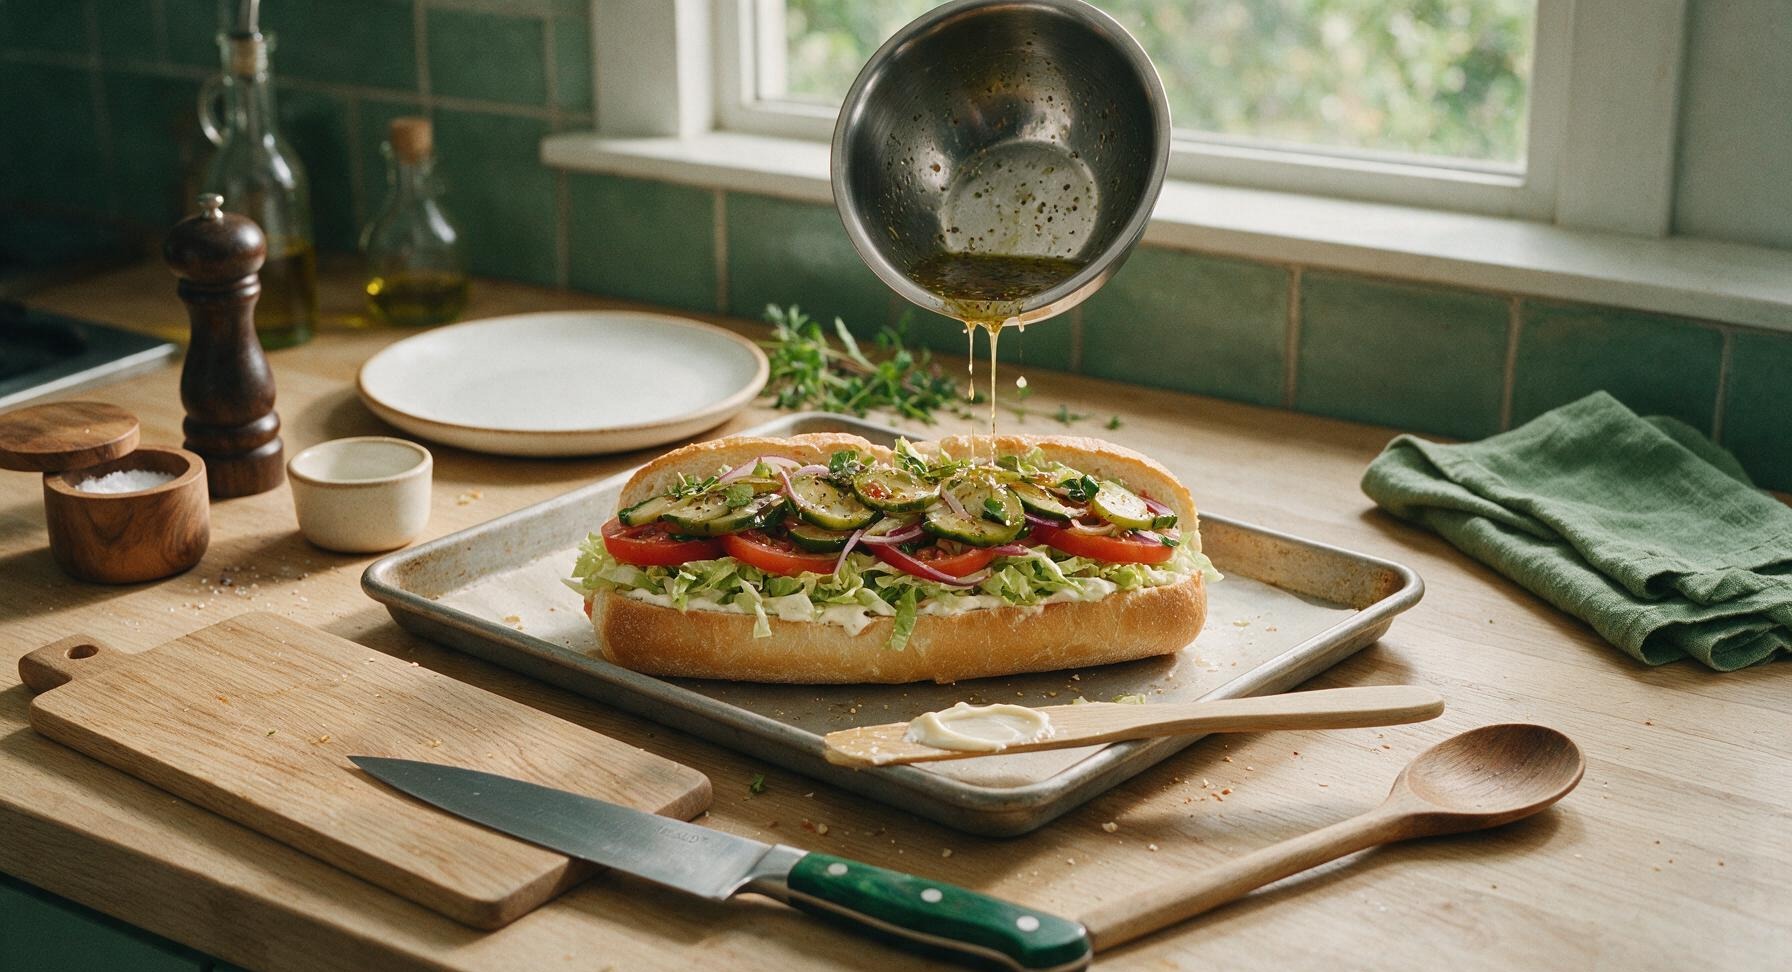
Stir the vinaigrette briefly to re-emulsify, then drizzle 1-2 teaspoons of dressing evenly over the veggie layer of each sandwich. Use the light wood sandwich spreader to spread 1 tablespoon of mayonnaise on the inside of the top half of each hoagie roll, then sprinkle a pinch of extra dried oregano over the dressed veggies for added flavor.
Step 7
step7:Drizzle Zesty Dressing
8

Slice and Serve

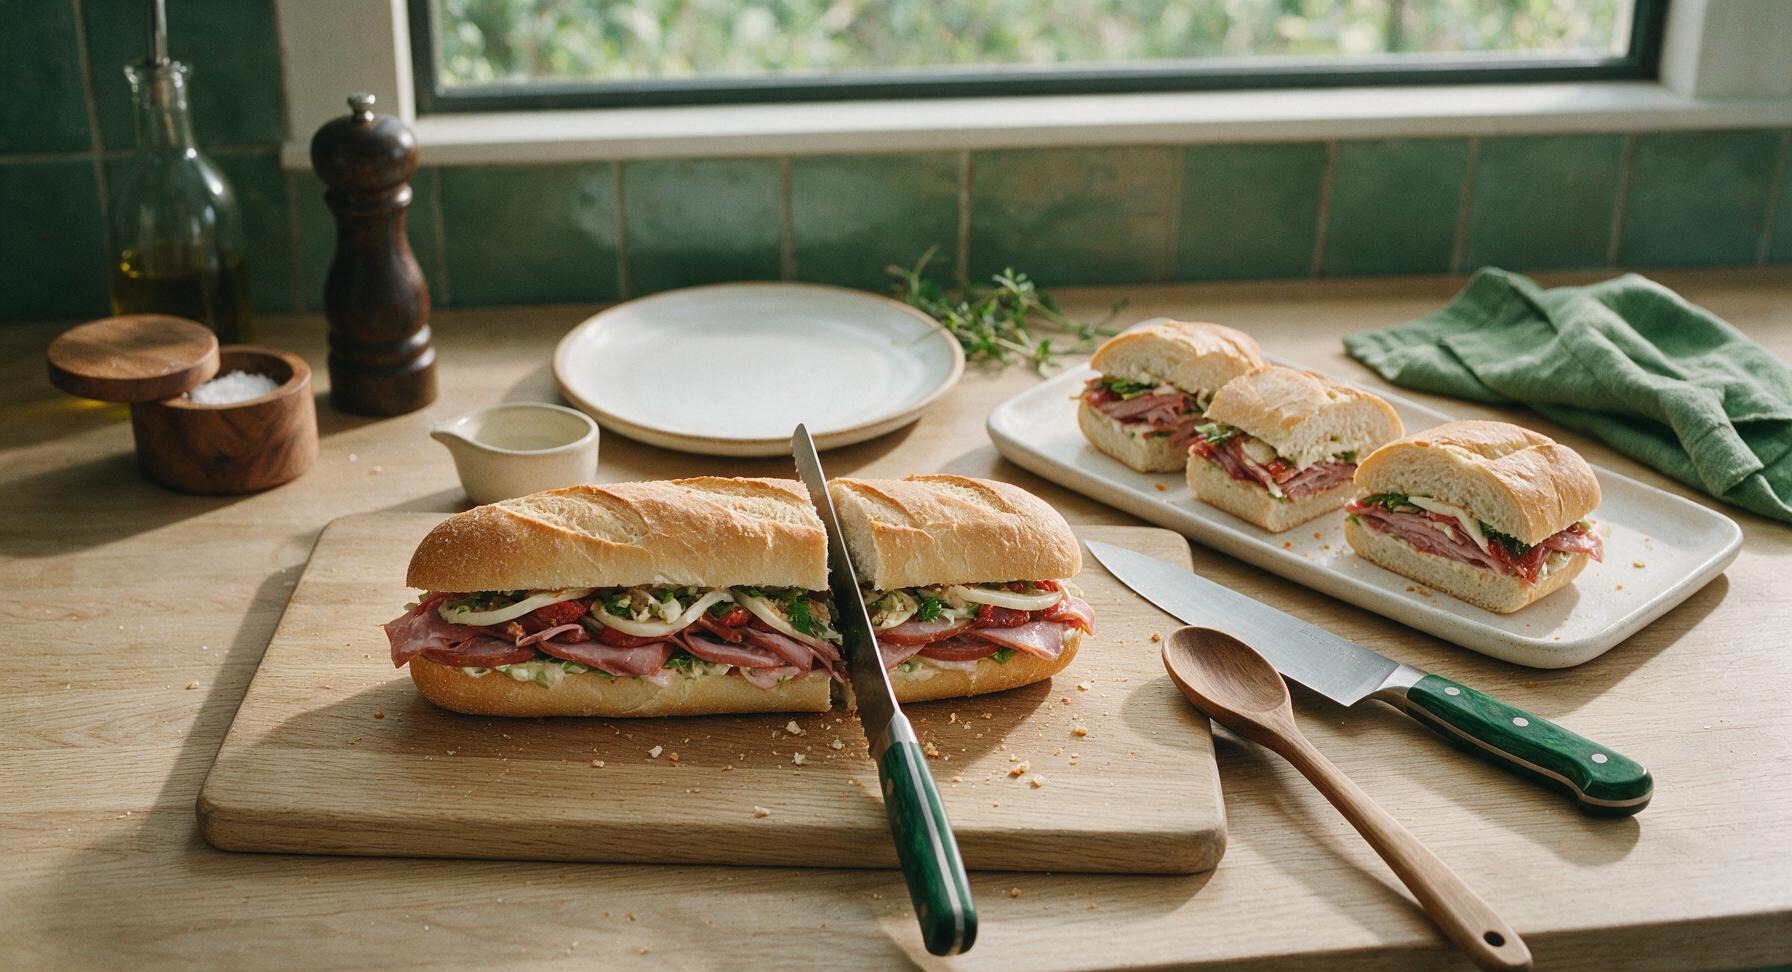
Close the top half of each roll over the fillings, pressing down gently to set the layers. Use the serrated bread knife to cut each sandwich diagonally in half, then arrange the cut halves on the rectangular matte white stoneware serving platter. Serve immediately while the cheese is still warm and the bread is crisp.
Step 8
step8:Slice and Serve

Tips

1.Leave a 1/2-inch hinge when splitting hoagie rolls to prevent heavy fillings from sliding out the back of the sandwich as you eat, the most common mess when serving overstuffed grinders.
2.Toast roll cut surfaces before adding cheese and fillings to create a crisp moisture barrier, which prevents soggy bread from tomato juices and dressing even if you pack the sandwich to go.
3.Pile vegetable layers loosely instead of pressing them flat – compacted lettuce loses its crunch quickly, while loosely stacked veggies stay crisp and create a lighter, more balanced bite.


✨ You May Also Like

Lunch
🍜 United States

Creamy, salty, tangy nostalgic Midwestern sandwich pairing rich peanut butter with crisp briny dill pickles for a fast, satisfying no-cook meal.

⏱️ 5 minutesLunch ★ 4.6
Lunch
🍜 United States

Crispy, melty pressed sandwich layered with savory roast pork, ham, Swiss cheese, pickles, and tangy mustard: a beloved Cuban-American comfort classic.

⏱️ 25 minuteLunch ★ 4.9
Lunch
🍜 United States

Hearty, briny New Orleans pressed sandwich stacked with cured Italian meats, provolone, and zesty olive salad, served cold for bold, portable flavor.

⏱️ 1 hour 20Lunch ★ 4.7
Lunch
🍜 United States

A tangy, creamy Southern American staple, this no-cook cheesy sandwich is packed with sharp cheddar and sweet pimentos for a satisfying, portable bite.

⏱️ 1 hour 15Lunch ★ 4.8
Lunch
🍜 United States

Crispy Cajun-spiced fried shrimp piled on crusty French bread with tangy remoulade and fresh toppings, the iconic Louisiana street food sandwich.

⏱️ 35 minuteLunch ★ 4.4
Lunch
🍜 United States

Stacked, savory deli-style corned beef sandwich with melted Swiss, tangy mustard, and crisp griddled rye— a fast, hearty, satisfying classic.

⏱️ 15 minuteLunch ★ 4.9

grinder sandwich:Frequently Asked Questions

1.What’s the difference between an Italian-American grinder, a regular sub, and a hoagie? ▾
Great question! The signature grinder touch is toasting the split crusty roll with layered cured meats and provolone until the cheese is fully melted, then piling on cold, crisp veggies and tangy vinaigrette at the end. Unlike fully cold subs or hoagies, that warm, toasty base paired with cool, crunchy toppings creates the iconic texture contrast that defines a real grinder.
2.Can I use a different roll if I can’t find 8-inch crusty hoagie rolls? ▾
Absolutely! Look for any sturdy, crusty roll with a soft, chewy crumb that can hold up to toasting and juicy toppings without getting soggy. Sourdough sub rolls, 8-inch sections of crusty French baguette, or split ciabatta rolls work great—just skip soft, squishy white sandwich rolls, they’ll fall apart within a few bites.
3.Do I have to use all three listed cured meats, or can I mix and match? ▾
You have total flexibility here! The classic combo balances salty salami, smoky ham, and zesty pepperoni, but you can swap in capicola, mortadella, soppressata, or even sliced turkey if you prefer. Just aim for 4 to 5 ounces of thin-sliced cured meat per sandwich to get that hearty, stacked feel without overstuffing.
4.How do I keep my grinder from getting soggy after I add vinaigrette? ▾
Sogginess is the #1 grinder mistake, and it’s easy to avoid! First, melt provolone directly against the cut sides of the toasted roll to create a natural moisture barrier. Toss vinaigrette with your veggie toppings instead of pouring it straight on bread, add it right before serving, and stick to 2 tablespoons per sandwich.
5.What fresh veggies are traditional for an Italian-American grinder? ▾
Classic toppings are thin-sliced crisp iceberg lettuce, thin-sliced ripe tomato, thinly sliced white or red onion, jarred sliced pepperoncini, and sometimes dill pickle slices or shredded cabbage. Stick to firm, crisp veggies, and pat tomato slices dry with a paper towel before adding to cut down on excess sogginess-causing moisture.
6.Can I assemble these grinders ahead of time for meal prep or a party? ▾
You can prep components ahead, but I don’t recommend fully assembling them more than 30 minutes before serving. Toast rolls with meat and cheese up to a day ahead and store airtight in the fridge, chop veggies and make vinaigrette separately, then warm the base and add cold toppings right before serving for perfect texture.
7.How long and at what temperature should I toast the sandwiches for perfectly melted provolone? ▾
Preheat your oven to 400°F, split rolls open on a baking sheet, layer meats and provolone evenly over both cut sides, and toast for 5 to 7 minutes. You’ll know it’s done when the provolone is bubbly, the roll edges are golden and crisp, and the cured meats are just starting to crisp at the edges—don’t walk away, they burn fast!
8.What goes into the classic zesty herb vinaigrette for this grinder? ▾
The traditional vinaigrette is super simple: whisk together 3 parts red wine vinegar, 1 part extra-virgin olive oil, a pinch of dried oregano, dried basil, garlic powder, black pepper, a tiny pinch of sugar to cut acidity, and a splash of pepperoncini brine for extra zing. It’s bright enough to cut through rich meats and cheese.
9.I don’t eat pork—what are good swaps for the cured meats? ▾
No problem at all! Swap the pork-based salami and pepperoni for thin-sliced turkey pepperoni, turkey salami, and sliced roasted turkey or chicken breast. You can add thin-sliced marinated roasted red peppers for extra savoriness, and keep the same provolone, toasting method, and veggie toppings for that classic grinder flavor.
10.Is there a tasty vegetarian version of this grinder? ▾
Absolutely! Skip the cured meats entirely, and layer thin-sliced provolone with marinated roasted red peppers, oil-cured olives, marinated artichoke hearts, thin-sliced smoked mozzarella, and a sprinkle of capers before toasting. Pile on classic crisp veggies and extra vinaigrette after toasting for a hearty, zesty handheld.
11.Do I need a fancy panini press to make these grinders? ▾
You don’t need any special equipment at all! A regular oven or toaster oven works perfectly for toasting the open-faced roll, meat, and cheese layers. If you want a pressed, crispy exterior, close the assembled sandwich and press it in a hot skillet for 30 seconds per side, but that’s totally optional for a classic grinder.
12.How much meat and cheese should I use per 8-inch sandwich? ▾
For an 8-inch hoagie roll, aim for 4 to 5 total ounces of thin-sliced cured meats, split evenly between salami, ham, and pepperoni, plus 2 to 3 thin slices of provolone. That ratio gives you enough meat and cheese to feel hearty, without overstuffing the roll so much that fillings fall out with every bite.
13.Is it okay to add condiments like mayo or mustard to a classic grinder? ▾
You absolutely can, even if they’re not strictly traditional! If you love mayo, spread a thin layer on the cut sides of the roll before adding cheese and toasting—it adds extra richness and creates an even better moisture barrier against sogginess. Spicy brown mustard or Calabrian chili paste also pair beautifully with salty cured meats.
14.What sides pair best with this classic Italian-American grinder? ▾
Stick to classic Italian-American diner vibes for sides! Serve it with crispy seasoned potato chips, tangy coleslaw, dill pickle spears, or a simple side salad tossed with extra of the same herb vinaigrette you use on the sandwich. For a heartier meal, pair it with a cup of minestrone soup or crispy seasoned French fries.
15.My cured meats are sliced a little thick—will that ruin the sandwich? ▾
Thin-sliced meats are ideal because they layer easily, warm up fast during toasting, and don’t clump up when you take a bite. If your meats are thicker, separate the slices and spread them in thin, even layers across the roll before adding cheese, and add 1 to 2 minutes to the toasting time to make sure they warm all the way through.
16.Can I make these grinders in an air fryer instead of a regular oven? ▾
Air fryers work fantastic for grinders! Preheat your air fryer to 375°F, place the split, open-faced rolls with meat and cheese in the basket (you may need to cook one at a time depending on basket size), and air fry for 3 to 4 minutes until cheese is bubbly and the roll is crisp. Keep a close eye, since air fryers crisp edges very quickly.
17.Should I seed my tomatoes and soak my onions before adding them to the sandwich? ▾
I highly recommend it! Scooping the seedy, juicy pulp out of tomato slices and giving thin-sliced onions a quick 10-minute soak in cold water (then patting dry) cuts down on excess moisture that can make your roll soggy, and softens the harsh, sharp bite of raw onion so it doesn’t overpower the other sandwich flavors.
18.What’s the best way to reheat leftover grinder sandwiches? ▾
Skip the microwave—it’ll make the roll rubbery and turn fresh veggies mushy. Instead, disassemble the sandwich, set aside the cold veggie toppings, and reheat the bread, meat, and cheese base in a 350°F oven or toaster oven for 4 to 5 minutes until crisp and warm. Add the cold veggies back, drizzle with extra vinaigrette, and enjoy.

Comments (8)

2 days ago

OMG this grinder is EXACTLY what I grew up eating at the corner deli in Brooklyn! Took 10 minutes flat to throw together for lunch today, used soppressata, capicola, a little provolone, shredded lettuce, tomato, onion, and that oil and vinegar dressing? *Chef's kiss* My roommate stole half before I even got a second bite. 10/10 will make every week for meal prep.

yesterday

Fellow Brooklynite here! Did you toast the hoagie roll first? I always feel like toasting it just a little takes it from good to perfect.

yesterday

Great call on toasting the roll! We love popping ours under the broiler for 1-2 minutes before piling on the fillings to keep it from getting soggy too, especially if you’re prepping ahead for the week!

yesterday

Made these for my teen boys after football practice last night and they demolished all four sandwiches in 10 minutes flat! I added a little sliced pepperoncini for a zing and they kept begging for more, said it’s way better than the fast food they usually beg for after practice. So easy to throw together even on chaotic school nights, total game changer for our weekly dinner rotation.

3 days ago

Love this base recipe! I made a batch on Sunday for work lunches and it held up pretty well, though the bread got a little soggy by Wednesday. Any tips for keeping it crisp longer? I used regular hoagie rolls from the grocery store, not sure if that’s the issue.

2 days ago

Great question! To prevent sogginess when prepping ahead, try spreading a thin layer of provolone cheese on both cut sides of the roll before adding wet toppings like tomato or dressing — the cheese acts as a barrier! You can also pack the dressing on the side and toss it on right before eating for extra crunch.

1 week ago

Brought a platter of these mini grinders (slider-sized!) to our neighborhood block party last weekend and they were the first thing gone! Everyone was asking for the recipe, I felt like a total rockstar. Used a mix of ham, salami, mortadella, and added a sprinkle of oregano on top, just like my grandma used to do.

5 days ago

Wait slider-sized is such a good idea for potlucks! Did you use regular dinner rolls for those? I’m hosting a game night next weekend and need easy finger foods.

3 days ago

I used the sweet Hawaiian dinner rolls! They were the perfect size, I just sliced the whole pack in half like a big sheet sandwich, layered all the fillings, then cut them into individual sliders. So much faster than making each one separately!

5 minutes ago

Just whipped this up for a quick Saturday lunch and holy cow it’s SO good. I skipped the raw onion because my wife hates it, added a little mayo mixed with the oil and vinegar, and paired it with some rippled potato chips. Felt like I was eating at a little Italian spot downtown instead of my own kitchen for $4 a sandwich.

just now

The mayo + oil/vinegar mix is such a pro move! I do that too, it makes the dressing so much creamier without being too heavy. Glad yours turned out great!

30 minutes ago

Packed two of these for a day hike up Mount Si today and they held up perfectly! I wrapped them tight in parchment paper, didn’t even get soggy after 3 hours in my pack. Hearty, flavorful, way better than the sad energy bars I usually bring. Will definitely be my new go-to trail lunch from now on.

2 weeks ago

Really solid recipe! I added some pickled jalapeños for extra heat because I love spicy food, but next time I think I’ll add a little more salt and maybe a sprinkle of parmesan? Felt like it was missing a tiny something, but otherwise super easy and tasty.

1 week ago

Love the spicy addition! A light sprinkle of grated parmesan and a pinch of dried oregano is exactly what we do when we want to bump up the flavor, that would be perfect here. So glad you enjoyed it overall!

2 hours ago

My grandma used to make these for our Sunday family dinners when I was a kid, and I’ve been chasing that flavor for years! This recipe is spot on, tasted exactly like hers. I even used the same oil and vinegar ratio she wrote down in her old recipe card and it matched perfectly. My whole family was raving about it at dinner tonight.

30 minutes ago

There’s nothing quite like nailing a childhood favorite recipe! Did your grandma put mayo on hers too? Mine always did a thin layer and I swear it makes all the difference.

5 minutes ago

That makes our day to hear! Recipes that taste like childhood are the absolute best, we’re so happy this one helped bring back those happy Sunday dinner memories for you and your family.



