
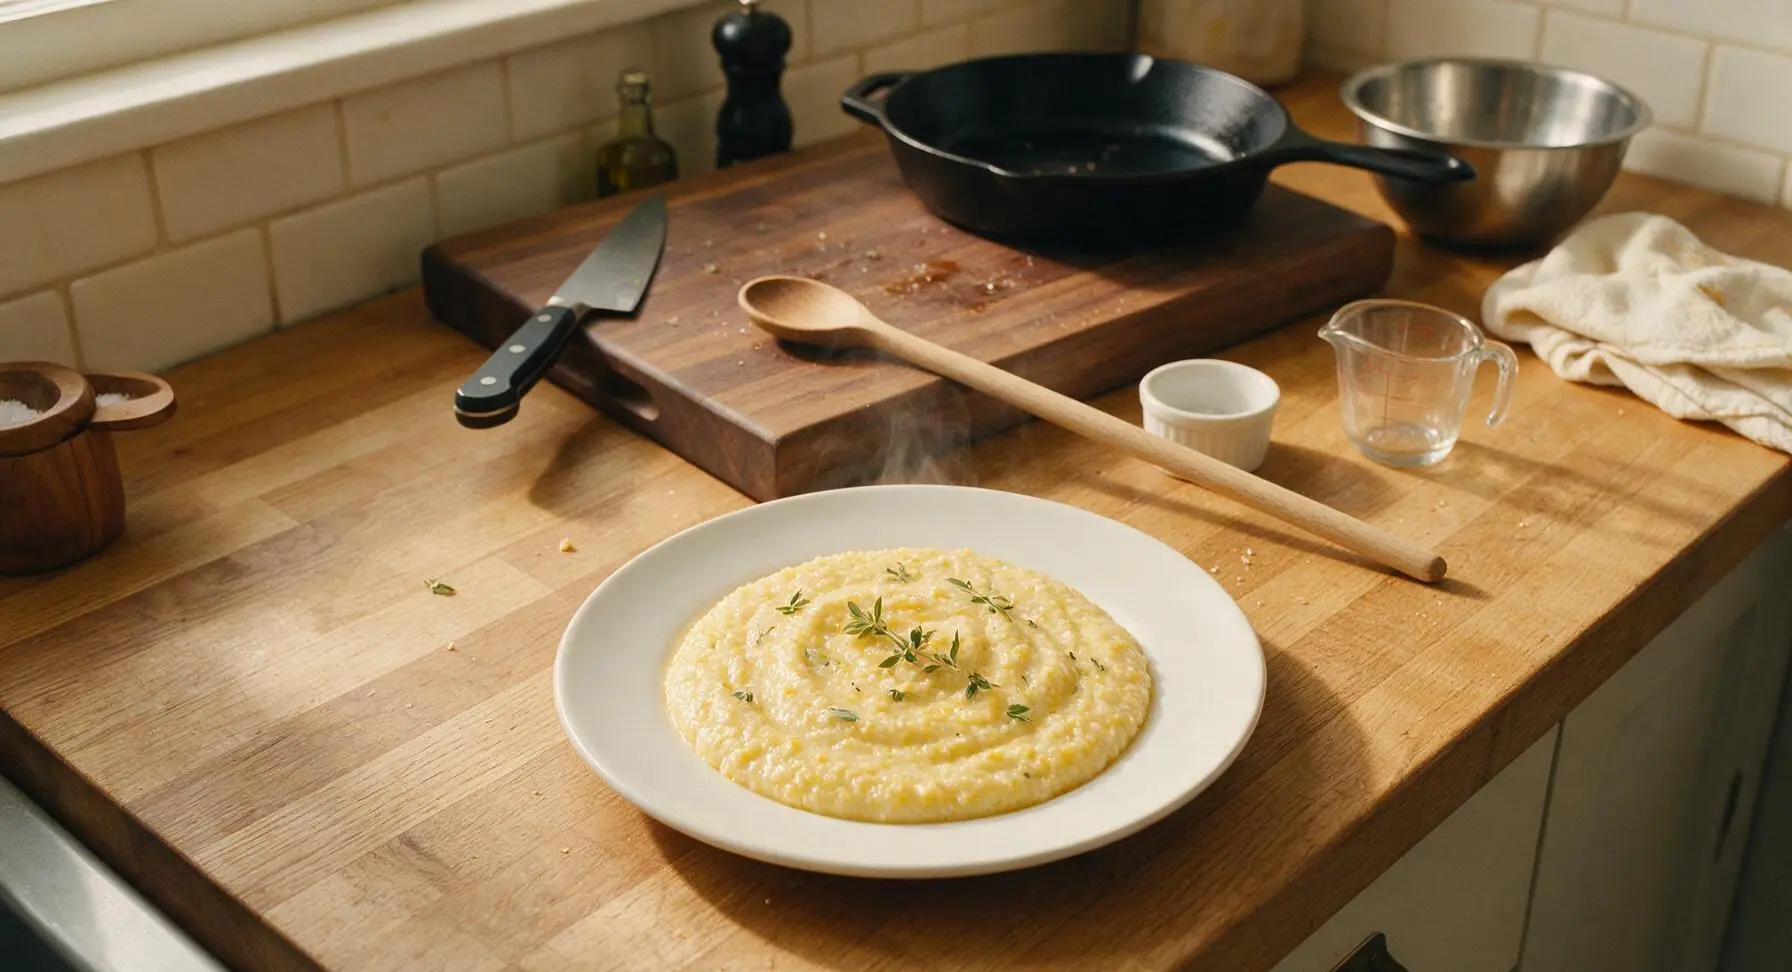
Grits

title 1
Grits
⏱️ cook time 25 minutes
🍽️ servings 4
⚡ Difficulty easy

intro

Silky, buttery stone-ground grits with rich, nutty corn flavor—the iconic Southern comfort side, perfectly creamy with a hint of toothsome bite, made for cozy family meals.

Ingredients
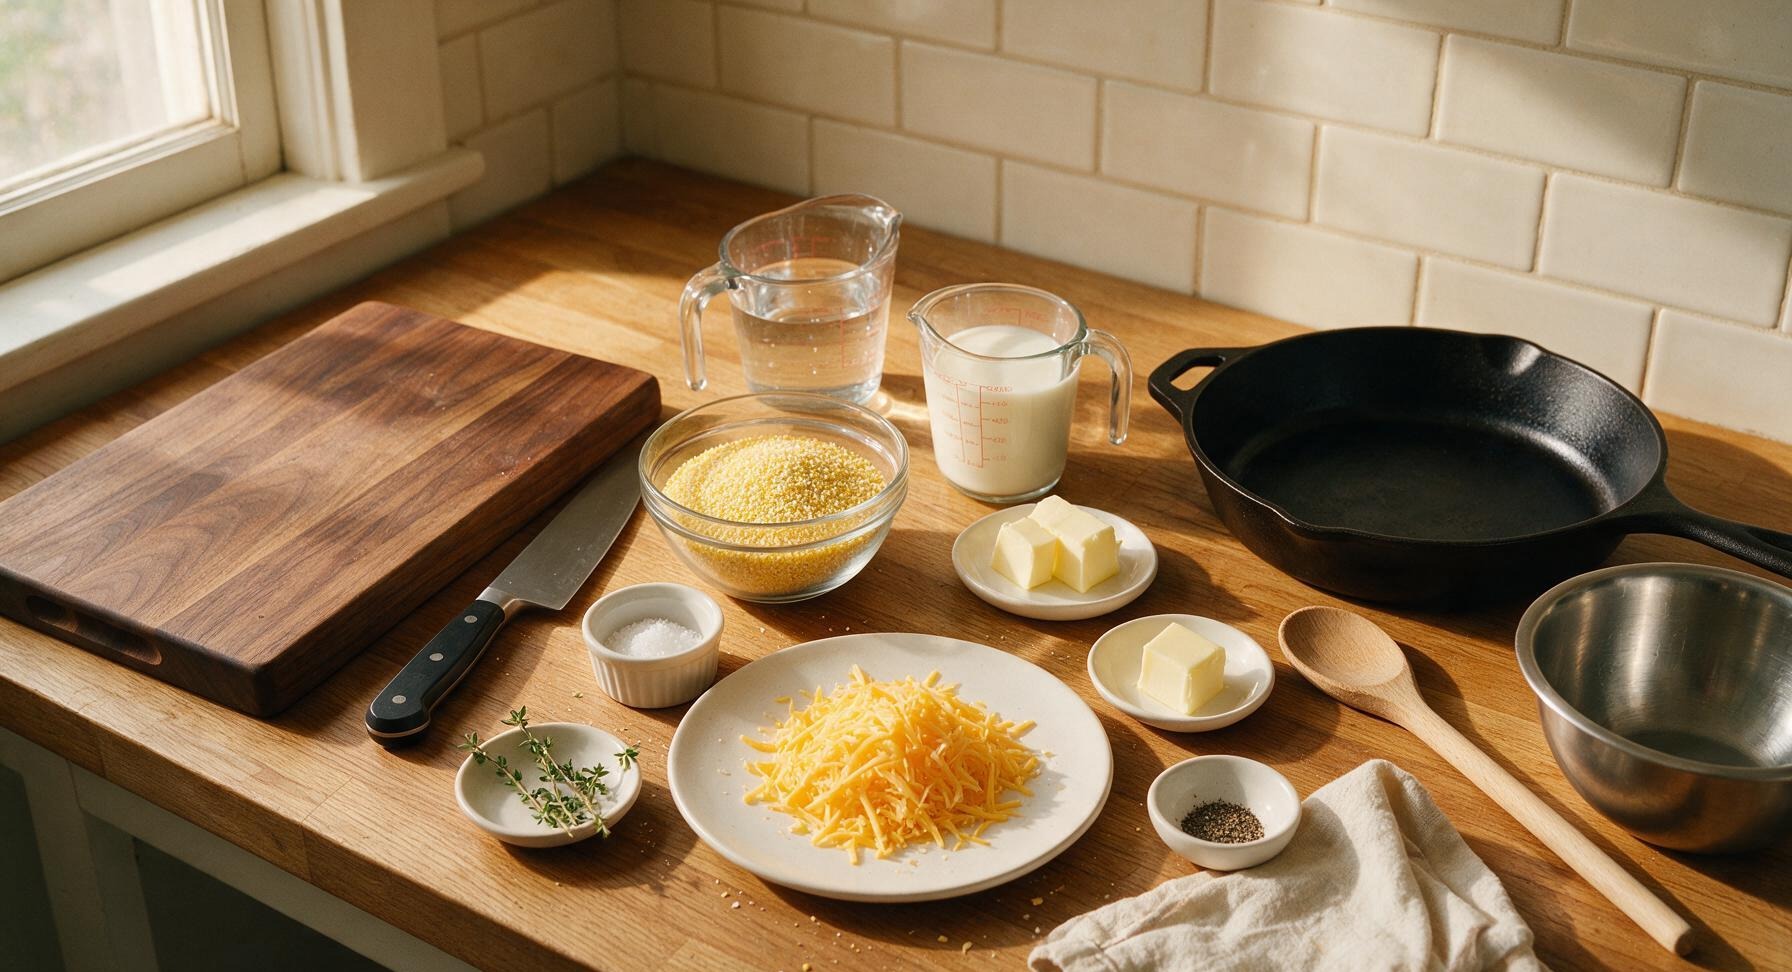
Stone-ground yellow grits 1 cup
Water 2 cups
Whole milk 2 cups
Unsalted butter, divided 4 tbsp (1/2 stick)
Coarse kosher salt 1 tsp
Sharp cheddar cheese, freshly shredded 1/2 cup
Freshly ground black pepper 1/4 tsp
Fresh thyme sprigs 4 small sprigs

Steps

1

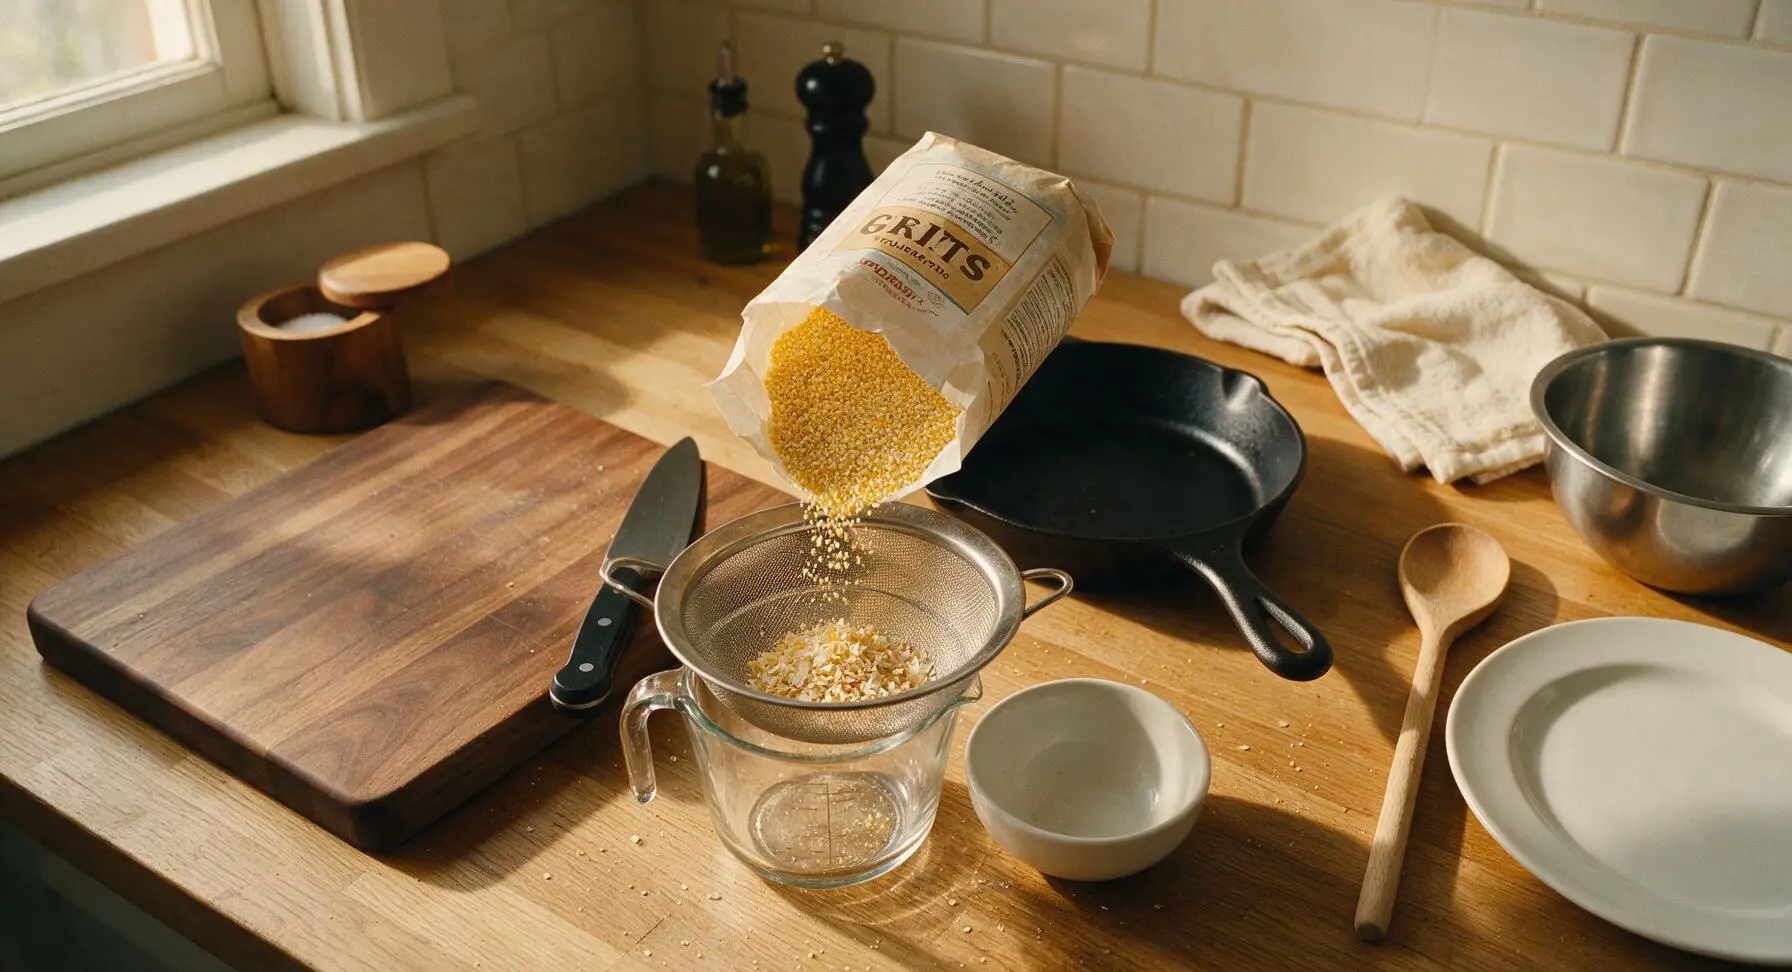
Sift and Measure Grits

Place the small fine-mesh stainless steel sieve over the clear glass measuring cup. Pour 1 cup of stone-ground yellow grits into the sieve, shaking gently to sift out any fine, pale chaff or hard, un-milled kernel bits. Discard the collected chaff, then transfer the sifted grits to the small matte white prep bowl; set aside. Sifting removes hard bits that would stay crunchy even after full cooking.
Step 1
step1:Sift and Measure Grits
2

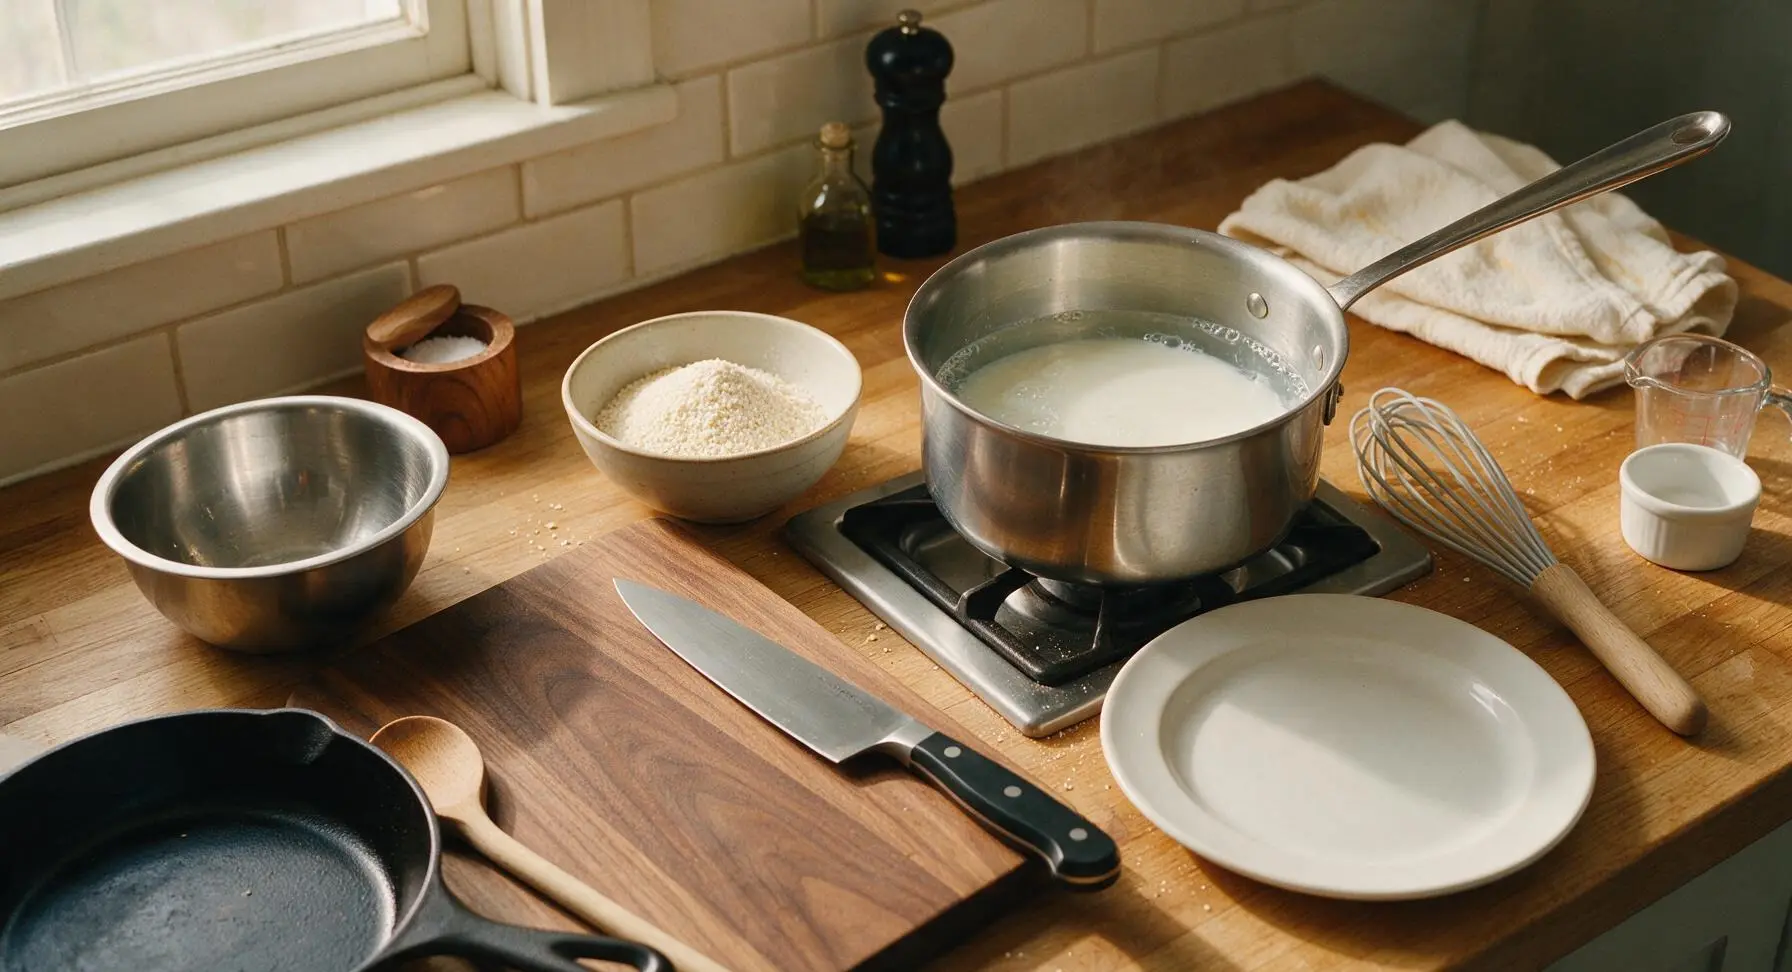
Heat Liquid Base

Place the 3-quart stainless steel saucepan on the stovetop burner set to medium-high. Add 2 cups water, 2 cups whole milk, and 1 tsp coarse kosher salt to the pan. Heat for 4-5 minutes until the liquid reaches a gentle, rolling simmer (small bubbles forming steadily around the pan edges); do not bring to a hard rolling boil, as this will scald the milk and create a bitter, off flavor.
Step 2
step2:Heat Liquid Base
3

Whisk in Grits Slowly

Once the liquid reaches a gentle simmer, reduce heat to medium-low. Slowly pour the sifted grits into the liquid in a thin, steady stream, whisking constantly and vigorously with the silicone whisk to prevent lumps from forming. Do not dump all grits in at once, as this will create dry, starchy lumps that cannot be smoothed out later, even with extended stirring.
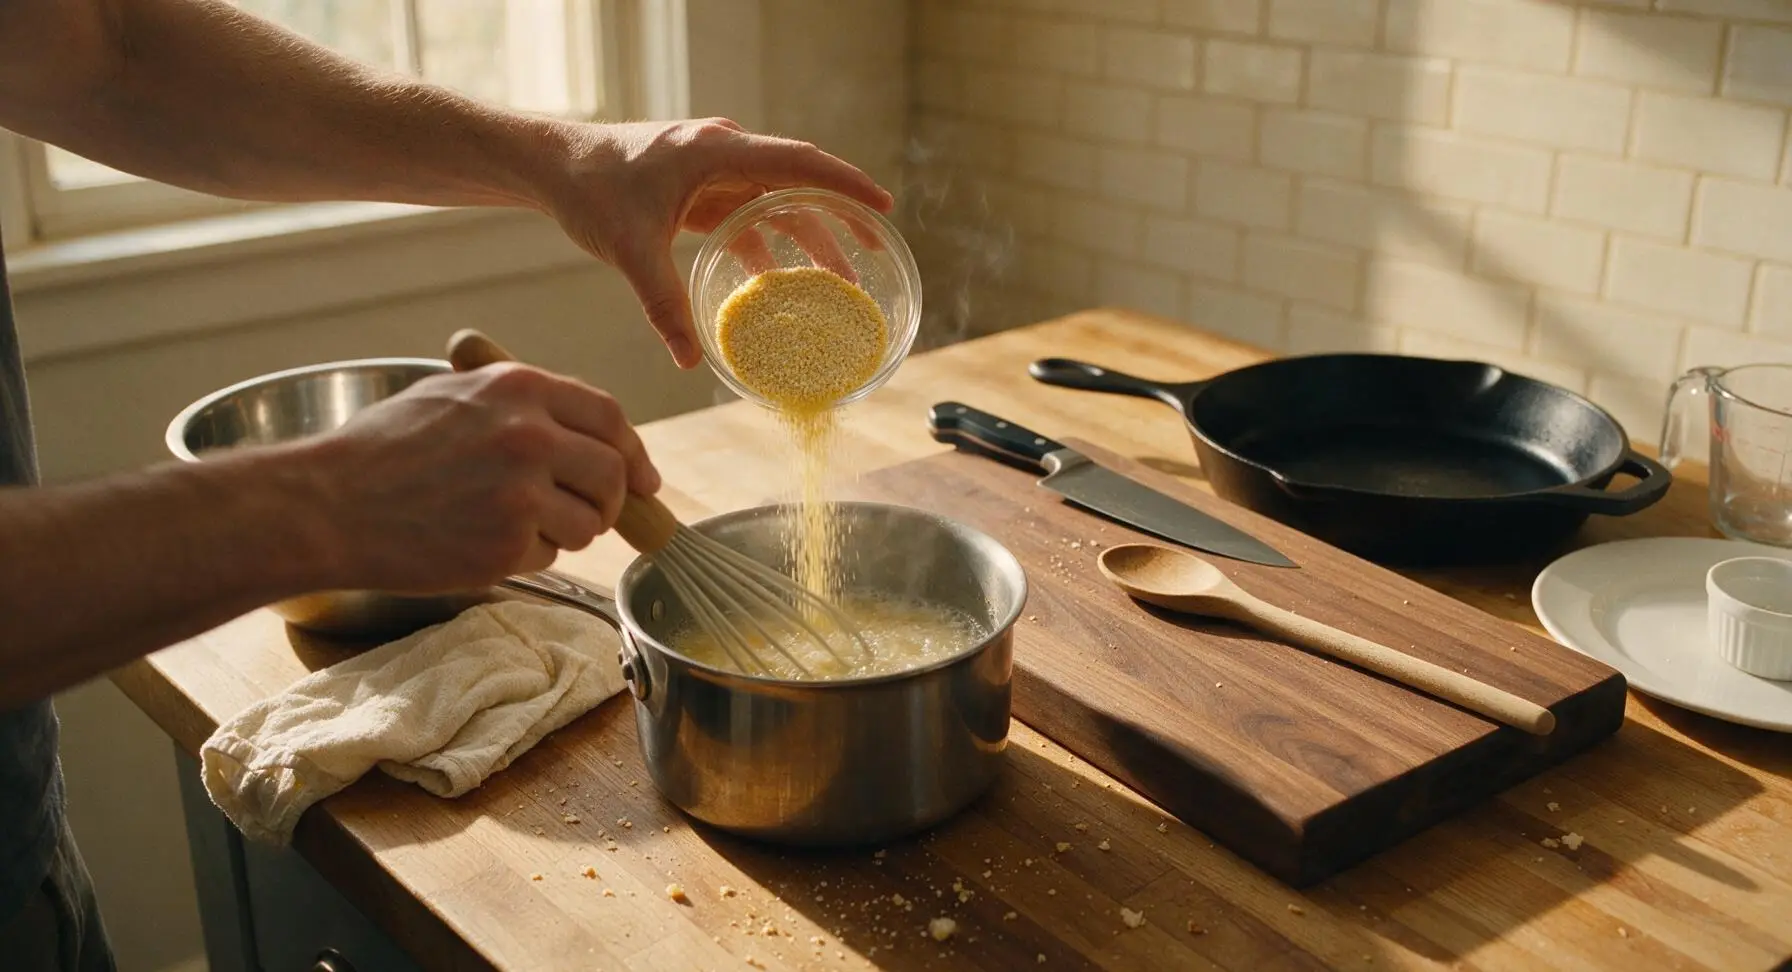
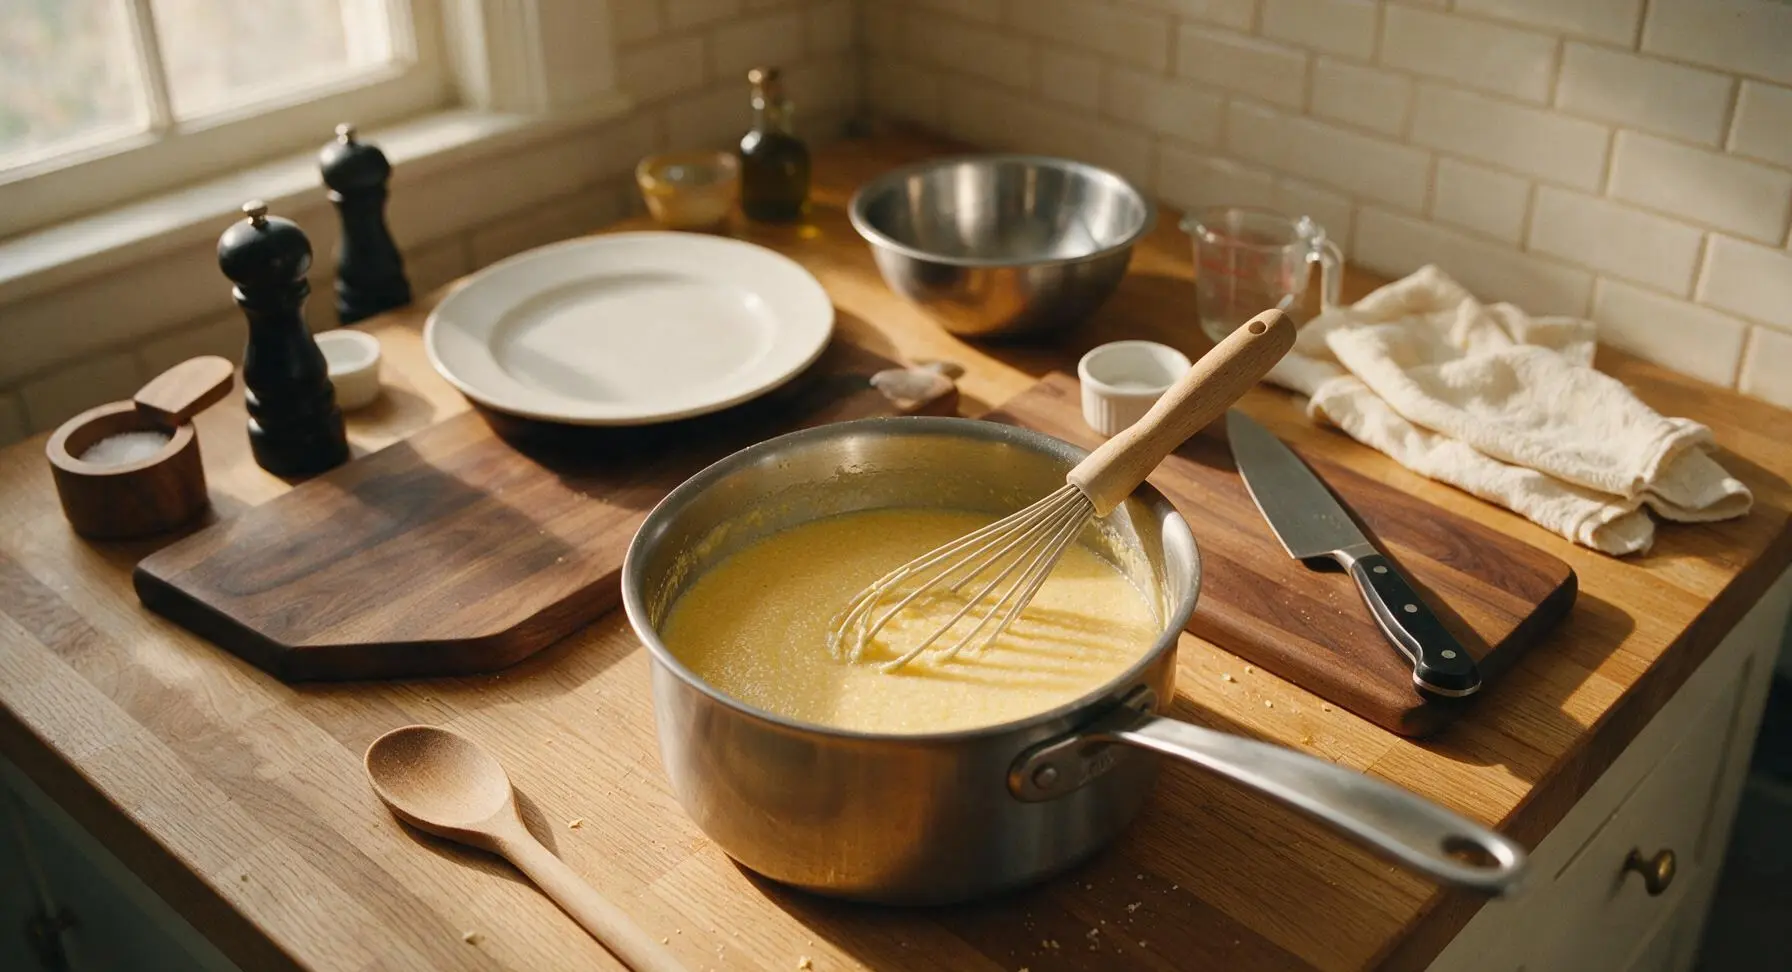
Step 3
step3:Whisk in Grits Slowly
Step 3
step3:Whisk in Grits Slowly
4

Simmer and Stir Regularly

Once all grits are incorporated and the mixture is smooth, reduce heat to low to maintain a very gentle, slow simmer. Cook for 20-22 minutes, stirring every 3-4 minutes with the light maple wood stirring spoon, making sure to scrape the entire bottom and sides of the pan to prevent scorching. The grits are done when they are thick enough to evenly coat the back of the stirring spoon, with a tender, slightly toothsome texture and no raw, crunchy grit bits when tasted.
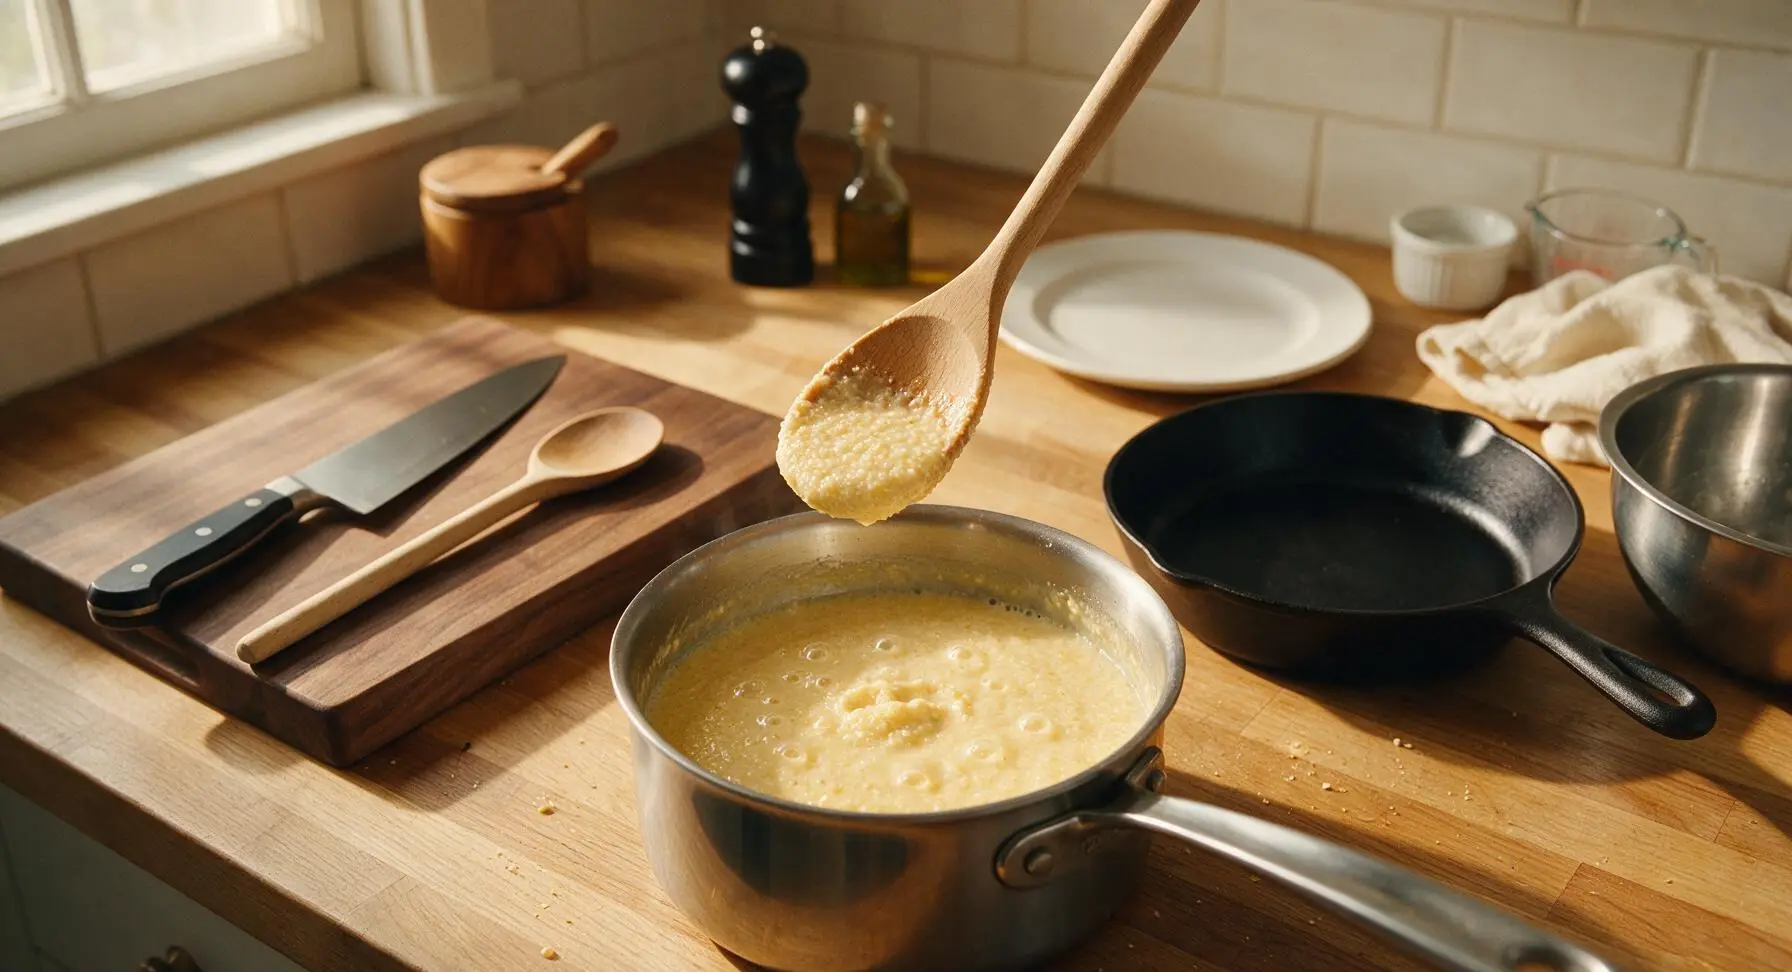
Step 4
step4:Simmer and Stir Regularly
5

Add Butter and Cheese

Once the grits reach the correct tender texture, turn off the stovetop heat. Add 3 tbsp of the unsalted butter (reserving 1 tbsp for optional garnish) and 1/2 cup freshly shredded sharp cheddar cheese to the pan, stirring gently with the maple wood spoon until the butter and cheese are fully melted and incorporated, creating a silky, glossy texture. Taste and add a pinch more salt if needed.
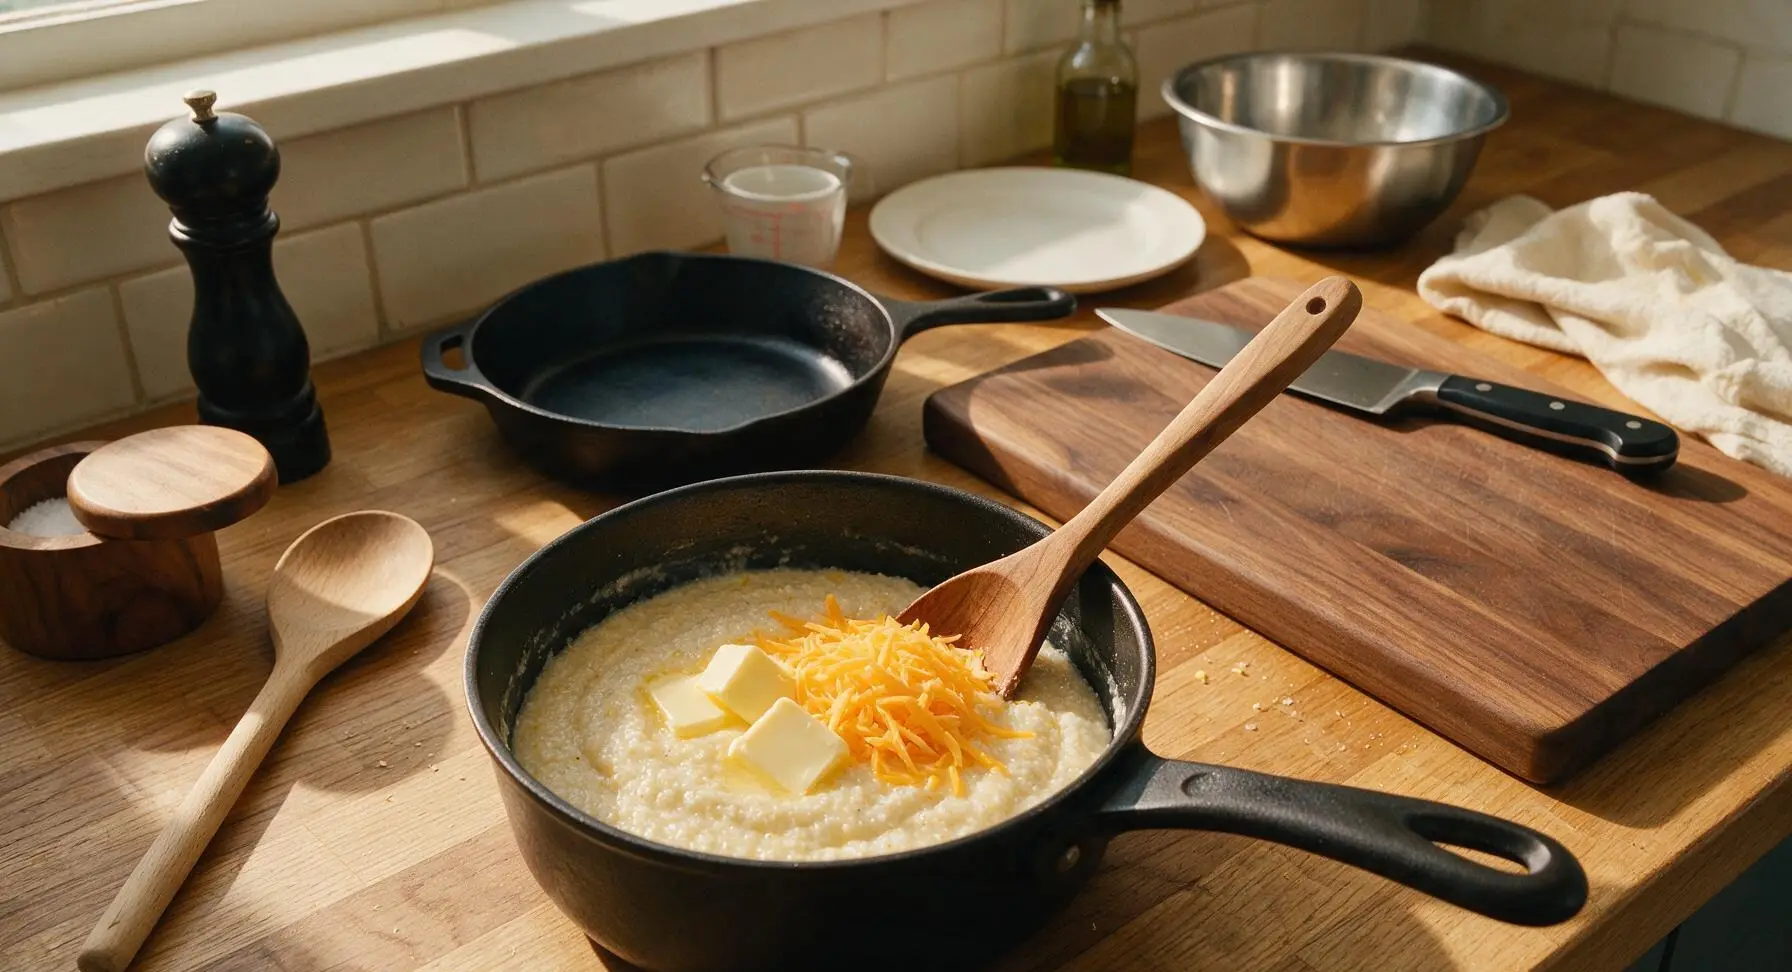
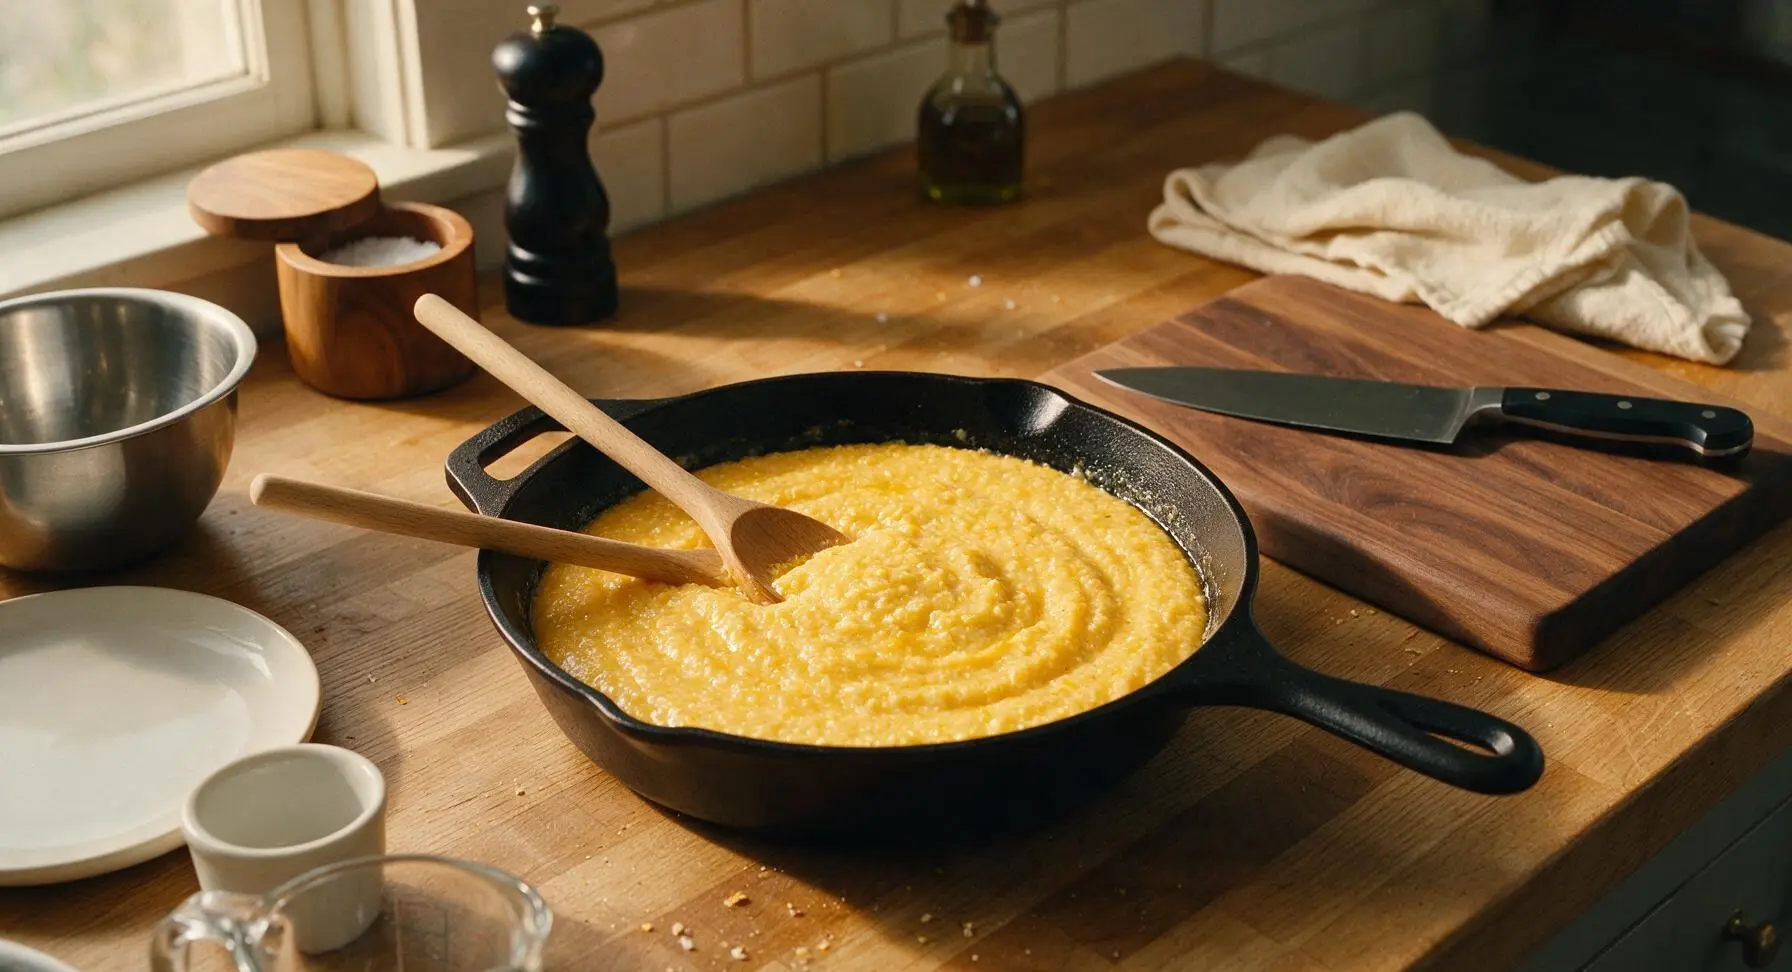
Step 5
step5:Add Butter and Cheese
Step 5
step5:Add Butter and Cheese
6

Let Grits Rest

Remove the saucepan from direct stovetop heat, cover with the matching tight-fitting stainless steel lid, and let the grits rest for 3 minutes. This resting period allows the corn starches to set slightly, creating the perfect spoonable, creamy consistency; the grits will thicken a little more as they rest. If the grits become thicker than your preferred texture, stir in 1-2 tbsp of warm milk or water to thin.
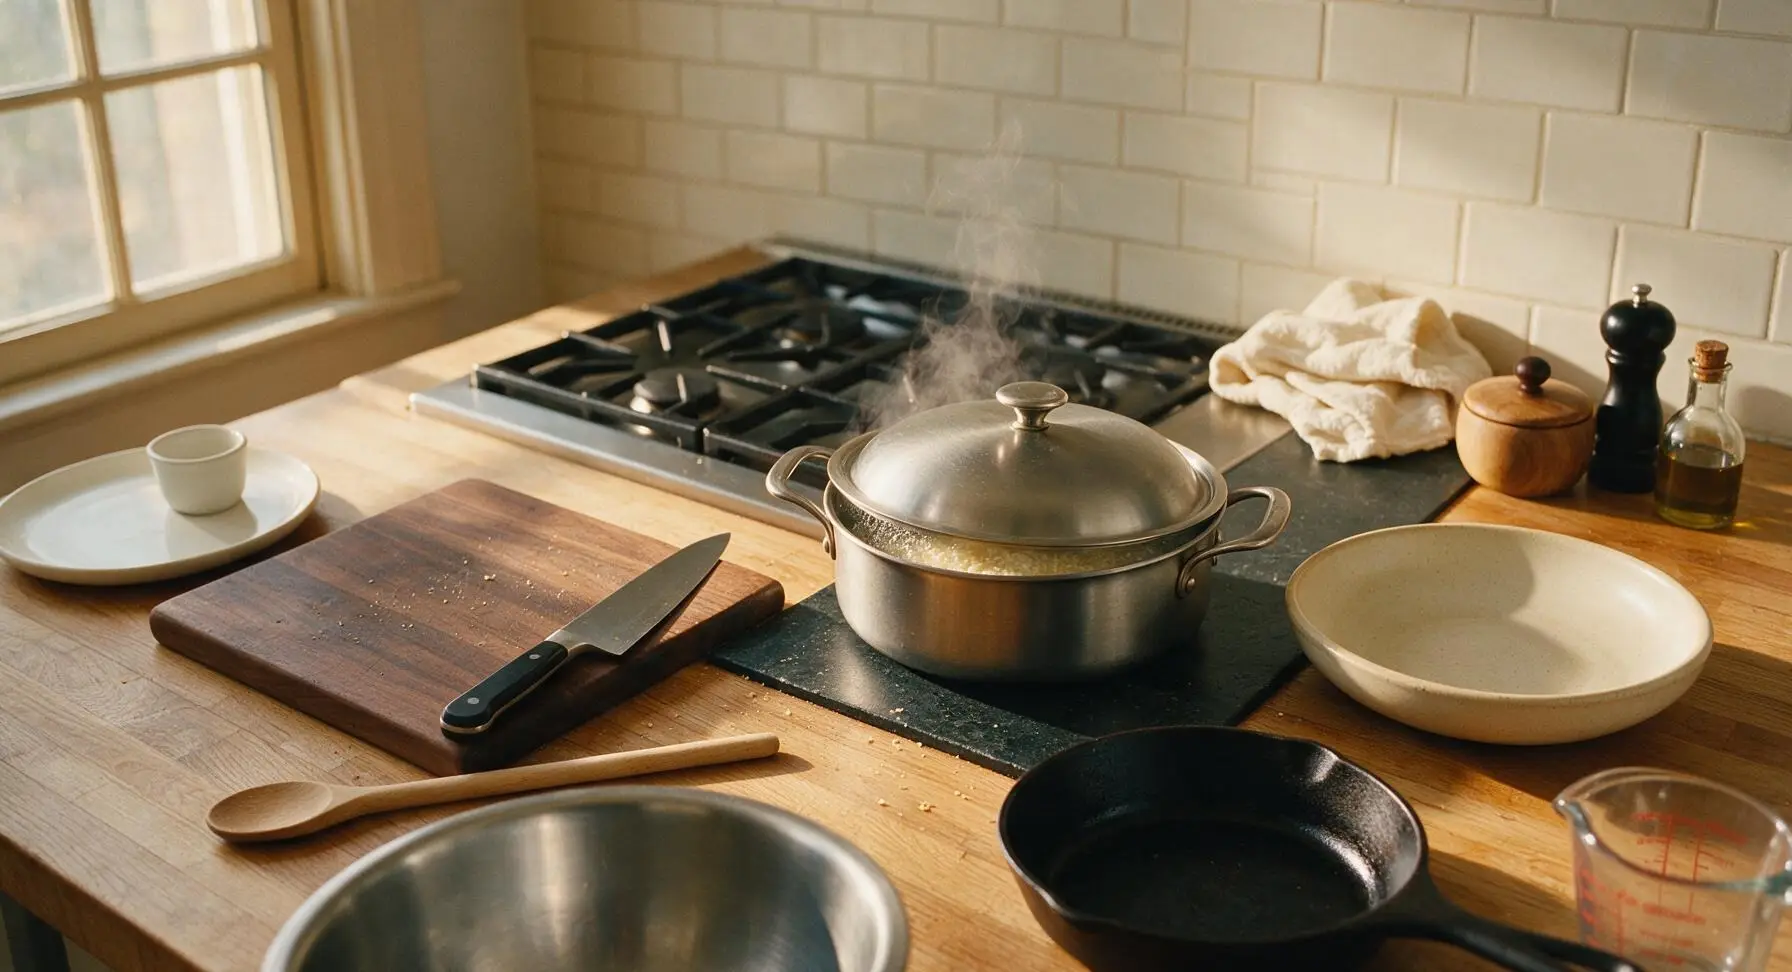
Step 6
step6:Let Grits Rest
7

Plate and Garnish Grits

After the 3-minute rest, uncover the pan and give the grits one final gentle stir to loosen them. Spoon a generous 1-cup portion into the matte cream ceramic shallow bowl. Top with the optional reserved pat of butter, a light sprinkle of freshly ground black pepper, and one small fresh thyme sprig for garnish. Serve immediately, as grits will stiffen and thicken significantly as they cool.
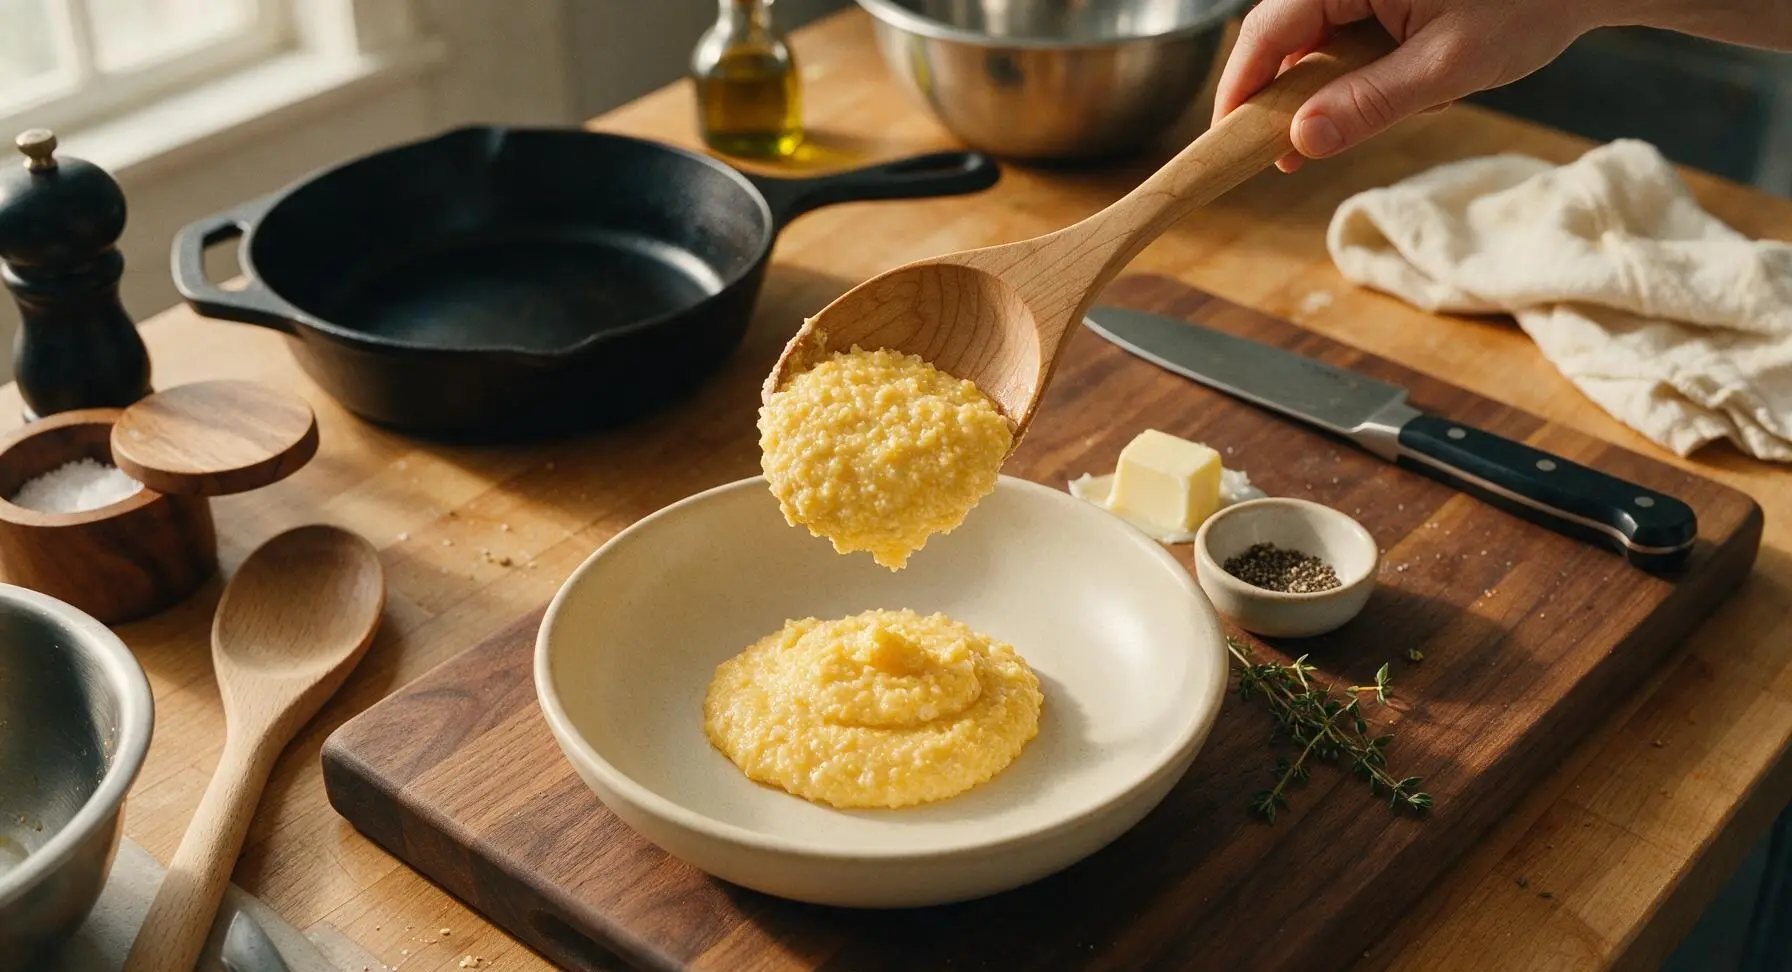
Step 7
step7:Plate and Garnish Grits

Tips

1.Choose stone-ground grits over instant or quick-cooking varieties: Stone-ground grits retain the nutrient-dense corn germ, delivering a rich, nutty sweet corn flavor and tender, toothsome texture, while processed instant grits cook fast but have a flat, mushy consistency.
2.Add grits slowly to simmering liquid while whisking nonstop: Dumping all grits in at once creates dry, starchy lumps that cannot be broken down later, even with vigorous stirring, leading to an uneven, unappetizing texture.
3.Stir frequently and cook over low heat: Grits release starch as they cook, which can scorch quickly on high heat, leaving a bitter burnt residue on the pan bottom; scraping the pan sides and bottom every 3 to 4 minutes ensures even, gentle cooking with no burnt spots.


✨ You May Also Like

Side Dishes
🍜 India

Velvety, aromatic all-purpose curry sauce perfect for tossing with roasted veggies, grilled protein, or rice for fast, cozy, flavorful meals.

⏱️ 25 minuteSide Dishes ★ 4.8
Side Dishes
🍜 Spain

Tender, starchy boiled yuca tossed in bright, garlicky citrus mojo sauce—an iconic, zesty side that pairs beautifully with roasted pork, grilled meats, and rice and beans.

⏱️ 40 minuteSide Dishes ★ 5
Side Dishes
🍜 United States

Tender, paper-thin potato flatbread, a beloved Norwegian-American Minnesota Christmas staple, griddled until softly spotted and served warm with butter.

⏱️ 1 hour 30Side Dishes ★ 4.6
Side Dishes
🍜 United States

Rich, deeply savory cured salt pork, a long-lasting kitchen staple perfect for frying crispy as a side or adding umami to stews, beans, and chowders.

⏱️ 7 days (2Side Dishes ★ 4.9
Side Dishes
🍜 United States

Crispy, tangy classic Southern fried green tomatoes with a crunchy cornmeal crust, served hot for a nostalgic, comforting summery bite.

⏱️ 25 minuteSide Dishes ★ 4.9
Side Dishes
🍜 United States

Moist, golden-crusted savory muffins with sweet corn, zesty jalapeño, and melted cheddar, perfect for pairing with smoky summer grilled fare.

⏱️ 30 minuteSide Dishes ★ 4.9

Grits:Frequently Asked Questions

1.Why should I use stone-ground grits instead of quick-cooking or instant grits for this recipe? ▾
Stone-ground grits are milled slowly with the corn germ intact, so they have that rich, nutty corn flavor and pleasant, subtle bite the recipe is known for. Quick and instant grits are heavily processed to cut cook time, which strips out most of that deep corn flavor and leaves you with a mushy, flat-tasting final dish.
2.What’s the right liquid-to-grits ratio to get that perfect creamy texture? ▾
Stick to a 4:1 ratio of total liquid to grits for this recipe, split evenly between water and whole milk. This balance gives you rich, creamy results without the scalding risk that comes with cooking grits in all milk. If you prefer looser, spoonable grits, stir in an extra splash of milk right at the end.
3.Do I have to stir my grits nonstop the entire time they cook? ▾
You don’t need constant stirring—save your arm! Just give the grits a firm whisk every 3 to 4 minutes to prevent lumps and stop them from sticking to the pot bottom, especially once you add the milk (dairy scorches easily). Using a heavy-bottomed pot cuts down on required stirring even more.
4.Why does this recipe call for both water and whole milk instead of all milk? ▾
Cooking grits entirely in milk makes them far more likely to scald, boil over, or develop a burnt off-flavor before the grits fully soften. The water lets the grits cook gently and evenly first, while the whole milk adds that luxe, creamy dairy depth without muting the bright, nutty corn flavor.
5.Can I make these grits ahead of time, and what’s the best way to reheat them? ▾
Absolutely! Cool fully cooked grits, then store them in an airtight container in the fridge for up to 4 days. Reheat low and slow on the stovetop, stirring in a tablespoon of extra milk or water at a time until they loosen back to their original silky consistency. Skip high-heat microwaving, which makes grits grainy.
6.What does it mean when the recipe says unsalted butter is “divided”? ▾
That just means you’ll use the butter in two separate steps rather than dumping it all in at once. Stir half the butter into the finished, off-heat grits to melt and incorporate for base richness, then dot the remaining butter on top right before serving for that glossy, luxe, fresh buttery finish.
7.How do I prevent lumps from forming in my cooked grits? ▾
The easiest no-lump trick is to slowly whisk grits into already simmering liquid, instead of dumping them all at once into cold or lukewarm water. Whisk steadily for the first 60 seconds after adding the grits, then stir periodically as they simmer, and you’ll get perfectly smooth, lump-free results every time.
8.How long do stone-ground grits take to cook properly? ▾
Unlike 5-minute quick grits, authentic stone-ground grits need 20 to 25 minutes of gentle, low simmer to fully soften, release their natural starch, and develop that signature creamy texture while retaining a slight toothsome bite. Don’t rush them on high heat—you’ll get burnt bottoms and crunchy, undercooked centers.
9.Can I use a different kind of milk if I don’t have whole milk on hand? ▾
You can, but stick to higher-fat options for the best texture. 2% milk works in a pinch, but skim milk will leave grits thin and watery. You can swap up to half the milk for half-and-half for extra richness, but avoid cooking with heavy cream—it scorches too easily and makes grits overly dense.
10.Why does this recipe use coarse kosher salt instead of regular table salt? ▾
Coarse kosher salt dissolves slowly and evenly as grits cook, so you can season gradually without ending up with random overly salty spots. Table salt is much denser and sharper-tasting; if you have to substitute it, use half the called-for amount, and taste frequently as you season to avoid over-salting.
11.Are these grits supposed to have a little bite, or be completely smooth? ▾
Perfect Southern stone-ground grits should be silky and creamy, but with a subtle, pleasant toothsome bite similar to al dente pasta—not mushy, paste-like, or crunchy. If your grits are hard or crunchy all the way through, they need another 3 to 5 minutes of gentle simmer time to soften fully.
12.Can I add cheese to these grits to make cheesy Southern grits? ▾
Absolutely! Once the grits are fully cooked and taken off the heat, stir in ½ to ¾ cup of shredded sharp cheddar, smoked gouda, or pepper jack for a cheesy twist. Don’t add cheese while the grits are boiling on the stove, though—it will seize, turn grainy, and stick to the pot bottom.
13.What type of pot works best for cooking creamy grits? ▾
Reach for a heavy-bottomed saucepan or small Dutch oven. The thick, even heat distribution prevents dairy and grit particles from scorching on the pot bottom, which is the most common grits cooking mishap. Skip thin, lightweight stainless steel pots, which create uneven hot spots that lead to burning.
14.Why did my last batch of grits turn out watery and runny? ▾
Runny grits usually come from one of three issues: you used too much liquid, you didn’t simmer them long enough for the grits to absorb liquid and release their thickening starch, or you cooked them on too high heat so water evaporated before the grits softened. Simmer 2 to 3 extra minutes, stirring, and they’ll thicken right up.
15.Can I adapt this recipe to make vegan creamy grits? ▾
You can easily make these vegan without losing that rich, cozy texture! Swap the whole milk for unsweetened plain oat milk (it has the closest creamy consistency to dairy) and use high-quality vegan butter in place of the unsalted butter. Keep the same 4:1 liquid-to-grits ratio and kosher salt amount for great results.
16.What are the best dishes to serve with these creamy grits? ▾
These are the ultimate versatile Southern side! Serve them alongside classic shrimp and grits, crispy fried chicken, braised collard greens, smoked sausage, or pan-seared pork chops. They also work beautifully for breakfast, topped with a runny fried egg, a dash of hot sauce, and crumbled bacon for a cozy weekend meal.
17.Should I rinse stone-ground grits before cooking them? ▾
Yes, give them a quick rinse in a fine-mesh sieve under cold running water before cooking to wash away fine, dusty corn particles that can make grits taste slightly bitter or develop a weird pasty texture. Pick out any tiny bits of hull or chaff you spot after rinsing, then add them straight to your simmering liquid.

Comments (7)

2 days ago

OMG these grits are SO good! I’ve been trying to nail that perfect creamy texture for years and this recipe finally did it. Used them as a base for my shrimp and grits at Sunday family dinner last night and everyone went back for seconds. No more grainy, watery grits in this house! Game changer fr.

1 day ago

Wait did you soak the grits first like the recipe mentions? I’m always in a rush and tempted to skip that step, wondering if it makes a big difference?

20 hours ago

Great question! Soaking does help the grits cook more evenly and get that luxuriously creamy texture, but if you’re crunched for time you can totally skip it — just add 3 extra minutes of simmer time and stir a little more often to prevent lumps. So happy the recipe worked out for your family dinner, SouthernBelle92!

3 days ago

I made a big batch of these for meal prep this week and they reheat like an absolute dream! My kids loved it even when I topped theirs with a little shredded cheddar and crumbled bacon for quick breakfasts before school. So easy to throw together on Sunday night too, only 25 minutes total? Sign me up for all the make-ahead wins.

2 days ago

Love hearing that! So glad these work for your busy school morning routine — that cheddar and bacon topping sounds like such a kid-pleasing hit, great call!

1 week ago

Brought these to our neighborhood block party potluck last weekend and people were literally asking me for the recipe before they even finished their first serving. I added a tiny pinch of smoked paprika on top for a little extra depth and it paired so well with the grilled ribs everyone brought. 10/10, will be making this for every gathering from now on.

5 days ago

Wait I’ve only ever made instant grits before and wow… stone ground is a whole different world. These are so rich and creamy, I ate a whole bowl plain just to test them before adding toppings. The only thing I messed up was turning the heat a little too high at first so I got a little burnt bit on the bottom of the pan, totally my bad though, recipe instructions were super clear.

4 days ago

Omg I did the exact same thing with the heat too! Learned real quick low and slow is the move for these, no burnt pan on my second batch 😂

30 minutes ago

Tried this last night with half the whole milk swapped for oat milk because that’s all I had in the fridge, and it was still good but I’m curious if anyone has used almond milk? I’m trying to cut back a little on heavy dairy but don’t want to lose that iconic rich, creamy grits texture. Also, does this freeze well?

15 minutes ago

I used unsweetened plain almond milk + a tablespoon of vegan butter last month and it turned out great! It’s a tiny bit less rich but still super creamy, no weird aftertaste or anything. Haven’t tried freezing them though, curious what Chef says!

5 minutes ago

Great question! Unsweetened almond milk works perfectly as a swap, just add an extra pat of butter if you want to amp up the richness a bit. We don’t recommend freezing these since the texture can get grainy when thawed, but they keep great in the fridge for up to 4 days for easy reheating!

yesterday

Made these for my friend’s birthday brunch yesterday and served them with hot honey butter and fried catfish bites. I’m not even exaggerating when I say people were standing around the stove scraping the last bits out of the pot. So easy to make even when you’re juggling making mimosas and greeting guests, zero stress. 10/10 no notes.

12 hours ago

Hot honey butter on grits??? Why have I never thought of that? That combo sounds insane, I’m trying that this weekend for my own brunch, thanks for the idea!

2 weeks ago

Grew up eating stone ground grits every Saturday morning with my grandpa, so I’m pretty picky about how they turn out. This recipe tastes exactly like the ones he used to make — slow simmered, creamy, no weird lumps, just that perfect corn flavor. Added a little extra black pepper like he always did, and it took me right back to being a kid at his kitchen table. Thanks for such a solid, no-fuss recipe.



