Grits Cakes

Grits Cakes
⏱️ cook time 40 minutes
🍽️ servings 4
⚡ Difficulty medium

intro

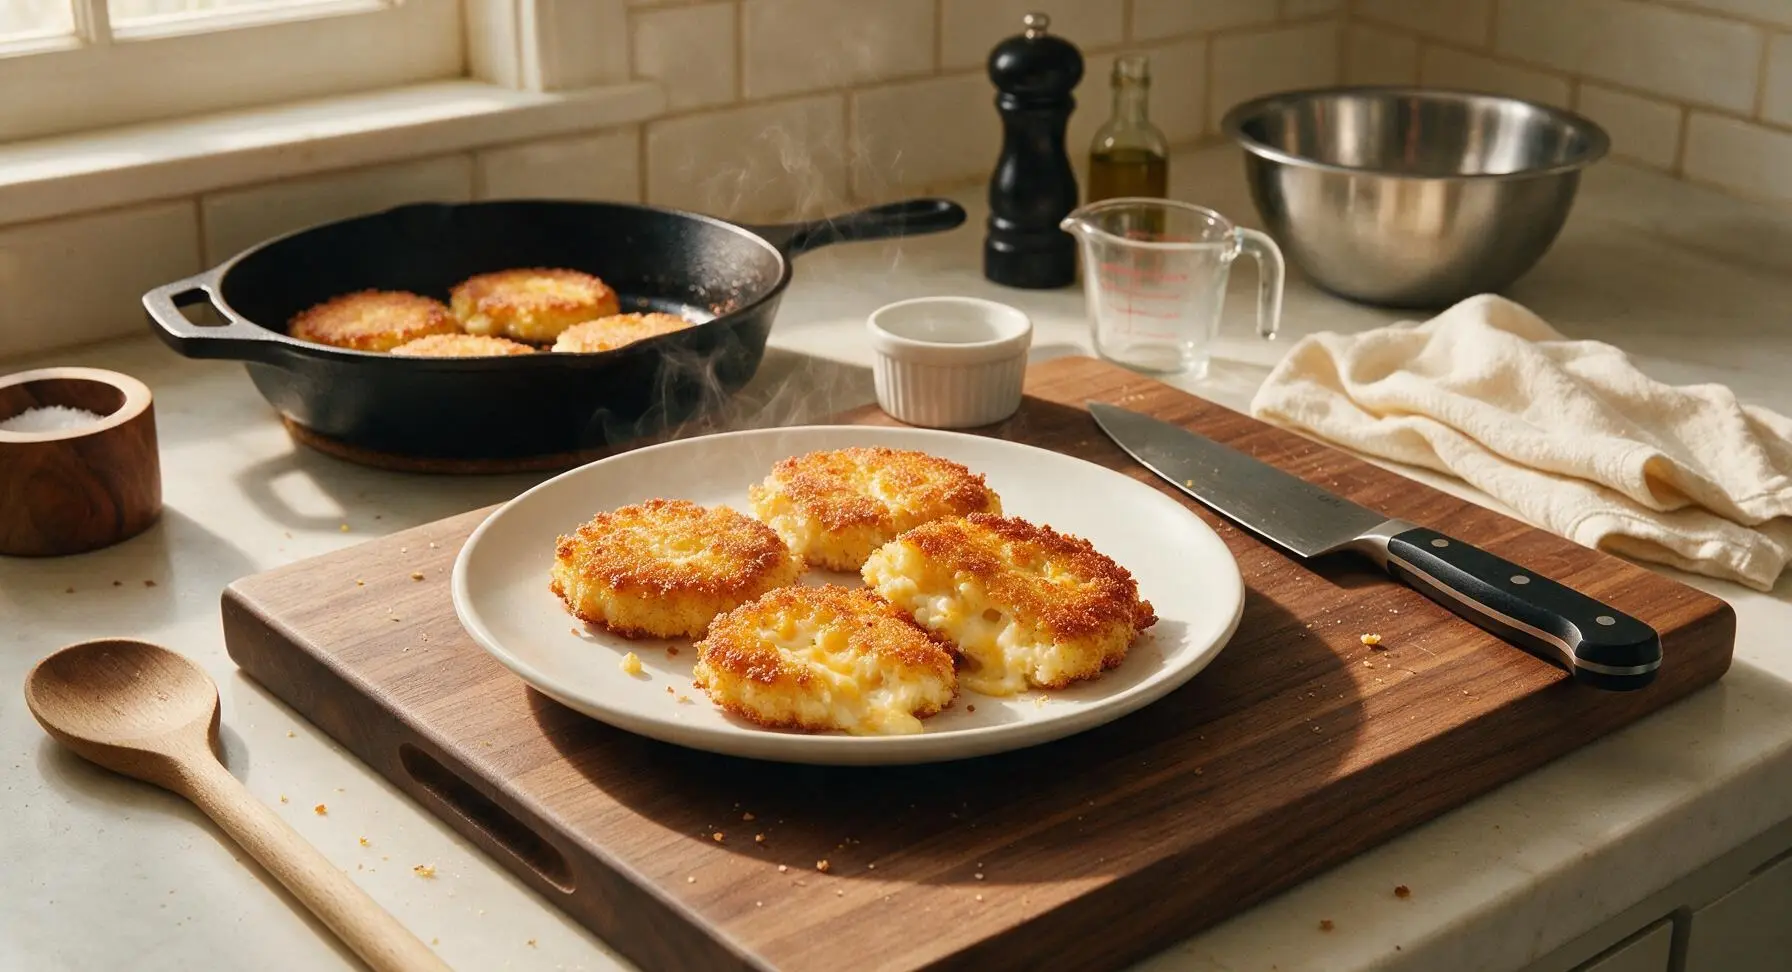
Crispy, golden-fried on the outside, rich and cheesy-creamy on the inside, these classic Southern grits cakes are a hearty, versatile side perfect for family meals and weekend spreads.

Ingredients
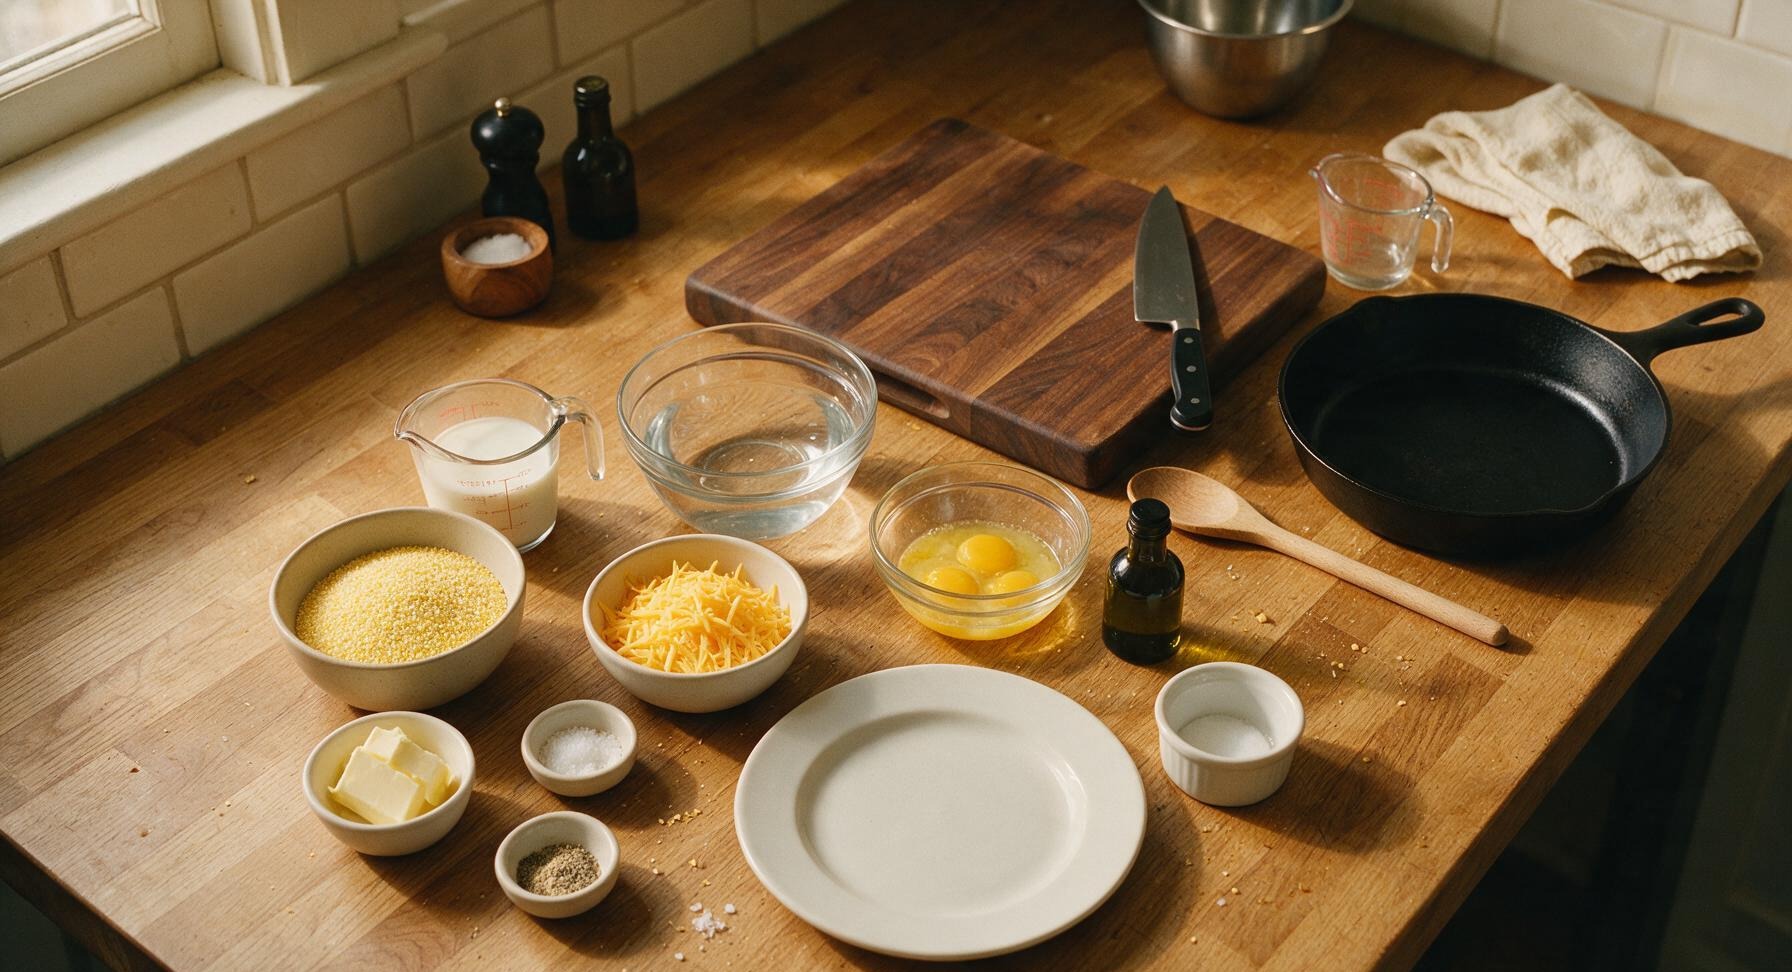
Stone-ground yellow grits 1 cup (160g)
Whole milk 2 cups (480ml)
Water 2 cups (480ml)
Unsalted butter 3 tbsp (42g, divided)
Sharp yellow cheddar cheese, shredded 1 cup (113g)
Kosher salt 1 tsp
Garlic powder 1/2 tsp
Freshly ground black pepper 1/4 tsp
Large eggs 2, lightly beaten
Neutral cooking oil (avocado or canola) 2 tbsp
Flaky sea salt 1/4 tsp, for finishing

Steps

1

Grease the Baking Dish

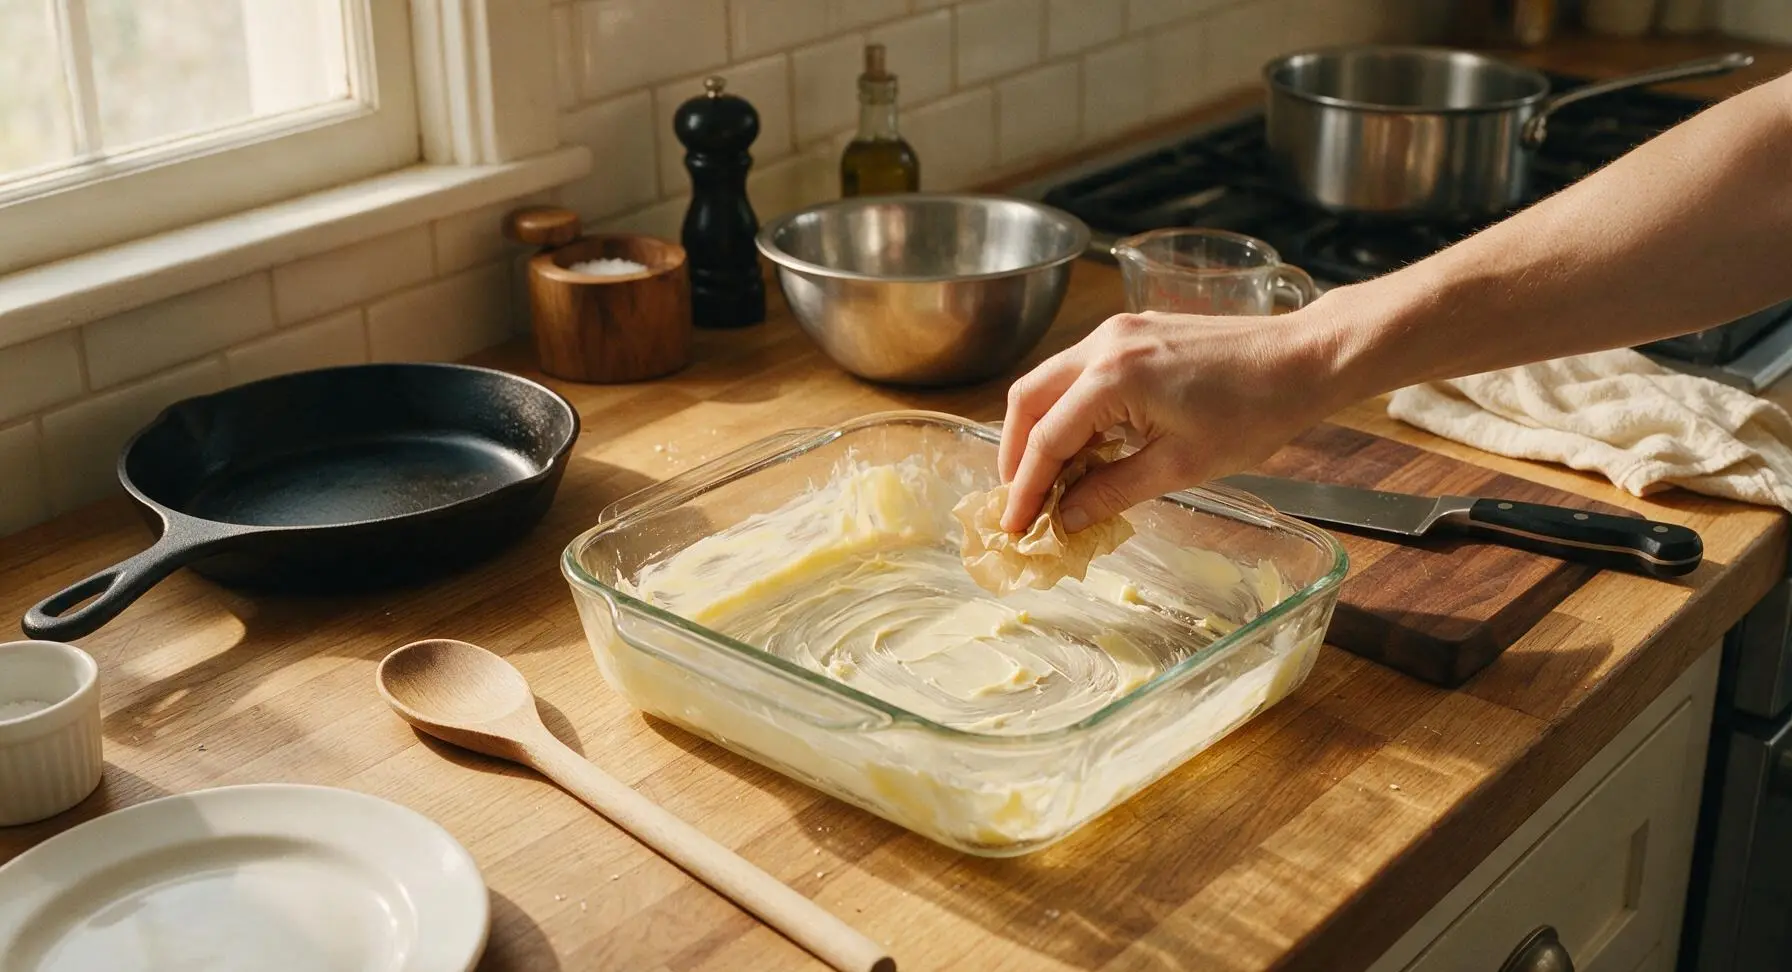
Use 1 teaspoon of the unsalted butter to thoroughly coat the bottom and ½-inch up the sides of the 8x8 inch clear glass baking dish. Set the prepared dish near the stovetop so it is ready to hold cooked grits. A thin, even butter coating prevents set grits from sticking to the dish as they chill.
Step 1
step1:Grease the Baking Dish
2

Simmer the Grits

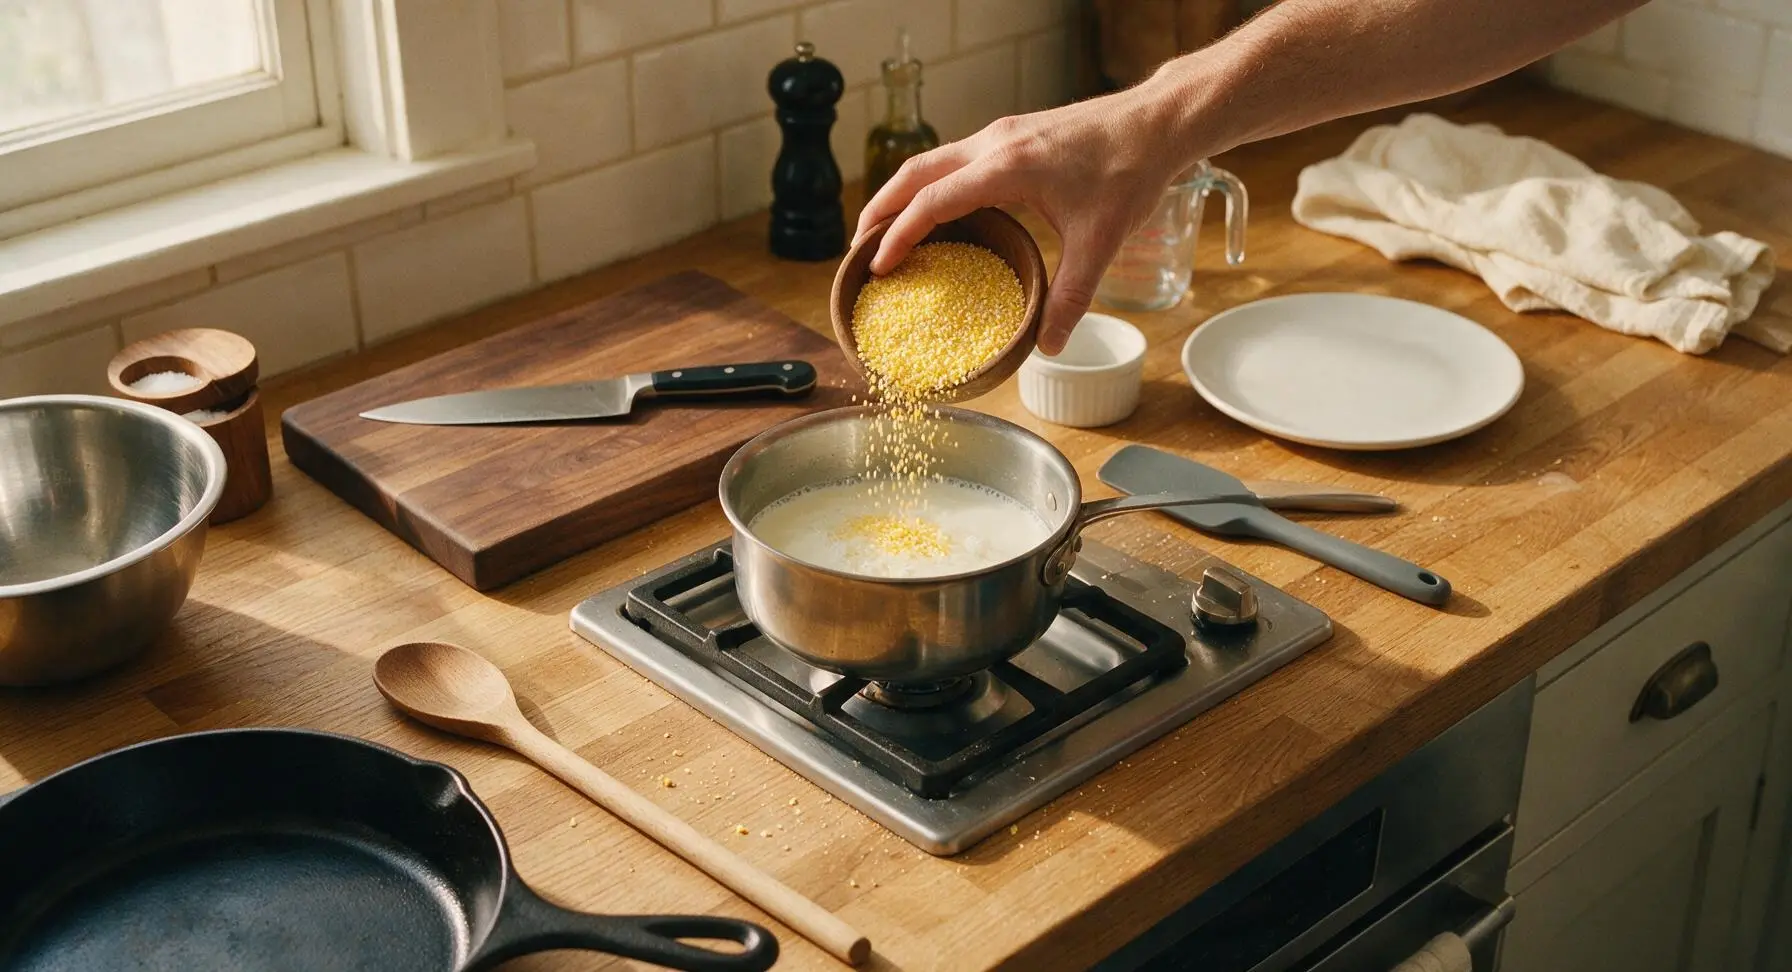
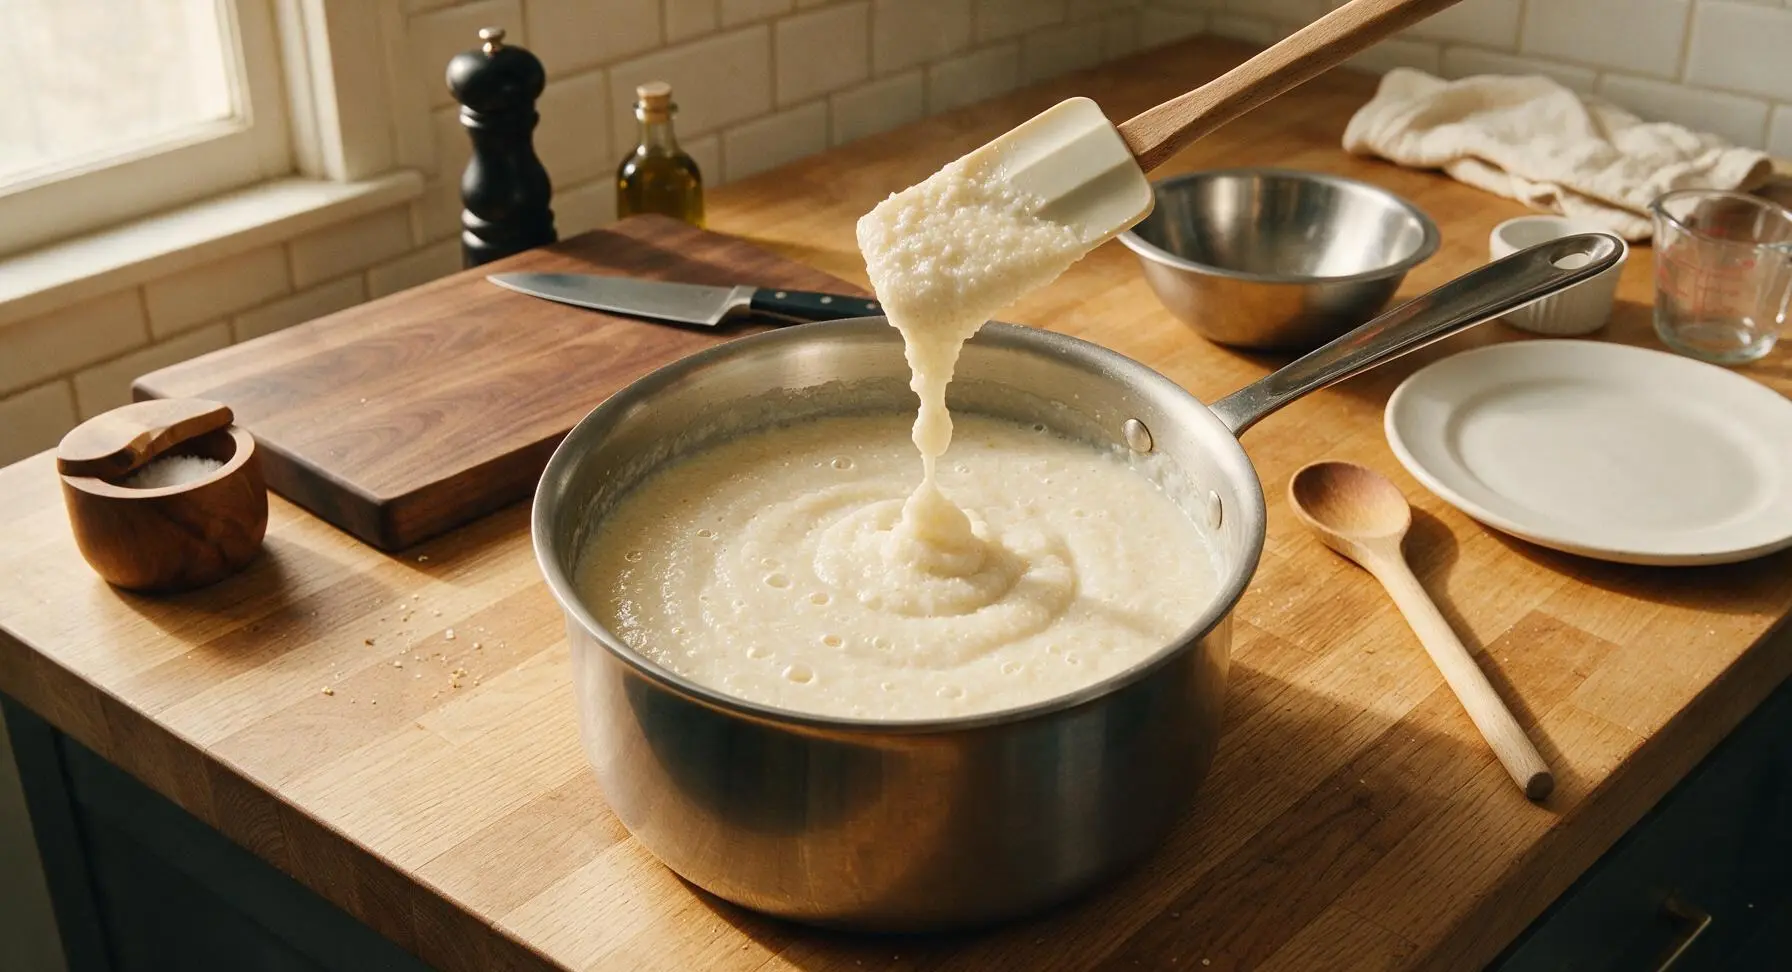
Combine the 2 cups water, 2 cups whole milk, and 1 teaspoon kosher salt in the 3-quart stainless steel saucepan over medium heat. Bring to a gentle, rolling simmer (do not boil rapidly, as this will scald the milk), then slowly stream in the 1 cup stone-ground grits, stirring constantly with the silicone spatula to prevent lumps from forming. Reduce heat to low, cover, and cook for 20-25 minutes, stirring every 5 minutes, until grits are thick, tender, and have no gritty bite when tasted.
Step 2
step2:Simmer the Grits
Step 2
step2:Simmer the Grits
3

Mix in Cheese and Eggs

Remove the saucepan from heat. Stir in the remaining unsalted butter, shredded sharp cheddar, garlic powder, and black pepper, stirring until the butter and cheese are fully melted and evenly distributed. Let the grits cool for 5 minutes (to prevent curdling), then slowly pour in the lightly beaten eggs while stirring constantly, until fully incorporated. The finished grits mixture will be smooth, thick, and glossy.
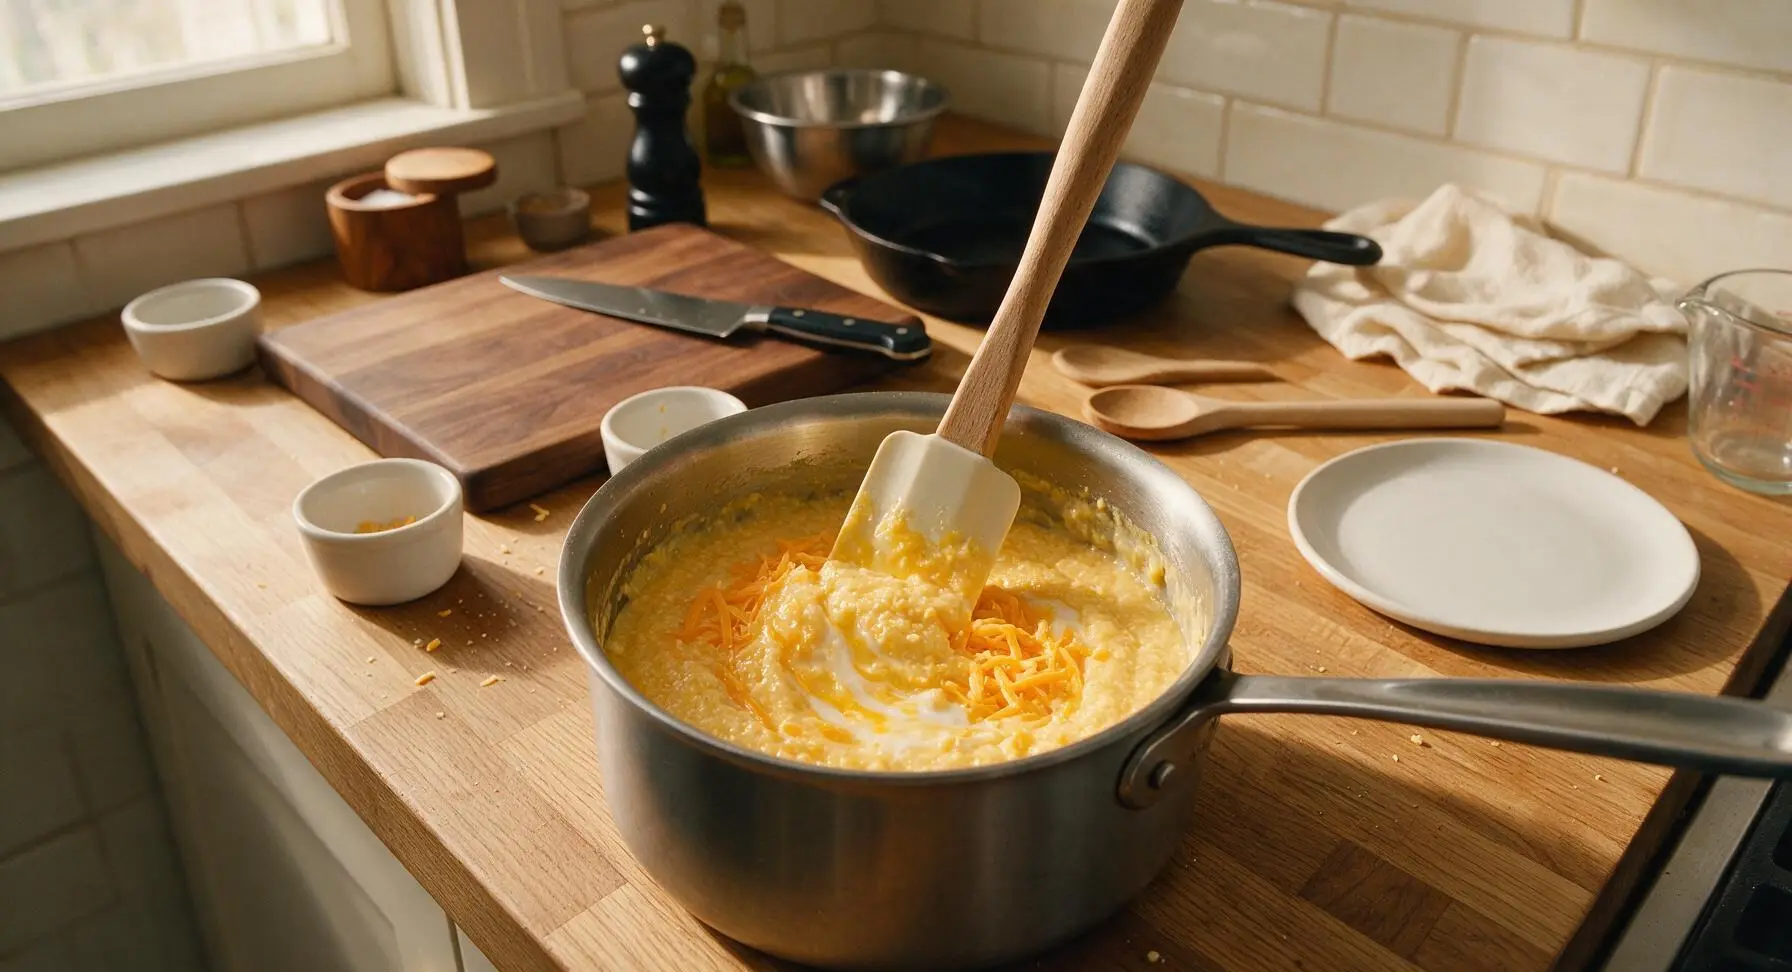
Step 3
step3:Mix in Cheese and Eggs
4

Pour and Chill Grits

Immediately pour the hot cheesy grits mixture into the pre-buttered 8x8 inch glass baking dish. Use the silicone spatula to spread the grits into a perfectly even, smooth layer across the dish. Let the dish cool to room temperature for 20 minutes, then cover tightly with plastic wrap and refrigerate for a minimum of 2 hours (or up to 3 days, covered) until the grits are completely firm, with no visible jiggle when the dish is gently shaken.
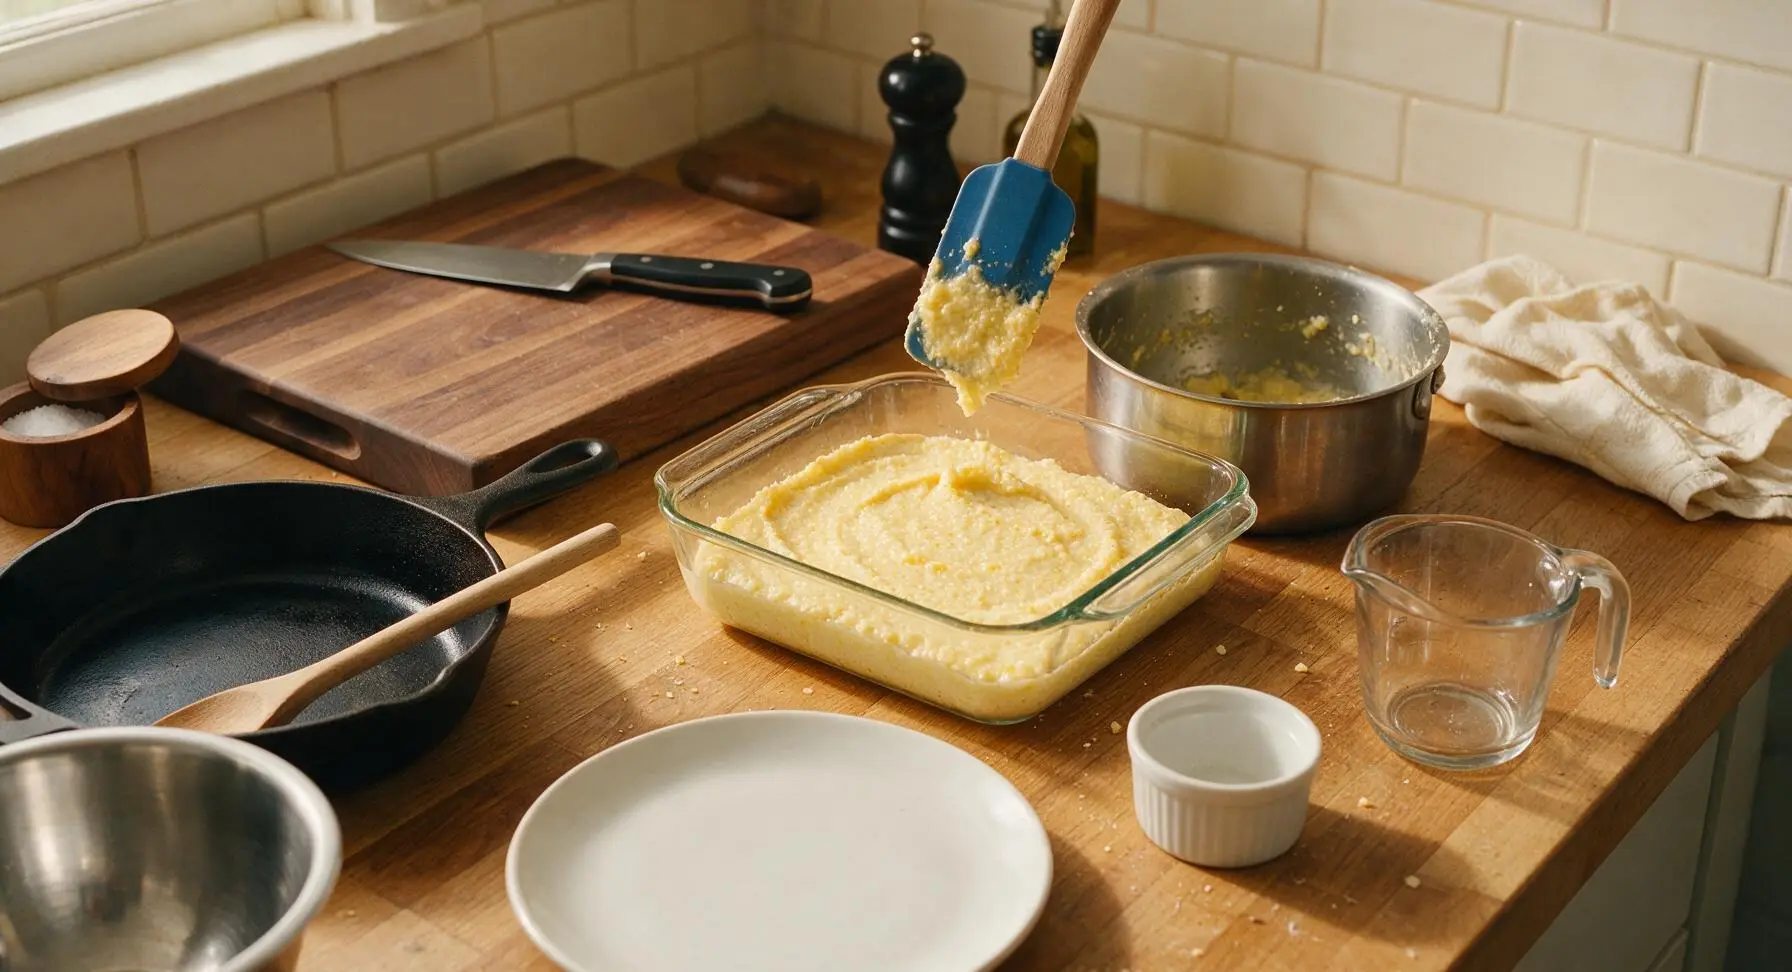
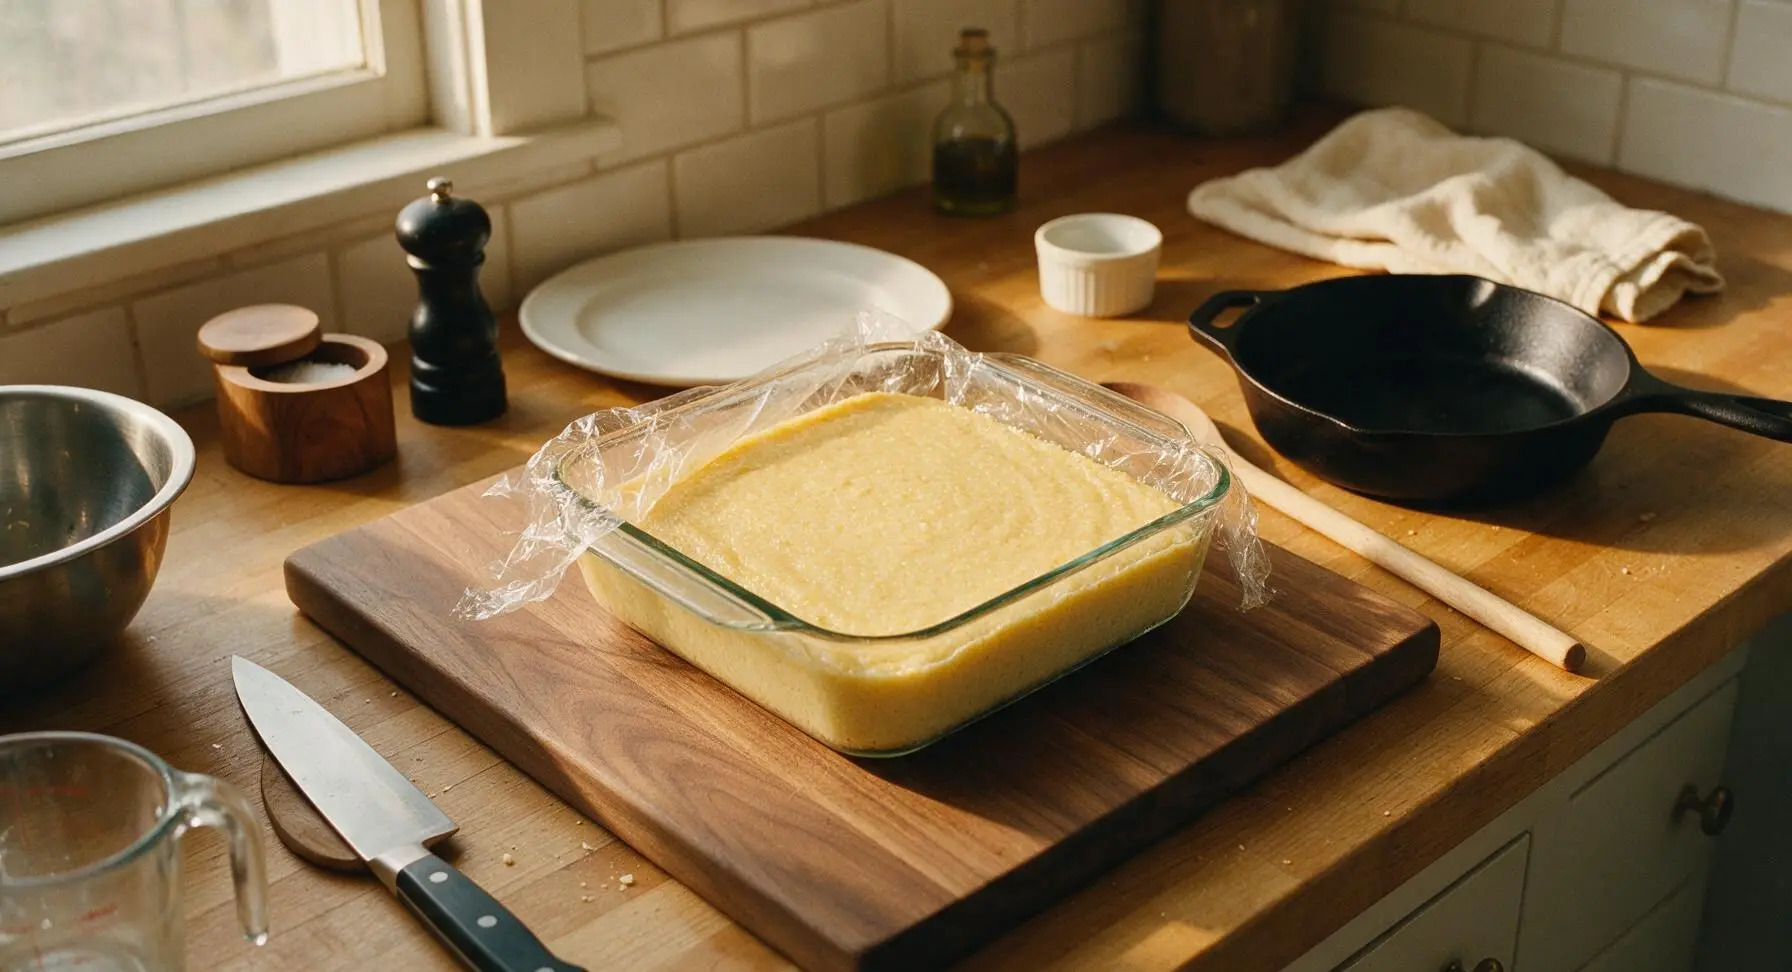
Step 4
step4:Pour and Chill Grits
Step 4
step4:Pour and Chill Grits
5

Slice Set Grits

Invert the chilled grits block out of the baking dish directly onto the honey oak cutting board. Use the 8-inch serrated knife to cut the block into 8 equal square pieces, each approximately 2x2 inches. Wipe the knife blade with a damp paper towel between cuts to ensure clean, even edges that do not crumble during frying.
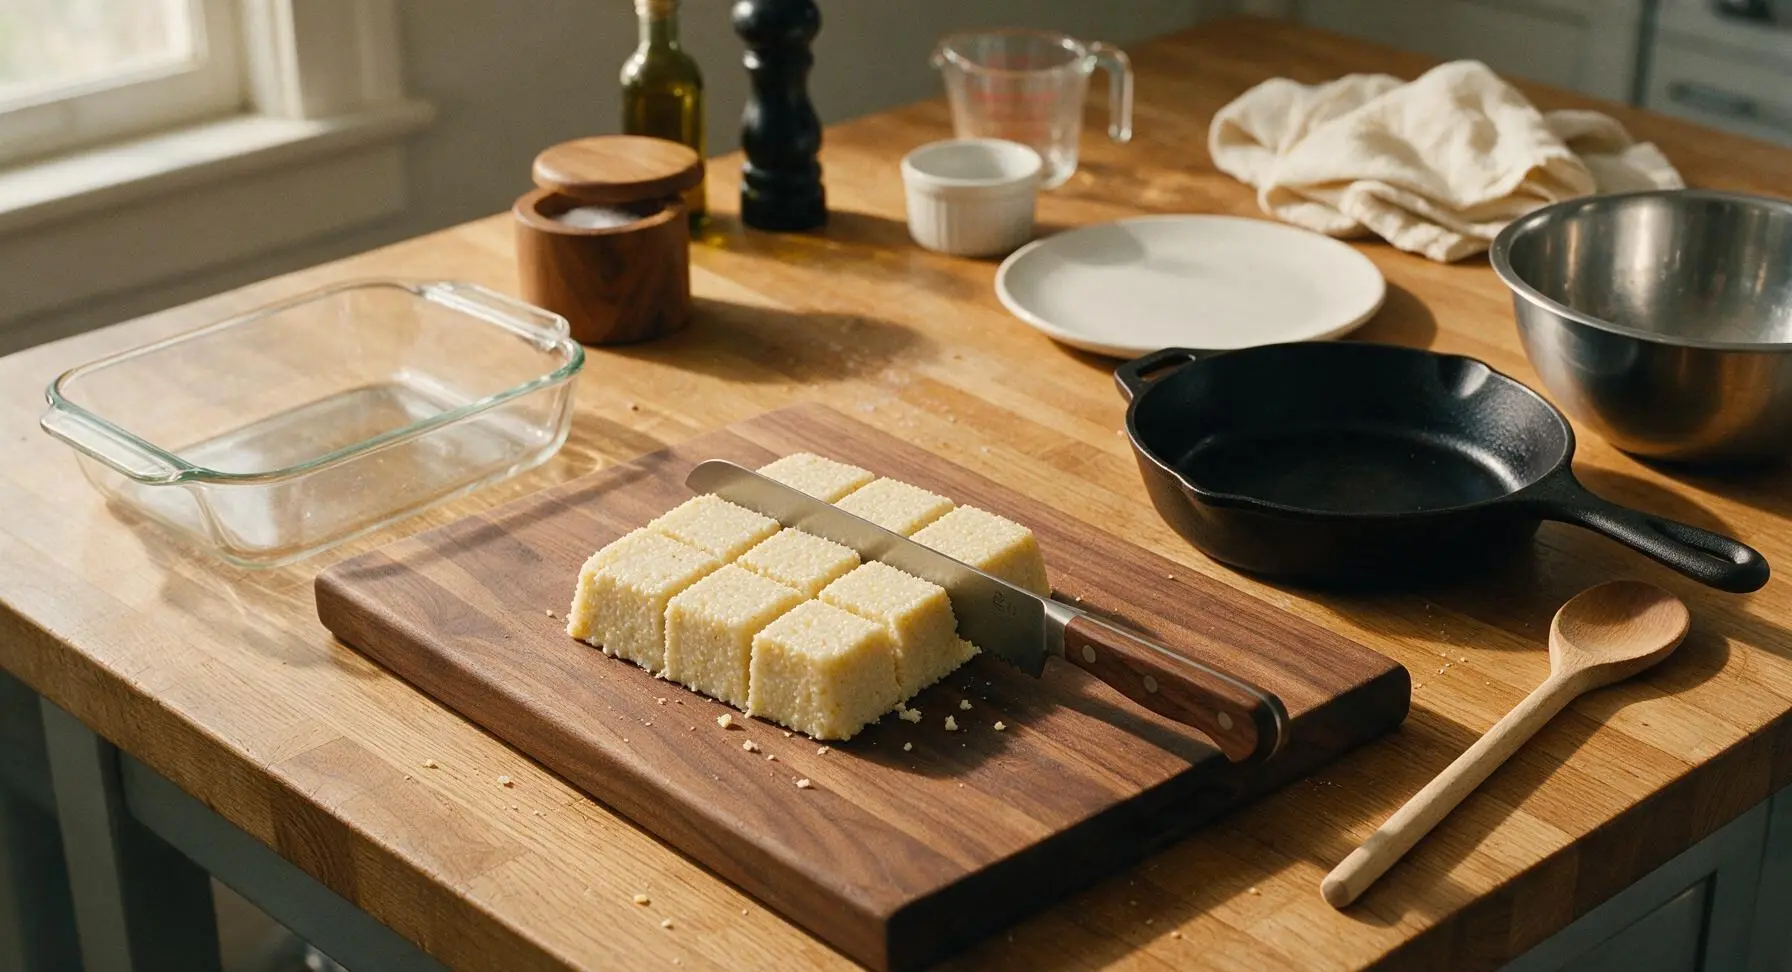
Step 5
step5:Slice Set Grits
6

Preheat the Skillet

Place the 12-inch matte black carbon steel skillet on the front right stovetop burner over medium heat. Add 2 tablespoons of neutral cooking oil, and heat until the oil shimmers across the pan surface and a single tiny grit crumb dropped into the oil sizzles immediately (target temperature: 350°F / 175°C). Do not let the oil smoke, as this will burn the outside of the cakes before the interior warms through.
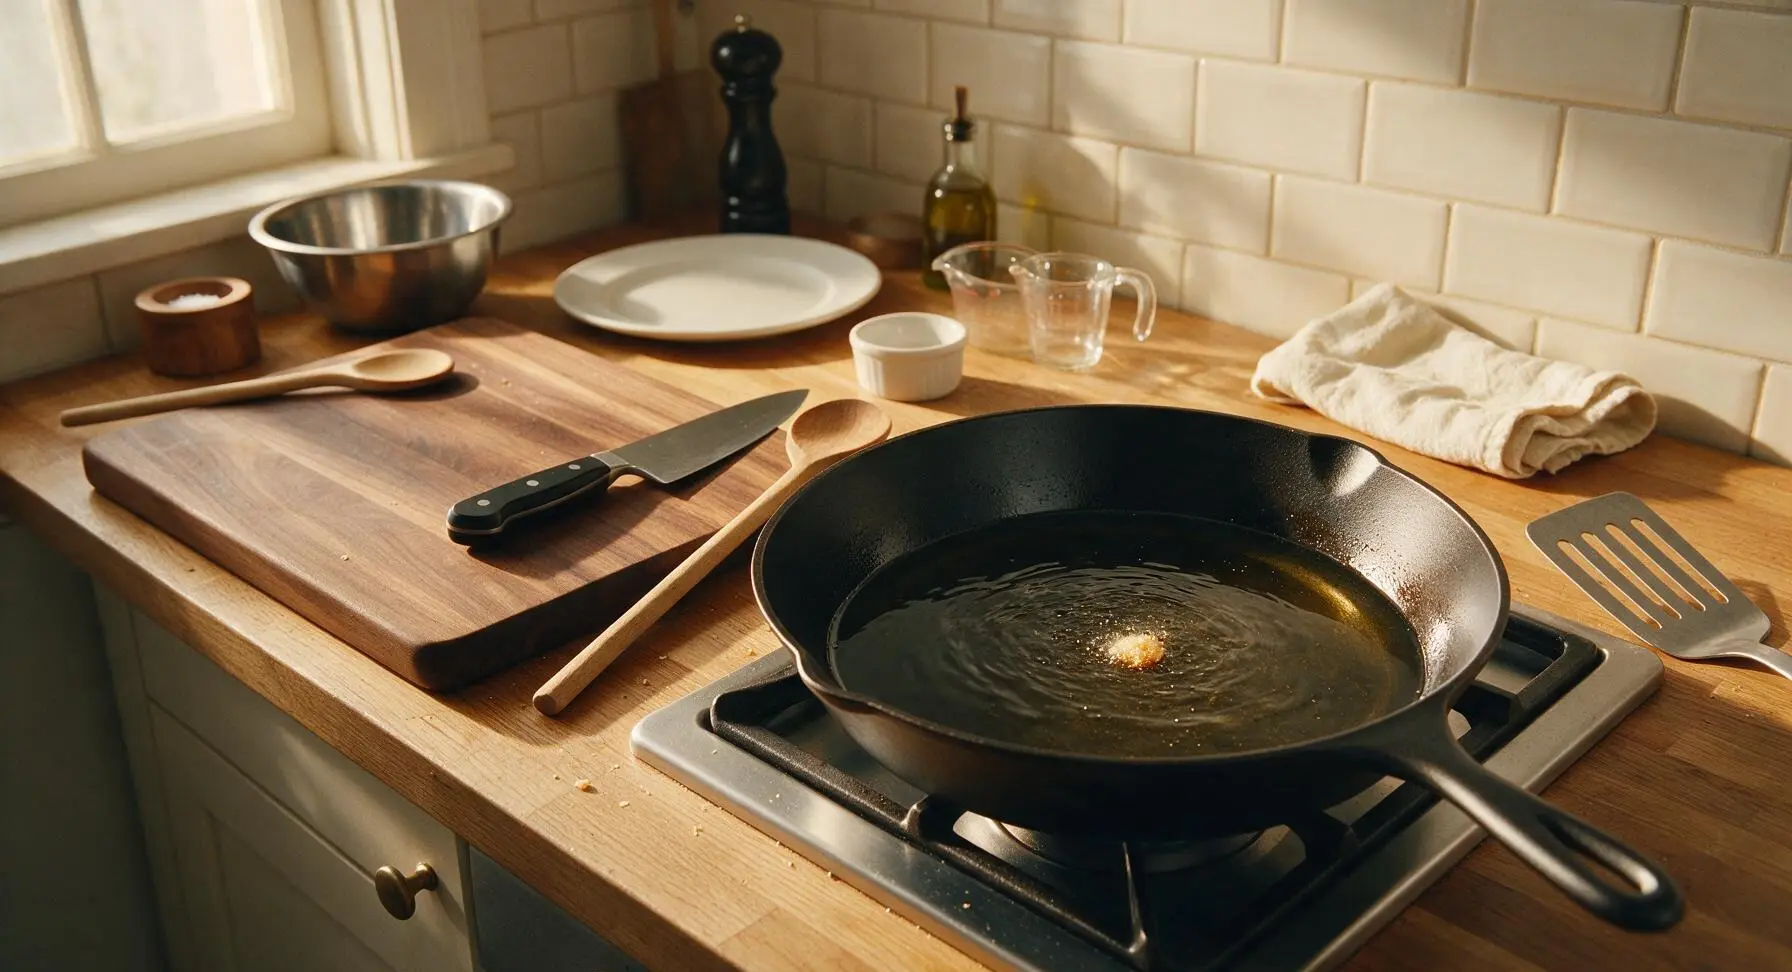
Step 6
step6:Preheat the Skillet
7

Fry Cakes Golden Crisp

Carefully place 4 of the grits cake squares into the hot skillet, leaving 1 inch of space between each cake to avoid steaming. Cook for 3-4 minutes on the first side, until the bottom is deep golden brown and crispy. Use the slotted turner to flip each cake, then cook for an additional 3-4 minutes on the second side, until equally crisp and golden. Transfer cooked cakes to the paper towel-lined matte white platter to drain excess oil, then repeat with the remaining 4 cakes, adding 1 teaspoon more oil if the pan appears dry between batches.
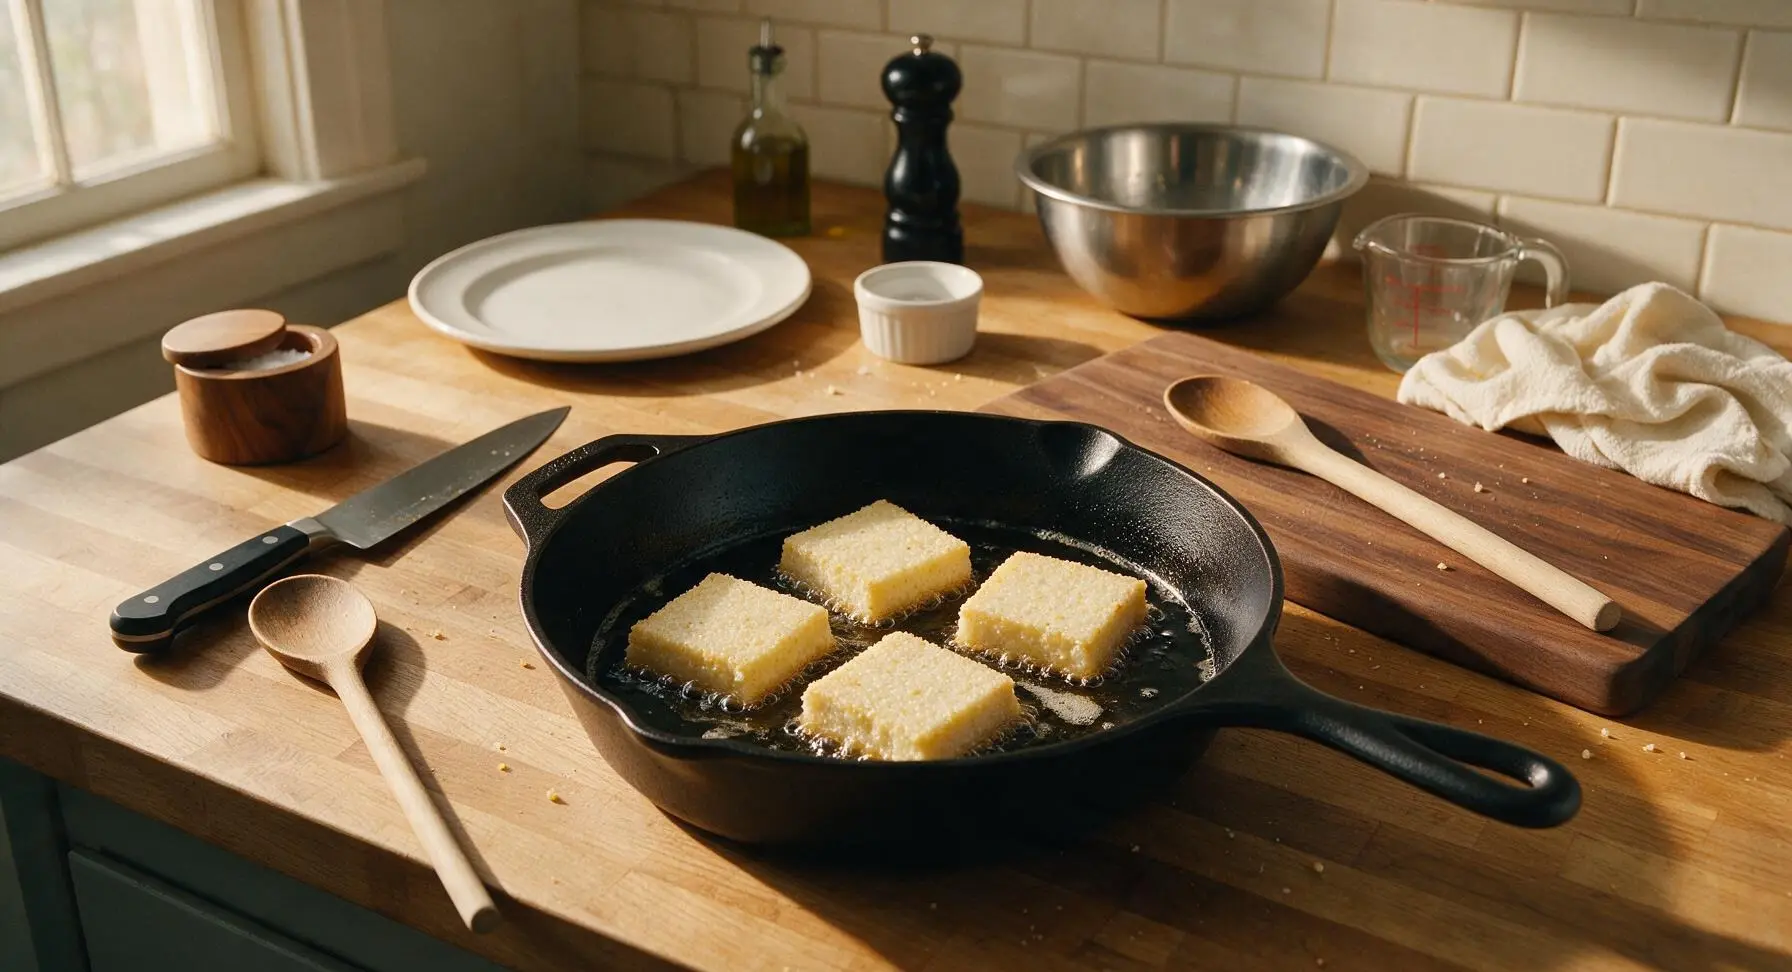
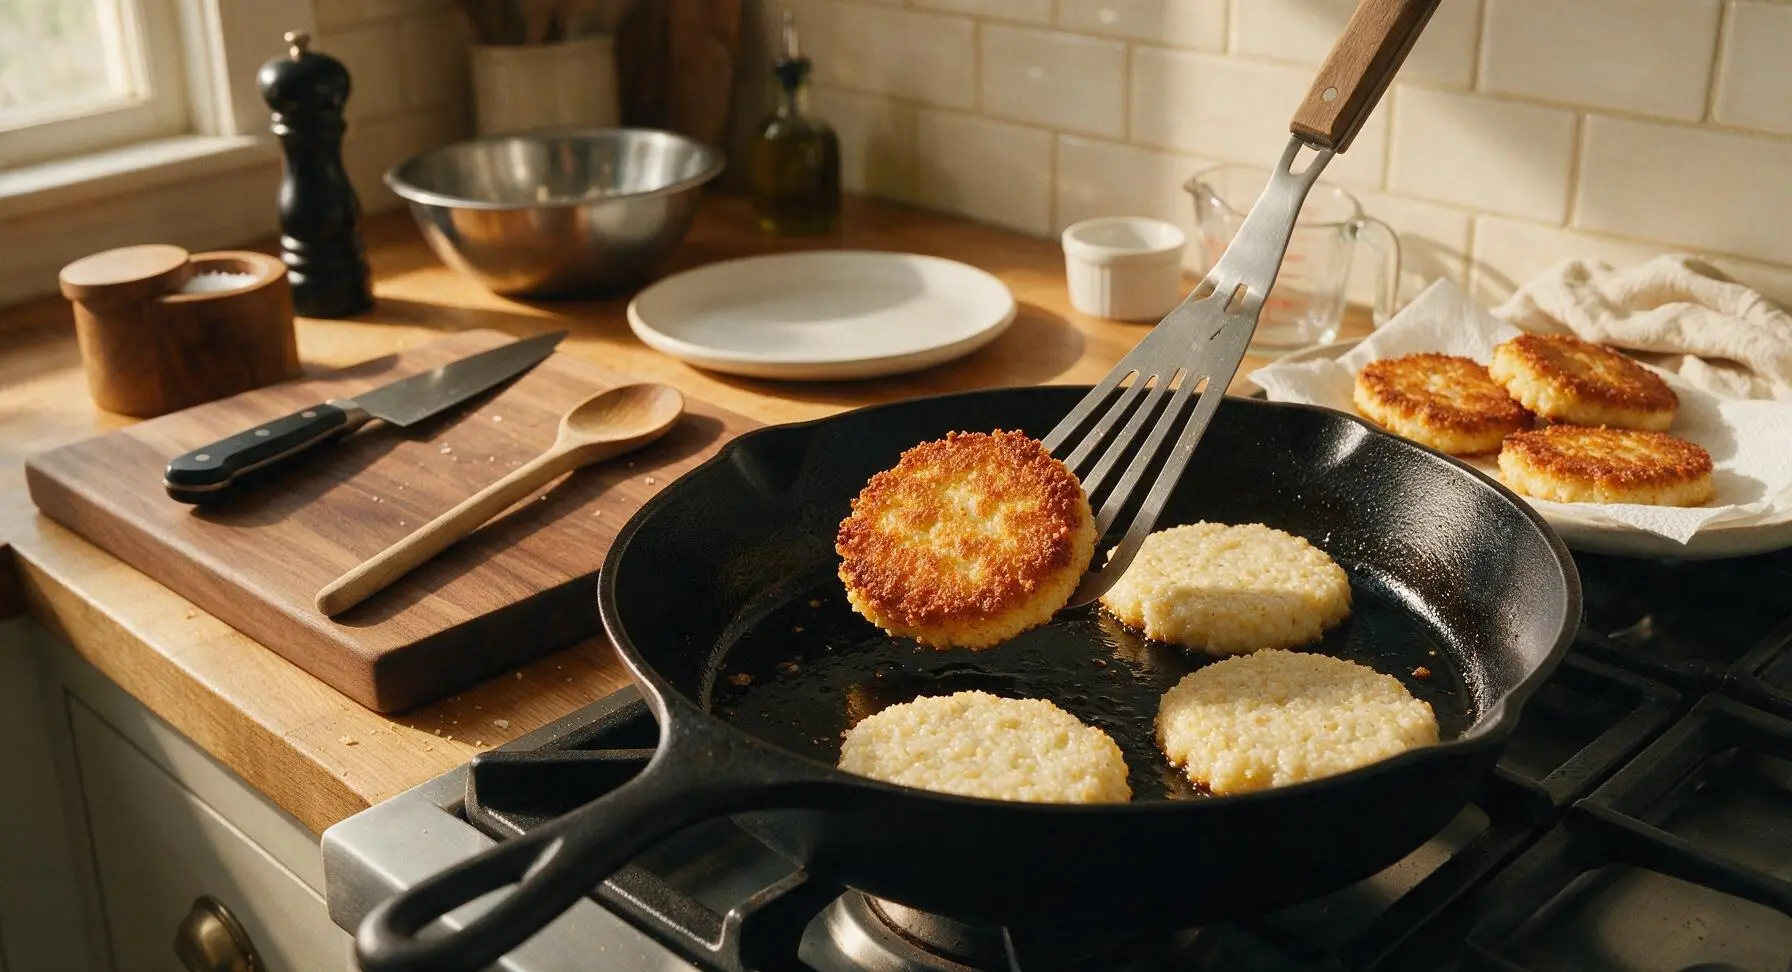
Step 7
step7:Fry Cakes Golden Crisp
Step 7
step7:Fry Cakes Golden Crisp
8

Season and Plate Cakes

While the grits cakes are still warm, sprinkle the tops lightly with flaky sea salt. Arrange 2 cakes per serving on the matte off-white ceramic dinner plate, garnish with a small sprig of fresh thyme, and serve immediately while the exterior is shatteringly crisp and the interior is warm, creamy, and cheesy.
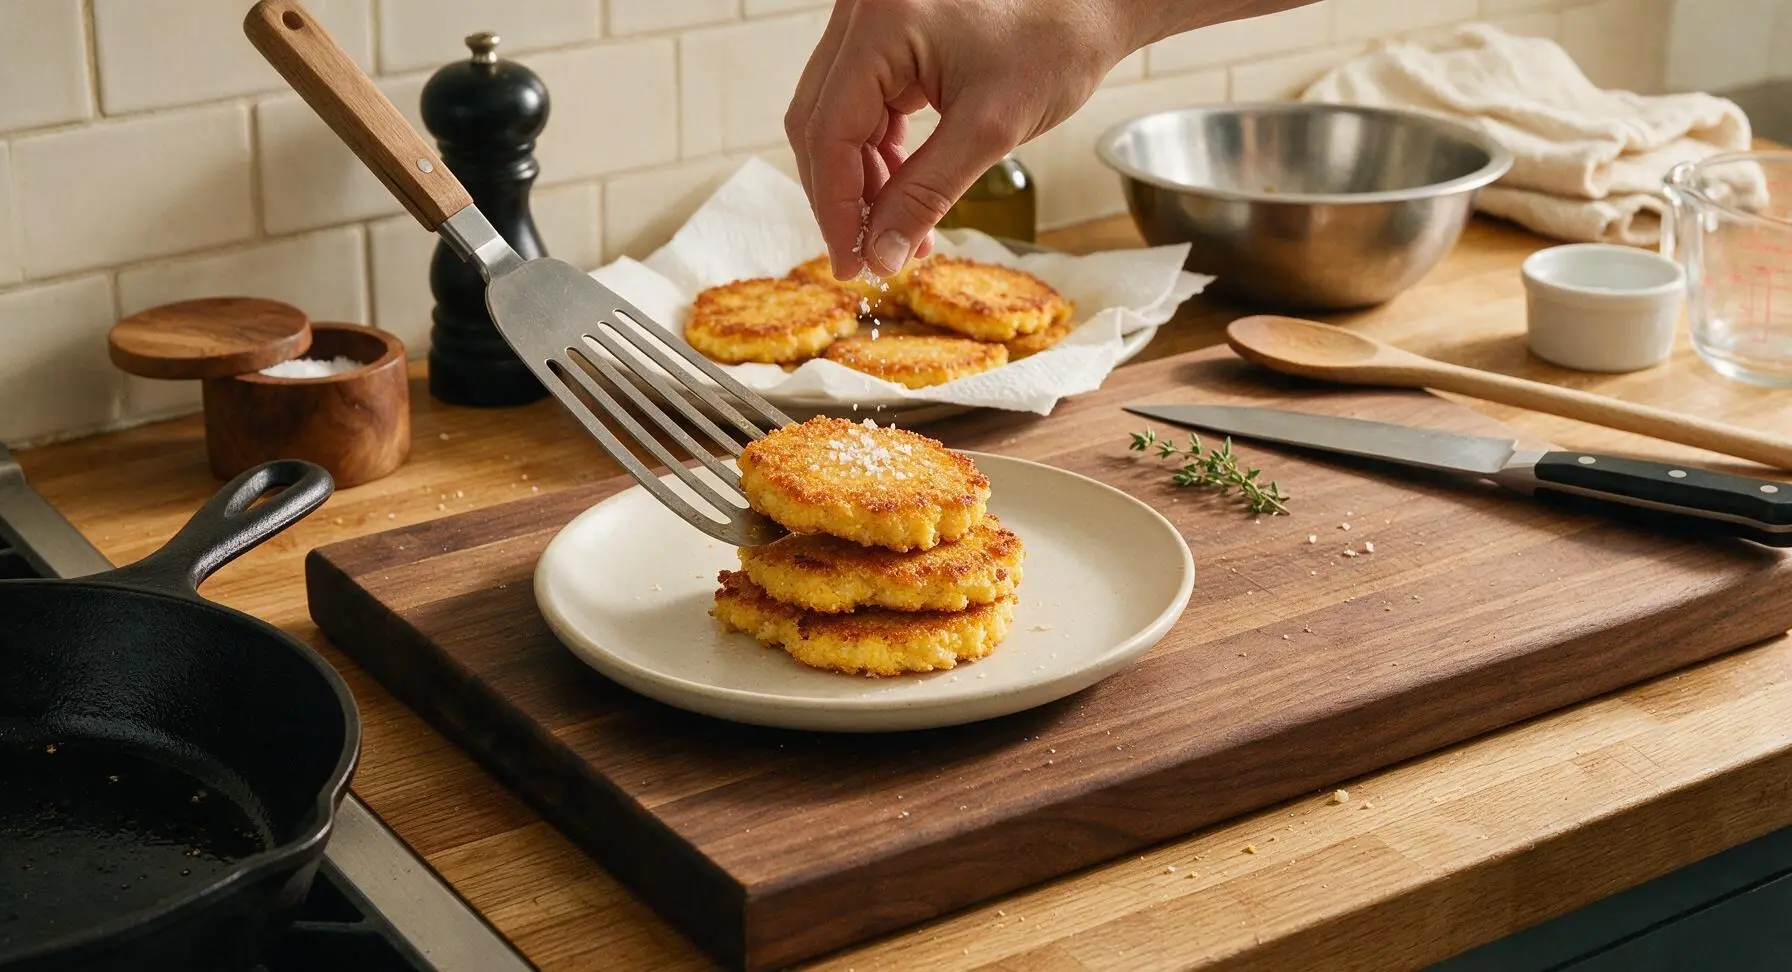
Step 8
step8:Season and Plate Cakes

Tips

1.Opt for stone-ground grits instead of instant or quick-cooking varieties: stone-ground grits have a coarser, more toothsome texture that holds its shape well when chilled and fried, creating a creamy interior that does not turn mushy, while quick grits will often fall apart in the skillet.
2.Ensure grits are fully chilled before slicing and frying: if the center of the grits block is even slightly soft, the cakes will break apart when flipped in hot oil. For extra insurance, you can pop the sliced grits cakes in the freezer for 15 minutes right before frying to help them hold a crisp shape.
3.Avoid overcrowding the skillet when frying: adding too many cakes at once drops the oil temperature rapidly, leading to soggy, oil-soaked cakes instead of crisp, golden edges. Cook in batches of 3-4, and wait 30 seconds between batches to let the oil return to 350°F.
✨ You May Also Like

Side Dishes
🍜 India

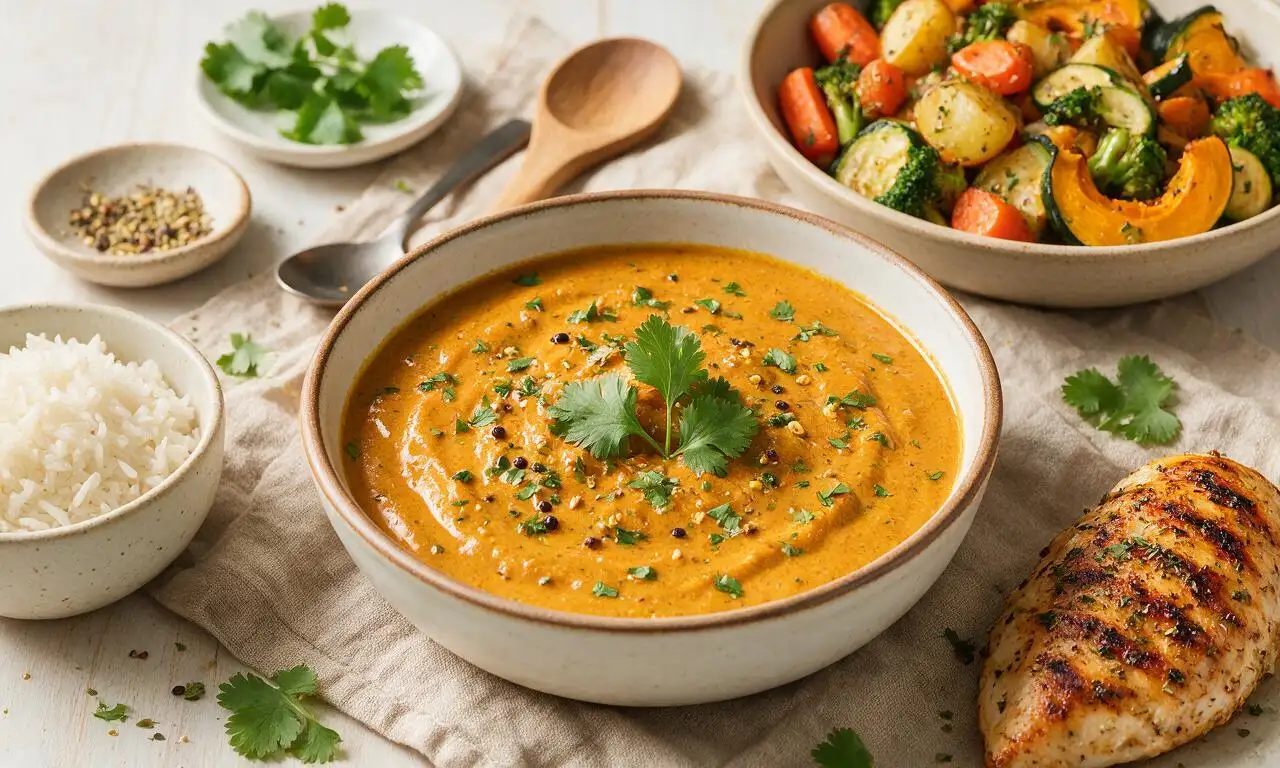
Velvety, aromatic all-purpose curry sauce perfect for tossing with roasted veggies, grilled protein, or rice for fast, cozy, flavorful meals.

⏱️ 25 minuteSide Dishes ★ 4.8
Side Dishes
🍜 Spain

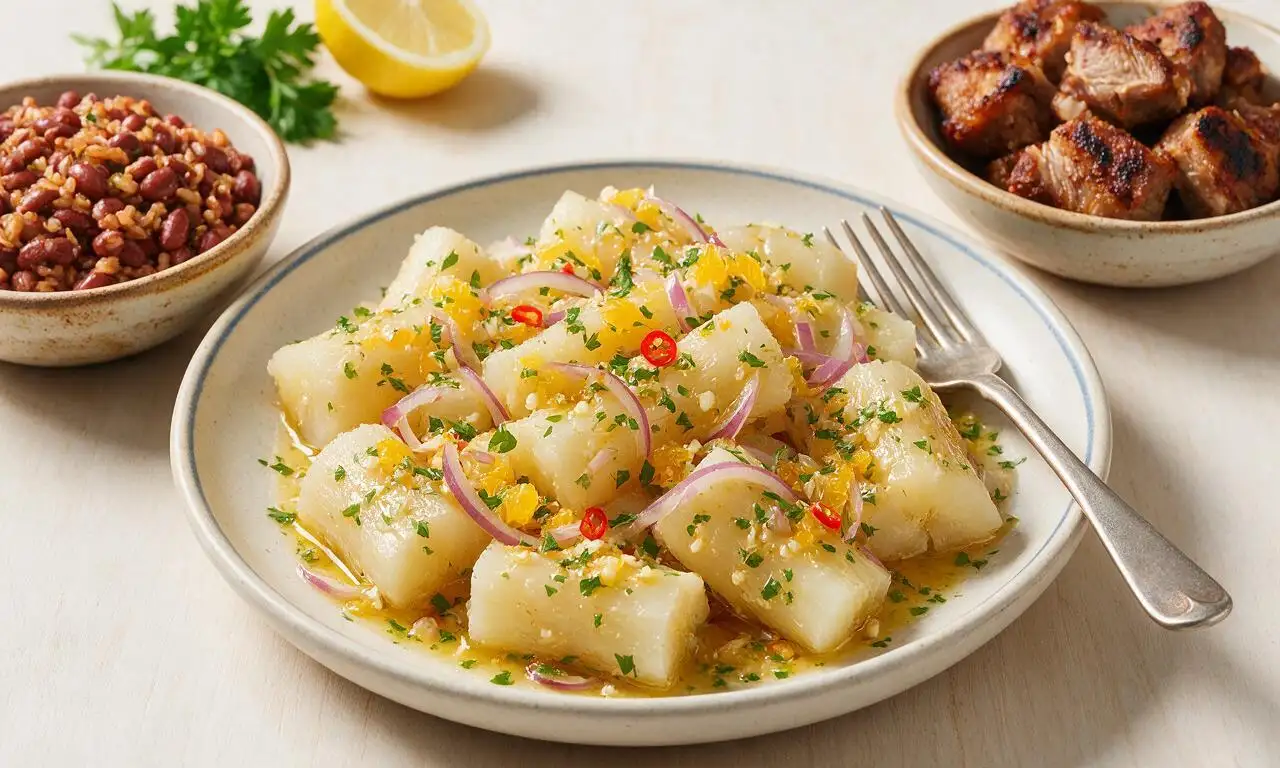
Tender, starchy boiled yuca tossed in bright, garlicky citrus mojo sauce—an iconic, zesty side that pairs beautifully with roasted pork, grilled meats, and rice and beans.

⏱️ 40 minuteSide Dishes ★ 5
Side Dishes
🍜 United States

Tender, paper-thin potato flatbread, a beloved Norwegian-American Minnesota Christmas staple, griddled until softly spotted and served warm with butter.

⏱️ 1 hour 30Side Dishes ★ 4.6
Side Dishes
🍜 United States

Rich, deeply savory cured salt pork, a long-lasting kitchen staple perfect for frying crispy as a side or adding umami to stews, beans, and chowders.

⏱️ 7 days (2Side Dishes ★ 4.9
Side Dishes
🍜 United States

Crispy, tangy classic Southern fried green tomatoes with a crunchy cornmeal crust, served hot for a nostalgic, comforting summery bite.

⏱️ 25 minuteSide Dishes ★ 4.9
Side Dishes
🍜 United States

Moist, golden-crusted savory muffins with sweet corn, zesty jalapeño, and melted cheddar, perfect for pairing with smoky summer grilled fare.

⏱️ 30 minuteSide Dishes ★ 4.9

Grits Cakes:Frequently Asked Questions

1.Can I prep the grits base ahead of time to make these faster for weekend brunch? ▾
Absolutely! Cook the stone-ground grits with milk, water, butter, and shredded sharp yellow cheddar per the recipe, then pour into a lined baking dish, cover, and chill for up to 3 days. Cold, fully set grits slice cleanly and hold their shape perfectly when fried, and the chilled base actually yields an even crispier golden crust.
2.Why do my grits cakes fall apart when I try to fry them? ▾
This almost always comes down to two common missteps: either your cooked grits weren’t thick enough before chilling, or you didn’t chill them long enough to set. Stone-ground grits need to cook until they pull away from the pot sides, then chill for a minimum of 4 hours (overnight is ideal) so slices hold their shape when flipped in hot oil.
3.Can I use instant grits instead of stone-ground yellow grits for this recipe? ▾
I don’t recommend it for the classic texture. Instant grits are milled much finer, cook to a soft, mushy consistency, and won’t hold that firm, creamy center after frying. Stone-ground grits have a heartier, toothsome bite that sets firmly, creates that perfect crispy-outside/creamy-inside contrast, and stands up to the rich cheddar and butter beautifully.
4.What’s the best oil to use to get that signature crispy golden crust? ▾
Reach for a neutral, high-smoke-point oil like canola, vegetable, or peanut oil, heated to 350°F. Skip olive oil or straight butter for frying—they burn too quickly at the high heat needed for crispness, leaving a bitter, off flavor. You only need ¼ inch of oil in a heavy skillet, no deep fryer required, for perfect results.
5.Do I need to coat grits cakes in breading before frying to get them crispy? ▾
You don’t! If your grits are cooked thick and fully chilled, the cut edges will crisp up beautifully on their own in hot oil, letting that rich, cheesy, buttery grit flavor take center stage. If you want extra crunch, a light dip in beaten egg followed by panko works well—just don’t overcoat, or you’ll mask the creamy center.
6.What are the best toppings or pairings for these grits cakes? ▾
These are incredibly versatile! Serve them as a side with fried chicken, sautéed shrimp, or braised collard greens for a classic Southern spread, or top them with a runny fried egg, hot honey, a dollop of pimento cheese, or pickled jalapeños for brunch. A dash of hot sauce or flaky sea salt right after frying goes a long way.
7.Can I freeze uncooked grits cakes for quick future meals? ▾
Absolutely! Once you’ve cooked the grits base, chilled it fully, and sliced it into individual cakes, lay slices in a single layer on a baking sheet to freeze solid, then transfer to a sealed freezer bag for up to 3 months. No need to thaw when cooking—fry straight from frozen at 350°F, adding 1-2 minutes per side until crispy and heated through.

Comments (9)

2 days ago

OMG these grits cakes were the star of our Sunday family dinner! I topped them with a little pimento cheese and hot honey, and even my picky 7 year old asked for seconds. SO crispy on the outside, creamy in the middle – total game changer for leftover grits!

3 days ago

Took me a little longer than 40 minutes because I couldn’t get the oil temp right on my first batch, but once I figured it out these turned out amazing! Would these work for meal prep if I reheat them in the air fryer?

2 days ago

So glad you stuck with it to get that perfect crisp! These reheat beautifully in the air fryer at 375F for 5-7 minutes – they’ll get crispy again without getting soggy. Perfect for meal prep!

1 week ago

I brought these to our neighborhood block party potluck last weekend and people were begging me for the recipe! I added a handful of shredded cheddar and crumbled bacon to the grits before chilling them, and they were chef’s kiss. Only thing is, mine stuck to the pan a little when I was frying – any tips?

5 days ago

I had the same sticking issue at first! Make sure your oil is shimmering hot before you lay the cakes down, and don’t move them for at least 3 minutes once they’re in the pan. That trick fixed it for me!

3 days ago

Great tip from Carl! I also recommend lining your chilling dish with parchment paper before pouring in the cooked grits – it makes cutting and removing the cakes so much easier, and cuts down on sticking when frying too. So happy they were a potluck hit!

yesterday

As someone who’s gluten free, I swapped the regular all purpose flour for a 1:1 gluten free blend and these turned out perfectly crisp! Didn’t notice a texture difference at all. Served them with shrimp for a low country twist, 10/10 will make again.

2 hours ago

First time making grits ever, let alone grits cakes, and these were way easier than I thought they’d be! I was worried the medium difficulty rating meant I’d mess them up, but the steps were super clear. My roommates devoured the whole batch in 10 minutes flat.

30 minutes ago

Right?! I was intimidated by the medium rating too when I first tried them, but as long as you don’t rush the chilling step for the grits, it’s foolproof. I’ve made these three times this month already!

2 weeks ago

These were good, but I wish the recipe noted how long you need to chill the grits for! I only chilled them for an hour and they fell apart when I tried to fry them. Ended up scrambling the whole second batch into a weird grits hash, which tasted fine but wasn’t the crispy cakes I wanted.

1 week ago

Oh no, that happened to me my first go too! I usually make the grits the night before and let them chill in the fridge overnight, that way they’re totally solid when it’s time to cut and fry them. So much easier than trying to rush the chill!

5 days ago

I’m so sorry the chill time wasn’t clearer! I recommend chilling the grits for a minimum of 4 hours (or overnight, like Bree does) to make sure they’re firm enough to hold their shape when frying. I’ll update the recipe notes to make that more prominent right away – thanks for the feedback!

5 days ago

I added a big pinch of cayenne and a diced jalapeño to the grits while they were cooking for an extra kick, and these were SO good! Dipped them in comeback sauce and it tasted like pure Southern comfort food. Will absolutely be adding these to my regular side rotation.

30 minutes ago

I used quick grits instead of stone ground because that’s all I had at the grocery store, and they still turned out crispy and delicious! Total win for a cheap, filling side that feels fancy. Is there a way to bake these instead of pan frying to cut down on oil?

5 minutes ago

Great question! You can absolutely bake these – arrange the cut grits cakes on a parchment-lined baking sheet, spray both sides with olive oil spray, and bake at 425F for 20 minutes, flipping halfway through, for crispy results with way less oil. So glad they worked out with quick grits!

3 days ago

My kids loved these! I cut them into little stick shapes instead of squares so they were easy for my toddlers to dip in ketchup (don’t judge, it works!) and they ate every last bite. Perfect side for our weeknight dinner, and I even saved a few to have with breakfast tomorrow with a runny egg on top.

2 days ago

The runny egg on top idea is genius! I had these for brunch last weekend with hot sauce and avocado, and it was better than any restaurant version I’ve had. Definitely trying the kid-friendly stick shape for my niece when she visits next week!

yesterday

Love the stick shape hack for little ones! These are so versatile for breakfast, lunch, or dinner – topping them with a runny egg is one of my all-time favorite ways to serve them too. So happy the whole family enjoyed them!