
Ham and Cheese Grilled Cheese

title 1
Ham and Cheese Grilled Cheese
⏱️ cook time 6 minutes
🍽️ servings 2
⚡ Difficulty easy

intro

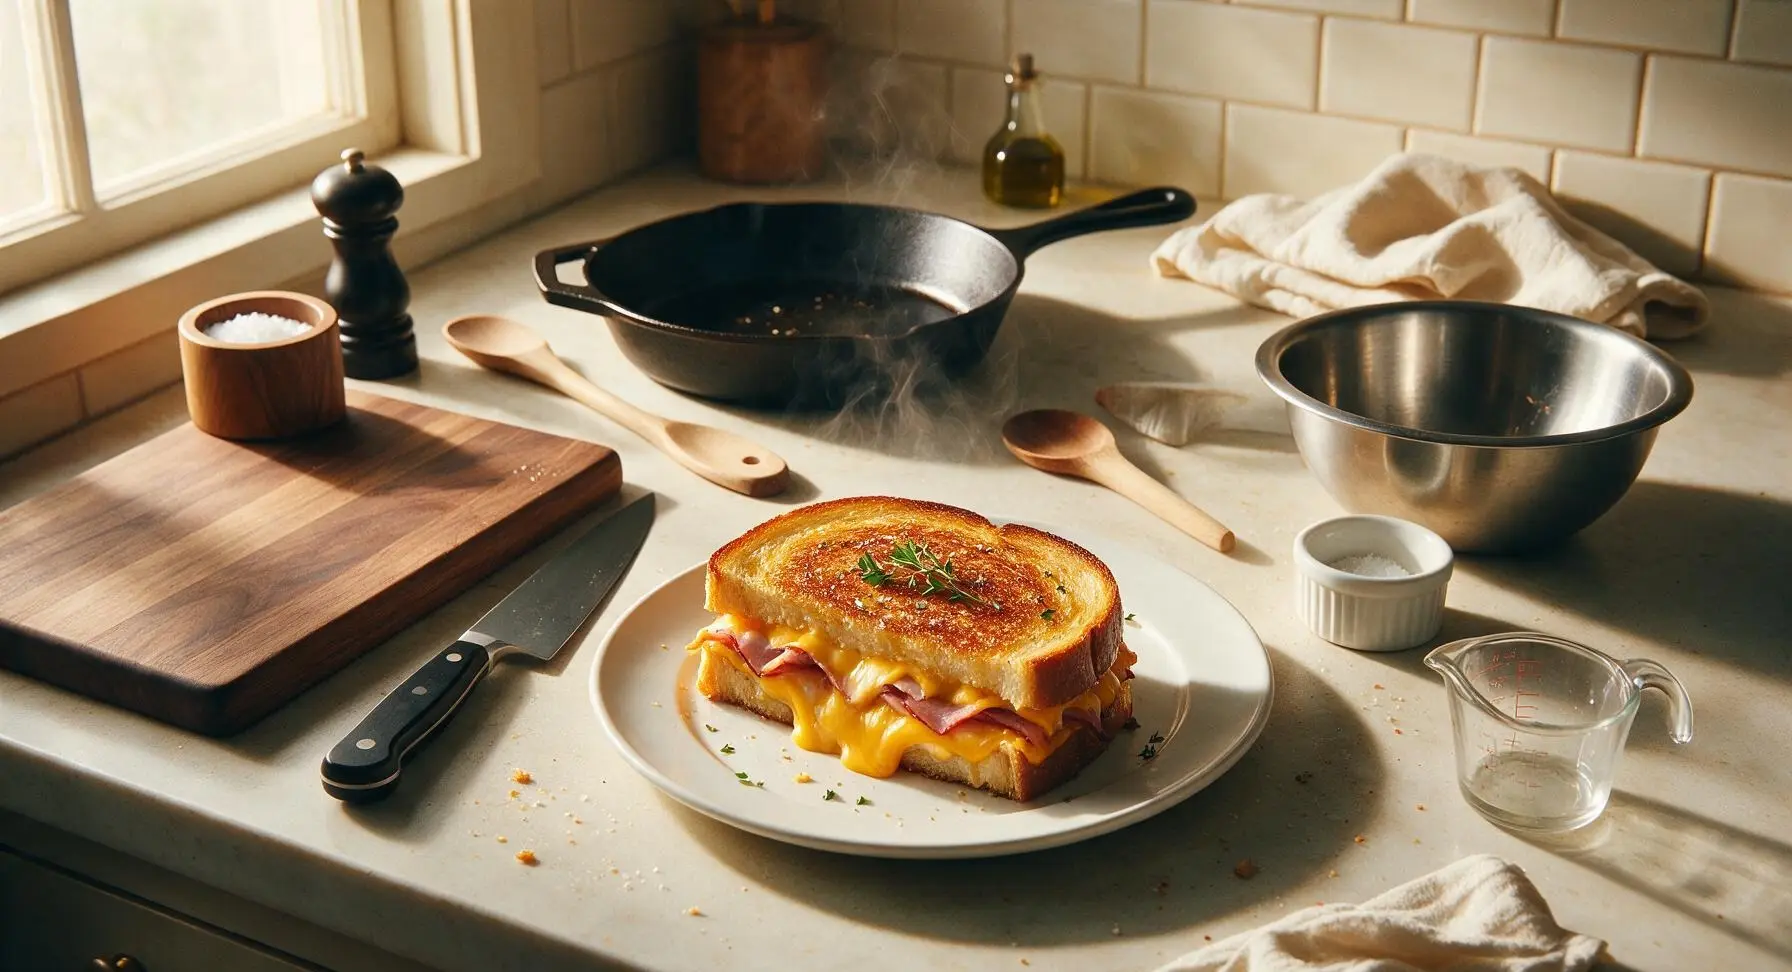
Crispy golden buttery bread oozing with melted sharp cheddar and salty smoked ham, this classic grilled cheese is the ultimate quick, cozy cold-weather comfort food.

Ingredients
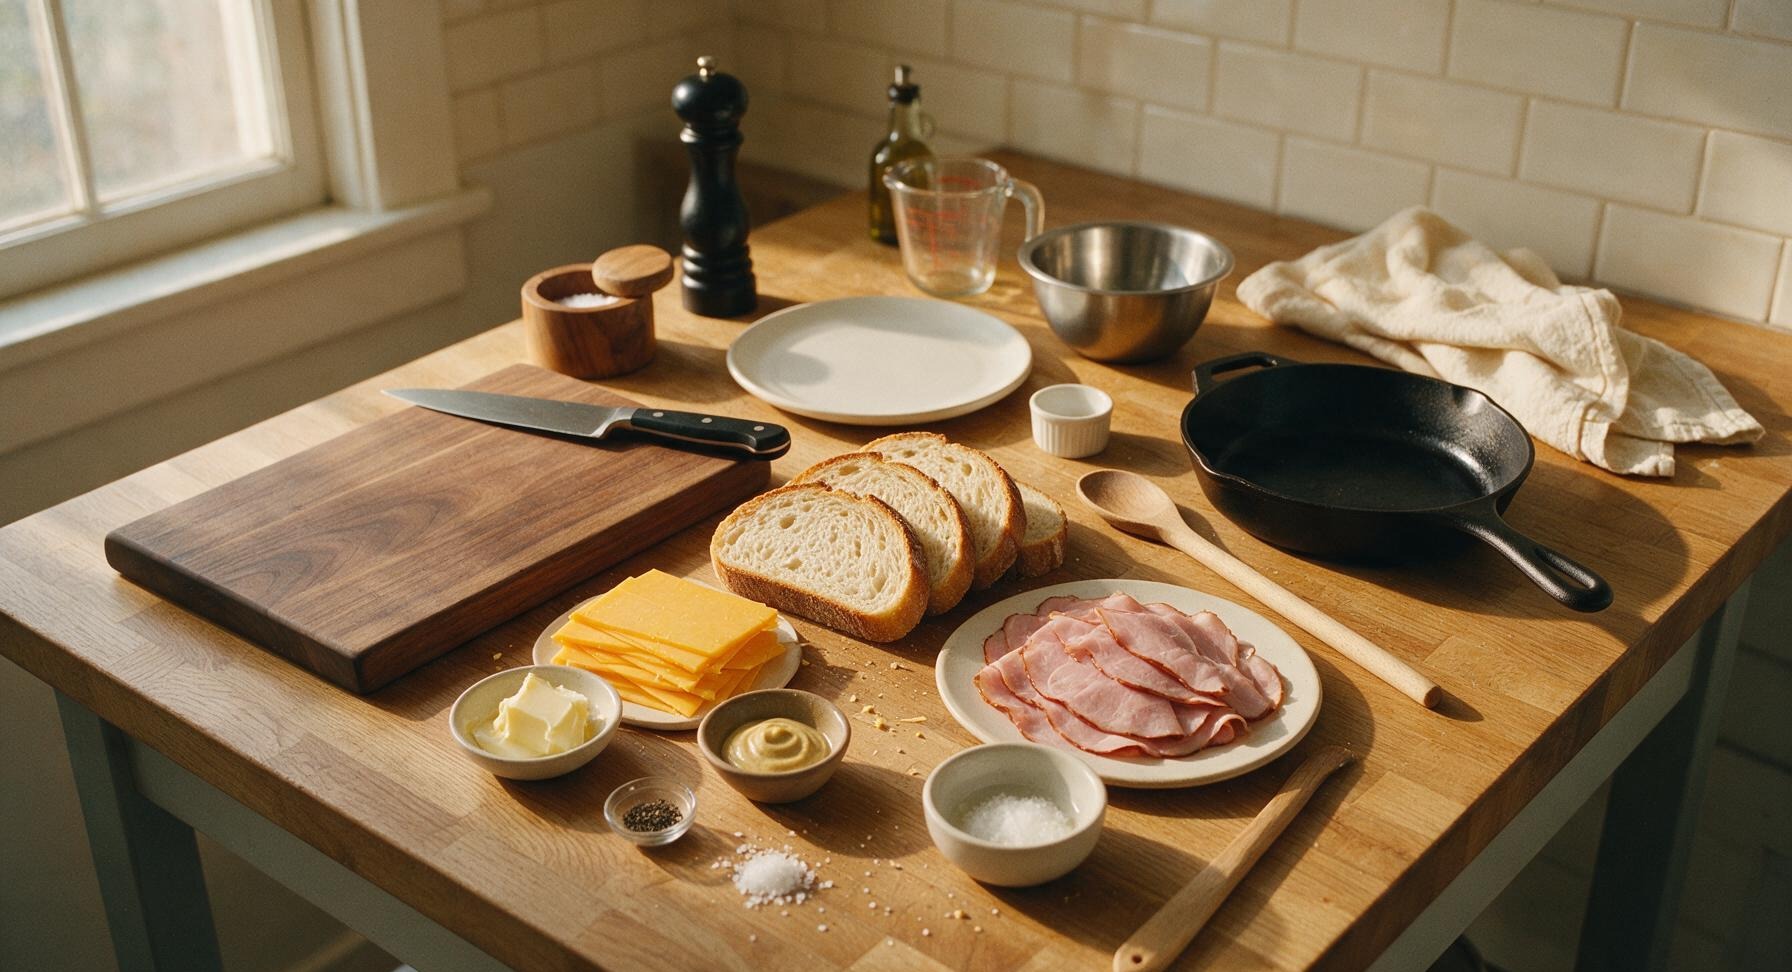
Thick-cut sourdough bread (1-inch slices) 4 slices
Sharp yellow cheddar cheese, thinly sliced 4 oz
Smoked Black Forest ham, thinly sliced 4 oz
Unsalted butter, softened to room temperature 2 tbsp
Dijon mustard 1 tsp
Flaky sea salt 1/4 tsp
Freshly ground black pepper 1/8 tsp

Steps

1

Butter Bread Slices

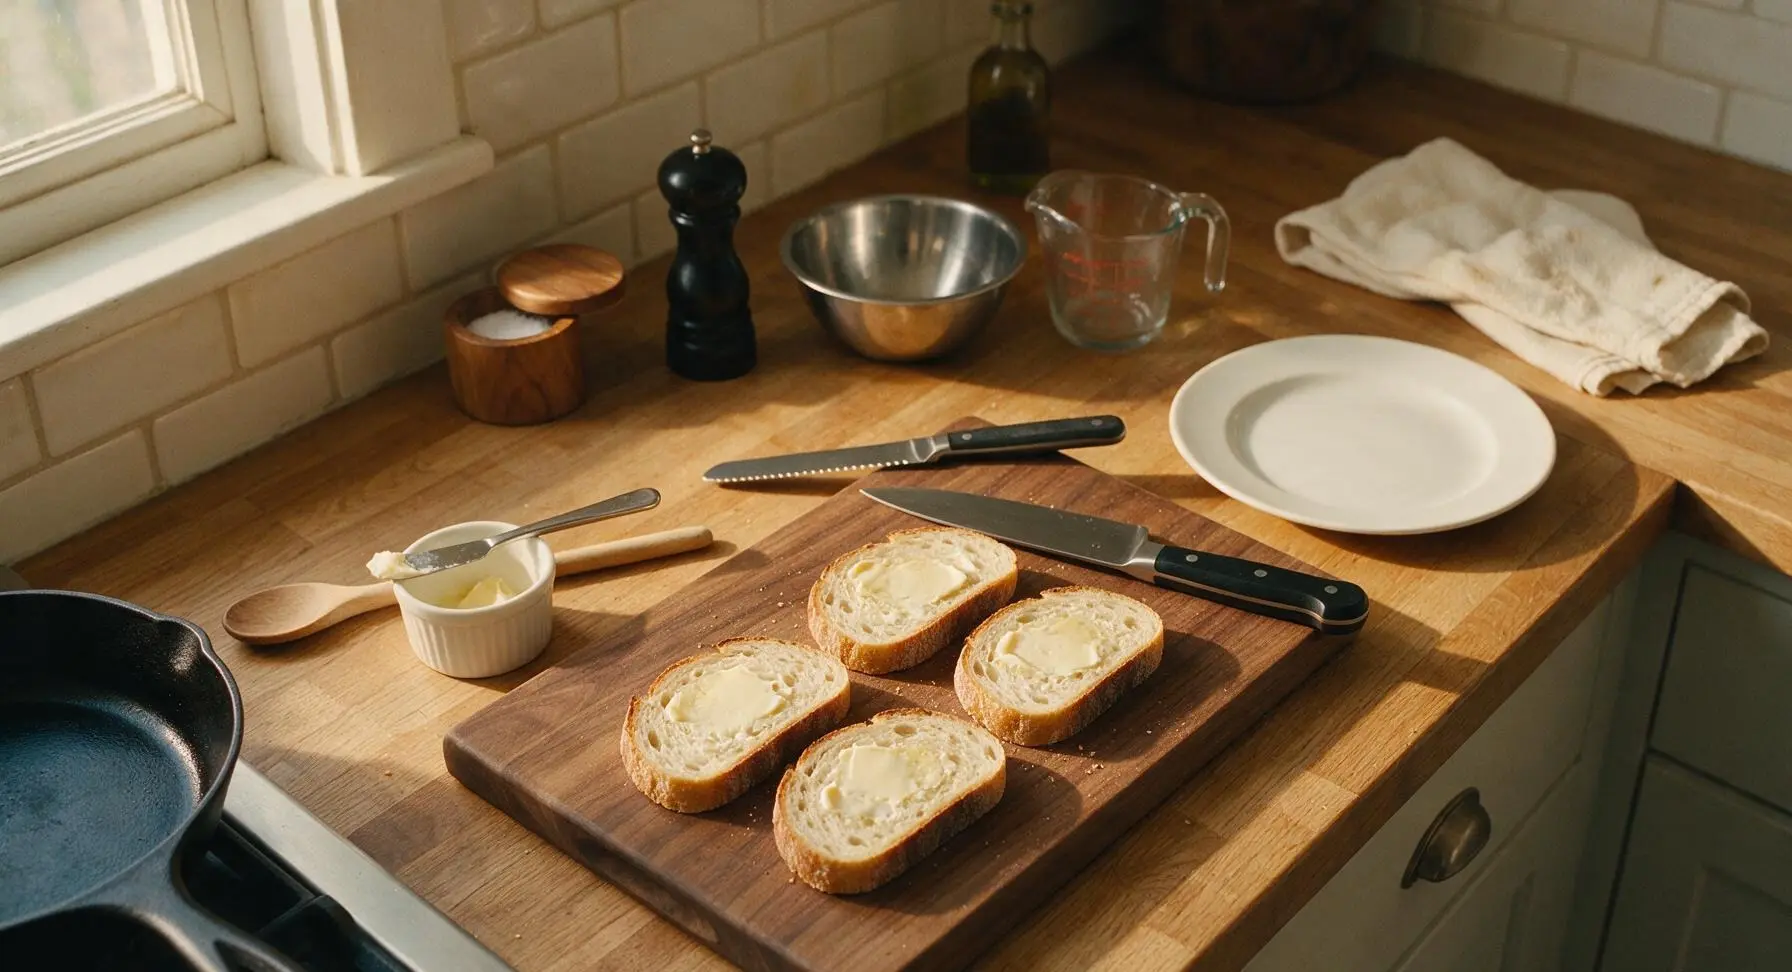
Place all 4 sourdough slices flat on the beech wood cutting board. Use the small stainless steel butter spreader to spread 1/2 tablespoon of softened unsalted butter evenly across one entire side of each bread slice, all the way to the crust edges. The butter layer should be thin but fully covering, with no bare dry spots left, as this creates the signature crispy golden crust when cooked.
Step 1
step1:Butter Bread Slices
2

Spread Dijon Mustard

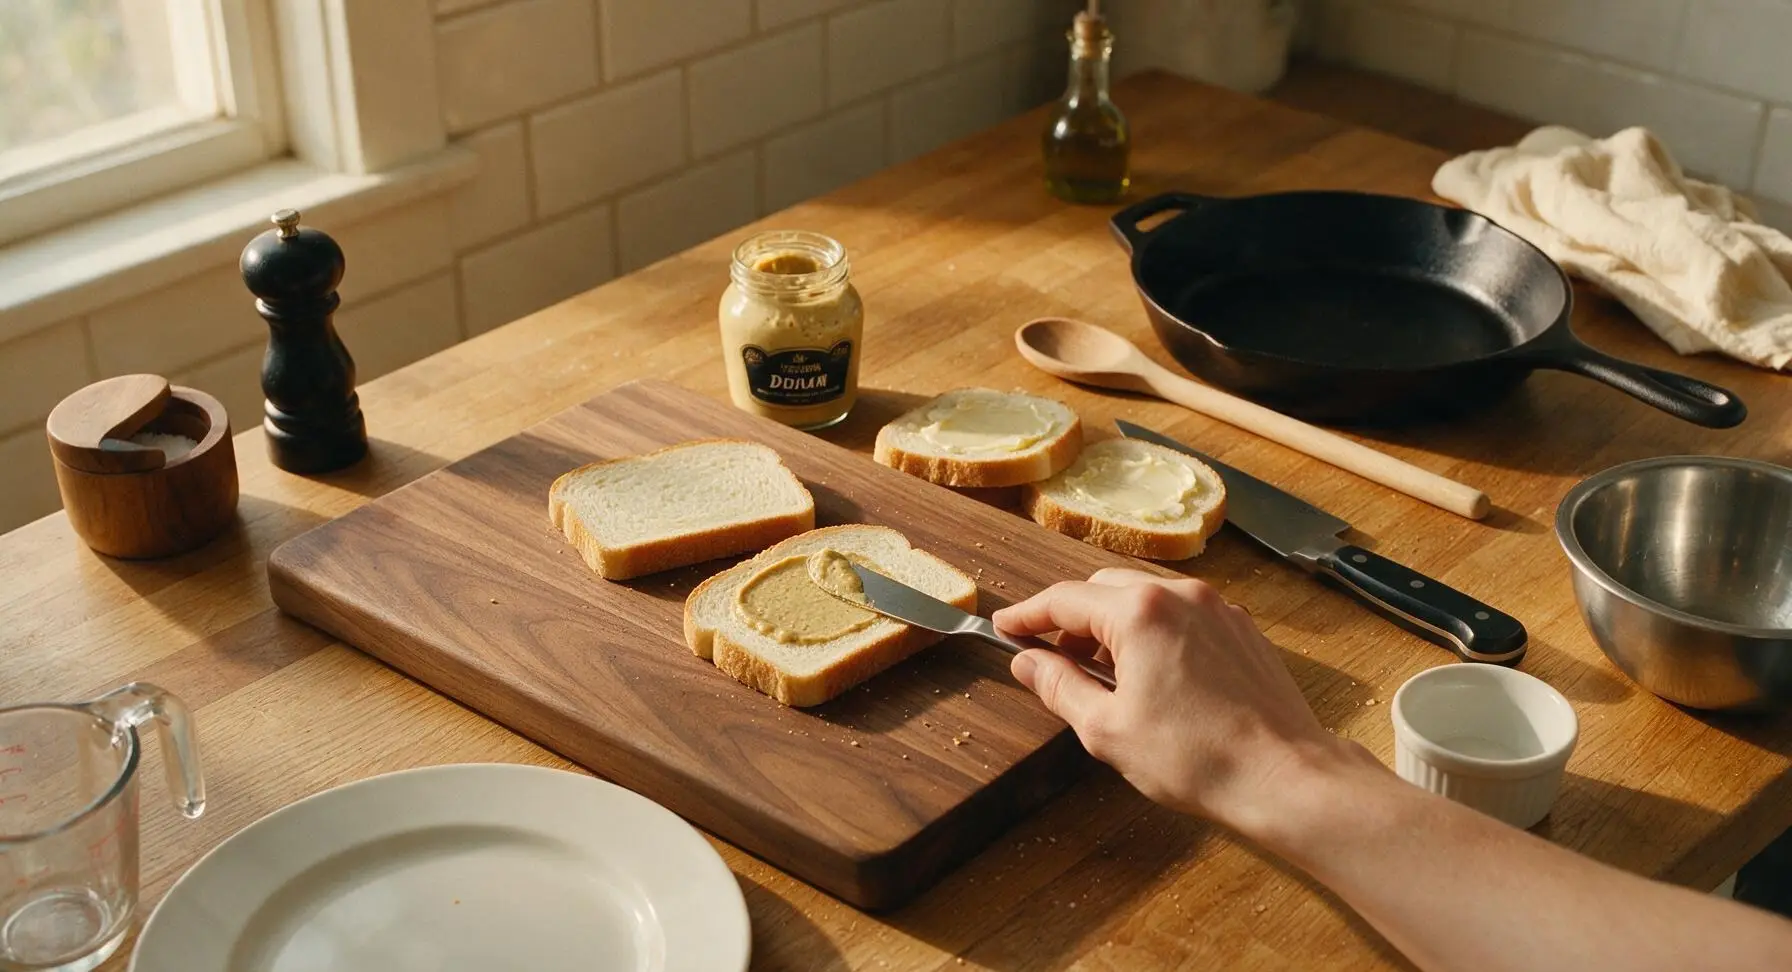
Flip 2 of the bread slices over so the unbuttered side faces up. Spread 1/2 teaspoon of dijon mustard evenly across the unbuttered surface of these two slices, keeping the layer thin to avoid making the bread soggy during cooking. Sprinkle a tiny pinch of freshly ground black pepper over the mustard for subtle sharp depth.
Step 2
step2:Spread Dijon Mustard
3

Layer Fillings Evenly

Divide half of the sliced sharp cheddar evenly across the mustard-coated sides of the two bread slices, arranging cheese to cover the entire surface right to the bread edges. Top the cheese with folded slices of smoked ham, distributing the 4oz of ham evenly between the two sandwiches, then top the ham with the remaining cheddar slices. This double cheese layer ensures the filling melts evenly and glues the sandwich halves together as it cooks.
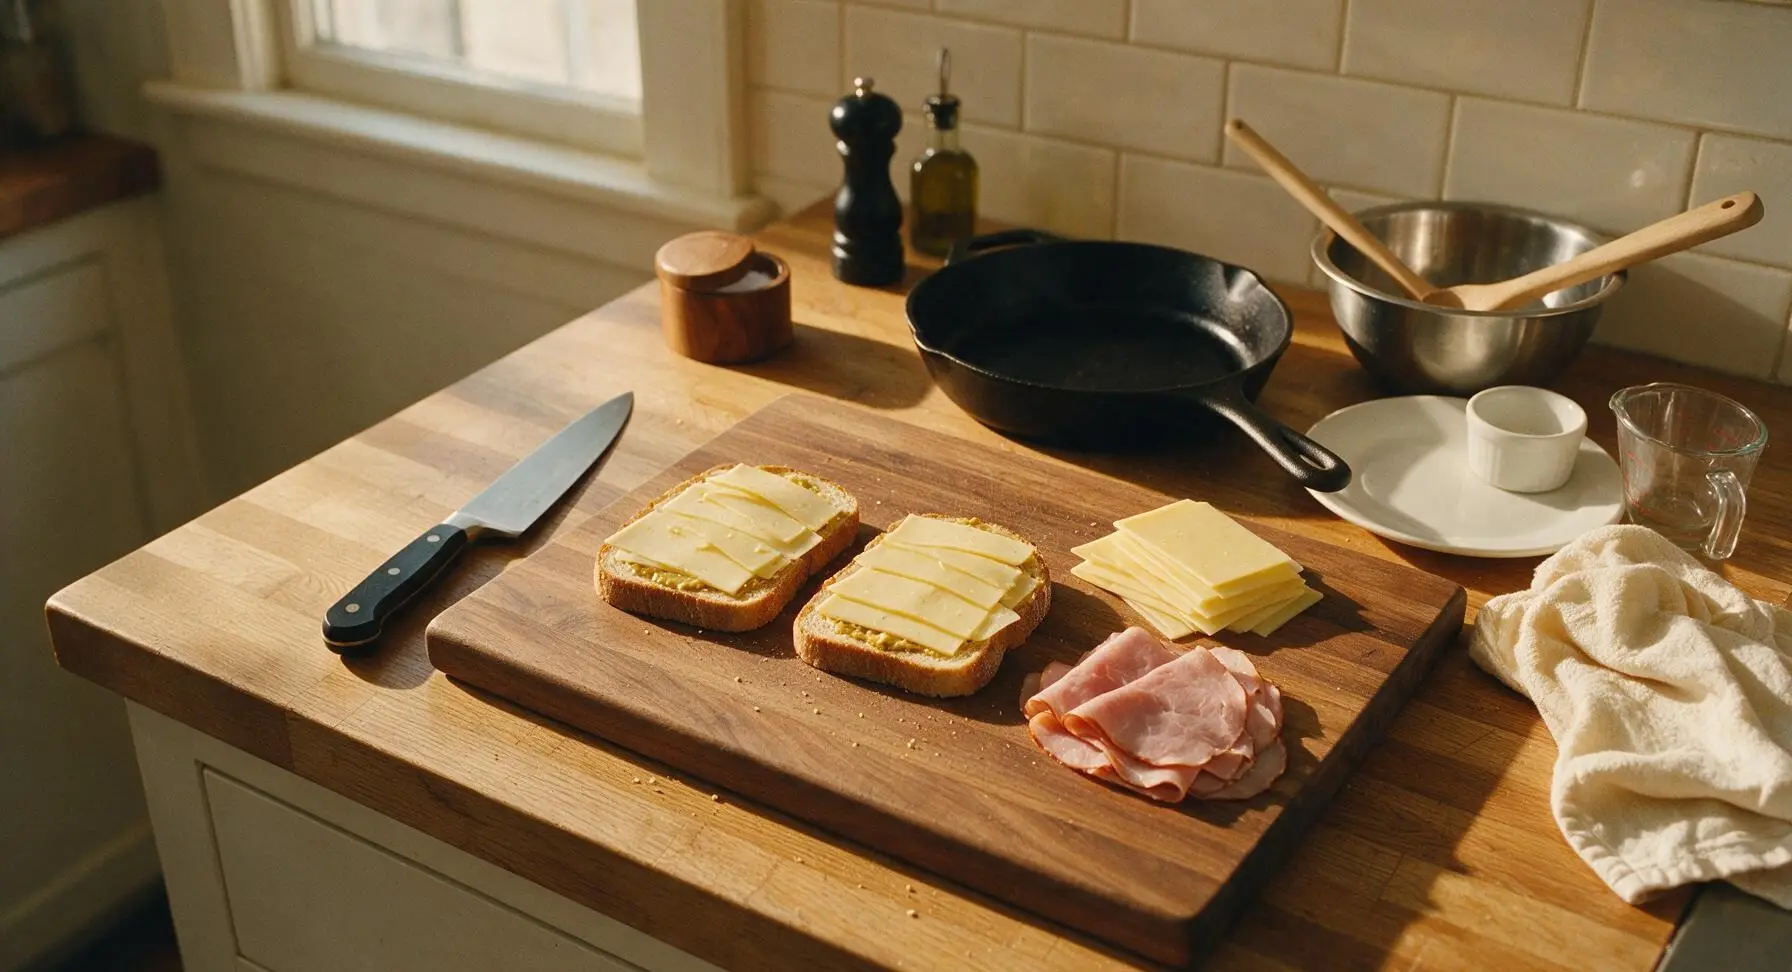
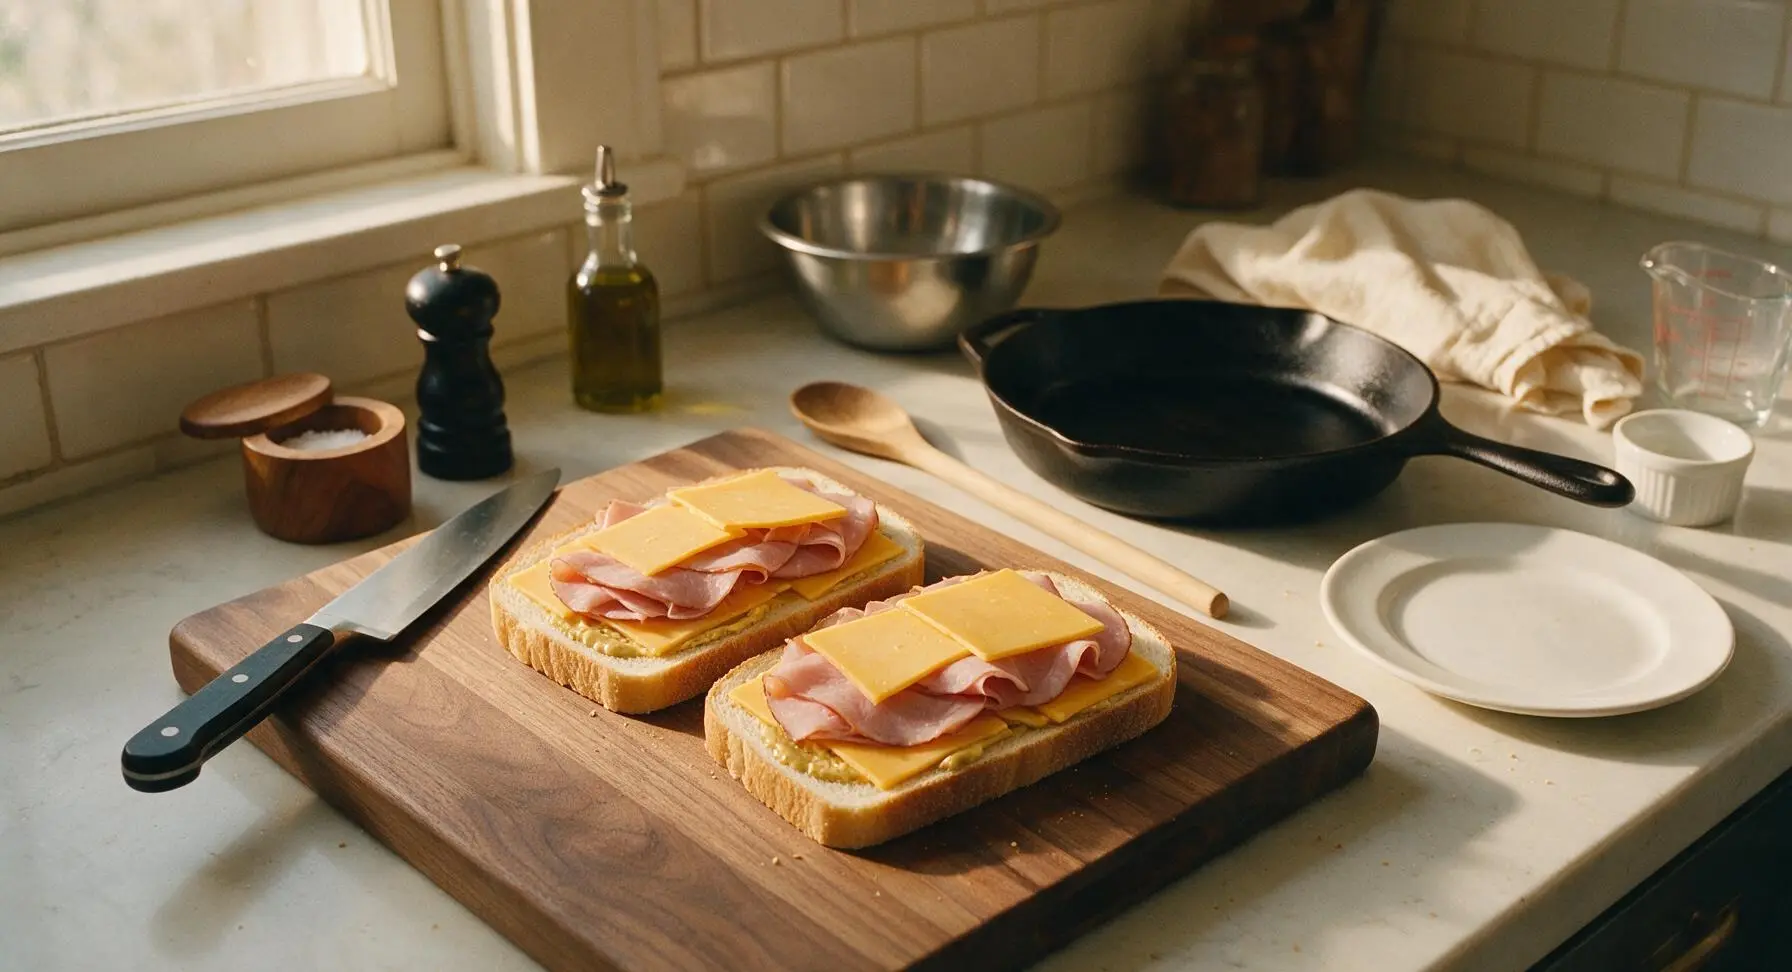
Step 3
step3:Layer Fillings Evenly
Step 3
step3:Layer Fillings Evenly
4

Assemble Sandwich Stacks

Take the remaining 2 bread slices (buttered side facing out) and place them on top of the filled stacks, pressing down gently to compact the sandwich slightly. Ensure the buttered outer sides are facing up, ready to hit the hot pan, with no filling peeking out more than 1/4 inch to avoid burnt filling bits in the skillet.
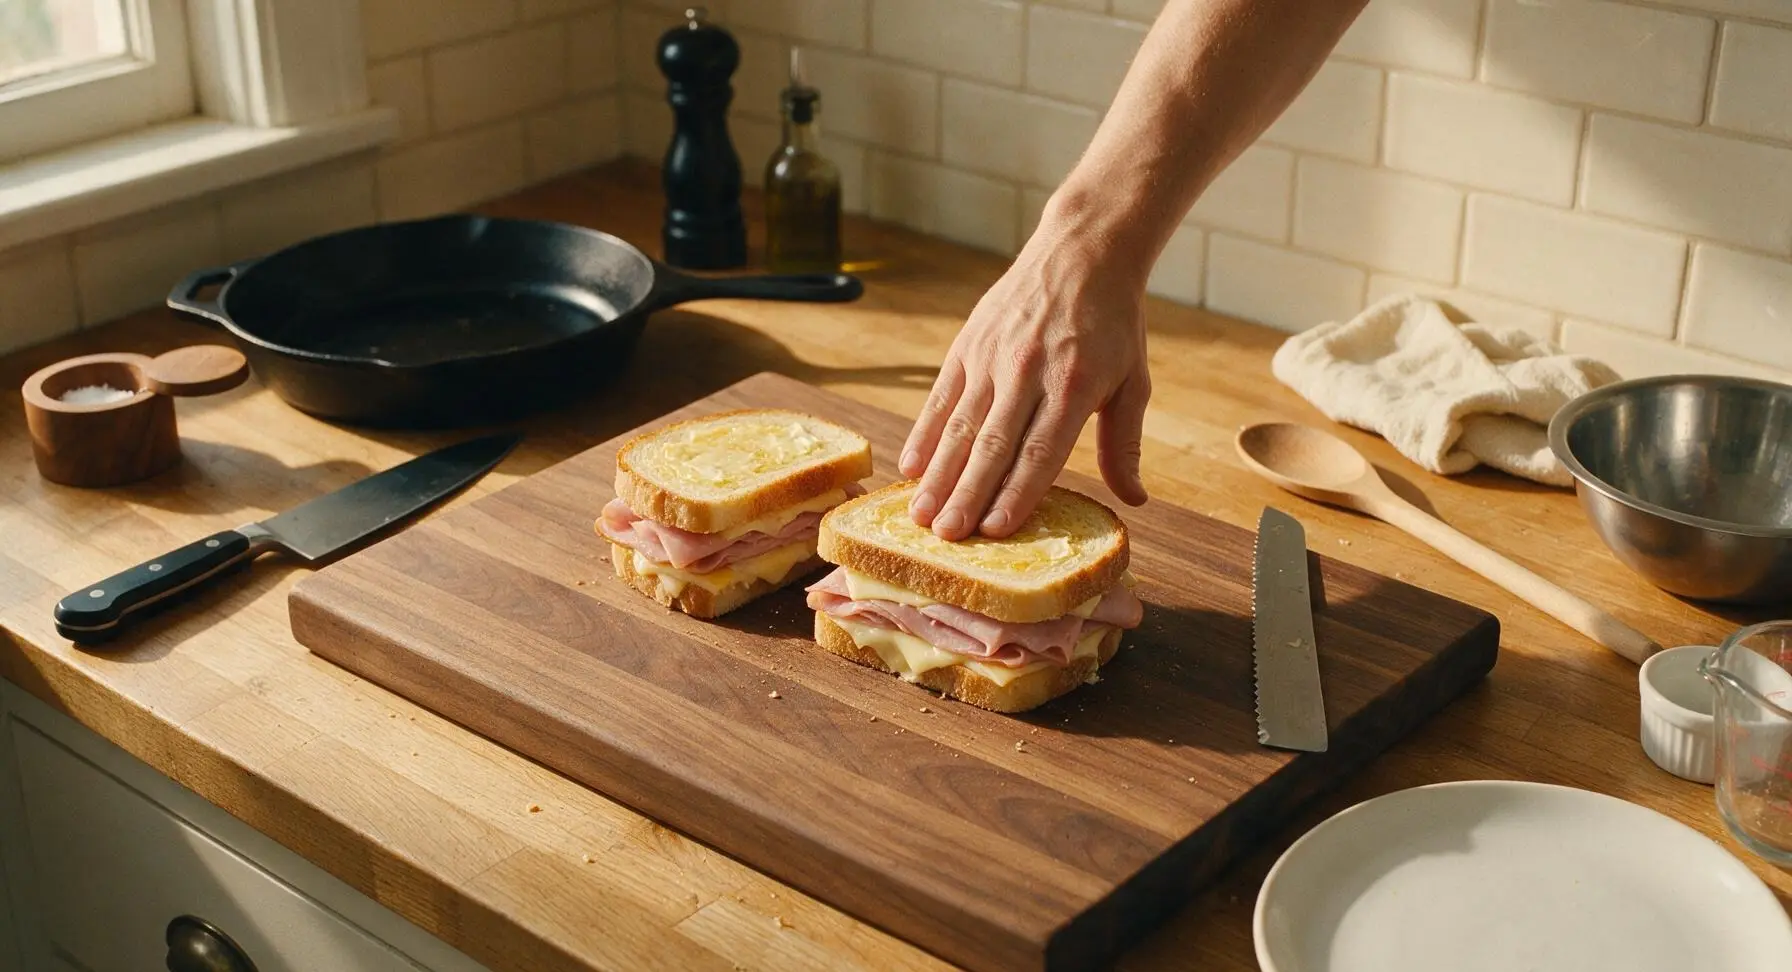
Step 4
step4:Assemble Sandwich Stacks
5

Preheat Non-Stick Skillet

Place the 10-inch matte charcoal non-stick skillet on the fixed black silicone heat mat in the center cooking zone over medium-low heat, letting it preheat for 2 minutes. Test the temperature by sprinkling a single drop of water on the pan: it should sizzle gently and dance across the surface, not evaporate instantly (too hot) or sit still without bubbling (too cold).
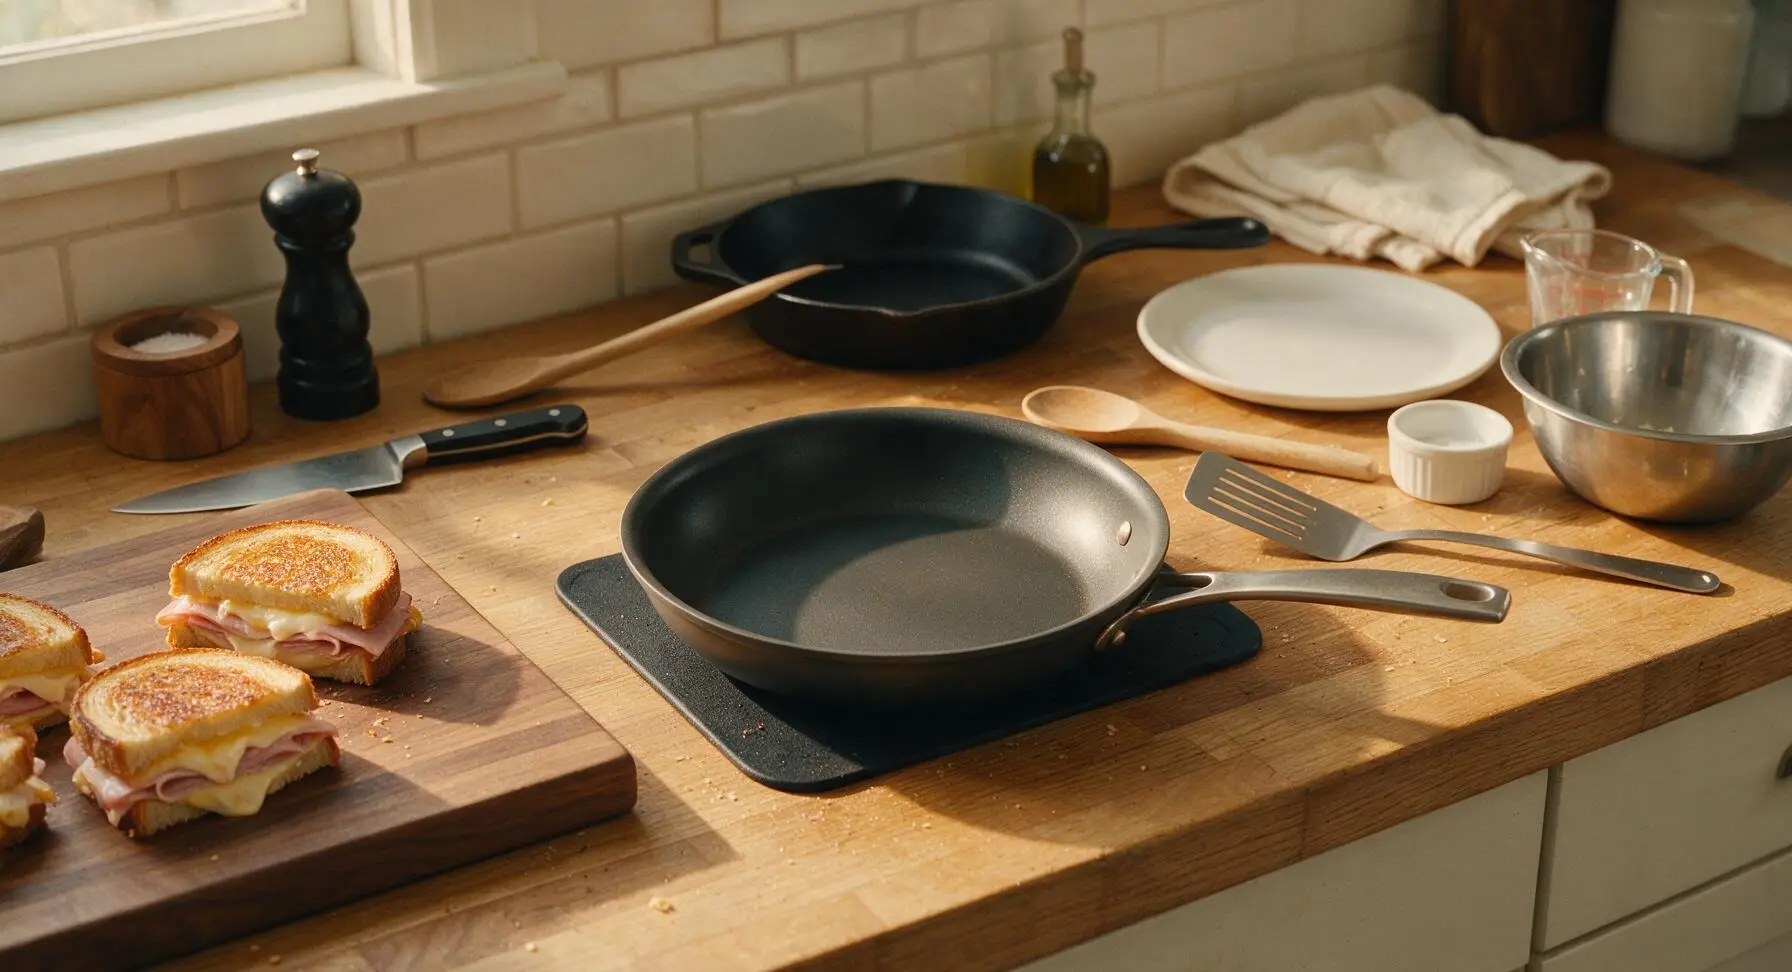
Step 5
step5:Preheat Non-Stick Skillet
6

Cook First Sandwich Side

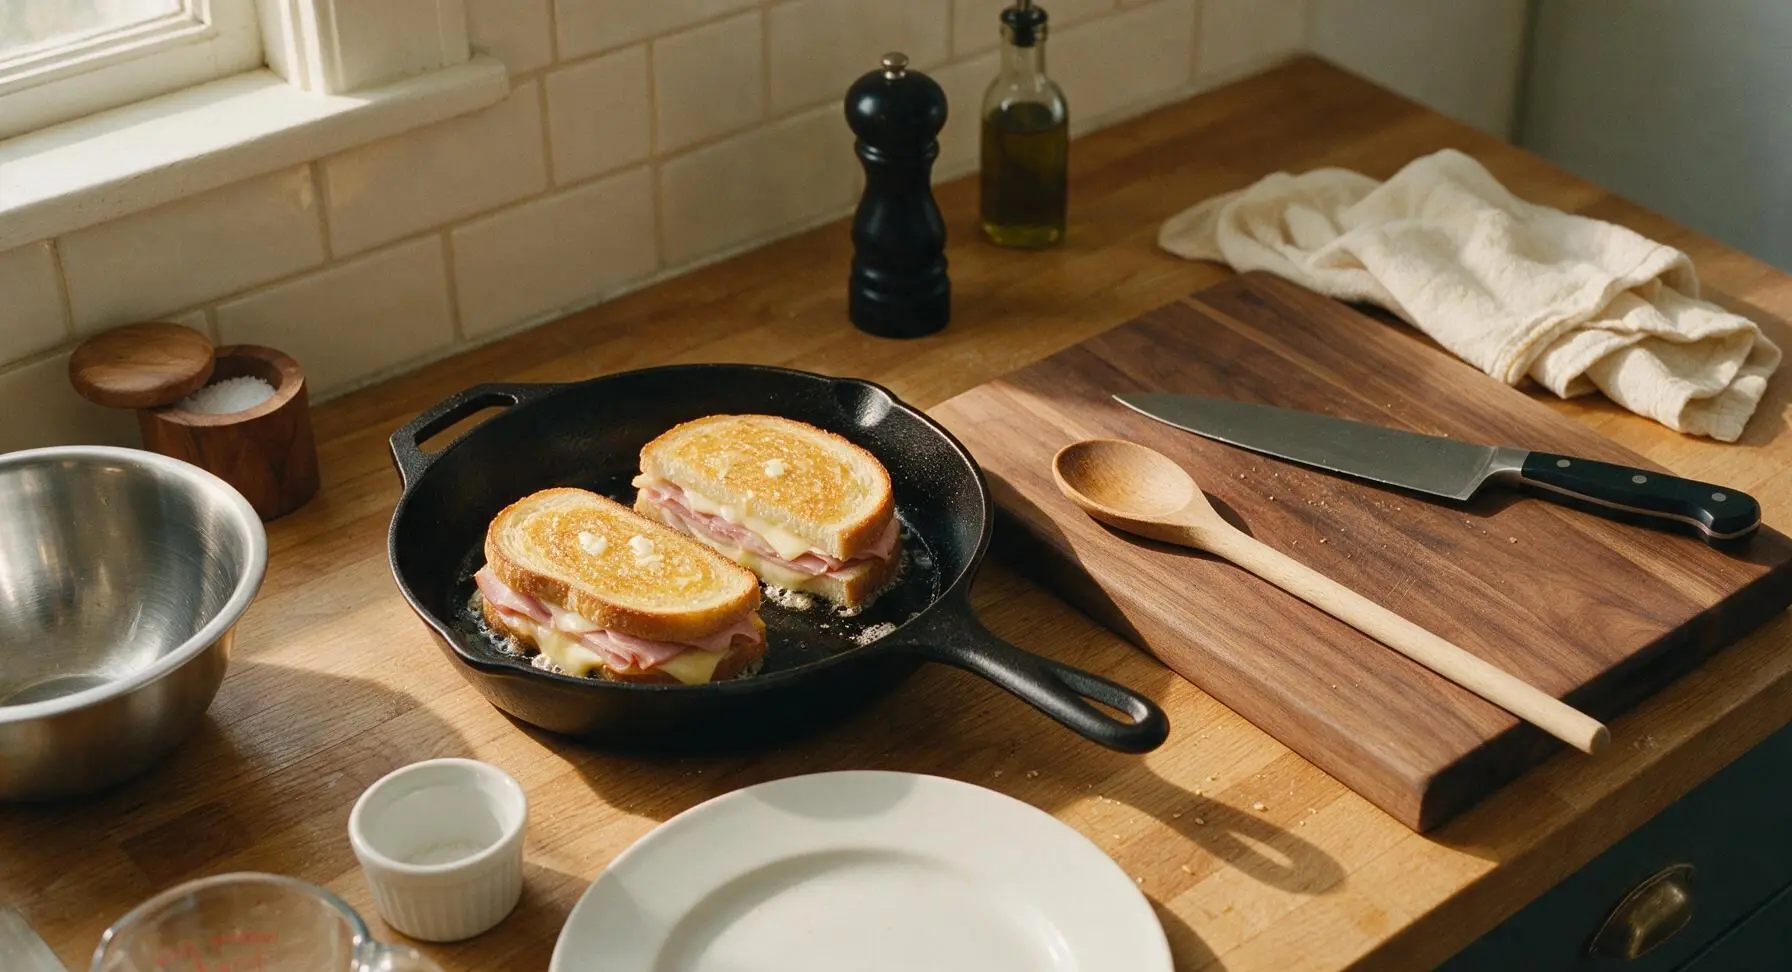
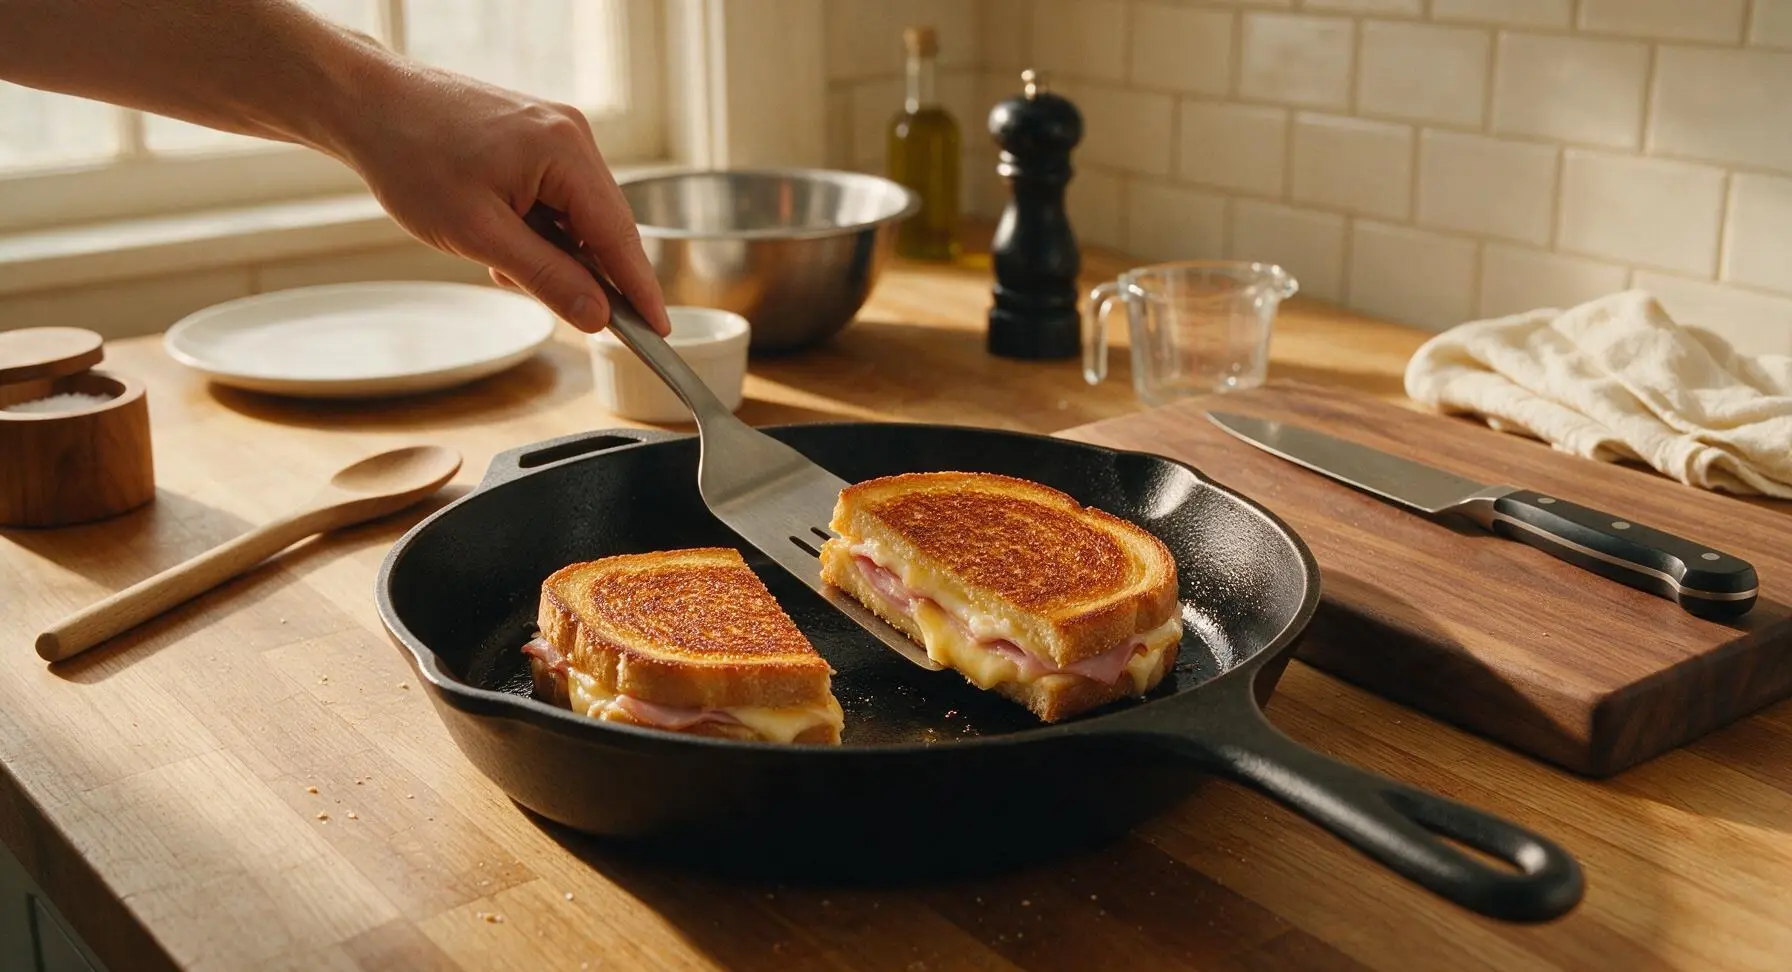
Carefully place both sandwiches in the preheated skillet, buttered side down. Cook for 3 minutes over medium-low heat, resisting the urge to press down hard on the sandwiches (this squeezes out melted cheese and makes the bread soggy). The bottom bread should turn a deep even golden brown, with the cheese on the bottom layer starting to melt and cling to the bread.
Step 6
step6:Cook First Sandwich Side
Step 6
step6:Cook First Sandwich Side
7

Flip and Cook Second Side

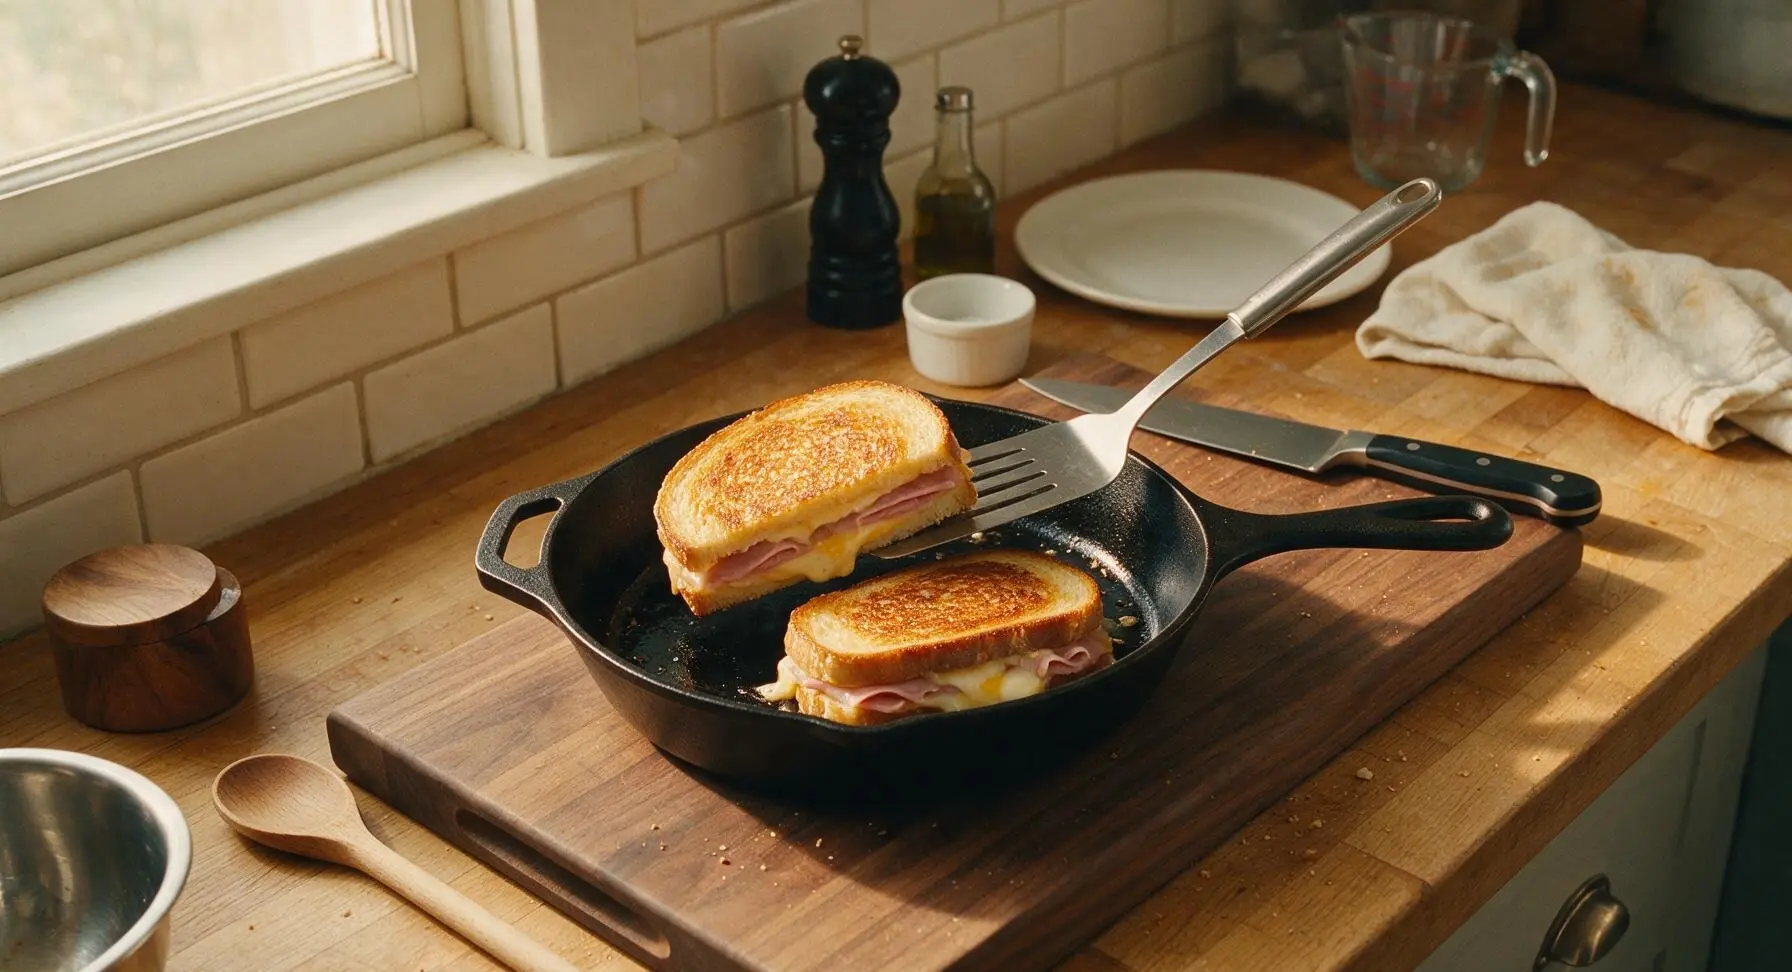
Slide the stainless steel turner under each sandwich, flipping them gently in one smooth motion. Cook the second side for another 2.5 to 3 minutes, until the bread is equally golden and crispy, and all the cheese in the center is fully melted with no hard, unmelted chunks left. If the bread is browning faster than the cheese melts, turn the heat down slightly to avoid burning.
Step 7
step7:Flip and Cook Second Side
8

Rest, Slice, and Plate

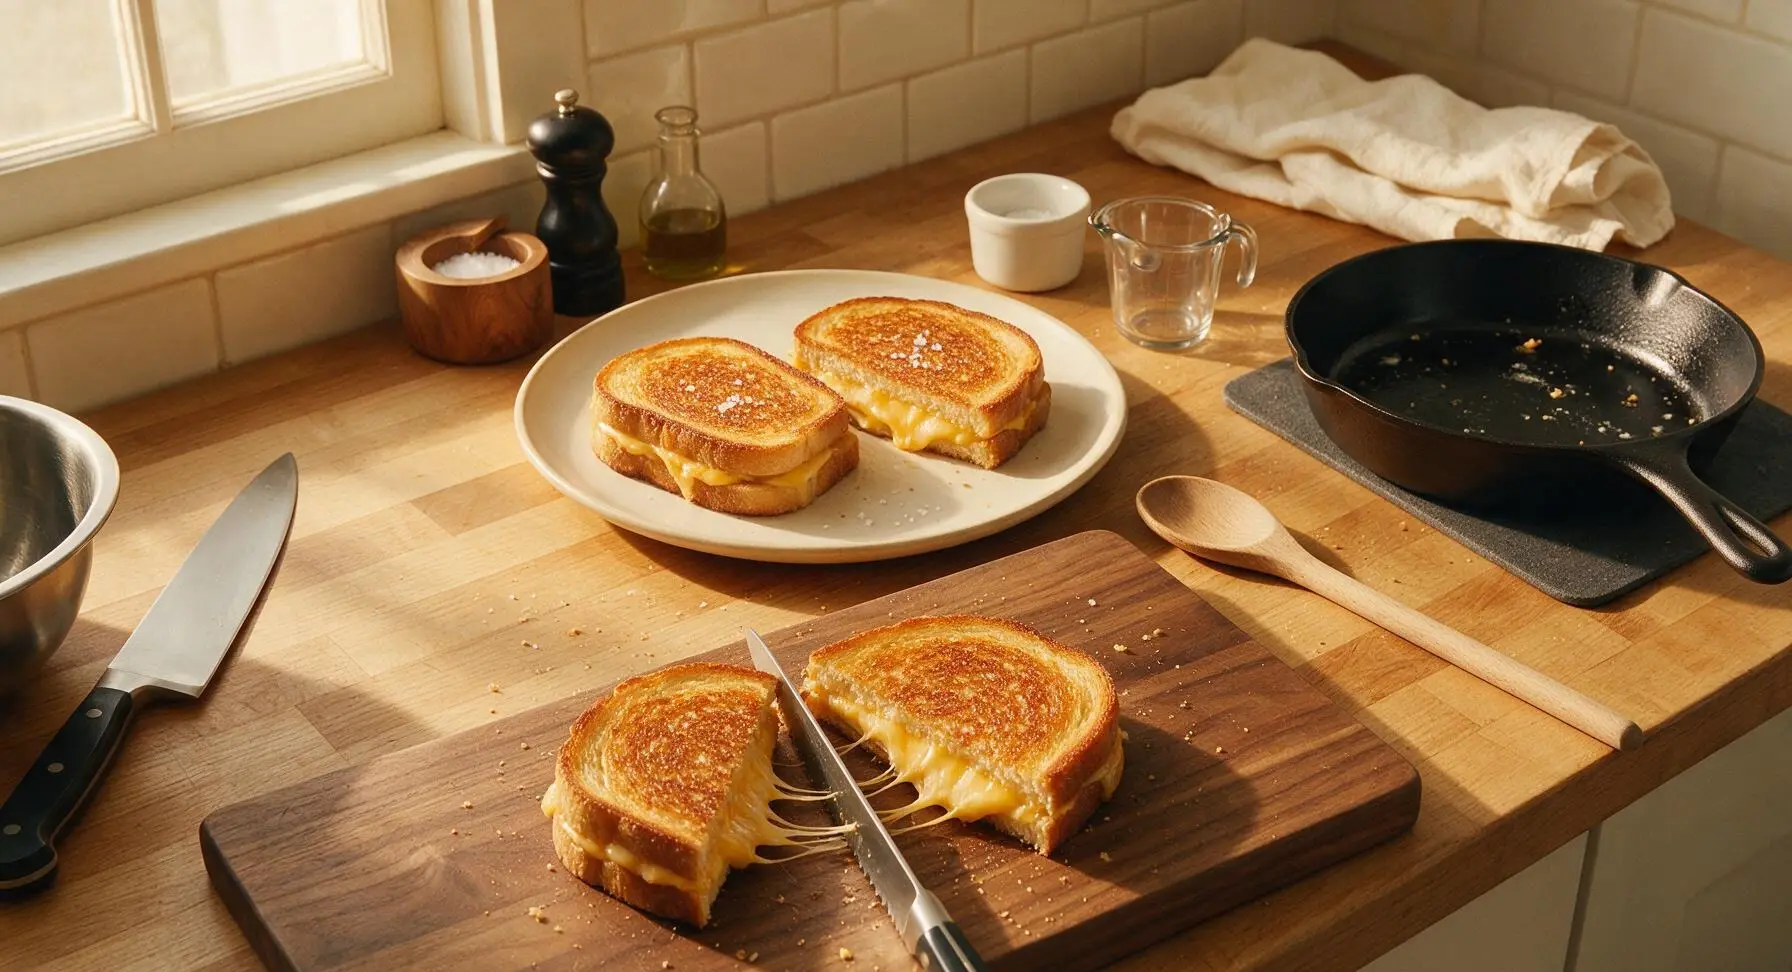
Transfer the cooked sandwiches from the skillet to the matte cream ceramic lunch plates. Let them rest for 1 minute to let the cheese set slightly (this prevents all the filling from running out when cut). Use the serrated utility knife to cut each sandwich diagonally into two triangles, then sprinkle a tiny pinch of flaky sea salt over the top of the crispy crust. Serve immediately.
Step 8
step8:Rest, Slice, and Plate

Tips

1.Use room-temperature softened butter instead of cold or melted butter for spreading: it coats the bread evenly without tearing soft crumbs, and creates a uniformly crisp, golden crust instead of patchy, grease-soaked areas.
2.Slice cheese thinly (or grate it) rather than using thick chunks: thin slices melt 2–3 times faster, ensuring the filling is fully gooey by the time the bread reaches perfect golden brown, with no risk of burnt crust from waiting for thick cheese to melt.
3.Resist the urge to press down on the sandwiches with your spatula while cooking: this squeezes melted butter and cheese out the sides, leading to dry, less gooey filling and burnt cheese residue on your skillet.


✨ You May Also Like

Lunch
🍜 United States

Creamy, salty, tangy nostalgic Midwestern sandwich pairing rich peanut butter with crisp briny dill pickles for a fast, satisfying no-cook meal.

⏱️ 5 minutesLunch ★ 4.6
Lunch
🍜 United States

Crispy, melty pressed sandwich layered with savory roast pork, ham, Swiss cheese, pickles, and tangy mustard: a beloved Cuban-American comfort classic.

⏱️ 25 minuteLunch ★ 4.9
Lunch
🍜 United States

Hearty, briny New Orleans pressed sandwich stacked with cured Italian meats, provolone, and zesty olive salad, served cold for bold, portable flavor.

⏱️ 1 hour 20Lunch ★ 4.7
Lunch
🍜 United States

A tangy, creamy Southern American staple, this no-cook cheesy sandwich is packed with sharp cheddar and sweet pimentos for a satisfying, portable bite.

⏱️ 1 hour 15Lunch ★ 4.8
Lunch
🍜 United States

Crispy Cajun-spiced fried shrimp piled on crusty French bread with tangy remoulade and fresh toppings, the iconic Louisiana street food sandwich.

⏱️ 35 minuteLunch ★ 4.4
Lunch
🍜 United States

Stacked, savory deli-style corned beef sandwich with melted Swiss, tangy mustard, and crisp griddled rye— a fast, hearty, satisfying classic.

⏱️ 15 minuteLunch ★ 4.9

Ham and Cheese Grilled Cheese:Frequently Asked Questions

1.Why does my grilled cheese always burn before the cheese is fully melted? ▾
That almost always traces back to too-high heat! Cook over medium-low (around 325°F on a griddle) so your 1-inch sourdough has time to crisp to that perfect golden brown without charring, while the thinly sliced sharp cheddar melts all the way through. Using softened room-temperature butter also helps you spread an even coat, so you avoid patchy burnt spots.
2.Can I use a different cheese if I don’t have sharp yellow cheddar on hand? ▾
Absolutely, though sharp cheddar brings that ideal tangy bite that balances the smoky salt of Black Forest ham. Great swaps include nutty Gruyère, ultra-creamy fontina, or a half-and-half mix of cheddar and mozzarella for extra pull. Skip dry, crumbly cheeses like plain feta or aged parmesan on their own—they won’t give you that signature gooey texture.
3.Do I have to use 1-inch thick sourdough, or will regular thin sandwich bread work? ▾
Thin sandwich bread works in a pinch, but 1-inch thick sourdough delivers that unbeatable crisp-outside, soft-inside ratio. Thinner slices often get soggy from moisture from the melted cheese and ham, and won’t hold up to that satisfying crunchy bite. If you use thinner bread, nudge the heat down slightly and cut cook time by 1 minute per side to avoid sogginess.
4.What does the Dijon mustard add, and can I skip it if I don’t like mustard? ▾
Dijon adds a subtle, bright tang that cuts through the richness of butter, melted cheddar, and smoky ham—you won’t get a strong, punchy mustard flavor, just extra depth that makes the whole sandwich taste more balanced. If you truly dislike Dijon, swap it for a thin spread of mayo on the bread interior, or skip it entirely if you prefer.
5.How do I keep melted cheese from spilling all over my pan while cooking? ▾
The easiest fix is to layer cheese on both slices of bread, tucking the ham between the two cheese layers so the melting cheddar acts as a glue to hold fillings in place. Don’t overstuff the sandwich: 2 to 3 thin cheese slices per side and 2 ham slices is plenty. Press the sandwich gently with a spatula as it cooks to seal the edges as the cheese melts.
6.Can I make these ham and cheese grilled cheeses ahead of time for meal prep? ▾
These taste best fresh off the pan for peak crisp crust and gooey cheese pull, but you can prep components ahead to cut down on cook time. Slice your cheese and ham, spread softened butter on one side of each bread slice, and store everything airtight in the fridge for up to 3 days. When you’re ready to eat, just assemble and cook as normal, no extra thawing needed.

Comments (8)

3 days ago

OMG this is the easiest weeknight dinner win ever! My 10 and 12 year old are super picky and they both asked for seconds! I used sourdough bread and added a little garlic butter to the outside and it was *chef’s kiss*. 6 minute cook time is no joke, I had this on the table before their after-school zoom call even ended. SO good, will be making this at least once a week now!

2 days ago

Wait the garlic butter on the outside trick is a game changer! I’ve been using plain butter forever, gonna try that tonight for my movie night snack.

2 days ago

So glad your kids loved it! The garlic butter swap is such a tasty hack — we love hearing how folks customize the recipe to fit their tastes!

5 days ago

Perfect dorm room meal! I made this in my tiny sandwich press in between study sessions and it came out perfect. No fancy ingredients needed, just cheap deli ham, shredded cheddar, and the white bread I had left in my fridge. Way better than the sad grilled cheeses the dining hall serves lmao.

3 days ago

Love that this works for dorm cooking! It’s such a flexible recipe, no fancy tools or ingredients required to get that crispy, melty perfect bite.

1 week ago

Made this for our weekend tailgate last Saturday and it was a total hit! I made a whole sheet pan of them in the oven (cooked a couple minutes per side to get that crisp) and passed them out to the group before the game. Everyone was asking for the recipe, even the guy who brings his own fancy brisket to every tailgate. 10/10 no notes.

2 weeks ago

Love this classic recipe! Quick question — has anyone tried this with gluten free bread? I made it with regular sourdough last week and it was perfect, but I’m hosting a GF friend this weekend and want to serve it. I’ve had bad luck with GF bread getting too soggy or not crisping up right when I make grilled cheese, would love to know if this recipe works with a swap!

1 week ago

I used my favorite seeded GF bread last week and it worked great! Just make sure you butter the outside really well and cook it on medium-low heat a minute longer so it gets crispy without burning.

5 days ago

Great question! We’ve tested this with a few popular GF bread brands — medium-low heat is key, like Meg said, to get that perfect crisp without sogginess. Avoid using super thin sliced GF bread if you can, it holds up much better with a heartier loaf!

yesterday

Game. Changer. I added a little sprinkle of parmesan to the buttered outside of the bread like my grandma used to do and it got that perfect crispy, salty crust. The combo of salty ham and melty American cheese is just unbeatable. I ate two of these for lunch yesterday and have zero regrets.

2 hours ago

OH the parmesan crust trick! I haven’t done that in years, you just reminded me I need to pick up a block of parm on my way home from work today. That crunch is unmatched!

2 days ago

I prep these ahead of time on Sundays for my kid’s school lunches! I assemble the sandwiches (don’t butter them until the morning!) and wrap them up, then cook them in a skillet for 3 minutes per side while I’m making coffee. They hold up great in the lunchbox with a little side of tomato soup for dipping, and my kid says it’s the best hot lunch they get all week.

2 hours ago

This was good but I felt like it was missing a little zing! I added a thin spread of dijon mustard inside and a couple slices of pickled jalapeno and it took it to the next level. Perfect balance of creamy, salty, and a little kick. Even my partner who hates spicy food thought it was great.

30 minutes ago

Love that customization! Dijon and pickled jalapeños add such a bright, tasty kick to the classic ham and cheese — we’re definitely going to test that variation in our kitchen soon!

5 minutes ago

First time making grilled cheese that didn’t burn! I’ve always messed up the heat before and ended up with burnt bread and unmelted cheese, but following the 6 minute cook time on medium low worked perfectly. I used black forest ham and swiss cheese and it tasted like the fancy sandwiches from the café down the street for a fraction of the price. So proud of myself lol

just now

Dude I feel you! I used to burn every single grilled cheese too until I learned to stop cranking the stove to high. This recipe is foolproof even for people who can barely boil water, trust me I’m proof.

just now

That makes us so happy to hear! Low and slow is the secret to that perfect crispy bread and fully melted cheese — so glad you got that café-quality result at home!



