
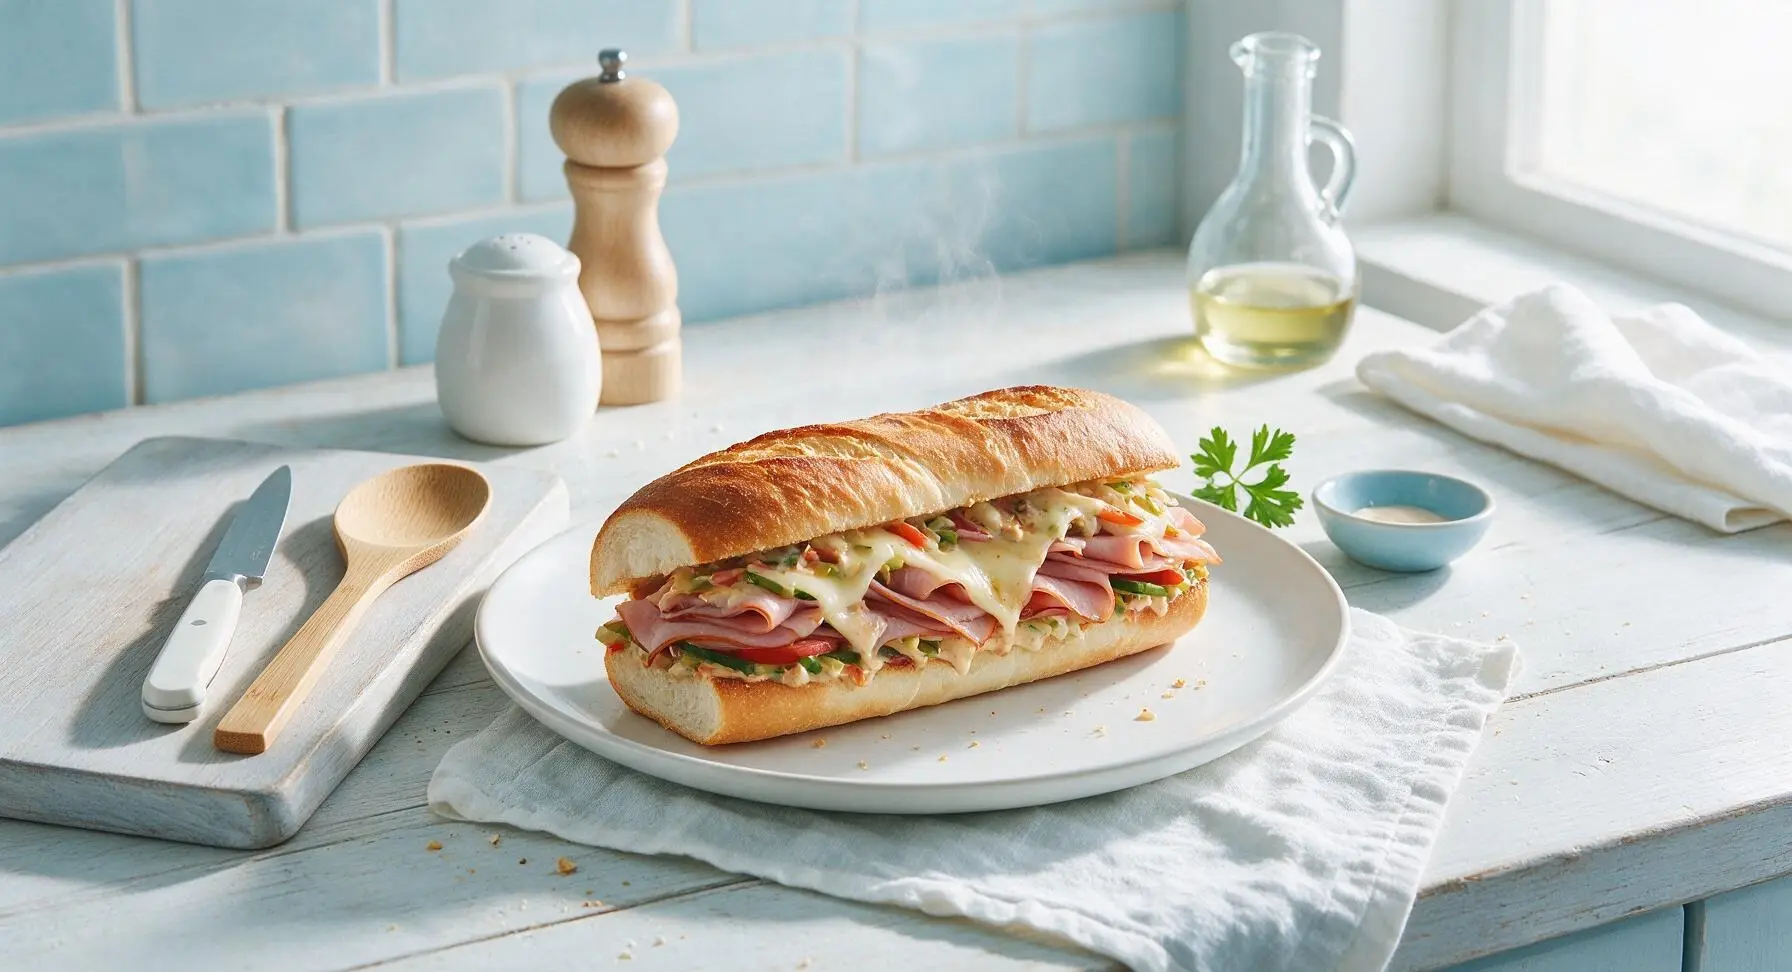
ham and cheese sub

title 1
ham and cheese sub
⏱️ cook time 5 minutes
🍽️ servings 4
⚡ Difficulty easy

intro

Crisp toasted sub rolls stacked with savory ham, gooey melted cheese, fresh veggies, and zesty dressing—this classic deli-style sandwich is fast, satisfying, and perfect for busy nights.

Ingredients
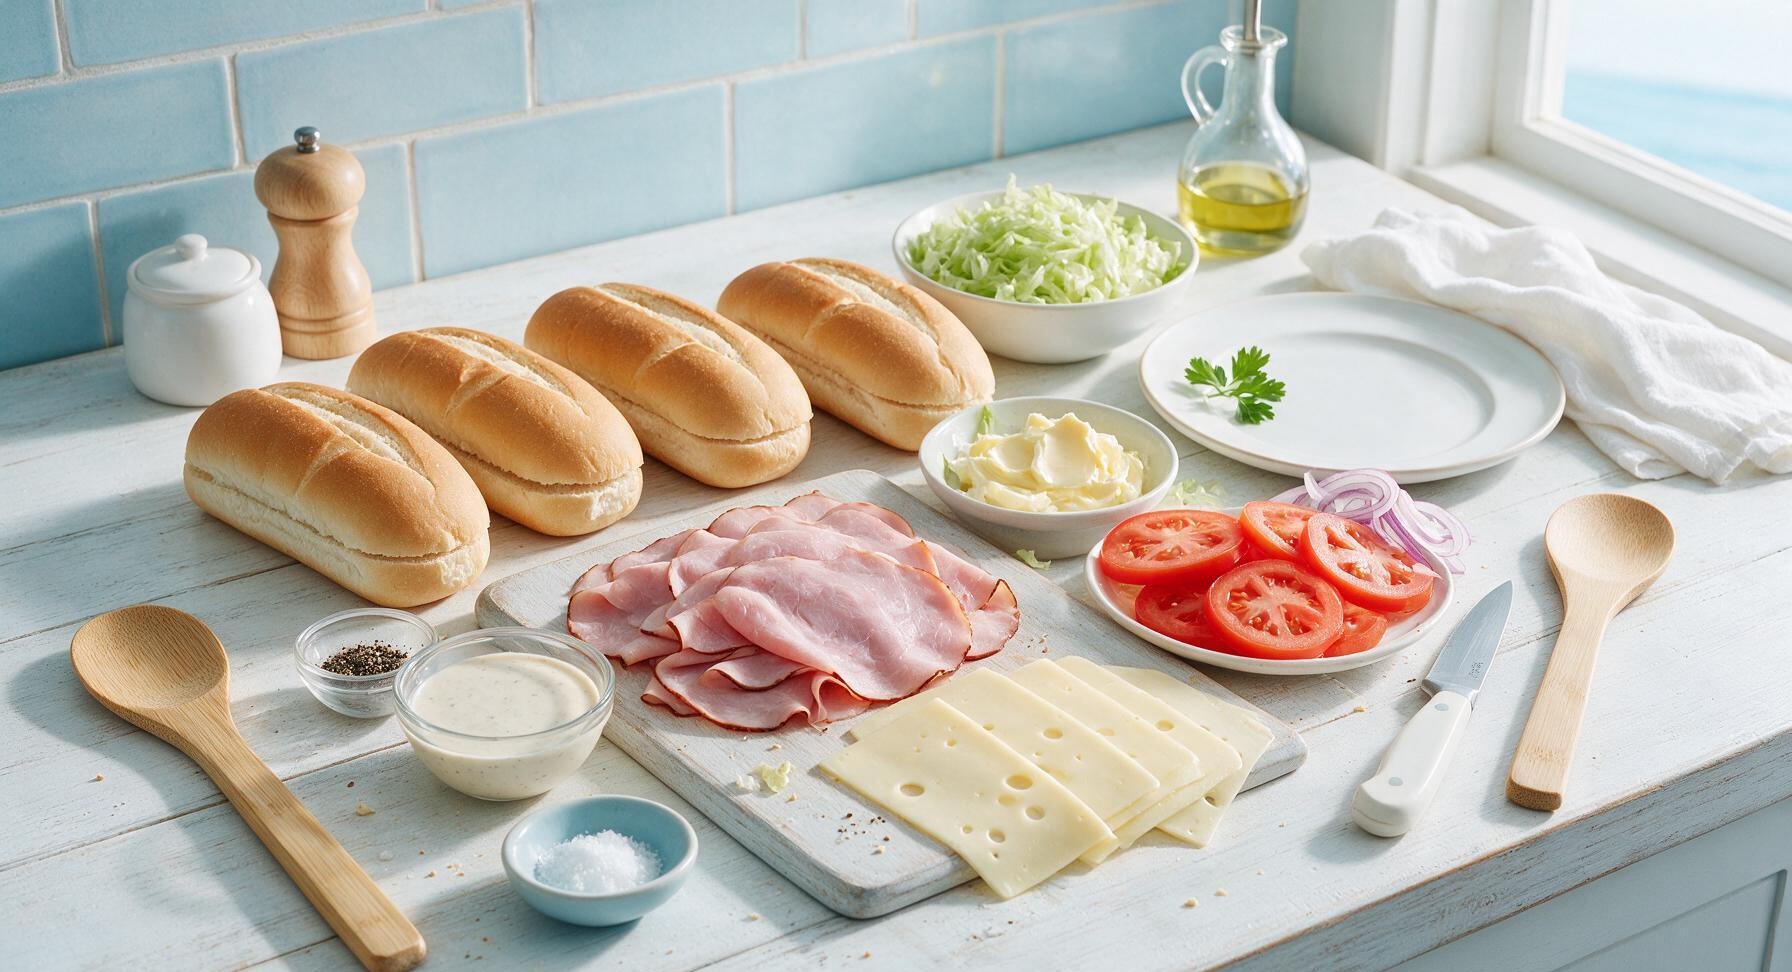
6-inch white Italian sub rolls 4 each
Thinly sliced Black Forest deli ham 225g (8oz)
Sliced Swiss cheese 4 slices (110g total)
Unsalted butter, softened 2 tbsp
Iceberg lettuce, shredded 1 cup
Roma tomatoes, thinly sliced 2 medium (150g total)
Red onion, thinly sliced 30g (1/4 small)
Creamy Italian dressing 60ml (1/4 cup)
Kosher salt 1/4 tsp
Freshly ground black pepper 1/8 tsp

Steps

1

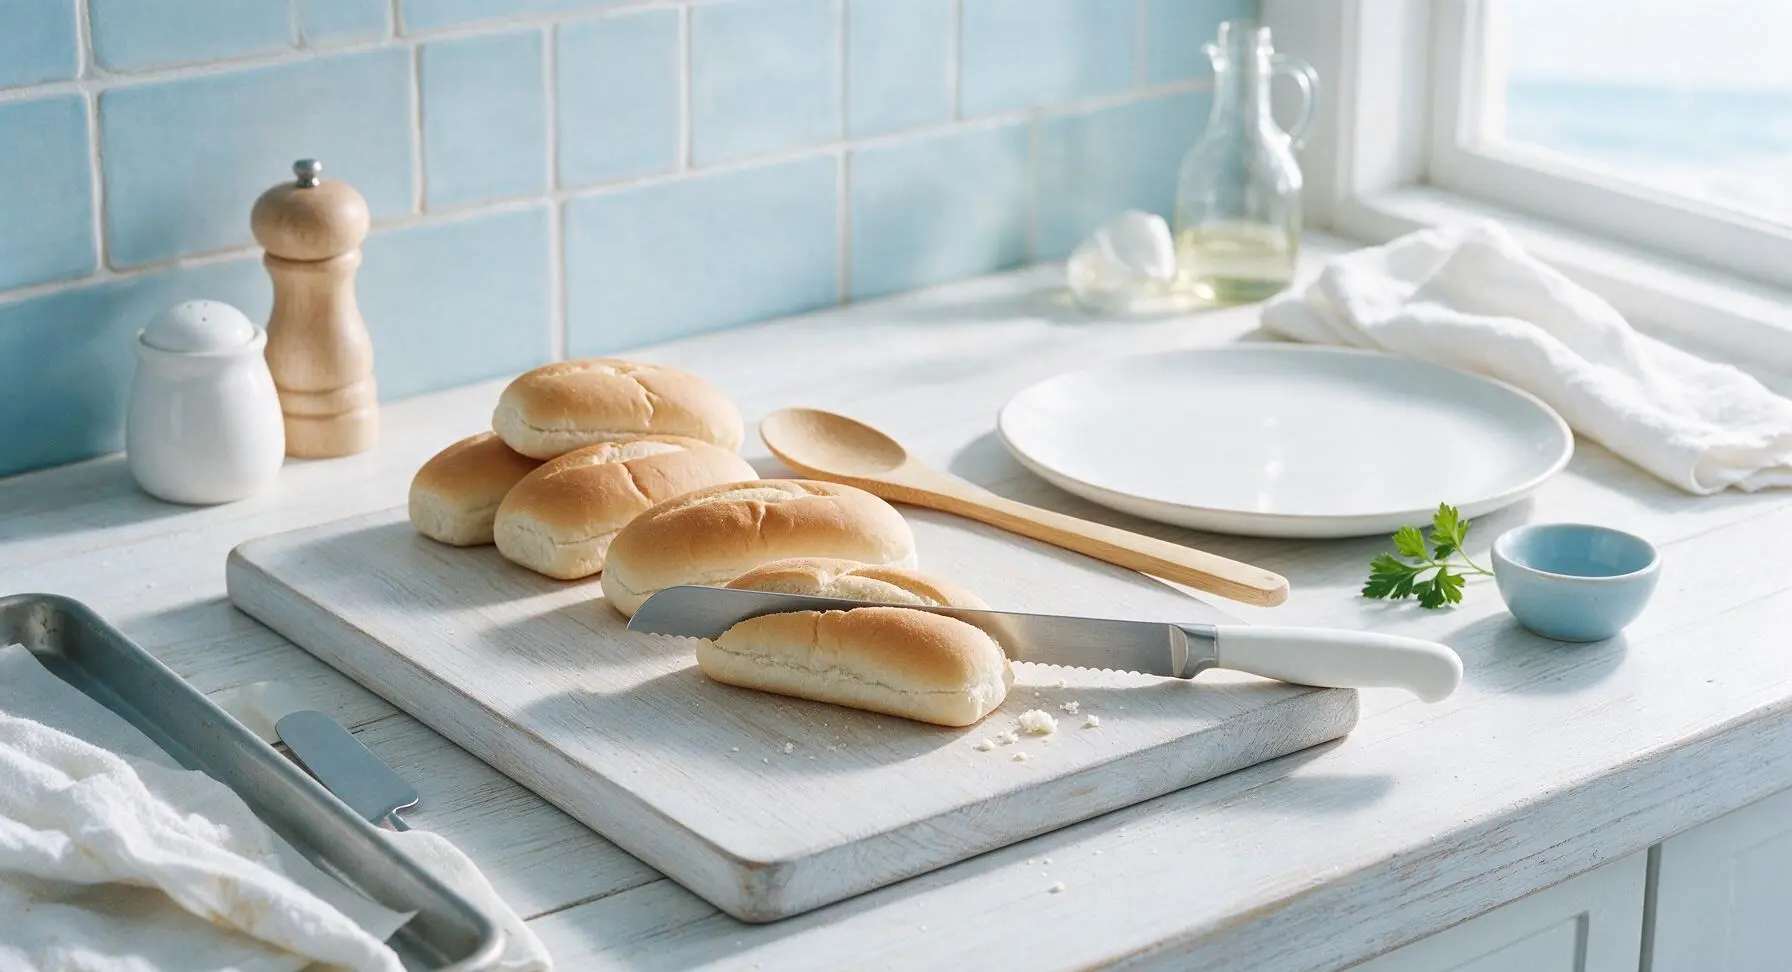
Split the sub rolls

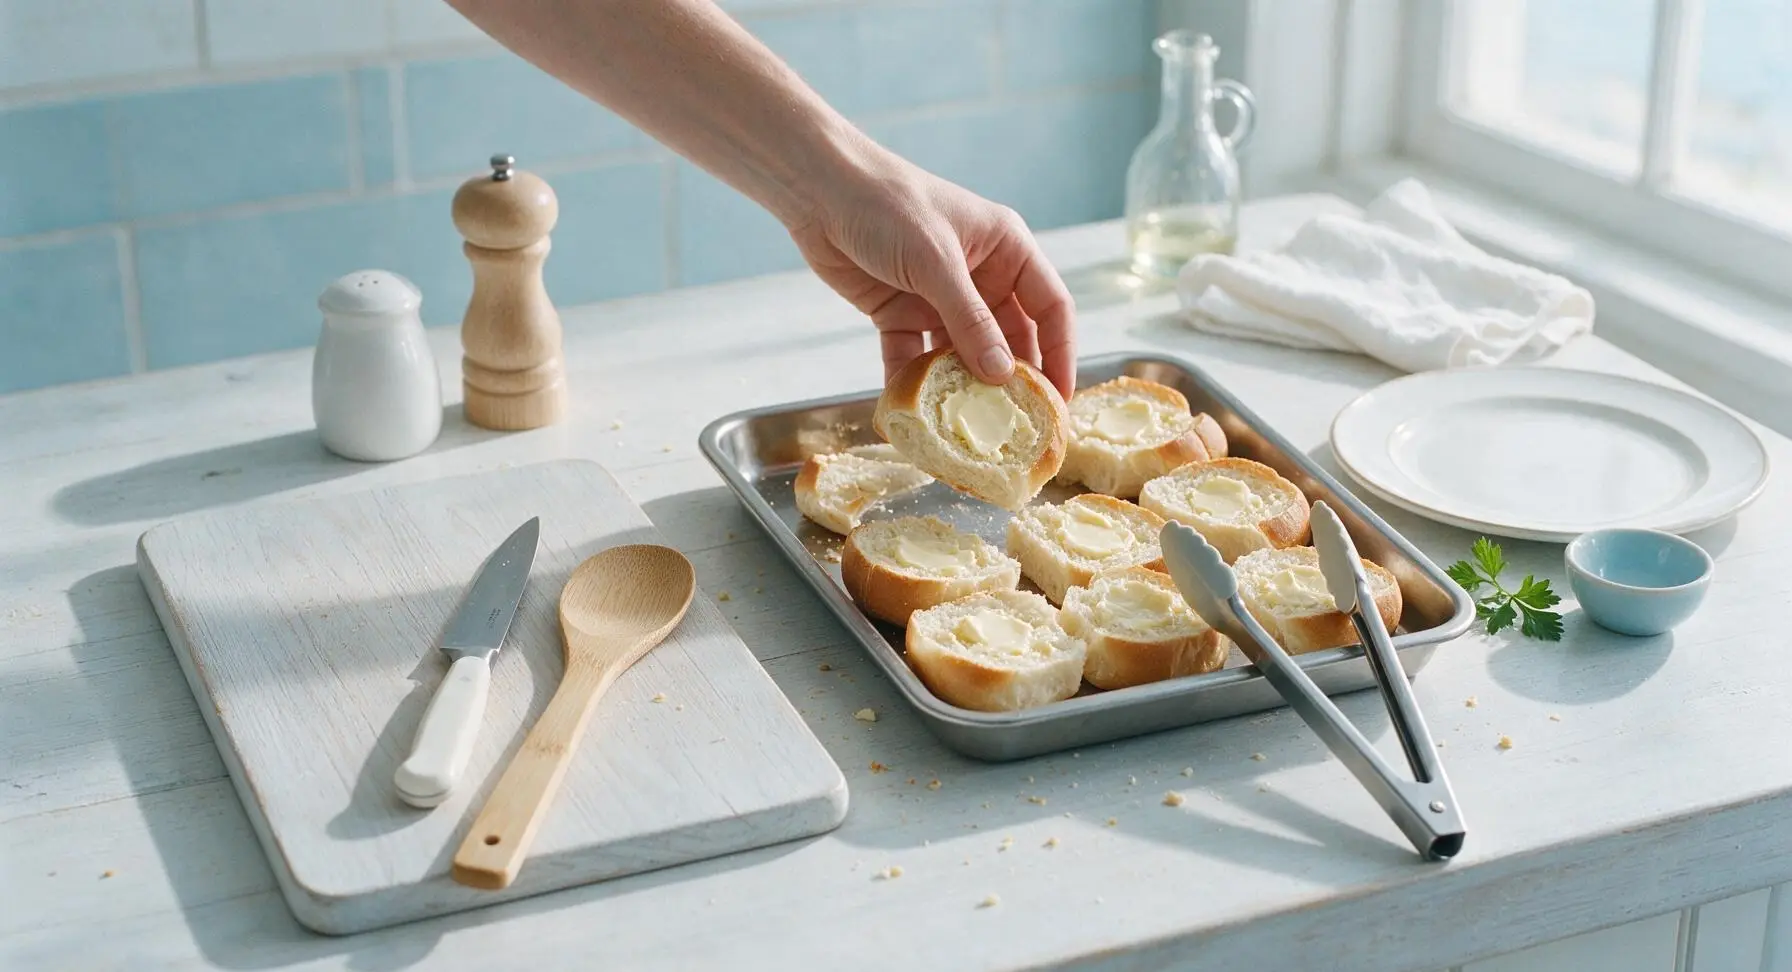
Place all four sub rolls on the light maple cutting board. Hold each roll steady with one hand, and use the serrated bread knife to split each roll lengthwise, leaving a 1/2-inch hinge along one long edge so the roll does not separate completely. A few loose crumbs falling onto the board are normal and require no full cleanup.
Step 1
step1:Split the sub rolls
2

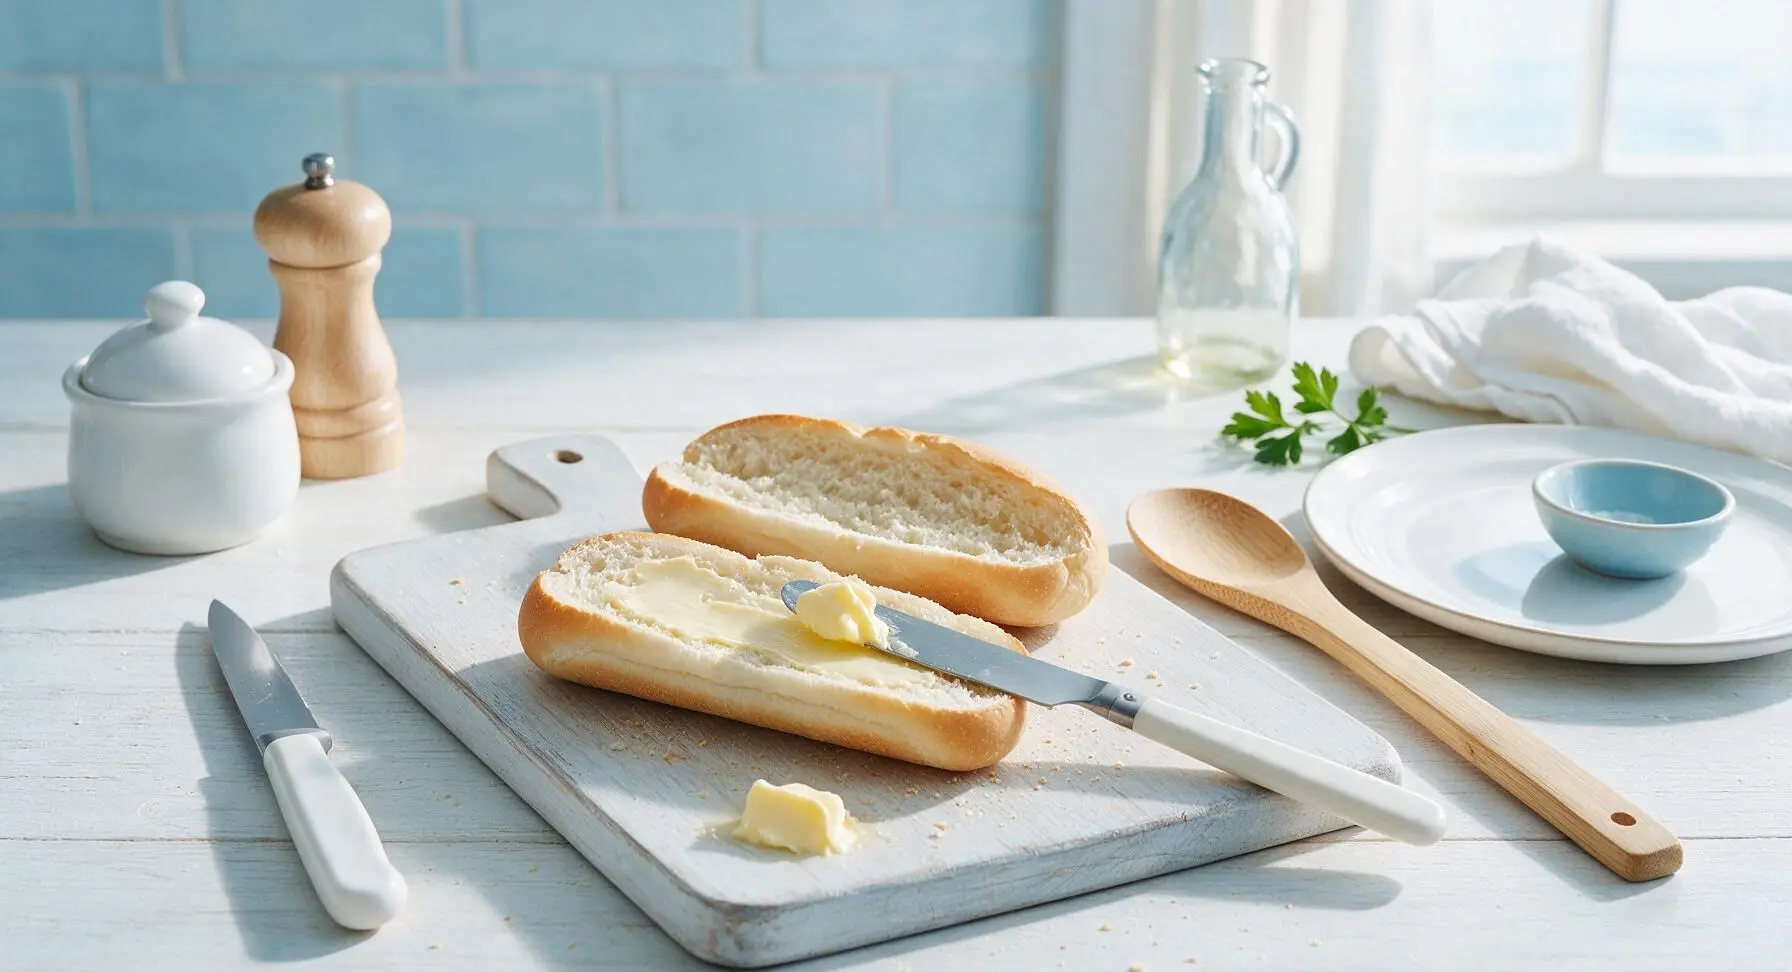
Butter cut roll surfaces

Pick up the offset spatula from its fixed position next to the cutting board. Use it to spread 1/2 tablespoon of softened butter evenly across the entire cut interior surface of each split roll, spreading all the way to the crust edges to create a moisture barrier for later fillings.
Step 2
step2:Butter cut roll surfaces
3

Toast rolls until golden

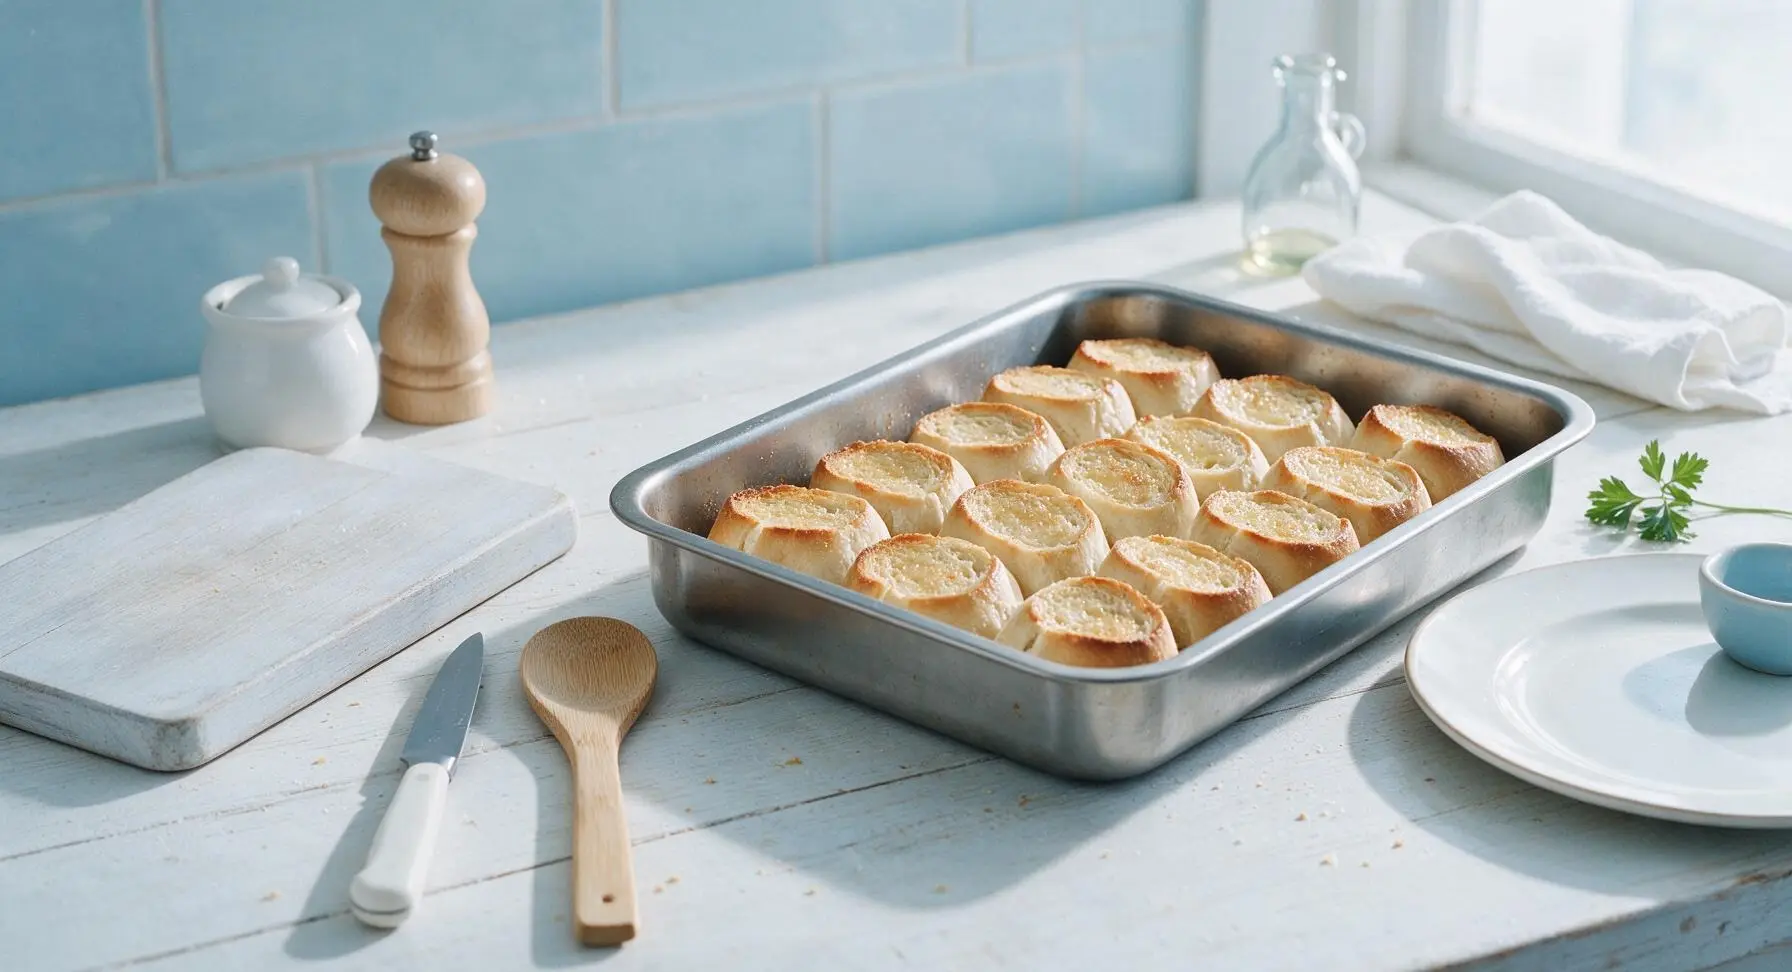
Arrange the buttered rolls cut-side up on the stainless steel toaster oven baking tray. Toast at 200C (400F) for 3-4 minutes, until the cut surfaces are light golden brown and slightly crisp at the edges, and the butter is fully melted and absorbed. Use the silicone-tipped tongs to remove the tray from the toaster oven once done, setting it back in its fixed center-right position on the counter. Watch closely to avoid burning roll edges.
Step 3
step3:Toast rolls until golden
Step 3
step3:Toast rolls until golden
4

Layer cheese and ham

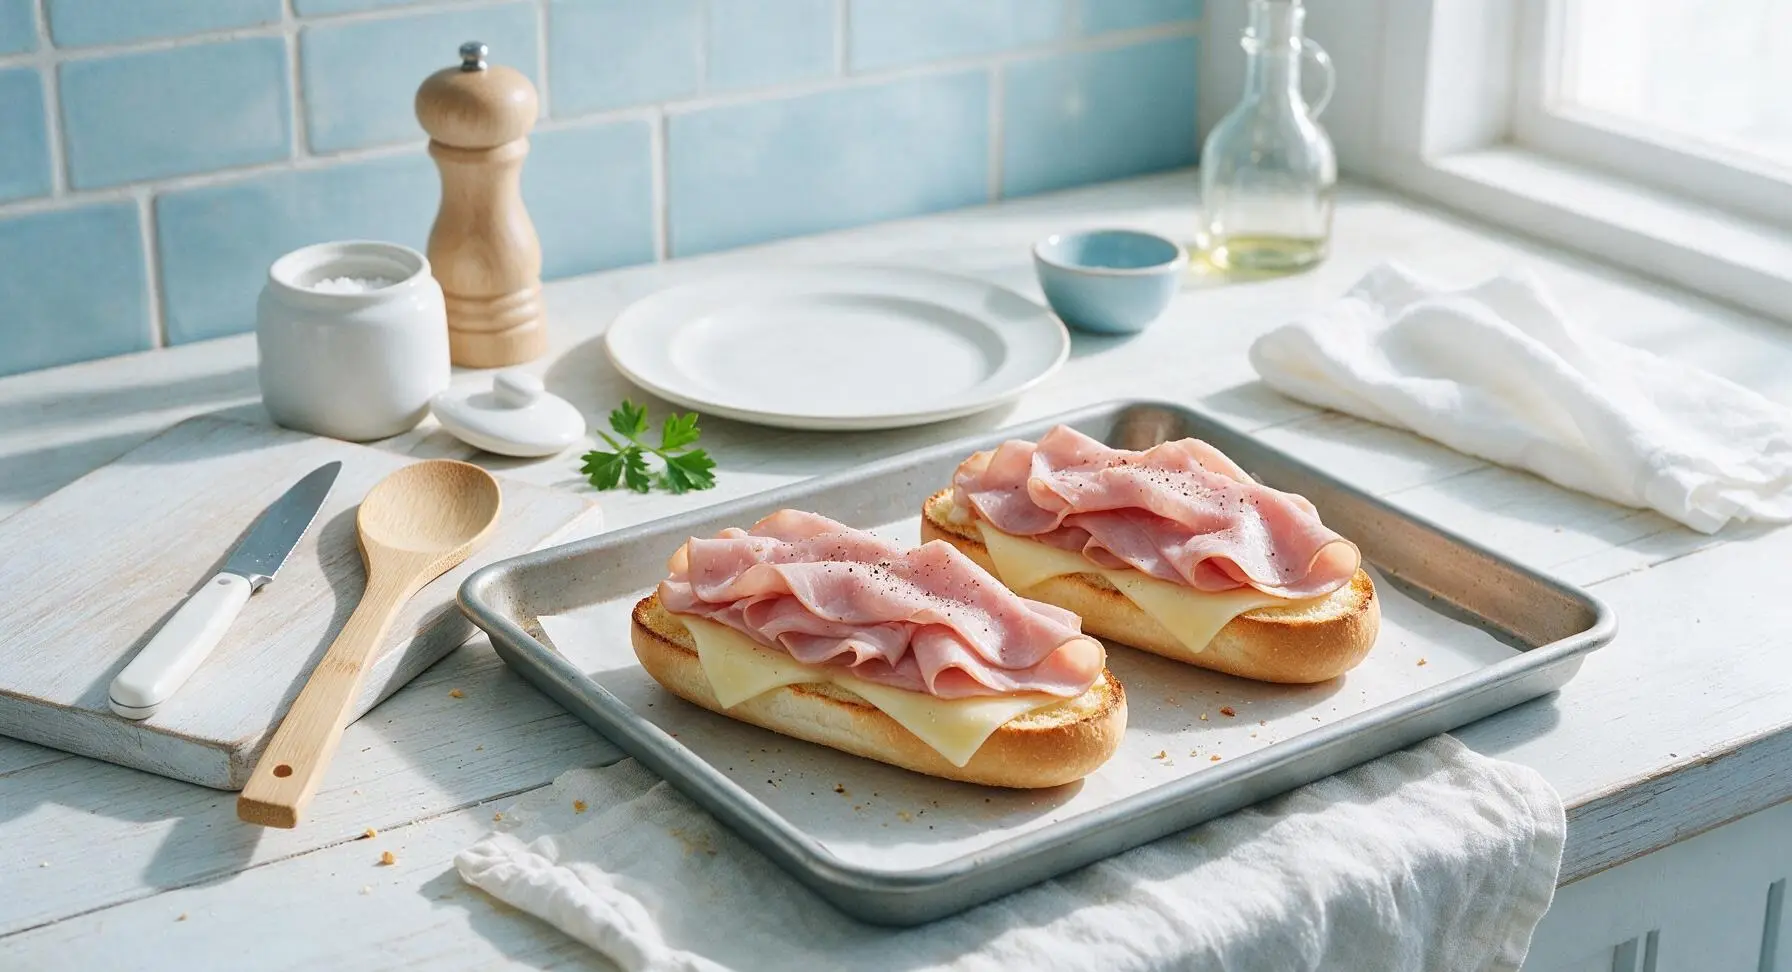
Let the toasted rolls cool for 1 minute after removing from the oven, then place one slice of Swiss cheese on the bottom half of each roll, pressing lightly so the cheese starts to melt from residual bread heat. Top the cheese with 55g (2oz) of thinly folded deli ham, arranging the ham in loose folds rather than flat layers to add texture and height. Sprinkle a tiny pinch of kosher salt and black pepper over the ham for even seasoning.
Step 4
step4:Layer cheese and ham
5

Melt cheese briefly

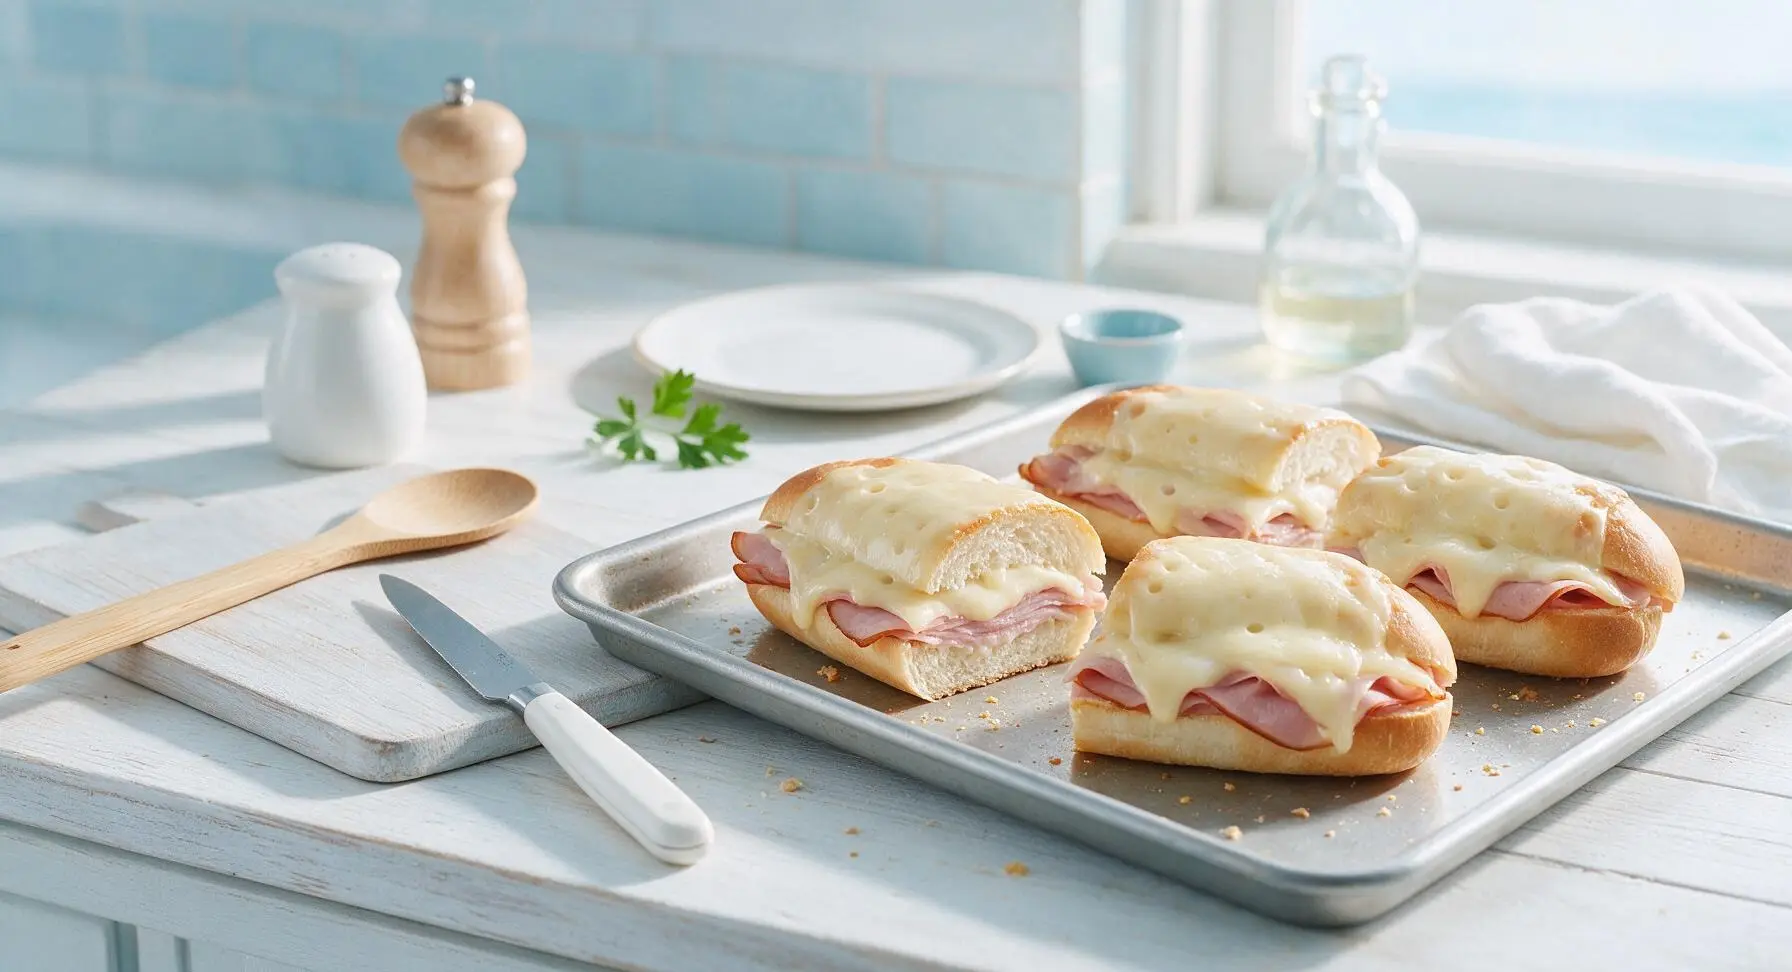
Return the baking tray with cheese and ham-topped rolls to the 200C (400F) toaster oven for 1-2 minutes, just until the cheese is fully melted and bubbly at the edges, and the ham is slightly warmed through. Do not overcook, as this will dry out the ham and make the roll crust overly hard. Use the silicone-tipped tongs to pull the tray back out to its fixed center-right counter position once done.
Step 5
step5:Melt cheese briefly
6

Add fresh vegetable toppings

Let the warm ham and cheese rolls cool for 1 minute after removing from the oven, then top each with a 1/4 cup handful of shredded iceberg lettuce, 2-3 thin slices of Roma tomato, and 2-3 thin slices of red onion. Pat the toppings down lightly so they stay nestled in the roll rather than falling out when closed. Avoid piling toppings too high, as this makes the sub hard to close and eat.
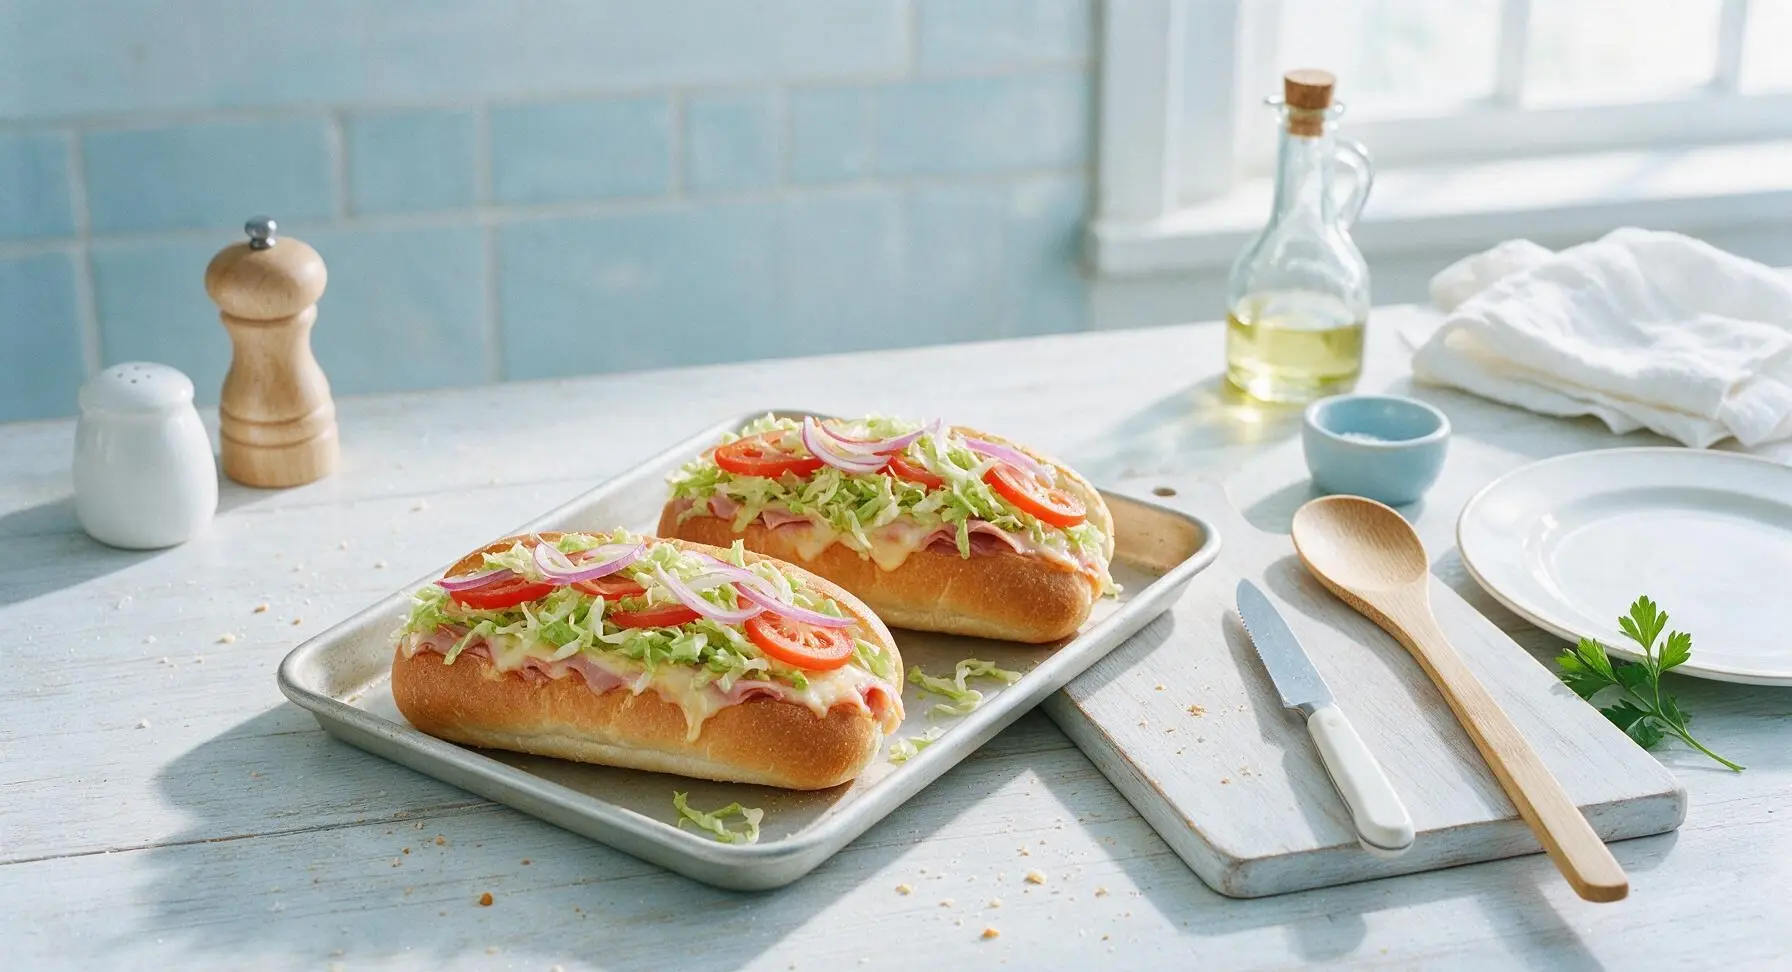
Step 6
step6:Add fresh vegetable toppings
7

Dress and close subs

Drizzle 1 tablespoon of creamy Italian dressing over the vegetable toppings in each sub, taking care not to add too much dressing which will make the bread soggy. Fold the top half of the roll down over the fillings, pressing lightly to compress the sub just enough to hold all ingredients together. Do not press so hard that dressing or fillings squeeze out the sides.
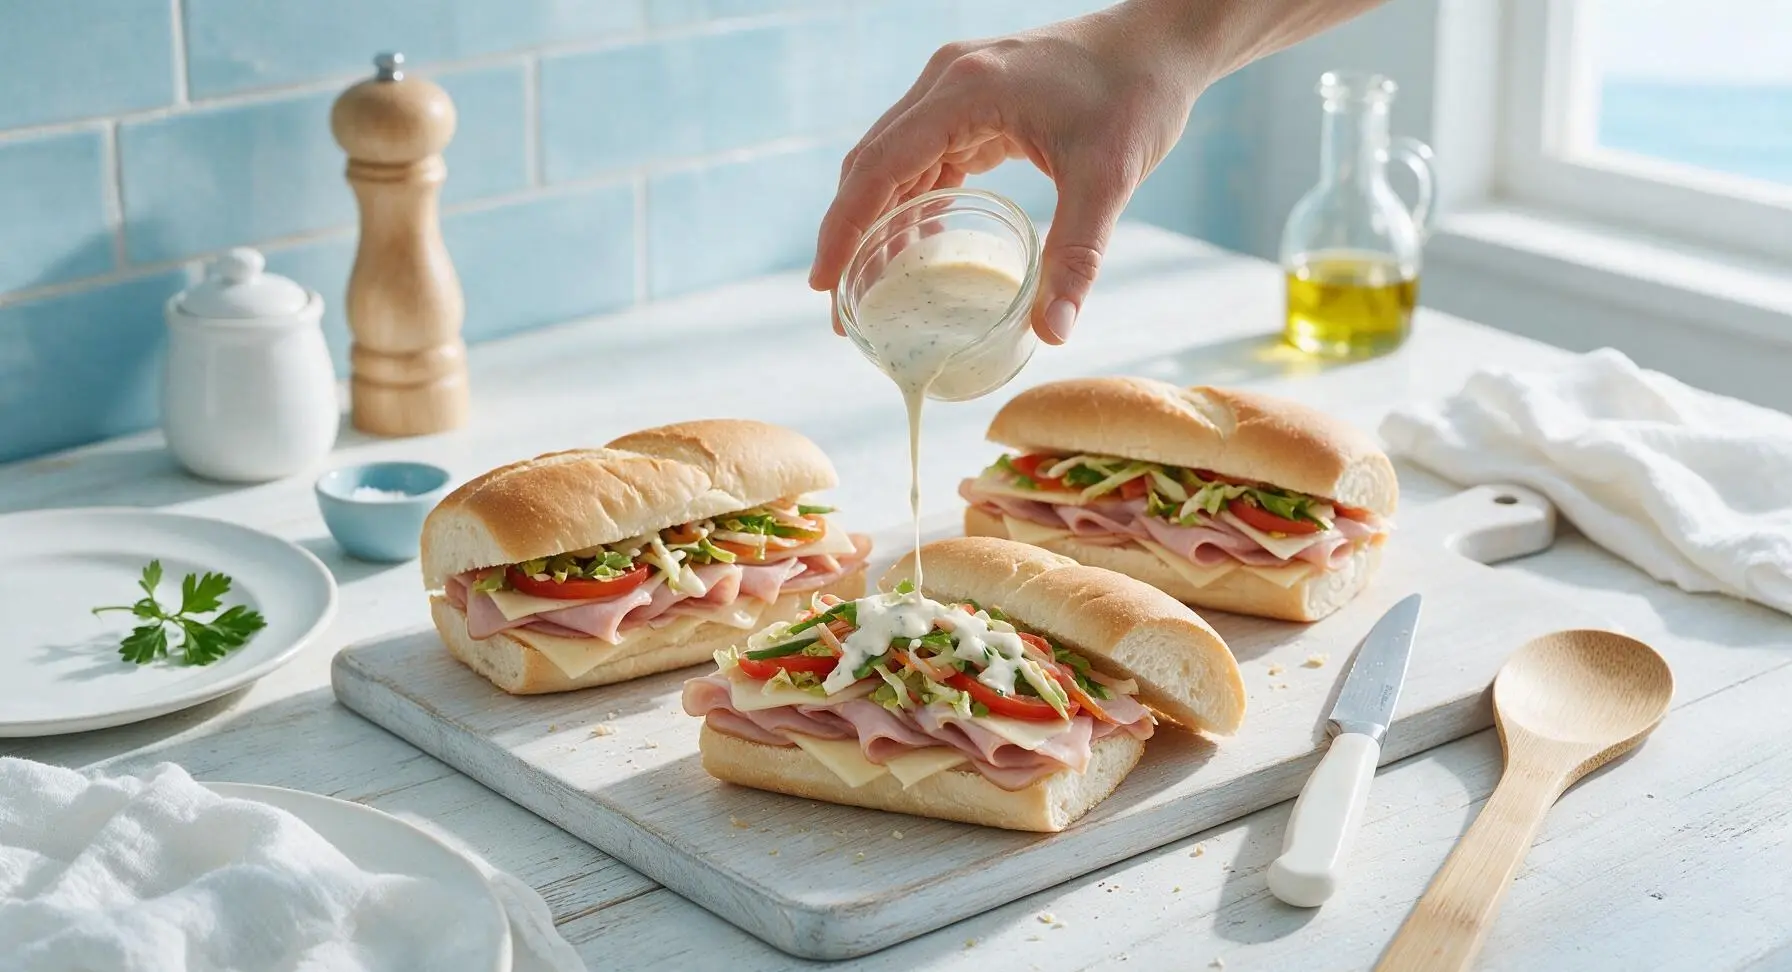
Step 7
step7:Dress and close subs
8

Cut and plate subs

Transfer one closed sub at a time back to the maple cutting board. Use the serrated bread knife to cut each sub diagonally in half with one smooth, gentle sawing motion, to avoid squishing fillings out of the sides. Place two cut halves per serving on the matte white oval sandwich plate, arranging them to show the layered cross-section for serving.
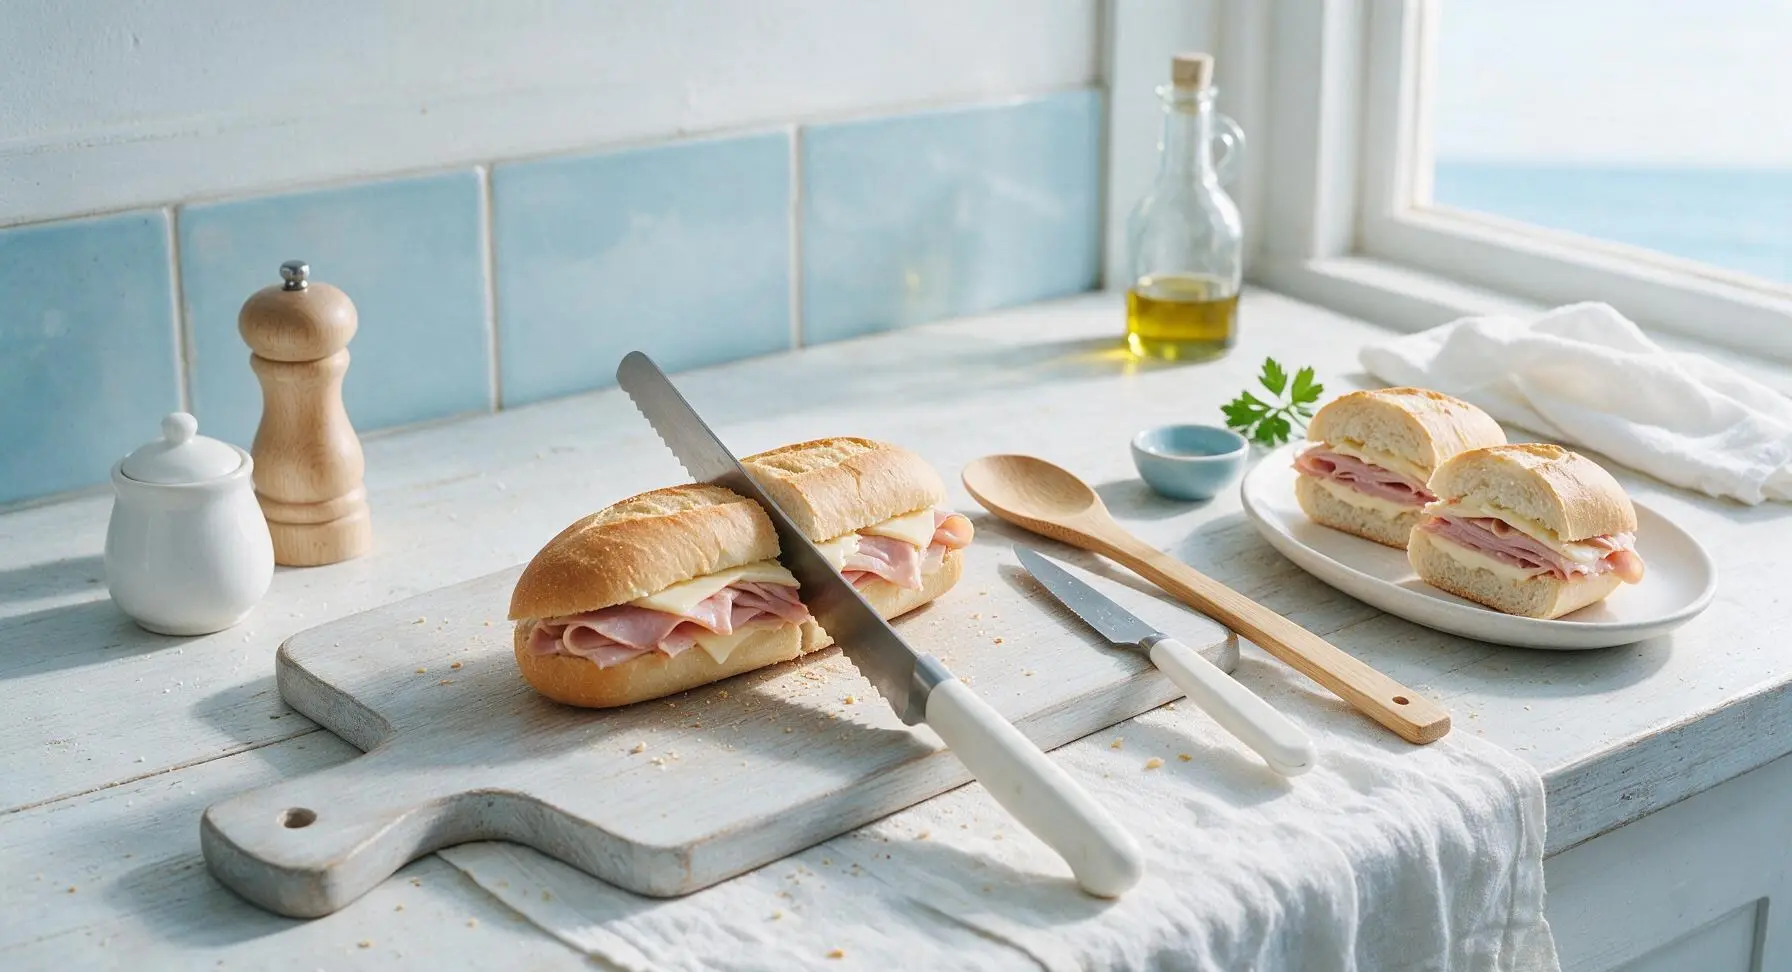
Step 8
step8:Cut and plate subs

Tips

1.Spread softened butter all the way to the crust edges on cut roll surfaces before toasting: this creates a waterproof moisture barrier that prevents juicy tomato and dressing from soaking into the bread and making it soggy, even if you pack subs for lunch 2-3 hours ahead.
2.Loosely fold deli ham slices instead of laying them flat when layering: the small air pockets between folds trap melted cheese and dressing, creating a more textured, less dense bite than flat, stacked meat layers.
3.Keep cheese melting time to 1-2 minutes maximum: over-heating will dry out the deli ham, make the roll crust too crisp to bite comfortably, and cause fresh vegetable toppings to go limp if added too soon.


✨ You May Also Like

Lunch
🍜 United States

Creamy, salty, tangy nostalgic Midwestern sandwich pairing rich peanut butter with crisp briny dill pickles for a fast, satisfying no-cook meal.

⏱️ 5 minutesLunch ★ 4.6
Lunch
🍜 United States

Crispy, melty pressed sandwich layered with savory roast pork, ham, Swiss cheese, pickles, and tangy mustard: a beloved Cuban-American comfort classic.

⏱️ 25 minuteLunch ★ 4.9
Lunch
🍜 United States

Hearty, briny New Orleans pressed sandwich stacked with cured Italian meats, provolone, and zesty olive salad, served cold for bold, portable flavor.

⏱️ 1 hour 20Lunch ★ 4.7
Lunch
🍜 United States

A tangy, creamy Southern American staple, this no-cook cheesy sandwich is packed with sharp cheddar and sweet pimentos for a satisfying, portable bite.

⏱️ 1 hour 15Lunch ★ 4.8
Lunch
🍜 United States

Crispy Cajun-spiced fried shrimp piled on crusty French bread with tangy remoulade and fresh toppings, the iconic Louisiana street food sandwich.

⏱️ 35 minuteLunch ★ 4.4
Lunch
🍜 United States

Stacked, savory deli-style corned beef sandwich with melted Swiss, tangy mustard, and crisp griddled rye— a fast, hearty, satisfying classic.

⏱️ 15 minuteLunch ★ 4.9

ham and cheese sub:Frequently Asked Questions

1.What’s the best way to toast sub rolls so they don’t get too hard or crumbly? ▾
Split your 6-inch white Italian sub roll, spread a thin, even layer of softened unsalted butter on the cut sides, then toast cut-side down on a medium-heat skillet or griddle for 1 to 2 minutes. You’ll get a light golden, crisp edge with a soft, chewy center that holds fillings well without cracking or falling apart when you bite in.
2.Can I use a different type of ham if I don’t have Black Forest deli ham? ▾
Absolutely! While Black Forest ham has a nice subtle smoky depth that pairs perfectly with Swiss, you can swap it for thinly sliced honey ham, smoked Virginia ham, or even boiled deli ham. The key is to ask for paper-thin slices at the deli counter—thick, pre-packaged ham slices will make the sub feel dense and hard to bite through.
3.Can I serve this sub cold instead of toasting it? ▾
You totally can! The warm toasted version has that cozy, gooey cheese contrast to crisp veggies, but for a classic cold deli-style sub, skip the butter toasting step. Just layer cold ham and cheese on the split roll, and add veggies and dressing right before serving to keep the bread from getting soggy as it sits.
4.How do I keep shredded iceberg lettuce crisp instead of wilted? ▾
First, spin shredded iceberg completely dry in a salad spinner after shredding to remove all excess surface moisture, then chill it for 10 minutes before building your sub. Always add lettuce as the final layer, right before serving, so it never sits directly against warm toasted bread or wet dressing that would make it go limp.
5.How much ham per 6-inch sub gives the best meat-to-bread ratio? ▾
Aim for 4 to 5 ounces of thinly sliced Black Forest ham per 6-inch roll. Instead of laying slices flat in heavy stacks, ruffle each slice as you place it to create light, airy pockets. This keeps the sub from feeling overly dense, and helps the sliced Swiss cheese melt evenly between layers for that perfect gooey bite.
6.What kind of zesty dressing works best for this sub? ▾
You can’t go wrong with a simple red wine vinaigrette mixed with a pinch of dried oregano and a tiny squirt of Dijon, or a creamy Italian dressing if you prefer richer flavor. Stick to 1 to 2 tablespoons per sub, drizzled over fillings, so you get bright, tangy flavor without making the bottom of the roll soggy.
7.Can I prep these subs ahead for packed lunches or picnics? ▾
You can do partial prep to cut down on last-minute work, but skip full assembly ahead of time. Toast rolls, portion cheese and ham, and prep veggies the night before, but wait to stack fillings and add dressing until right before eating. Pack dressing on the side for to-go meals to avoid mushy, soggy bread.
8.My cheese never gets fully gooey and melted—what’s the fix? ▾
Lay your thin Swiss cheese slices directly on the warm, buttered toasted roll right after it comes off the griddle, while the bread is still piping hot. For extra melt, pop the cheese-topped roll under the broiler for 30 seconds before adding ham and veggies—just watch it closely so the cheese doesn’t bubble over and burn.
9.What if I can’t find white Italian sub rolls at my grocery store? ▾
If soft white Italian sub rolls are out of stock, reach for soft hoagie rolls, or a small, mild French baguette cut to 6-inch lengths. Skip overly dense, crusty sourdough rolls that are too hard to bite through, or super soft hamburger buns that will fall apart once you add juicy fillings and tangy dressing.
10.What extra veggie toppings pair well with this classic combo? ▾
Stick to bright, crunchy deli-style toppings: thin-sliced ripe tomato, thinly sliced red onion, pickled banana peppers, crisp dill pickle slices, or even a handful of shredded carrot work great. Always pat wet veggies like tomato slices dry with a paper towel before adding them to keep the roll from getting soggy.
11.Can I use salted butter instead of unsalted butter for toasting? ▾
This recipe uses softened unsalted butter to let you control sodium levels, since deli ham and Swiss cheese already have a fair amount of salt. If salted butter is all you have on hand, that works fine—just spread a thinner layer on the cut sides of the roll so your finished sub doesn’t end up overly salty.
12.How do I keep fillings from falling out when I take a bite? ▾
Layer strategically to lock everything in: spread condiments on both cut sides of the roll first, then add cheese, ruffled ham, then lighter, crisp veggies like shredded lettuce last. Give the built sub a gentle press, wrap it in parchment paper for 2 minutes, then slice to help all the fillings settle and stay in place.

Comments (17)

3 days ago

Made these for our weekend tailgate and they were a total hit! So easy to assemble ahead of time, wrap in foil, and toss in the cooler. Everyone was asking for the recipe, I felt like a total deli pro. 10/10 will be a game day staple from now on.

30 minutes ago

Super straightforward, no fancy ingredients which I love. Threw this together for a quick lunch between work meetings and it hit the spot way better than the sad takeout sub from the place down the street. Will be adding this to my weekly meal prep rotation.

1 week ago

My teen son is the pickiest eater on the planet and he asked for seconds! I used Swiss cheese like the recipe said, added a little mayo and shredded lettuce, and it was perfect. No complaints from anyone at the dinner table, which is basically a miracle in my house.

5 days ago

It’s fine? Like, it’s a basic ham and cheese sub, nothing mind blowing. It comes together fast which is nice, but I felt like it needed more seasoning, maybe some Italian dressing or oregano to give it more zing. Probably won’t make it again as written, might tweak it more.

2 days ago

Total game changer for quick summer lunches! I don’t have to heat up the whole kitchen making a big meal when it’s 90 degrees out. I used sourdough sub rolls from the local bakery and it made the whole thing taste like it came from a fancy sandwich shop. SO good.

5 minutes ago

Wait, 5 minute cook time? No way, I thought good subs took way longer. I’m always running late to my kid’s soccer practice so this is exactly the kind of quick weeknight meal I’ve been searching for. Can’t wait to try it tomorrow night!

just now

It really is that fast, Ryan! You can even pre-slice all your fillings the night before to cut prep down even more on busy practice nights. Hope the whole family loves it!

2 weeks ago

I made these for our neighborhood block party potluck last weekend and they were gone in 10 minutes! I cut them into mini sliders so they were easier to grab, people were raving about them. So easy to make for a crowd.

1 week ago

Oh the mini slider idea is genius! I’ve been trying to figure out what to bring to our office potluck next week and this is perfect, no messy serving required.

yesterday

Tried this last night but used provolone instead of Swiss because that’s all I had in the fridge. Still turned out amazing! The melted cheese pull was *chef’s kiss*, my roommate kept stealing bites off my plate.

yesterday

Provolone is such a great swap, Carlos! It melts so smoothly and pairs perfectly with the ham—no wonder your roommate was sneaking bites! So glad it worked out even with the ingredient swap.

yesterday

Is there a way to make these ahead for meal prep without the bread getting soggy? I pack lunch for work every day and would love to add these to my rotation but hate when my sandwiches are mushy by noon.

2 hours ago

I do these for meal prep all the time! Keep the wet ingredients (tomato, pickles, mustard/mayo) in a separate little container, and assemble right before you eat. The bread stays perfectly crisp that way!

3 days ago

First time making a sub at home that didn’t fall apart when I picked it up! The tip to layer the cheese against the bread to keep moisture out was so smart, I never thought to do that before. Total game changer.

2 days ago

That layering trick is one of our best kept deli secrets, Noah! So glad it helped you make a sturdy, non-soggy sub that holds up bite after bite. Nothing worse than a sandwich that falls apart mid-eat!

1 week ago

My husband said this is better than the sub shop we’ve been going to for 10 years! I added a little oil and vinegar, some sliced onion, and toasted the bun under the broiler for a minute. He’s already asking when I’m making it again.

5 days ago

Wait the broiler trick for the bun? I’m trying that tonight! I usually just toast mine in the toaster oven but the broiler gives that perfect char, right?

1 week ago

Super easy, but I wish it had a little more flavor depth. It’s pretty plain as written, I ended up adding pepperoni, salami, and a sprinkle of Italian seasoning to make it more like an Italian sub. Still a good base though!

1 week ago

Thanks for the honest feedback, Kevin! This recipe is designed to be a super customizable base, so adding those extra cured meats and seasonings is exactly the kind of tweak we love to see. We’re glad you were able to adjust it to your taste!

2 weeks ago

OMG I made these for my kids’ after school snack yesterday and they went feral for them! I cut them into bite sized pinwheels actually, used whole wheat sub rolls to make it a little healthier, and they ate every last bite. Even my 4 year old who refuses all deli meat ate two pieces!

2 weeks ago

The pinwheel cut is such a good call for little kids! My boys always complain when sandwiches are too big to hold, I’m totally stealing that trick for next week.

2 weeks ago

We love the pinwheel hack, Tasha! Using whole wheat rolls is such a great swap for extra fiber too. So happy your picky 4 year old approved—that’s the best testimonial we could ask for!

2 days ago

Wait, do you really not need to cook the ham? I always heat up deli meat before I eat it because I’m paranoid about food safety, especially when I’m making food for my elderly mom. Would it mess up the recipe if I warm the ham up a little first?

2 days ago

Deli ham is fully cooked already, so you don’t *have* to heat it, but warming it up a little tastes amazing! I toss mine in a skillet for 30 seconds per side to get it a little crispy, it elevates the whole sub.

yesterday

Great question, Marcus! As mentioned, deli ham is fully cured and cooked, so it’s safe to eat straight from the package. Warming it up slightly (either in a skillet or on the griddle when you melt the cheese) won’t ruin the recipe at all—it actually adds a really nice, cozy texture!

yesterday

Game. Changer. I’ve been wasting so much money on overpriced delivery subs for lunch when this takes 5 whole minutes to make at home. I added pickles, shredded iceberg, tomato, and a little mayo and mustard, and it’s literally identical to my favorite deli order. I’m never ordering delivery again!

yesterday

Right?! I did the math once, making these at home costs like $1.50 per sub vs $12 for delivery. The savings are insane for literally the same (or better) taste.

yesterday

We love to hear that, Lila! Restaurant markups on sandwiches are no joke, and being able to customize every topping exactly how you like it makes the homemade version even better. Cheers to saving money and eating great!

3 days ago

Tried this for a quick date night in with my boyfriend last night, we set up a little sub topping bar with all our favorite fixings and it was so fun! We had olives, banana peppers, different cheeses, even some bacon bits to add. It felt way more special than just a regular old sandwich night.

2 days ago

The topping bar idea is so cute! My partner and I are always looking for cheap, fun at-home date ideas and this is perfect—no fancy reservations or overpriced restaurant bills required.

yesterday

We set up a sub topping bar for my son’s 10th birthday party last month! It was so easy, even the kids got to build their own subs exactly how they wanted, and I got zero complaints from the other parents either. Total win.

1 week ago

Followed the recipe exactly and it was just… okay? The bread got a little soggy even though I layered the cheese first, maybe my tomatoes were too juicy? I want to love it because it’s so easy, but I’m not sure what I did wrong.

5 days ago

Try patting your tomato slices dry with a paper towel before you put them on! That gets rid of all the extra juice that makes bread soggy, I do that every time I make sandwiches now and it’s a total game changer.

5 days ago

Sorry to hear the bread got soggy, Greg! The paper towel trick for tomato slices is spot on—you can also toast your bun a little longer to give it an extra sturdier crust that holds up to juicier toppings. Give it another try with those tweaks, we think you’ll love it!



