

ham and swiss

title 1
ham and swiss
⏱️ cook time 8 minutes
🍽️ servings 4
⚡ Difficulty easy

intro

Crispy buttery sourdough stacked with smoky deli ham and nutty, stretchy melted Swiss, slathered with bright dijon spread—this classic diner-style melt is quick, satisfying, pure comfort.

Ingredients

Sourdough bread (sandwich cut) 8 slices (400g total)
Thin-sliced smoked deli ham 225g
Sliced Swiss cheese (Emmental-style) 8 slices (170g total)
Unsalted butter, softened 4 tbsp (56g)
Dijon mustard 2 tbsp
Mayonnaise 1 tbsp
Garlic powder 1/4 tsp
Kosher salt 1/8 tsp
Freshly ground black pepper 1/8 tsp
Fresh flat-leaf parsley 2 sprigs (for garnish)

Steps

1

Make Dijon Spread

In the small cream ceramic ramekin, combine 2 tablespoons dijon mustard, 1 tablespoon mayonnaise, 1/4 teaspoon garlic powder, 1/8 teaspoon kosher salt, and 1/8 teaspoon freshly ground black pepper. Stir with the stainless steel butter knife until completely smooth, with no visible spice clumps. Set aside; this takes roughly 1 minute.
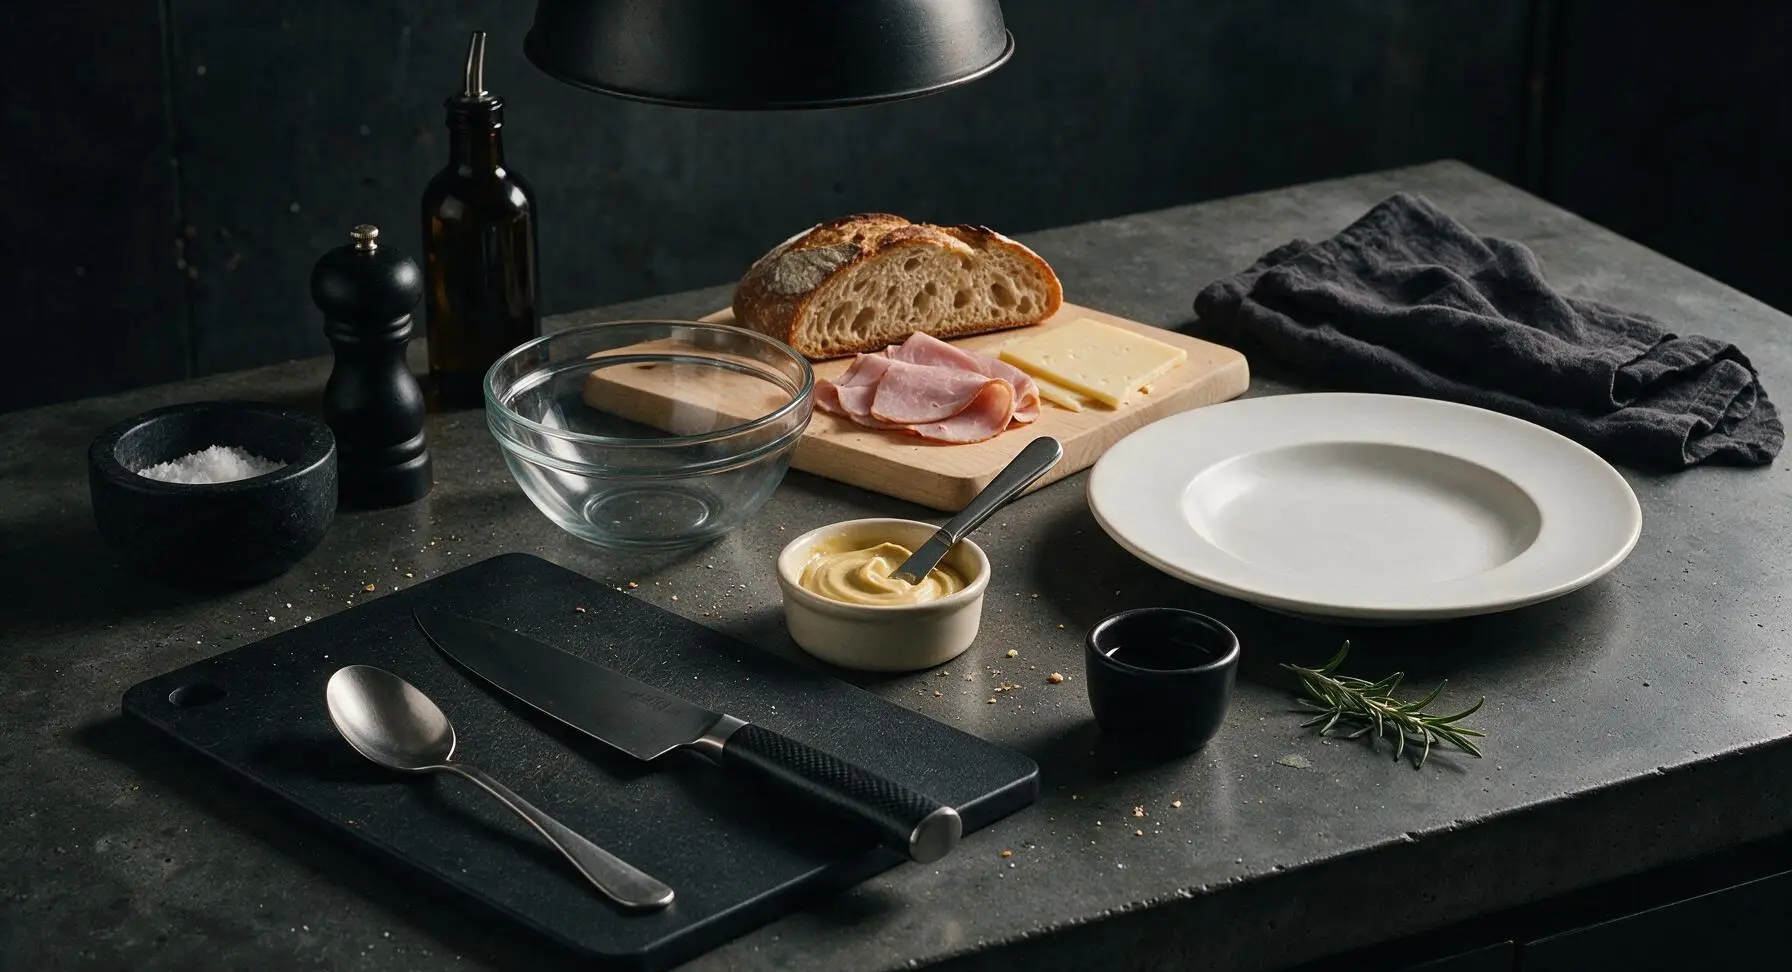
Step 1
step1:Make Dijon Spread
2

Butter bread slices

Lay all 8 sourdough slices flat on the light maple cutting board. Use the butter knife to spread 1/2 tablespoon of softened unsalted butter evenly across one entire side of each bread slice. Keep the butter layer thin enough to see faint bread texture through it, with no thick clumps, to ensure even, crisp toasting without sogginess. This takes about 3 minutes.


Step 2
step2:Butter bread slices
Step 2
step2:Butter bread slices
3

Layer sandwich fillings

Flip 4 of the bread slices so the buttered side faces down on the cutting board. Spread 1 teaspoon of the dijon mixture evenly across the unbuttered side of each flipped slice. Top each with 1 slice of Swiss cheese, divide the 225g of ham evenly between the sandwiches (about 55g per sandwich, folded loosely to create air pockets for even melting), then add a second slice of Swiss cheese on top of the ham. Top with the remaining 4 bread slices, buttered side facing out, so buttered surfaces will touch the pan during cooking. Press each sandwich down gently with the palm of your hand to compact slightly.

Step 3
step3:Layer sandwich fillings
4

Preheat nonstick skillet

Place the 12-inch matte black nonstick skillet on the stovetop over medium-low heat (325°F / 160°C). Let it preheat for 2 minutes, until a drop of water flicked onto the surface sizzles gently and evaporates slowly over 3 seconds. If the water vanishes instantly, the pan is too hot and will burn the bread before the cheese melts, so reduce heat slightly before cooking.

Step 4
step4:Preheat nonstick skillet
5

Cook first sandwich side

Carefully place 2 assembled sandwiches into the preheated skillet, leaving 2cm of space between them. Cook for 3-4 minutes, until the bottom bread slice is deep golden brown and crispy to the touch, and the cheese on the bottom layer has started to melt and bubble around the edges. Do not press down hard on the sandwiches while cooking, as this will squeeze out melted cheese and create dry spots.


Step 5
step5:Cook first sandwich side
Step 5
step5:Cook first sandwich side
6

Flip sandwiches to cook through

Use the stainless steel offset spatula to carefully slide under each sandwich and flip in one smooth motion. Cook for another 3-4 minutes on the second side, until the bread is equally golden brown and crispy, and all the Swiss cheese is fully melted and stretchy when you gently lift a corner of the bread. If the bread browns too quickly, reduce heat to low to give the cheese time to melt without burning. Transfer cooked sandwiches to a clean plate while you repeat the cooking process for the remaining two sandwiches.

Step 6
step6:Flip sandwiches to cook through
7

Rest and cut sandwiches

Once all sandwiches are cooked, transfer them to the top matte off-white ceramic dinner plate. Let them rest for 1 minute to allow the cheese to set slightly, so it does not run out immediately when cut. Use the 8-inch stainless steel chef’s knife to cut each sandwich diagonally into two equal triangles, wiping the knife blade between cuts for clean, smooth edges.

Step 7
step7:Rest and cut sandwiches
8

Garnish and serve warm

Arrange the cut sandwich triangles overlapping slightly on the plate for presentation. Tuck small fresh parsley sprigs between the sandwiches for a bright color contrast, and add a tiny 1-teaspoon dollop of remaining dijon spread on the plate edge for dipping. Serve immediately while the cheese is still stretchy and the bread is crisp.

Step 8
step8:Garnish and serve warm

Tips

1.Use room-temperature softened butter for spreading: Cold butter will tear soft sourdough bread and create uneven, clumpy layers that lead to soggy or unevenly toasted spots on the finished sandwich.
2.Cook over steady medium-low heat, not high: High heat will burn the buttery bread exterior in 1–2 minutes, before the Swiss cheese has a chance to fully melt into that signature stretchy, gooey texture.
3.Let cooked sandwiches rest for 1 minute before cutting: This short rest allows the melted cheese to set slightly, so it does not gush out of the cut edges and make the bread soggy before you take the first bite.


✨ You May Also Like

Lunch
🍜 United States

Creamy, salty, tangy nostalgic Midwestern sandwich pairing rich peanut butter with crisp briny dill pickles for a fast, satisfying no-cook meal.

⏱️ 5 minutesLunch ★ 4.6
Lunch
🍜 United States

Crispy, melty pressed sandwich layered with savory roast pork, ham, Swiss cheese, pickles, and tangy mustard: a beloved Cuban-American comfort classic.

⏱️ 25 minuteLunch ★ 4.9
Lunch
🍜 United States

Hearty, briny New Orleans pressed sandwich stacked with cured Italian meats, provolone, and zesty olive salad, served cold for bold, portable flavor.

⏱️ 1 hour 20Lunch ★ 4.7
Lunch
🍜 United States

A tangy, creamy Southern American staple, this no-cook cheesy sandwich is packed with sharp cheddar and sweet pimentos for a satisfying, portable bite.

⏱️ 1 hour 15Lunch ★ 4.8
Lunch
🍜 United States

Crispy Cajun-spiced fried shrimp piled on crusty French bread with tangy remoulade and fresh toppings, the iconic Louisiana street food sandwich.

⏱️ 35 minuteLunch ★ 4.4
Lunch
🍜 United States

Stacked, savory deli-style corned beef sandwich with melted Swiss, tangy mustard, and crisp griddled rye— a fast, hearty, satisfying classic.

⏱️ 15 minuteLunch ★ 4.9

ham and swiss:Frequently Asked Questions

1.Why doesn’t my Swiss cheese get that perfectly stretchy, fully melted texture in the center of the melt? ▾
Great question! Pull your Swiss slices out of the fridge 10 minutes before assembling so they don’t stay ice-cold in the center. Cook over medium-low heat (not high!) so the bread toasts evenly without burning before the cheese melts, and don’t overstuff with ham—too much filling blocks even heat flow. Press gently with a spatula as it cooks to help everything meld.
2.Can I use a different type of bread if I don’t have sourdough on hand? ▾
Absolutely! Sourdough’s subtle tang cuts through rich ham and nutty cheese perfectly, but other sturdy sandwich breads work great too. Try crusty rye, country white, or light whole grain—just skip ultra-soft, thin-sliced bread that will turn soggy. No matter what bread you pick, butter the outer crust evenly to get that signature crispy, golden diner-style crunch.
3.How do I keep my melt from getting soggy instead of crispy on the outside? ▾
Sogginess comes from two easy-to-fix mistakes! First, use softened butter spread in a thin, even layer across every inch of the bread’s outer surface, with no bare spots. Second, don’t slather dijon too thickly directly against the bread—place a thin slice of cheese against the bread first to act as a moisture barrier, and cook on a preheated skillet for the crunchiest results.
4.What simple upgrades can I add without straying from the classic diner flavor? ▾
You don’t need fancy add-ins to elevate this melt! A thin layer of caramelized onion, a few slices of crisp dill pickle, or a pinch of smoked paprika mixed into your dijon adds bright, deep flavor without overpowering the iconic ham and Swiss pairing. For extra texture, swap a quarter of the smooth dijon for whole-grain mustard for pops of sharp, seedy mustard flavor.
5.Can I make these melts ahead for meal prep or quick weekday lunches? ▾
Prep components ahead, but skip fully assembling and cooking melts in advance—they’ll lose their crisp, buttery texture as they sit. Pre-slice your ham and cheese, mix up your dijon spread, and store everything in airtight fridge containers for up to 3 days. When you’re ready to eat, assemble and cook in 5 minutes flat for that fresh, gooey, crispy result you want.

Comments (16)

2 days ago

OMG this is SO good! I threw this together for a quick weeknight dinner when I forgot to thaw chicken, and my whole family devoured it. The crusty bread with the melted Swiss and salty ham? Chef’s kiss. 10/10 will make again for our next weekend hike lunch too!

30 minutes ago

Wait, can I use deli honey ham instead of black forest? I have a ton left from a potluck last weekend and don’t want it to go to waste.

5 minutes ago

Absolutely! Honey ham works beautifully here — it adds a little extra sweet note that pairs perfectly with the nutty Swiss cheese. Just pat the slices dry a little if they’re extra juicy so your bread doesn’t get soggy!

1 week ago

Total game changer for my weekly meal prep! I make these on Sunday, wrap them individually, and pop them in the toaster oven at work for 3 minutes and it tastes fresh. Way better than the sad cafeteria sandwiches.

5 days ago

Wait do you store them assembled in the fridge? I tried prepping melts before and the bread got all mushy 😭

3 days ago

Great question! If you’re prepping ahead, we recommend storing the ham and cheese separately from the bread, and assembling right before toasting if you can. If you do assemble ahead, a thin layer of butter on the inside of the bread creates a barrier that keeps sogginess away!

2 weeks ago

I’ve been making ham and melts for 40 years and this recipe is exactly the classic version I grew up on. No weird fancy add-ins, just simple, hearty flavor. My grandkids request it every time they sleep over.

5 minutes ago

Bro this is so easy to make in my dorm toaster oven?? I made it last night after my late study session and it hit different. No fancy equipment needed, just cheap grocery store ingredients. Saved my wallet from takeout.

just now

Wait do you just use regular sliced sandwich bread? I don’t have sourdough in my dorm fridge rn

yesterday

I made a big batch of these cut into sliders for my office potluck yesterday and they were GONE in 10 minutes. People kept asking me for the recipe! I added a little dijon spread like the recipe suggested and *chef’s kiss*

2 hours ago

Wait that was YOU who brought those? I ate three of them no cap, they were insane. I need to make these for my fantasy football watch party this weekend

30 minutes ago

Haha that was me! Pro tip: brush the tops with a little garlic butter before baking if you’re making sliders, people lose their minds over it

3 days ago

Quick question — is there any cross-contamination note for nut ingredients here? My son has a severe tree nut allergy and I want to make sure it’s safe for his school lunch.

3 days ago

The base recipe as written is completely nut-free! Just be sure to check the labels on your deli ham, Swiss cheese, and bread to make sure they aren’t processed in a facility with tree nuts if you’re managing a severe allergy.

2 days ago

Thank you so much! Made these today and he loved it, said it’s the new best thing in his lunchbox. Appreciate the quick response!

5 days ago

Made these on the griddle out on the patio last weekend for a quick lunch between yard work. Threw a little pickled jalapeno on mine for a kick, and it slapped. Way better than a regular cold ham sandwich.

2 hours ago

Wait, 8 minutes cook time is accurate? I’m a total beginner and I always burn grilled cheese type sandwiches, so I’m nervous to try this.

30 minutes ago

The 8 minute cook time is spot on if you’re using medium heat! We recommend cooking 4 minutes per side until the bread is golden and the cheese is fully melted. If your stovetop runs hot, turn it down to medium-low to avoid burning the bread before the cheese melts. You’ve got this!

3 days ago

My kids are so picky, they usually turn their nose up at any sandwich that isn’t plain peanut butter and jelly, but they BEGGED for seconds of these melts last night. Win for mom!

2 days ago

Did you cut them into fun shapes? My kids only eat food if it’s cut into dinosaurs or stars tbh

2 days ago

I did! Used my dinosaur cookie cutter and they ate every bite, no complaints. It’s the little tricks that work, right?

1 week ago

Perfect trail lunch! I wrapped these in foil after making them and tossed them in my pack, and they were still warm when we stopped for lunch halfway up the trail. Way better than energy bars.

5 days ago

Oh that’s such a good idea! I usually pack cold sandwiches and they get squished, these hold up way better I bet. Trying this for our hike next Saturday

2 weeks ago

Used aged Swiss instead of the regular deli Swiss because that’s what I had, and the nuttiness was next level. Dip it in a little tomato soup and it’s the perfect cold weather comfort food. 10/10

5 days ago

Made these for our Sunday football watch party and they were a total hit. I added a thin slice of pickle inside each melt and that tang cut through the rich cheese and ham perfectly. Will be on the regular rotation.

3 days ago

Love that pickle addition! The briny tang is such a great upgrade to the classic melt — we might have to test that variation for our next recipe update!

30 minutes ago

First time meal prepping ever and I picked this recipe because it looked easy. How long do these keep in the fridge for? I don’t want to make too many and have them go bad.

5 minutes ago

I keep mine for up to 4 days in the fridge! Just don’t toast them until you’re ready to eat, like Chef Admin mentioned earlier, and they stay perfect.

just now

That’s exactly right! Stored properly in an airtight container, the components stay fresh for 3-4 days in the fridge. We don’t recommend freezing them, though, as the bread gets pretty soggy when thawed.

1 week ago

I volunteer at our local community center’s senior lunch program, and we made these last week for our weekly meal. Everyone raved about how tasty and easy to chew they were, even folks with dentures! We’ll be adding them to the monthly menu for sure.

yesterday

I made this at 2am after coming home from a concert and it was the best late night snack I’ve ever made. No fancy skills needed, just melty, salty, carby perfection. I will be making this after every night out from now on.

2 hours ago

Wait I was with you!! You made me half of one and I was too drunk to remember how good it was, can you make it again this weekend when we pregame for the show? 😂



