
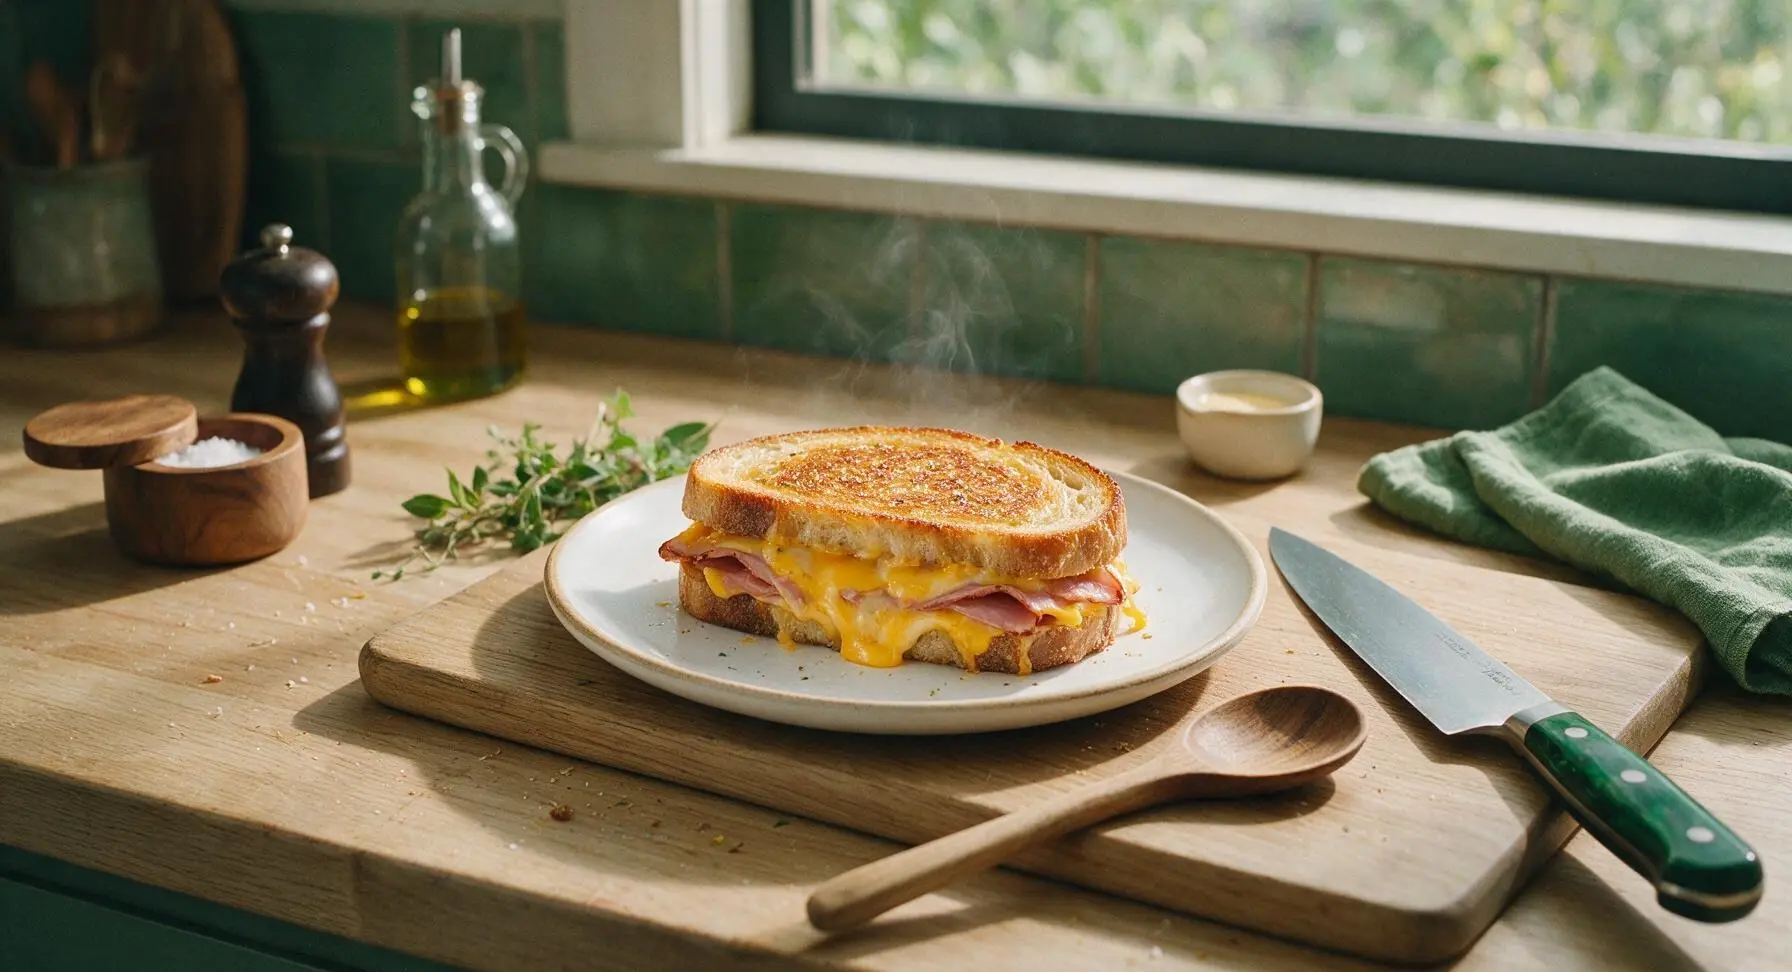
ham & cheese

title 1
ham & cheese
⏱️ cook time 10 minutes
🍽️ servings 2
⚡ Difficulty easy

intro

Golden buttery crisp sourdough oozing with melted sharp cheddar and smoky ham, this classic grilled ham & cheese is quick, cozy, and endlessly satisfying for busy days.

Ingredients
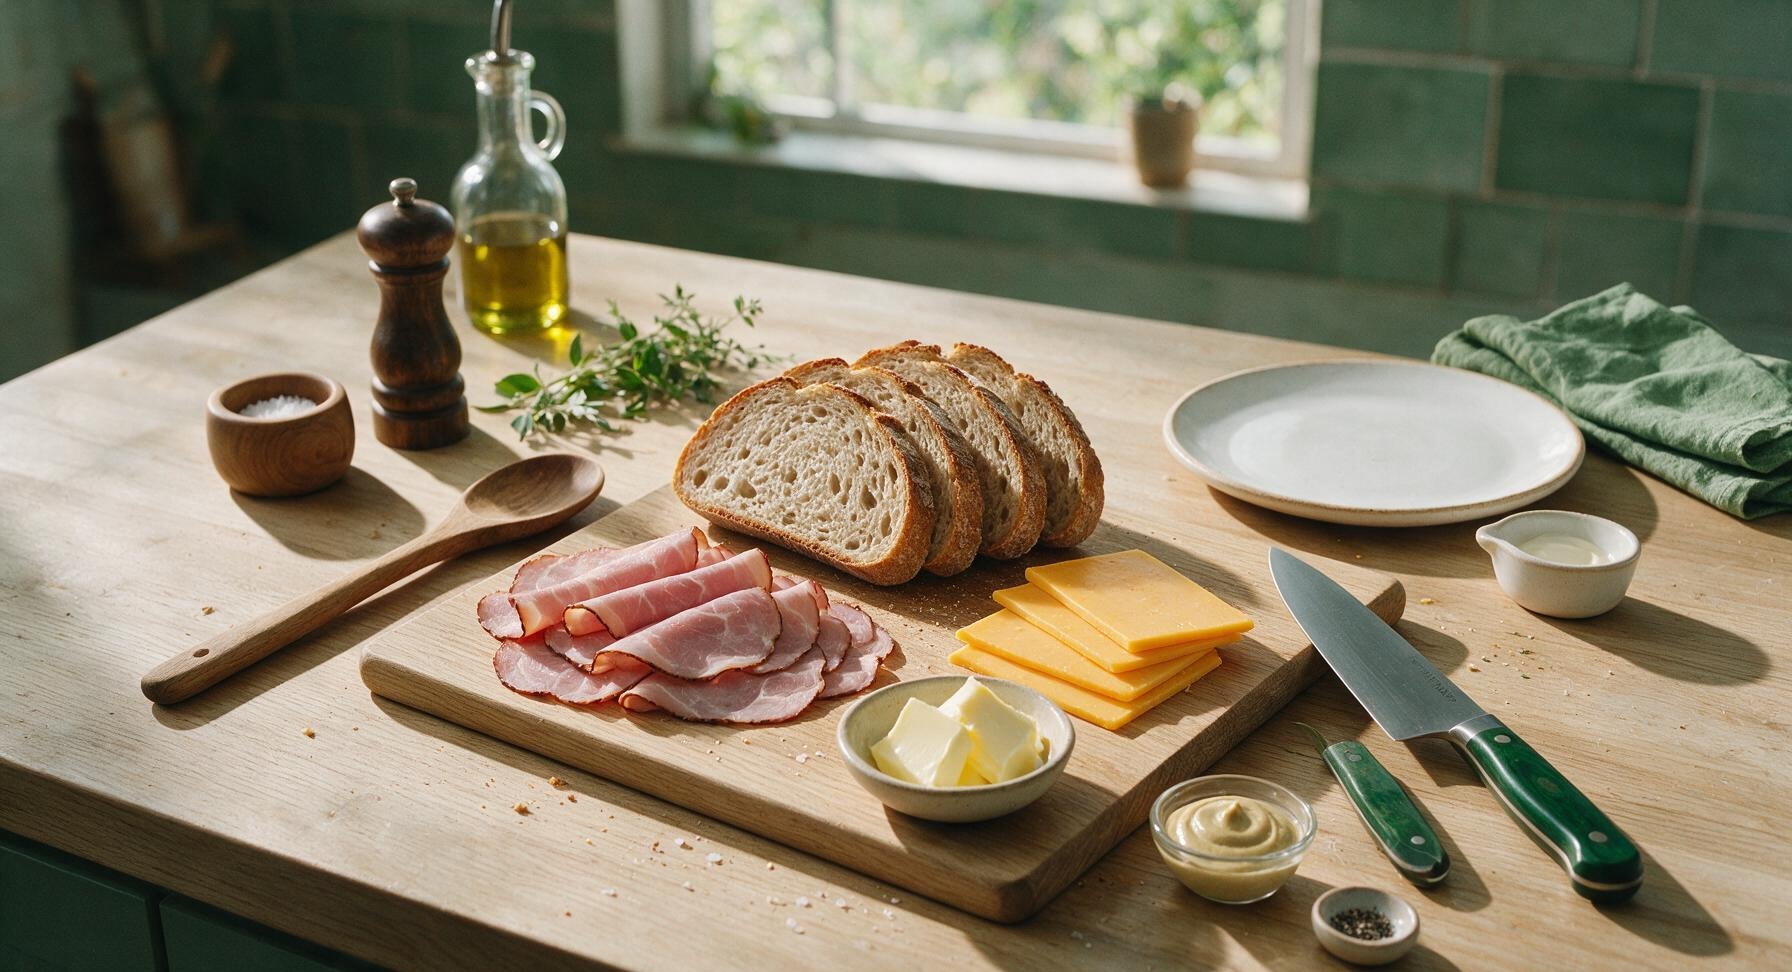
Thick-cut sourdough bread 4 slices (160g total, 1.5cm thick)
Black forest smoked deli ham 8 thin slices (100g total)
Sharp cheddar cheese 4 slices (80g total, 0.5cm thick)
Unsalted butter 2 tablespoons (28g, softened to room temperature)
Smooth Dijon mustard 1 teaspoon (5g)
Flaky sea salt 1/4 teaspoon
Freshly ground black pepper 1/8 teaspoon

Steps

1

Butter Bread Exteriors

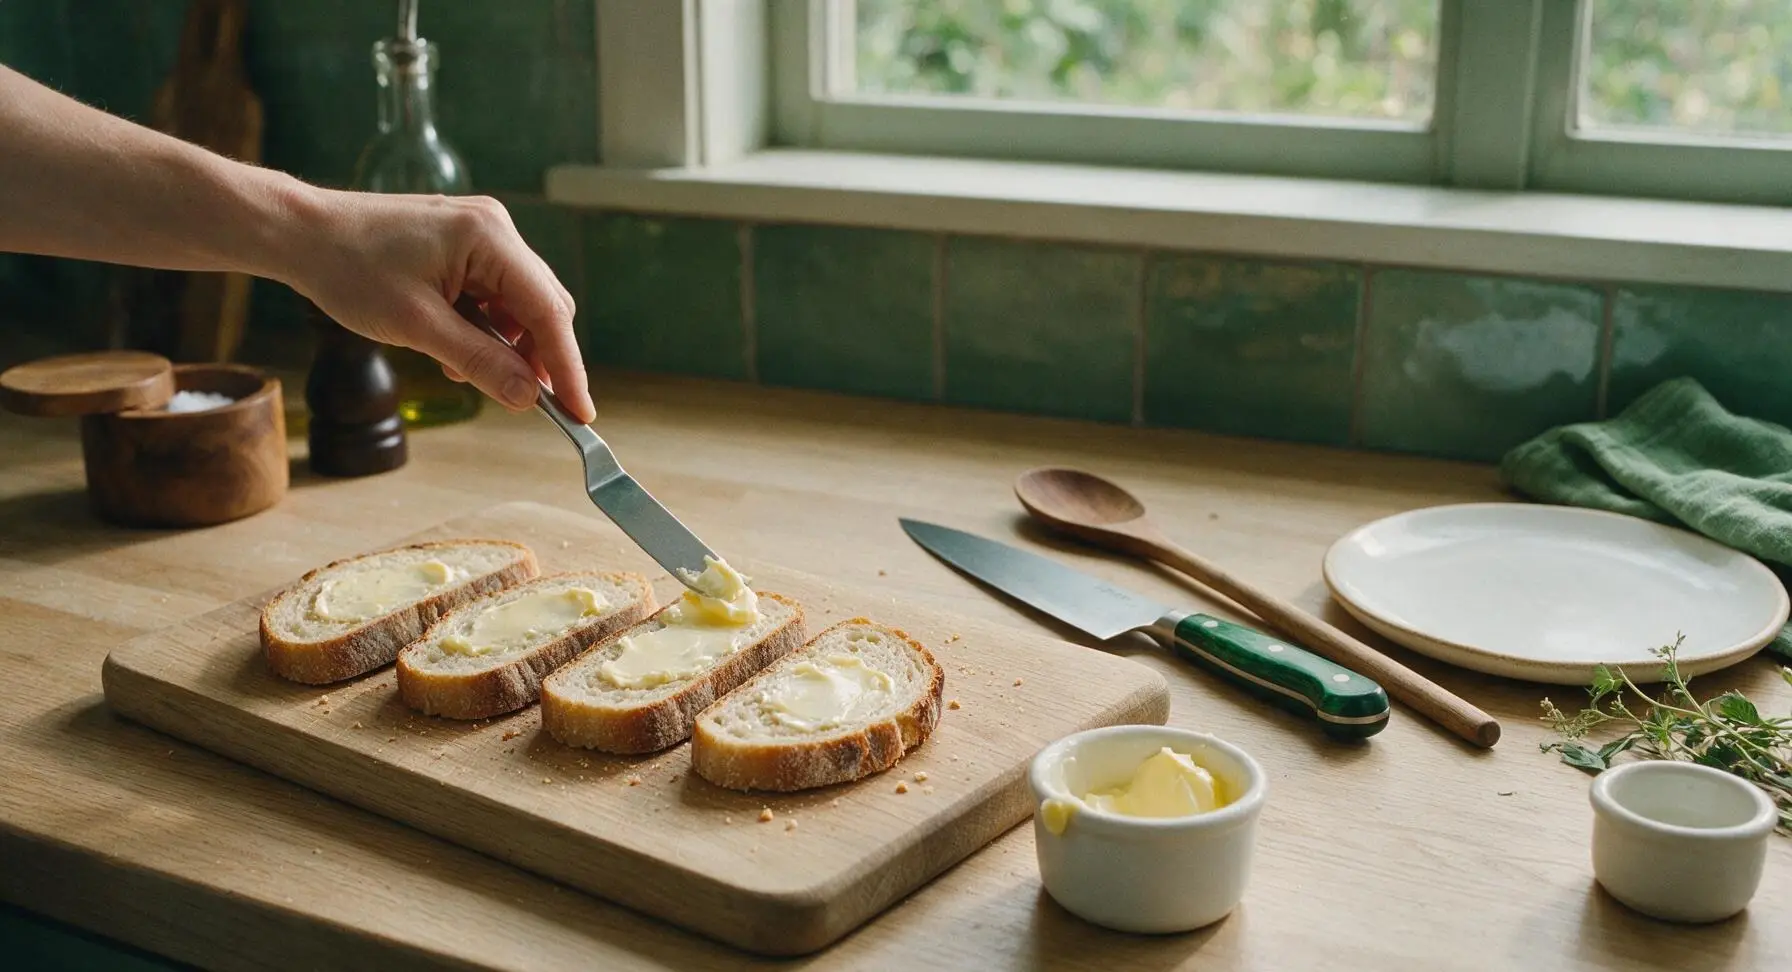
Lay all 4 sourdough slices flat on the light maple cutting board. Scoop softened butter from the white ceramic ramekin using the tip of the offset spatula. Spread an even, thin 1-teaspoon layer of butter across one full side of each slice, spreading all the way to the crust edges to eliminate dry spots during toasting. These buttered sides will face outward against the hot skillet to form a crisp, golden crust.
Step 1
step1:Butter Bread Exteriors
2

Spread Dijon Mustard

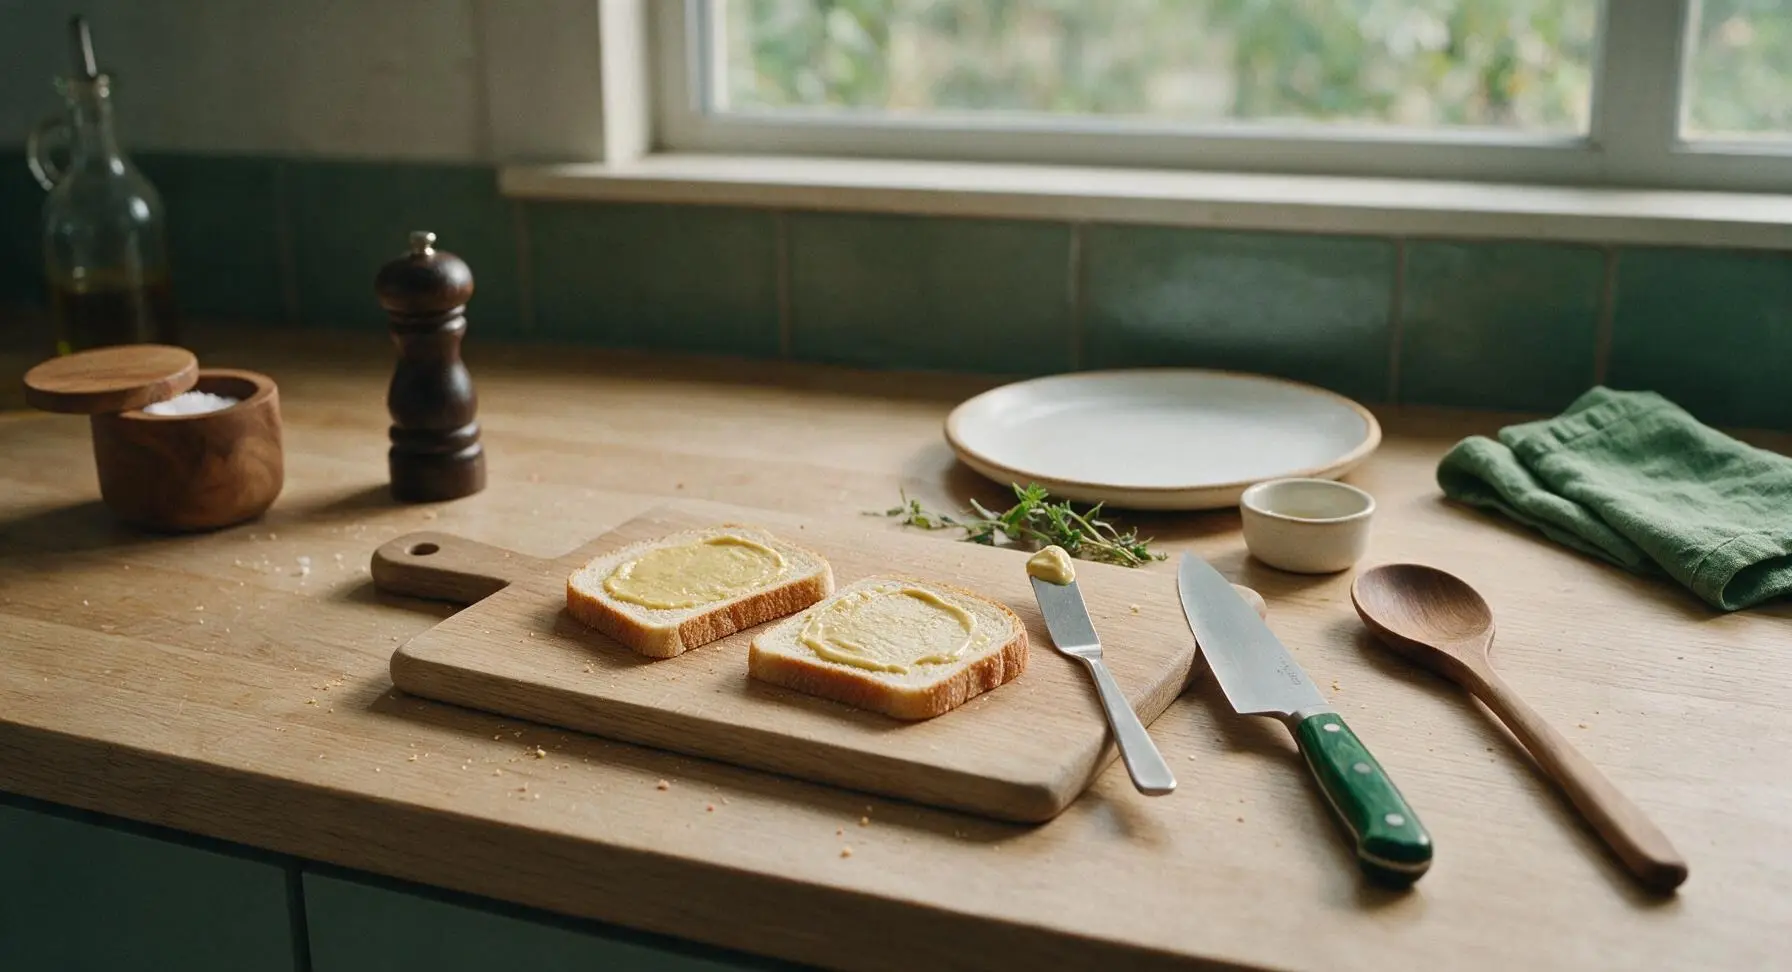
Flip two of the bread slices over so their unbuttered side faces up. Spread 1/2 teaspoon of Dijon mustard evenly across the unbuttered surface of these two slices, which form the interior base of each sandwich. Keep the mustard layer thin to avoid overpowering the mild ham and cheese flavor.
Step 2
step2:Spread Dijon Mustard
3

Layer Ham and Cheese

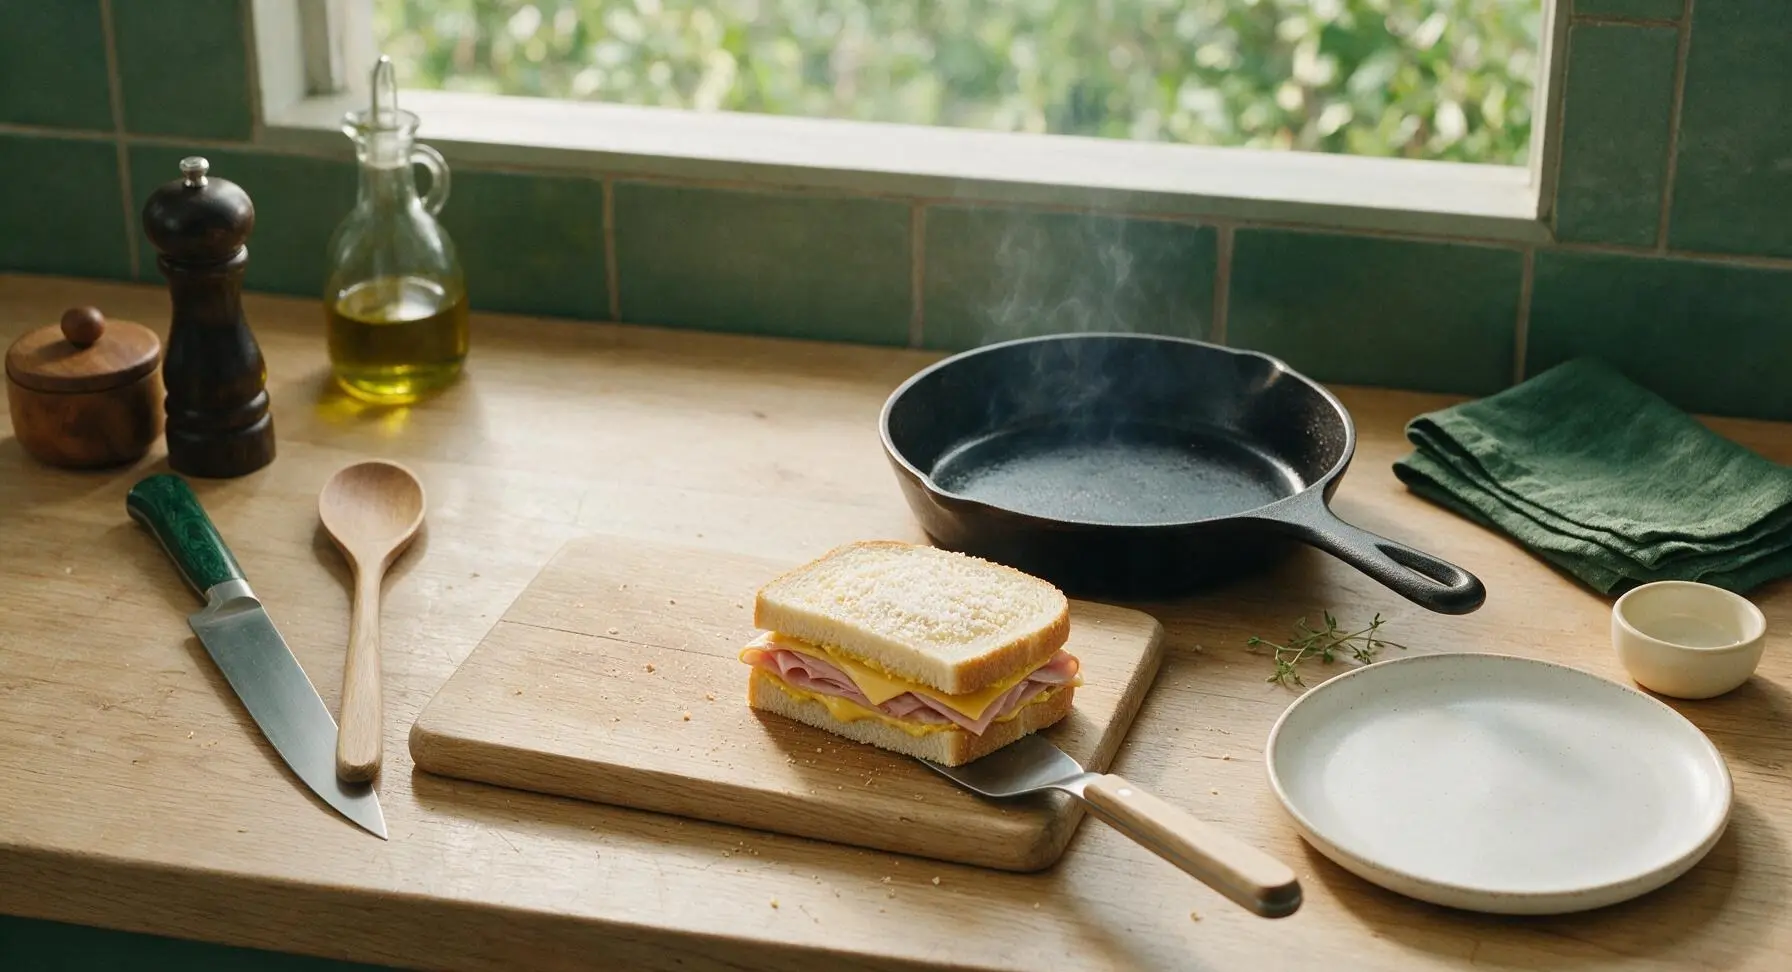
Place two slices of sharp cheddar on each mustard-coated bread slice, arranging cheese to reach all bread edges for even melting. Top the cheese with 4 thin slices of smoked ham per sandwich, folding slices slightly to create texture rather than laying them completely flat. Season the ham lightly with a pinch of freshly ground black pepper.
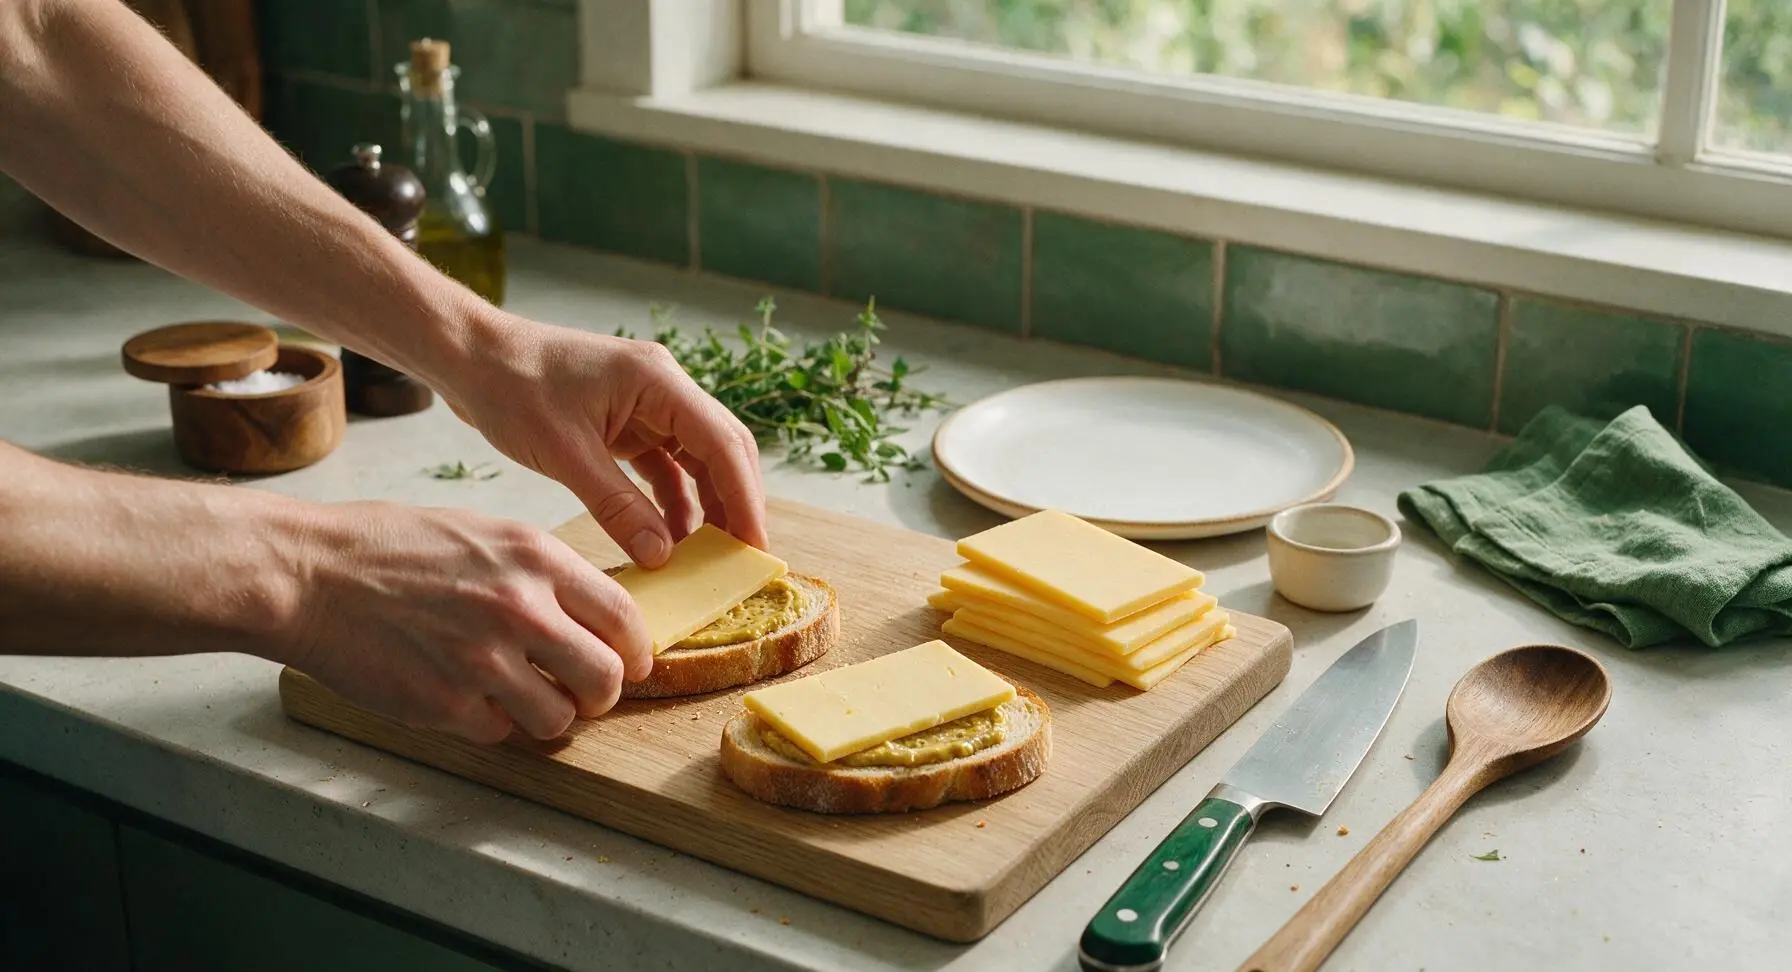
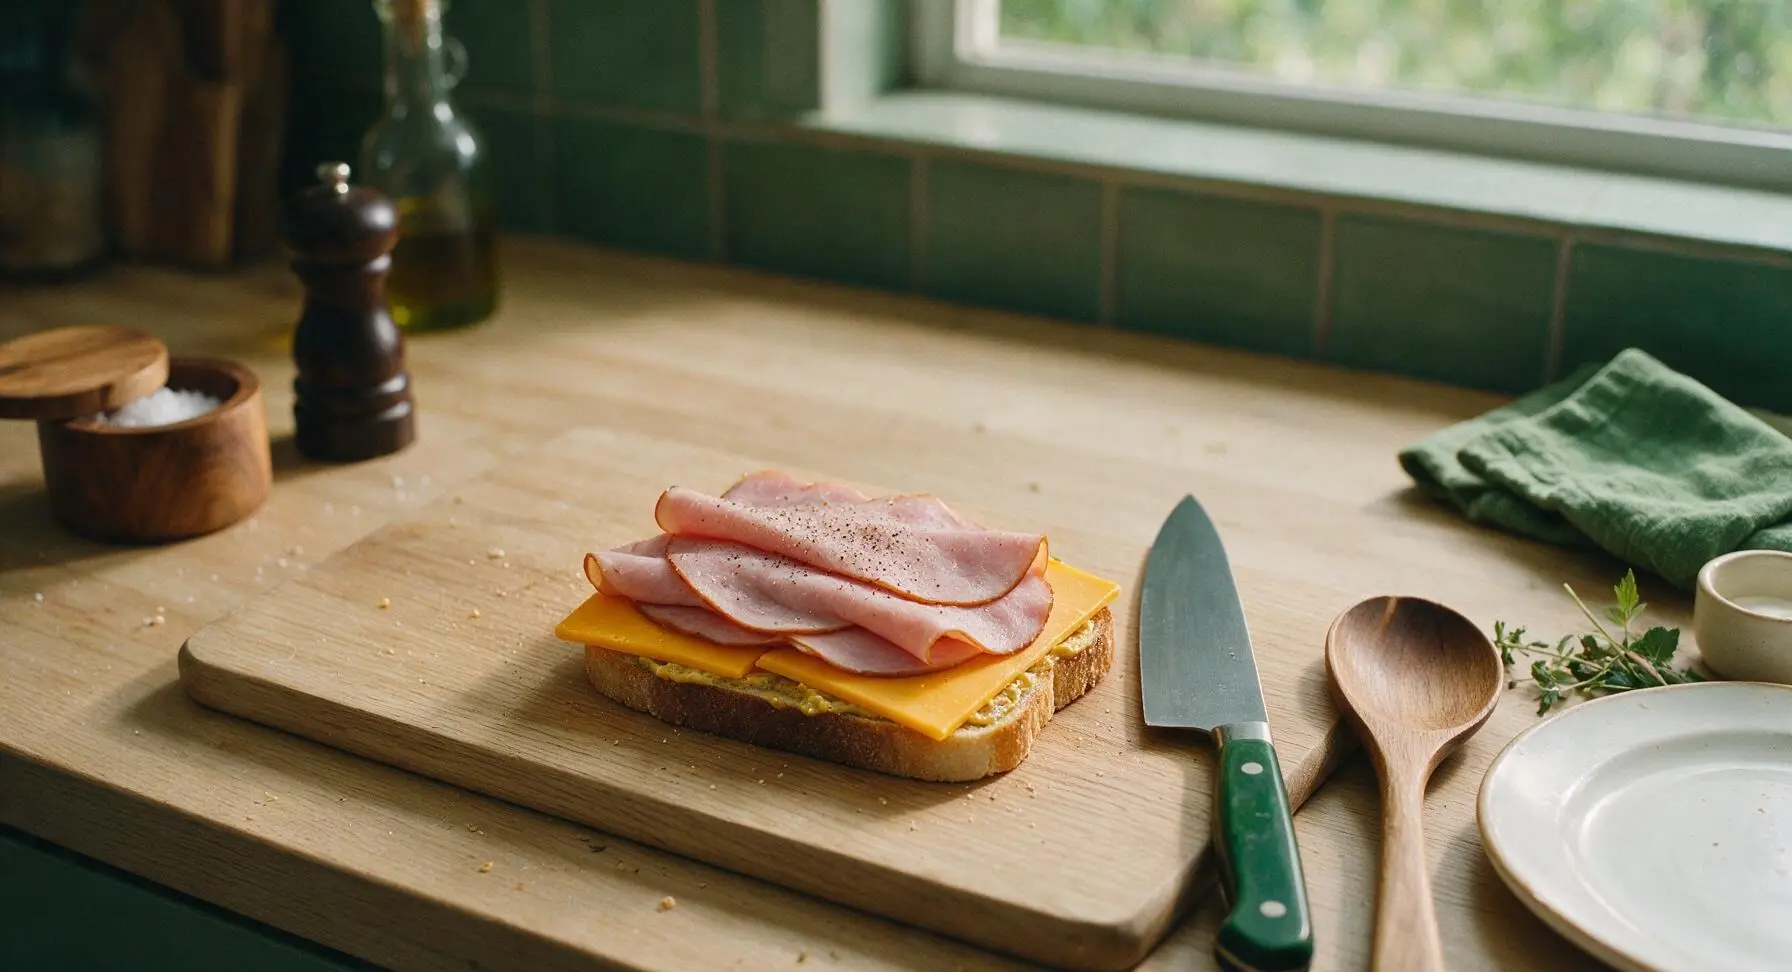
Step 3
step3:Layer Ham and Cheese
Step 3
step3:Layer Ham and Cheese
4

Assemble Sandwiches

Top each ham and cheese stack with the remaining two bread slices, positioning them so the buttered side faces outward to match the bottom slice. Press down gently on each sandwich with the palm of your hand to compact layers slightly, which helps cheese adhere and prevents fillings from sliding out during cooking.
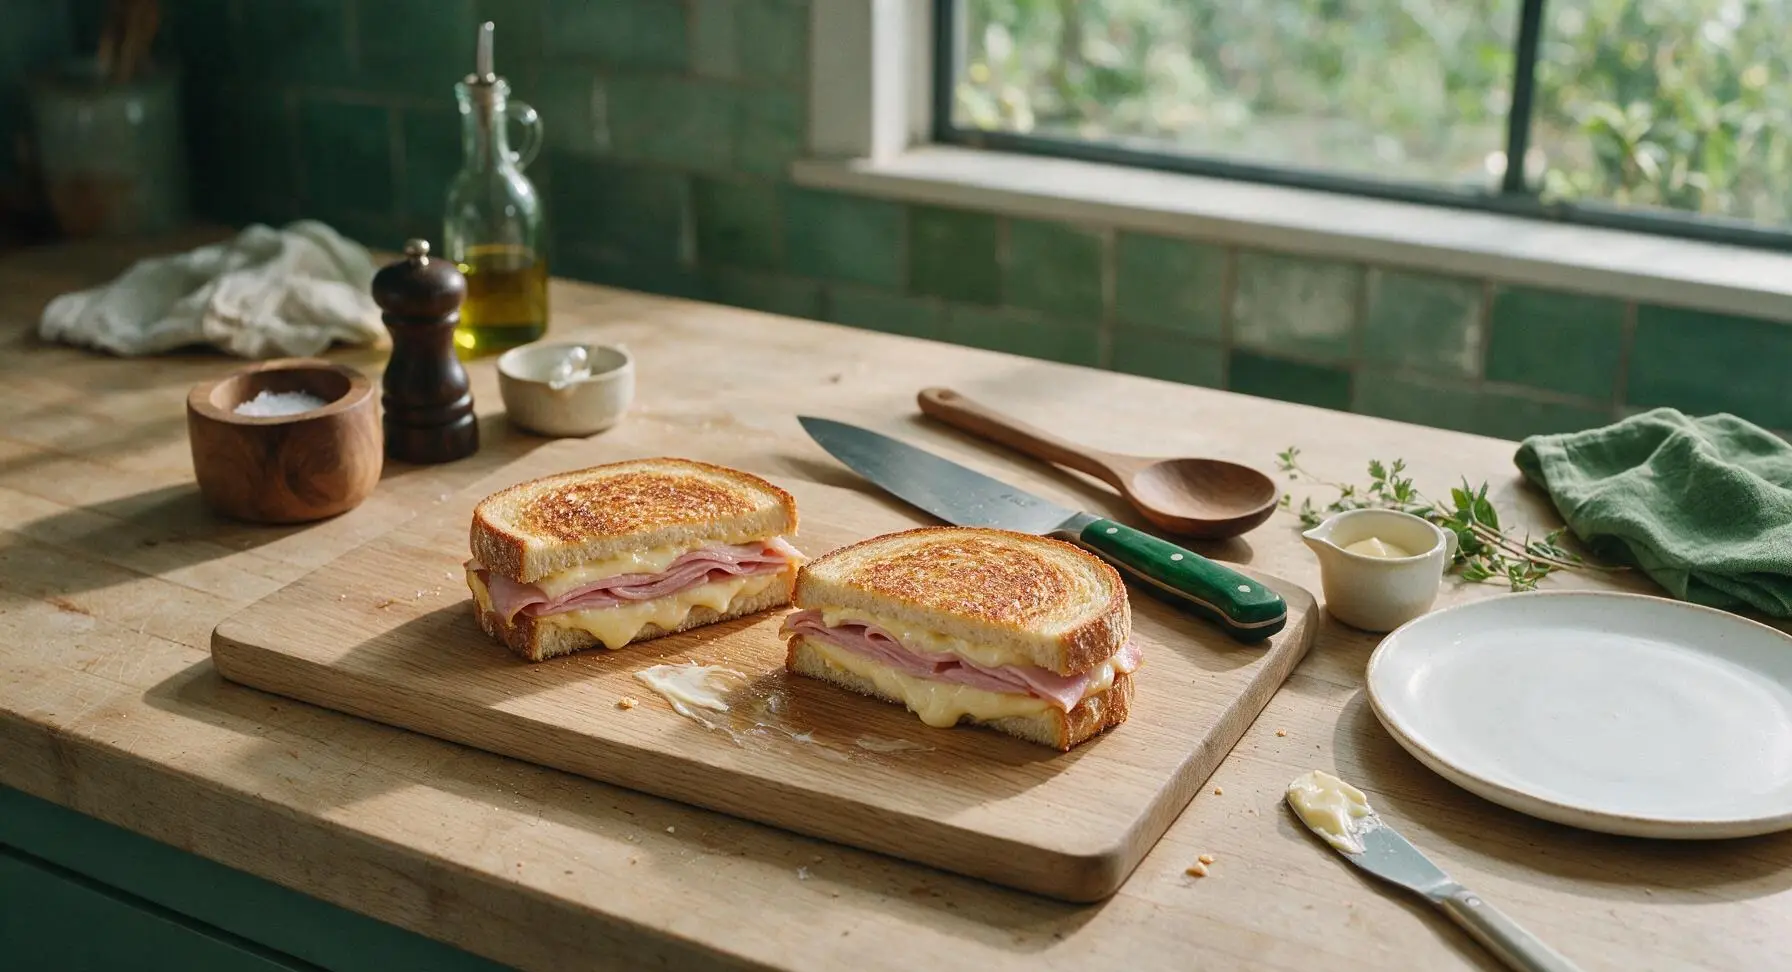
Step 4
step4:Assemble Sandwiches
5

Preheat the Skillet

Turn the induction burner under the 10-inch carbon steel skillet to medium heat (350°F / 175°C), letting the pan preheat for 2 minutes. Test pan temperature by sprinkling a single drop of water: it should sizzle and dance across the surface immediately when ready; if it evaporates instantly, the pan is too hot and should cool for 30 seconds before cooking.
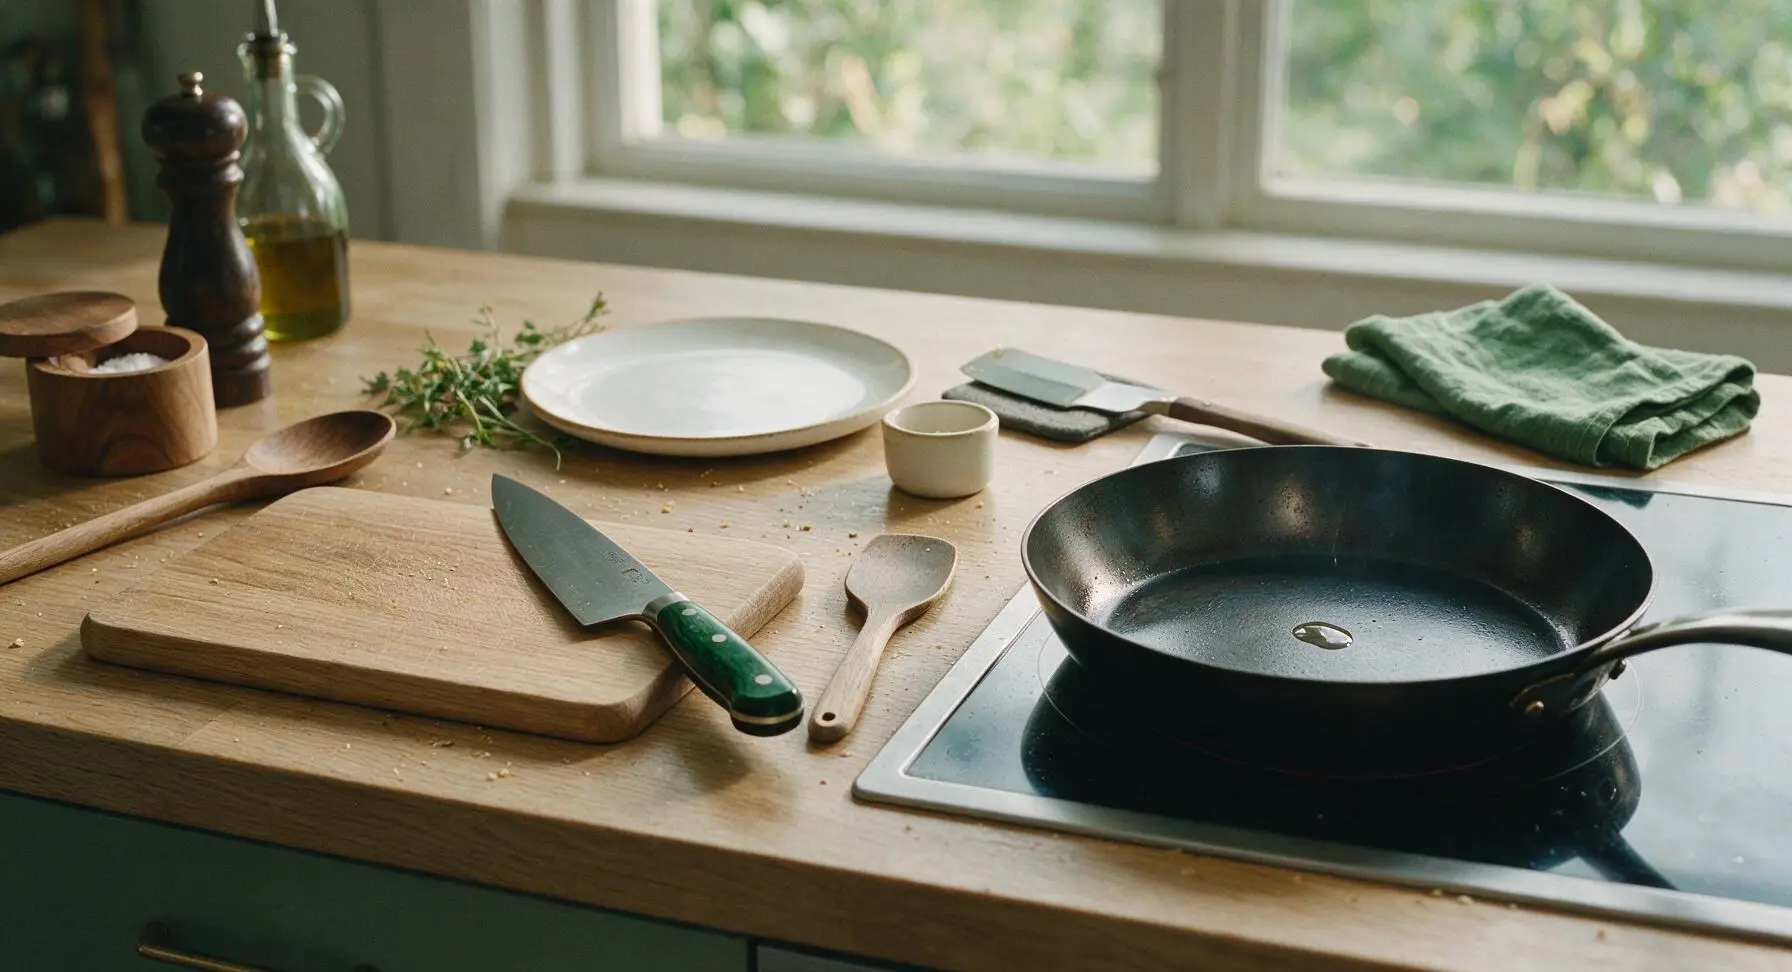
Step 5
step5:Preheat the Skillet
6

Grill First Side

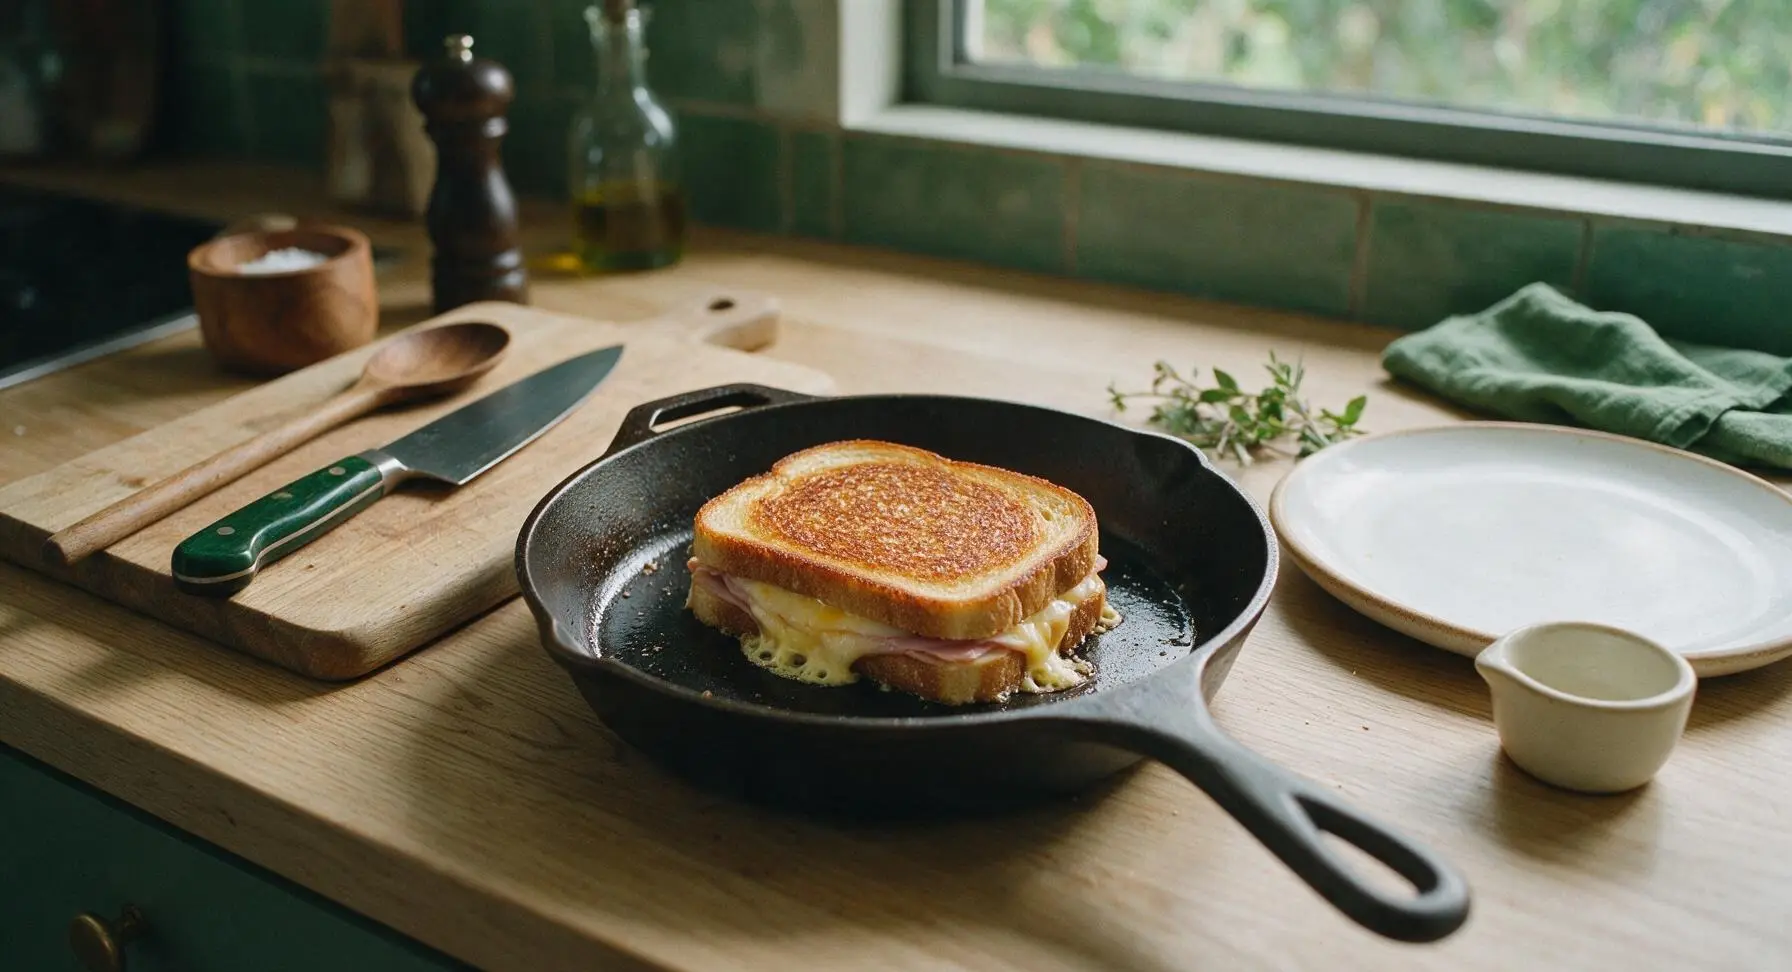
Use the offset spatula to carefully place one assembled sandwich into the preheated skillet. Cook for 3 to 4 minutes, until the bottom bread slice is a deep, even golden brown, and the cheese closest to the pan has started to bubble softly at the edges. Avoid pressing down hard on the sandwich while grilling, as this squeezes out melted cheese and leads to a dry filling.
Step 6
step6:Grill First Side
Step 6
step6:Grill First Side
7

Flip and Finish Cooking

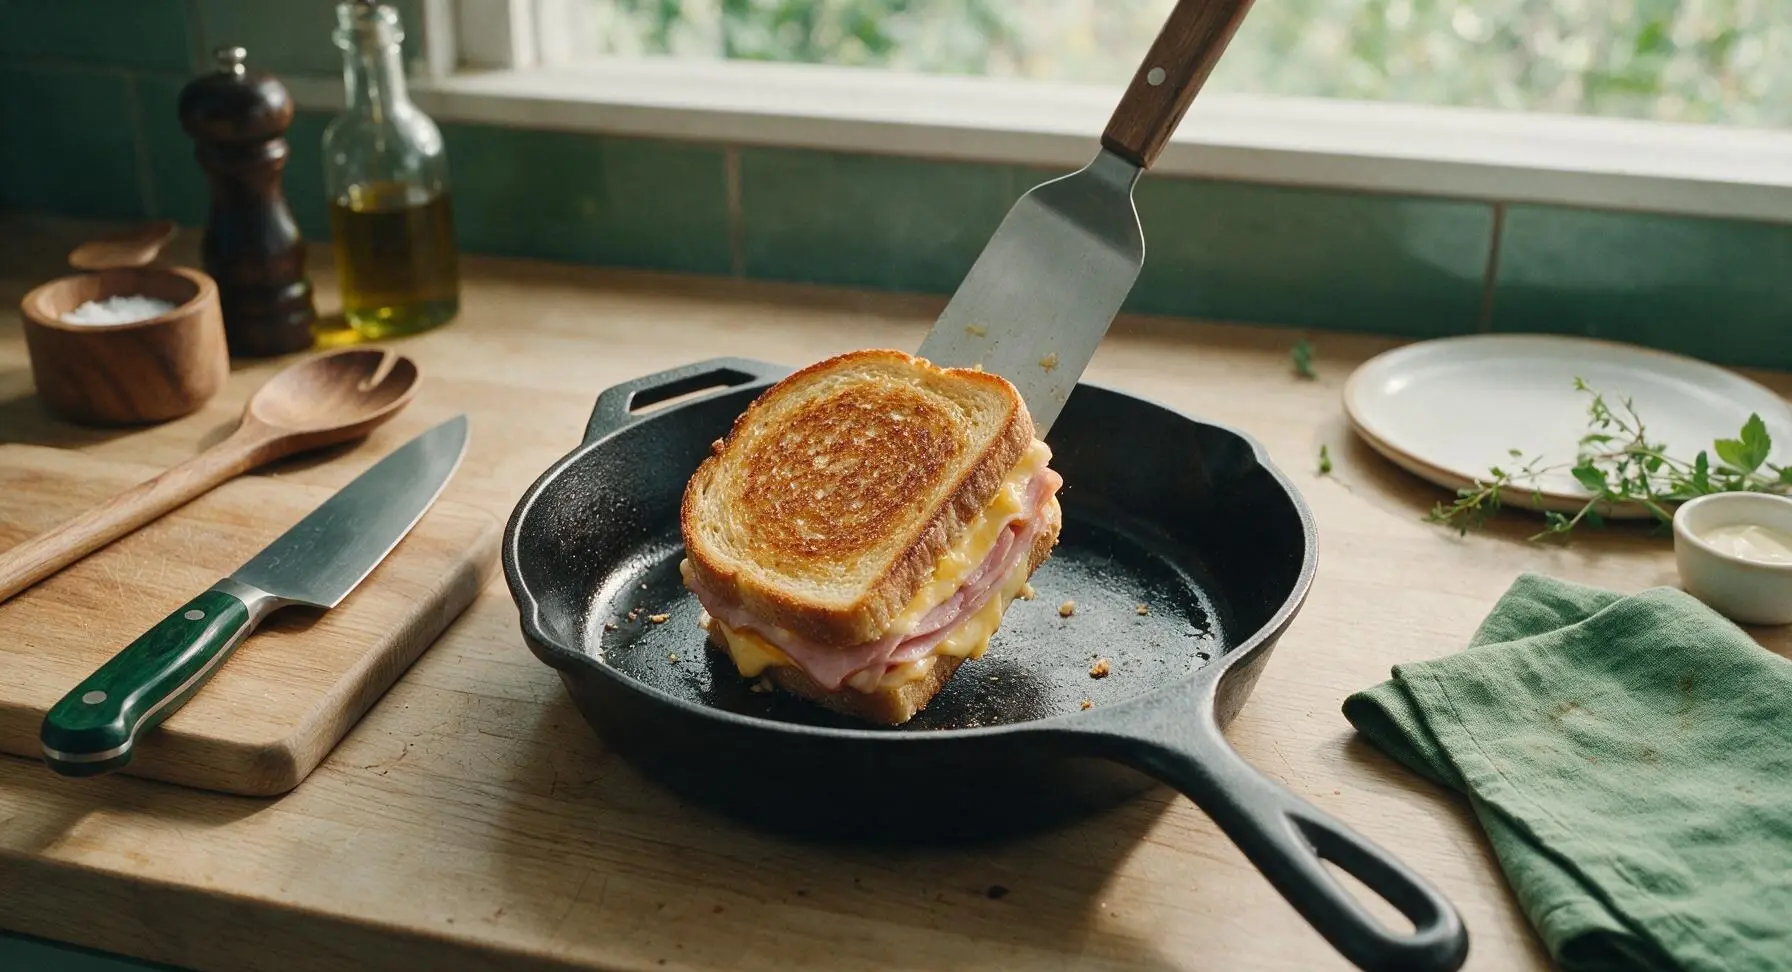
Slide the offset spatula fully under the sandwich to support it, then flip in one smooth motion to cook the second buttered side. Cook for another 2 to 3 minutes, until the second side is equally golden and crisp, and all cheese in the center is fully melted with no firm, unmelted slices remaining. Repeat the grilling process for the second sandwich.
Step 7
step7:Flip and Finish Cooking
8

Rest, Cut, and Plate

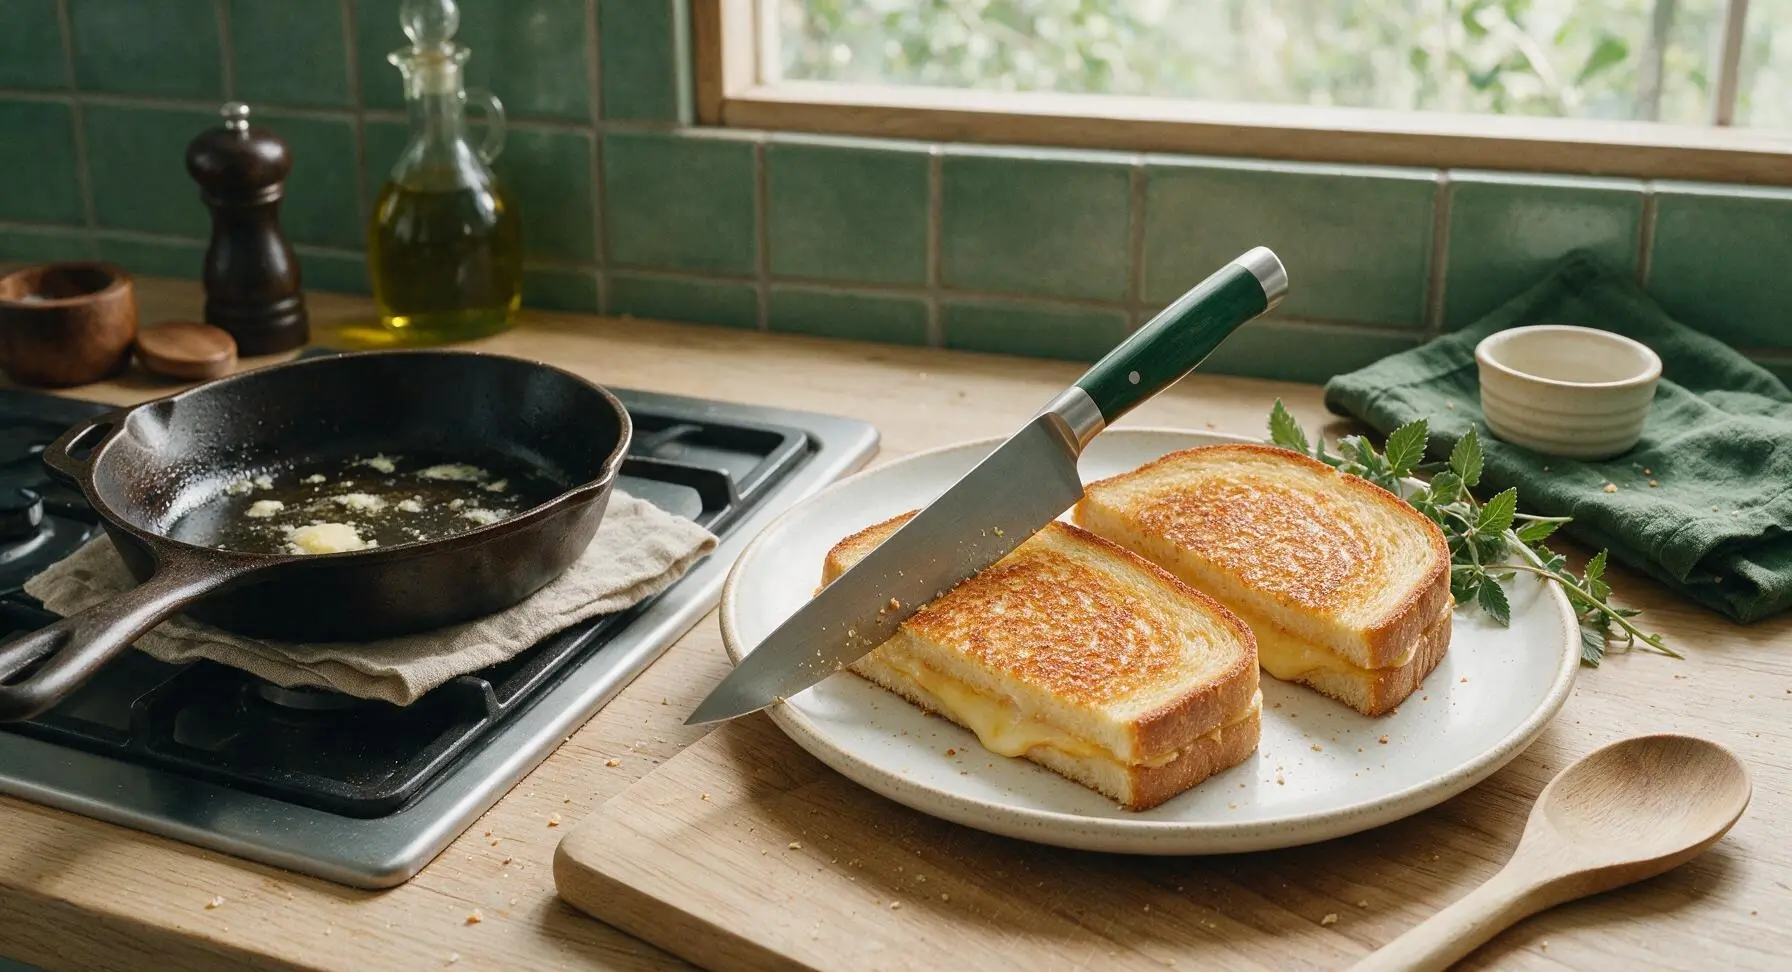
Transfer both fully cooked sandwiches from the skillet to the top cream stoneware dinner plate. Let rest for 1 minute to allow cheese to set slightly, which prevents it from running out when cut. Use the chef knife to cut each sandwich diagonally into two triangular halves, then sprinkle the crusts lightly with a pinch of flaky sea salt.
Step 8
step8:Rest, Cut, and Plate

Tips

1.Use room-temperature butter instead of melted butter for spreading: it coats the bread evenly without soaking through, creating a crisp rather than soggy crust, and won’t burn as quickly in the hot pan.
2.Always spread butter all the way to the bread crust edges: unbuttered crust edges will turn pale and tough instead of golden and crispy, leading to an uneven texture in every bite.
3.Let the cooked sandwich rest for 1 full minute before cutting: this short rest lets melted cheese thicken slightly so it doesn’t gush out when you take the first bite, and gives the crust time to set so it stays crisp longer.


✨ You May Also Like

Lunch
🍜 United States

Creamy, salty, tangy nostalgic Midwestern sandwich pairing rich peanut butter with crisp briny dill pickles for a fast, satisfying no-cook meal.

⏱️ 5 minutesLunch ★ 4.6
Lunch
🍜 United States

Crispy, melty pressed sandwich layered with savory roast pork, ham, Swiss cheese, pickles, and tangy mustard: a beloved Cuban-American comfort classic.

⏱️ 25 minuteLunch ★ 4.9
Lunch
🍜 United States

Hearty, briny New Orleans pressed sandwich stacked with cured Italian meats, provolone, and zesty olive salad, served cold for bold, portable flavor.

⏱️ 1 hour 20Lunch ★ 4.7
Lunch
🍜 United States

A tangy, creamy Southern American staple, this no-cook cheesy sandwich is packed with sharp cheddar and sweet pimentos for a satisfying, portable bite.

⏱️ 1 hour 15Lunch ★ 4.8
Lunch
🍜 United States

Crispy Cajun-spiced fried shrimp piled on crusty French bread with tangy remoulade and fresh toppings, the iconic Louisiana street food sandwich.

⏱️ 35 minuteLunch ★ 4.4
Lunch
🍜 United States

Stacked, savory deli-style corned beef sandwich with melted Swiss, tangy mustard, and crisp griddled rye— a fast, hearty, satisfying classic.

⏱️ 15 minuteLunch ★ 4.9

ham & cheese:Frequently Asked Questions

1.Why does my bread burn before the cheese fully melts in the middle? ▾
This almost always comes from cooking over too-high heat! Use medium-low heat to give the bread time to crisp slowly to that perfect golden brown without scorching. Grate your sharp cheddar instead of cutting thick slices for faster, even melting, and cover the pan for 30 to 45 seconds after flipping to trap gentle heat that melts cheese all the way through.
2.Can I swap the sourdough for another type of bread I already have at home? ▾
Absolutely, as long as you pick a sturdy, thick-cut option that can hold up to oozing cheese and ham. Great swaps include country white, hearty whole wheat, or light rye. Skip ultra-thin soft sandwich bread that gets soggy fast, and avoid holey artisanal loaves that let melted cheese leak out while you grill. Stick to ½-inch thick slices for best results.
3.Do I have to use Dijon mustard, or can I leave it out entirely? ▾
You can absolutely skip it if you don’t care for mustard, but a thin, even spread of smooth Dijon won’t make your sandwich taste strongly of mustard. It adds a bright, subtle tang that cuts through rich butter, creamy cheddar, and smoky ham to balance every bite. If you don’t have Dijon, a thin swipe of mayo on the inner bread works as a creamy substitute.
4.How do I keep the bread crisp when making a batch of these for a group? ▾
Never stack finished grilled sandwiches directly on a plate right off the pan—this traps steam that turns that perfect buttery crust soggy fast. Instead, rest cooked sandwiches on a wire rack set over a baking sheet in a 200°F oven while you cook the rest. This keeps air circulating, preserves crispness, and holds cheese at a perfectly melty temp for up to 30 minutes.
5.Can I add extra fillings without messing up the classic sandwich balance? ▾
Of course! This simple recipe is a fantastic flexible base, just don’t overstuff it or you’ll throw off the ideal bread-to-filling ratio. Great subtle add-ins include thin tart apple slices, a spoonful of caramelized onions, a few pickled jalapeños for a gentle kick, or a light spread of fig jam. Stick to 1 to 2 small extras so the smoky ham and sharp cheddar stay the star of the sandwich.

Comments (3)

3 days ago

Wow, this is way better than the sad grilled ham and cheese I used to slap together for work meal prep! The 10 minute cook time is no joke, I had two sandwiches prepped and ready to go for my lunches this week in no time. Quick question—has anyone tried freezing these to reheat later? I feel like that would make chaotic busy mornings so much easier.

2 days ago

I freeze these all the time! Let them cool completely first, wrap tight in plastic wrap, then toss them in a labeled freezer bag. Reheat in the toaster oven for 8 minutes at 350°F and they taste just as fresh as the day you made them! Total game changer for busy school mornings for my two teens, no more skipping breakfast when we’re running late.

2 days ago

Great question! We don’t recommend storing these in the freezer for longer than 2 weeks as the bread can get soggy when thawed, but Maggie’s tip to reheat in a toaster oven (skip the microwave, it makes the bread rubbery!) is spot on for getting that crispy, buttery crust back. So glad you’re enjoying the recipe!

1 week ago

Made these for a quick pre-soccer potluck snack last weekend and every single parent was asking for the recipe! I cut them into little triangle bites and served them with mini tomato soup shooters on the side. Even the pickiest kids on the team went back for seconds. My only tiny note is my first batch was a touch dry because I skimped on the butter, oops.

5 days ago

So happy these were a hit at your pre-game potluck, Sarah! The mini tomato soup shooter pairing sounds absolutely chef’s kiss, what a fun idea. If your first batch was a little dry, try spreading softened (not melted!) butter all the way to the very edges of the bread next time for that perfectly golden, crispy crust every single time.

30 minutes ago

10 minute cook time is no lie! I threw this together after a late warehouse shift last night when I was too drained to make anything fancy, and it hit the spot SO hard. Used honey ham and swiss like the recipe suggested, added a little sprinkle of garlic powder to the buttered bread, and wow. Will absolutely be my go-to late night meal from now on, way better than shelling out for takeout.



