1.Can I use a different type of bread if I don’t have hoagie rolls?
▾
Absolutely! Sturdy 6–8 inch Italian rolls, sourdough sub rolls, or crusty French bread cut to sub size work great. Just skip super soft, flimsy sandwich bread—it will get soggy once buttered and baked. Aim for a roll with a slightly crisp crust that holds up to melted cheese and toppings without falling apart mid-bite.
2.Do I have to use smoked deli ham, or can I swap in another ham variety?
▾
You can absolutely swap! Honey ham, Black Forest ham, or even thinly sliced leftover baked holiday ham works beautifully. Smoked ham adds that classic deep savoriness, but any fully cooked, thinly sliced ham you prefer will warm through nicely and pair perfectly with the provolone and garlic butter in this recipe.
3.Can I use a different cheese instead of provolone?
▾
Sure thing! Provolone is classic for its mild, creamy melt and slight tang, but low-moisture mozzarella, Swiss, white American, or even mild sharp cheddar all work great. Just pick a cheese that melts smoothly—skip crumbly cheeses like feta or high-moisture fresh mozzarella, which will make your sub soggy.
4.How do I keep my baked sub from getting soggy?
▾
Great question! First, toast the cut side of your buttered rolls for 2–3 minutes before adding fillings to create a moisture barrier. Don’t overdo it with wet toppings, and add fresh, crisp toppings like lettuce or tomato after baking instead of putting them in the oven to cut down on excess steam and sogginess.
5.What temperature and how long do I bake these subs for?
▾
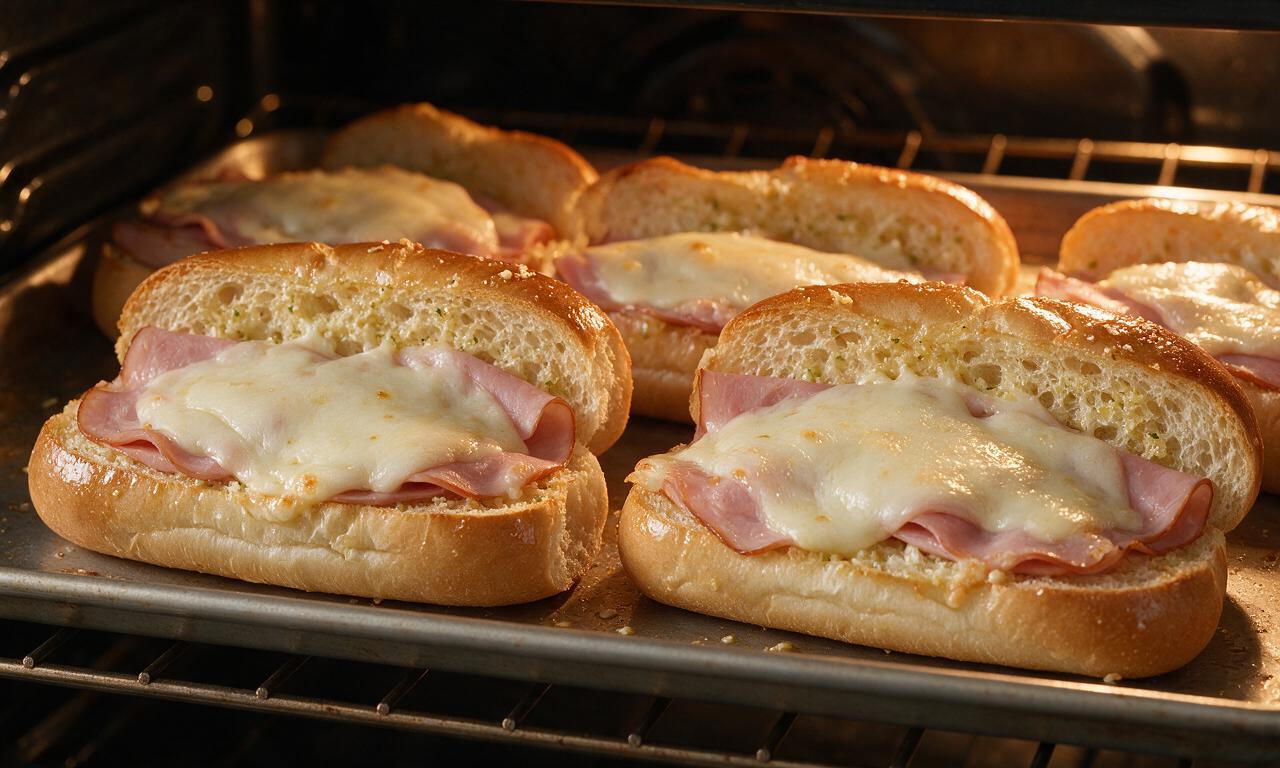
Bake your assembled ham and cheese subs (hold the fresh toppings!) at 400°F for 8–10 minutes, until the provolone is fully melted and bubbly, and the edges of the rolls are golden and toasty. If you want an extra crisp crust, broil for the last 60 seconds—just keep a close eye so the edges don’t burn.
6.Can I add garlic to the melted butter for extra flavor?
▾
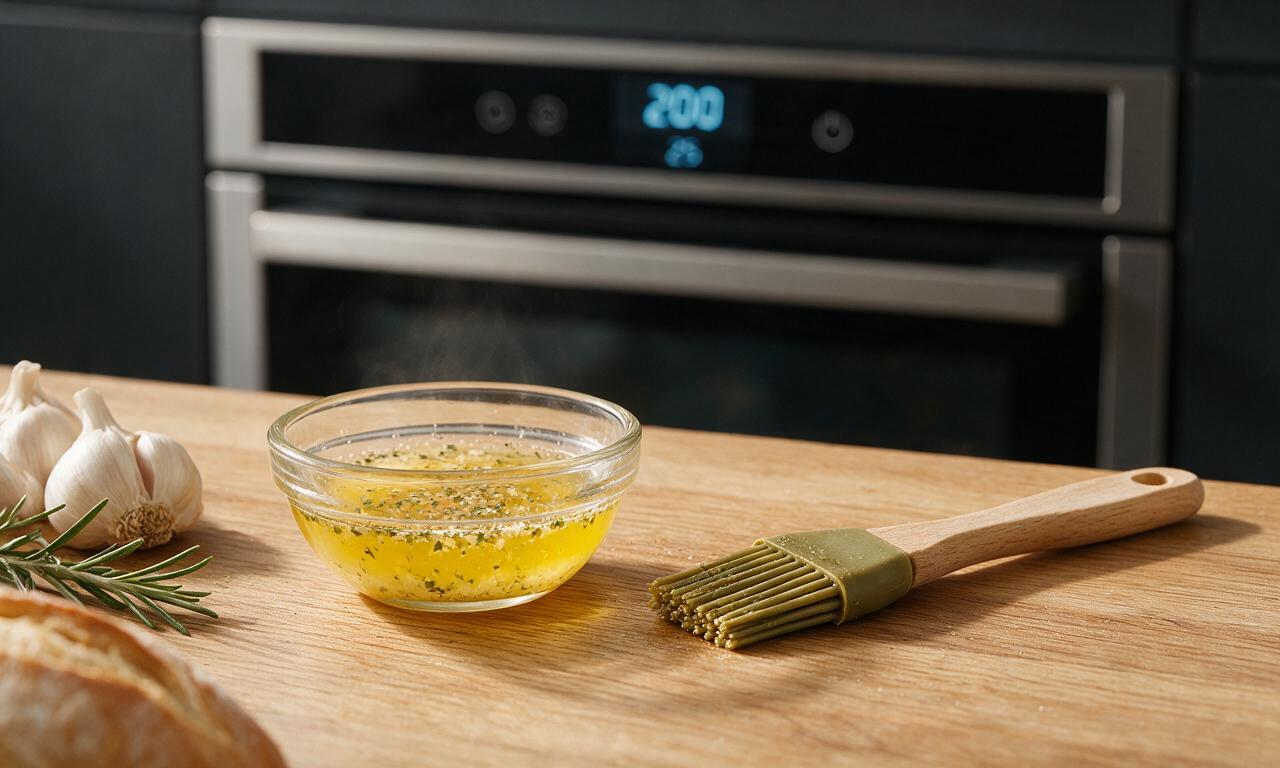
You absolutely should—this is one of my favorite easy upgrades! Stir 1/4 teaspoon of garlic powder, or 1 clove of finely minced fresh garlic, plus a pinch of dried oregano and a sprinkle of grated parmesan into your melted butter before brushing it on the rolls. It adds that iconic pizza-shop sub flavor everyone loves.
7.Should I spread mayonnaise on the rolls before baking, or add it after?
▾
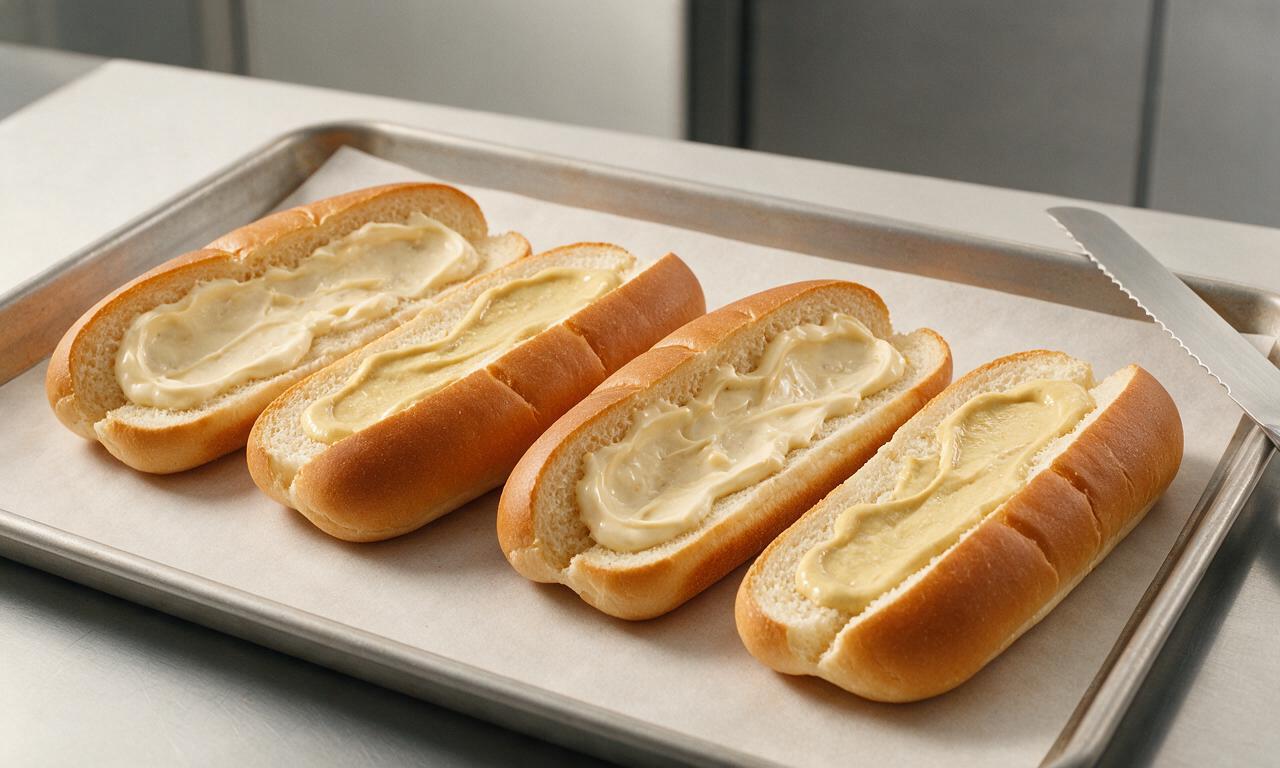
I recommend spreading a thin layer of mayo on the inside of the rolls before adding ham and cheese if you like that warm, creamy, melded flavor. If you prefer your mayo cold and tangy, wait to spread it on after you pull the subs out of the oven, right before adding fresh toppings. Either method works!
8.Can I make these subs ahead of time for a party or meal prep?
▾
You can prep components ahead, but don’t fully assemble and bake until right before serving. Pre-slice your rolls, portion out ham and cheese, and mix your garlic butter up to 2 days in advance stored in the fridge. Wait to bake, and add fresh toppings day-of so your rolls stay crisp instead of softening in the fridge.
9.What fresh toppings go best with this baked ham and cheese sub?
▾
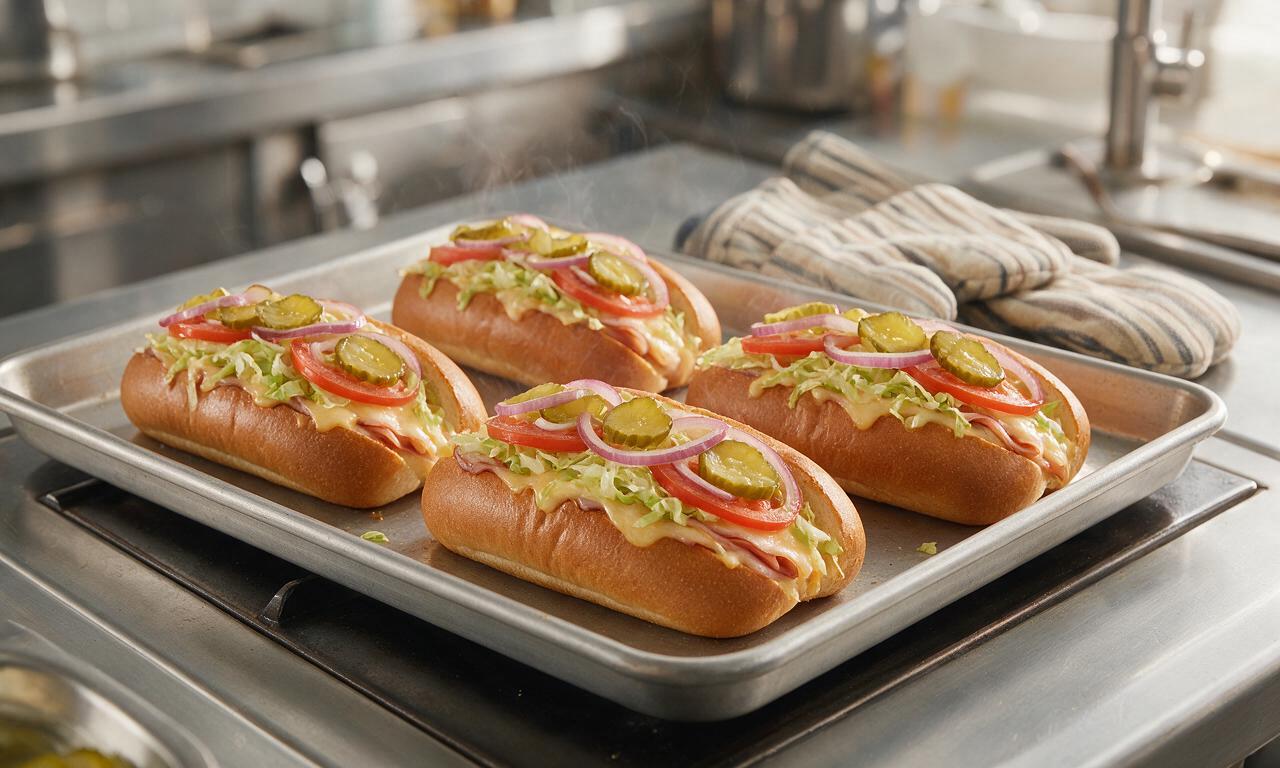
The options are endless! Classic pairings include shredded iceberg lettuce, thin-sliced ripe tomato, thinly sliced red onion, dill pickle slices, tangy banana peppers, and a sprinkle of salt and pepper. You can also add a drizzle of Italian dressing, yellow mustard, or hot sauce for an extra zesty kick after baking.
10.Can I make these subs in an air fryer instead of a regular oven?
▾
Absolutely! Air fryers make incredibly crisp subs in less time. Assemble your buttered, ham-and-cheese filled subs, and air fry at 375°F for 4–6 minutes, checking halfway, until the cheese is melted and the roll is golden. Don’t overcrowd the basket—cook 1–2 subs at a time for even crisping.
11.How thin should the deli ham and provolone be for the best melt?
▾
Aim for slices that are about 1/16 of an inch thick, the standard thin slice at most grocery store deli counters. Thin slices warm through fast, so the ham heats up at the same rate the cheese melts, instead of leaving thick, cold ham in the center when the bread is already perfectly toasty.
12.Do I bake the subs open-faced, or keep them closed?
▾
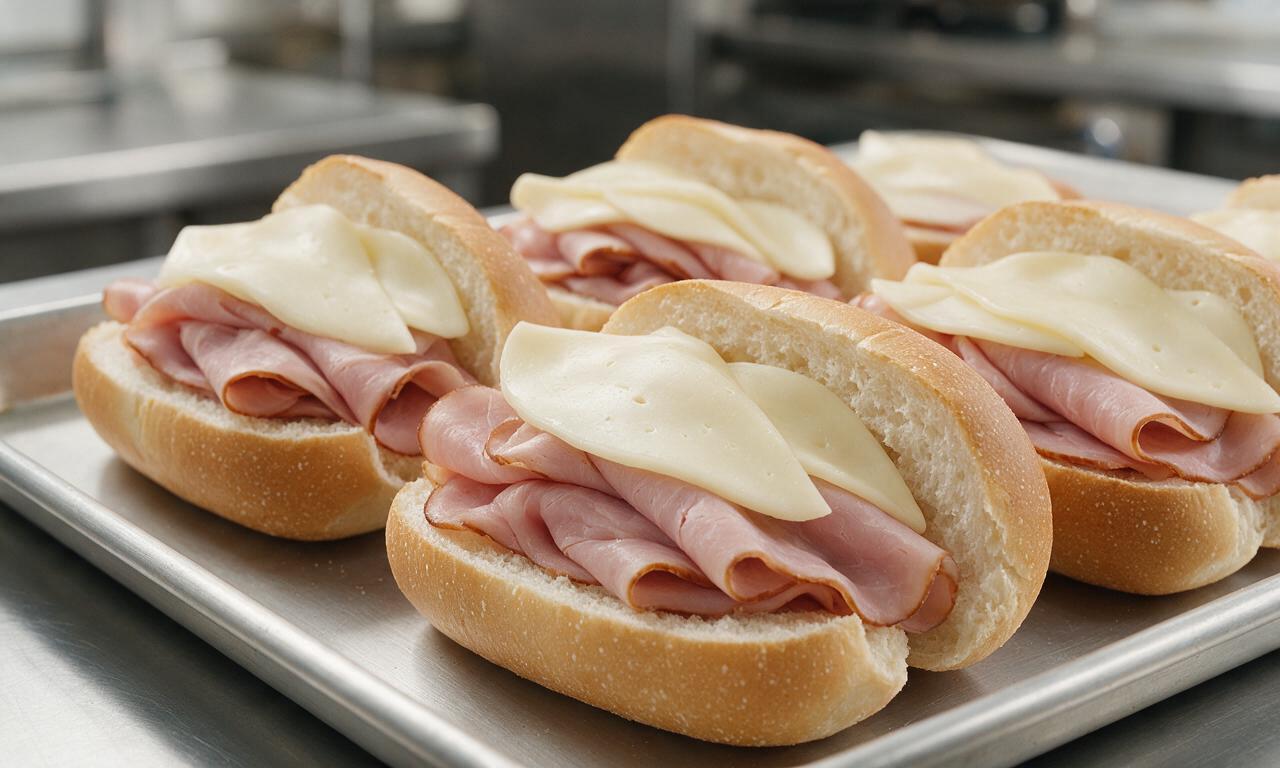
I like to keep them partially open, arranged like a book on the baking sheet, so the cheese melts evenly over the ham and the cut sides of the roll get nice and buttery and crisp. You can close them for the last 2 minutes of baking for a softer, pressed-style sub, but don’t seal them tight while baking or the bread will get steamy.
13.Can I freeze these subs for quick weeknight meals?
▾
You can freeze unbaked assembled subs (skip the mayo and fresh toppings!) wrapped tight in plastic wrap and foil for up to 3 months. When you’re ready to eat, bake straight from frozen at 375°F for 18–22 minutes, until the cheese is melted and the center is hot, then add cold toppings and mayo to serve.
14.Why is my cheese not melting smoothly when I bake the sub?
▾
This usually happens for one of three reasons: your oven temperature is too low, you’re using overly thick-cut cheese, or you’re using a crumbly cheese variety that doesn’t melt well. Make sure your oven is fully preheated, use thinly sliced provolone, and don’t pile cold toppings over the cheese before baking.
15.How much ham and cheese should I use per sub?
▾
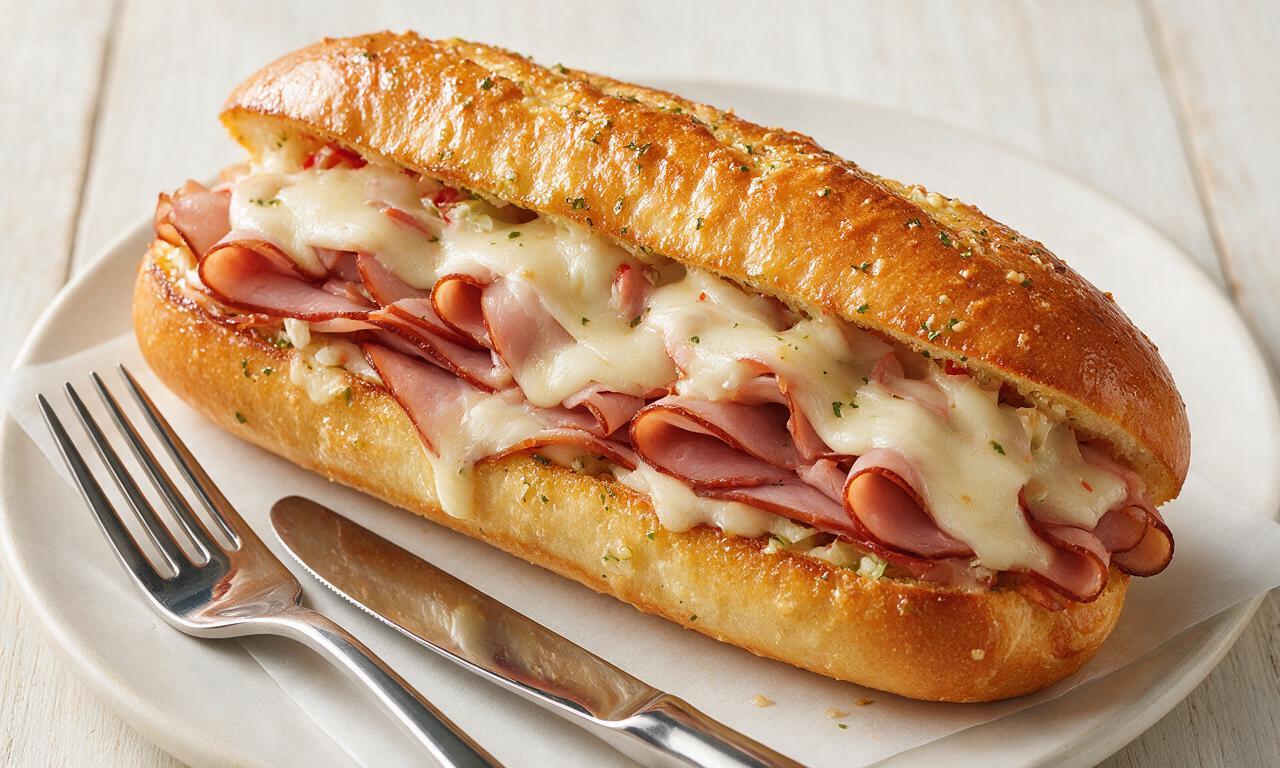
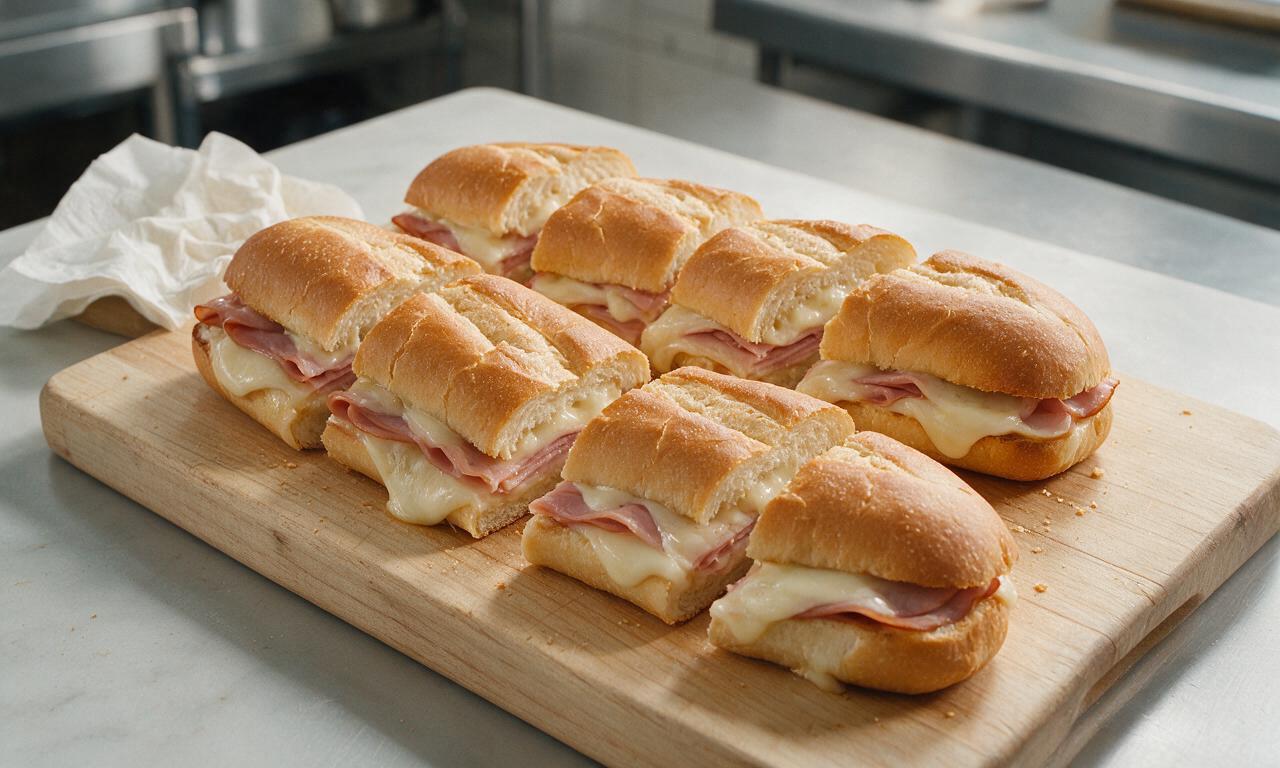
For a standard 8-inch hoagie roll, use 4–5 ounces of thinly sliced smoked ham, and 3–4 slices of provolone, arranged so the cheese covers the ham all the way to the edges of the roll. That ratio gives you plenty of savory meaty flavor and enough melted cheese to hold fillings together without oozing everywhere.
16.Can I add extra fillings inside the baked part of the sub?
▾
Definitely! Cooked, crumbled bacon, thin-sliced roasted red peppers, caramelized onions, or sautéed mushrooms all bake beautifully inside the sub with the ham and cheese. Just skip raw, high-moisture veggies like raw tomato or cucumber in the baked portion—they’ll release water and make your bread soggy as they cook.
17.Should I line my baking sheet when making these subs?
▾
It’s not required, but I highly recommend lining your baking sheet with parchment paper or aluminum foil for super fast cleanup. Melted butter and occasional oozing cheese can burn onto bare baking sheets, so a liner means you won’t be scrubbing stuck-on cheese off your pan after dinner. It’s a tiny step that saves so much hassle.
18.My rolls got too hard and crispy after baking—what did I do wrong?
▾
That usually means you used too much melted butter, baked them too long, or had your oven temperature running too high. Next time, use about 1 tablespoon of melted butter per roll, brushed evenly over cut sides and crust, stick to the 8–10 minute bake time at 400°F, and pull them out as soon as the cheese is bubbly.
19.Can I make a vegetarian version of this sub?
▾
Absolutely! Swap the smoked ham for thinly sliced marinated portobello, vegetarian deli ham slices, or roasted zucchini and eggplant, keep the provolone and garlic butter, and bake exactly as directed. Add extra banana peppers, roasted red peppers, and Italian seasoning for a hearty, satisfying meat-free sub that’s just as toasty and flavorful.
20.What’s the best way to reheat leftover baked ham and cheese subs?
▾
Skip the microwave—it will make your bread rubbery and soggy. Instead, reheat leftover subs (scoop off any fresh cold toppings first!) in a 350°F oven for 5–7 minutes, or in an air fryer at 350°F for 2–3 minutes, until the cheese is remelted and the roll is crisp again. Add fresh toppings back after reheating.

OMG this baked ham and cheese sub was a total game changer for our weeknight dinner! I used sourdough sub rolls like my grandma used to and added a little extra dijon to the butter spread, my husband went back for seconds before I even sat down. SO good, 10/10 will make again for our next potluck!
Bro this is so easy to make in my tiny dorm oven? I was tired of eating microwave mac and cheese every night, grabbed some cheap deli ham, swiss, and hoagie rolls from the campus grocery store and had a restaurant-worthy sub in 15 minutes flat. Saved my meal plan budget for real.
Made these for my son’s post-game team snack last weekend and every single kid asked for the recipe! I wrapped them individually in foil so they stayed warm on the drive to the field, zero leftovers. Perfect easy crowd pleaser.
Wait has anyone tried this with gluten free sub rolls? I’m having my sister over for lunch next week and she’s celiac, I want to make sure it holds up when baked without getting all soggy.
How well do these hold up for meal prep? I’m trying to make 4 days worth of lunches for work and want something that doesn’t get sad in the fridge.
Made these for our family movie night last Friday instead of pizza and it was such a hit! I added a little pickled banana peppers to mine for a tangy kick, paired perfect with potato chips and root beer floats. Will be in our regular rotation for sure.
Made a big batch of these for the football watch party last Sunday, people were raving the whole first quarter! I used a mix of cheddar and swiss, brushed the garlic butter on top, and they were gone before halftime. Only note is I wish I made double the amount.
First time cooking anything other than ramen and I didn’t mess this up! So easy to follow, the steps were super straightforward, and my roommate said it tasted like something from the sub shop down the street. Total confidence boost for a beginner cook lol
Packed these wrapped in foil for our day hike last weekend, heated them up on the camp stove grate at the summit and they were the best trail lunch I’ve ever had. Warm, cheesy, filling, way better than sad granola bars. Will be bringing these on every camping trip from now on.
Wait can you use other cheeses besides swiss? I only have provolone and American in the fridge right now, will that work okay?
My kids are the pickiest eaters on the planet and they both devoured these! No complaints about “weird food” for once, they even asked if we could have them again next Sunday. That’s the highest possible praise in my book.
Calculated the cost per serving and it’s like $2.25 a sub? That’s way cheaper than ordering takeout subs that cost $10+ each. I bought all generic brand ingredients and it still tasted incredible. Perfect for anyone trying to cut down on food costs right now.
I added a drizzle of hot honey and a sprinkle of red pepper flakes on mine before baking and it was the perfect sweet-spicy kick. If you love a little heat, don’t sleep on that addition. 10/10
Made these after a long day on the slopes last week, they were warm, hearty, and hit the spot after being out in the cold all day. Paired with a bowl of tomato soup and it was the perfect cozy winter meal.
I’ve been making baked ham and cheese subs for 20 years and this recipe is almost as good as the ones I used to sell at my old sub shop! The garlic butter spread on the bread is the secret most home recipes miss, that’s the exact thing that makes them taste like takeout.
Wait would these work for a casual brunch spread? I’m hosting a few friends for a lazy Sunday brunch and want something easy that I don’t have to stand over the stove making.
Made these for our office potluck last week and they were gone in 10 minutes! I set them out on a platter with some mustard and mayo packets on the side, and three different coworkers tracked me down to ask for the recipe. Total win for work events.