
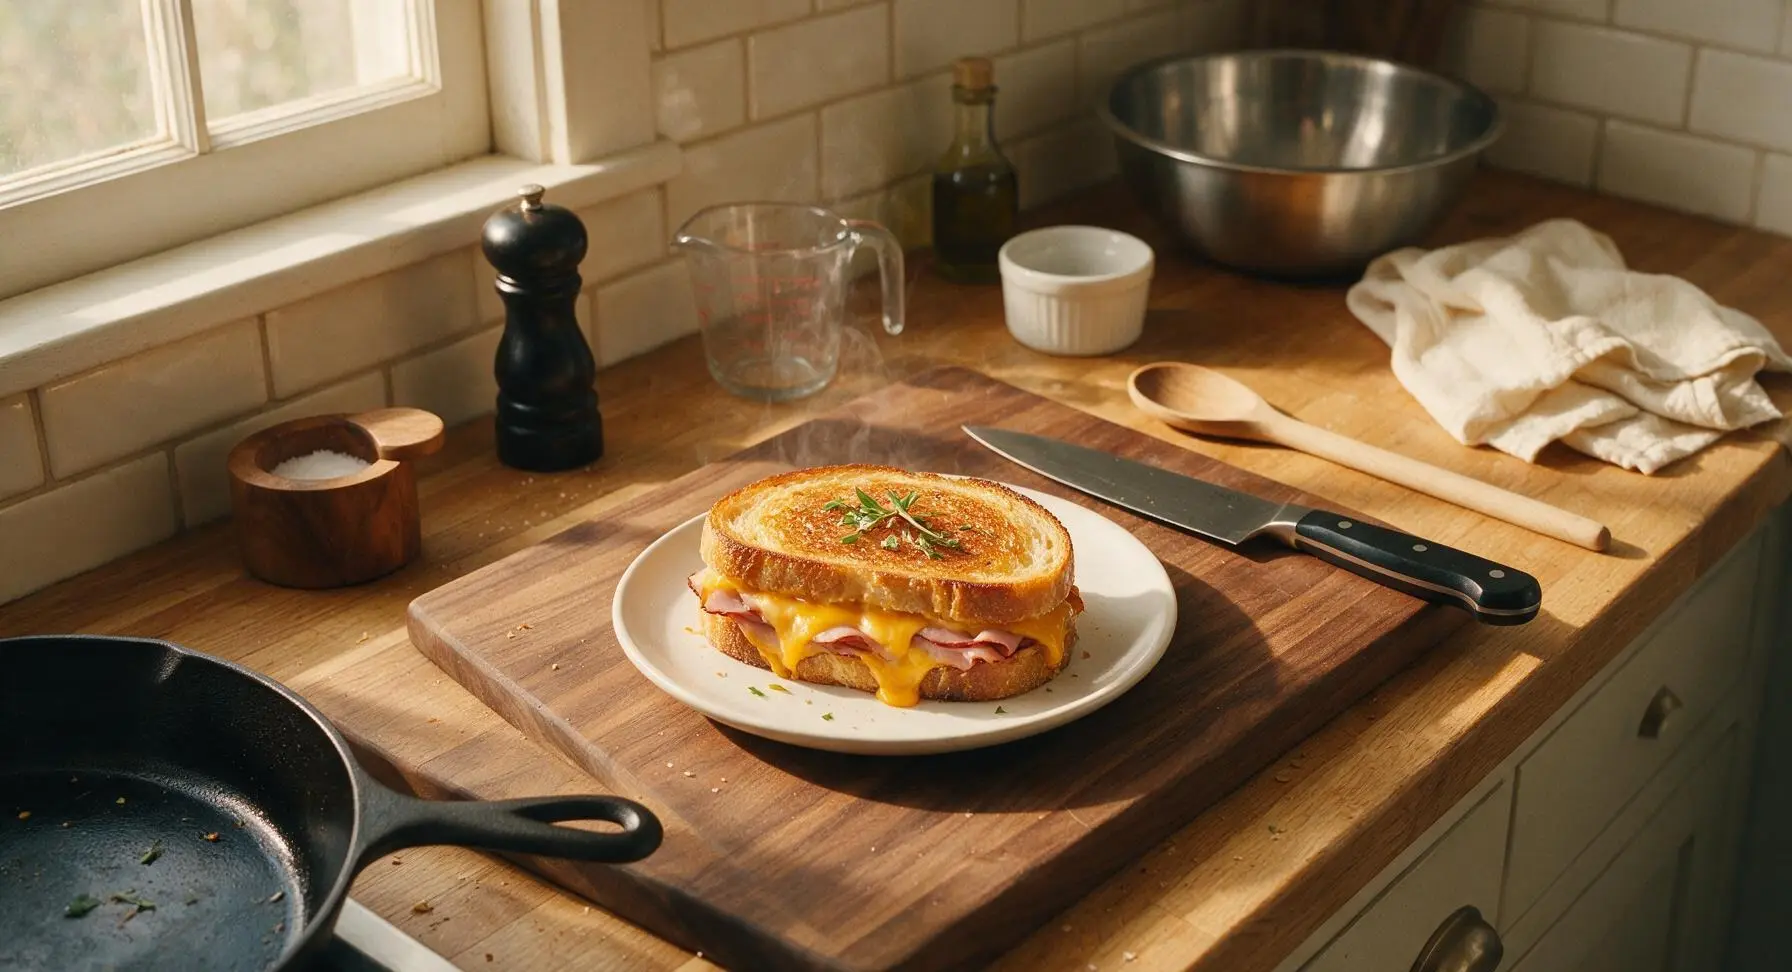
Ham Grilled Cheese

title 1
Ham Grilled Cheese
⏱️ cook time 8 minutes
🍽️ servings 2
⚡ Difficulty easy

intro

Crisp golden buttery sourdough oozing with melted sharp cheddar and savory smoked ham, this nostalgic diner classic comes together in minutes for pure, cozy comfort.

Ingredients
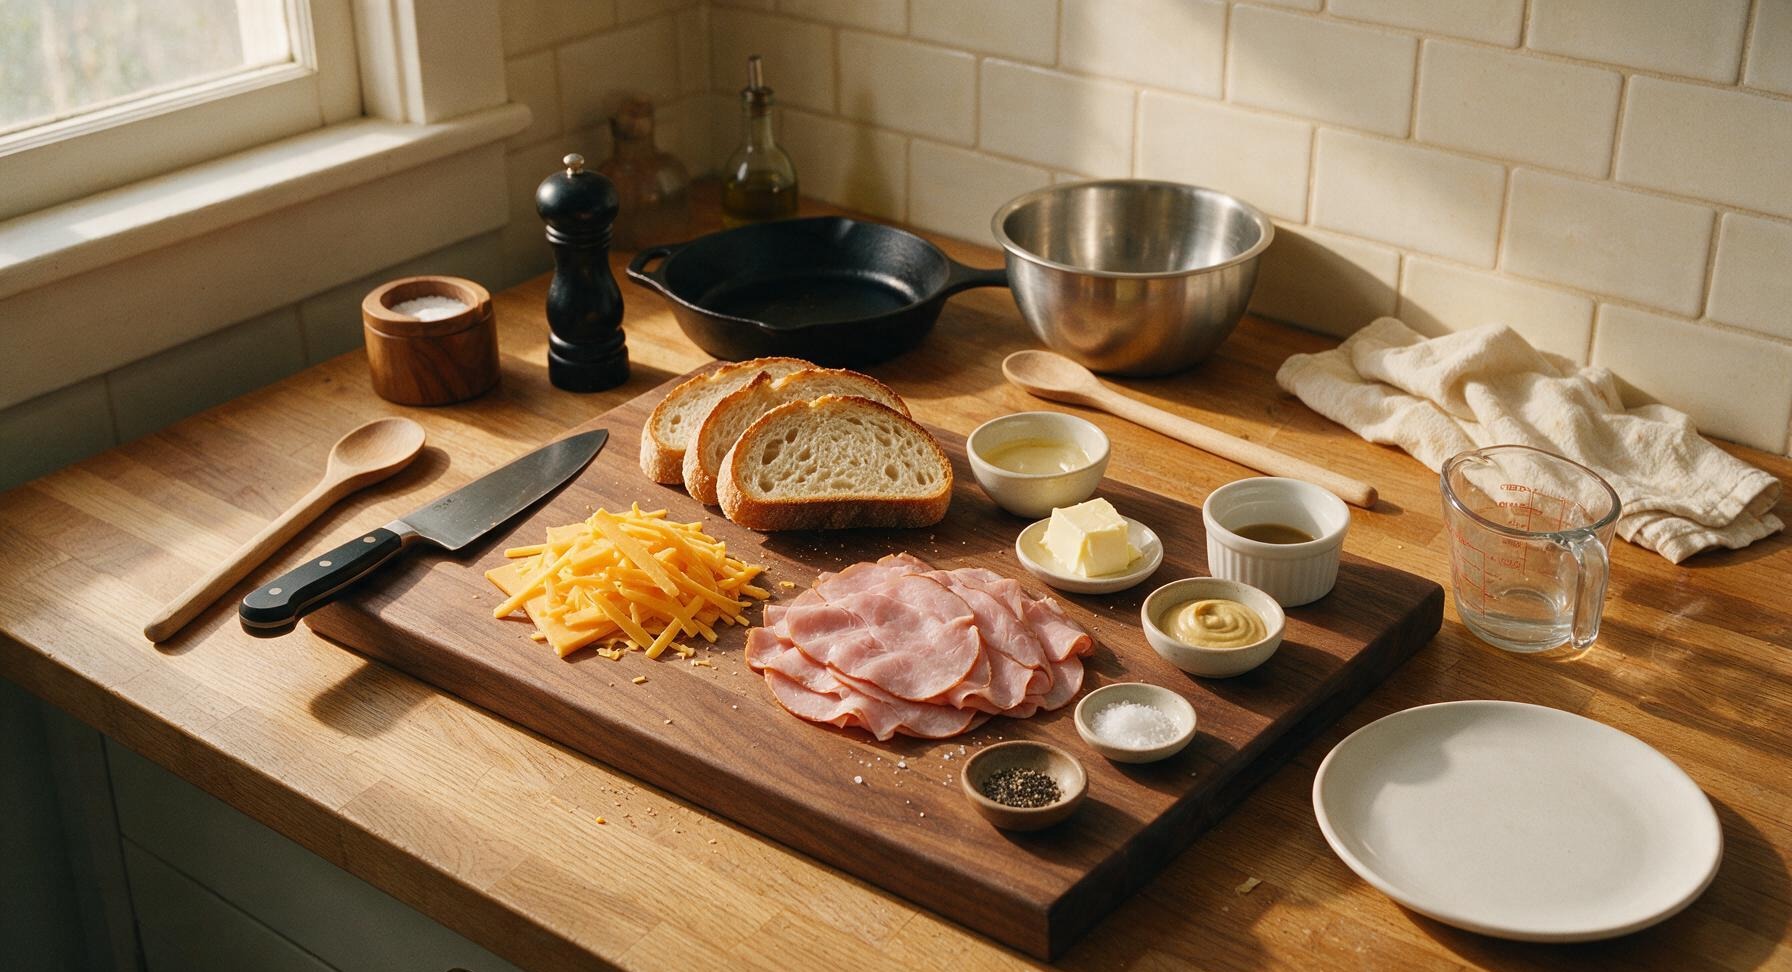
Thick-cut sourdough bread 4 slices (1.5cm thick each)
Sharp cheddar cheese 120g, thinly sliced
Smoked deli ham 80g, thinly sliced
Unsalted butter 2 tbsp, softened
Dijon mustard 1 tsp
Flaky sea salt 1/4 tsp
Freshly ground black pepper 1/8 tsp

Steps

1

Spread Dijon on Bread

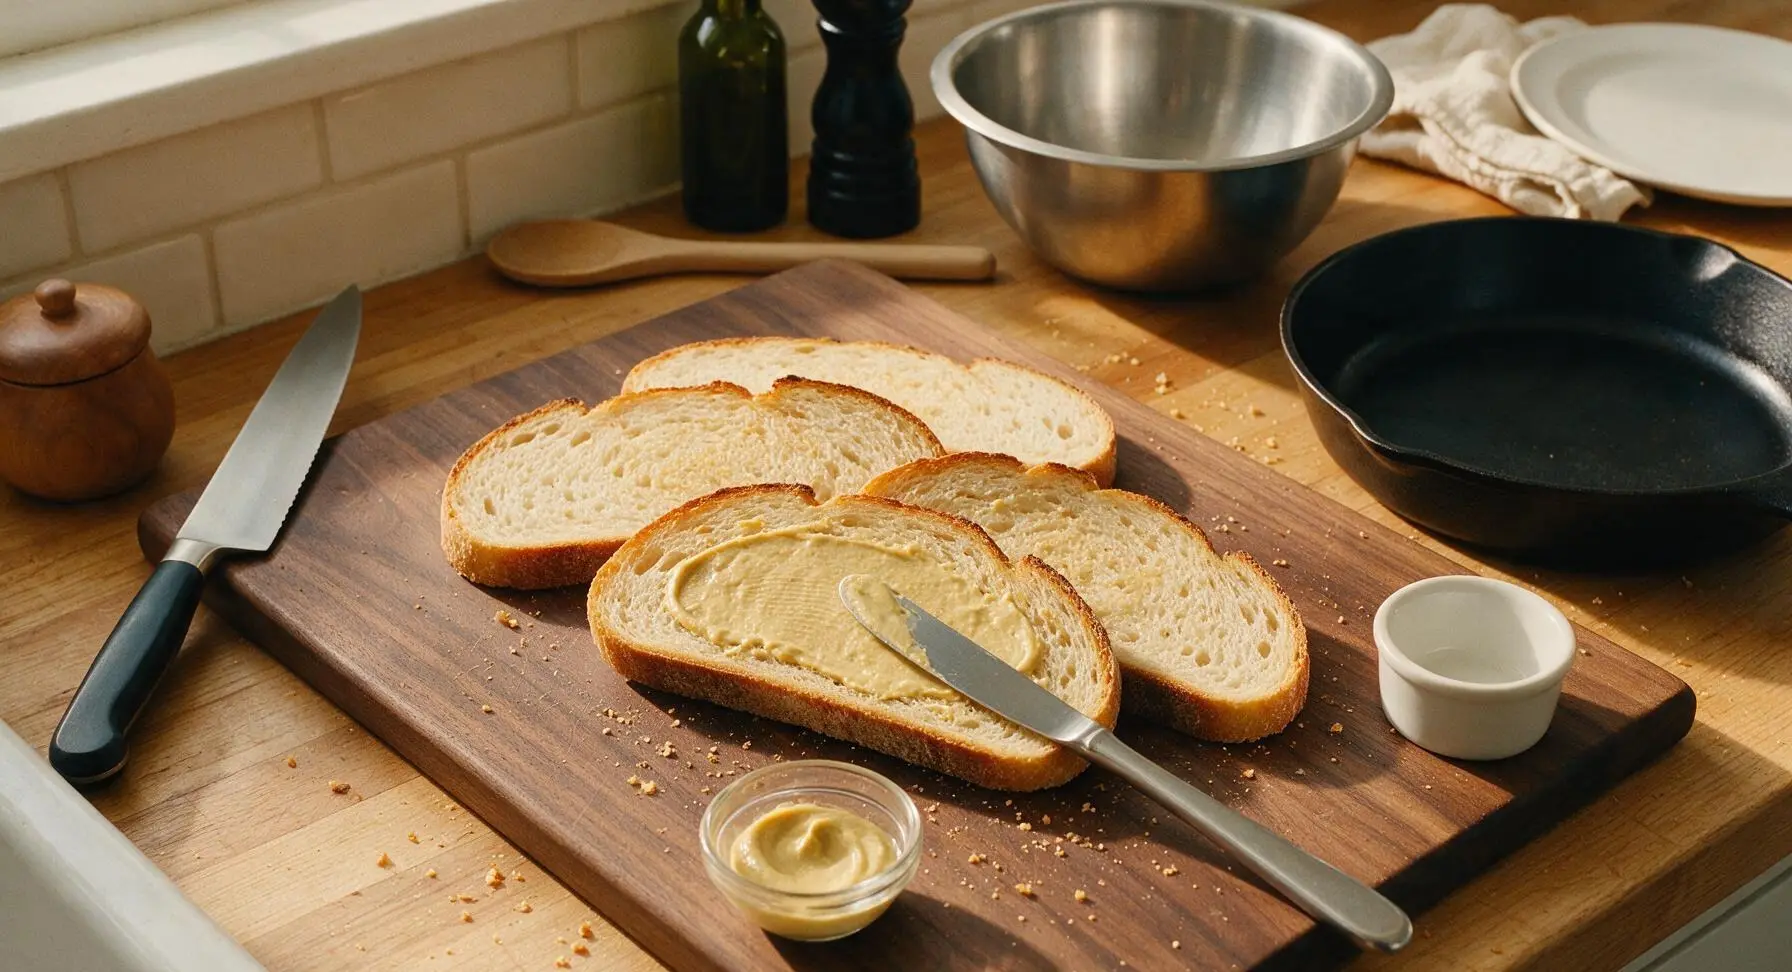
Lay all 4 sourdough slices flat on the bamboo cutting board. Use the stainless steel butter knife to spread 1/4 teaspoon of Dijon mustard evenly across one full side of each bread slice. The mustard layer should be thin enough to add tang without making the bread soggy, covering the entire surface with no thick clumps.
Step 1
step1:Spread Dijon on Bread
2

Layer Cheese and Ham

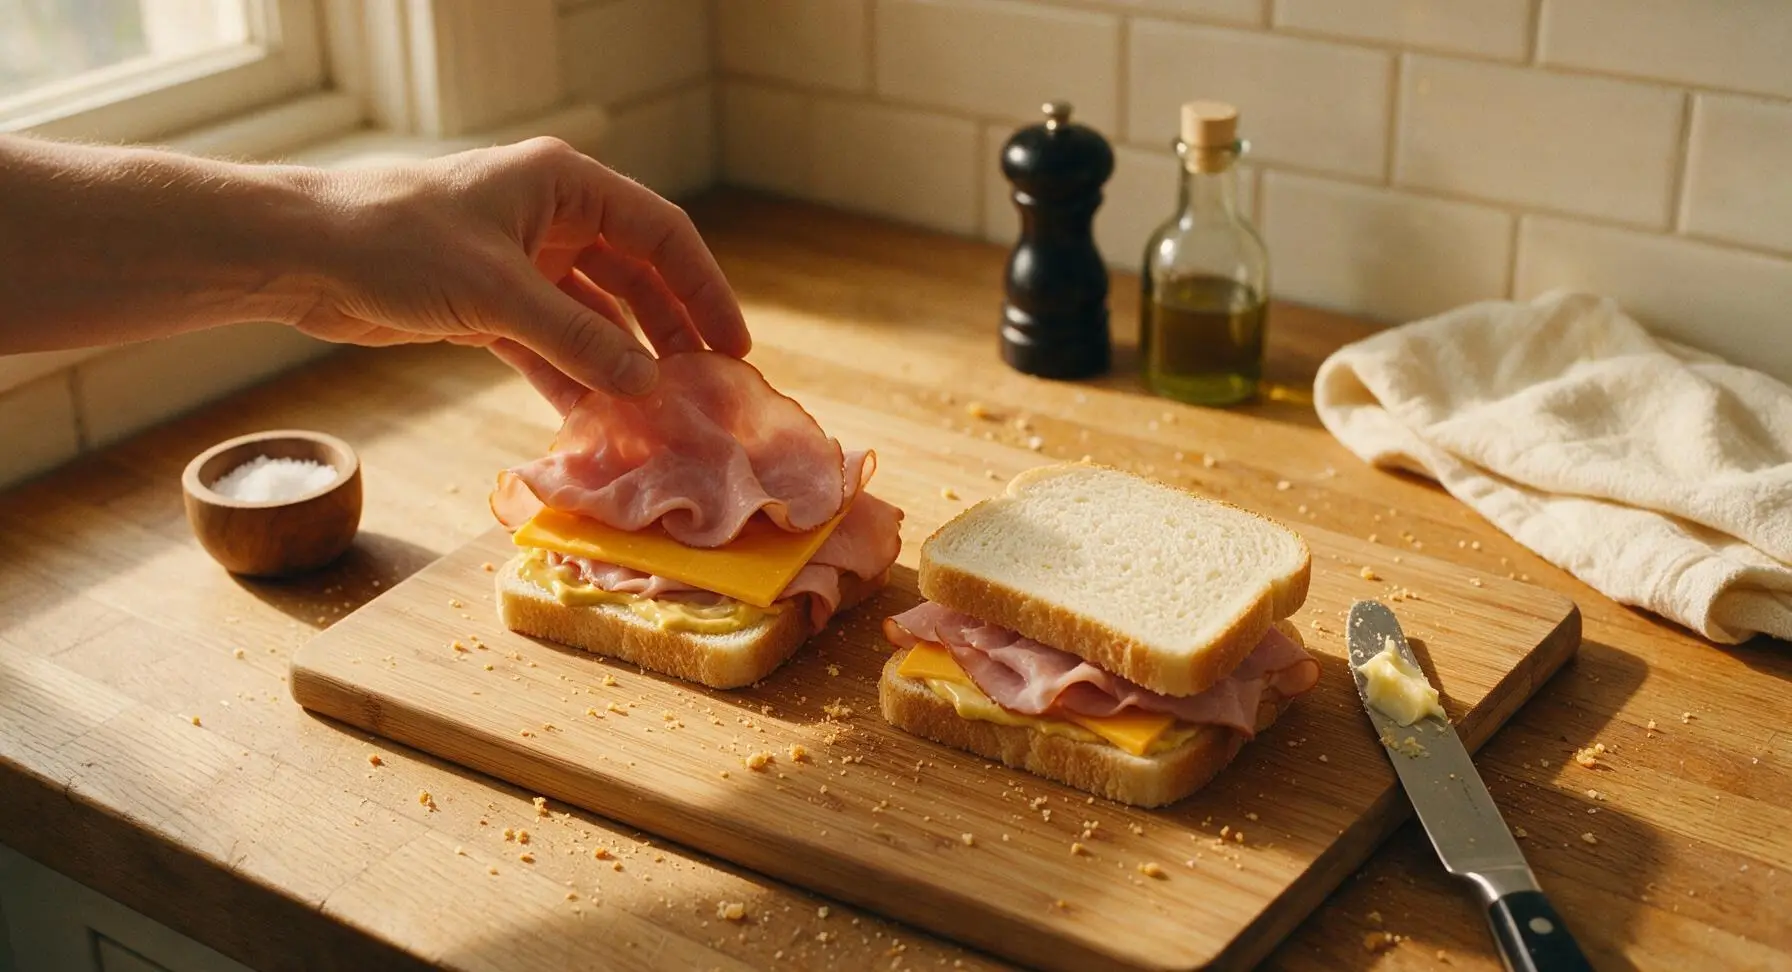
Place one slice of cheddar on the mustard-coated side of 2 bread slices, covering the bread edge to edge to prevent bare spots. Top the cheese with 2 slices of smoked ham per sandwich, folding the ham into loose ruffled layers instead of laying it flat (flat ham slides out easily once cheese melts). Add a second slice of cheddar over the ham, then place the remaining 2 bread slices mustard-side down to form 2 full sandwiches. Press gently on the top of each sandwich with your palm to help layers stick together.
Step 2
step2:Layer Cheese and Ham
3

Butter Sandwich Exteriors

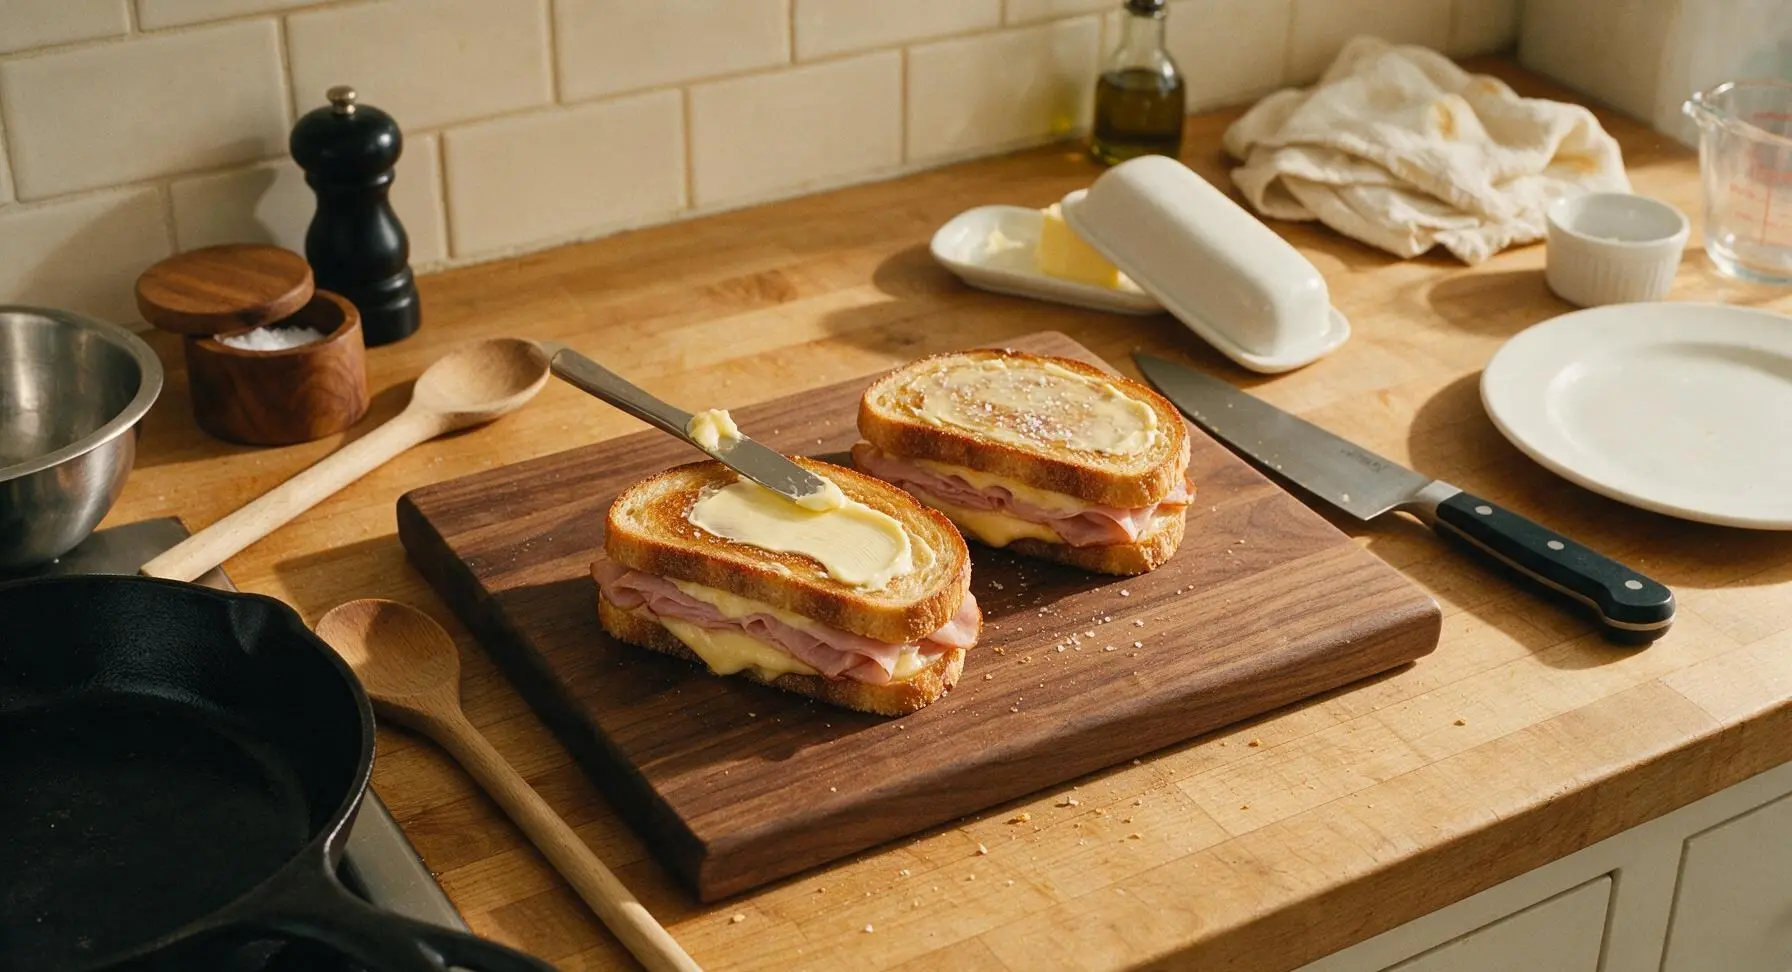
Use the butter knife to spread 1/2 tablespoon of softened butter evenly across the entire top surface of each assembled sandwich, spreading all the way to the crust edges. The butter layer should be thin enough not to drip when heated, but thick enough to create a crisp, golden crust. Sprinkle a tiny pinch of flaky sea salt over each buttered top for extra savory depth.
Step 3
step3:Butter Sandwich Exteriors
4

Preheat Nonstick Skillet

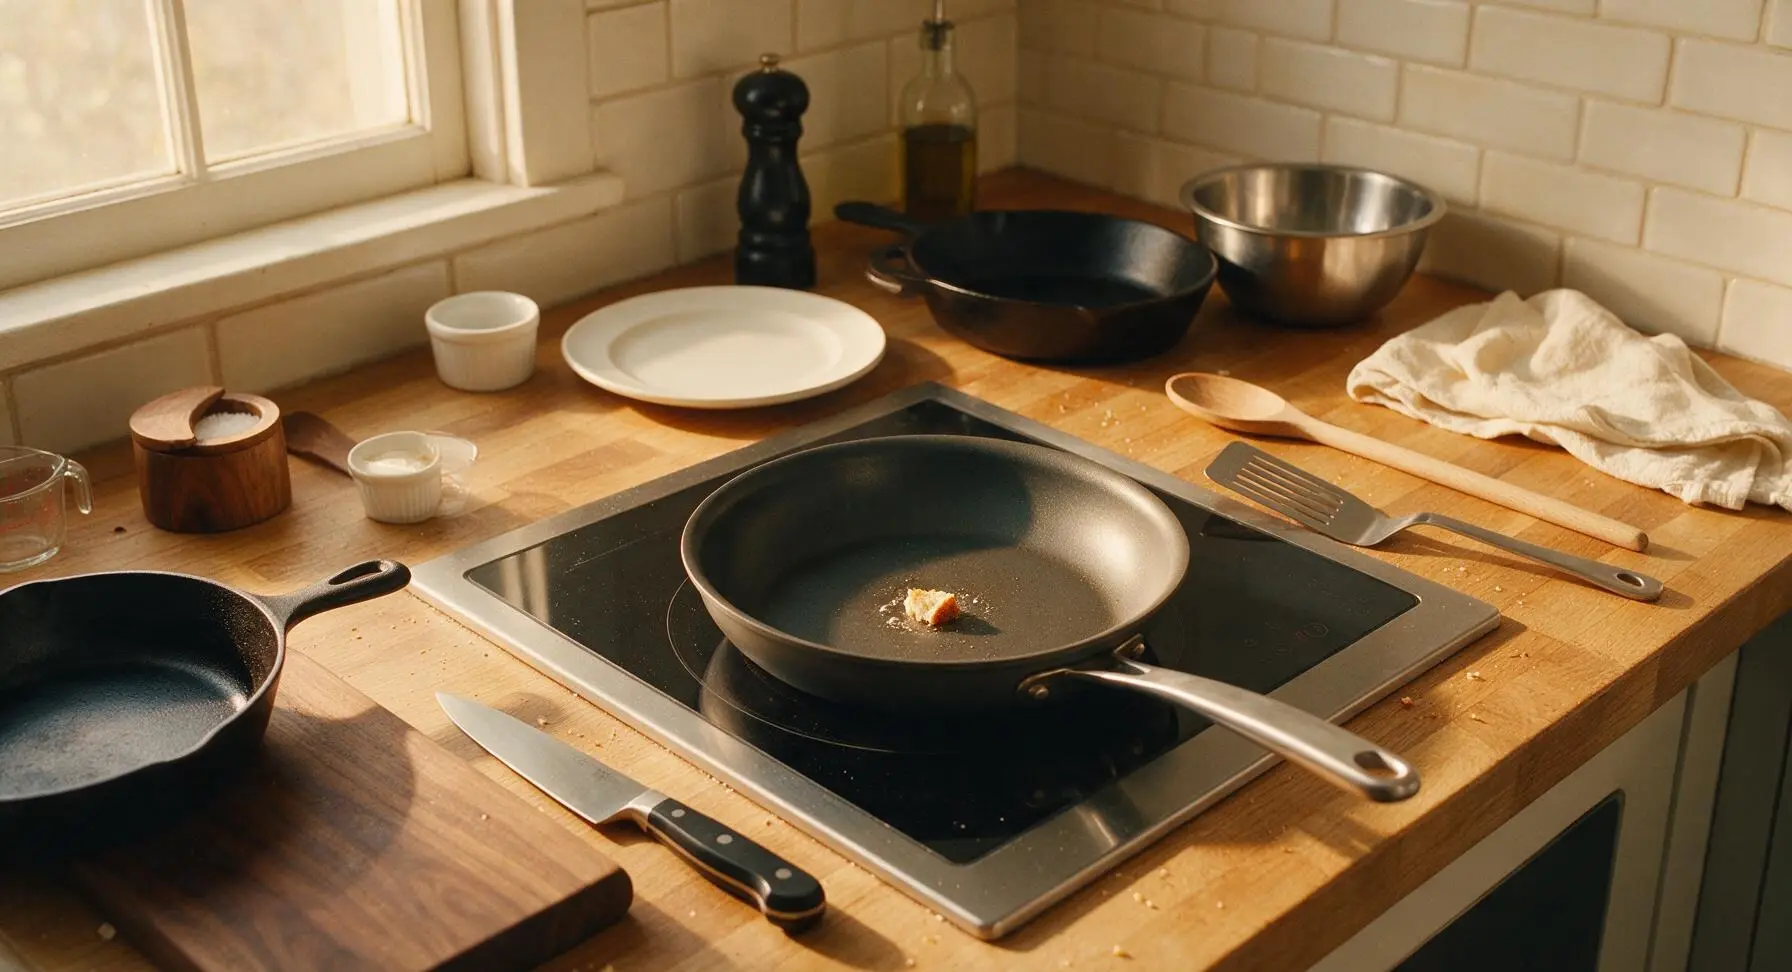
Place the 10-inch matte charcoal nonstick skillet on the integrated induction stovetop burner over medium-low heat (325°F / 160°C). Let the pan preheat for 2 full minutes; test the temperature by dropping a single tiny bread crumb onto the pan surface — it is ready when the crumb sizzles gently without turning black instantly. Higher heat will burn the bread before the cheese melts, so avoid turning the burner above medium-low.
Step 4
step4:Preheat Nonstick Skillet
5

Cook First Sandwich Side

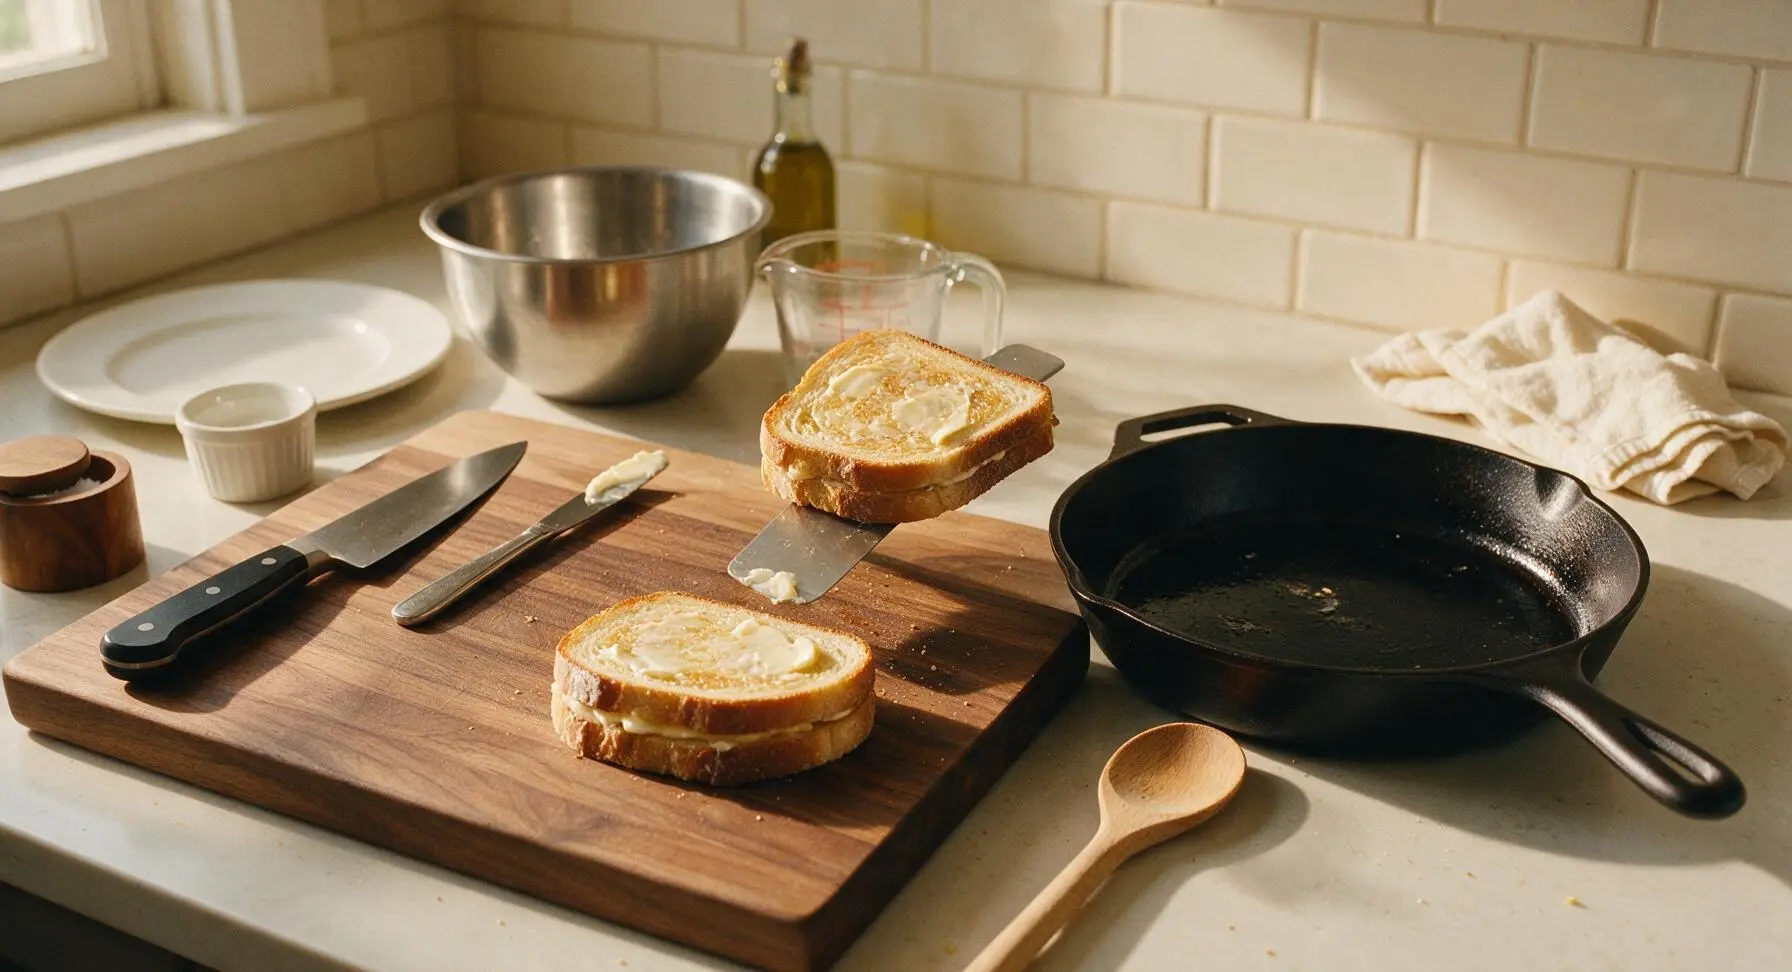
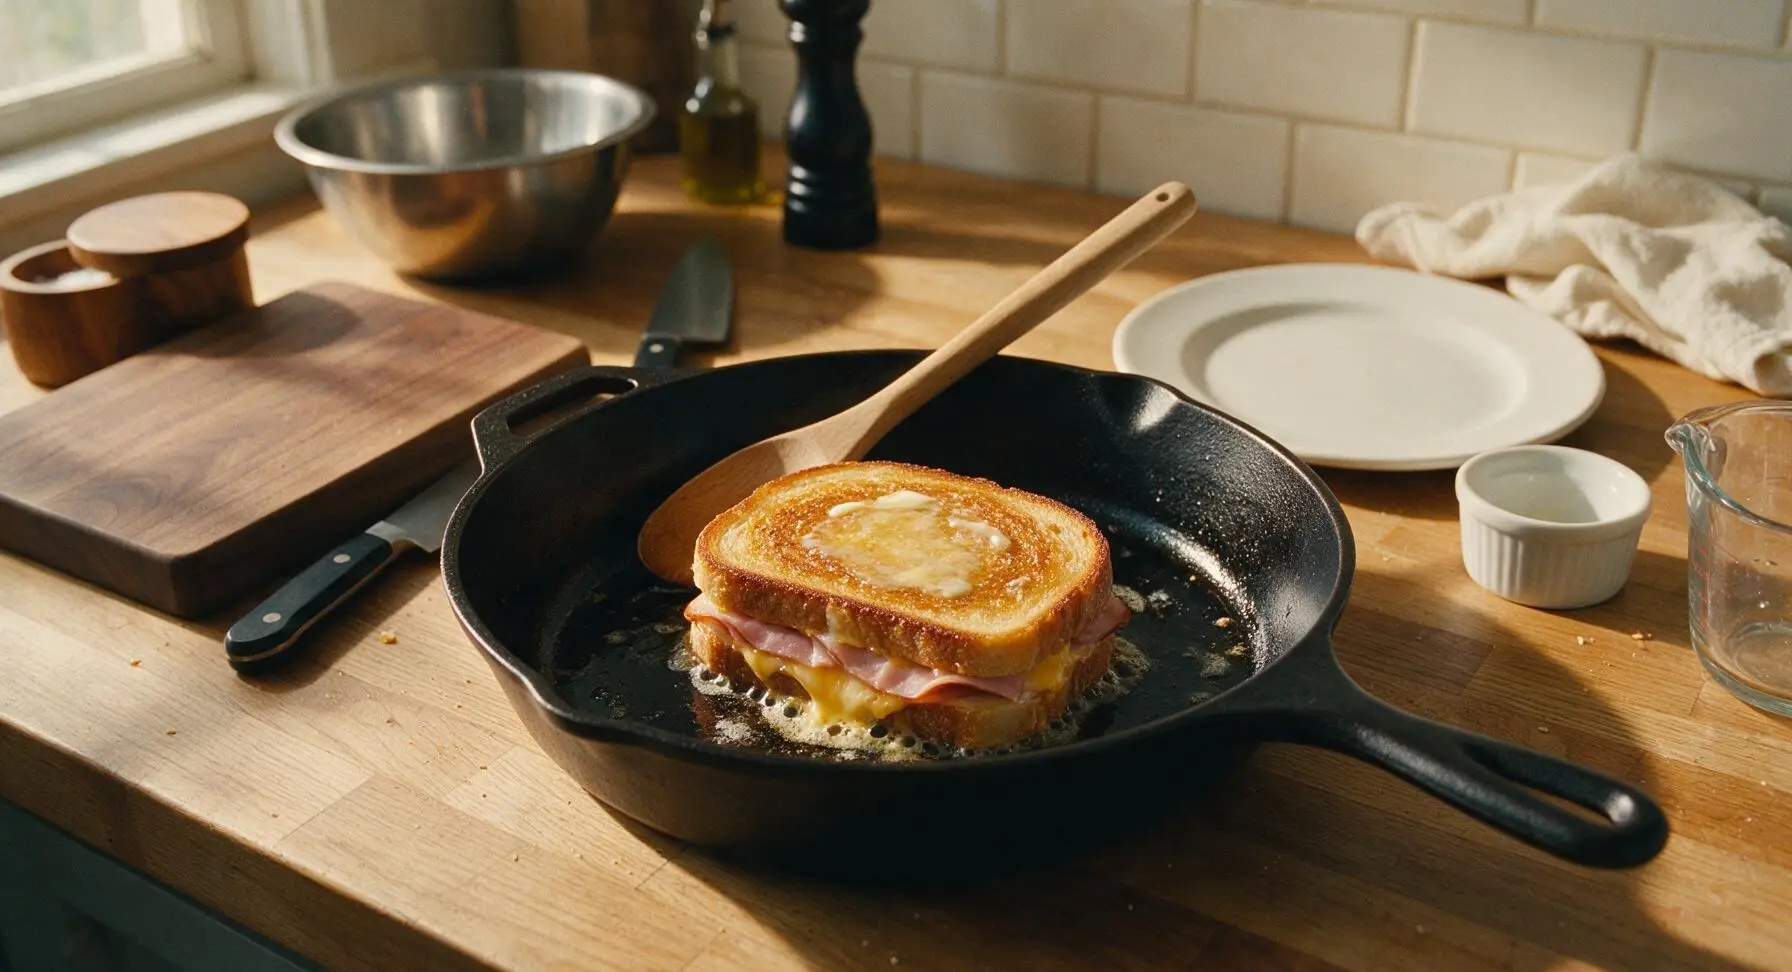
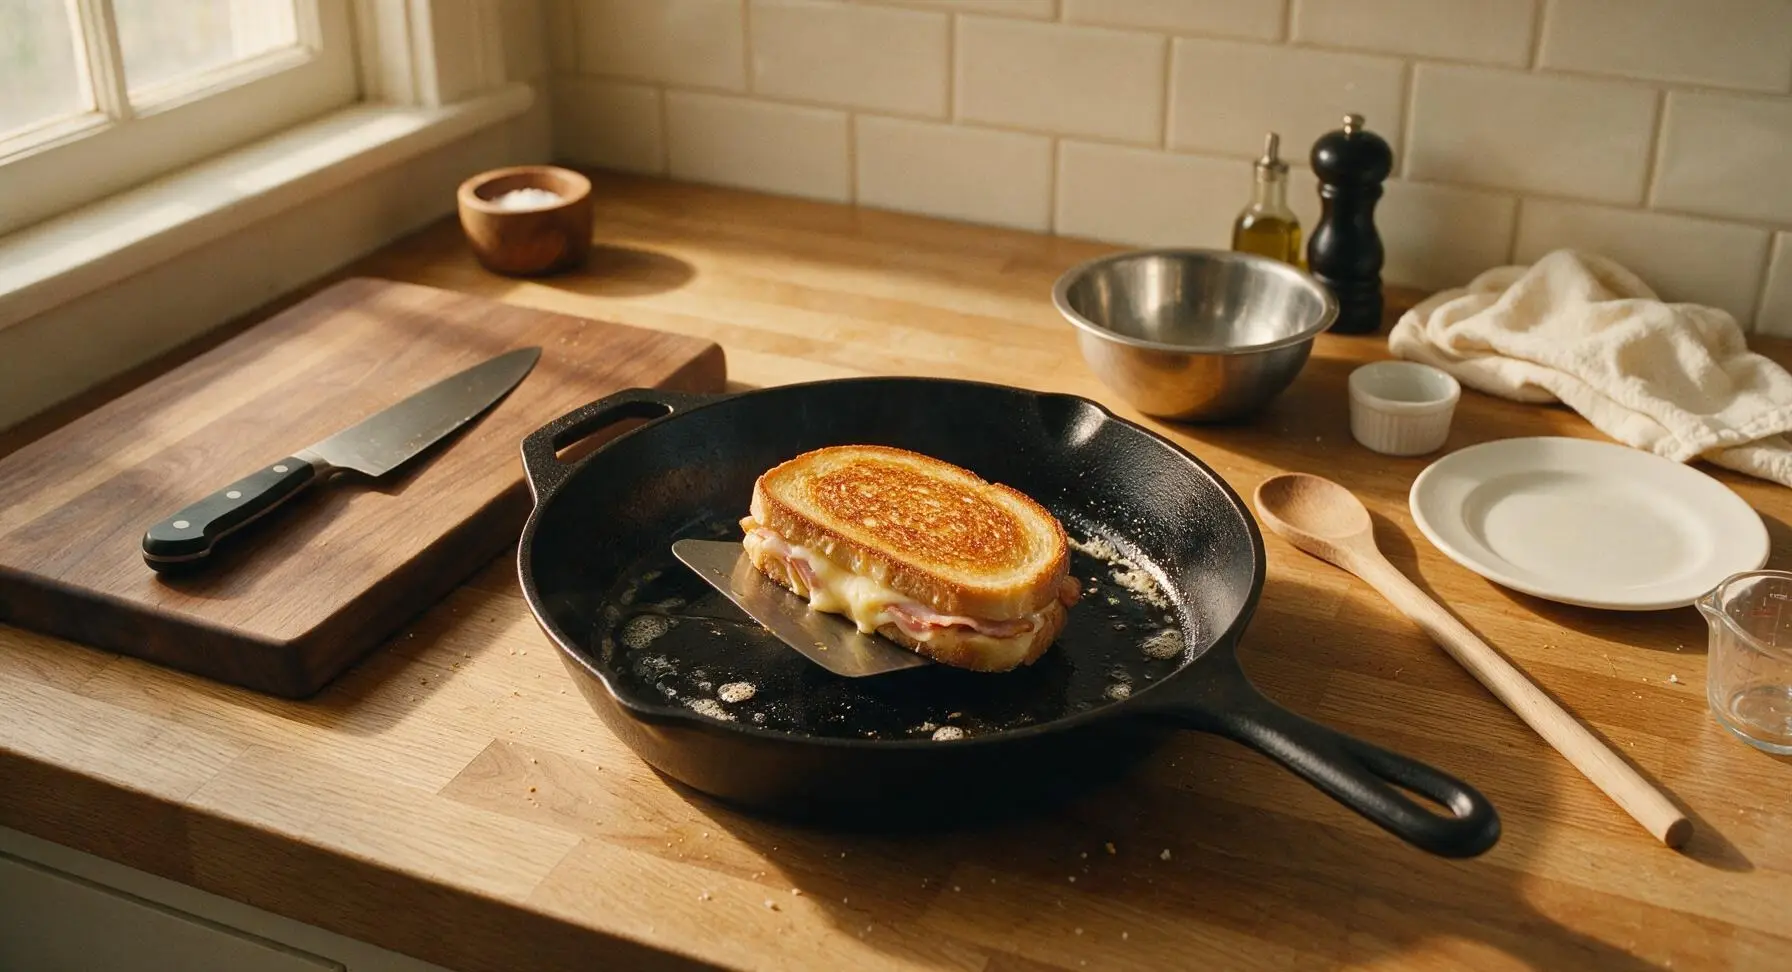
Slide the offset spatula under one buttered sandwich, lift it carefully, and place it buttered-side down in the preheated skillet. Spread the remaining 1/2 tablespoon of butter across the now-exposed top surface of the sandwich in the pan. Cook for 3 to 4 minutes, without pressing down on the sandwich, until the bottom crust is deep golden brown and crisp, and the cheese closest to the pan starts to bubble and seep slightly from the bread edges.
Step 5
step5:Cook First Sandwich Side
Step 5
step5:Cook First Sandwich Side
6

Flip and Cook Second Side

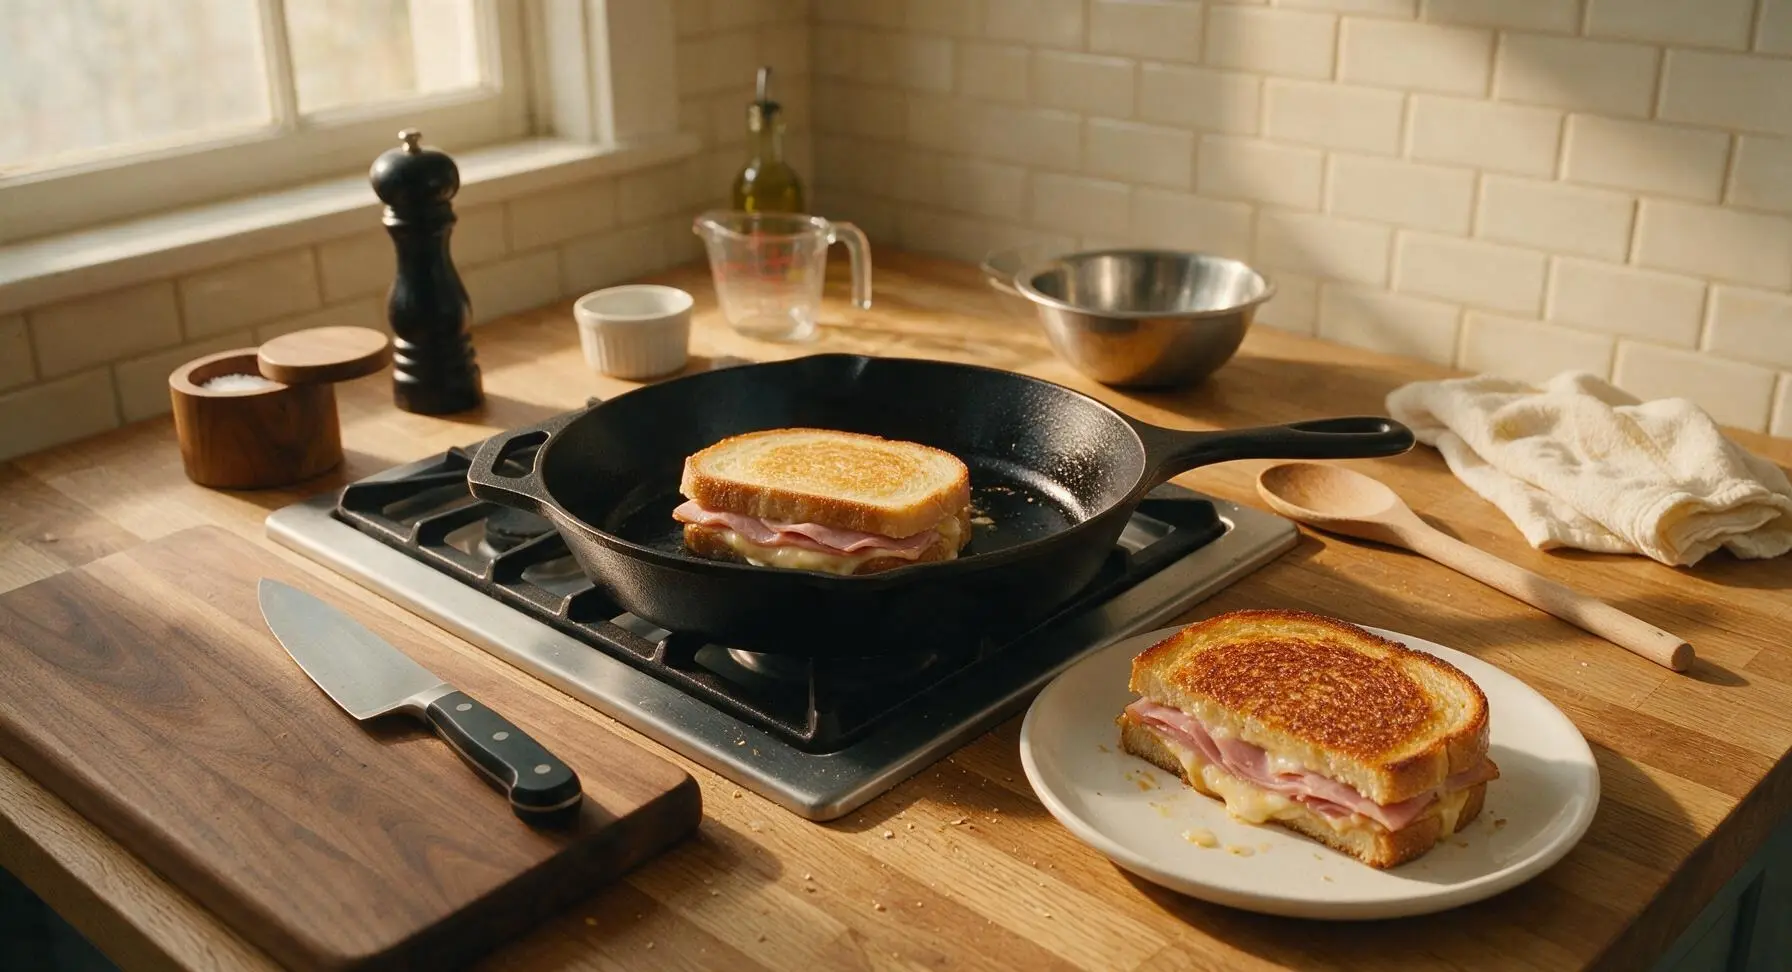
Slide the offset spatula fully under the cooked side of the sandwich, lift it smoothly, and flip it in one quick, steady motion to avoid spilling fillings. Cook the second side for another 3 to 4 minutes, until it matches the first side’s crisp golden color, and cheese oozes slightly from all edges of the sandwich (a sign the center cheese is fully melted). Transfer the first finished sandwich to a cream white ceramic plate, then place the second sandwich in the skillet to cook using the same timing.
Step 6
step6:Flip and Cook Second Side
Step 6
step6:Flip and Cook Second Side
7

Cut and Serve Warm

Once both sandwiches are cooked, transfer them to the cream white ceramic plates. Use the serrated bread knife to cut each sandwich diagonally into two equal triangular halves, which showcases the melted cheese and ham layers. Let the sandwiches rest for 1 minute before serving so the cheese sets slightly and does not run out with the first bite. Finish with a light twist of freshly ground black pepper, and serve with dill pickles on the side if desired.

Step 7
step7:Cut and Serve Warm

Tips

1.For an extra crispy, cheesy crust, sprinkle 1 tablespoon of finely grated cheddar directly onto the preheated skillet 10 seconds before placing the sandwich down — the cheese melts into a lacy frico layer on the bread exterior that adds crunch and deep, nutty cheese flavor without sogginess.
2.Never cook grilled cheese on heat higher than medium-low: high heat burns the butter and bread crust in as little as 90 seconds, leaving the center cheese cold and unmelted, and creating a bitter, charred aftertaste.
3.Avoid pressing down on the sandwich with the spatula while it cooks: this squeezes out melted butter and molten cheese from the bread seams, leading to a dry, flat sandwich instead of a light, crisp, oozing result. The weight of the bread alone is enough to create even contact with the pan.


✨ You May Also Like

Lunch
🍜 United States

Creamy, salty, tangy nostalgic Midwestern sandwich pairing rich peanut butter with crisp briny dill pickles for a fast, satisfying no-cook meal.

⏱️ 5 minutesLunch ★ 4.6
Lunch
🍜 United States

Crispy, melty pressed sandwich layered with savory roast pork, ham, Swiss cheese, pickles, and tangy mustard: a beloved Cuban-American comfort classic.

⏱️ 25 minuteLunch ★ 4.9
Lunch
🍜 United States

Hearty, briny New Orleans pressed sandwich stacked with cured Italian meats, provolone, and zesty olive salad, served cold for bold, portable flavor.

⏱️ 1 hour 20Lunch ★ 4.7
Lunch
🍜 United States

A tangy, creamy Southern American staple, this no-cook cheesy sandwich is packed with sharp cheddar and sweet pimentos for a satisfying, portable bite.

⏱️ 1 hour 15Lunch ★ 4.8
Lunch
🍜 United States

Crispy Cajun-spiced fried shrimp piled on crusty French bread with tangy remoulade and fresh toppings, the iconic Louisiana street food sandwich.

⏱️ 35 minuteLunch ★ 4.4
Lunch
🍜 United States

Stacked, savory deli-style corned beef sandwich with melted Swiss, tangy mustard, and crisp griddled rye— a fast, hearty, satisfying classic.

⏱️ 15 minuteLunch ★ 4.9

Ham Grilled Cheese:Frequently Asked Questions

1.What type of bread works best to keep this grilled cheese from getting soggy? ▾
Thick-cut (about ½-inch) sourdough is ideal here, thanks to its tight, sturdy crumb and subtle tang that cuts through rich cheese and ham. It won’t turn mushy from melted cheese or ham moisture, and toasts up to that perfect buttery golden crunch without falling apart as you cook or take bites.
2.Can I substitute a different cheese for the sharp cheddar in this recipe? ▾
You absolutely can, but sharp cheddar is my top pick for its bold, tangy bite that balances salty smoked ham and buttery bread. If you swap it, go for reliable melting options like Gruyère, fontina, or mild provolone—skip crumbly cheeses like feta that won’t get that signature oozy pull.
3.How do I get a perfectly crisp, golden crust without burning the butter? ▾
The trick is to use medium-low heat, not high, and spread softened (not pre-melted) unsalted butter evenly all the way to the edges of each bread slice. Cook slowly for 3-4 minutes per side, so the cheese melts fully before the bread gets too dark, for even, buttery crunch with zero burnt spots.
4.Is the Dijon mustard required, or can I leave it out entirely? ▾
You can skip it if you really don’t care for Dijon, but I highly recommend adding a thin spread! It won’t make the sandwich taste strongly of mustard—it adds a subtle bright, tangy kick that cuts through the richness of butter, cheddar, and salty ham so every bite feels balanced, not heavy.
5.What style of ham is best for this classic grilled cheese? ▾
Thinly sliced smoked deli ham is ideal for this recipe, because it’s fully cooked, has that deep savory smoke flavor that pairs perfectly with sharp cheddar, and heats through quickly as the sandwich toasts. Skip thick, glazed holiday ham here—it’s too sweet and dense for the short cook time.
6.How do I make sure the cheese melts fully without burning the bread? ▾
First, shred your own sharp cheddar instead of using pre-shredded, which has anti-caking coatings that melt unevenly. Keep your stovetop on medium-low, cover the pan for the first 2 minutes of cooking to trap gentle heat, and the cheese will be perfectly oozy right as your bread hits ideal golden crispness.
7.Can I make this ham grilled cheese ahead for meal prep or packed lunches? ▾
It’s best eaten fresh off the pan for peak crispness and melty cheese, but you can prep components ahead: slice bread, shred cheese, and portion ham in airtight containers in the fridge for up to 3 days. If packing for lunch, let it cool slightly first, and re-toast briefly if you have access to a toaster oven to bring back crunch.
8.What can I use instead of unsalted butter if I have dietary restrictions? ▾
If you need to skip dairy butter, use an equal amount of softened high-heat plant-based butter, or a thin layer of full-fat mayonnaise spread on the outside of the bread. It toasts up to a surprisingly crisp, rich golden crust, and works beautifully even if you just ran out of regular butter mid-recipe.
9.How much filling should I use per sandwich to avoid messy overflow? ▾
Stick to about 2 ounces of shredded sharp cheddar (split between both bread slices, to glue the ham in place) and 2-3 thin slices of smoked ham per sandwich. Piling on too much filling will cause cheese to ooze out the sides, burn on the pan, and make the sandwich hard to bite through cleanly.
10.Can I add extra mix-ins to this classic recipe without ruining it? ▾
Of course! This recipe is a perfect nostalgic base, so feel free to add small extras like patted-dry thin tomato slices, a sprinkle of crispy bacon, pickled jalapeños for heat, or a thin spread of fig jam for a sweet-savory twist. Just don’t overstuff it so the sandwich stays cohesive and easy to eat.
11.What type of pan works best for cooking this grilled cheese? ▾
A heavy-bottomed cast iron skillet or nonstick frying pan works best here, because it distributes heat evenly across the bread surface so you don’t get patchy burnt or pale spots. If you use a sandwich press, don’t press it too hard, or you’ll squeeze out all the delicious melty cheese filling.
12.Why does my grilled cheese always end up soggy in the middle? ▾
Sogginess usually comes from three common missteps: using heat that’s too high (which burns the outside before the inside warms up), adding wet fillings without patting them dry first, or using thin, soft bread that can’t stand up to moisture. Stick to thick sourdough, medium-low heat, and dry fillings for crisp, perfect results every time.

Comments (7)

2 days ago

OMG this classic ham grilled cheese was such a hit for my kids’ after-school snack today! I swapped the white bread for sourdough and added a little smear of dijon, total chef’s kiss. Cook time was exactly 8 minutes like the recipe said, zero fuss. SO good I already made it twice this week, my oldest is already begging for it for Friday night dinner.

yesterday

Wait the dijon addition is genius! I’ve been adding a tiny pinch of garlic powder to the butter too, it takes the whole sandwich to the next level.

2 hours ago

So glad your family loved it! The dijon swap is one of our all-time favorite little hacks — it cuts through the richness of the melted cheese so perfectly.

30 minutes ago

Total game changer. I’ve been messing up grilled cheese for years by cranking the heat too high, so following the temp tip here got me perfectly melty cheese and crispy, not burnt, bread every time. Threw in a couple slices of leftover honey ham from Sunday brunch and it tasted like the fancy sandwich shop version for a fraction of the cost. 10/10, no notes.

1 week ago

Perfect quick lunch for my work week meal prep! I made a batch of these on Sunday, wrapped them tight in parchment, and just crisped them up in the toaster oven when I was ready to eat at my desk. The only tweak I made was using low-fat sharp cheddar to cut a few calories, and it still tasted totally indulgent. Super easy even for someone who burns toast half the time lmao.

5 days ago

Great meal prep tip! We love that these hold up so well for make-ahead lunches — pro tip: skip wrapping them in plastic if you’re reheating in the toaster oven to get extra crisp edges every time.

5 days ago

Brought a platter of these cut into little triangles to my neighborhood potluck last weekend and they were gone in 10 minutes flat! People kept hounding me for the recipe, I felt like a total pro even though it’s so simple to throw together. I used a mix of cheddar and Swiss for extra oomph, highly recommend that combo.

3 days ago

The cheddar-Swiss mix is elite! I did that last time I made these too and my roommate ate half the batch before I could even get them on a plate.

2 days ago

We love the mini triangle cut for parties! The cheddar and Swiss blend is such a tasty upgrade, we might have to add that as an official variation note on the recipe soon.

2 hours ago

Made this at 2am after getting home from a concert and it hit DIFFERENT. Only thing I had in the fridge was deli ham, American cheese slices, and a random loaf of white bread, didn’t even need any fancy ingredients. Cooked way faster than waiting for delivery too, saved me $20 on takeout.

30 minutes ago

LMAO same! I made this after my late hospital shift last week and it’s become my go-to when I get home, way better than wasting money on takeout at that hour.

yesterday

Literally the first thing I’ve made in my dorm kitchen that didn’t come out totally terrible! No fancy equipment needed, just a $10 thrift store skillet, and it was done in like 8 minutes exactly. Saved me from eating another sad microwave ramen cup for dinner last night, my roommate even asked if I could make him one tomorrow.

just now

So excited to try this recipe! Quick question — do you think this works well with gluten free bread? I have a wheat sensitivity and don’t want to waste ingredients if it’ll turn out soggy or way too crunchy before the cheese melts.

just now

Great question! It works fantastic with gluten free bread — just turn the heat down a tiny bit and cook it 1-2 minutes longer with a lid on the pan, so the cheese gets fully melty before the bread gets too dark. Hope you love it!



