
Ham Salad Melt
intro
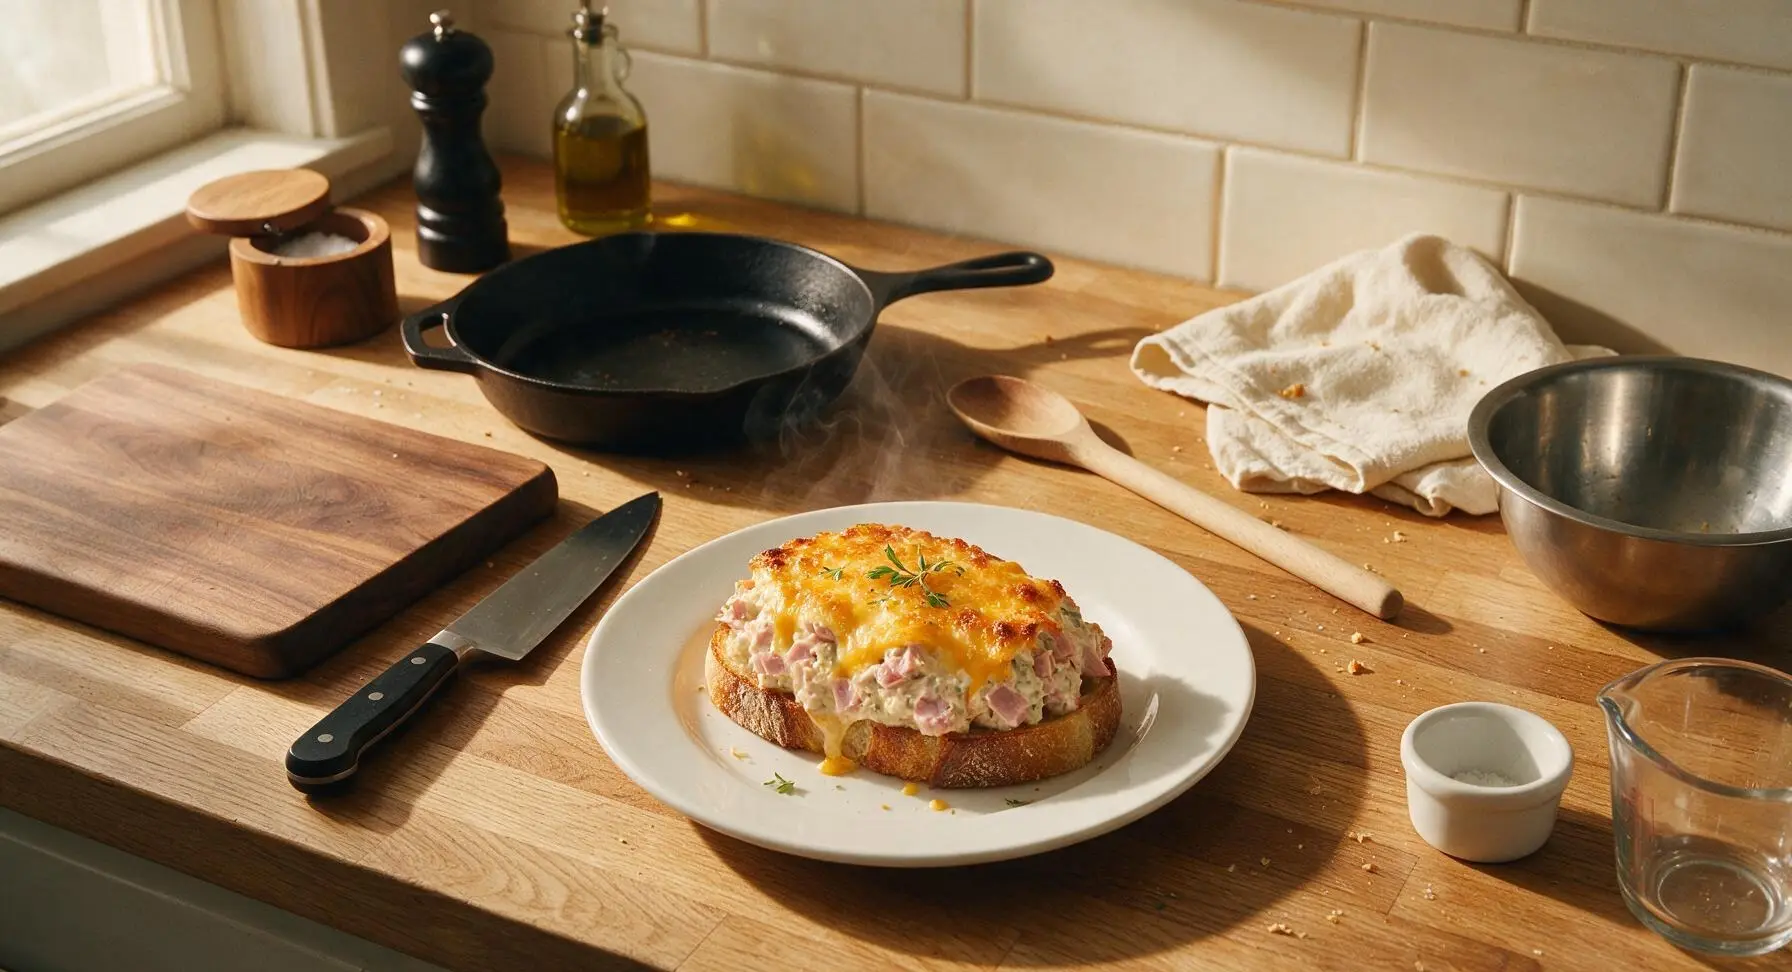
Creamy, chunky ham salad piled on crusty sourdough, topped with gooey melted cheddar and toasted to crisp golden perfection—classic diner comfort ready in minutes.
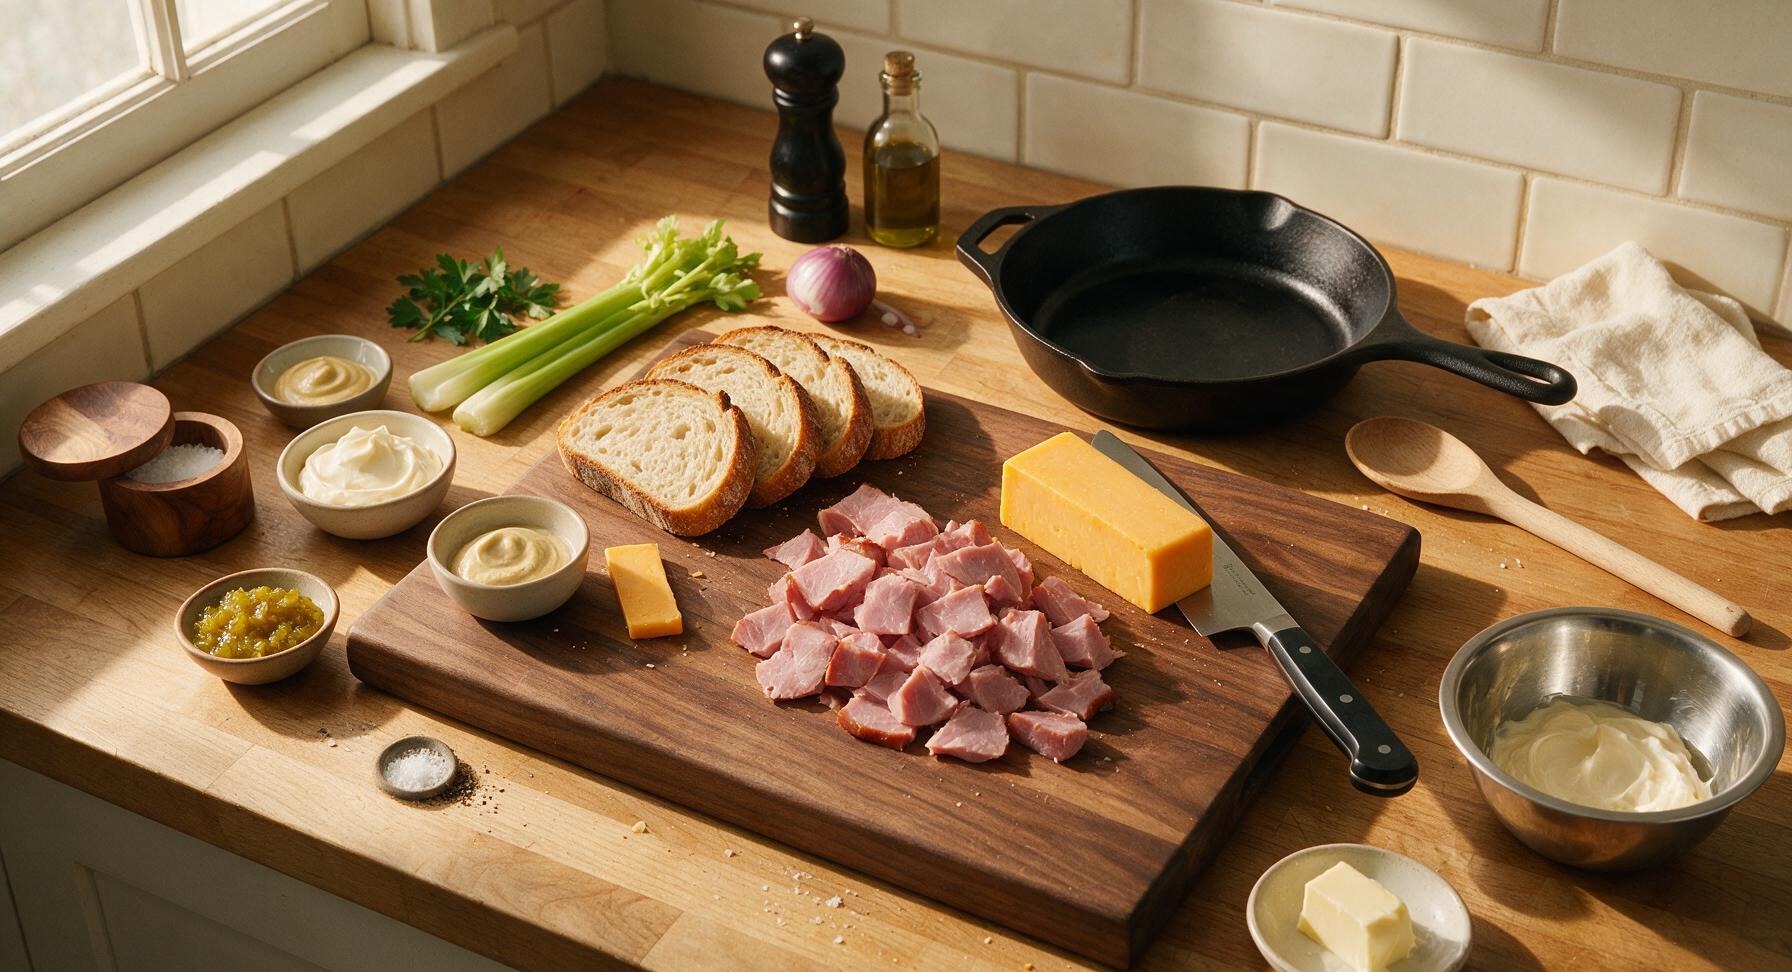
Ingredients
Steps
Dice Ham and Vegetables
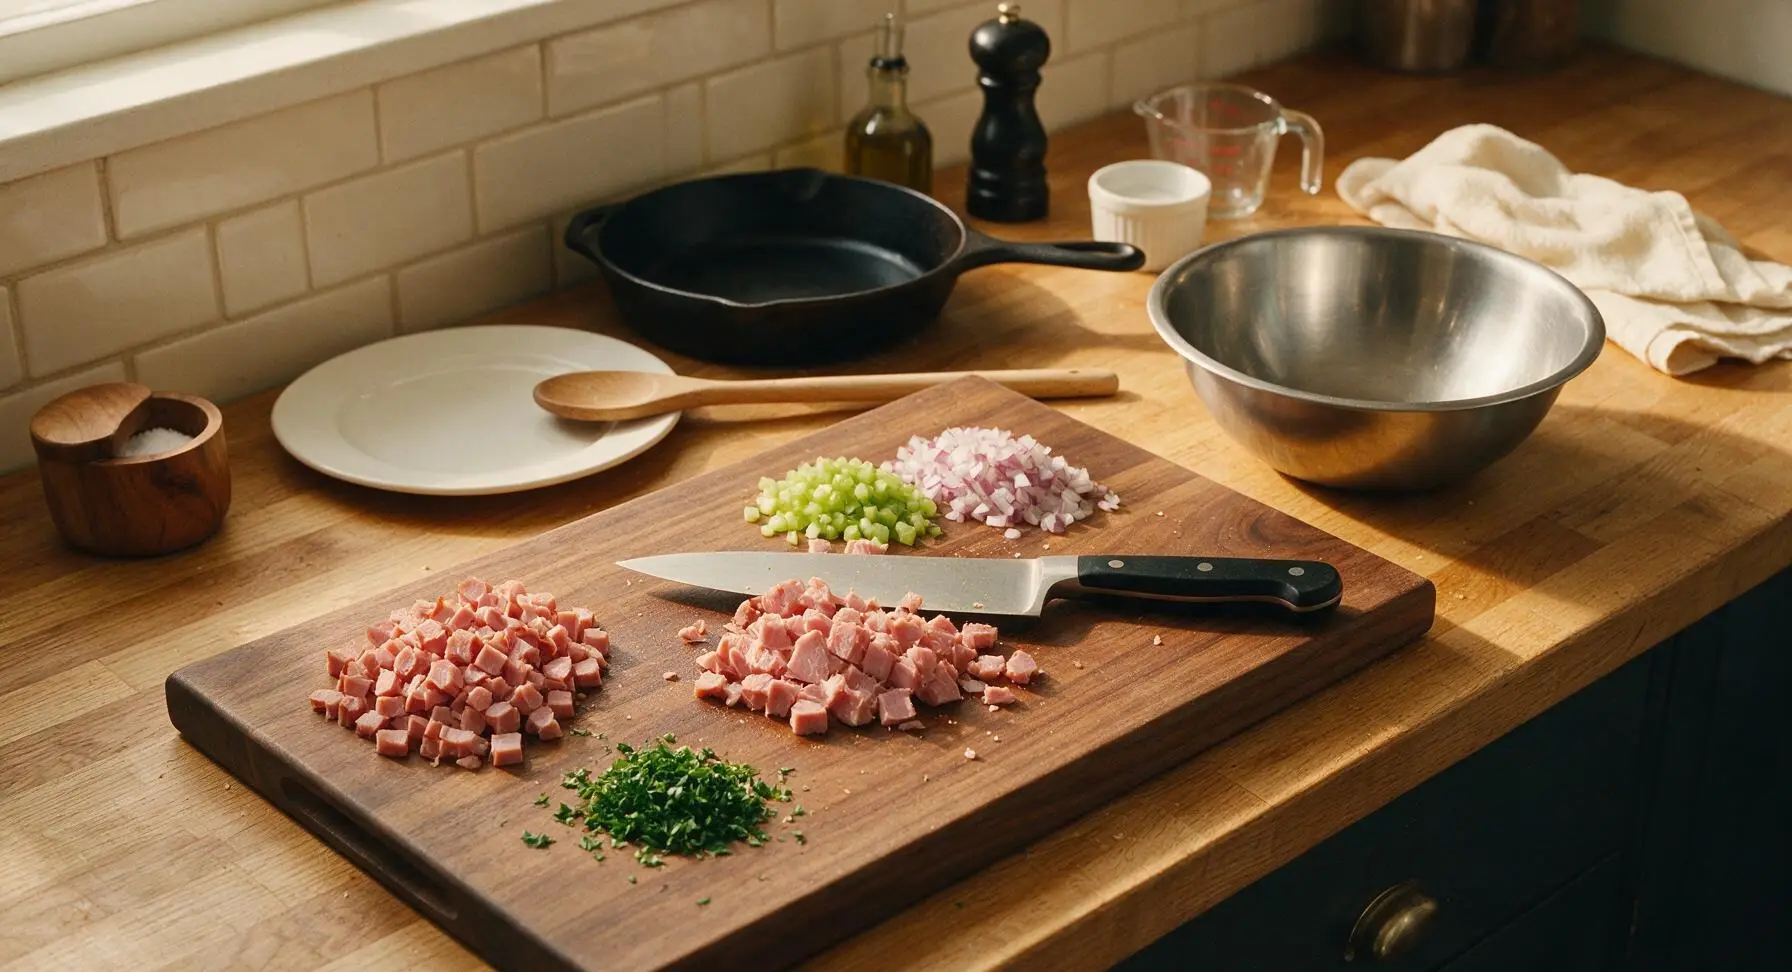
Place the large bamboo cutting board at the center of the work area. Using the 8-inch stainless steel chef knife, dice the smoked ham into uniform 5mm pieces, taking care not to smash the meat. Dice the celery and red onion into even 3mm pieces, and finely chop the parsley. Transfer all diced ingredients to separate small piles on the edge of the cutting board as you work.
Grate Sharp Cheddar
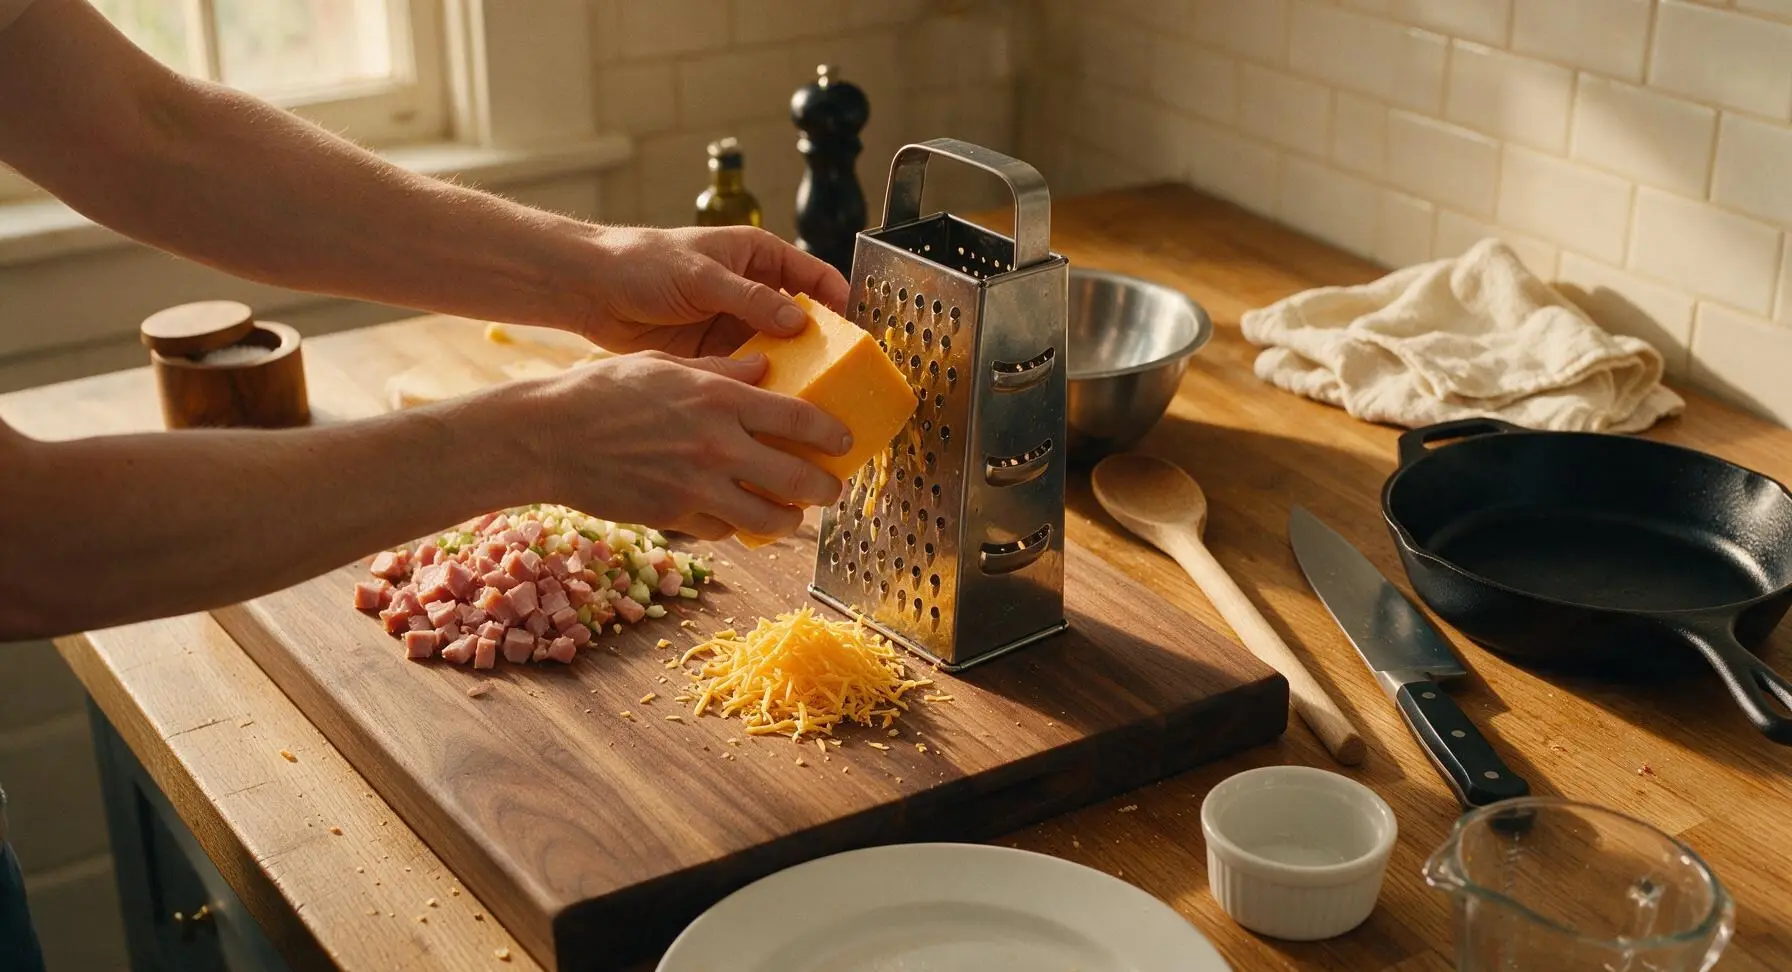
Stand the 4-sided stainless steel box grater on the clean edge of the cutting board. Use the large-hole grating side to shred all 170g of sharp cheddar into loose, fluffy shreds. Set the grated cheese aside in a small pile, discarding the hard, dry end rind of the cheese block.
Combine Ham Salad
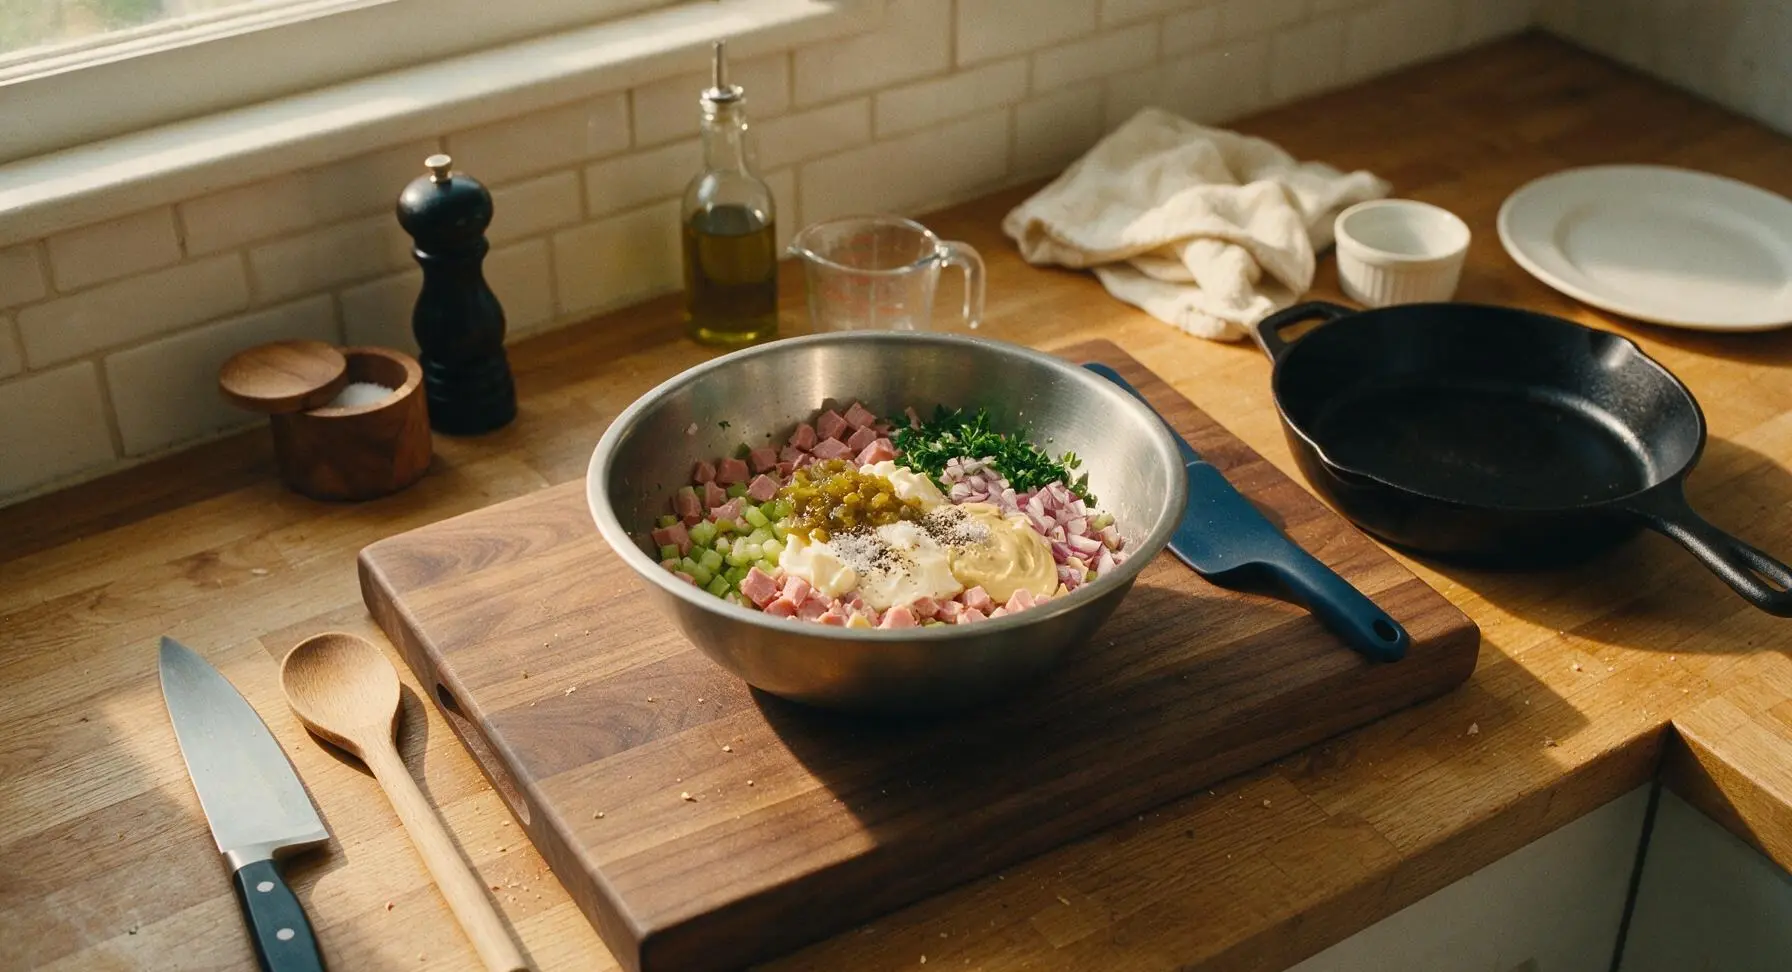
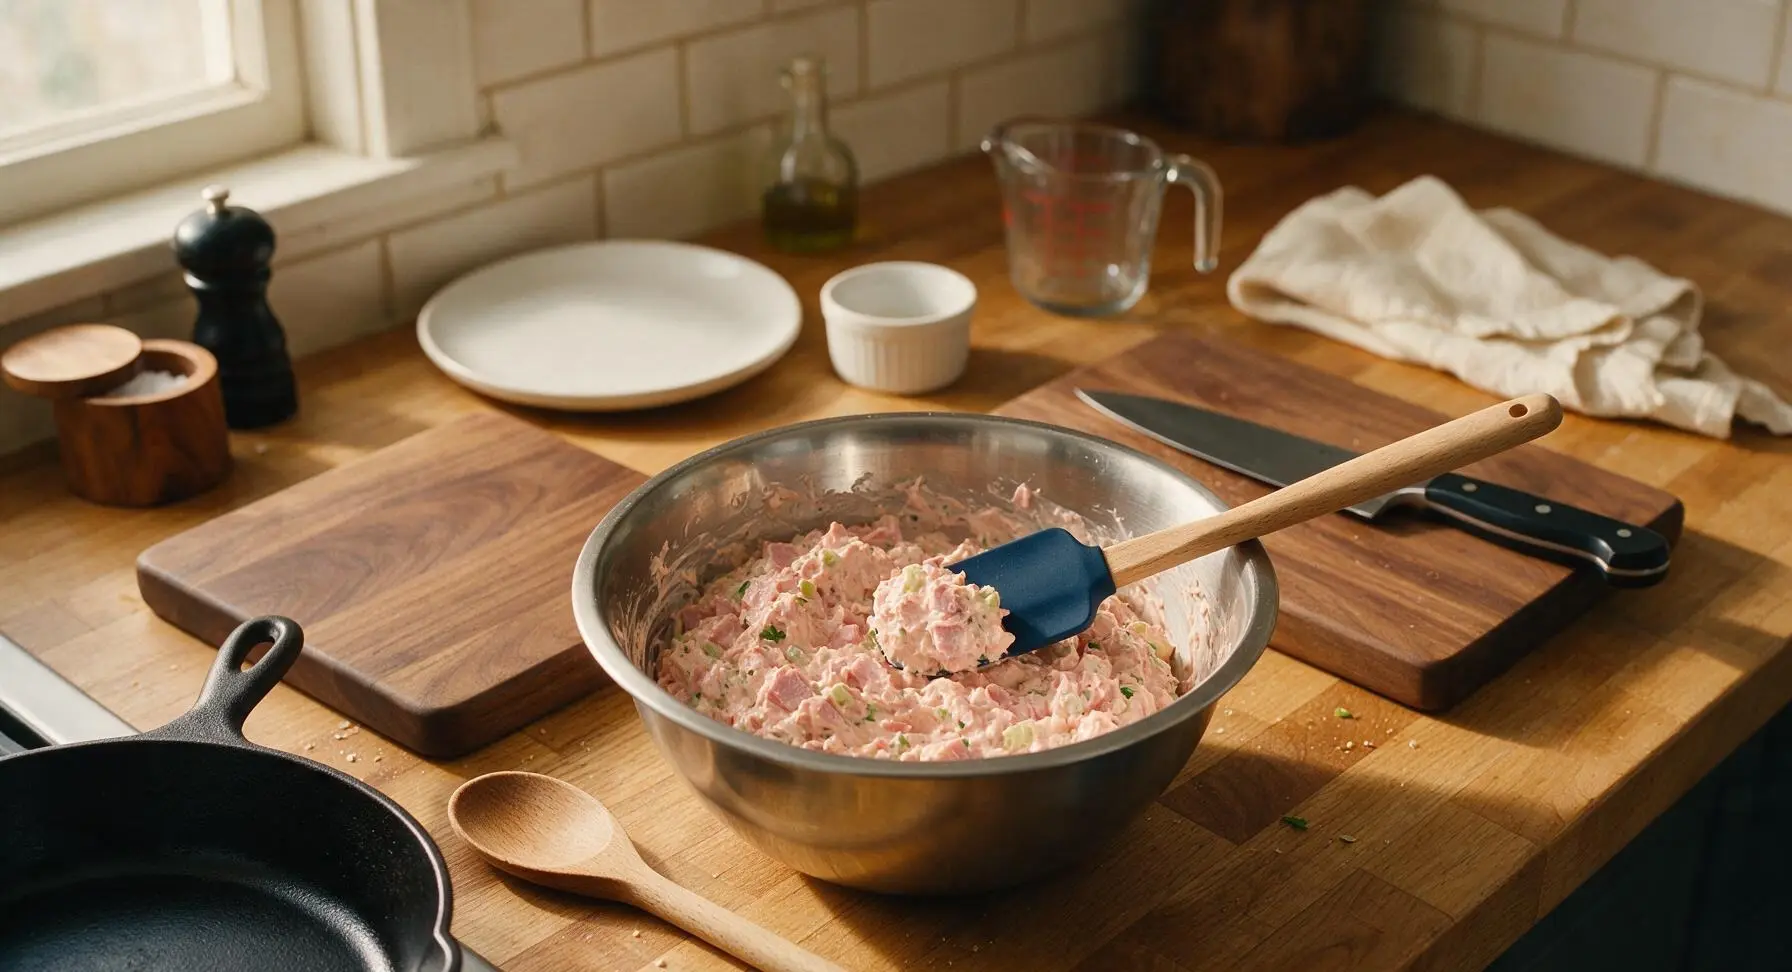
Transfer all diced ham, celery, red onion, and parsley into the medium stainless steel mixing bowl. Add the measured mayonnaise, sweet pickle relish, Dijon mustard, kosher salt, and black pepper. Use the matte navy blue silicone spatula to fold all ingredients together until evenly coated, taking care not to mash the ham pieces. The finished mixture should hold together when pressed lightly with the spatula, with no dry pockets of seasoning visible at the bottom of the bowl.
Butter Bread Slices
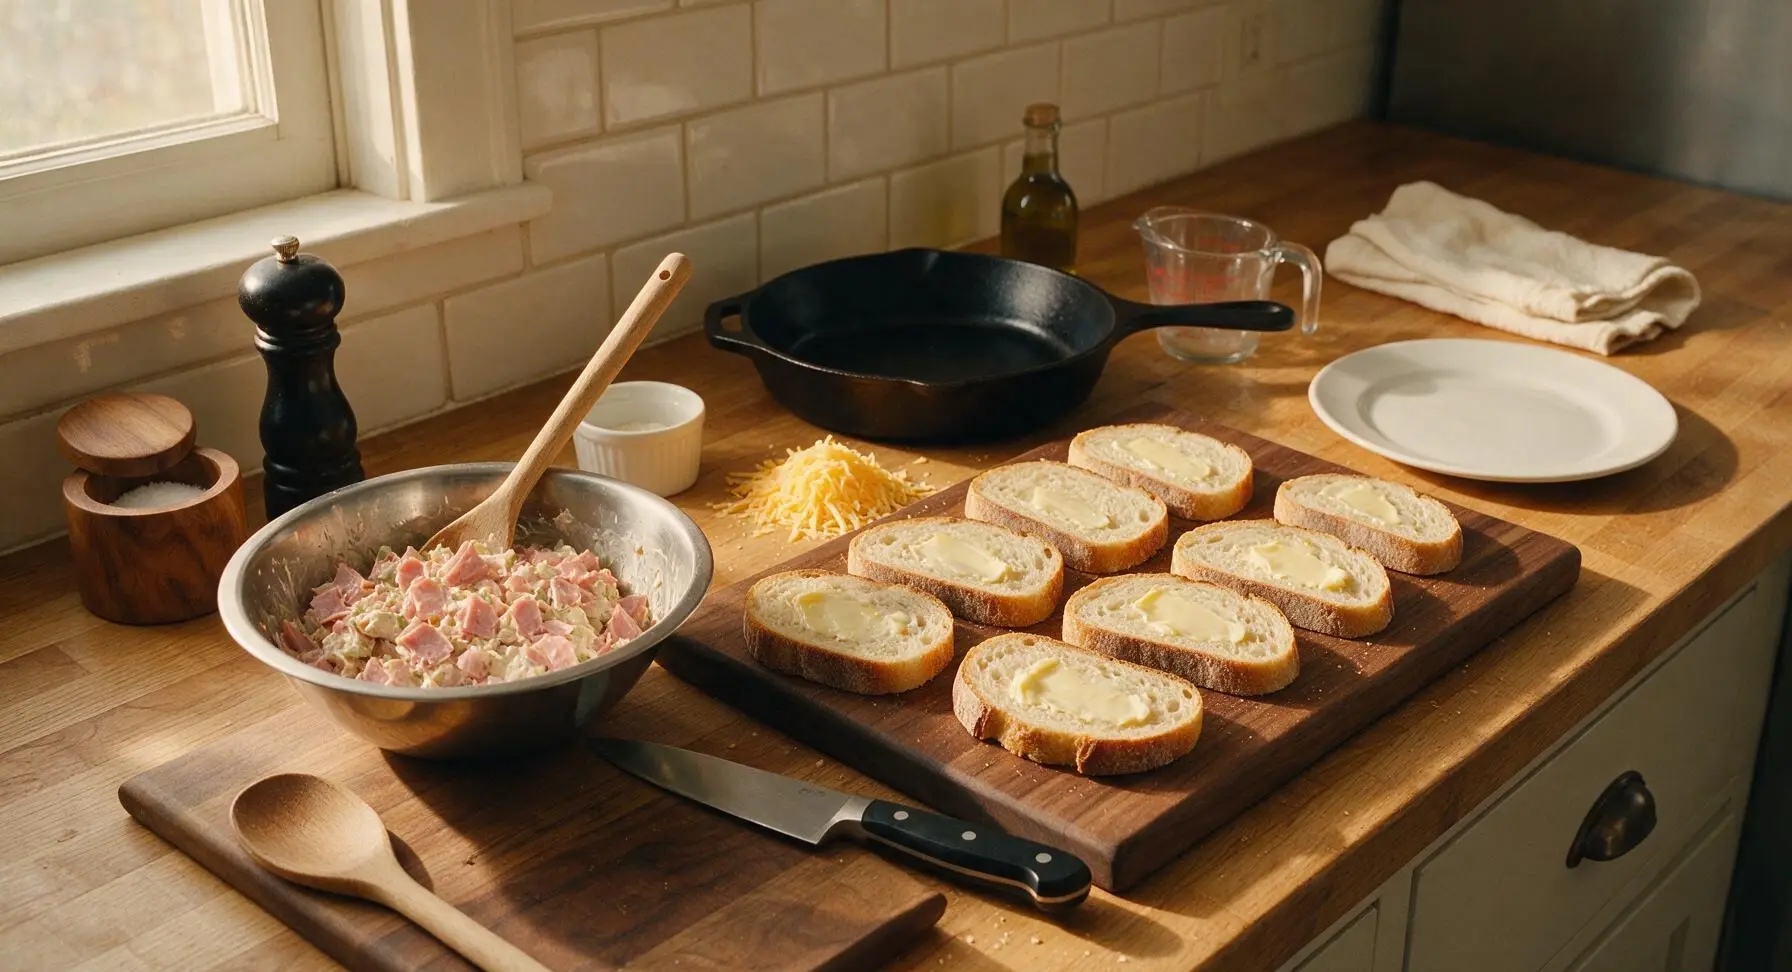
Lay all 8 sourdough slices flat on the clean section of the cutting board. Use a small corner of the silicone spatula to spread a thin, even layer of softened unsalted butter on one side of each bread slice. Ensure butter covers all the way to the edges of every slice to prevent dry, untoasted spots during baking. The buttered side will face outward to create a crisp, golden crust.
Assemble Sandwich Melts
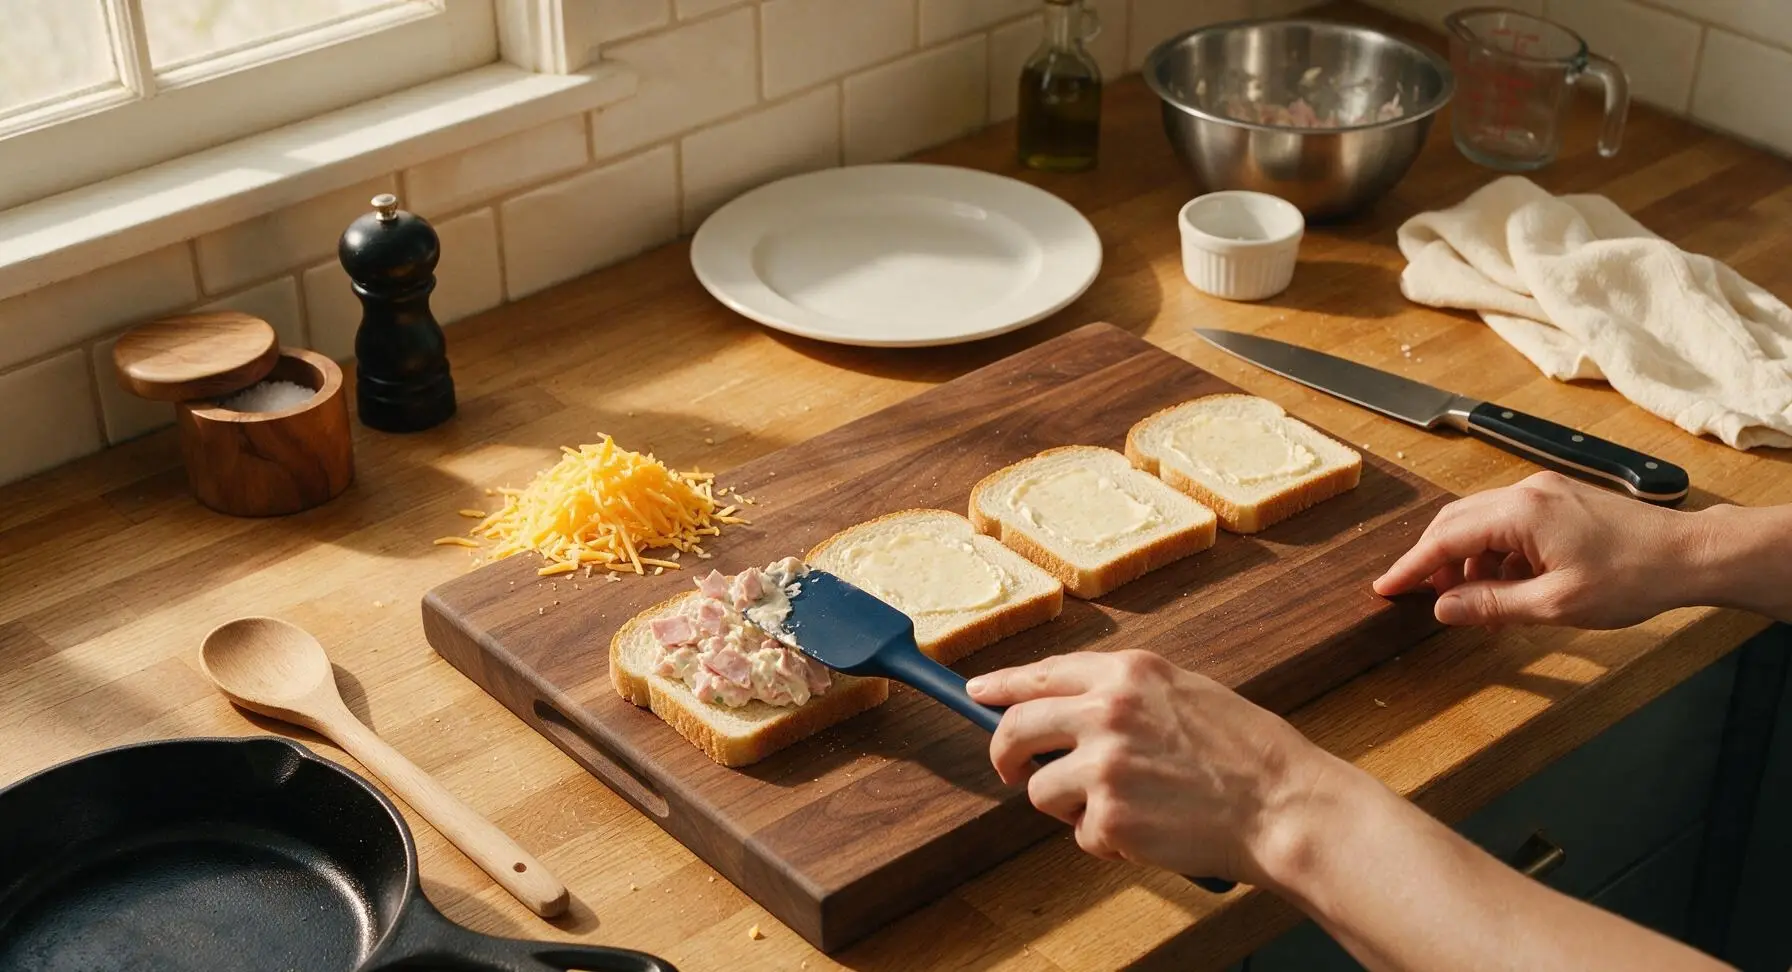
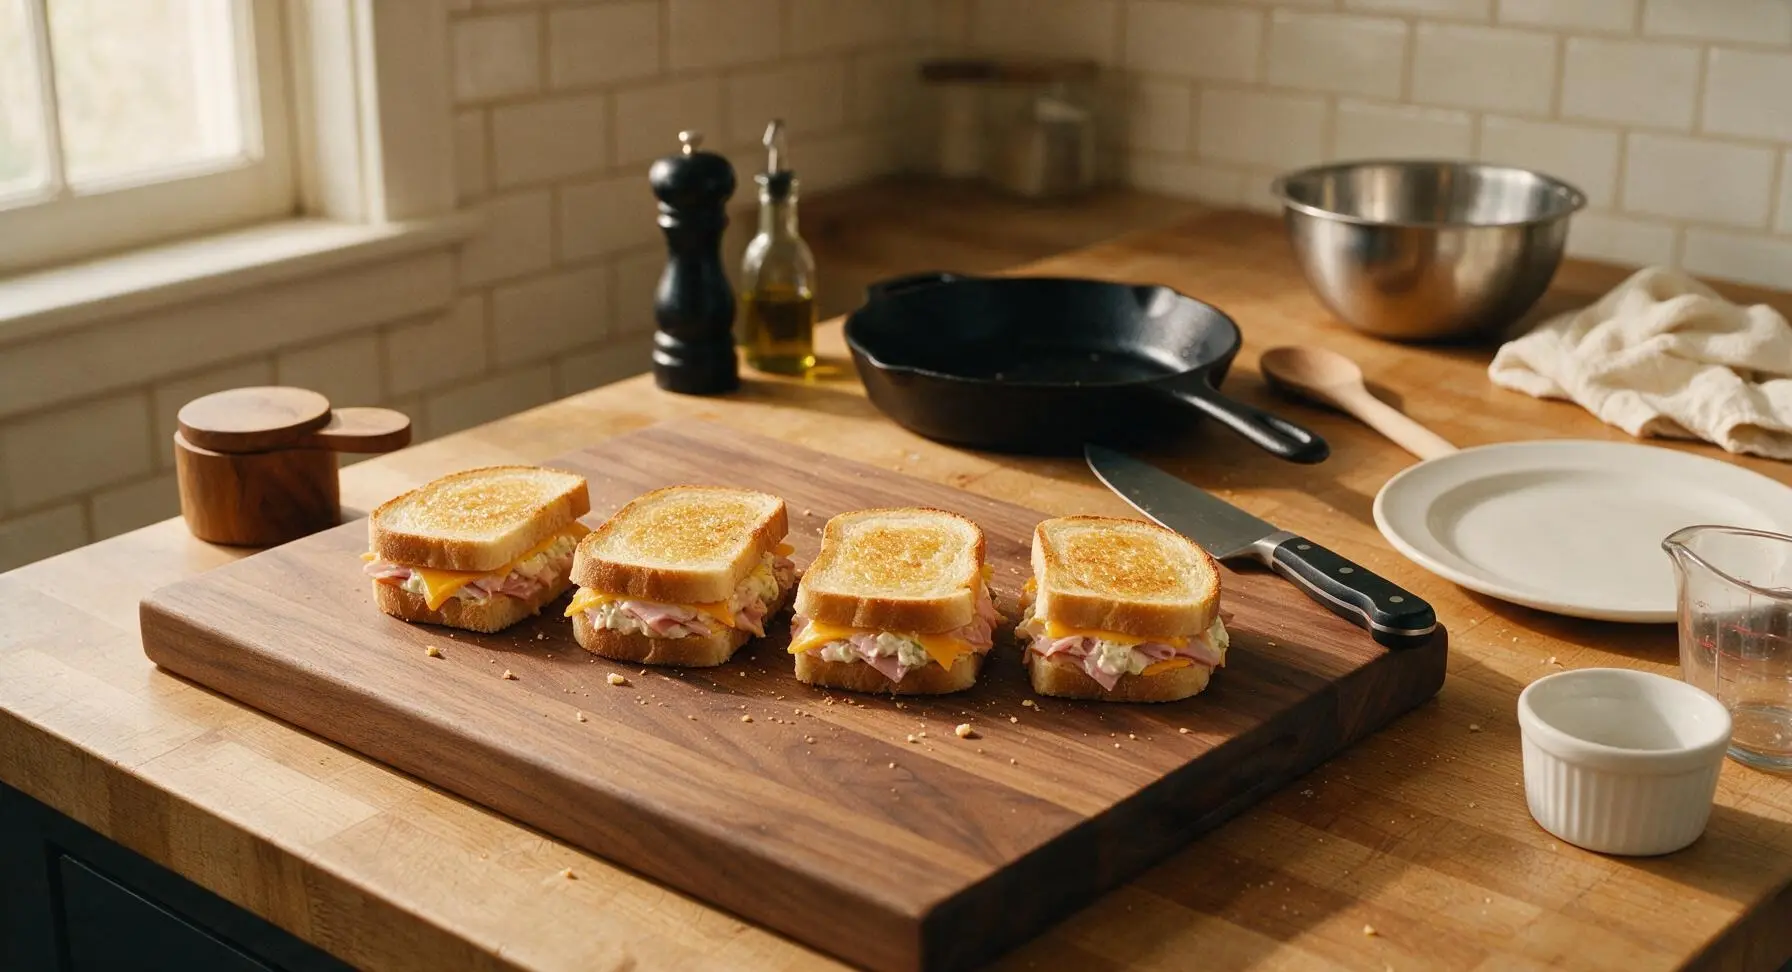
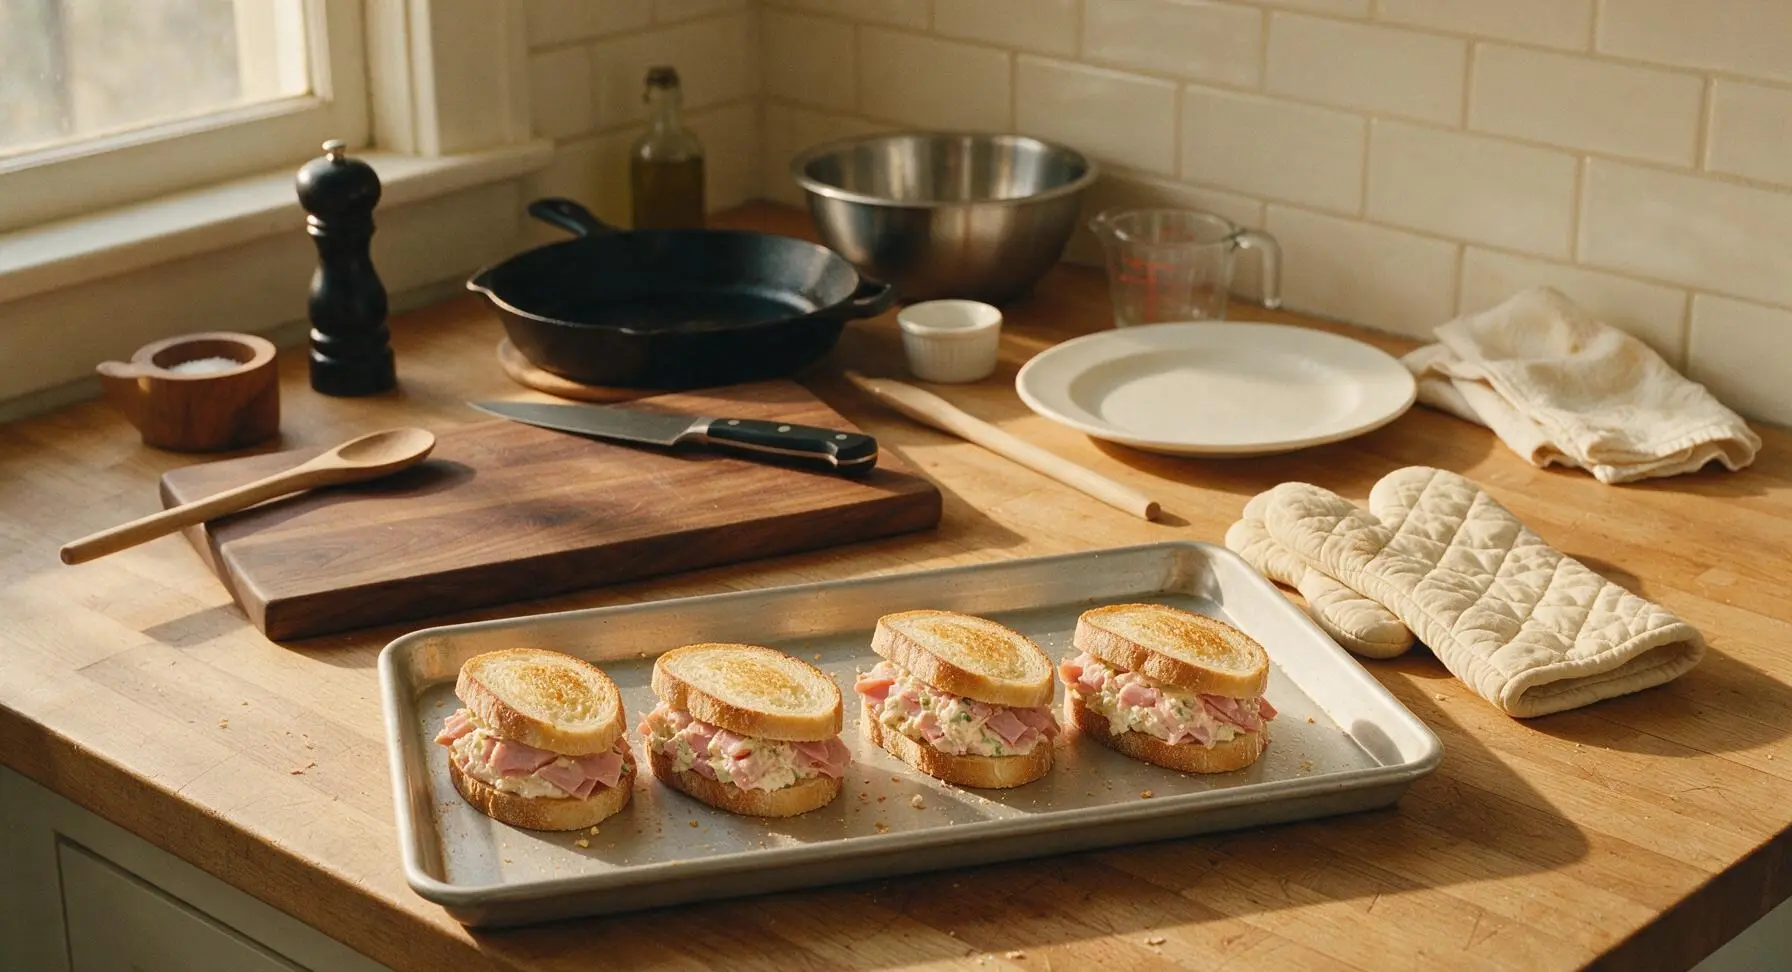
Flip 4 of the bread slices so the buttered side faces down against the cutting board. Divide the ham salad mixture evenly across these 4 slices, spreading it in a 1cm thick layer all the way to the bread edges. Top the ham salad with an even layer of grated sharp cheddar, using approximately 40g of cheese per sandwich. Place the remaining 4 bread slices on top, buttered side facing up, pressing down gently to adhere the layers without squeezing filling out the sides.
Bake Until Golden
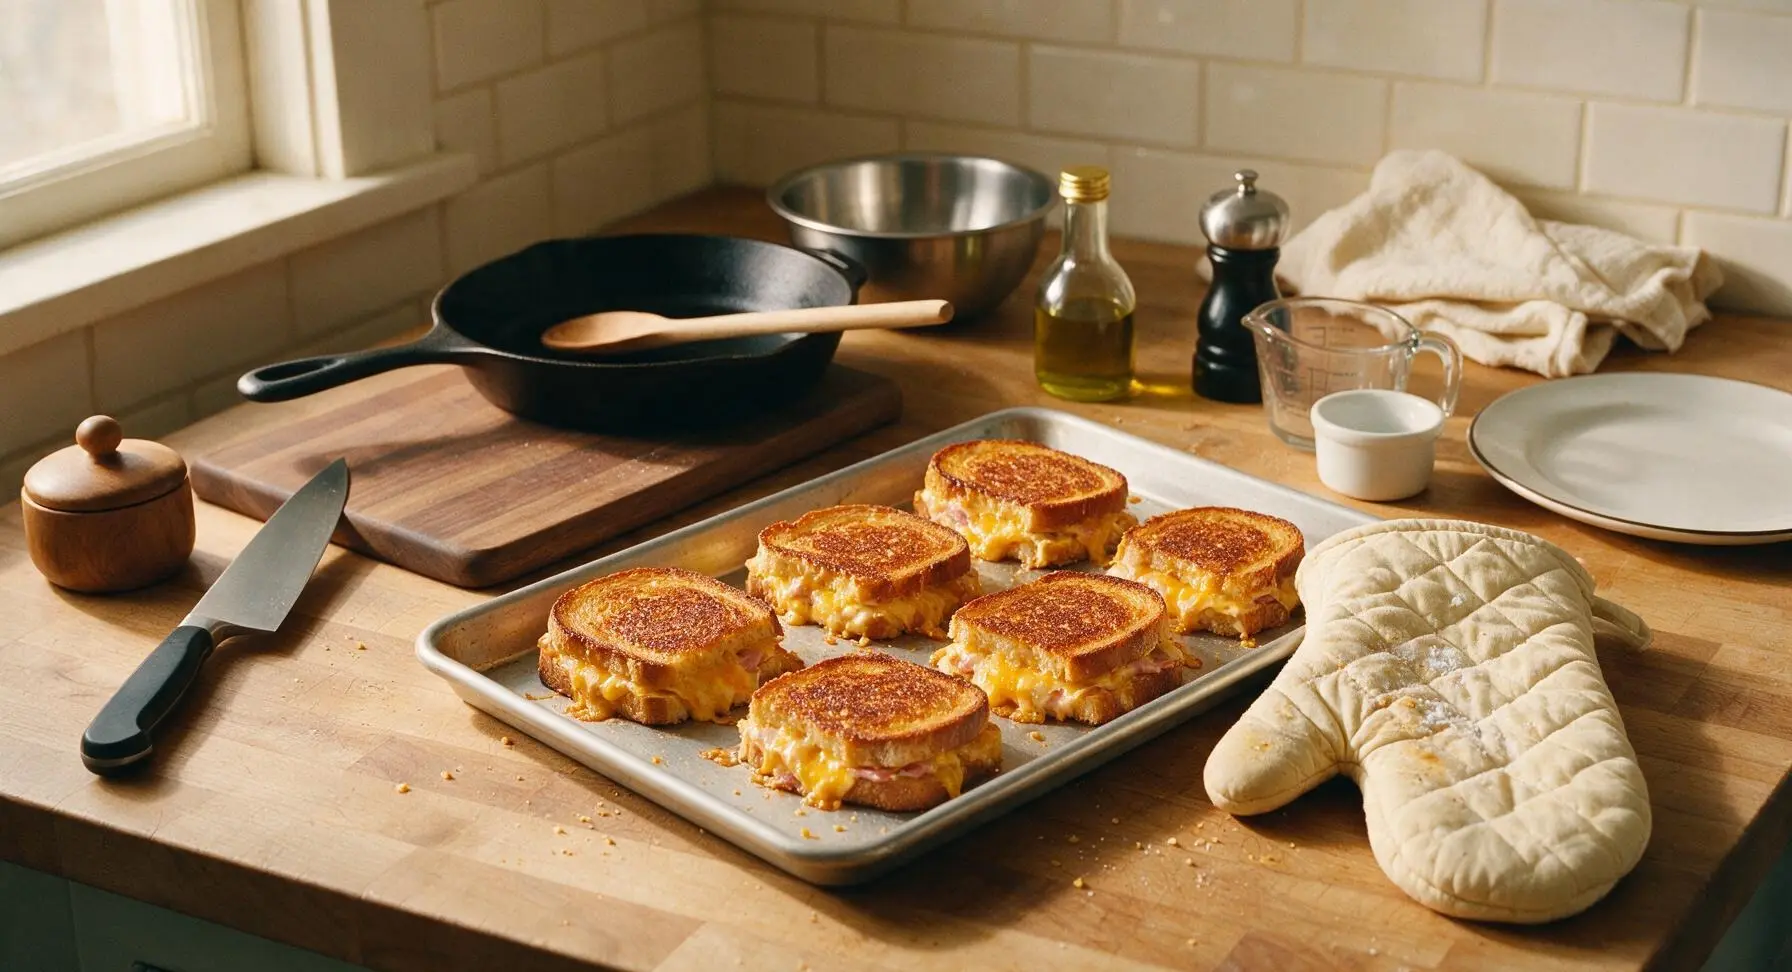
Adjust your oven rack to the middle position and preheat to 200C (400F). Arrange the assembled sandwiches in a single layer on the light aluminum rimmed baking sheet, leaving 2cm of space between each for even air flow. Bake for 8 minutes, then use the slotted stainless steel turner spatula to carefully flip each sandwich. Bake for an additional 4 minutes, until both sides are deep golden brown and crisp, and the cheddar cheese is fully melted and bubbly at the sandwich edges. Use the quilted cream oven mitts to remove the hot baking sheet from the oven.
Slice and Serve
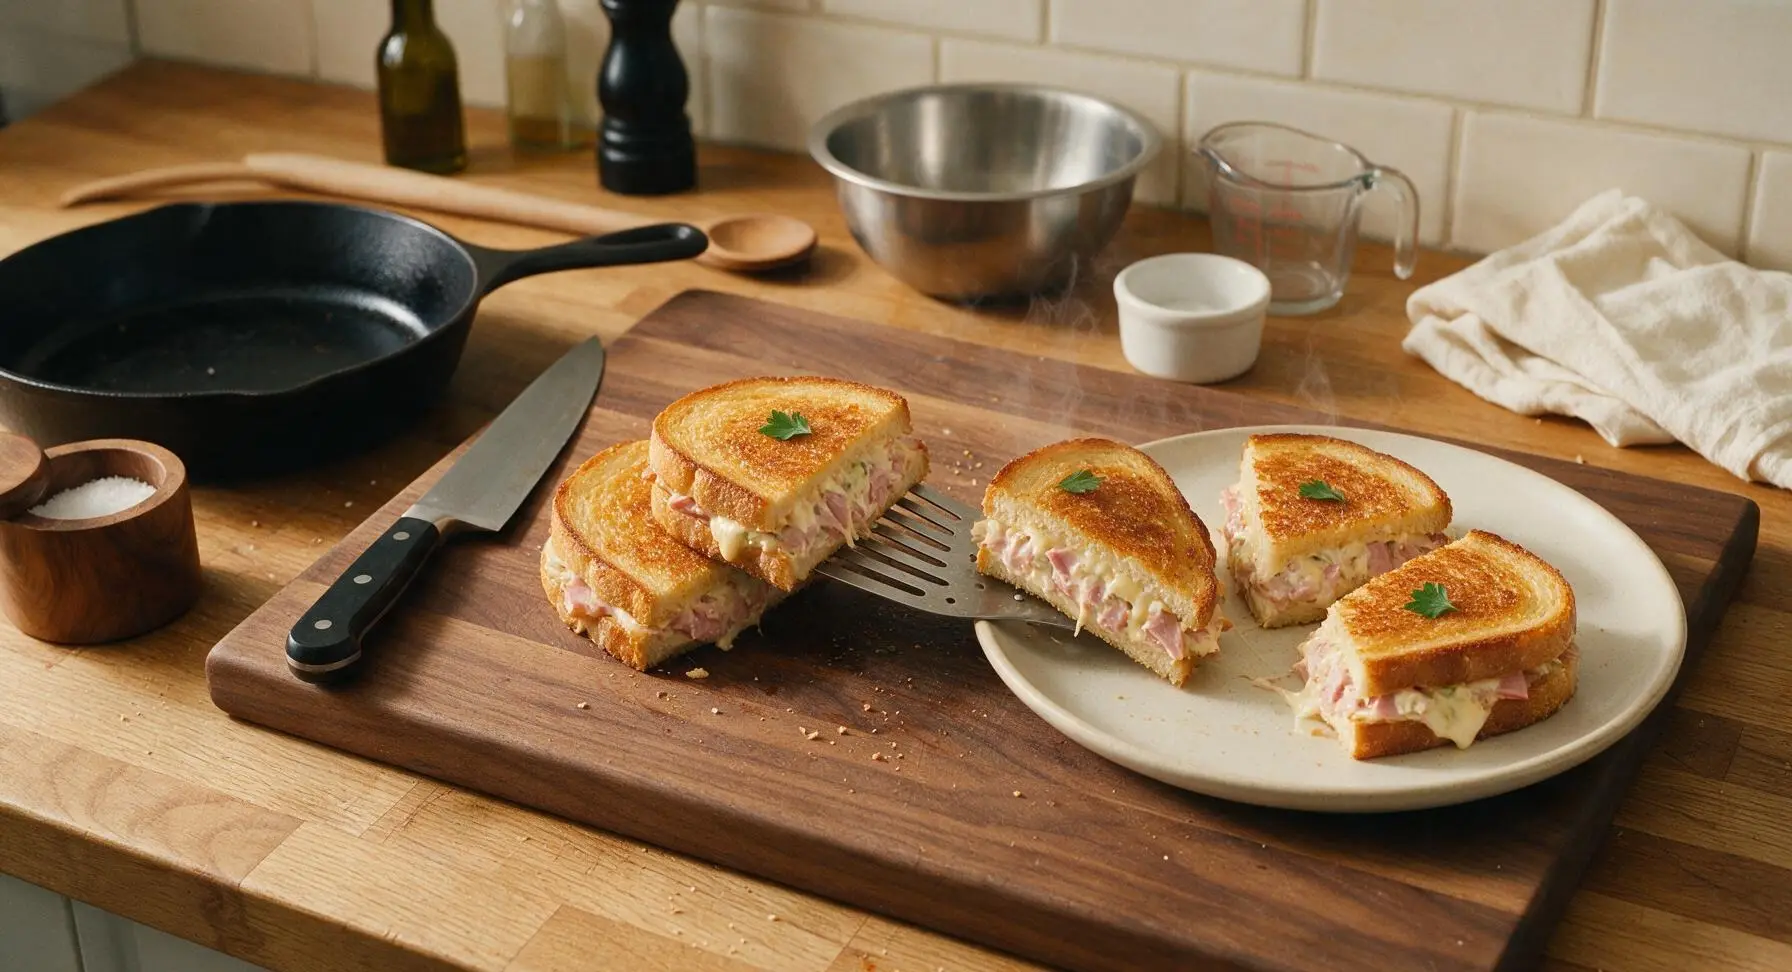
Use the slotted metal turner spatula to transfer the hot melts from the baking sheet back to the clean cutting board. Cut each sandwich diagonally into two triangular halves. Place two halves on each off-white matte ceramic dinner plate, garnish with a single small parsley leaf, and serve immediately while the cheese is still stretchy and the bread is crisp.
Tips
2.Grate cheddar fresh from a block rather than using pre-shredded packaged cheese: pre-shredded cheese is coated in potato starch anti-caking agents that prevent smooth, gooey melting, leading to a grainy, uneven cheese top.
3.Spread butter all the way to the edges of every bread slice: unbuttered bread edges will dry out and turn hard in the oven instead of developing the uniform, crisp golden crust that defines a perfect melt.






Game changer! I brought a batch of these melts to our neighborhood potluck last weekend and people were asking for the recipe left and right. I used leftover holiday ham from the freezer and it worked perfectly. So easy even my teen can make them after school.
Made this for lunch today and wow, way better than the sad deli melts I usually order from the shop down the street. I swapped the Swiss for pepper jack because that’s what I had in the fridge, 10/10 would make again.
This is going straight into my weekly meal prep rotation! I prepped the ham salad on Sunday, then assembled and broiled the melts for 3 minutes each when I was ready to eat for lunch all week. Held up great, no sogginess at all.
Super easy recipe for a broke college kid! I used diced ham from the dollar store, cheap white bread, and whatever cheese I had lying around, and it still tasted incredible. Way better than microwave ramen for a late study snack.
I’ve been making ham salad for 50 years and never thought to turn it into a melt! What a fun, tasty twist on an old classic. My grandkids went crazy for them when they visited last Sunday, asked if we could have them every Sunday now.
Quick, easy, tasty. What more could you want? I made these after a long day at work when I didn’t feel like cooking anything elaborate, and they hit the spot. Only note is I’d recommend toasting the bread a tiny bit before adding the ham salad to avoid sogginess if you like extra crispy bread.
My kids loved it! I’ve been struggling to find quick lunches my 6 and 8 year old will actually eat without complaining, and these melts got two thumbs up all around. Even got my picky eater to ask for seconds. Absolute win in my book.
Made these after a long morning hike last weekend and they were the perfect post-adventure fuel! Hearty, cheesy, not too heavy, and came together so fast we weren’t waiting around for food while we were starving. We added a little sliced tomato on top before broiling, so good.
Took these to our office potluck yesterday and they were gone in 10 minutes flat! I cut them into quarter-sized sliders on Hawaiian rolls and they were the perfect bite-sized appetizer. Will absolutely be making these for the next tailgate too.
Solid recipe, super straightforward. I used a mix of mayo and Greek yogurt in the ham salad to lighten it up a little and it still tasted creamy and delicious, no weird aftertaste. Great base recipe to tweak to your own taste preferences.
12 minutes from fridge to plate? I was skeptical at first but wow, that timing is spot on. I got home late, threw this together, and was sitting on the couch eating by the time my takeout app even loaded restaurants near me. Way cheaper and tastier than delivery too.
I was worried the ham salad would be too bland, but the little bit of mustard and pickle relish in the recipe adds the perfect amount of zing! I didn’t have sweet relish so I used dill and it worked perfectly. Will be making this on repeat.
Used leftover smoked ham from my weekend barbecue in these melts and oh man, that smoky flavor took it over the top. My wife said I need to make sure we always have leftover ham on hand just for these now. Easy peasy.
Wait, I don’t even eat ham that often but I saw this recipe pop up and had to try it with that plant-based ham substitute I picked up at the grocery store, and it was SO good! Even my meat-loving boyfriend didn’t notice the difference. 10/10.
Made these for a quick breakfast this morning instead of lunch or dinner, added a fried egg on top of the ham salad before melting the cheese, and it was the ultimate breakfast sandwich. 10/10, will be a regular in my morning rotation when I’m running out the door for work.
I put way too much cheese on mine (as per usual) and it was perfectly gooey and crispy around the edges, exactly what I want in a melt. If you’re a cheese fiend like me, don’t skimp, pile it high! Recipe is foolproof even for people who burn toast regularly (guilty).