
Hand-drip coffee (hot coffee drinks)
intro
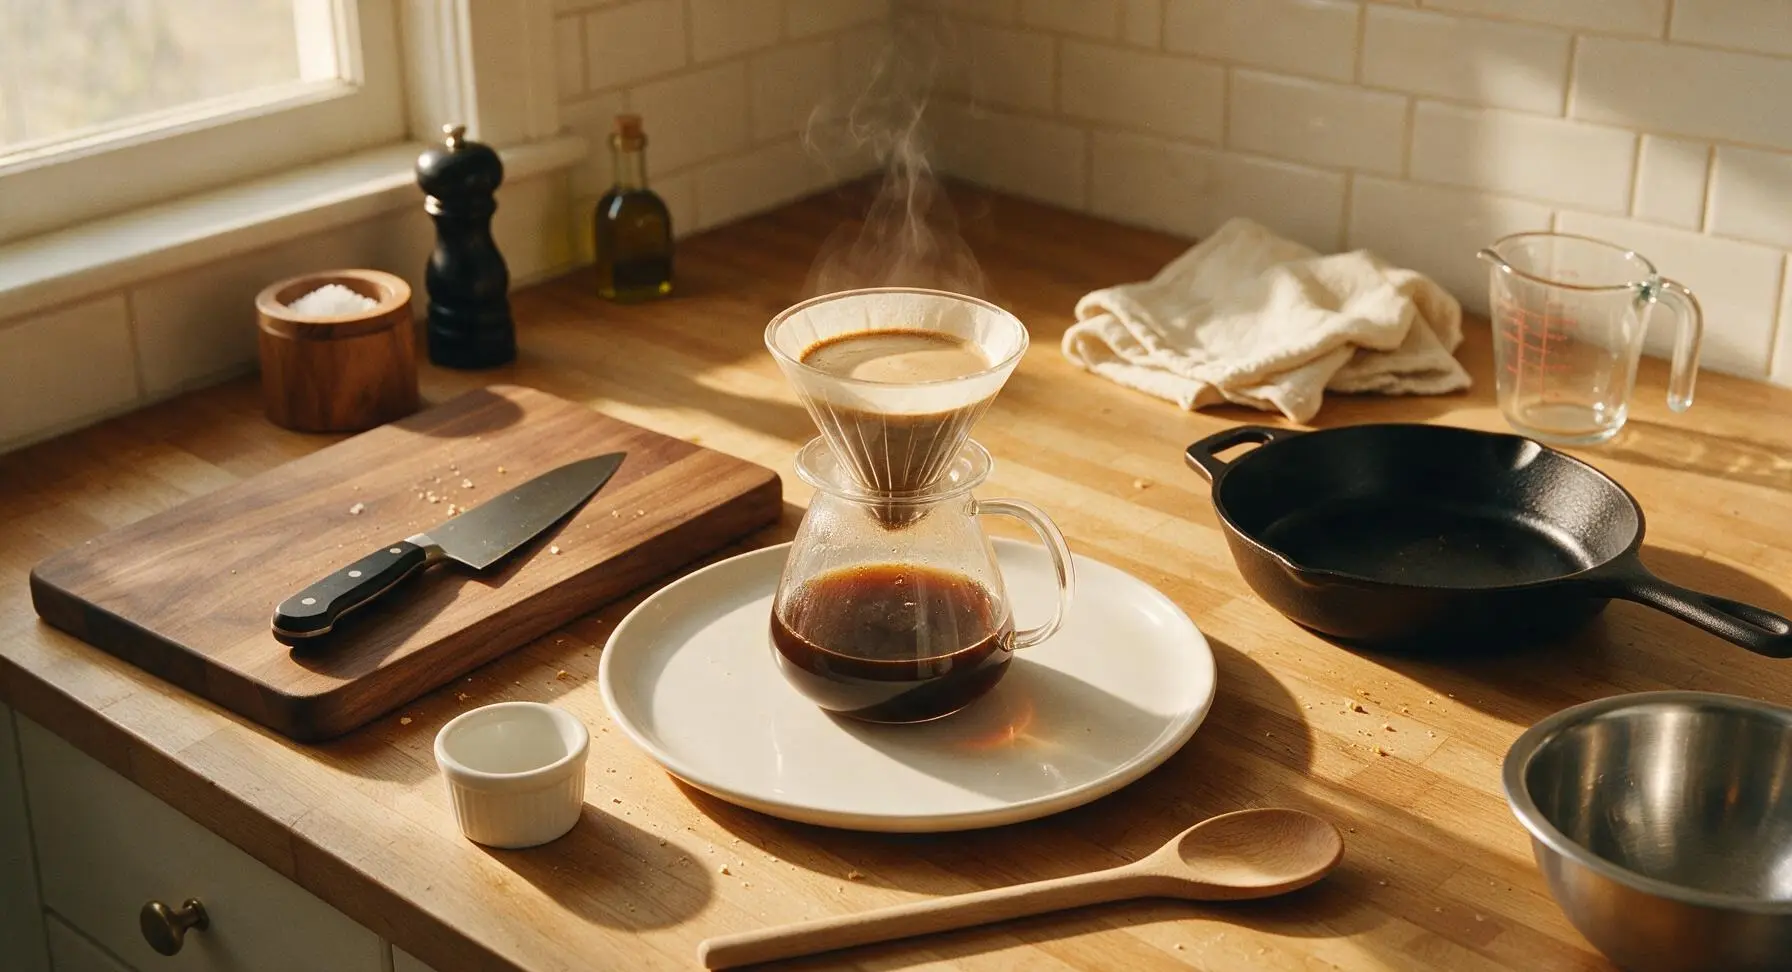
Smooth, nuanced hot hand-drip coffee highlights bright roasted bean flavors without bitter notes, ideal for a quiet, cozy moment on crisp autumn days.
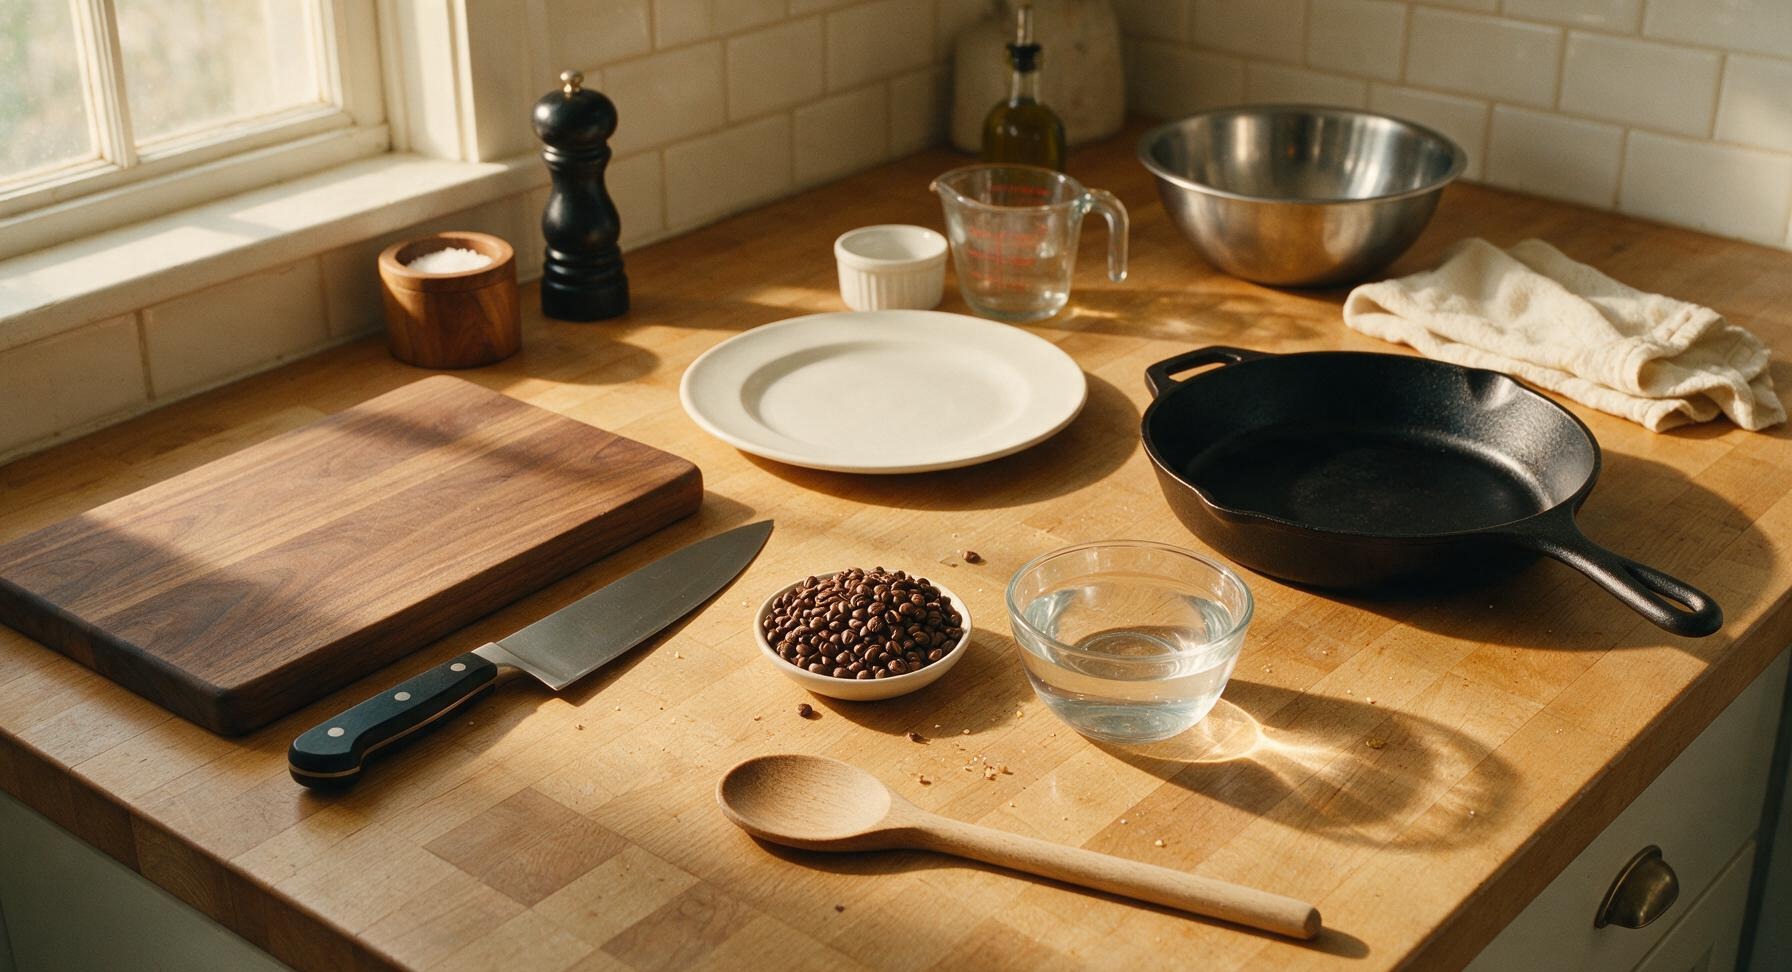
Ingredients
Steps
Weigh and Grind Beans
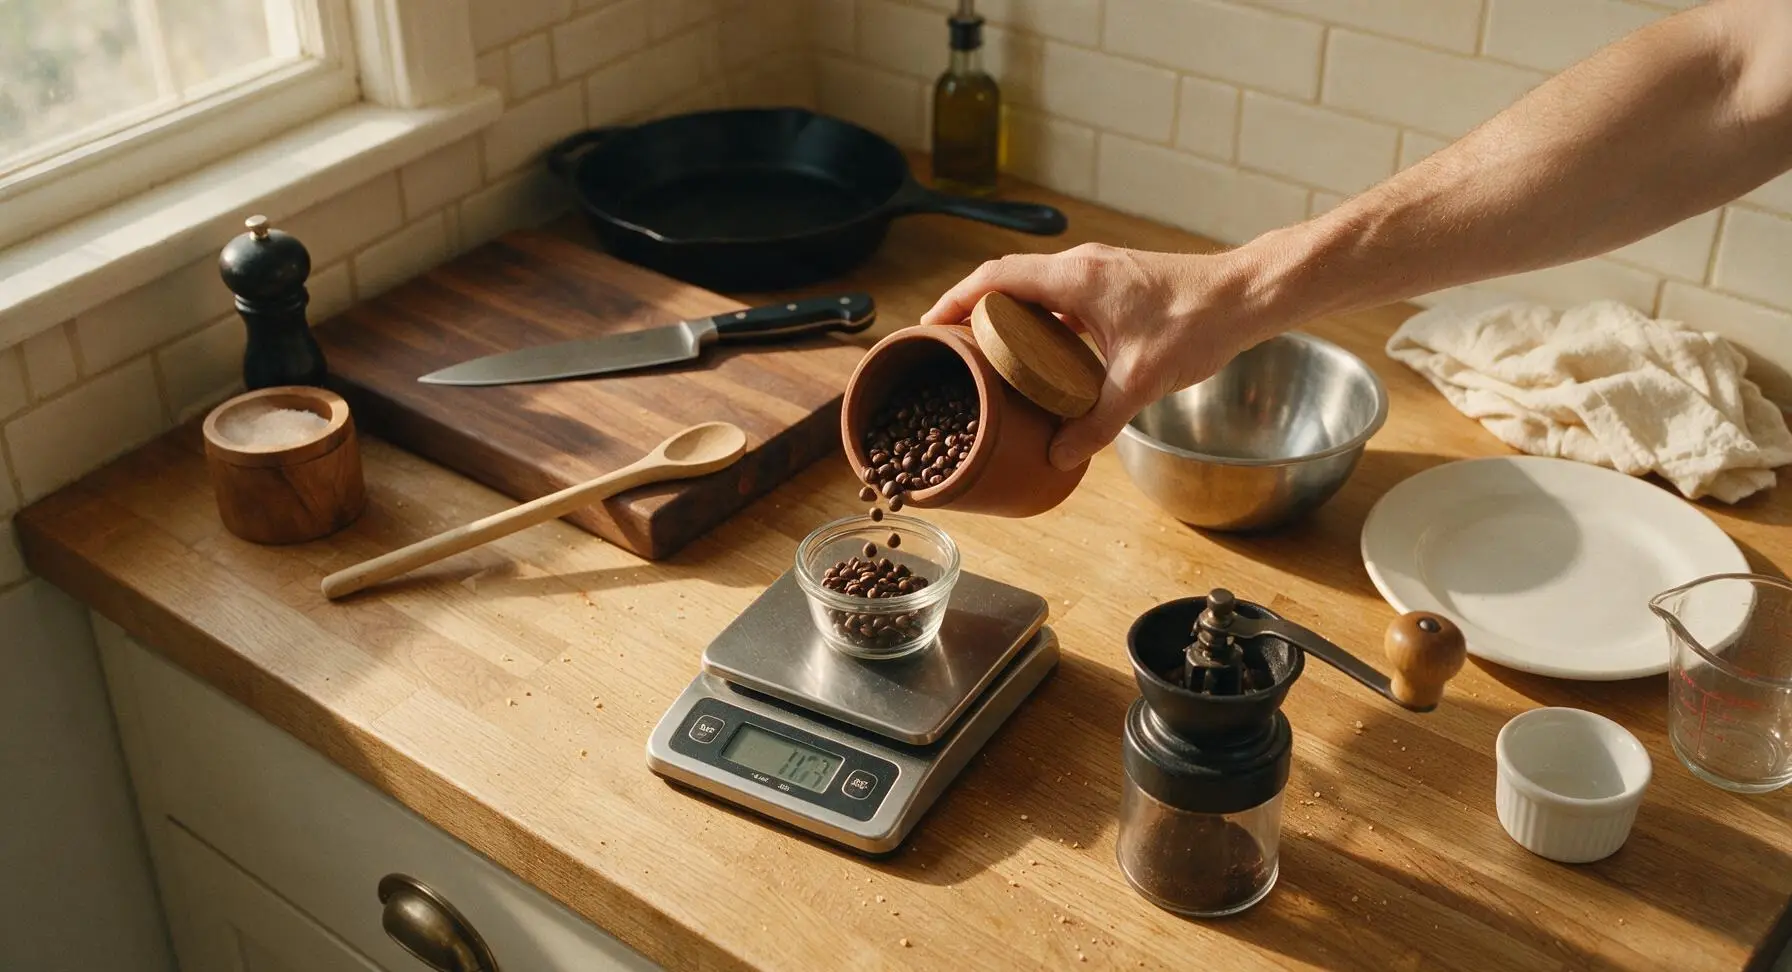
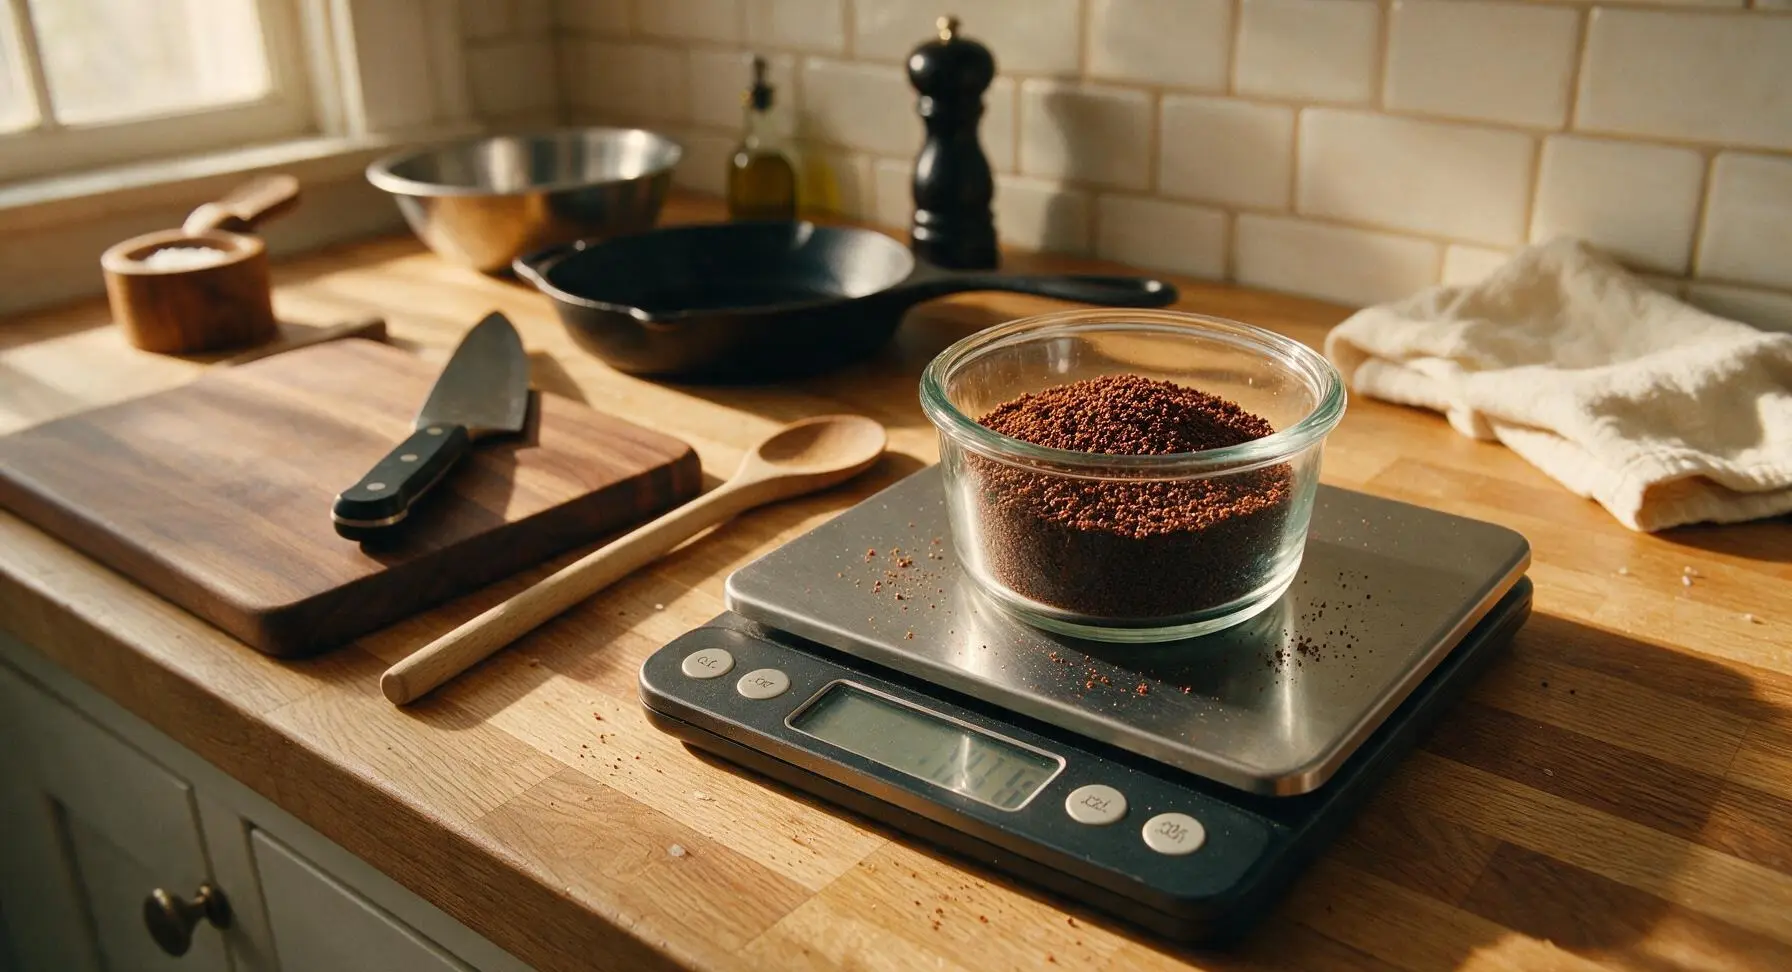
Place the small clear glass ramekin on the digital kitchen scale, tare the scale to zero, then weigh out exactly 30g of whole medium-roast coffee beans. Transfer the measured beans to the manual burr coffee grinder, adjust the grind setting to medium-fine (consistency of coarse table sand, slightly finer than granulated table salt). Turn the hand crank to grind all beans evenly, checking that no large unground whole beans remain, then transfer the finished grounds back to the ramekin. Total time for this step: 2 minutes.
Heat Water and Rinse Filter
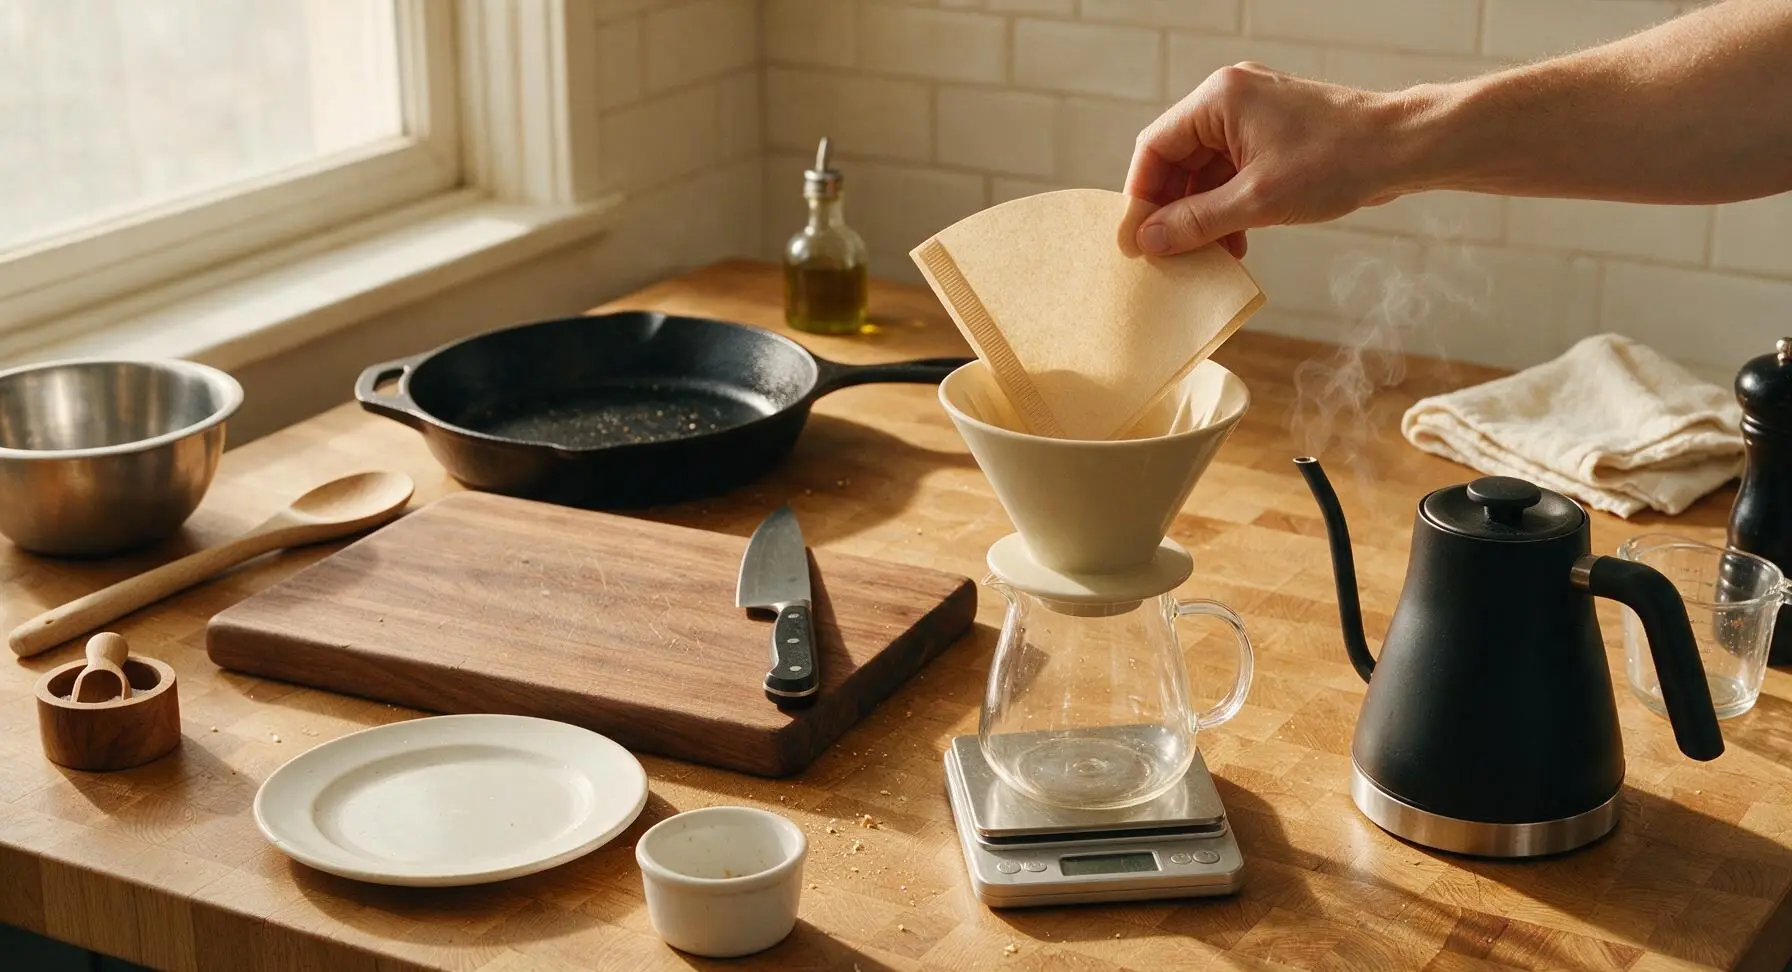
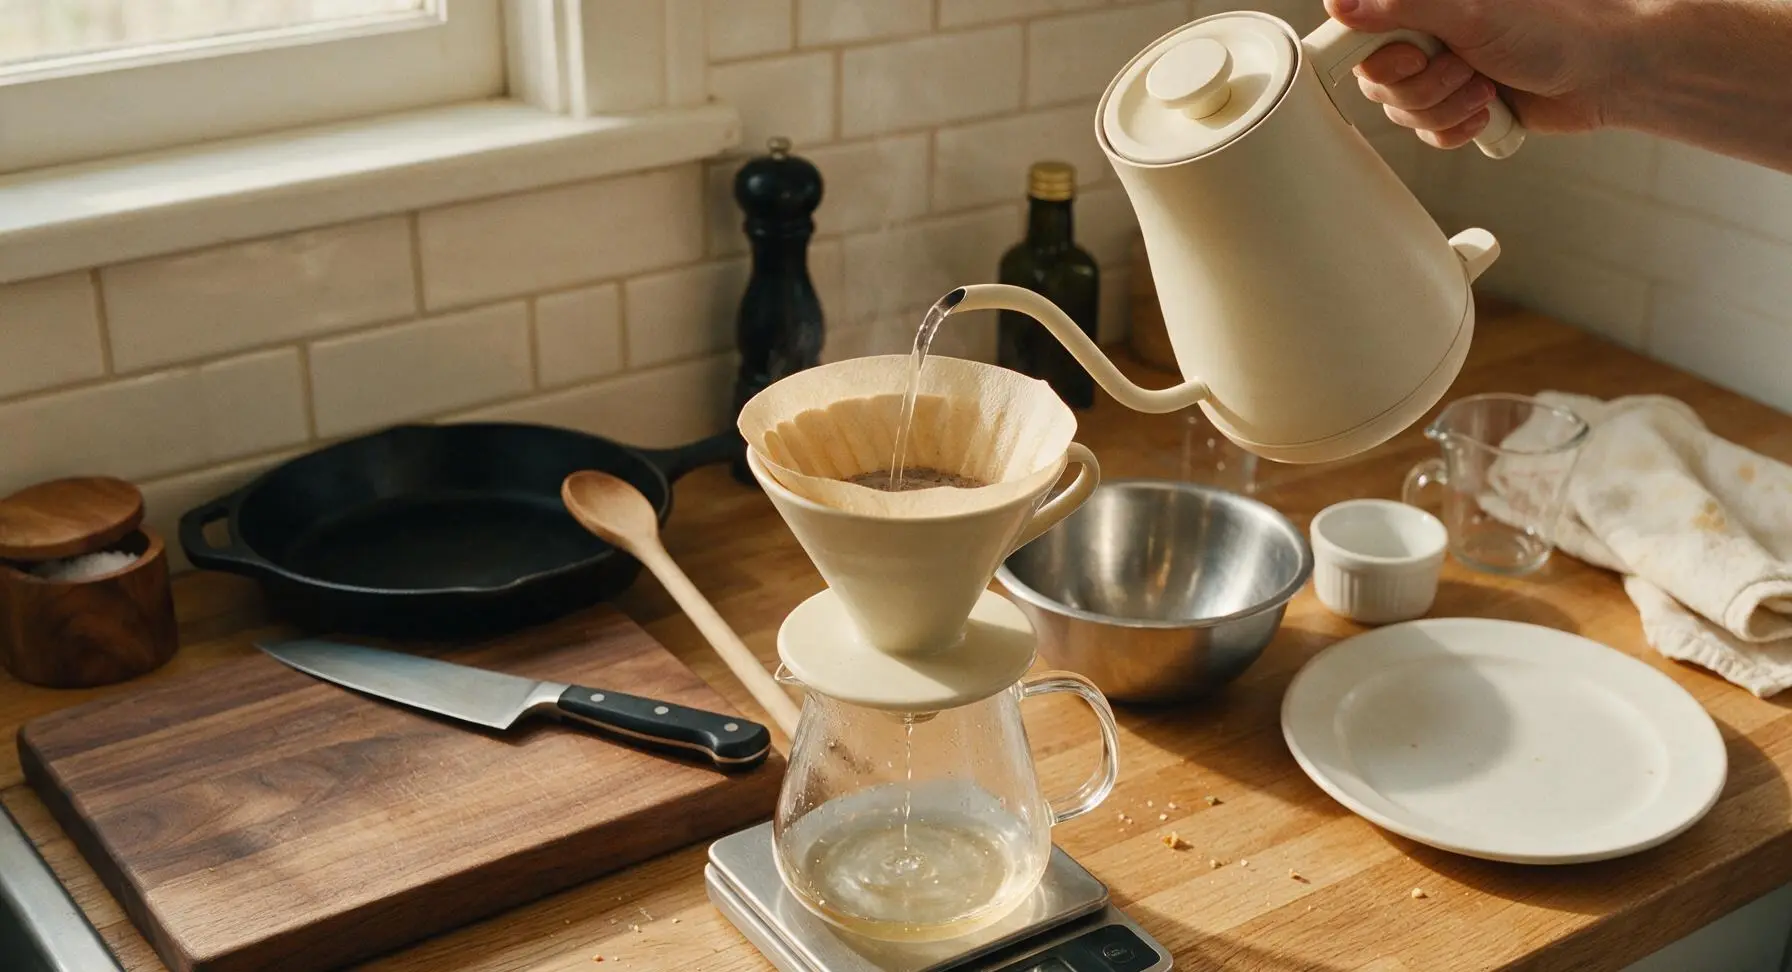
Fill the gooseneck electric kettle with 550ml filtered water, set the temperature to 93°C (200°F) and allow it to heat. While the water heats, place the clear borosilicate glass coffee server on the digital scale, set the matte cream V60 dripper on top of the server, then nestle the unbleached conical paper filter into the dripper, aligning the filter’s folded seam with the dripper’s pour spout. Once water reaches temperature, pour 70ml of hot water through the filter to fully saturate it, which rinses away paper taste and preheats both the dripper and server. Discard the collected rinse water from the server before brewing. Total time for this step: 2 minutes.
Add Grounds and Tare
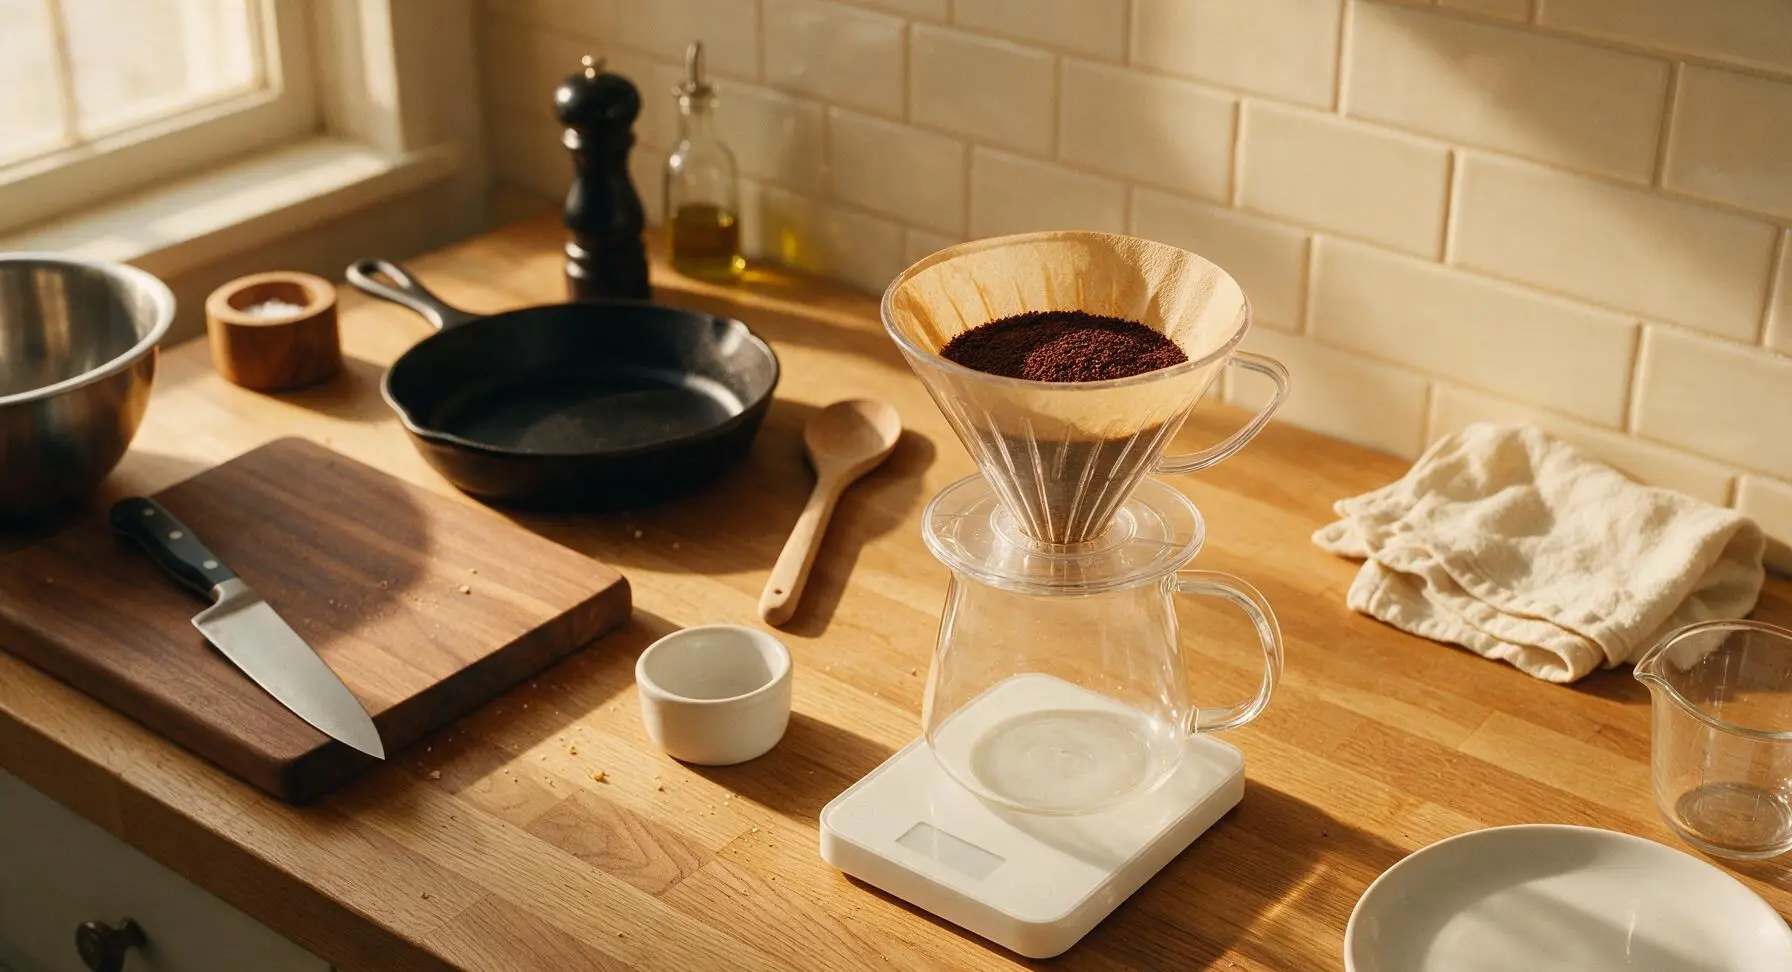
After discarding the rinse water, return the dripper and server setup to the digital scale. Pour all 30g of freshly ground coffee from the glass ramekin into the rinsed paper filter, then gently tap the side of the dripper to settle the grounds into a flat, level bed across the bottom of the filter. Press the tare button on the scale to reset the weight reading to 0g, to allow accurate measurement of poured water during brewing. Time: 30 seconds.
Brew the Coffee Bloom
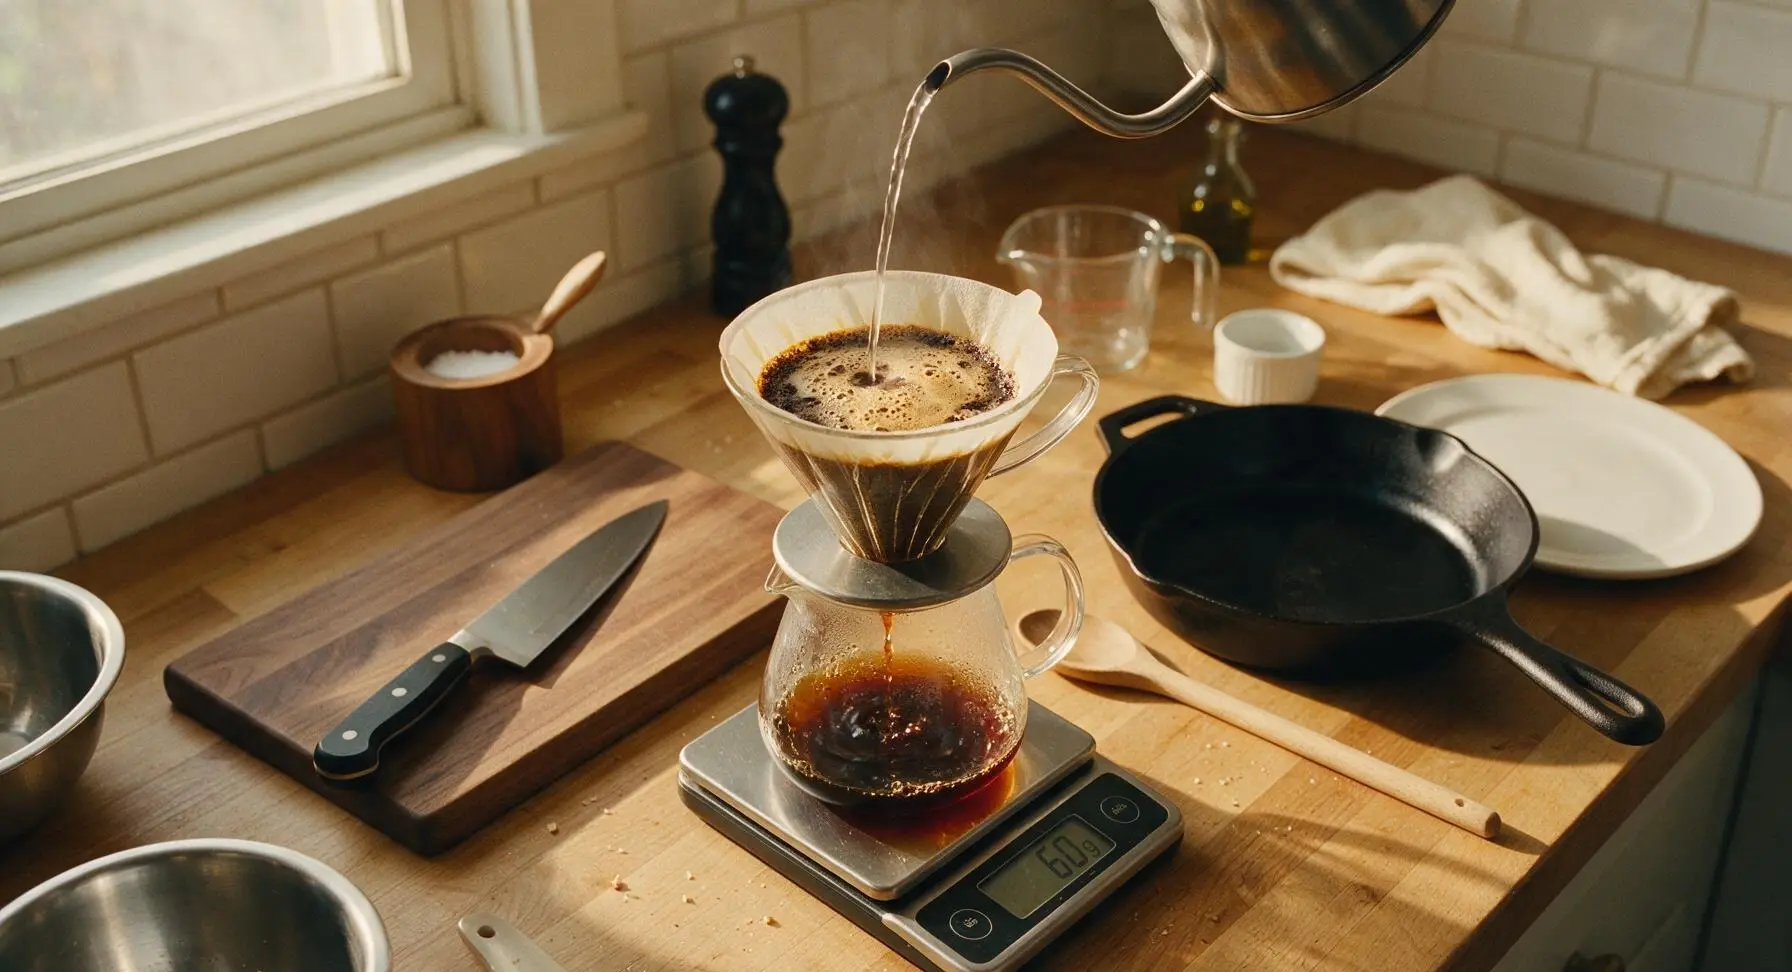
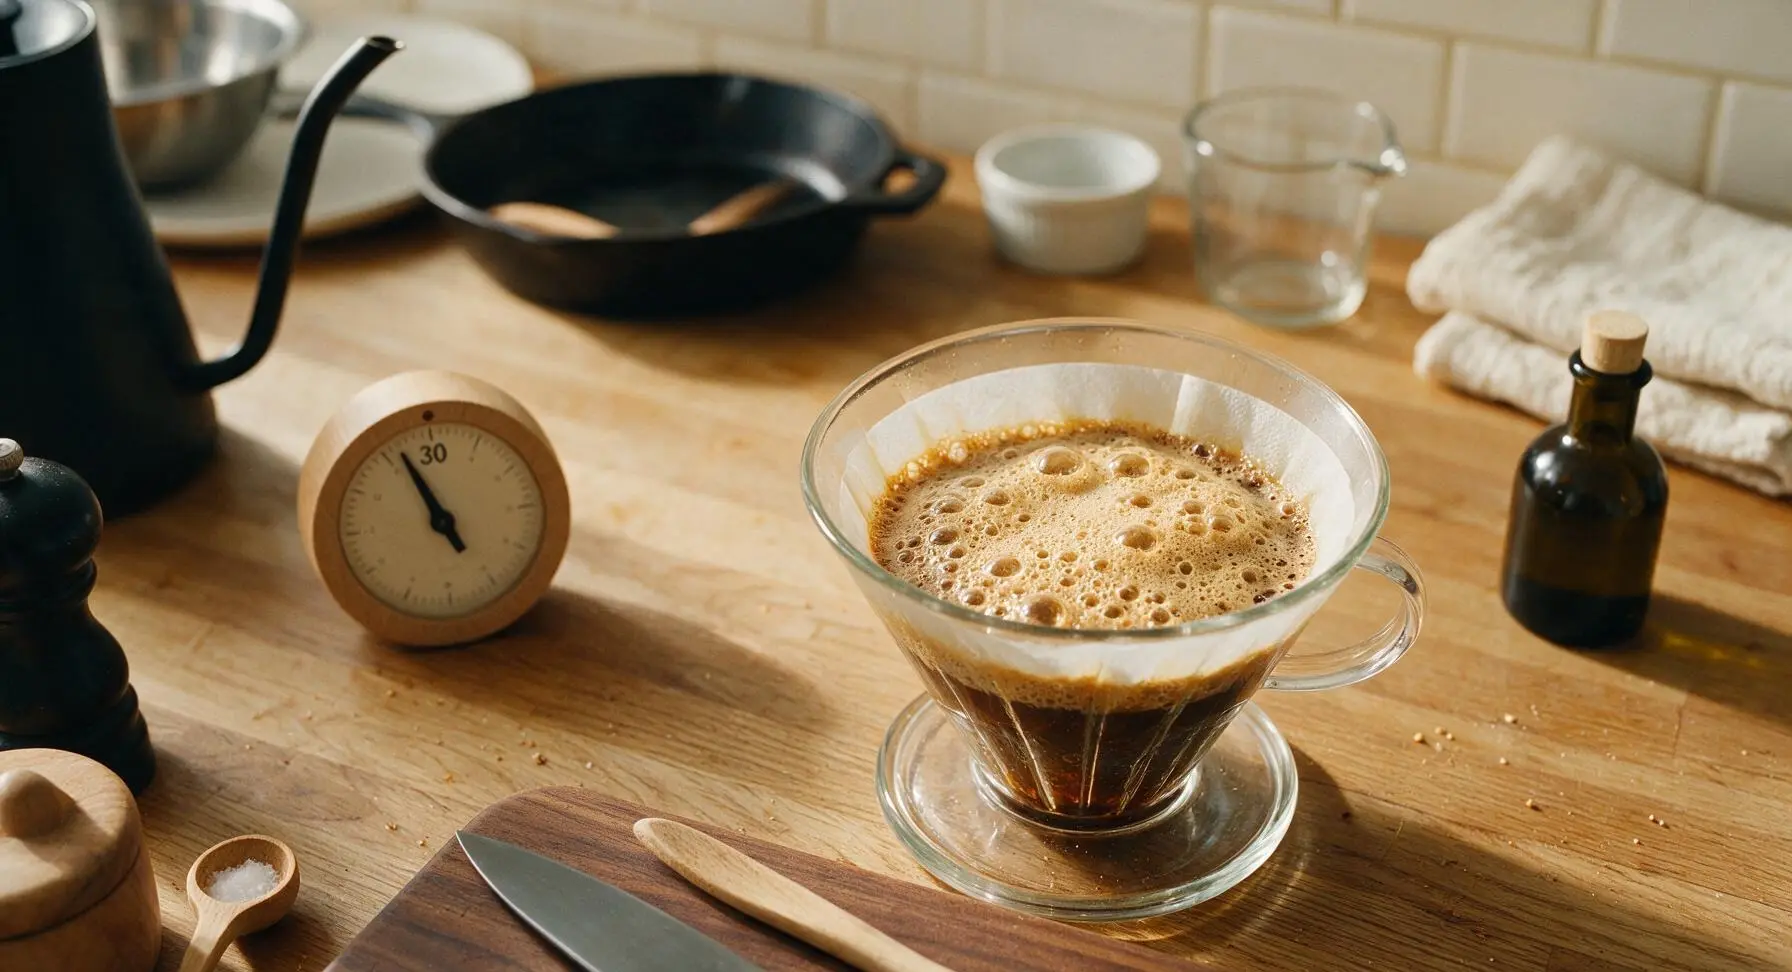
Twist the beech wood kitchen timer to set for 30 seconds. Pour a slow, thin stream of 93°C water from the gooseneck kettle over the coffee grounds, starting at the center and moving outward in slow small circles, until the scale reads 60g of water (twice the weight of the coffee). Ensure all grounds are evenly saturated, but do not pour water directly down the filter sides. Dark, bubbly golden-tan foam (carbon dioxide released from freshly roasted coffee) will rise to the surface as the coffee blooms. Wait the full 30 seconds for the bloom to finish before pouring more water. Time: 30 seconds.
Perform Slow Main Pour
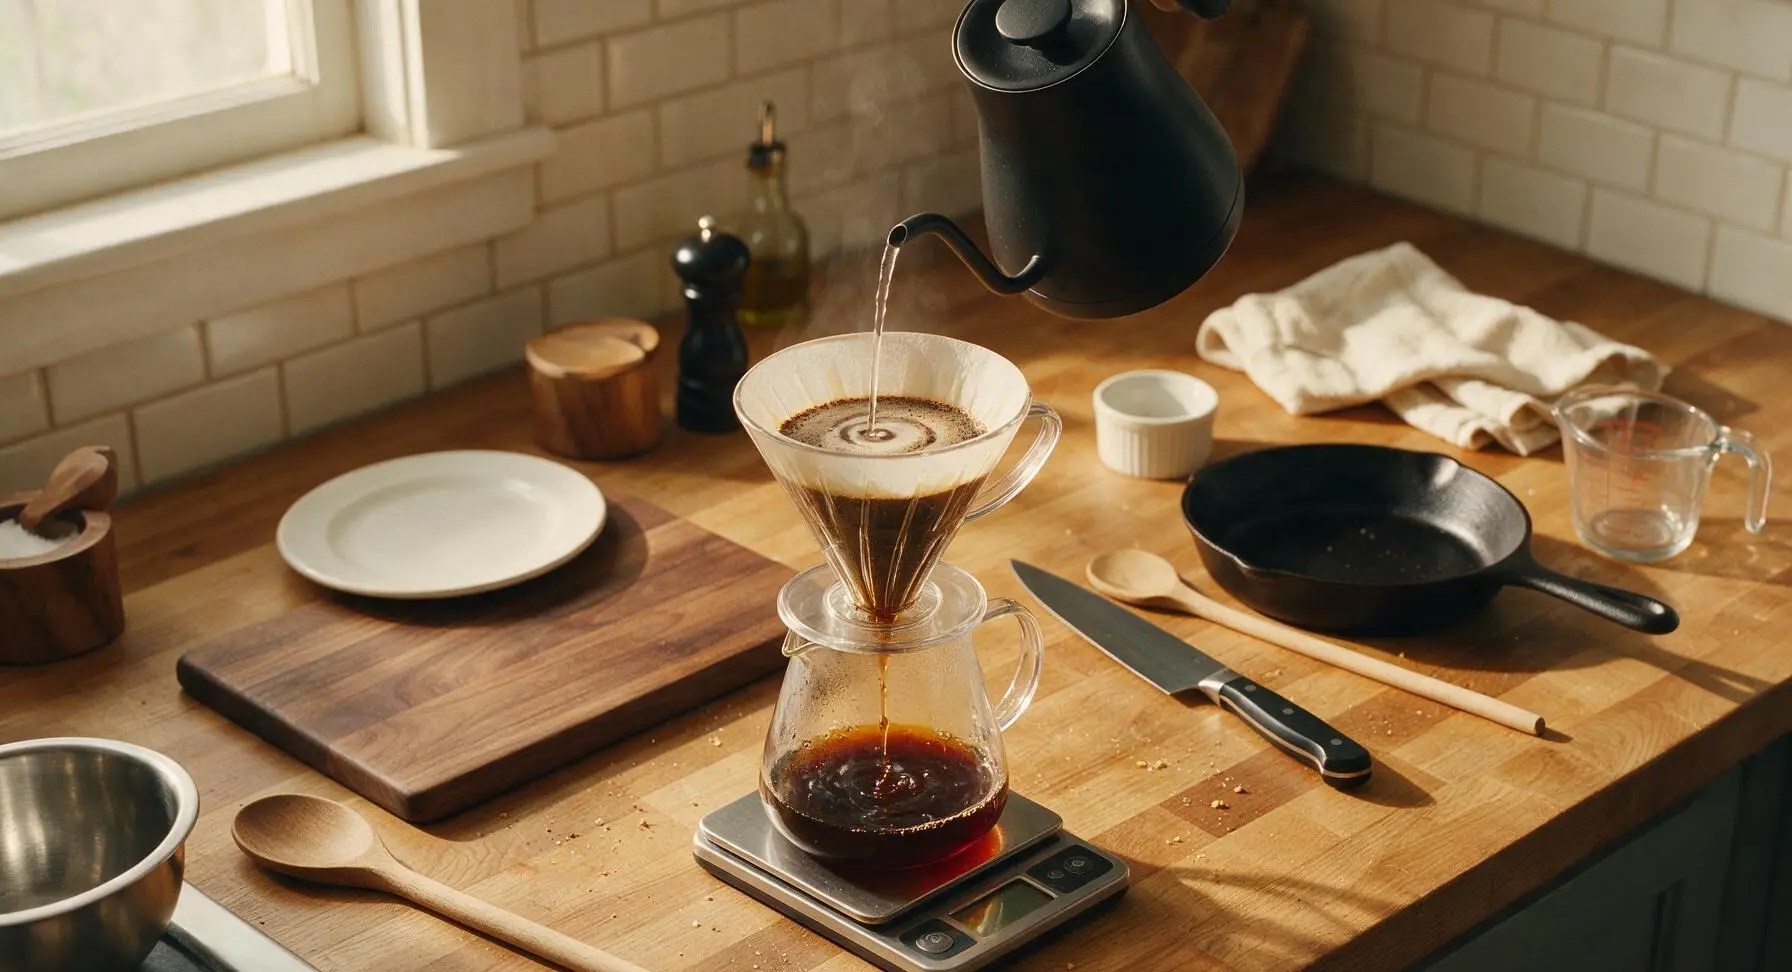
After the 30-second bloom completes, resume pouring water in slow, steady concentric circles: start at the center, move outward to 1cm from the dripper edge, then circle back to the center, maintaining a thin consistent pour stream. Pour until the scale reads 300g total water weight, then pause for 15 seconds to allow the water level to drop slightly. Resume pouring in the same circular pattern until the scale reaches 480g total water weight. Keep the water level in the dripper 1cm below the top of the filter at all times to avoid overfilling. Total pour time for this step: 2.5 minutes.
Stir and Allow Drawdown
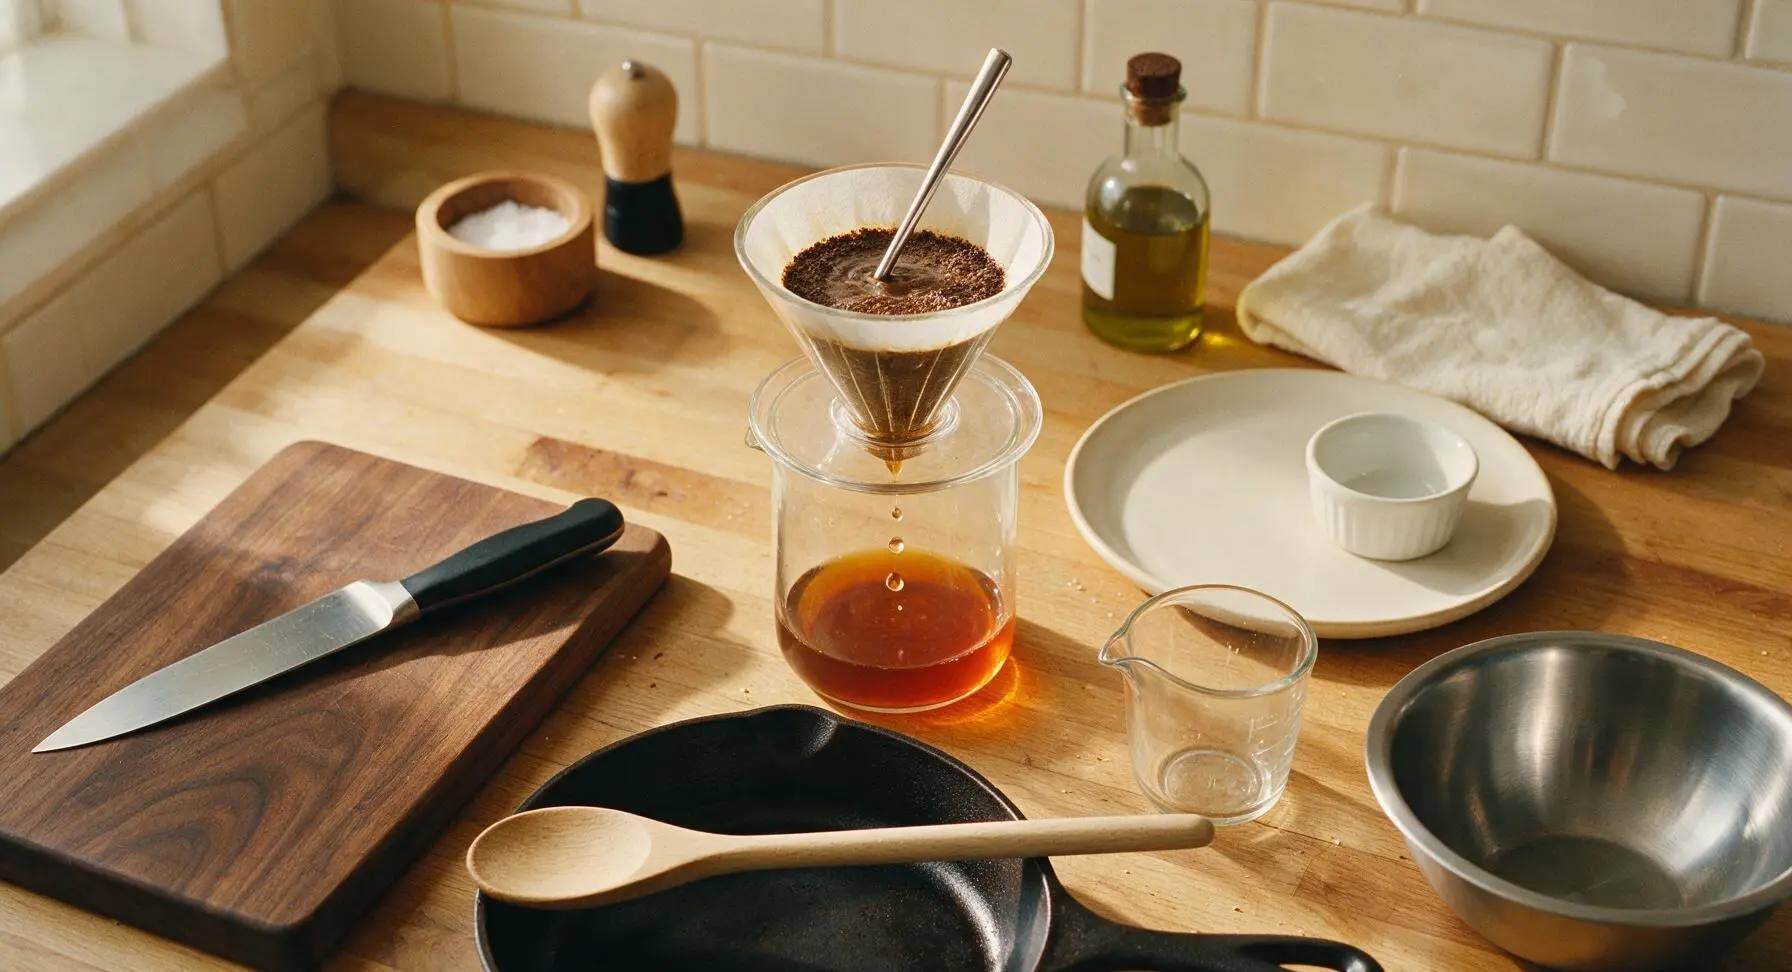
Once you reach 480g total water weight, set the kettle back in its place. Give the top of the coffee slurry one gentle, slow stir with the long stainless steel stir stick to knock down any grounds stuck to the sides of the filter. Allow the remaining water to drip through the filter completely; total brew time from first pour to last drip should be 3.5 to 4 minutes. Note that if drawdown is faster than 3 minutes your grind is too coarse, and if slower than 4.5 minutes your grind is too fine for future brews. Time: 1 minute.
Pour and Serve Hot
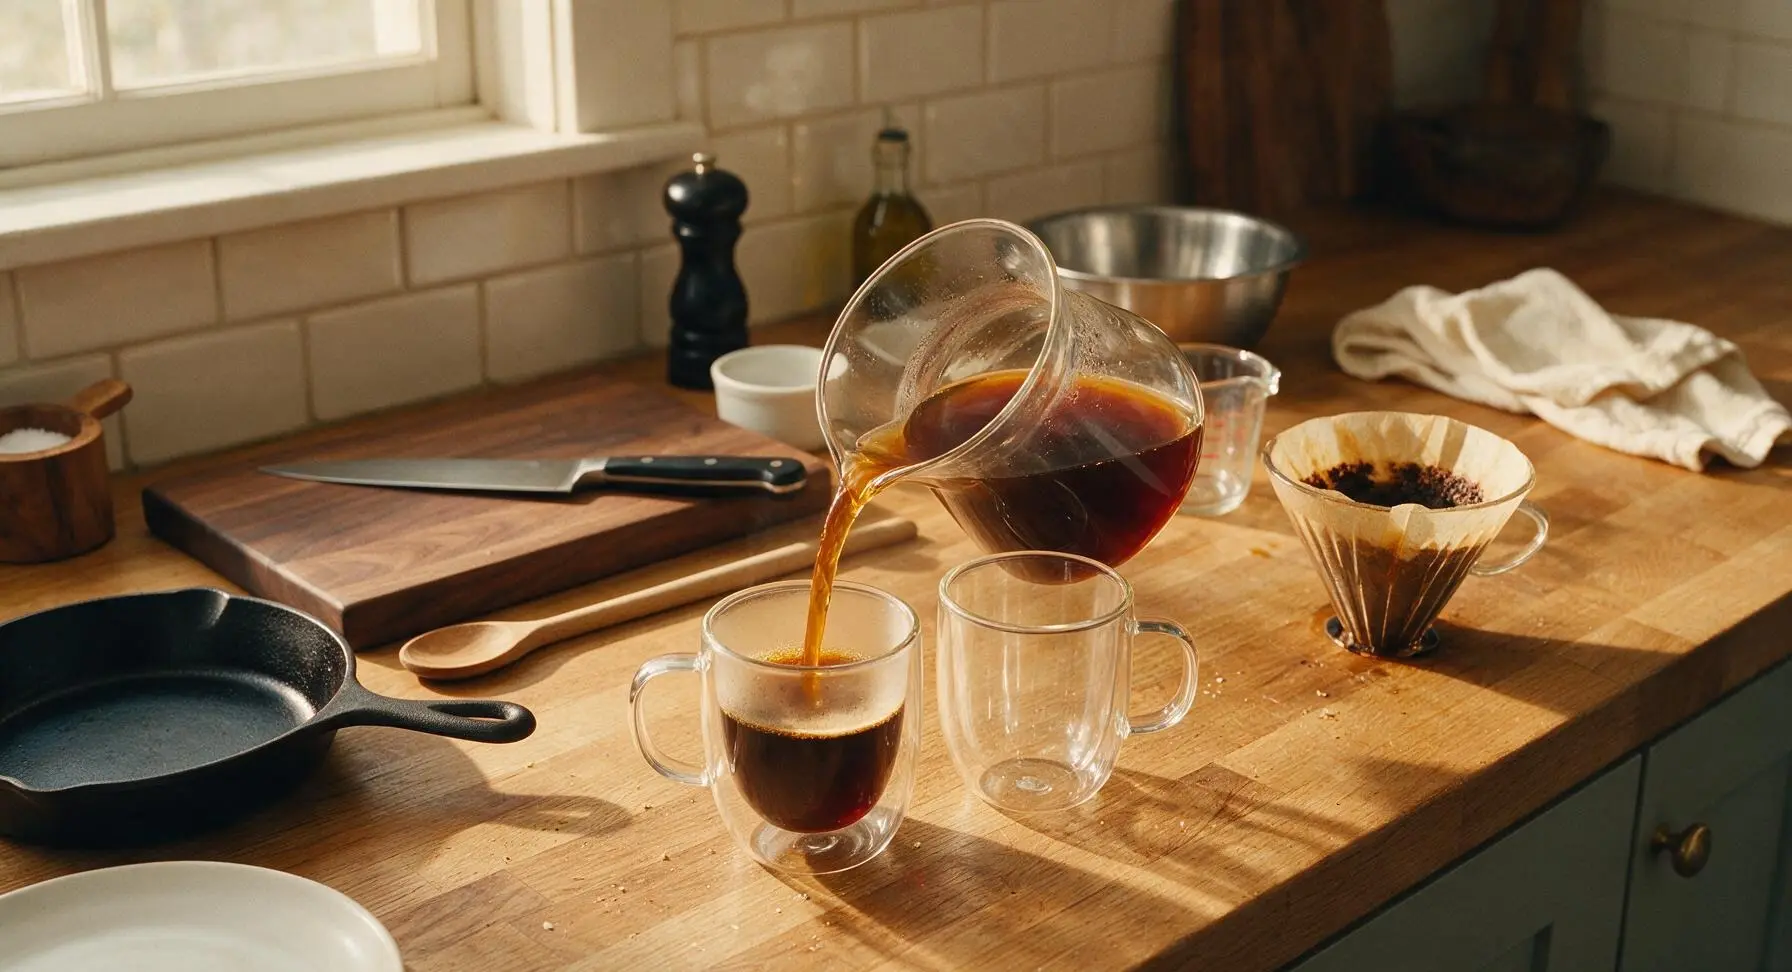
Once all water has dripped through the filter, lift the dripper off the server and set it to the right of the server on the counter (the spent grounds and filter can be composted after use). Gently swirl the glass server to mix the brewed coffee evenly, then pour the hot coffee evenly between the two double-walled clear glass mugs. Serve immediately to enjoy the full aromatic flavor of the brew. Time: 30 seconds.
Tips
2.Grind beans immediately before brewing: pre-ground coffee stales rapidly within 15 minutes of grinding as delicate flavor compounds oxidize, leading to bitter, flat, or lifeless coffee even with high-quality beans.
3.Never use boiling (100°C/212°F) water for brewing: water that is too hot will scorch fine coffee particles, extracting harsh bitter compounds; 93°C/200°F is the ideal temperature for medium-roast beans to highlight sweet, fruity, and nutty flavor notes.






OMG this is exactly the pour over tutorial I’ve been searching for! Tried it this morning before my commute and it was SO much smoother than the bitter sludge I usually make at home. Total game changer for my weekday morning routine — I’m already saving so much money skipping the overpriced corner coffee shop run!
Made this for my girlfriends at our weekly brunch potluck last weekend and everyone was raving! I messed up the bloom step a tiny bit on the first batch but the second round was perfect. Will absolutely be making this for our next gathering.
My kids even said the house smelled like a fancy downtown coffee shop when I made this Saturday morning! Paired it with my famous chocolate chip pancakes and it was chef’s kiss. 10/10 no notes, this one’s going in the regular rotation.
I pre-measured my coffee grounds for the whole work week so I can whip this up in 4 minutes flat each morning before logging on to work. So much better than the sad break room Keurig, I can’t believe I waited so long to try pour over!
Wait, quick question! My coffee came out super weak on my first try — did I grind my beans too coarse? I followed the timing exactly but it tasted like lightly flavored water almost, lol.
Brought my pour over setup camping last weekend and used this exact method over my camp stove. Even with slightly wonky mountain water temp it turned out SO good, way better than the instant coffee I usually pack for trips.
I set up a little pour over station at my desk after seeing this recipe and my coworkers keep stopping by to beg for a cup. My productivity has gone up 100% now that I don’t have to trek 3 floors to the terrible office coffee pot.
Taste was great but I burned my first batch because my water was way too hot! I didn’t realize I needed to let it cool for a minute after boiling, oops. Second batch was perfect with a splash of vanilla oatmilk.
I was spending almost $6 a day at my local fancy third-wave coffee shop and decided to learn pour over to cut costs. This method took me 2 tries to get right and now I make coffee that tastes better than the $6 lattes I used to buy! I’ve already saved over $40 in two weeks.
I get up at 5am every day to get the kids ready for school, and this 4-minute pour over is the only thing that gets me through the morning chaos. It’s so fast I don’t even have to skip my quiet 2 minutes of coffee time before the kids are fully up and begging for pancakes and backpack checks.
Wait I’ve never made pour over before ever, and I was so intimidated because I thought it was super complicated and required hundreds of dollars in fancy equipment. This recipe was so straightforward! I used a cheap $10 dripper I found at the grocery store and it turned out amazing on my first go. I feel like a professional barista now!
I’ve been making pour over for years but I always skipped the blooming step because I thought it was a silly barista gimmick. Tried it the way this recipe says and WOW, the flavor is so much richer and less bitter. I’m a total convert now.
Made this pour over to go with my homemade cinnamon rolls for our Sunday family dinner last week and my dad, who swears by his 20-year-old drip coffee maker, asked for a second cup! That’s the highest possible praise if you ask me.
I’ve been a diehard cold brew drinker for 5 years and swore hot coffee was just bitter, burnt garbage until I tried this method. The coffee is so smooth and naturally sweet, I’ve been making a hot cup every morning this week instead of my usual cold brew. Who even am I?!