
Hatch Green Chile Grilled Cheese
intro
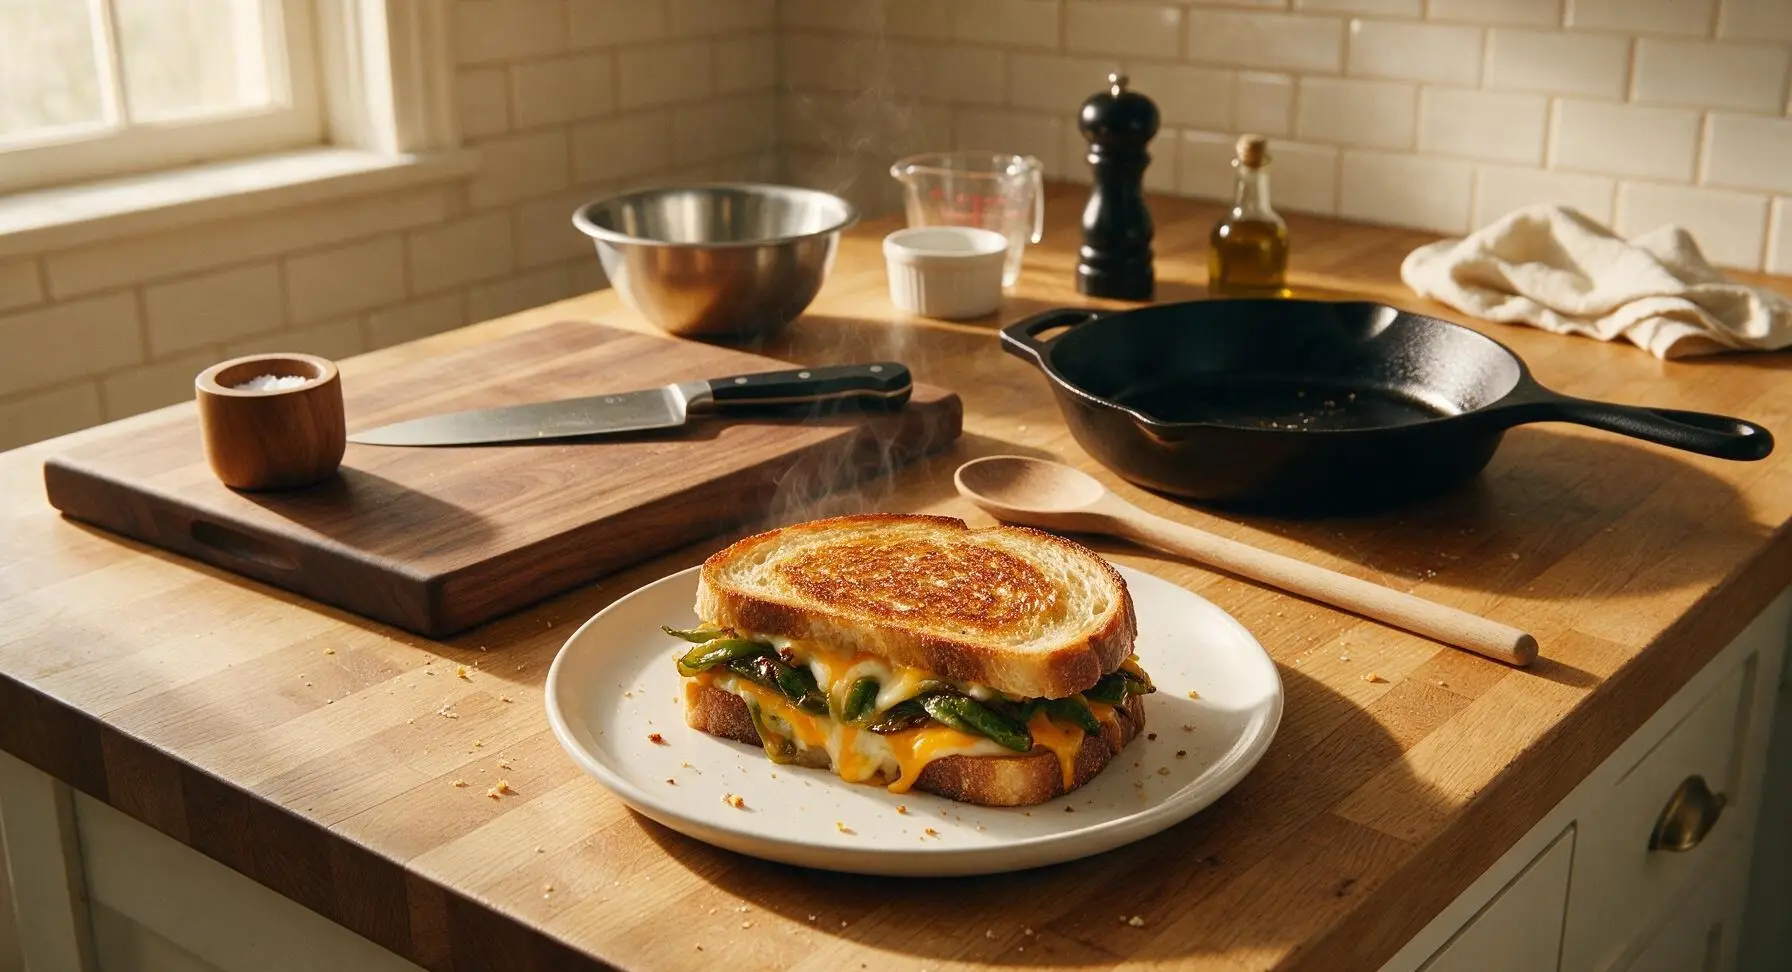
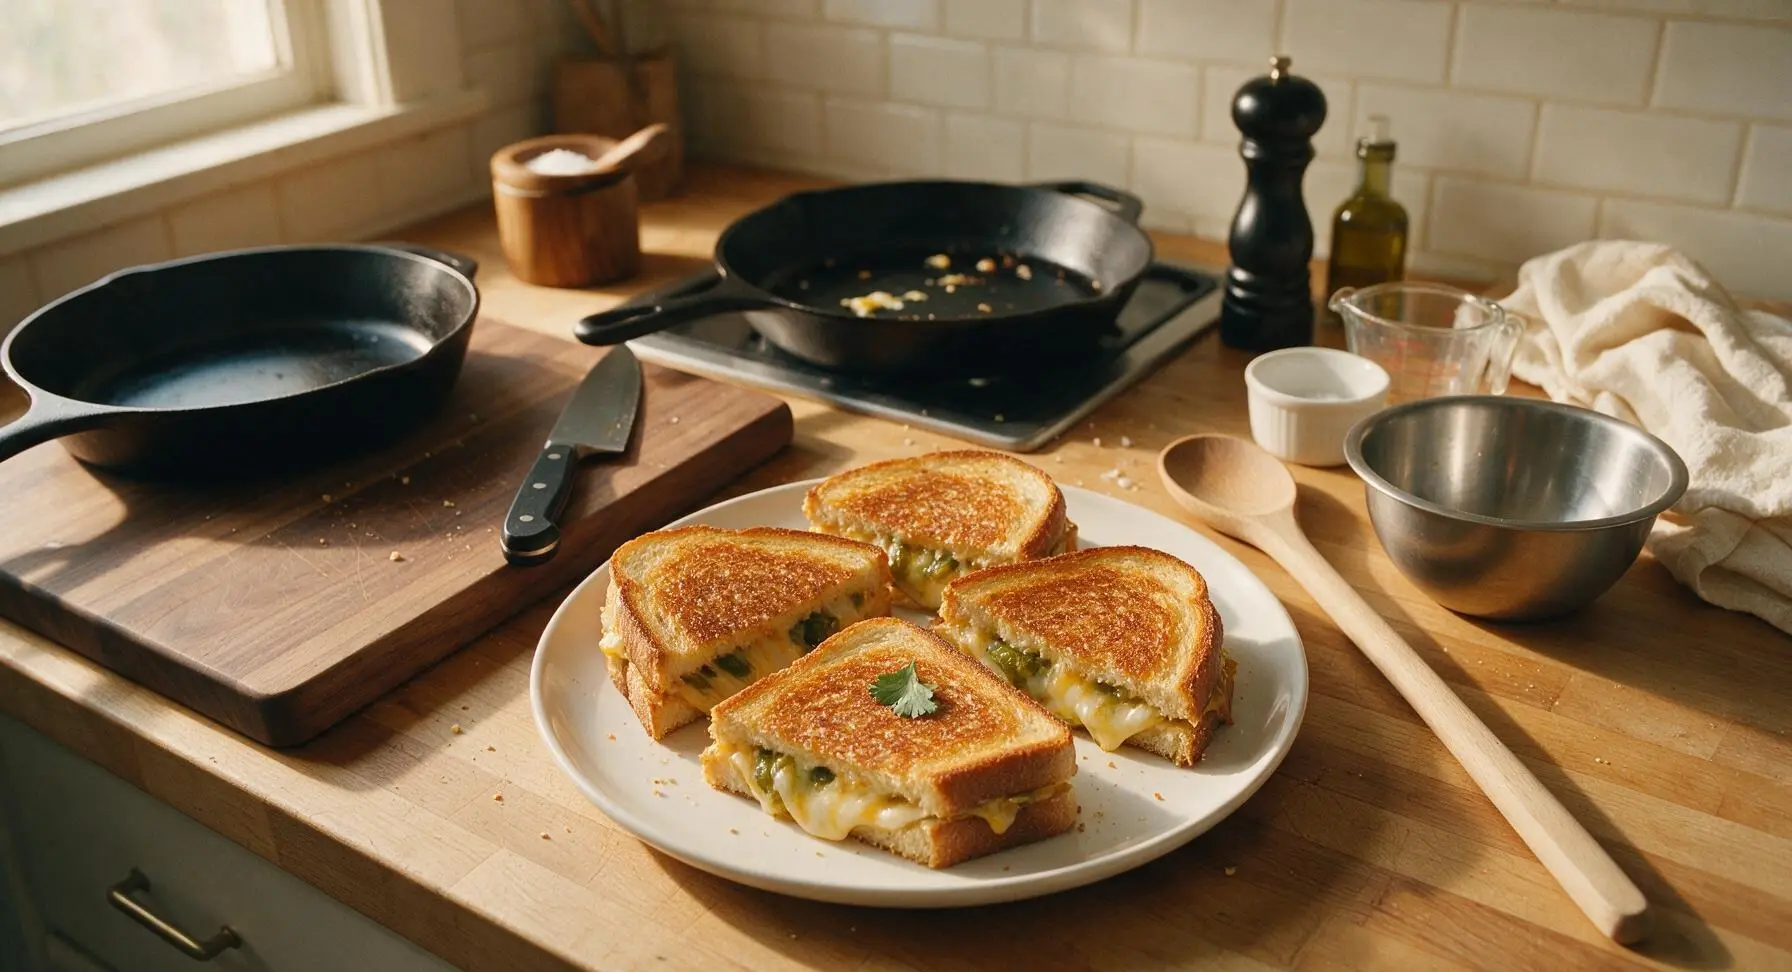
Smoky fire-roasted Hatch green chiles layered between melty cheddar and pepper jack on crispy buttery sourdough—this elevated grilled cheese is bold, cozy, and ready in under 25 minutes.
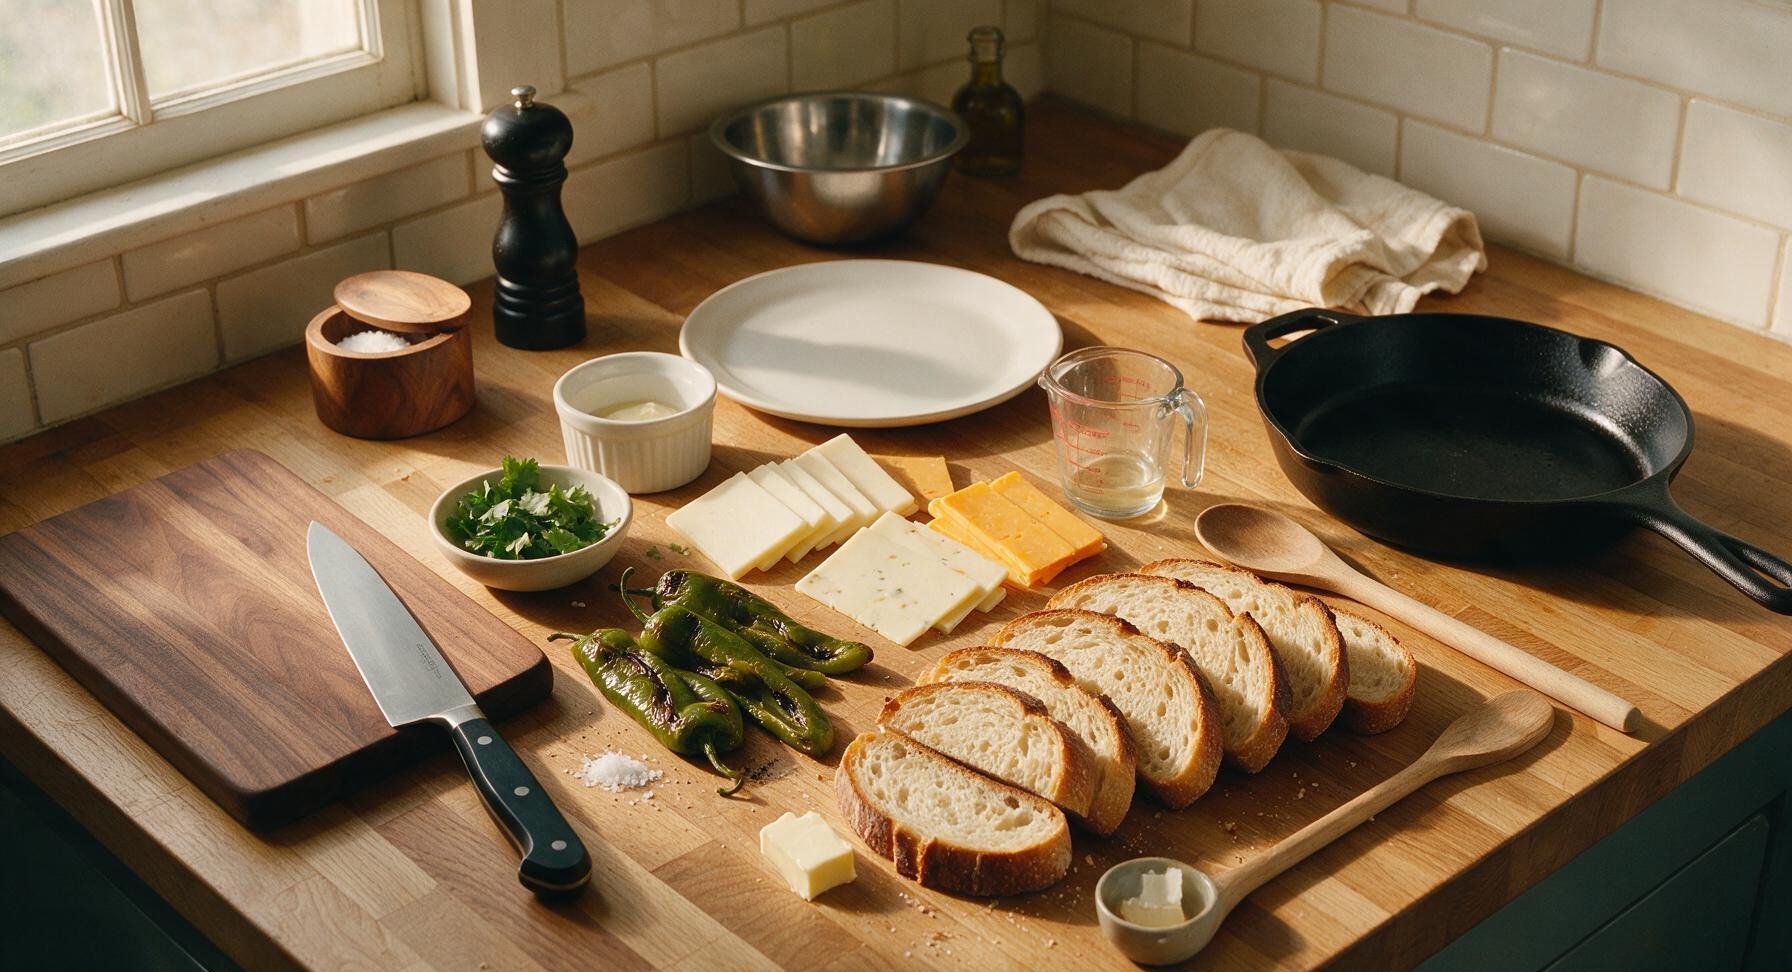
Ingredients
Steps
Prep Roasted Chiles
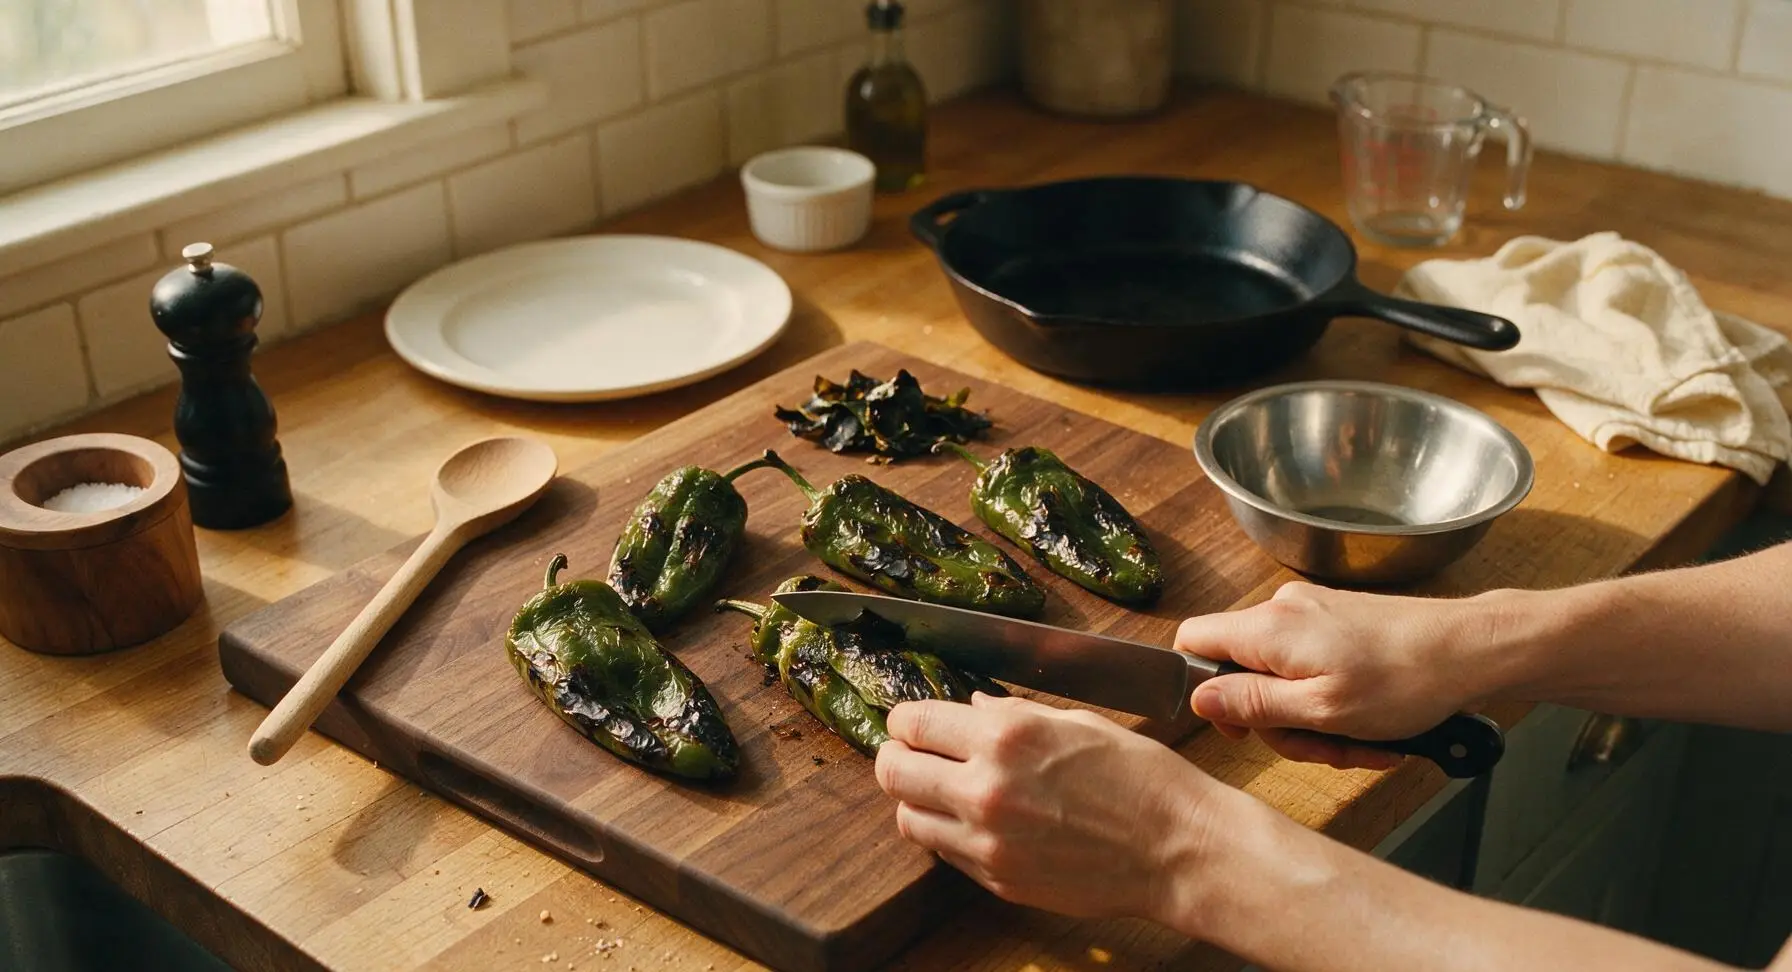
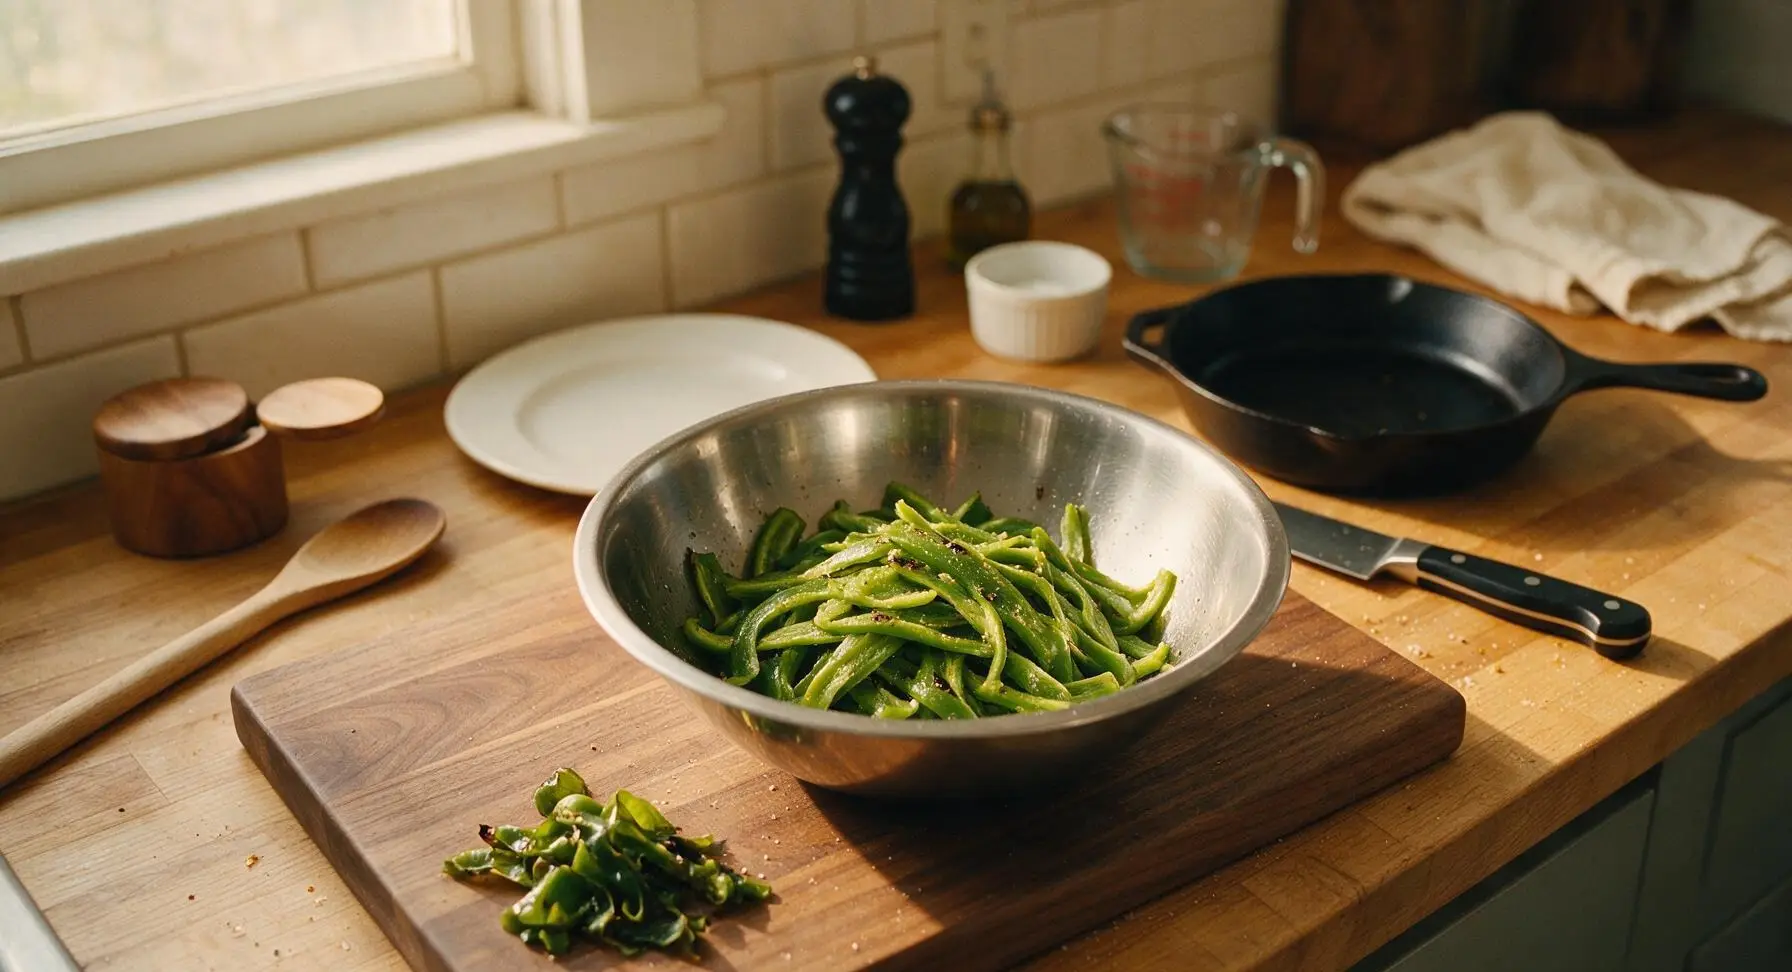
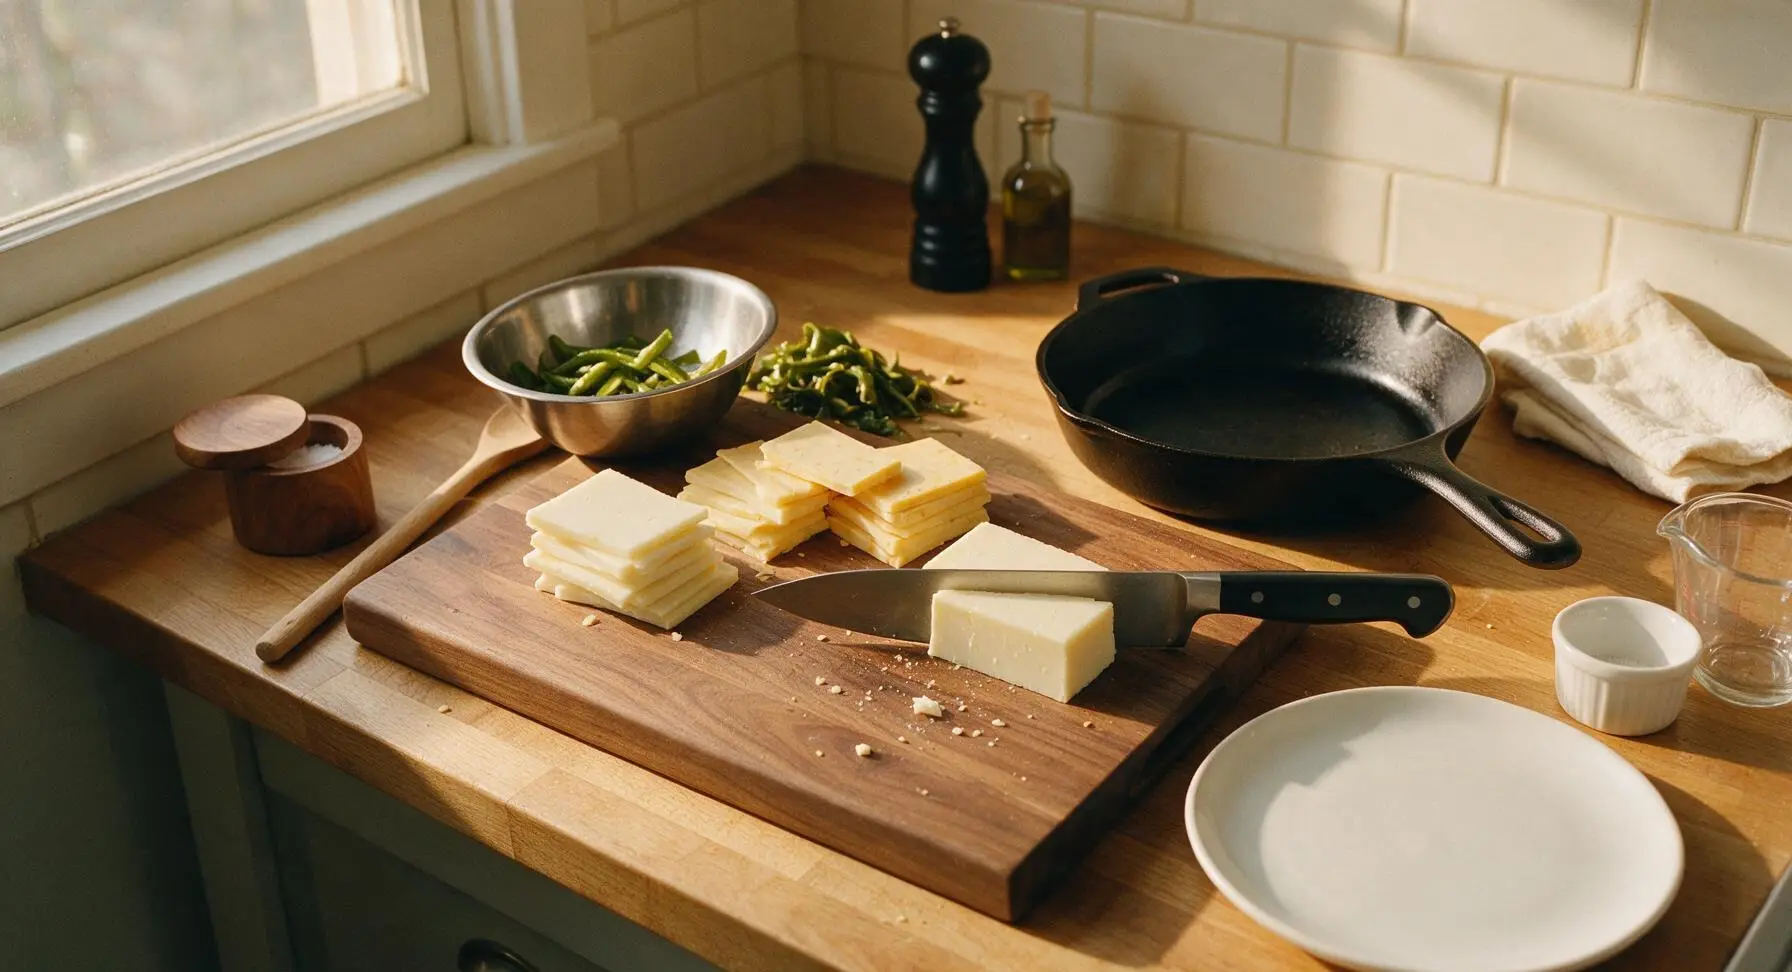
If using freshly roasted Hatch chiles (blistered over an open flame or under a broiler until skins are blackened), place them on the walnut cutting board. Once cool enough to handle, peel off the charred outer skins, slice open lengthwise, scrape out seeds and membranes with the tip of the chef knife, then tear into 1-inch wide strips. Transfer strips to the small stainless steel mixing bowl, season with a pinch of flaky salt and black pepper, and set aside. Frozen pre-roasted Hatch chiles work perfectly here—thaw and pat dry before use.
Slice and Layer Cheese
Place the cheddar and pepper jack blocks on the walnut cutting board. Use the chef knife to slice both cheeses into uniform 1/8-inch thick slices, enough to fully cover each slice of bread without overhanging the edges too far (overhanging cheese will burn in the skillet). Arrange slices in two separate stacks next to the mixing bowl of chiles.
Butter Bread Slices Evenly
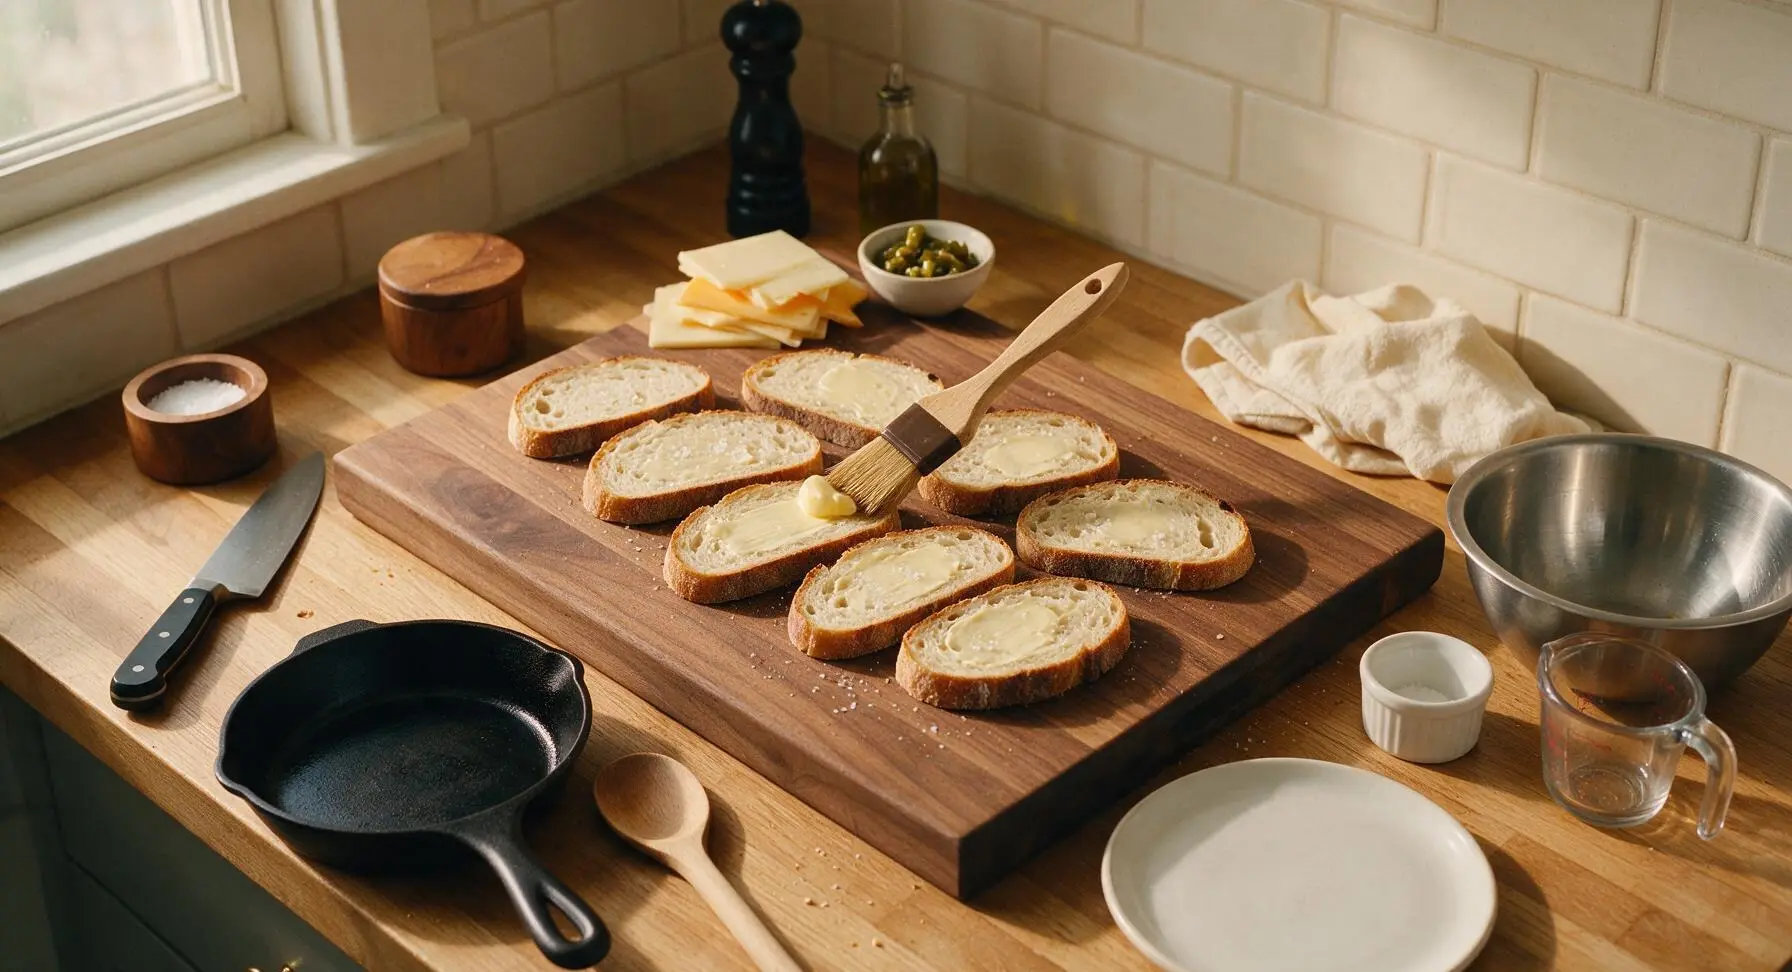
Lay all 8 sourdough slices flat on the walnut cutting board. Use the pastry brush to spread 1/2 tablespoon of softened unsalted butter evenly across one entire side of each bread slice, all the way to the crust edges. Lightly sprinkle the buttered sides with a tiny pinch of flaky sea salt for extra crunch and flavor.
Assemble Sandwich Layers
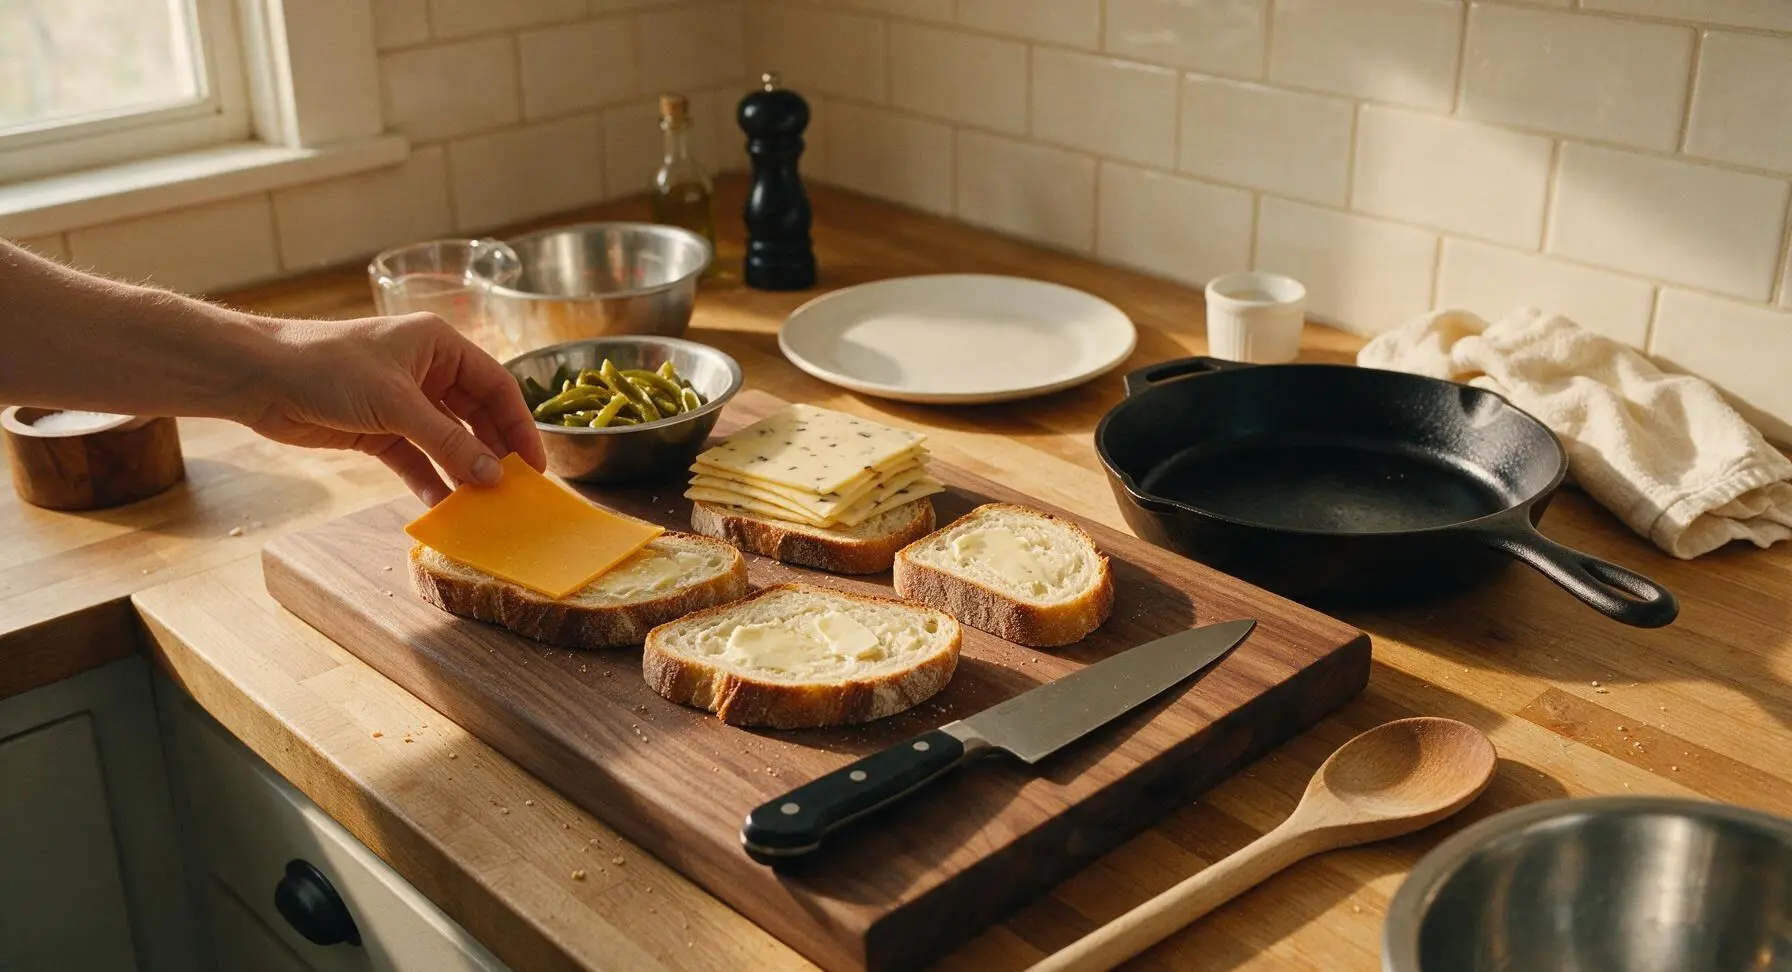
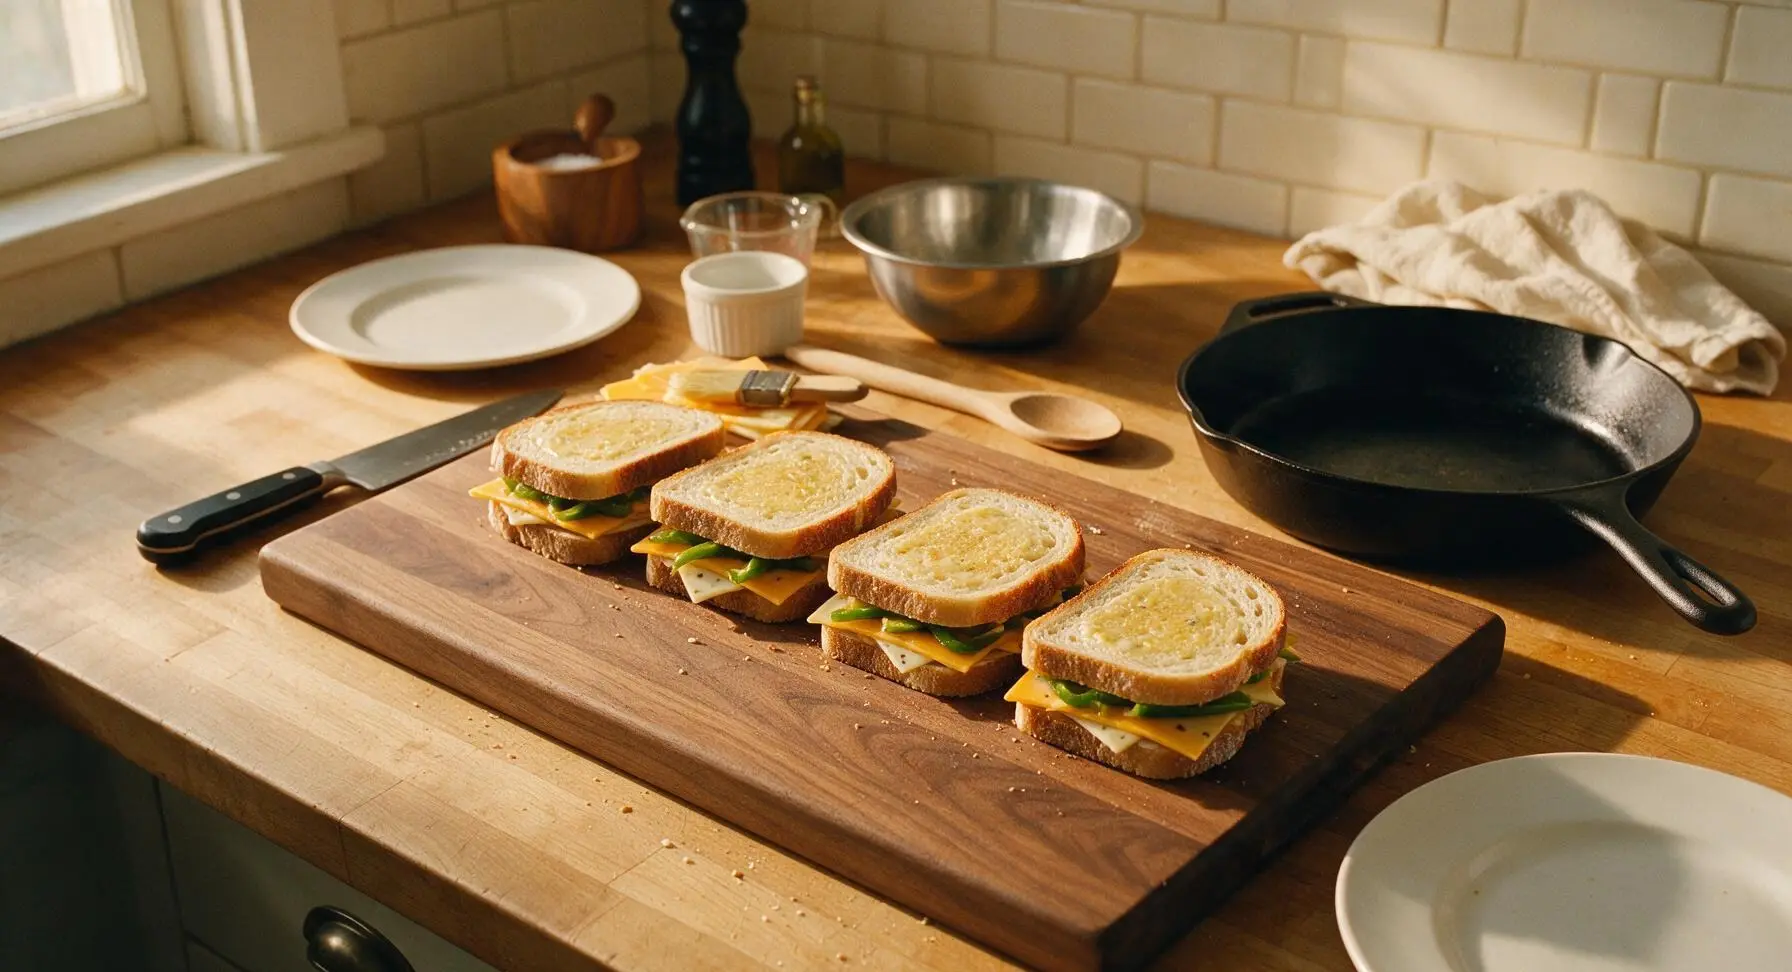
Flip 4 of the bread slices over so the buttered side faces down on the cutting board. Layer slices of sharp cheddar first, then a single even layer of Hatch chile strips (pat dry first with a corner of the linen towel if excess moisture is present to avoid soggy sandwiches), then slices of pepper jack on top of the chiles. Top with the remaining 4 bread slices, buttered side facing up, pressing down gently to adhere the layers.
Preheat the Skillet
Place the 12-inch carbon steel skillet on the back-right stovetop burner over medium-low heat (325°F / 160°C). Let the skillet preheat for 3 full minutes—do not rush this step, as an evenly heated pan prevents burnt bread and ensures even cheese melt. No extra oil or butter is needed, as the bread is already buttered.
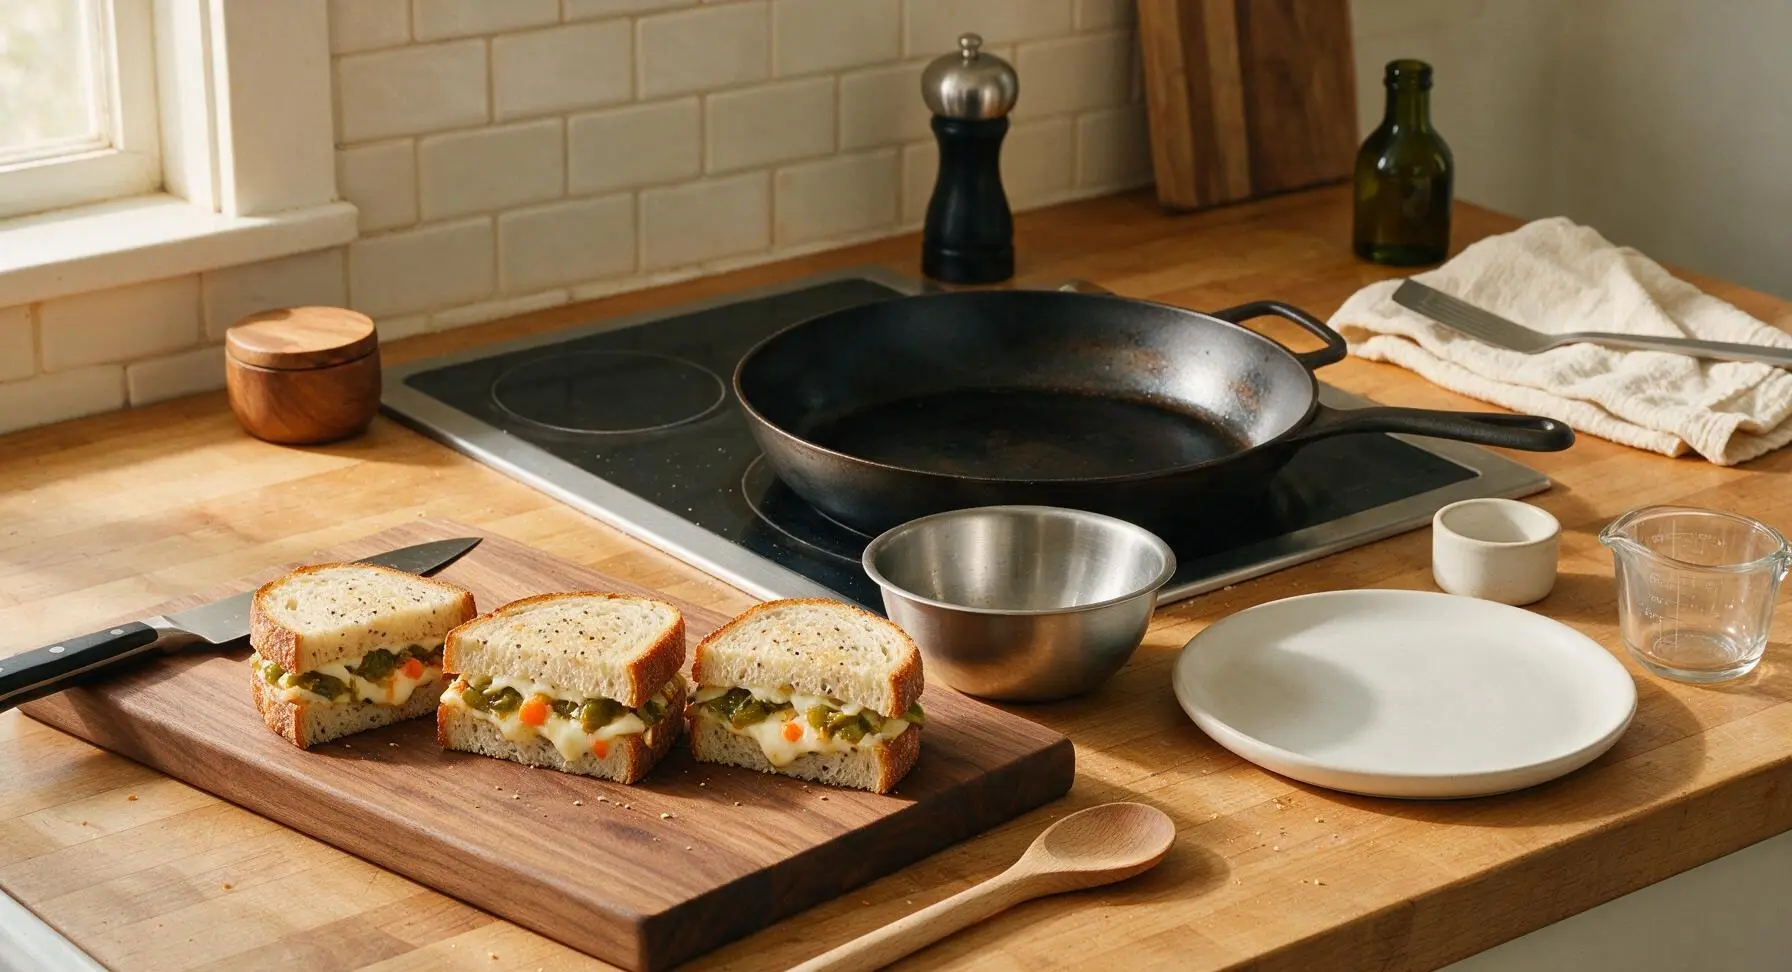
Grill First Sandwich Side
Carefully place 2 assembled sandwiches into the preheated skillet, leaving 2cm of space between them. Cook for 3 to 4 minutes, until the bottom bread slice is deep golden brown and crispy, and the cheese closest to the pan has started to melt. Resist the urge to press down on the sandwiches with the spatula while cooking, as this squeezes out melted cheese.
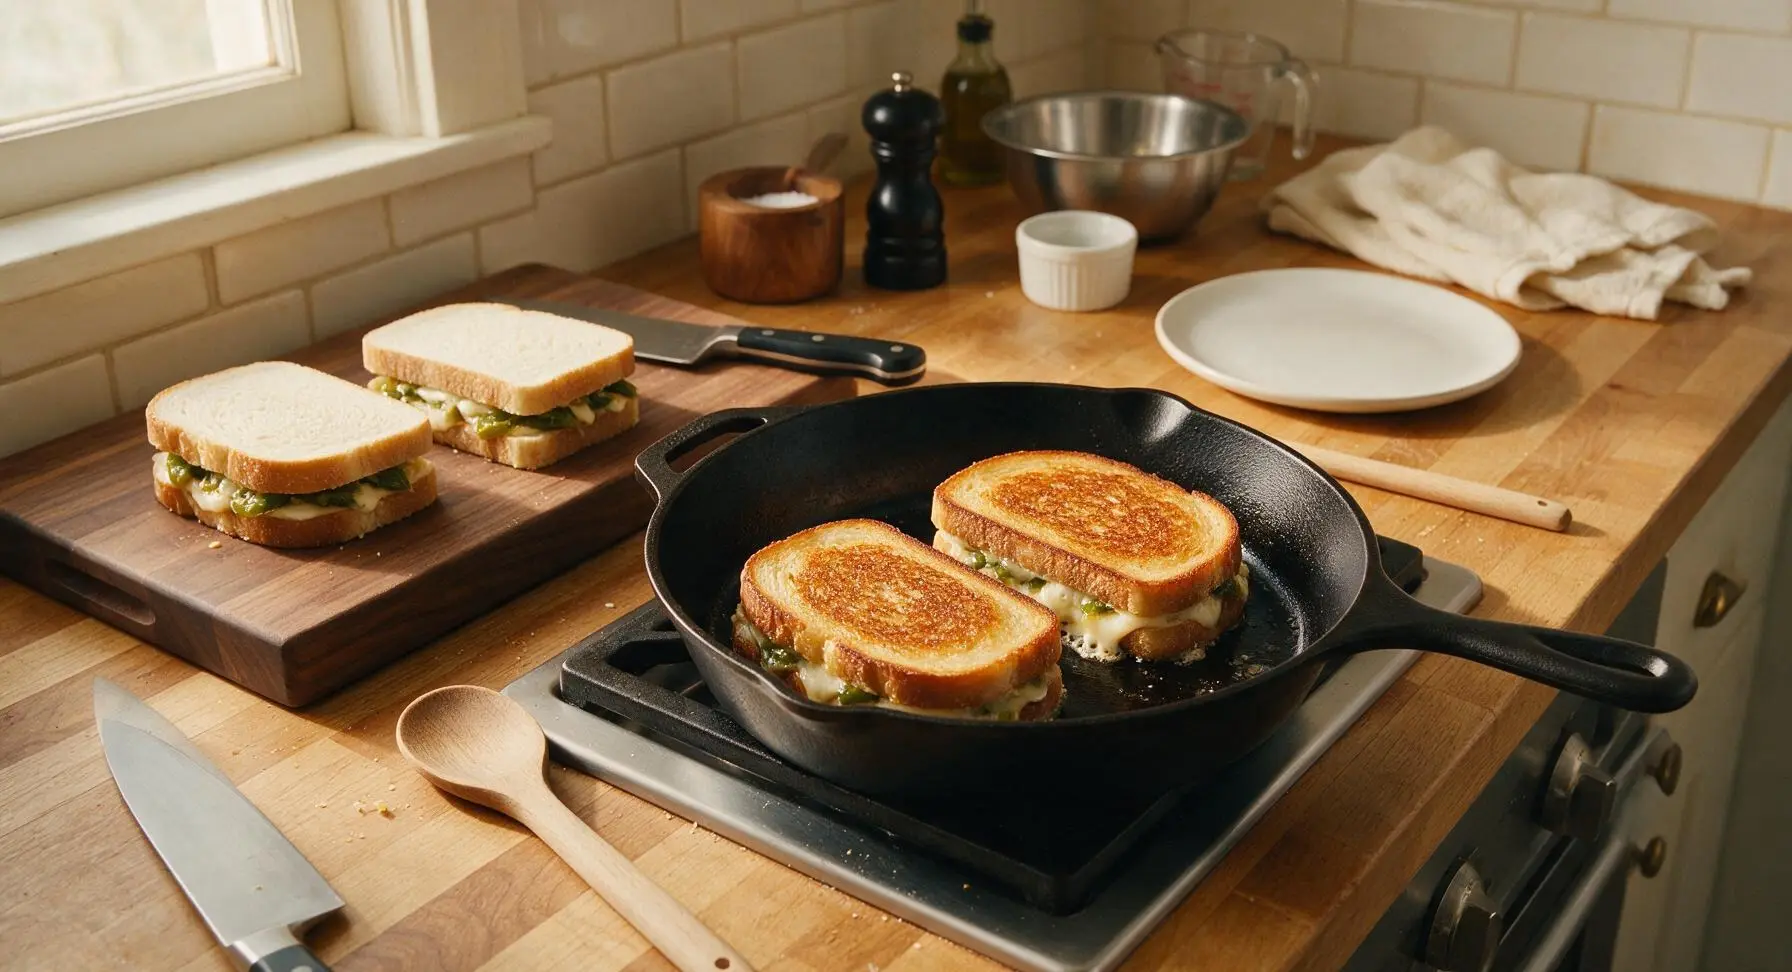
Flip Sandwiches Evenly
Slide the thin metal spatula under each sandwich, supporting the full bottom to avoid tearing the bread, and flip carefully. Cook the second side for another 3 to 4 minutes, until the bread is equally golden and crispy, and all cheese in the center is fully melted and oozing slightly at the edges. Transfer cooked sandwiches to the cream ceramic dinner plate, then repeat the cooking process with the remaining two sandwiches.
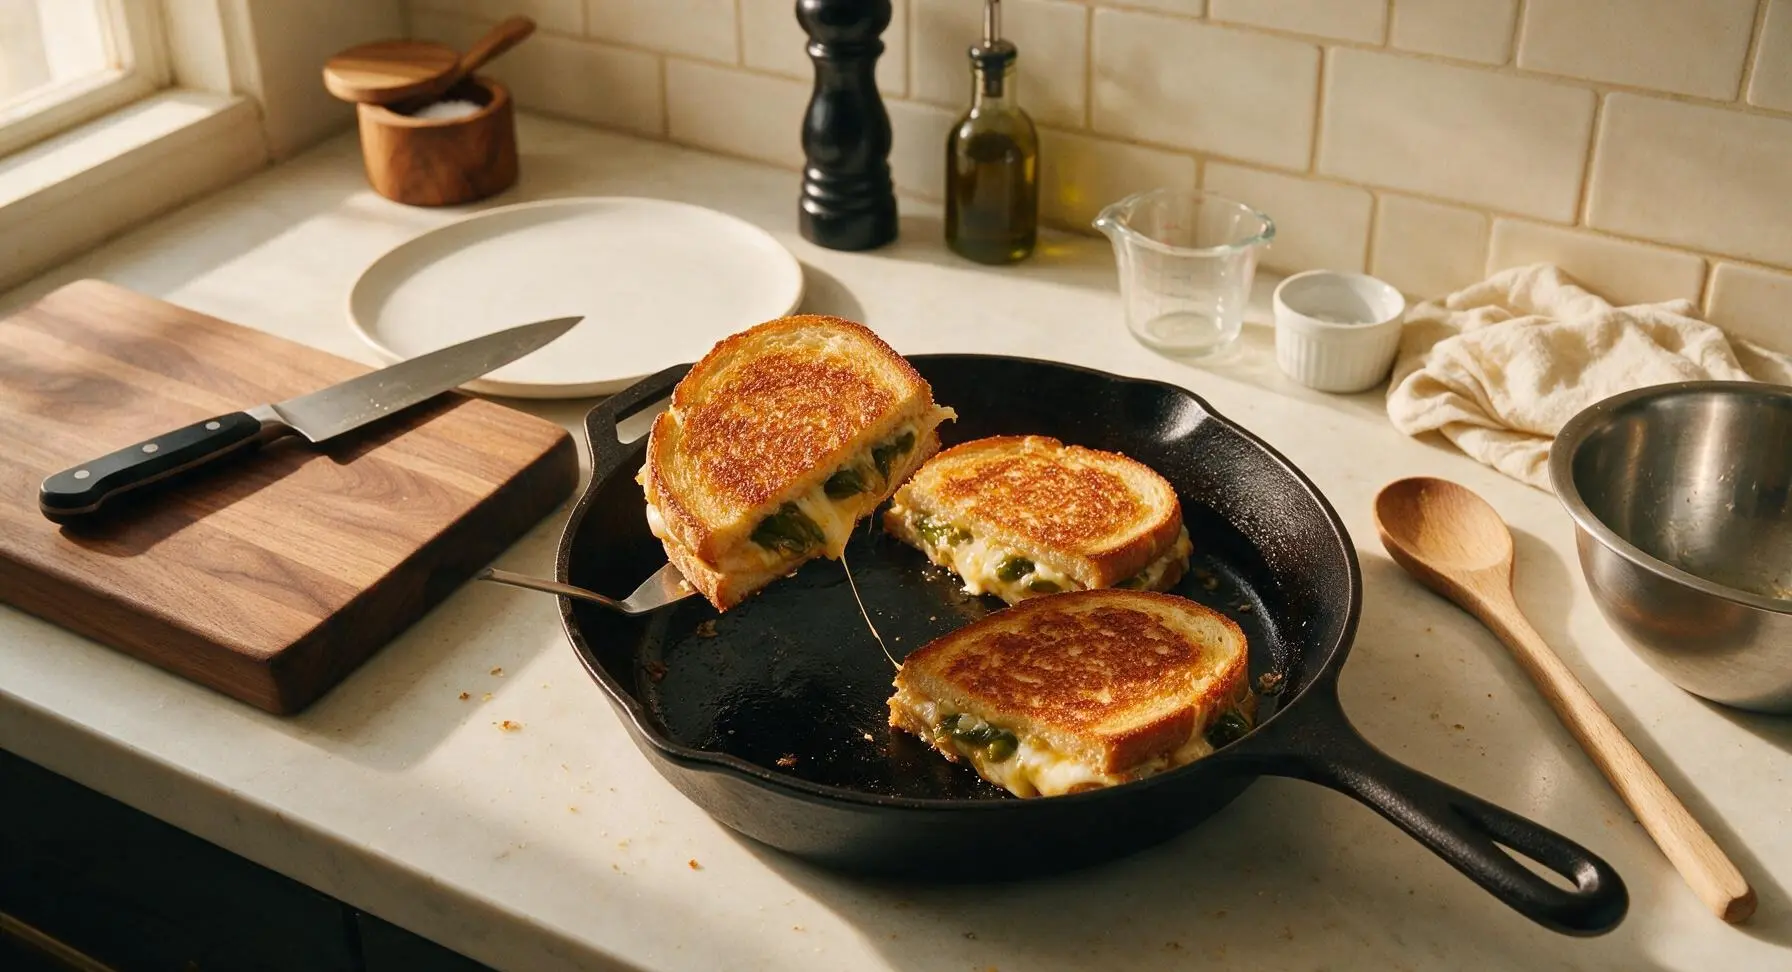
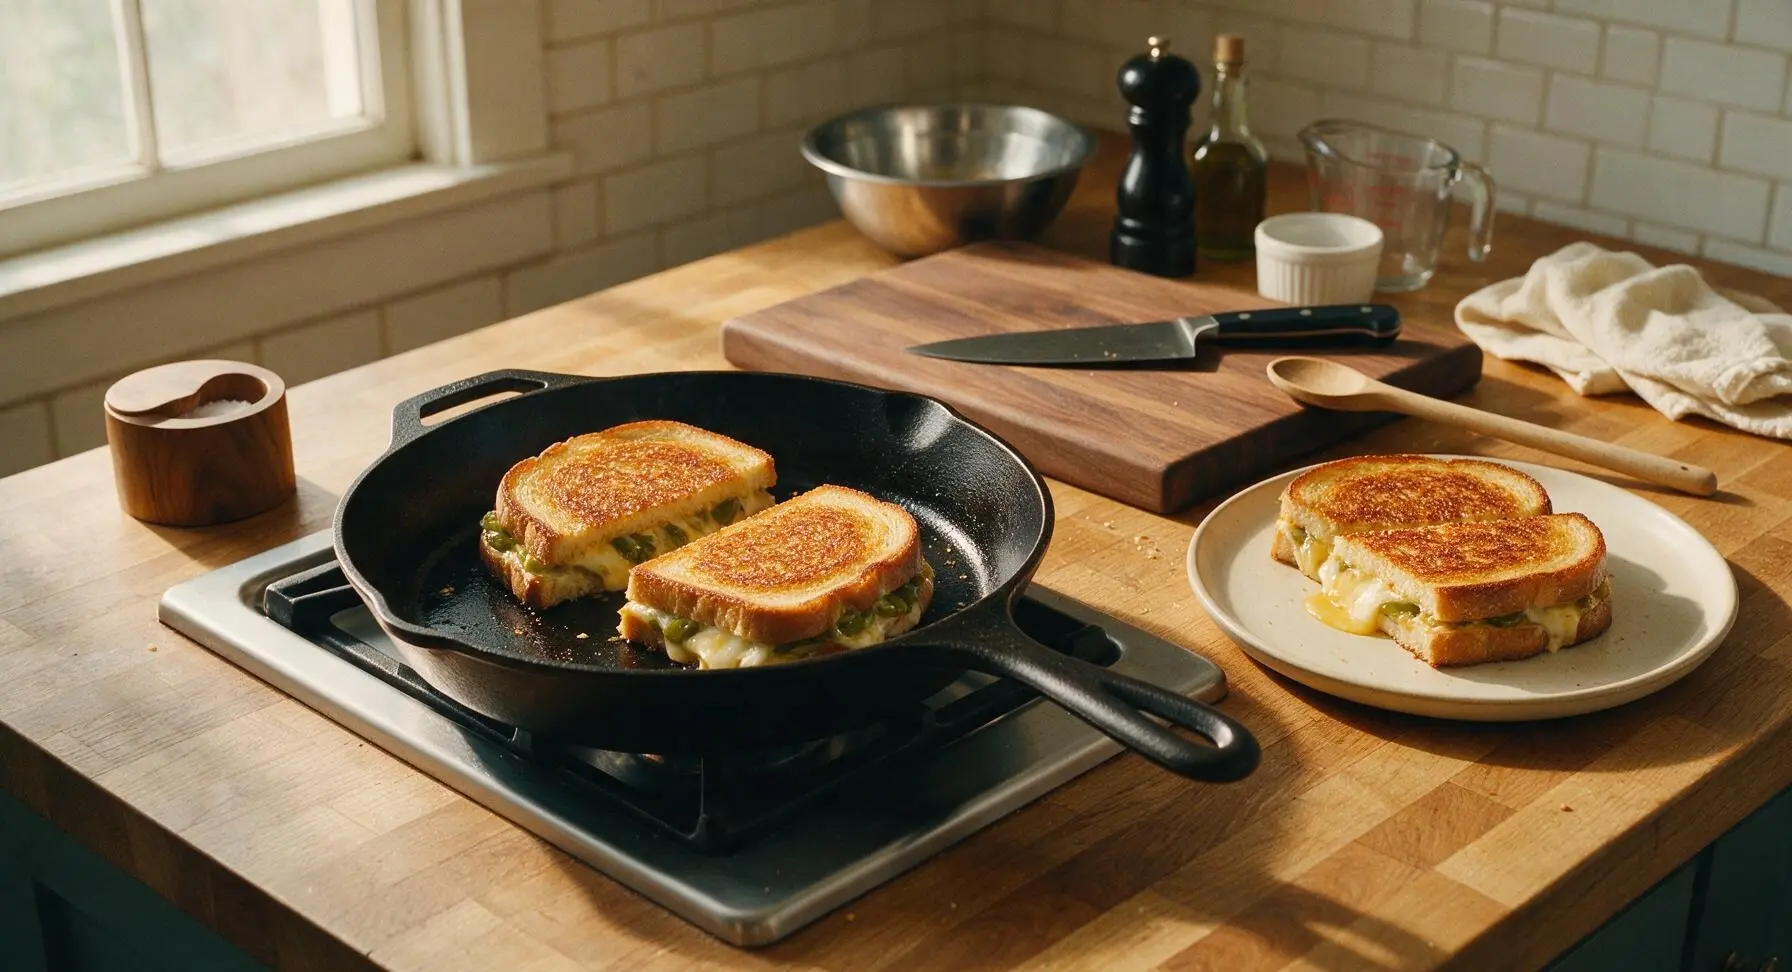
Rest and Serve Sandwiches
Once all sandwiches are cooked, transfer them to the cream ceramic dinner plate and let rest for 2 minutes—this allows the melted cheese to set slightly so it doesn't run out completely when you cut into it. Cut each sandwich diagonally into two triangles, garnish with a few torn cilantro leaves if desired, and serve immediately.
Tips
2.Cook sandwiches over steady medium-low heat (325°F / 160°C) rather than high heat: high heat will burn the buttered bread crust before the cheese in the center of the sandwich has time to fully melt, leading to a bitter, burnt exterior with cold, un-melted cheese inside.
3.Let cooked sandwiches rest for 2 full minutes on the plate before cutting: this short rest allows the melted cheese to thicken slightly, so it stretches perfectly when you take a bite instead of oozing out all over the plate the second you slice through the bread.






OMG you guys, this Hatch green chile grilled cheese is an absolute game changer! I used roasted Hatch chiles I froze back at the end of August during chile season, added a little sprinkle of cotija inside with the pepper jack, and my whole family went crazy for it. Even my super picky 7 year old asked for seconds before he even finished his first half! Will 100% be adding this to our weekly Sunday dinner rotation.
SO good! I needed a super quick lunch to make between back-to-back work meetings this week, and this came together in literally 12 minutes exactly like the recipe said. I used crusty sourdough bread and a mix of pepper jack and sharp white cheddar, and it hit every single spot. Perfect easy meal for chaotic weekdays when you don’t have time to cook anything fancy.
Made this in my tiny dorm room grilled cheese maker last night and it was insane. I used canned Hatch chiles because that’s all the corner market by campus had, and it still slapped. Way better than the plain American cheese sandwiches I’ve been living on all semester. 10/10 would make again, even on my super tight student budget.
I brought a big batch of these cut into little triangle bites to my neighborhood potluck over the weekend, and they were gone in 10 minutes flat! I lost count of how many people came up to ask me for the recipe. I did add a thin layer of cream cheese to each slice of bread to make it extra creamy, and everyone said it was the best dish at the whole cookout.
This looks so good! Quick question for anyone who’s made this for little kids! I love Hatch chiles, but some years the crop is way hotter than others, and my toddler can’t handle too much spice yet. Is there a way to tone down the heat without skipping the chiles entirely? That Hatch flavor is just too good to miss out on.
This recipe is so easy to make gluten free! I swapped the regular sourdough for my favorite gluten free sourdough loaf, used GF butter, and it turned out absolutely perfect. The Hatch chiles added such a nice kick that made it feel way more fancy than a regular old grilled cheese. My kids loved it too, even with the little bit of heat!
Tracked down fresh Hatch chiles at my local Union Square farmers market last weekend and knew I had to make this immediately! I added a few slices of crispy thick-cut bacon inside the sandwich, and holy cow, that sweet smoky bacon with the tangy chiles and melted cheddar? Life changing. My roommate is already begging me to make a second batch this coming weekend.
Quick question for the group! Has anyone tried making these ahead for weekly meal prep? I want to prep a bunch for quick grab-and-go lunches for me and my husband, but I’m worried the bread will get soggy if I assemble the sandwiches too far in advance. Any tips are appreciated!
Made these for my grandkids when they came to visit over the weekend, and they were a massive hit! I used a little extra butter on the bread to get it extra crispy, and served them with cups of warm tomato soup for dipping. The kids said it’s the best grilled cheese I’ve ever made, and I have to agree—those Hatch chiles really take it up a notch. Will be making this for our next family visit for sure!