
Hawaiian Grilled Cheese

title 1
Hawaiian Grilled Cheese
⏱️ cook time 8 minutes
🍽️ servings 4
⚡ Difficulty easy

intro

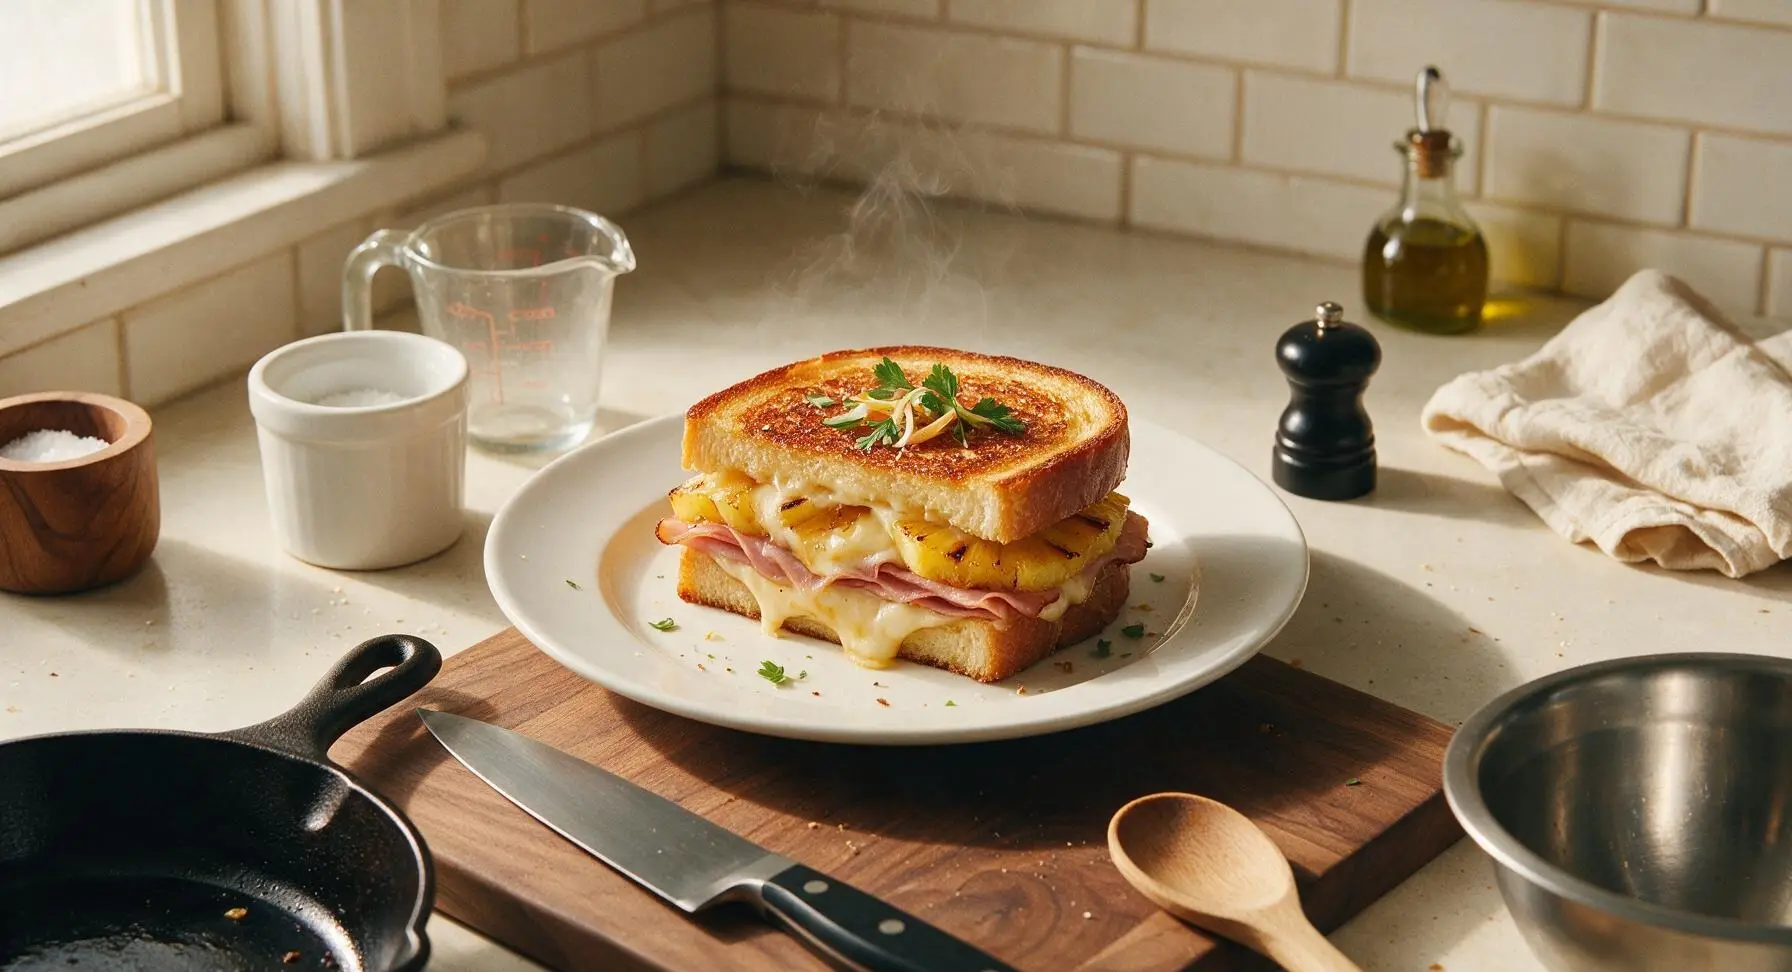
A tropical twist on classic comfort food, Hawaiian grilled cheese layers melted cheese, salty ham, and caramelized pineapple between buttery, crisp toasted sweet bread for the perfect sweet-savory bite.

Ingredients
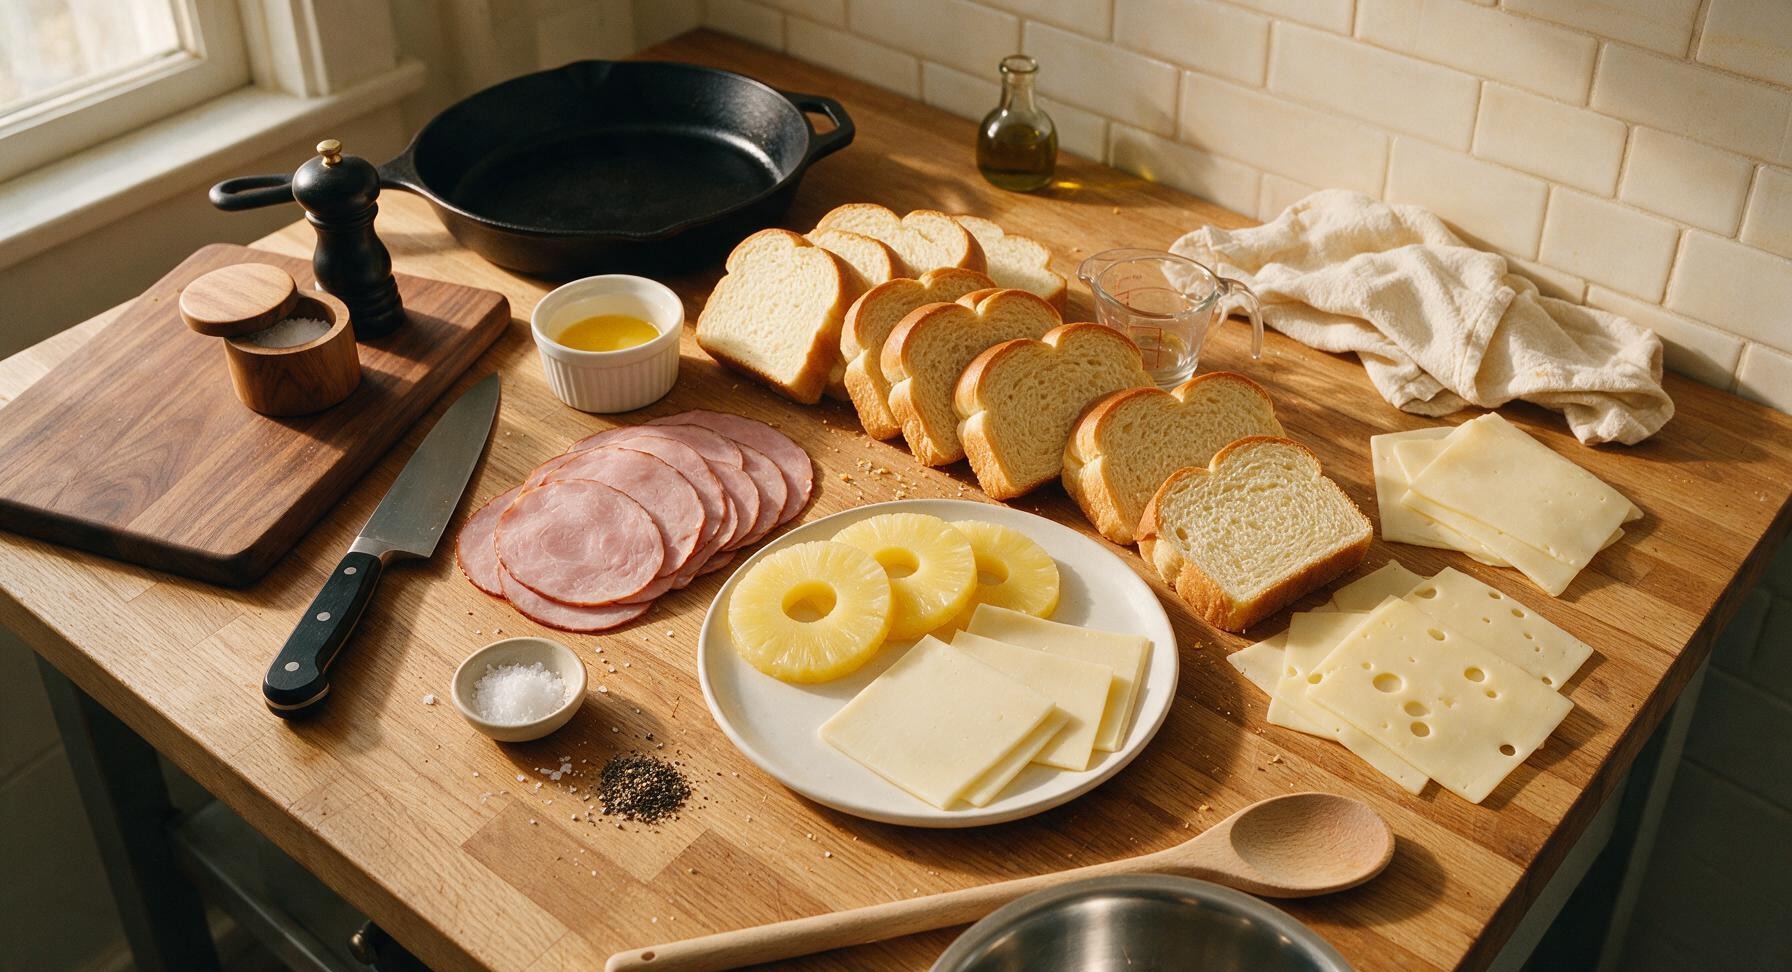
King's Hawaiian sweet bread, sliced 8 thick slices (1/2-inch each)
Unsalted butter, melted 3 tbsp
Deli Black Forest ham, thinly sliced 8 slices (120g)
Canned pineapple rings, drained 4 rings (160g)
White cheddar cheese, thinly sliced 4 slices (80g)
Swiss cheese, thinly sliced 4 slices (60g)
Flaky sea salt 1/4 tsp
Freshly ground black pepper 1/8 tsp

Steps

1

Prep Sandwich Ingredients

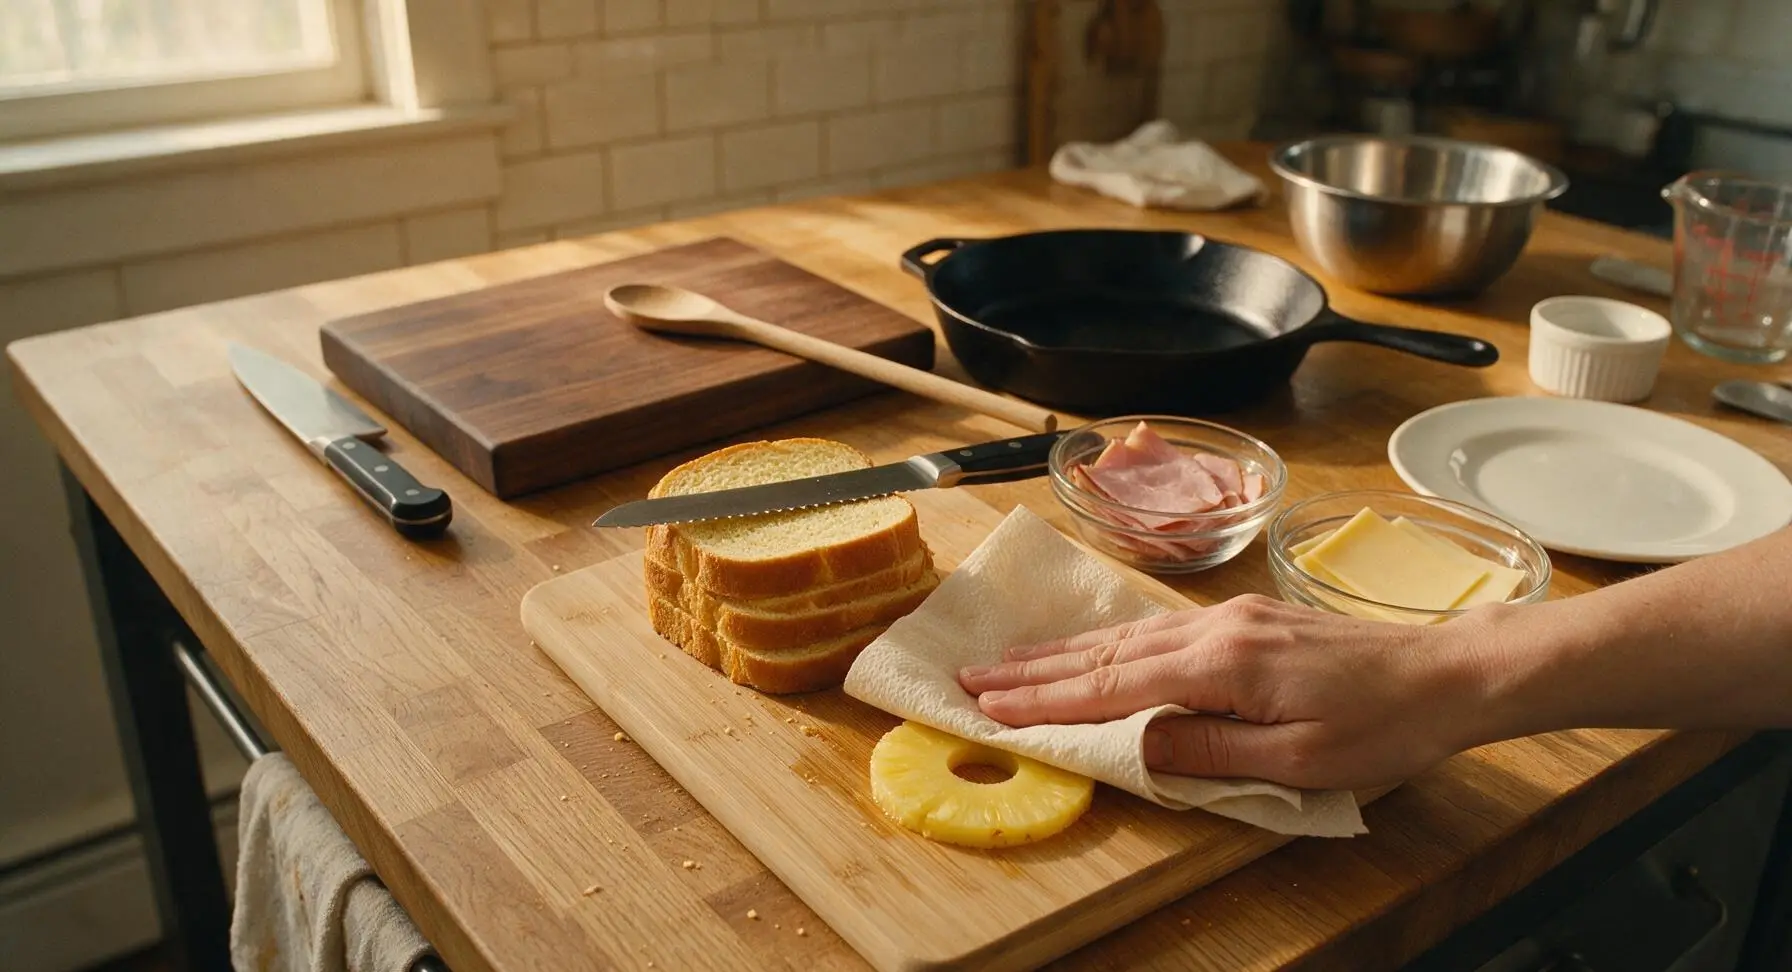
Place the light honey bamboo cutting board on the center of the counter. Use the 8-inch serrated bread knife to cut the Hawaiian sweet loaf into 8 equal 1/2-inch thick slices if not pre-sliced. Pat the drained pineapple rings completely dry with unbleached paper towels, pressing firmly on both sides to remove all excess trapped juice that would cause sogginess. Arrange sliced ham and cheese slices in the small clear glass prep bowls within easy reach of the work area.
Step 1
step1:Prep Sandwich Ingredients
2

Preheat Cooking Skillet

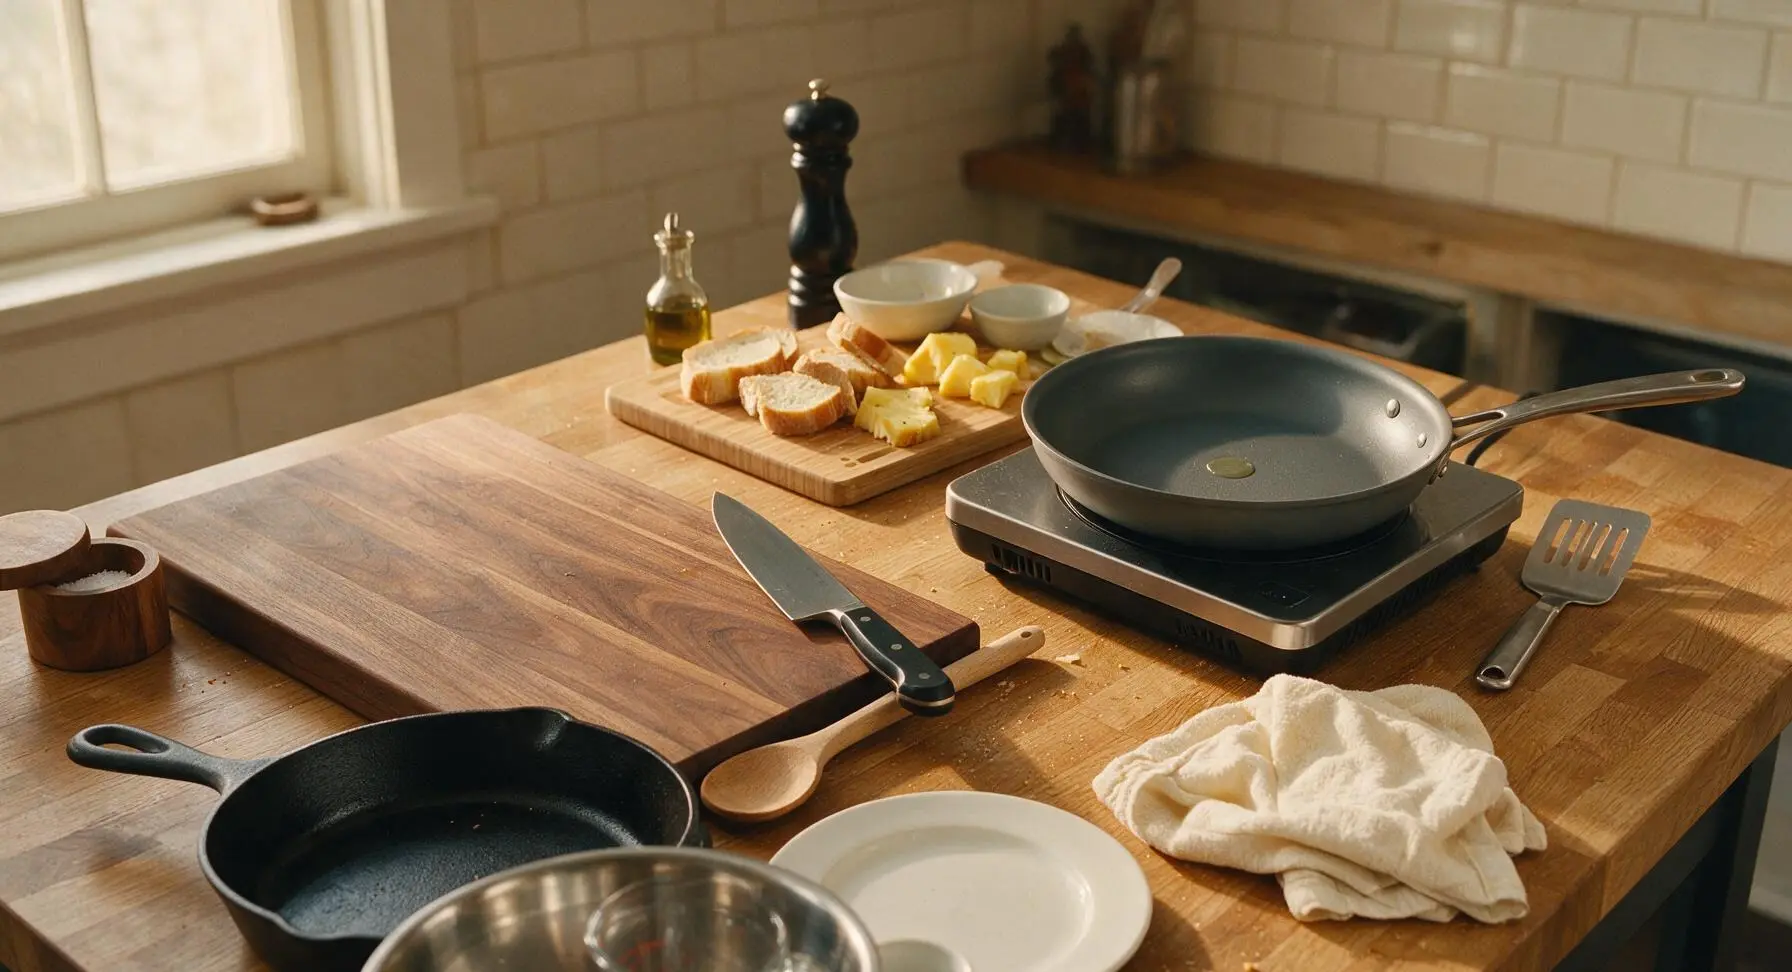
Retrieve the 10-inch matte dark gray nonstick skillet and place it on the portable induction burner at the back right of the counter. Set heat to medium-low (325°F / 160°C) and preheat for 2 minutes. Test pan temperature by sprinkling a single drop of water on the surface: the pan is ready when the drop sizzles and dances across the pan without evaporating instantly.
Step 2
step2:Preheat Cooking Skillet
3

Caramelize Pineapple Rings

Once the skillet is preheated, arrange the 4 dried pineapple rings in a single even layer in the pan, with no added butter. Cook for 2 minutes per side, until deep golden caramelized marks form on the surface and the pineapple’s natural sugars smell fragrant and bubble slightly around the edges. Use the stainless steel turner spatula to flip the rings once halfway through cooking. Transfer caramelized pineapple to a clean prep bowl and set aside.
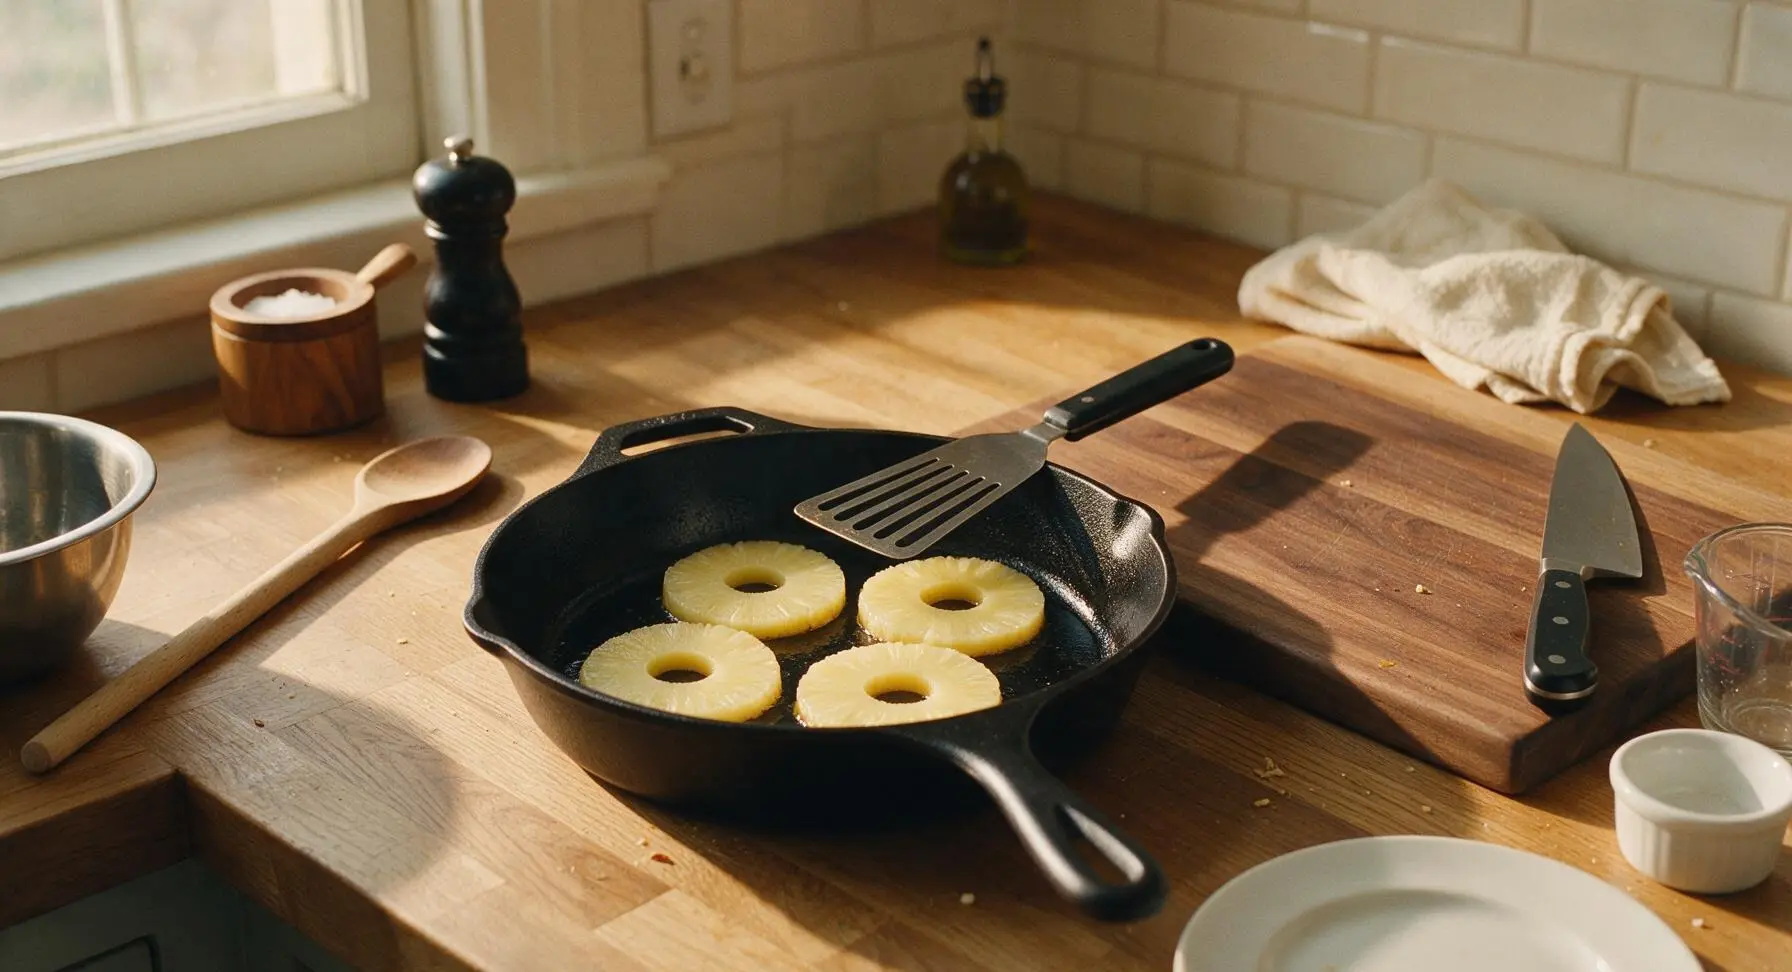
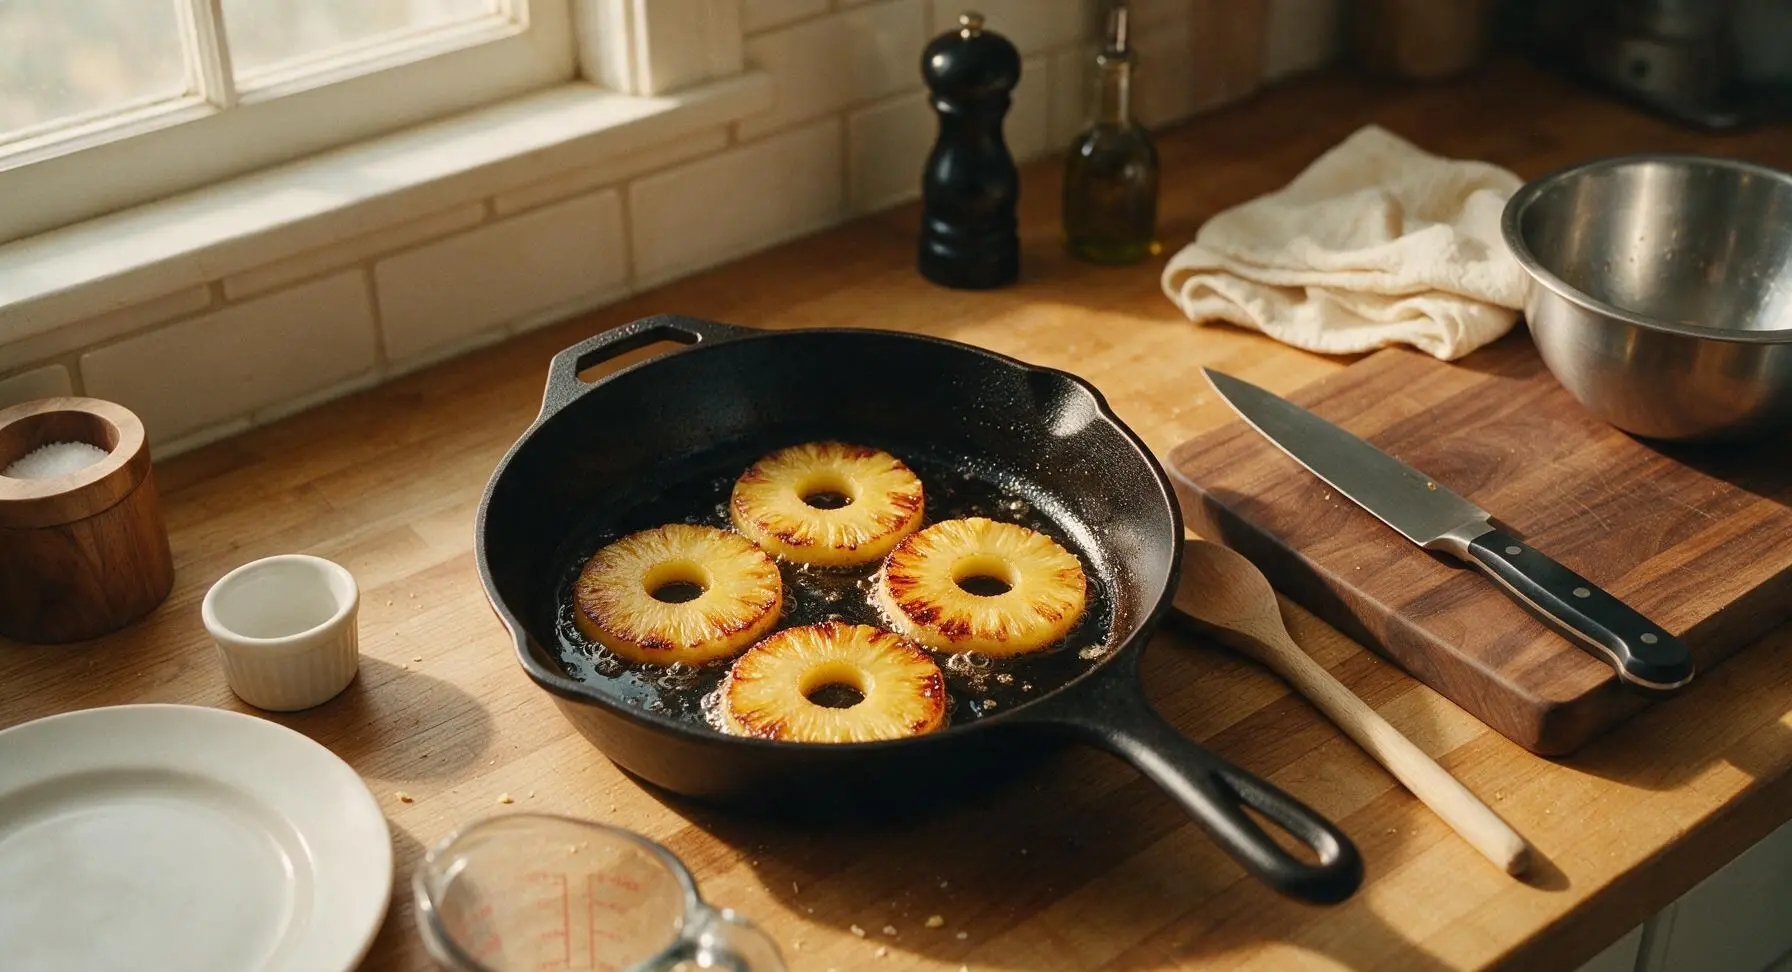
Step 3
step3:Caramelize Pineapple Rings
Step 3
step3:Caramelize Pineapple Rings
4

Butter Bread Slices

Lay all 8 sweet bread slices flat on the bamboo cutting board. Fold a corner of an unbleached paper towel, dip it in the melted butter from the glass measuring cup, and spread a thin, even layer of butter across one entire side of each bread slice, using all 3 tablespoons of butter. Ensure butter reaches all the way to the crust edges for uniform toasting. Lightly season the buttered sides with a tiny pinch of flaky sea salt and freshly ground black pepper.
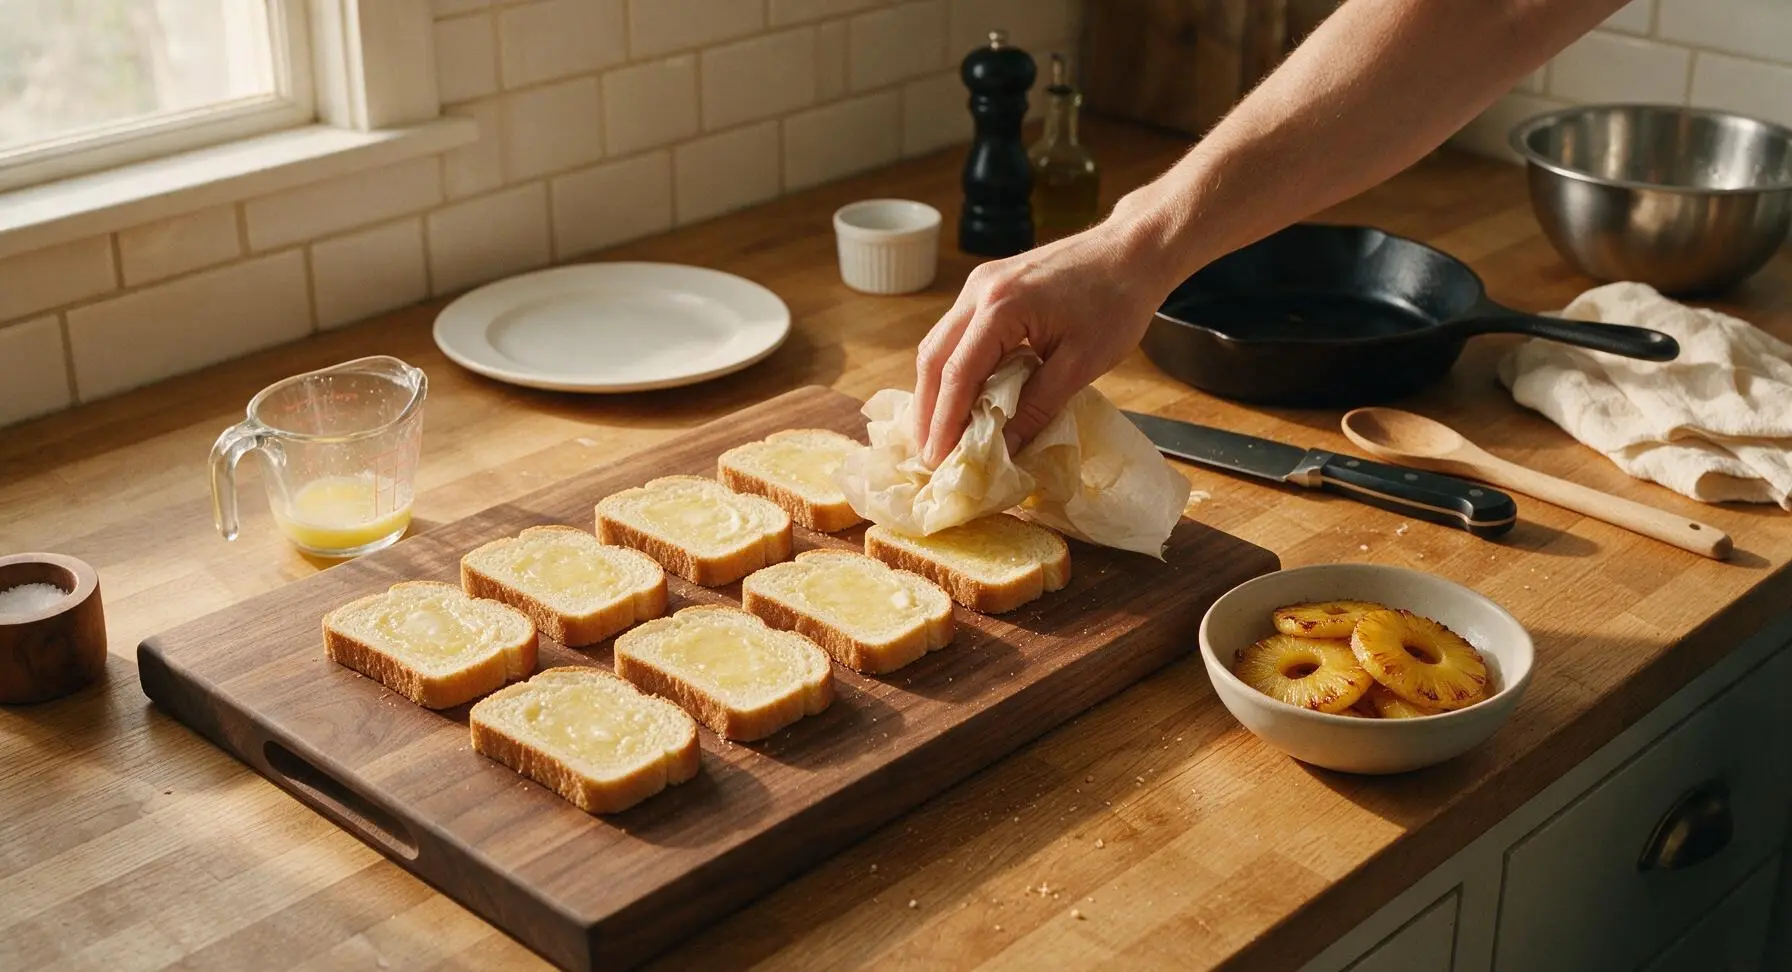
Step 4
step4:Butter Bread Slices
5

Layer Sandwich Fillings

Flip 4 of the bread slices over so the unbuttered side faces up. Layer each base slice first with 1 slice of white cheddar, followed by 2 folded slices of deli ham, 1 caramelized pineapple ring, 1 slice of Swiss cheese, then top with the remaining 4 bread slices, buttered side facing outward. Press each assembled sandwich down gently with the palm of your hand to help layers adhere, preventing fillings from sliding out during cooking.
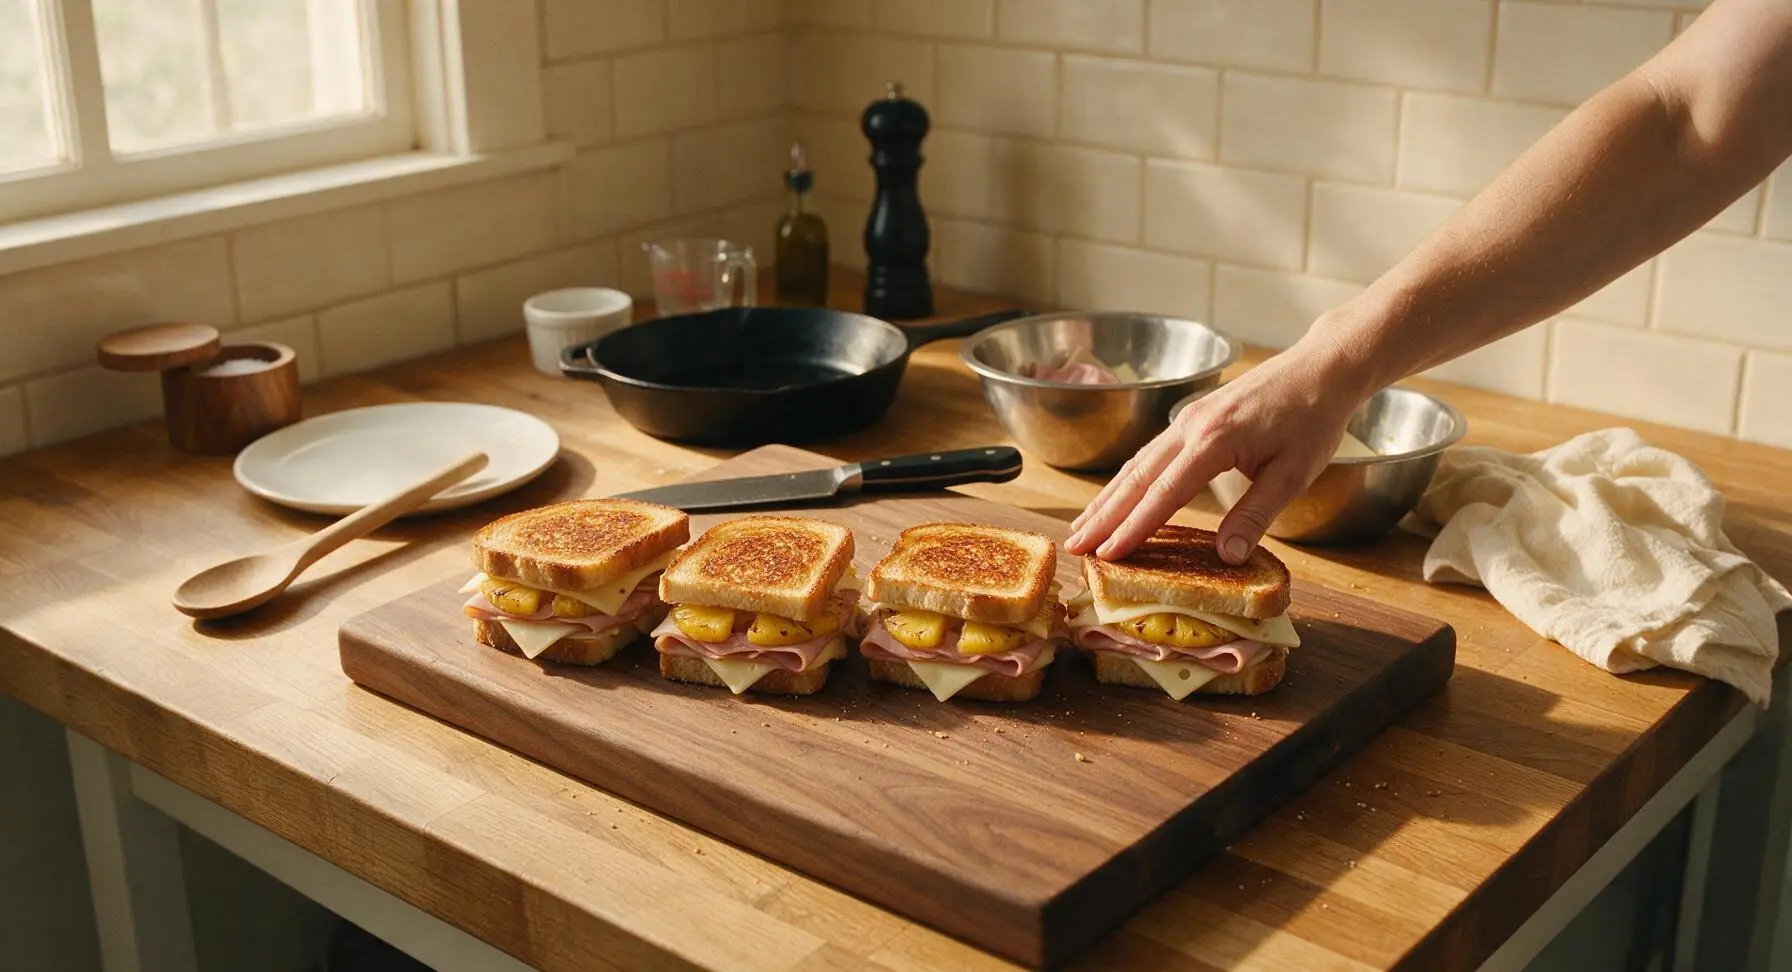
Step 5
step5:Layer Sandwich Fillings
6

Toast First Sandwich Side

Place 2 assembled sandwiches in the preheated skillet, leaving 1 inch of space between them to allow even cooking. Cook for 3 minutes on medium-low heat, resisting the urge to press down hard with the spatula (this squeezes out melted cheese and compresses the bread). The first side is ready to flip when it is deep golden brown, crisp to the touch, and the cheese closest to the bread has started to soften and melt.
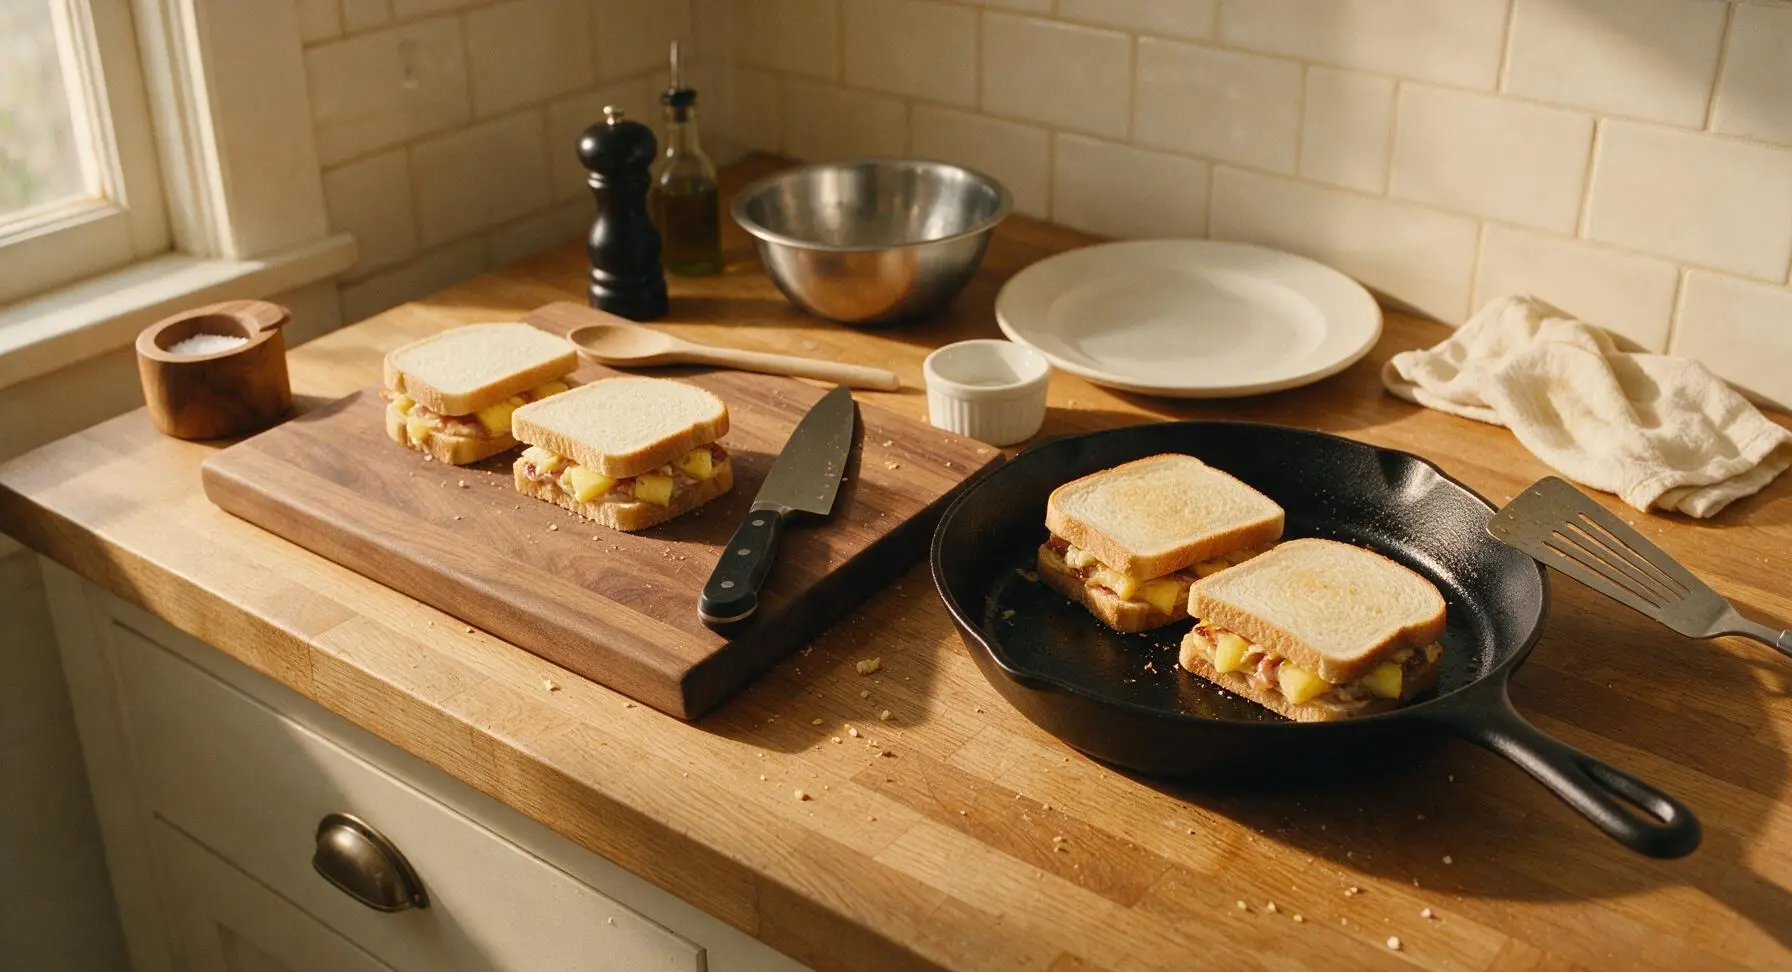
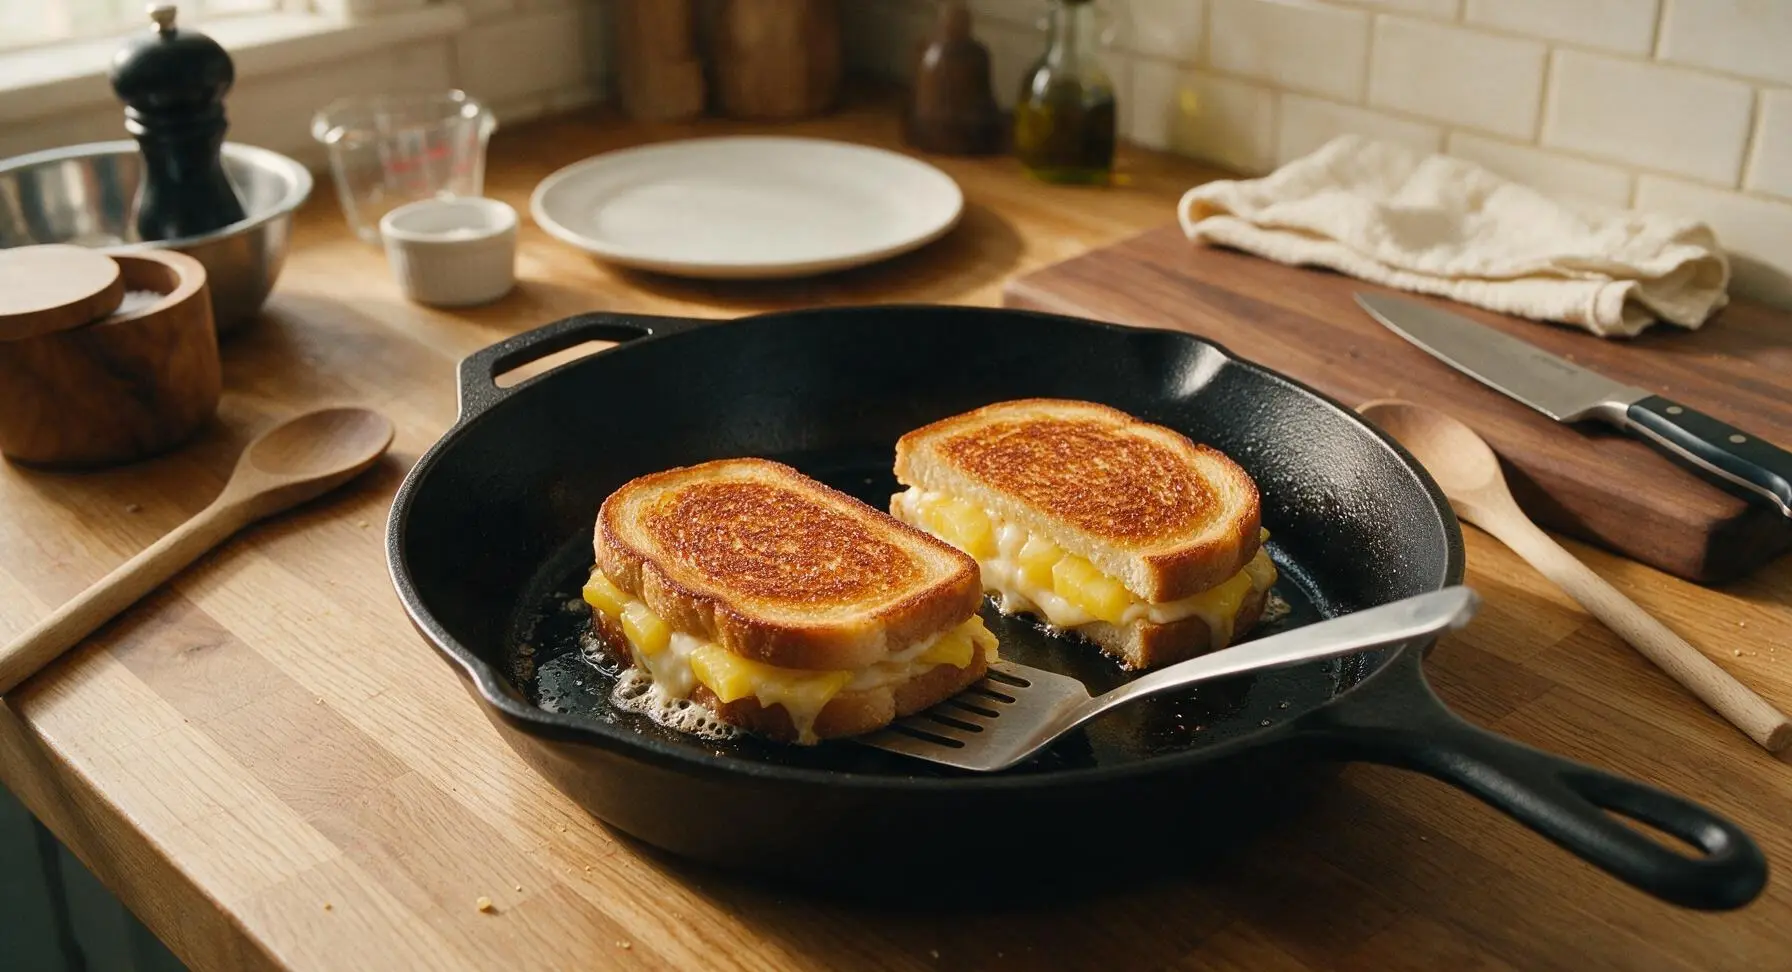
Step 6
step6:Toast First Sandwich Side
Step 6
step6:Toast First Sandwich Side
7

Flip and Melt Cheese

Use the thin turner spatula to carefully flip each sandwich in the pan. Cook the second side for 2-3 minutes, until equally golden brown and crisp, and all cheese between the layers is fully melted and oozing slightly out the sandwich sides. If the bread browns faster than the cheese melts, turn heat down to low to avoid burning the sweet bread (which browns quickly due to added sugar). Transfer cooked sandwiches to the matte cream ceramic lunch plates as they finish, repeating the cooking process for the remaining 2 sandwiches.
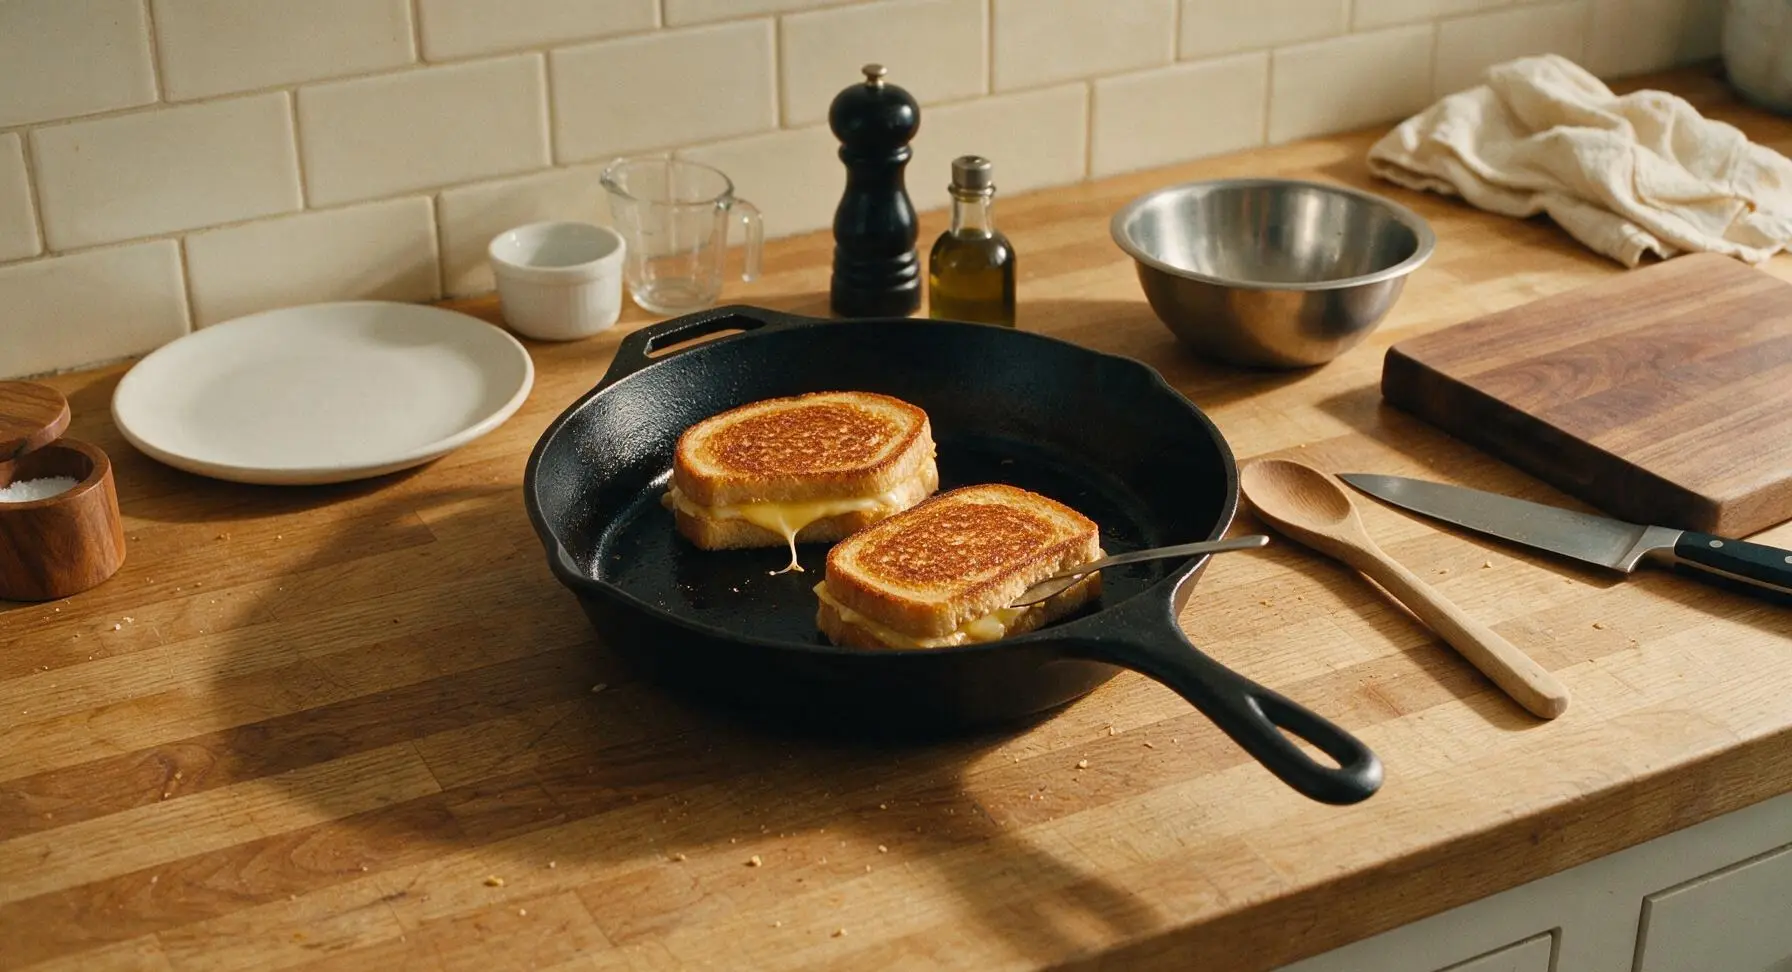
Step 7
step7:Flip and Melt Cheese
8

Rest and Plate Sandwiches

Let cooked sandwiches rest for 1 minute on the plates to allow the cheese to set slightly, so it does not run out completely when cut. Use the serrated bread knife to cut each sandwich diagonally into two equal triangular halves. Wipe any stray cheese drips from the plate rim with the corner of the linen towel for a clean presentation.
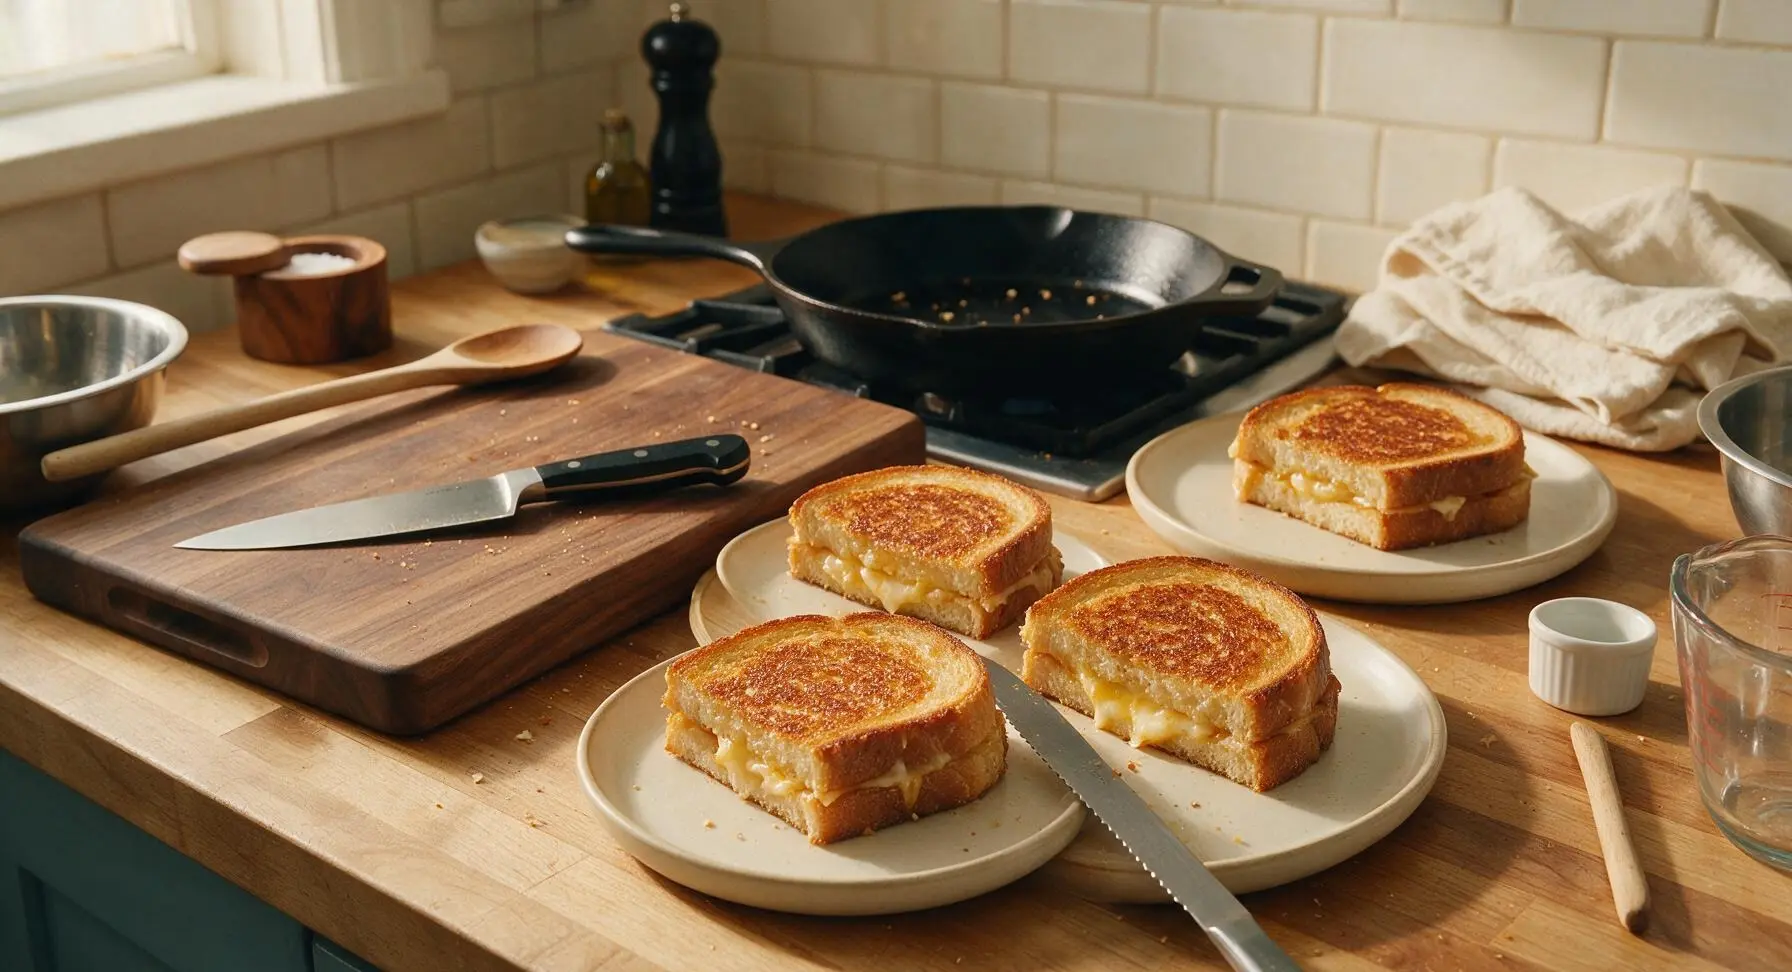
Step 8
step8:Rest and Plate Sandwiches

Tips

1.Pat pineapple completely dry before caramelizing: excess canned pineapple juice will steam instead of sear, preventing golden caramelization and soaking into the bread to create a soggy sandwich texture.
2.Cook on medium-low heat only: Hawaiian sweet bread has added sugar that browns and burns much faster than regular sandwich bread, so high heat will char the crust before the center cheese has time to fully melt.
3.Avoid pressing down on sandwiches while toasting: pressing squeezes melted cheese out of the seams and compresses the soft, fluffy sweet bread, resulting in a flat, dense sandwich instead of one with crisp crust and light, gooey interior.


✨ You May Also Like

Lunch
🍜 United States

Creamy, salty, tangy nostalgic Midwestern sandwich pairing rich peanut butter with crisp briny dill pickles for a fast, satisfying no-cook meal.

⏱️ 5 minutesLunch ★ 4.6
Lunch
🍜 United States

Crispy, melty pressed sandwich layered with savory roast pork, ham, Swiss cheese, pickles, and tangy mustard: a beloved Cuban-American comfort classic.

⏱️ 25 minuteLunch ★ 4.9
Lunch
🍜 United States

Hearty, briny New Orleans pressed sandwich stacked with cured Italian meats, provolone, and zesty olive salad, served cold for bold, portable flavor.

⏱️ 1 hour 20Lunch ★ 4.7
Lunch
🍜 United States

A tangy, creamy Southern American staple, this no-cook cheesy sandwich is packed with sharp cheddar and sweet pimentos for a satisfying, portable bite.

⏱️ 1 hour 15Lunch ★ 4.8
Lunch
🍜 United States

Crispy Cajun-spiced fried shrimp piled on crusty French bread with tangy remoulade and fresh toppings, the iconic Louisiana street food sandwich.

⏱️ 35 minuteLunch ★ 4.4
Lunch
🍜 United States

Stacked, savory deli-style corned beef sandwich with melted Swiss, tangy mustard, and crisp griddled rye— a fast, hearty, satisfying classic.

⏱️ 15 minuteLunch ★ 4.9

Hawaiian Grilled Cheese:Frequently Asked Questions

1.Do I have to use King’s Hawaiian sweet bread for this recipe? ▾
It’s the classic pick for that signature soft, subtly sweet base that pairs perfectly with salty ham and tangy pineapple, but you can swap in ½-inch thick slices of plain brioche if you’re in a pinch. Skip crusty, tangy sourdough or dense rye—those will overpower the light, tropical sweet-savory balance of the sandwich.
2.Should I use fresh or canned pineapple for this grilled cheese? ▾
Canned pineapple rings actually work better here! They’re consistently ripe, extra juicy, and hold their shape well when caramelized. If you use fresh, pick a fully ripe, firm golden pineapple, cut ¼-inch thick rings, and pat them extra dry to avoid soggy bread as the sandwich cooks.
3.Why does my sandwich turn out soggy every time I add pineapple? ▾
Sogginess almost always comes from excess moisture on your pineapple rings. After draining canned rings, pat both sides thoroughly with paper towels to soak up leftover juice before adding them to the sandwich. You can also give them a quick 30-second sear on each side first to cook off extra moisture and amp up caramelized flavor.
4.Can I swap Black Forest ham for a different deli meat? ▾
Absolutely! Thinly sliced smoked turkey, regular honey ham, or even crispy cooked Canadian bacon work beautifully here. Just stick to thinly sliced, low-moisture deli meats so you don’t end up with a soggy sandwich, and avoid heavily spiced meats like pepperoni that will clash with the sweet, tropical pineapple notes.
5.Is there a non-dairy cheese substitute that works well for this recipe? ▾
Look for a meltable vegan white cheddar-style block, sliced thin, for the closest match to the classic flavor. Pre-shredded vegan cheeses often have anti-caking agents that prevent smooth melting, so grab a block and slice it yourself for that gooey, stretchy melted texture you want in a grilled cheese.
6.What’s the best pan to use to get that perfectly crisp, buttery crust? ▾
A heavy-bottomed cast iron skillet or non-stick frying pan works best, because it distributes heat evenly to avoid hot spots that burn the bread before the cheese melts. If you have a panini press, that works too—just set it to medium heat and don’t press too hard, or you’ll squeeze out fillings.
7.How do I make sure the cheese melts fully before the bread burns? ▾
Cook your sandwich over medium-low heat, not high! It takes a little patience, but 3-4 minutes per side gives the bread time to turn golden and crispy while the white cheddar melts all the way through. If bread browns too fast, turn heat down and cover the pan for 1 minute to trap heat and speed up melting.
8.Can I add extra fillings to customize this sandwich? ▾
Of course! A thin spread of cream cheese on the bread adds extra richness, crispy cooked bacon amplifies the salty-sweet vibe, or a dash of red pepper flakes adds a subtle warm kick. Just don’t overstuff it—too many fillings make the sandwich hard to flip and prevent cheese from acting as the "glue" holding everything together.
9.Do I need to caramelize the pineapple first before building the sandwich? ▾
You don’t have to, but it takes the flavor to the next level! After patting pineapple rings dry, sear them in a dry pan over medium heat for 1 minute per side until they get light golden, caramelized edges. This cooks off extra moisture to prevent sogginess and concentrates the pineapple’s natural sweetness.
10.Can I make these sandwiches ahead of time for a party? ▾
You can prep all the components a day ahead—slice the bread, drain and pat dry the pineapple, slice the cheese and ham, and store everything separately in airtight containers in the fridge. Cook the sandwiches right before serving for the best crisp texture, since pre-cooked grilled cheese gets soggy when stored.
11.What’s the best way to reheat leftover Hawaiian grilled cheese? ▾
Skip the microwave—it turns the bread rubbery and makes the filling soggy. Instead, reheat slices in a dry skillet over low heat for 2-3 minutes per side, or in a 350°F toaster oven for 4-5 minutes, until the cheese is gooey again and the bread crisps back up. It will taste almost as good as fresh!
12.Why do you recommend melted butter instead of softened butter for the bread? ▾
Melted butter brushes on evenly across every inch of the bread surface, so you get a uniformly golden, crisp crust instead of patchy, unevenly toasted spots. It also soaks into the sweet bread just enough to create that rich, buttery flavor without making the bread greasy, as long as you use a thin, even coat.
13.Can I use yellow cheddar instead of white cheddar? ▾
You totally can! White cheddar has a milder, creamier flavor that lets the ham and pineapple shine, but sharp yellow cheddar adds a nuttier, tangier note that pairs really well with the sweet ingredients. Just avoid super strong, aged cheddars that have a crumbly texture—they won’t melt as smoothly.
14.How thick should I cut the bread slices for the best result? ▾
Aim for ½-inch thick, evenly cut slices. If your slices are too thin, the bread will get soggy from the filling and tear when you flip the sandwich. If they’re too thick, heat won’t reach the center fast enough, so you’ll end up with burnt bread and unmelted cheese in the middle.
15.Is there a way to make this recipe lower in fat? ▾
You can cut a little fat by using a light butter spread for toasting the bread, choosing low-moisture, part-skim white cheddar, and opting for lean low-sodium Black Forest ham. Just don’t skip the thin butter coat entirely—without it, the bread won’t crisp up properly, and you’ll get a pale, chewy crust.
16.Can I make this on an outdoor grill instead of a stovetop pan? ▾
Absolutely! It’s perfect for summer cookouts. Heat your grill to medium, use a cast iron griddle plate or heavy-duty foil on the grates to prevent bread from sticking, and cook 3-4 minutes per side with the grill lid closed to help cheese melt. Watch closely, since grill hot spots can burn bread fast.
17.What sides pair best with Hawaiian grilled cheese? ▾
Keep it simple and complementary! Crispy potato chips, tangy coleslaw, a light side salad with citrus vinaigrette, or a cup of tomato soup all work beautifully. Avoid heavy, overly sweet sides, since the bread and pineapple already bring plenty of sweet flavor—you want sides that add crunch or bright, tangy contrast.
18.How many pineapple rings should I add per sandwich? ▾
One standard canned pineapple ring, cut in half to fit the bread, is perfect per sandwich. That gives you a little bit of sweet pineapple in every bite without overwhelming the ham and cheese, and it’s thin enough that it won’t make the sandwich slide apart when you pick it up to eat it.
19.My cheese oozes out of the sandwich while I cook it—what am I doing wrong? ▾
A little cheese oozing is normal (and delicious, honestly!), but excessive oozing usually means you’re either overstuffing the sandwich, pressing too hard with your spatula while cooking, or using cheese slices that hang over the bread edges. Keep fillings modest, tuck cheese inside other fillings, and press gently only when you first set it in the pan.
20.Can I make a kid-friendly version of this sandwich for picky eaters? ▾
Definitely! Stick to mild, creamy white cheddar (skip extra-sharp cheeses), cut the pineapple into smaller, bite-sized bits so there are no big slippery rings, and cut the finished cooked sandwich into fun stick shapes or small triangles for little hands. You can even leave out the ham for a simple vegetarian version if needed.

Comments (4)

2 days ago

OMG, this Hawaiian grilled cheese is a total game changer! I threw it together last night for a quick weeknight dinner when I had zero meal prep done, and my 6 and 8 year old devoured theirs before I even sat down. The sweet pineapple with the melty cheese and crispy ham? *Chef's kiss* I didn't have sourdough so I used regular white bread and it still slapped.

yesterday

Wait I tried it with sourdough and the crispy crust pairs so good with the juicy pineapple, you gotta try that next time! I brought these to a neighborhood potluck last weekend and people were begging for the recipe.

yesterday

So glad your whole family loved it, Sarah! Using white bread is such a great swap for when you don’t have sourdough on hand — pro tip: add a tiny sprinkle of chili flakes if you want a little heat to cut the sweetness, it’s my go-to twist!

3 days ago

Super easy to throw on the cast iron while I was prepping burgers for our family cookout, and the 8 minute cook time was totally spot on. I used extra sharp cheddar and added a slice of crispy bacon because why not? 10/10, will be making these for weekend lunches all summer. Quick heads up for everyone: make sure you pat the canned pineapple dry so your bread doesn’t get soggy!

2 days ago

That bacon addition sounds absolutely incredible, thanks for sharing the great tip about patting the pineapple dry! That’s such a common misstep that leads to soggy bread, I’m stoked you nailed that perfect crispy crunch.

1 week ago

I made these ahead for meal prep this week and they reheat so well in the toaster oven! My 10 year old said it’s way better than the school cafeteria grilled cheese, which is the highest possible praise. I used whole grain bread to sneak in a little extra fiber and you couldn’t even tell, SO good. Already added the ingredients to my regular grocery rotation.

2 hours ago

Full transparency: I was so skeptical about pineapple on grilled cheese because I’m a total hater when it comes to pineapple on pizza, but this was insane? My roommate made it for dinner last night and I ate two whole sandwiches, no shame. The easy difficulty rating is 100% accurate — I even made one by myself this morning for breakfast and didn’t burn it, which is a minor miracle for me. Only mess up: I slathered on too much butter so the bread was a little greasier than I wanted, but it still slapped.

30 minutes ago

Haha I was the exact same way about pineapple on savory food! I found that spreading softened butter super thin on the bread instead of melting a glob in the pan first totally fixes that greasiness issue — total game changer for perfect crispy bread without the oil slick.



