
Heavenly Dinner Rolls
intro
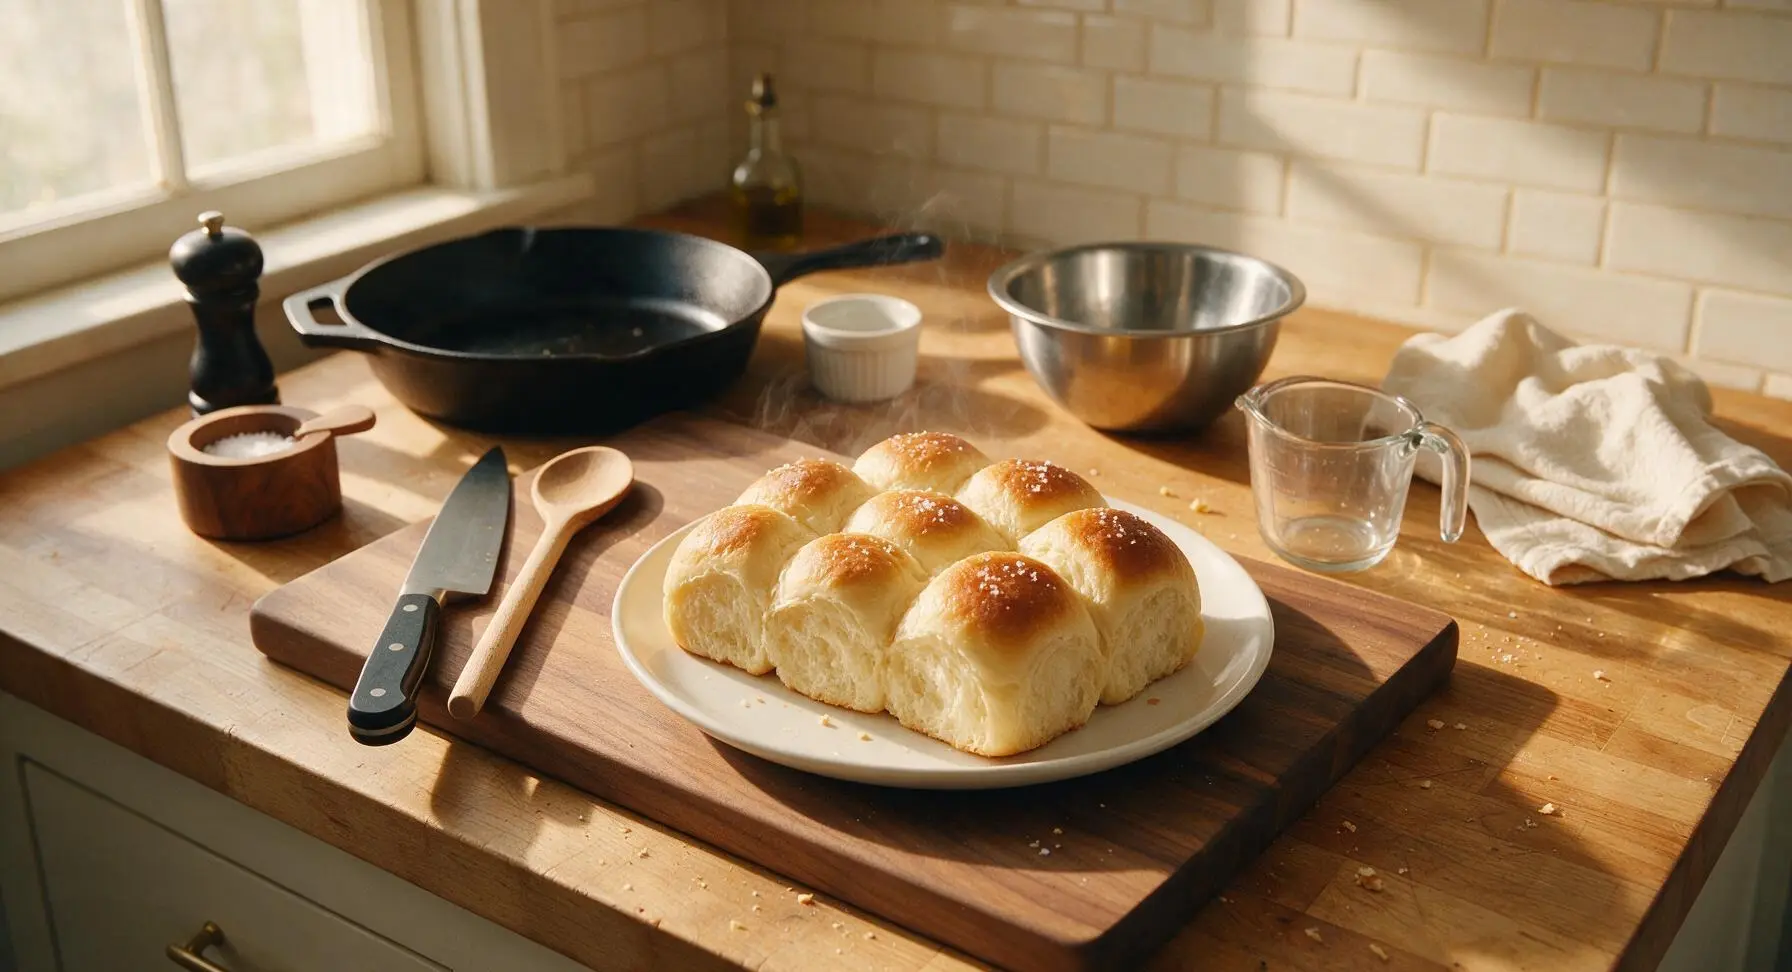
Soft, cloud-like pull-apart dinner rolls with a buttery golden crust, light airy crumb, and hint of flaky salt. Perfect for sopping up gravy, spreading with butter, or eating warm straight from the pan.
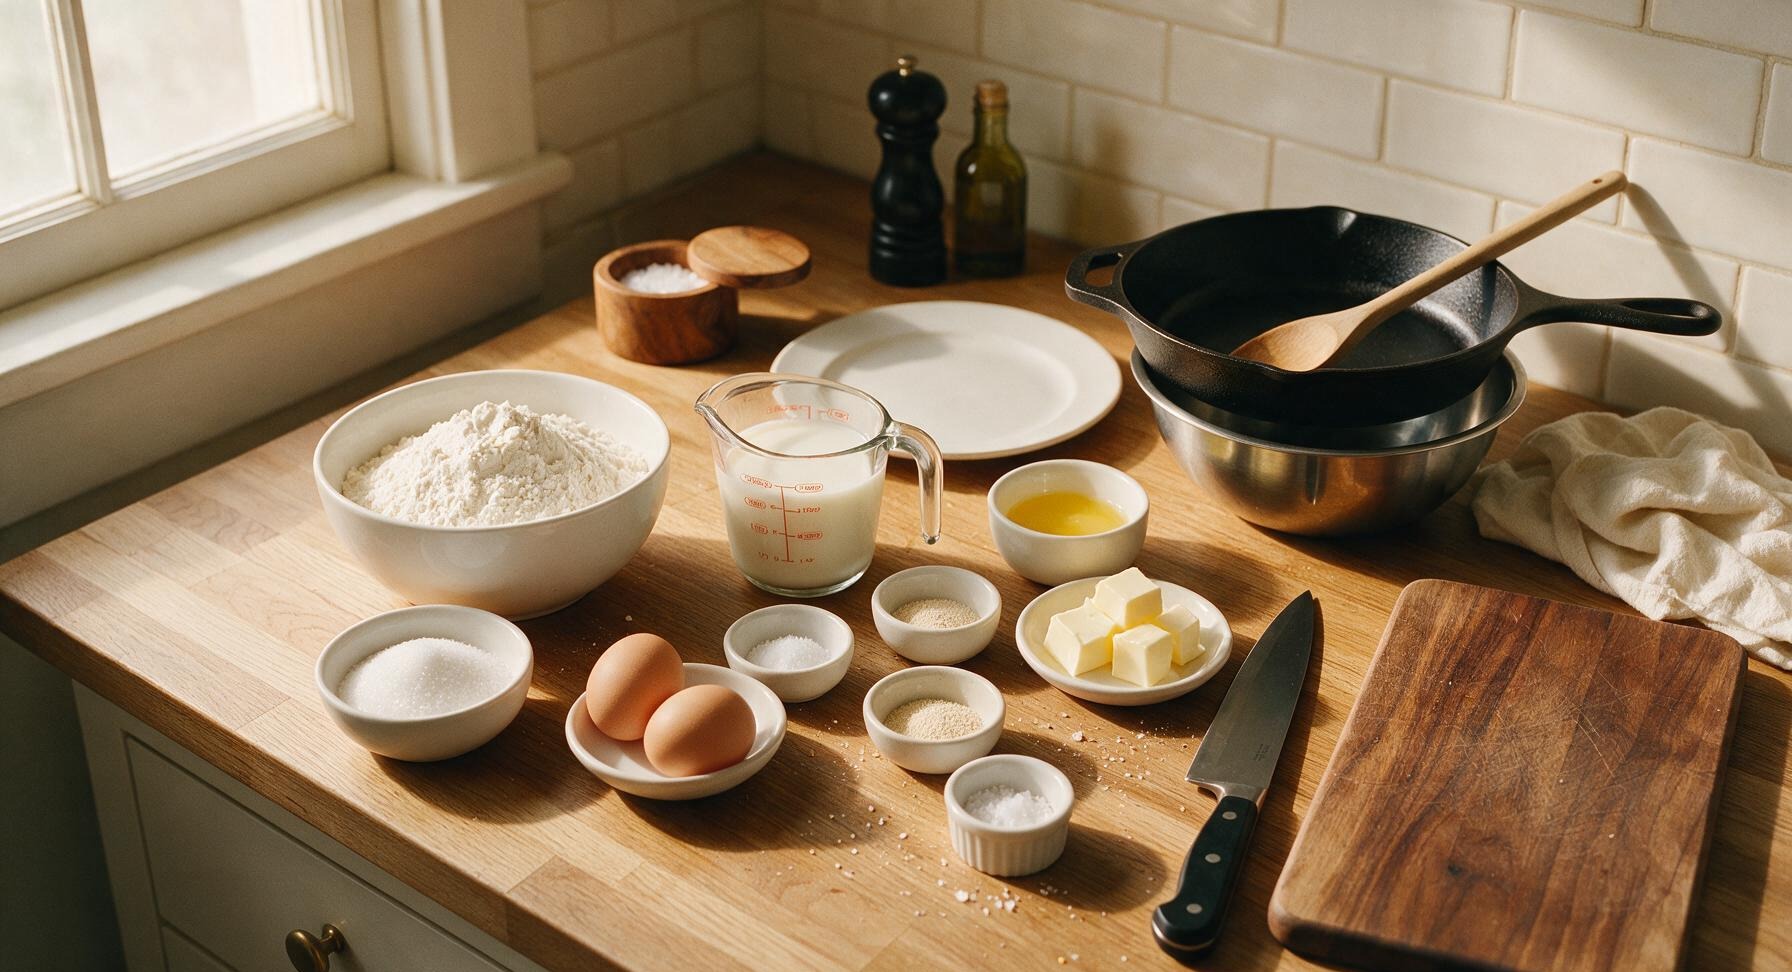
Ingredients
Steps
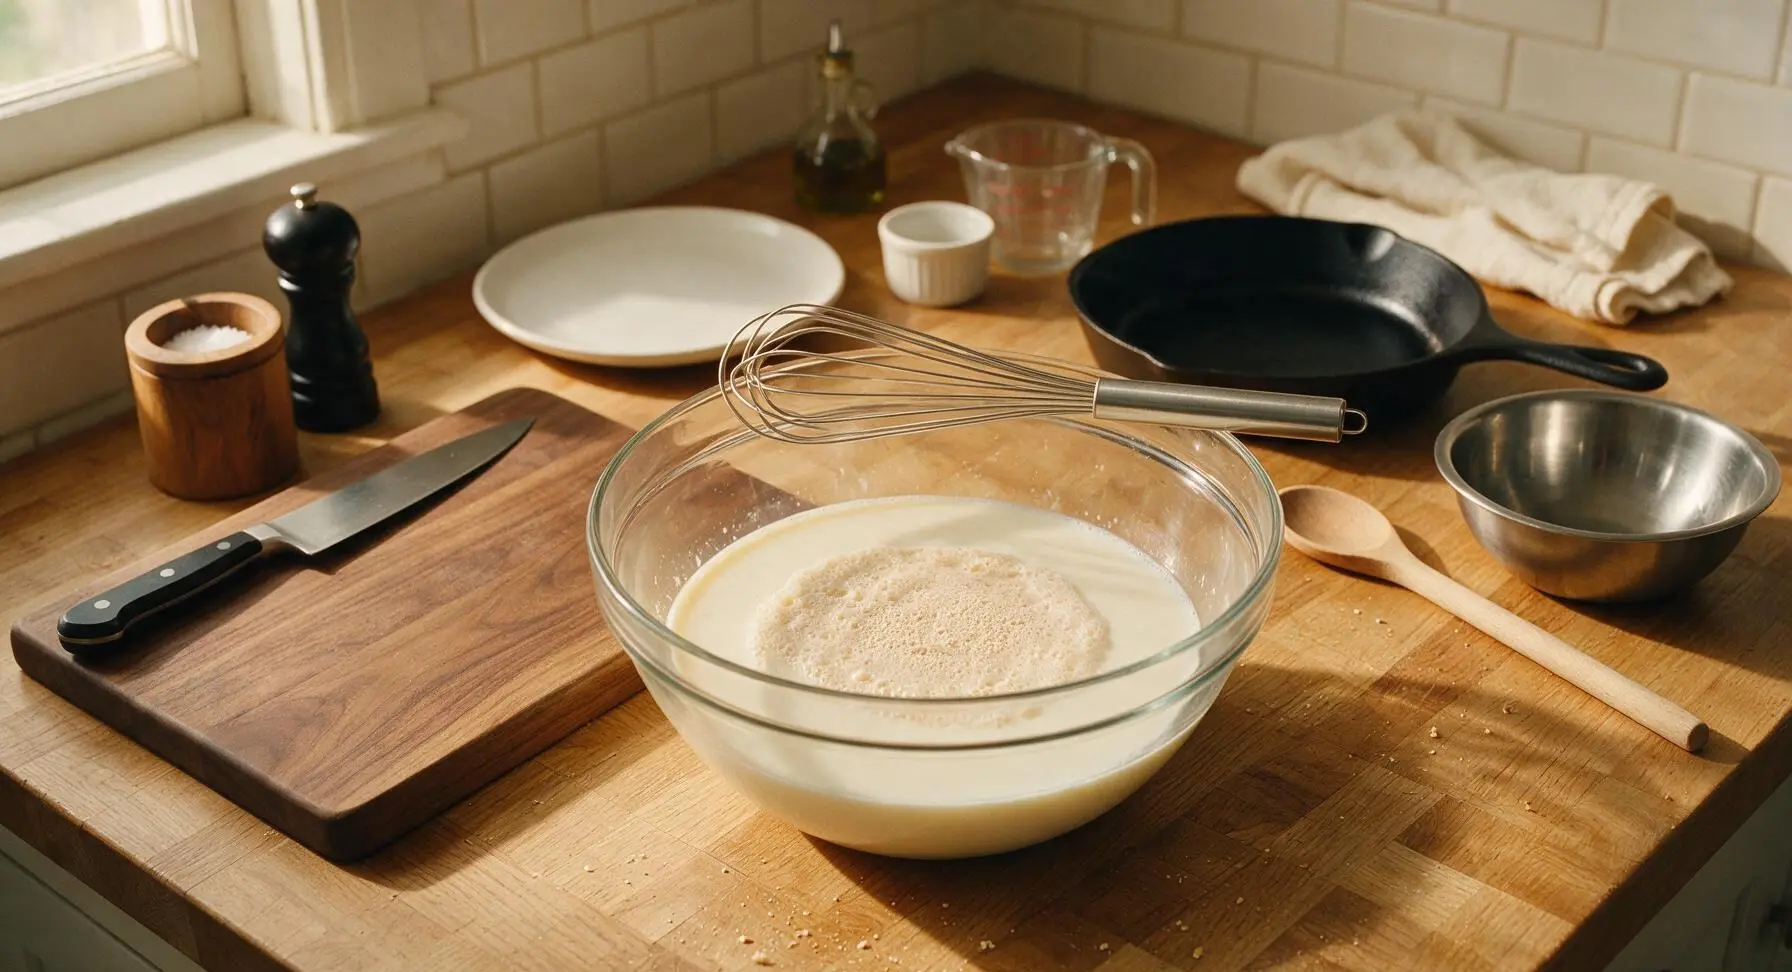
Activate the Yeast
Pour 240ml warm whole milk (heated to exactly 38C/100F, no hotter to avoid killing yeast) into the large glass mixing bowl. Stir in 1 teaspoon of the measured granulated sugar and all 7g of instant yeast with the stainless steel dough whisk. Let rest 5 minutes at room temperature, until the surface forms a thin foamy layer and smells faintly of sweet bread yeast. If no foam appears after 5 minutes, the yeast is inactive and should be replaced before proceeding.
Mix Dough Base
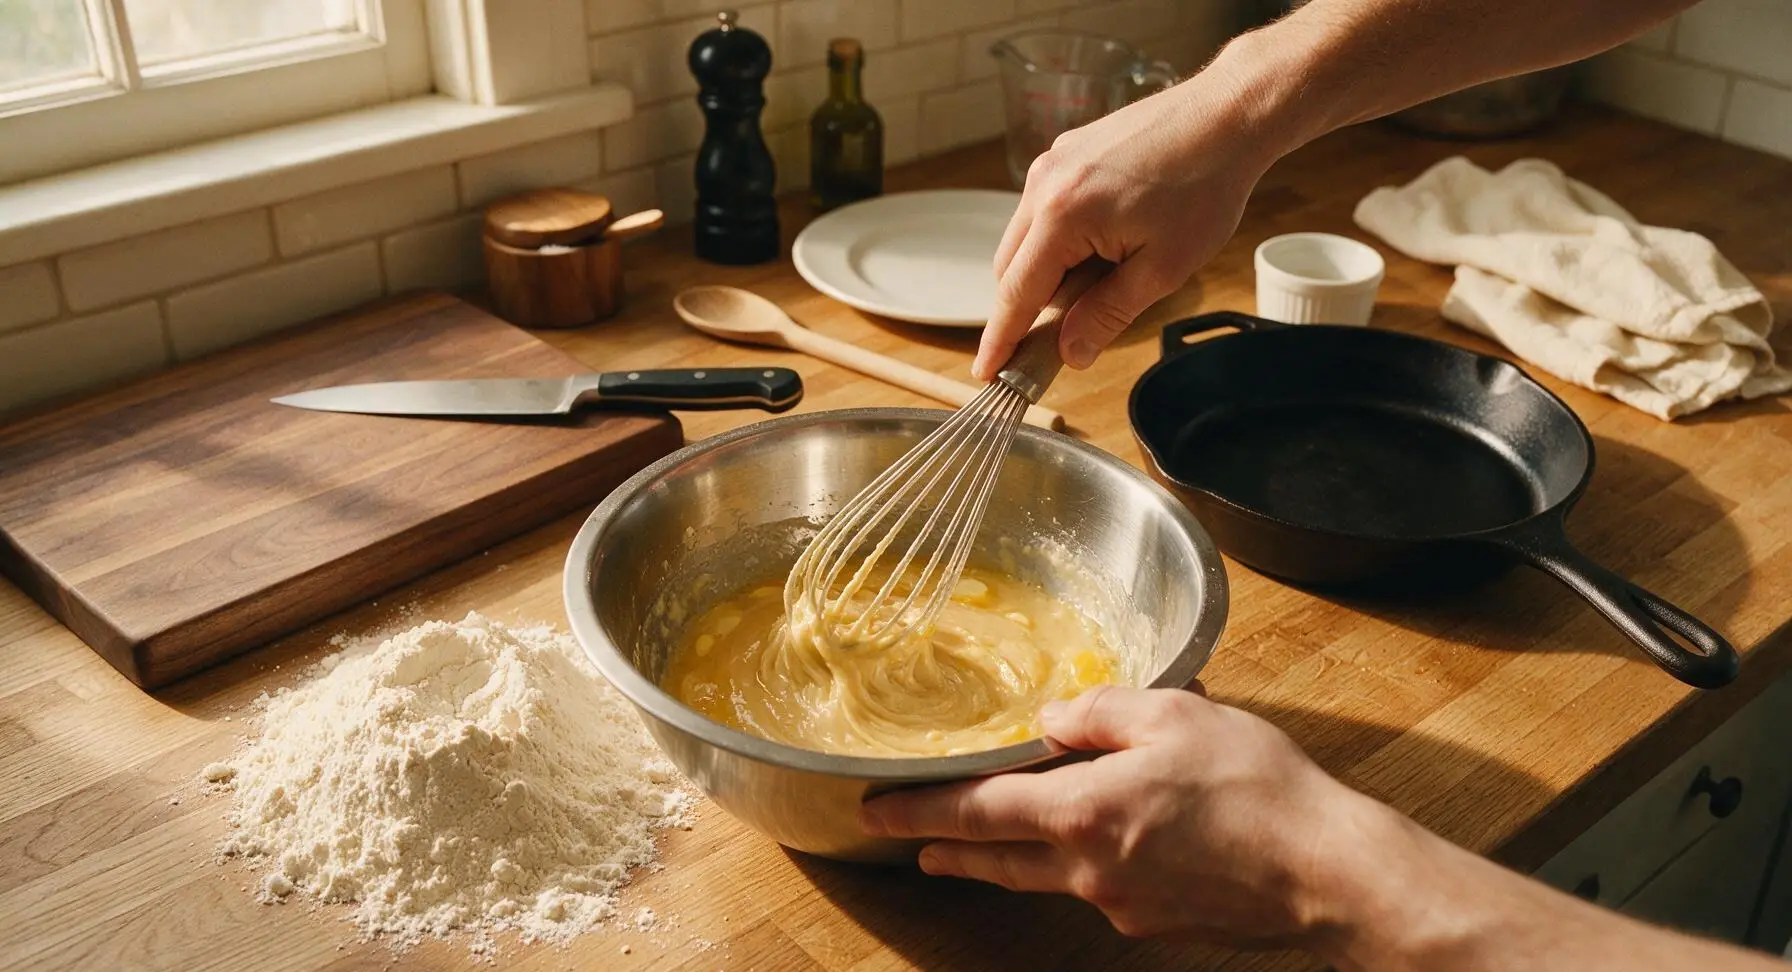
Add the remaining granulated sugar, 5 tablespoons of softened unsalted butter, 2 room-temperature large eggs, and 1 teaspoon fine sea salt to the foamy yeast mixture. Whisk steadily with the dough whisk until fully combined, with no streaks of unincorporated egg or lumps of butter remaining. Gradually add the all-purpose flour 1 cup at a time, stirring continuously, until a shaggy, sticky dough forms that pulls slightly away from the sides of the bowl.
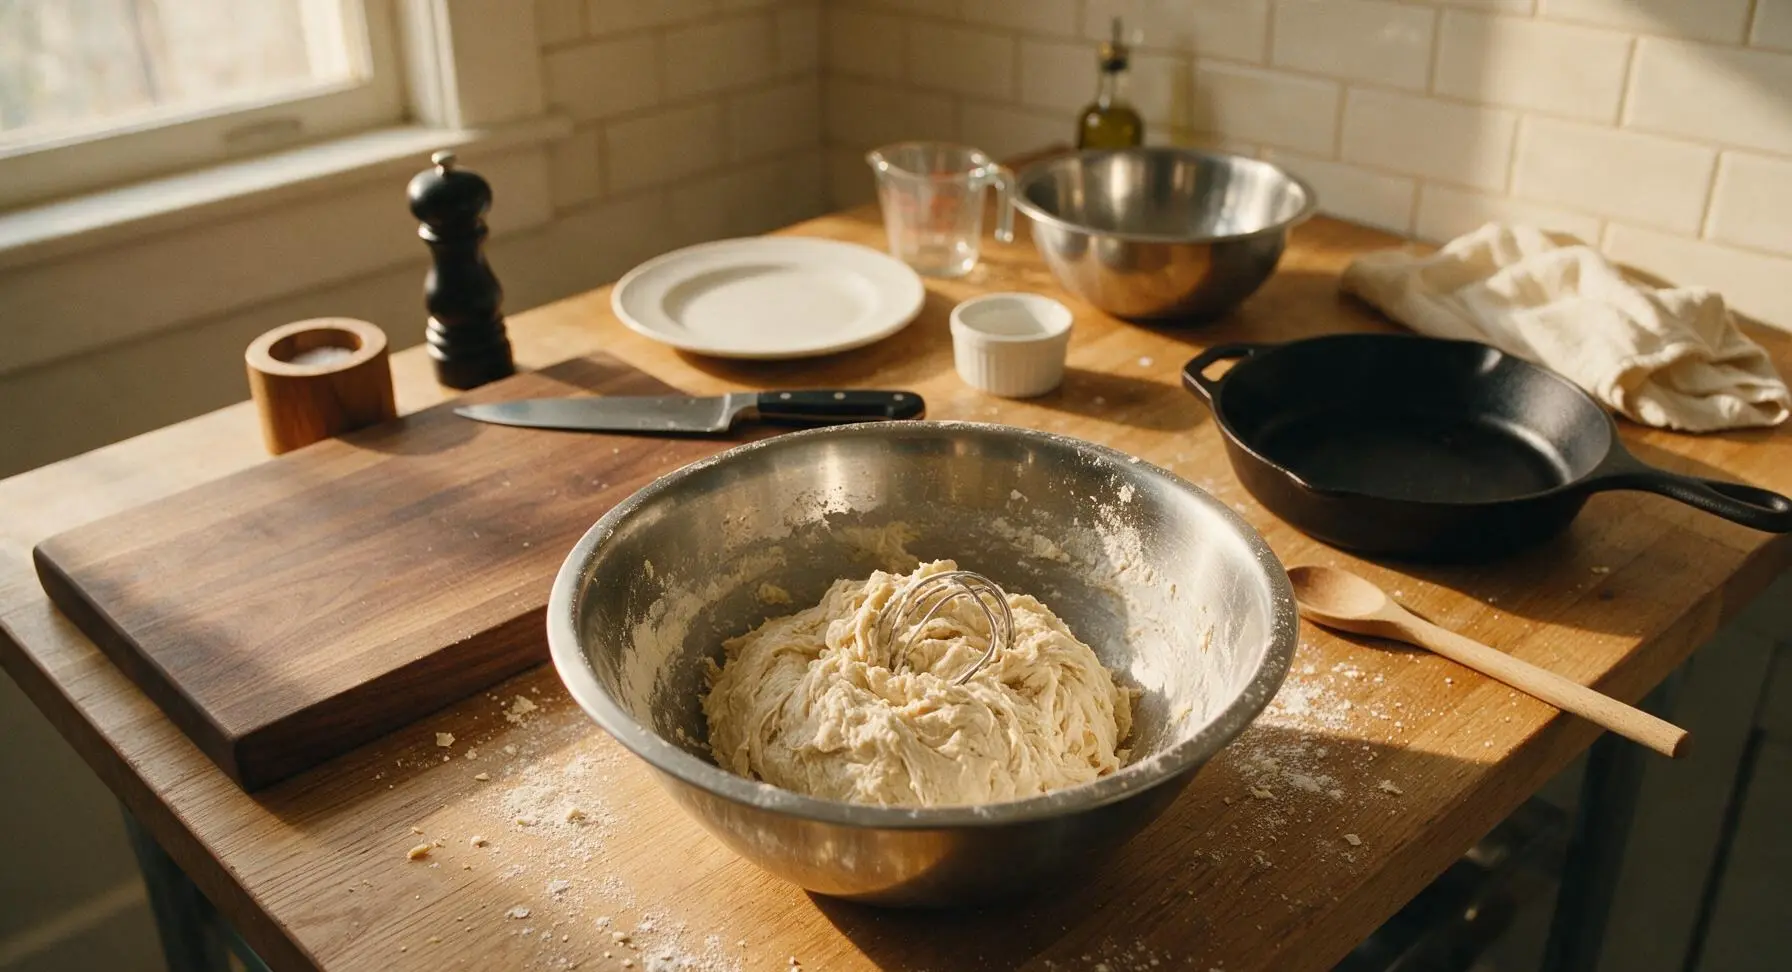
Knead Until Smooth
Turn the shaggy dough out onto a clean, lightly floured section of the countertop (avoid adding extra flour unless the dough sticks aggressively, as too much flour creates dense rolls). Knead by hand for 8-10 minutes: fold the dough over itself toward you, then push forward and away with the heel of your hand, rotating a quarter turn after each push. Use the silicone dough scraper to gather any sticky dough bits from the counter as you work. The dough is ready when it is satiny smooth, elastic, and springs back slowly when poked with a floured finger.
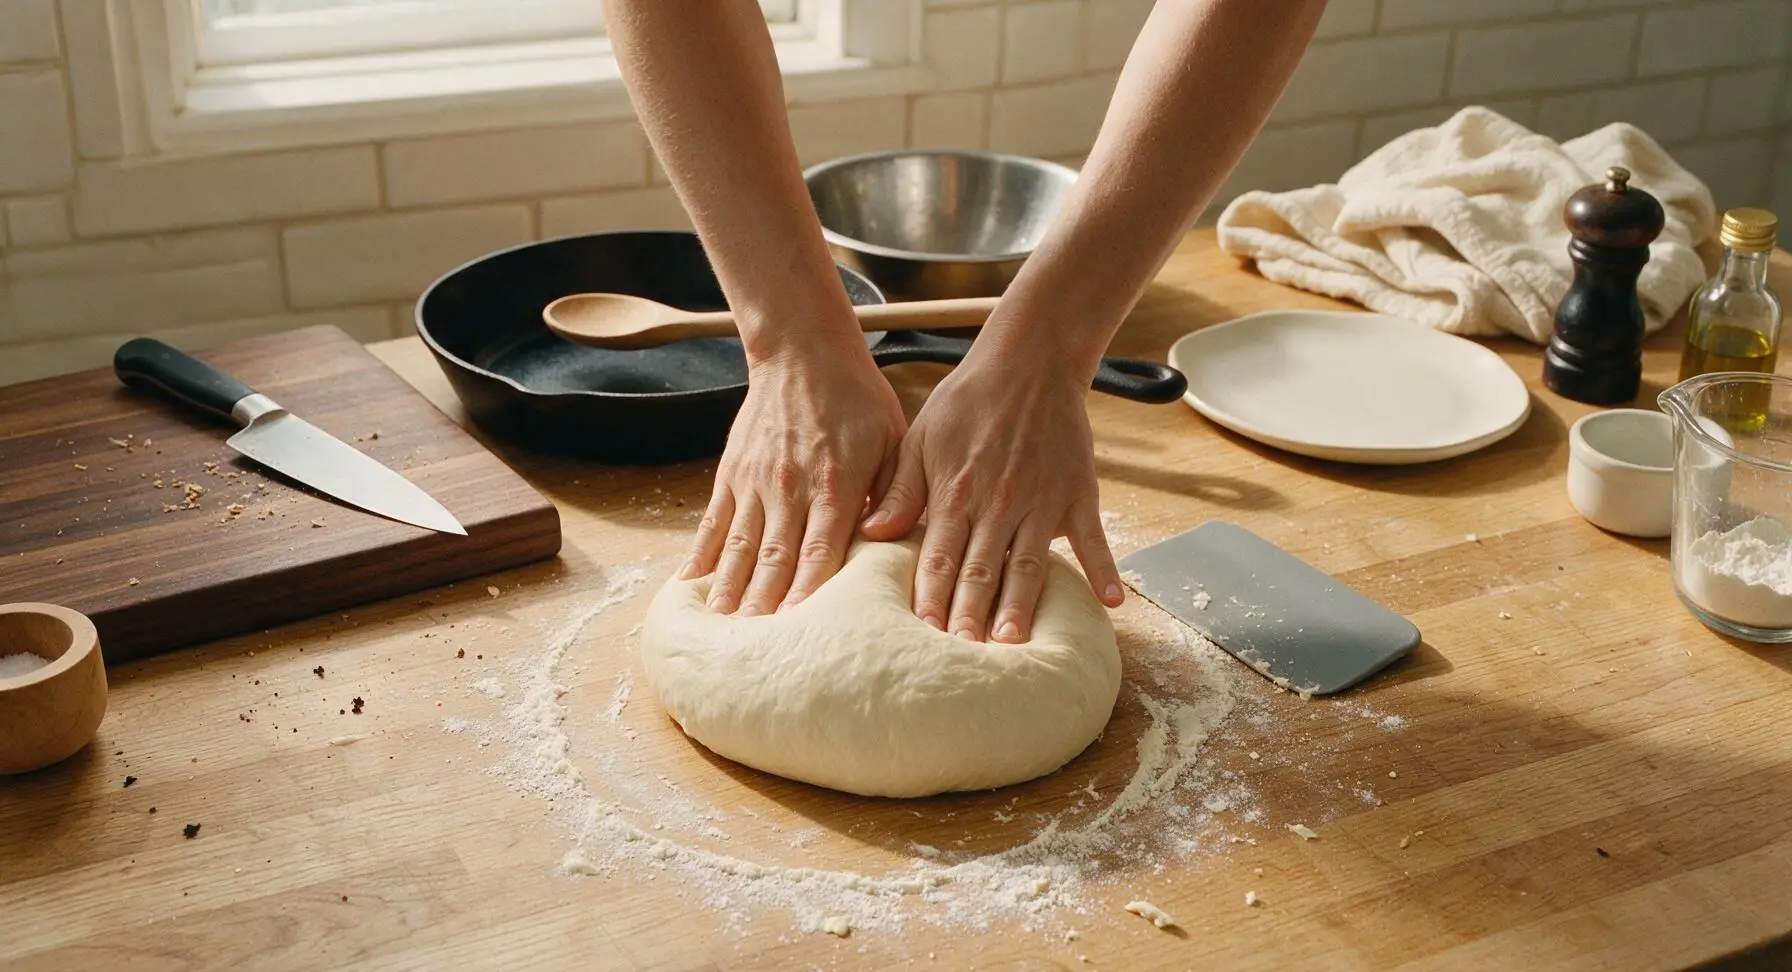
First Dough Rise
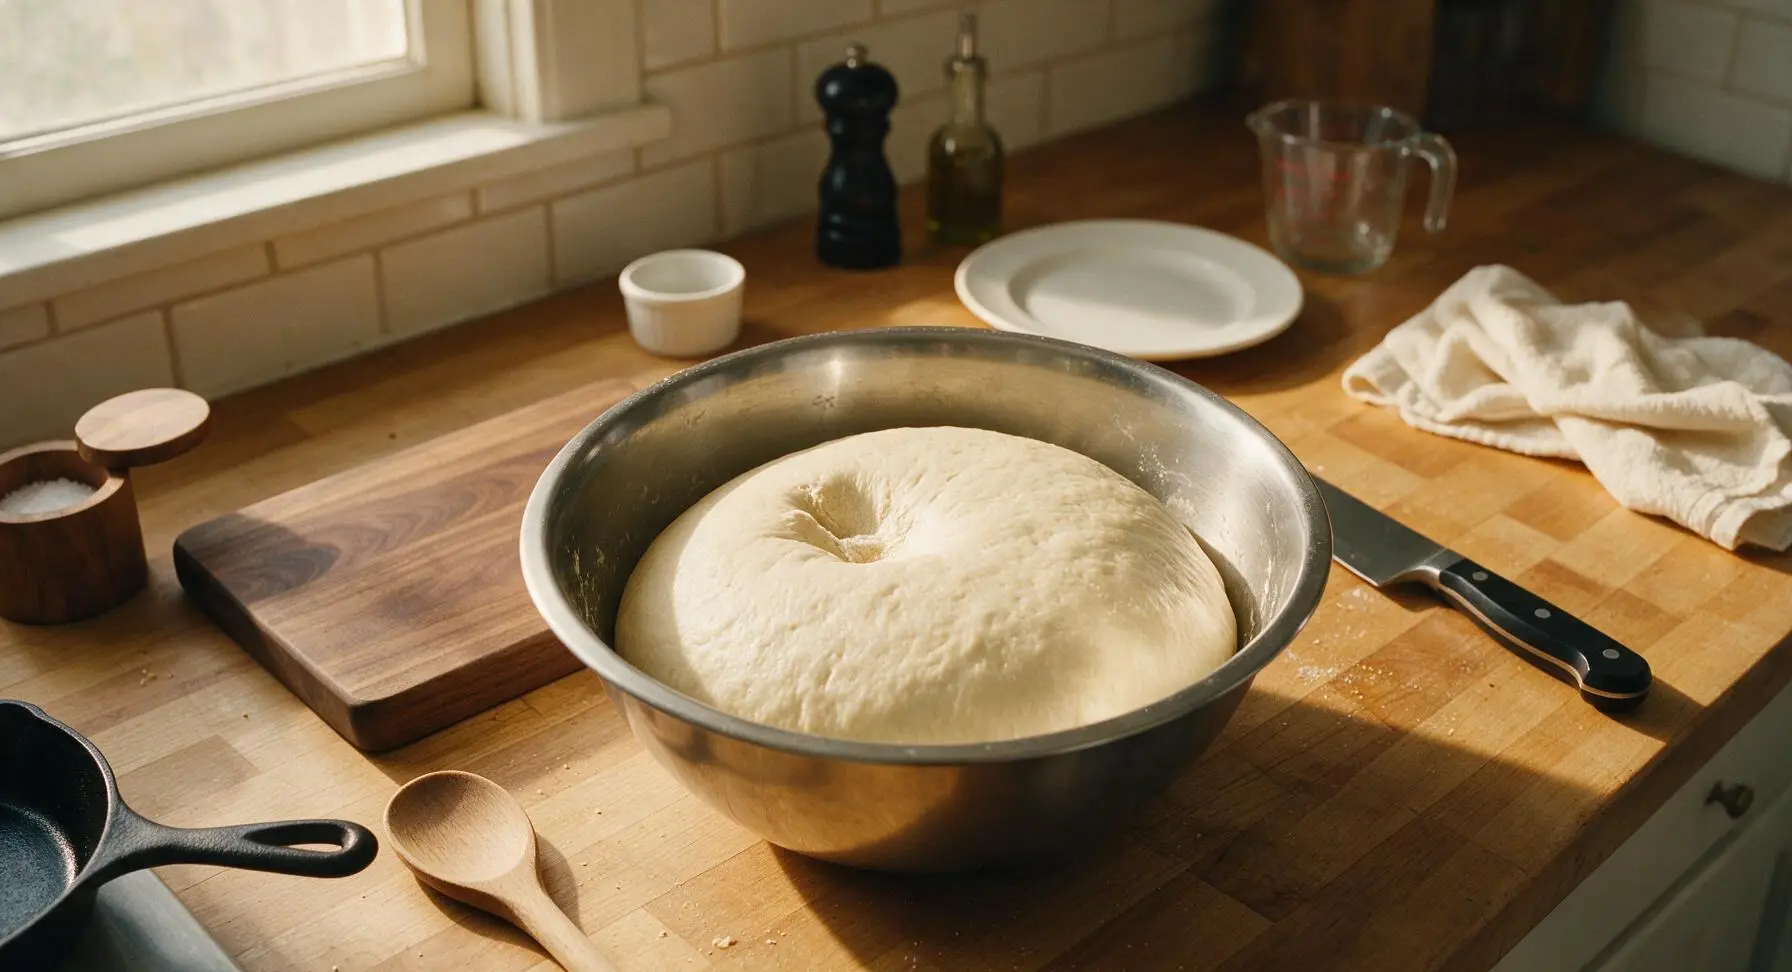
Form the kneaded dough into a tight, smooth ball, and place it back into the large glass mixing bowl (lightly greased with a thin swipe of butter to prevent sticking). Cover the bowl tightly with the waffle-weave cotton kitchen towel, and set it in a warm, draft-free spot on the counter. Let rise for 1 hour, until the dough has fully doubled in size; it is ready when a floured finger pressed 1 inch into the center leaves a deep indentation that does not spring back.
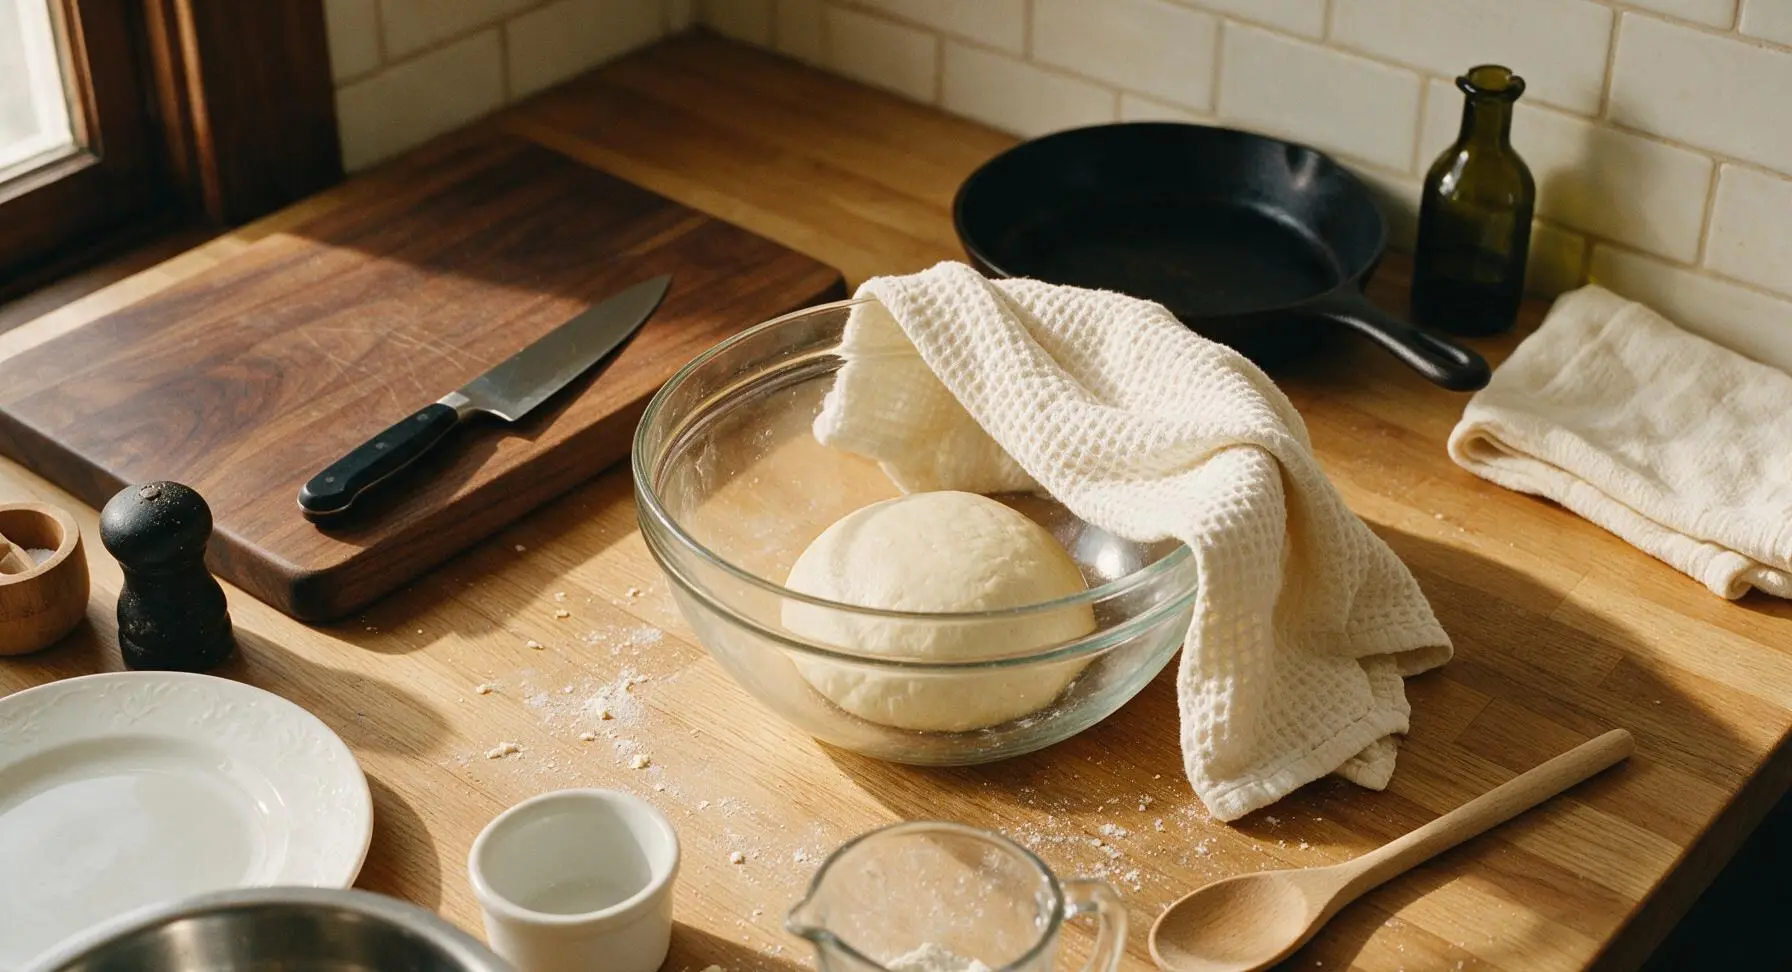
Portion and Shape
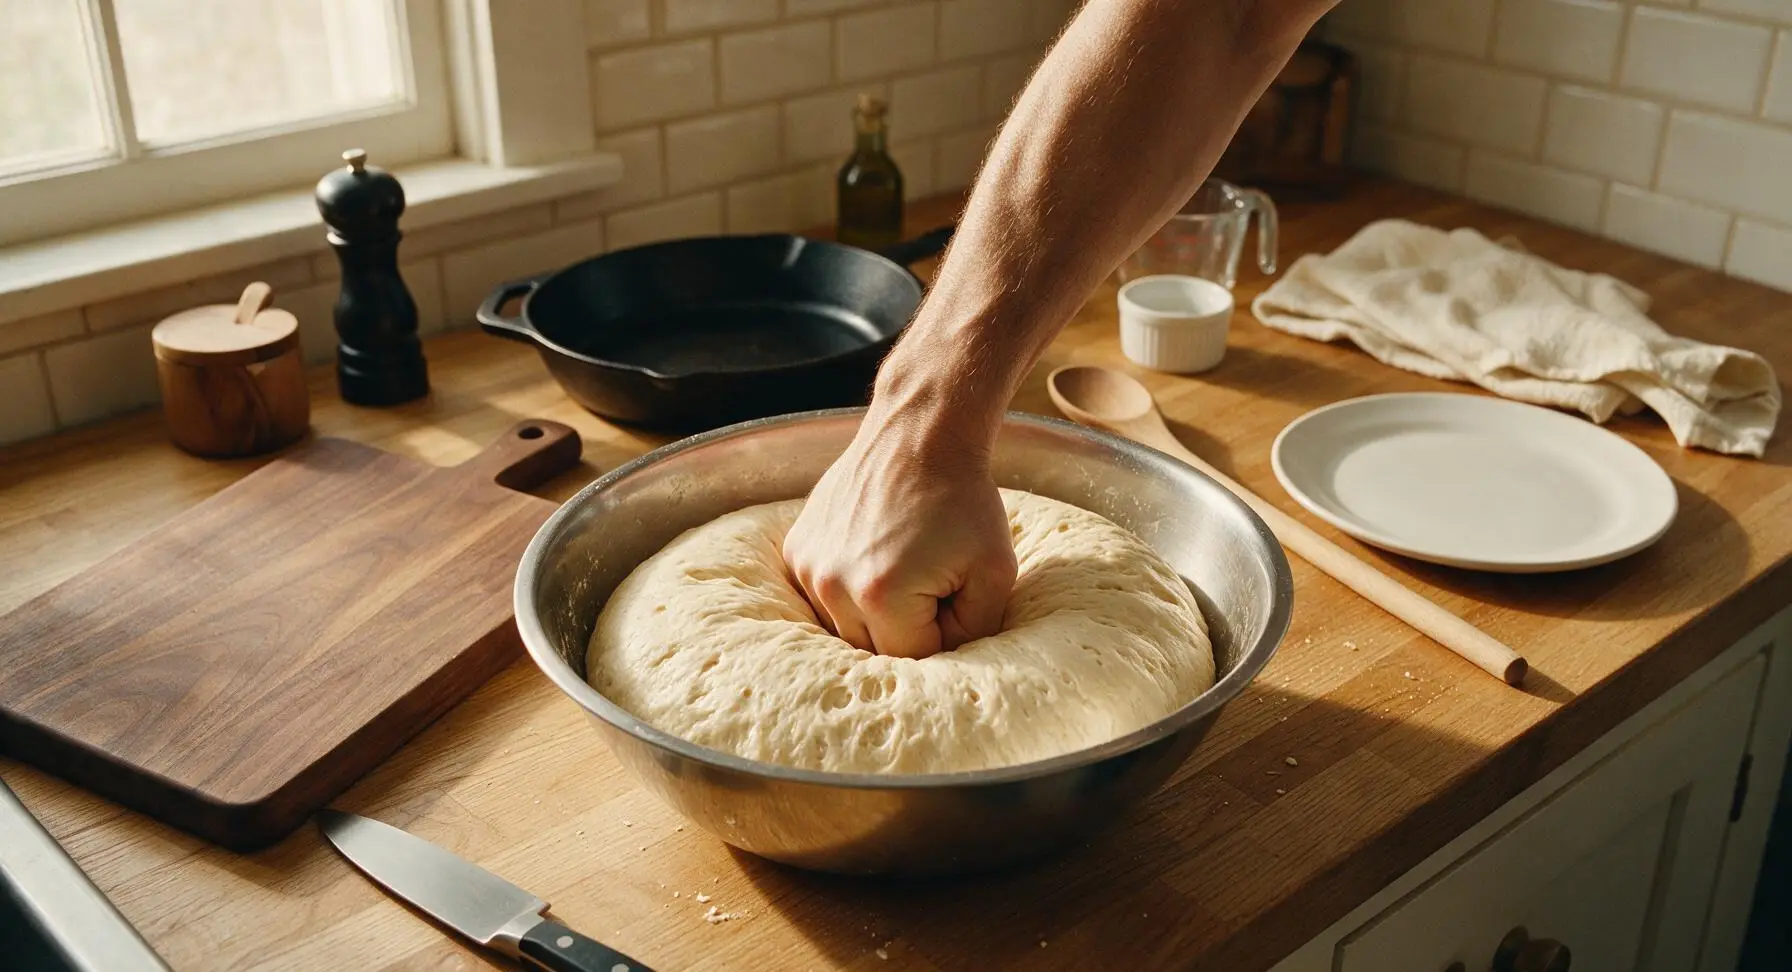
Punch the risen dough firmly in the center to release all trapped carbon dioxide, then turn it out onto the clean countertop. Use the silicone dough scraper to divide the dough evenly into 12 equal portions (approximately 65g each). Roll each portion into a tight, smooth ball by cupping your hand loosely over the dough and applying gentle, even pressure as you roll it in small circles on the unfloured counter.
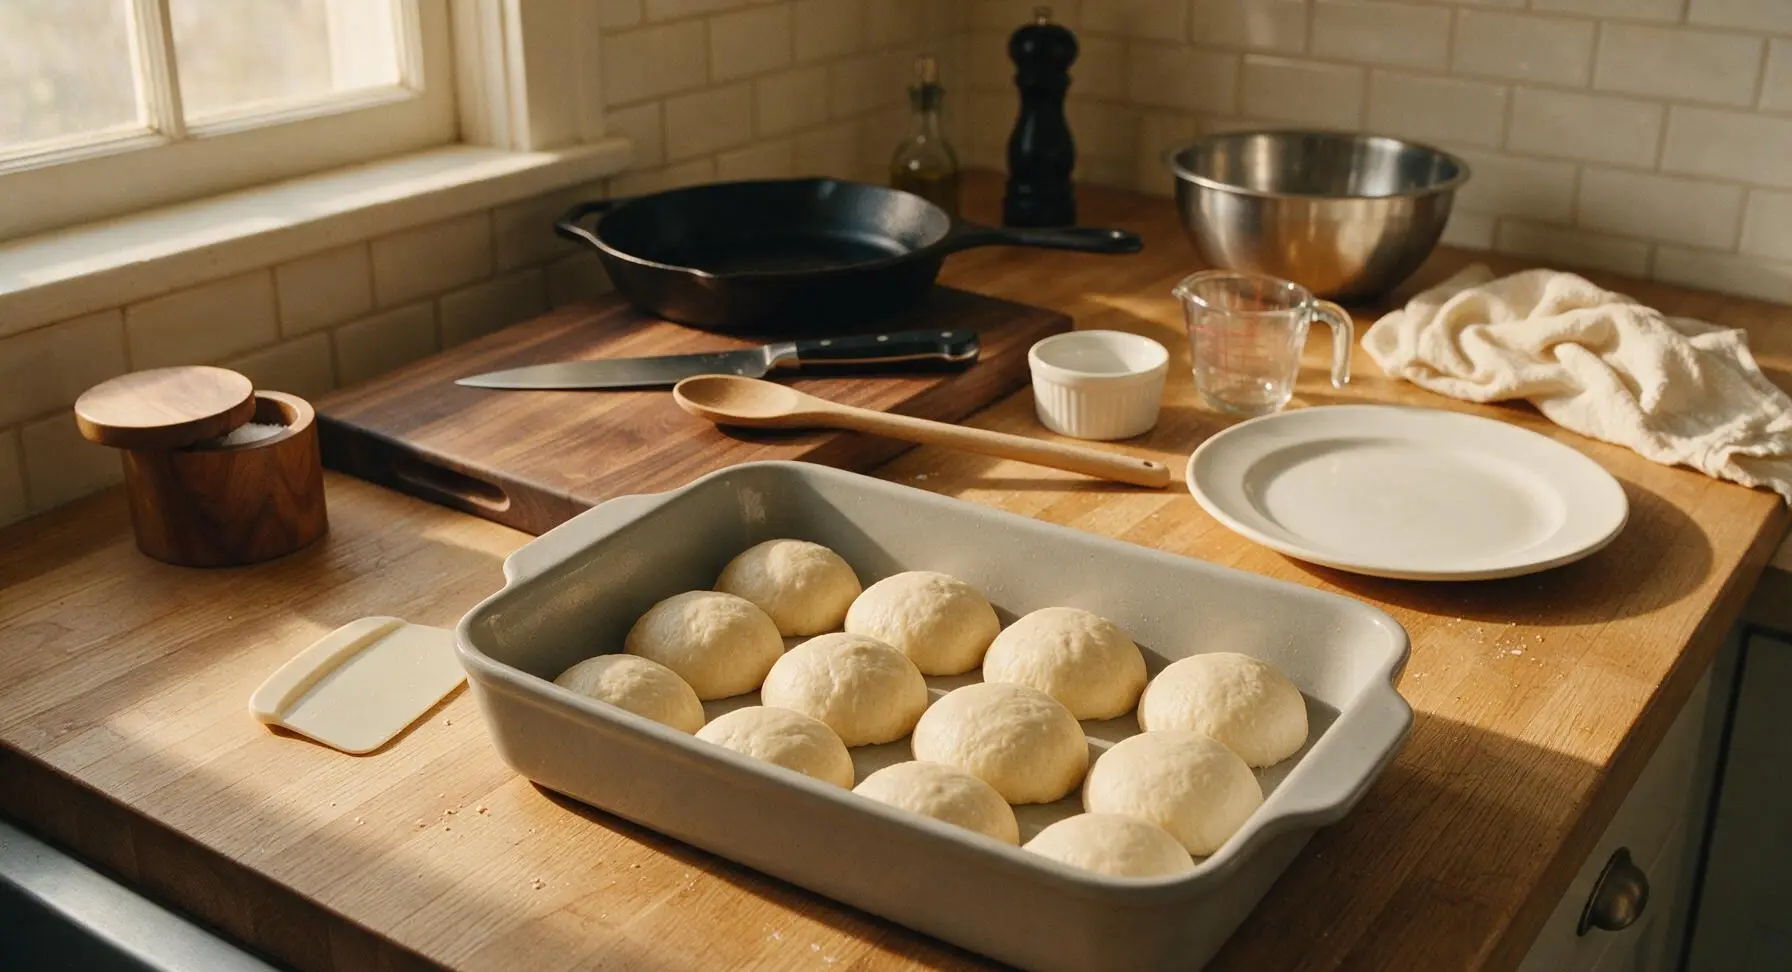
Proof Shaped Rolls
Cover the baking dish of shaped dough balls loosely with the same waffle-weave cotton kitchen towel. Let rise in the same warm, draft-free counter spot for 30 minutes, until the rolls have puffed up and are touching one another, filling all gaps between portions. While the rolls proof, preheat your oven to 190C/375F, with an oven rack positioned in the center position.
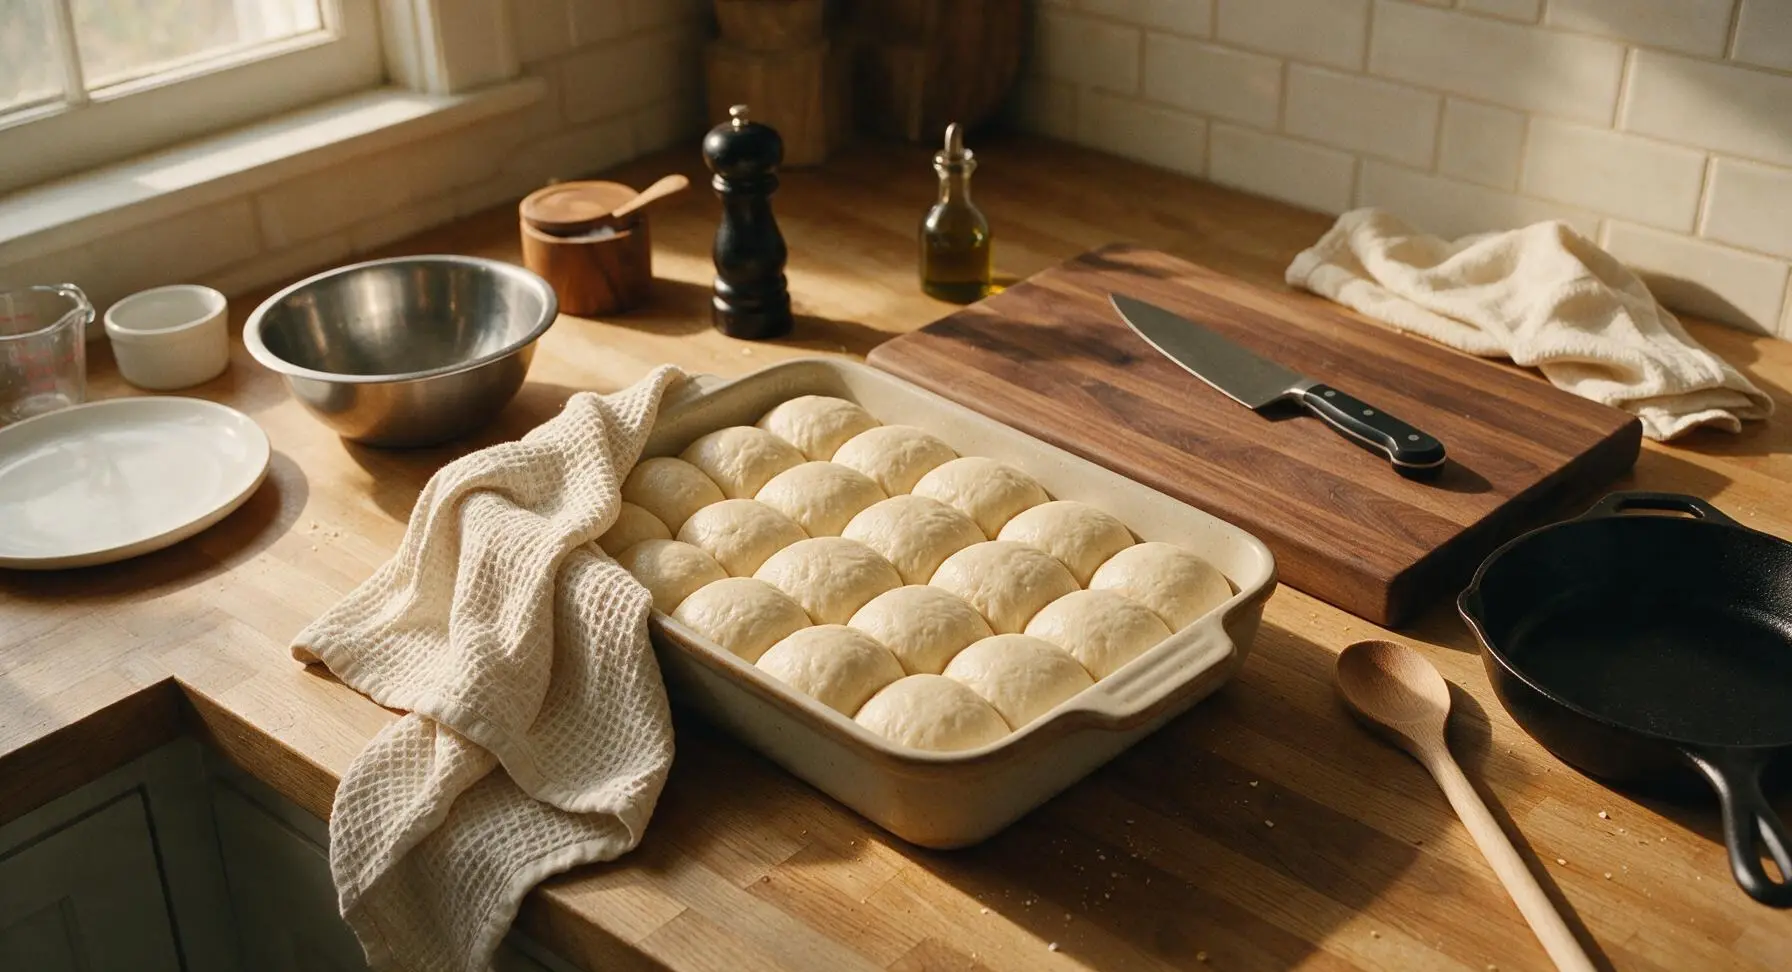
Bake Until Golden
Remove the towel from the baking dish, and place the dish on the center oven rack. Bake for 18-22 minutes, rotating the dish halfway through baking to ensure even browning. The rolls are done when the tops are a deep, even golden brown, and the internal temperature of the center roll reads 94C/200F on an instant-read thermometer.
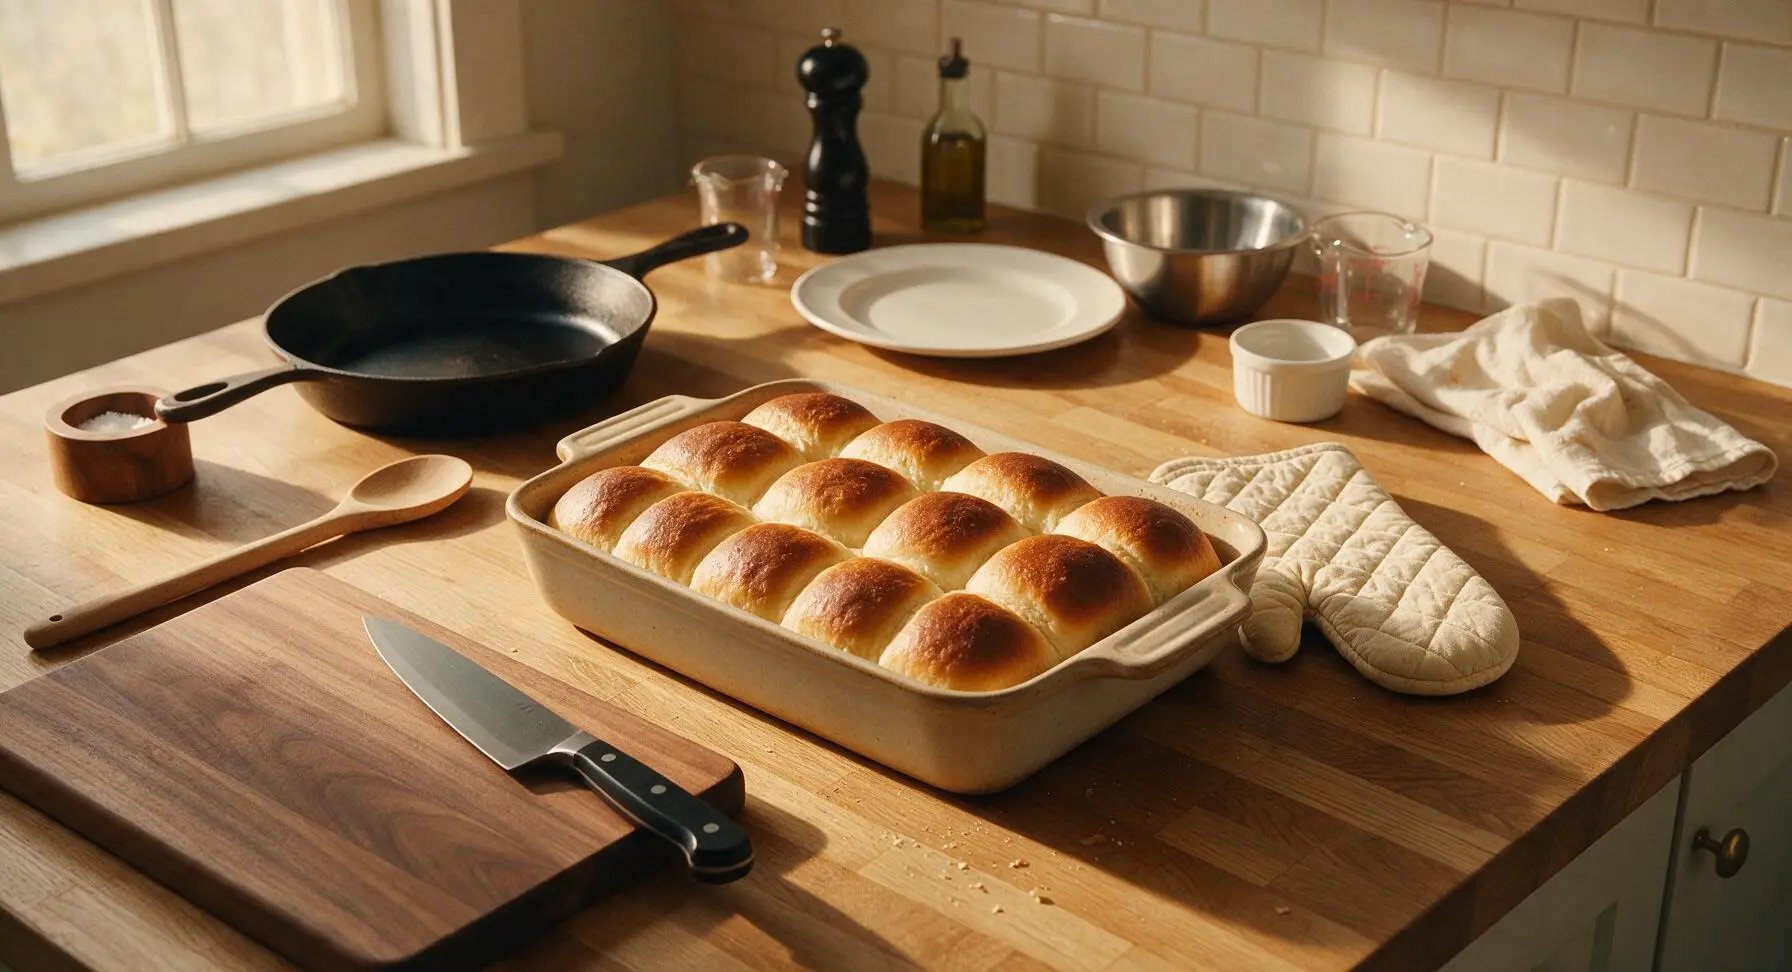
Butter and Serve
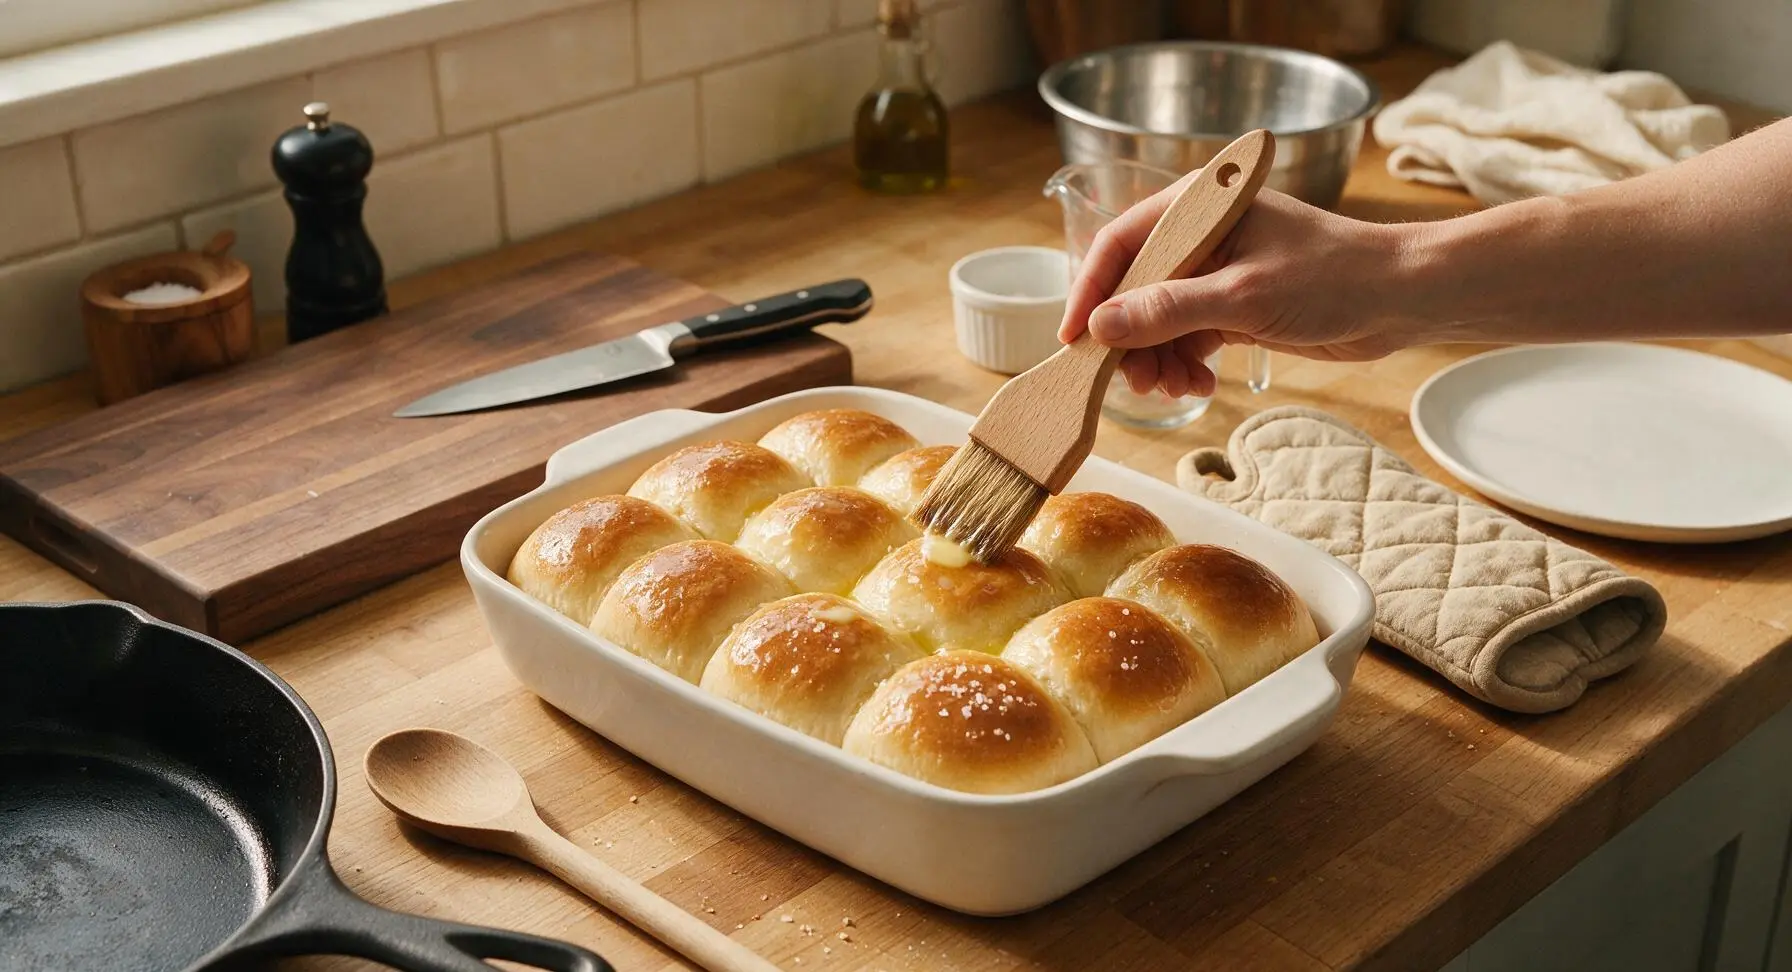
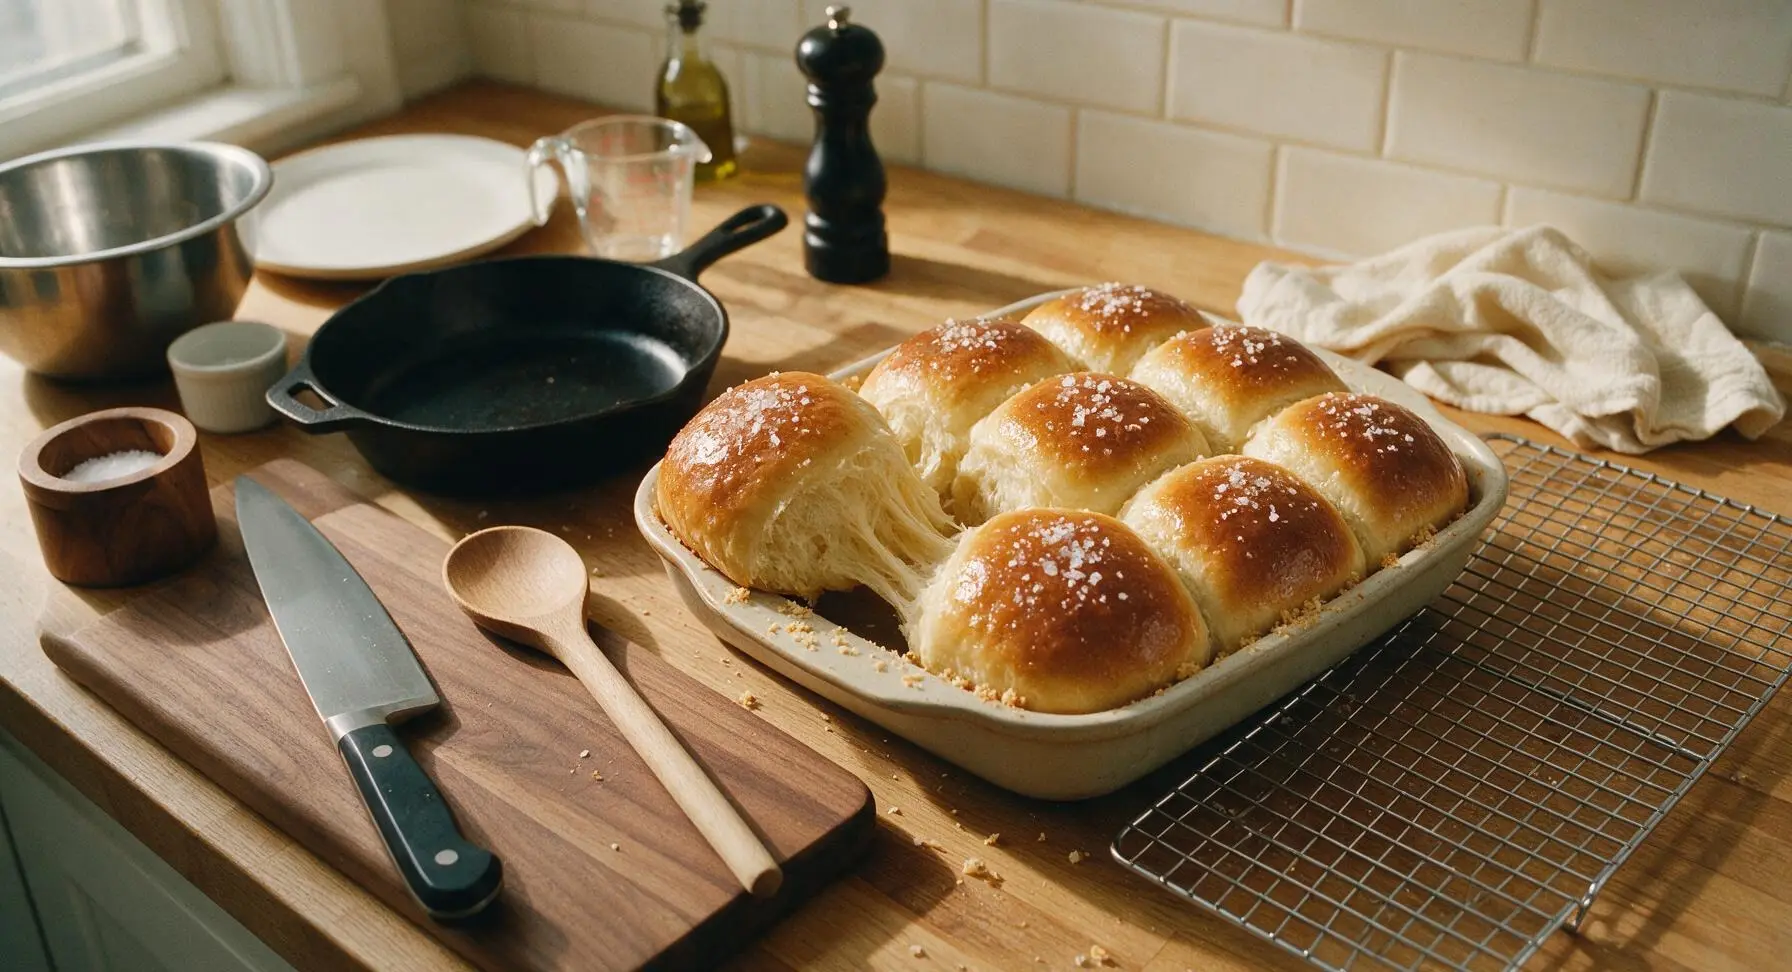
Immediately after removing the rolls from the oven, use the boar bristle pastry brush to brush the tops generously with the remaining 1 tablespoon of melted unsalted butter. Sprinkle lightly with flaky sea salt. Let the rolls cool in the dish for 5 minutes before serving warm, or transfer to the wire cooling rack to cool completely for later storage.
Tips
2.Ensure your milk is exactly 38C/100F when activating yeast: liquid hotter than 43C/110F will kill live yeast, while liquid colder than 32C/90F will slow yeast activity and lead to long, uneven rise times.
3.Brush rolls with melted butter twice for the richest crust: apply one coat immediately after pulling the rolls from the oven, then a second coat 2 minutes later, to let the butter soak fully into the crust instead of running off the hot surface.






OMG these rolls are a total game changer for our Sunday family dinners! I was nervous because I’m usually terrible with yeast breads (the medium difficulty rating had me low-key sweating tbh) but the instructions were so clear and easy to follow. They came out fluffy, buttery, and my kids begged for seconds before we even finished the main dish. I brought a batch to my neighborhood potluck last week and three people chased me down to ask for the recipe!
SO good! I was a little worried the 22 minute cook time would be too fast to get that golden fluffy center, but it was spot on. I make a big batch on Sundays to pair with soups and salads for lunch all week, and they hold up so well even after a quick 10-second zap in the microwave at work. I brushed a little extra garlic parmesan butter on top right out of the oven and it was absolute chef’s kiss.
Tried these last night for my kid’s post-soccer team dinner and they were gone in 10 minutes flat! I’ve tested so many dinner roll recipes over the years that turn out dense or cloyingly sweet, but these had the perfect light, pillowy texture and just the right amount of buttery sweetness. The only tiny hiccup was I had to add 3 extra minutes of bake time because my old apartment oven runs super cool, but that’s totally my bad, not the recipe’s fault. 10/10, will be making these for every holiday and team dinner from now on!