
homemade chicken sandwich
intro
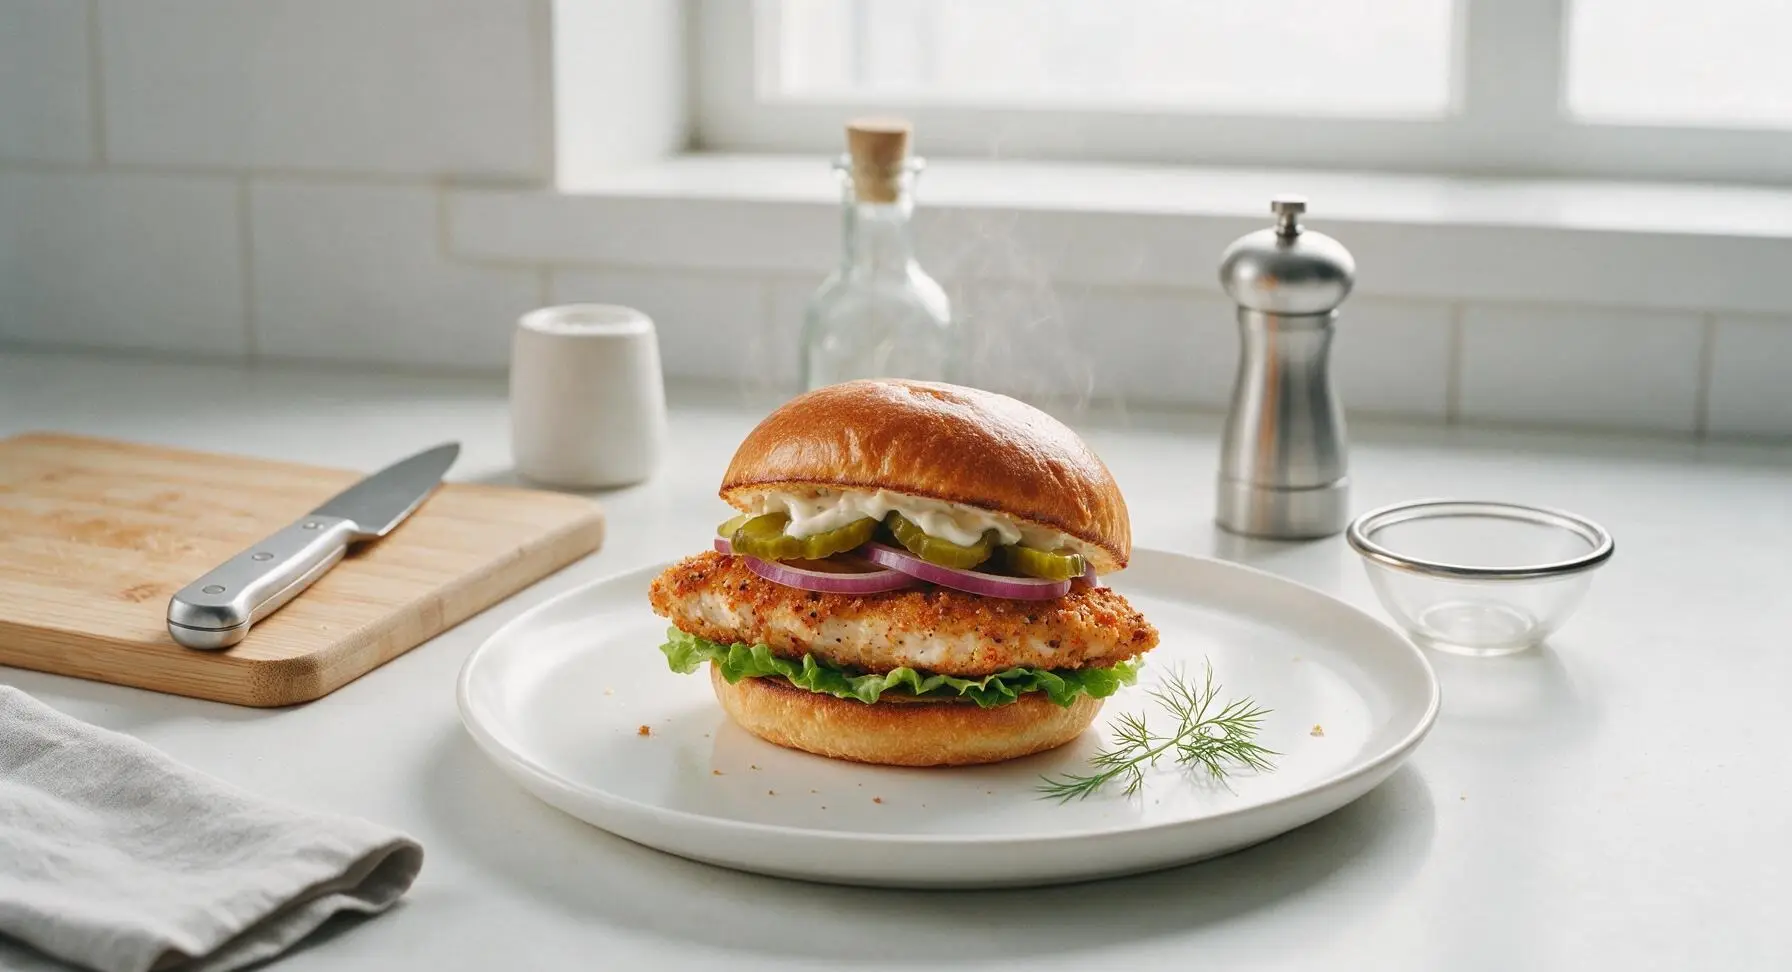
Crispy, juicy spiced chicken breast layered with tangy pickles, creamy mayo, and fresh veggies on a toasted brioche bun—this homemade version beats takeout for a fast, satisfying meal.
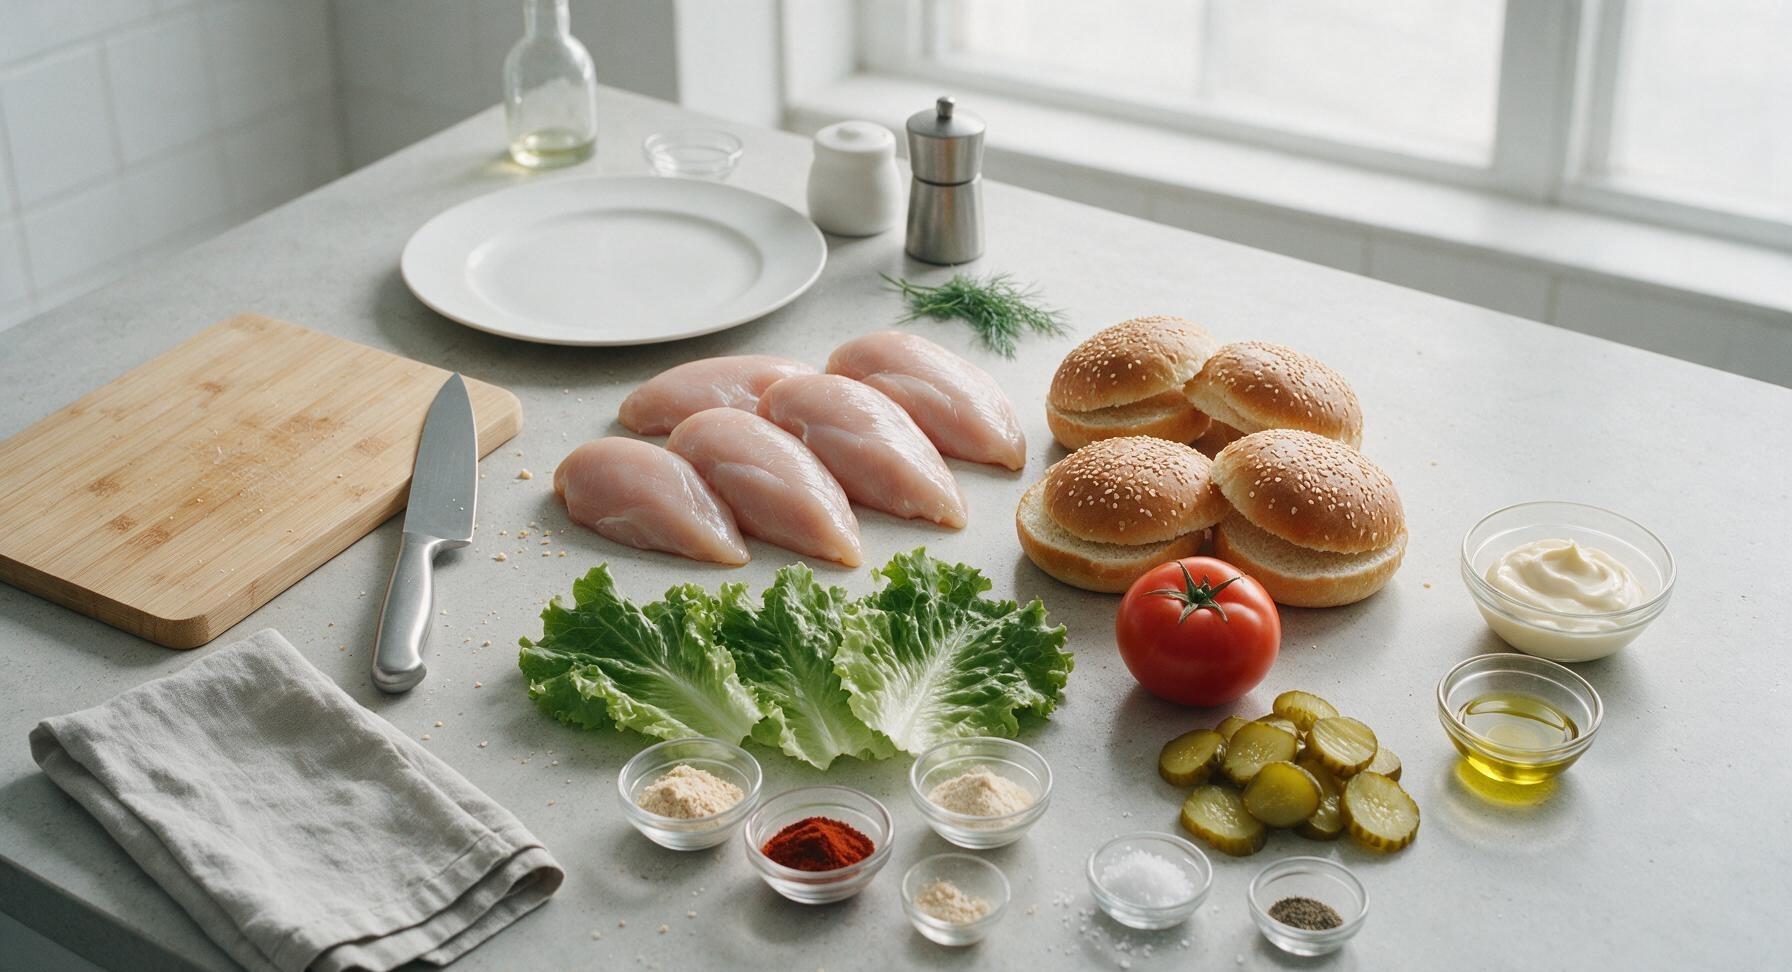
Ingredients
Steps
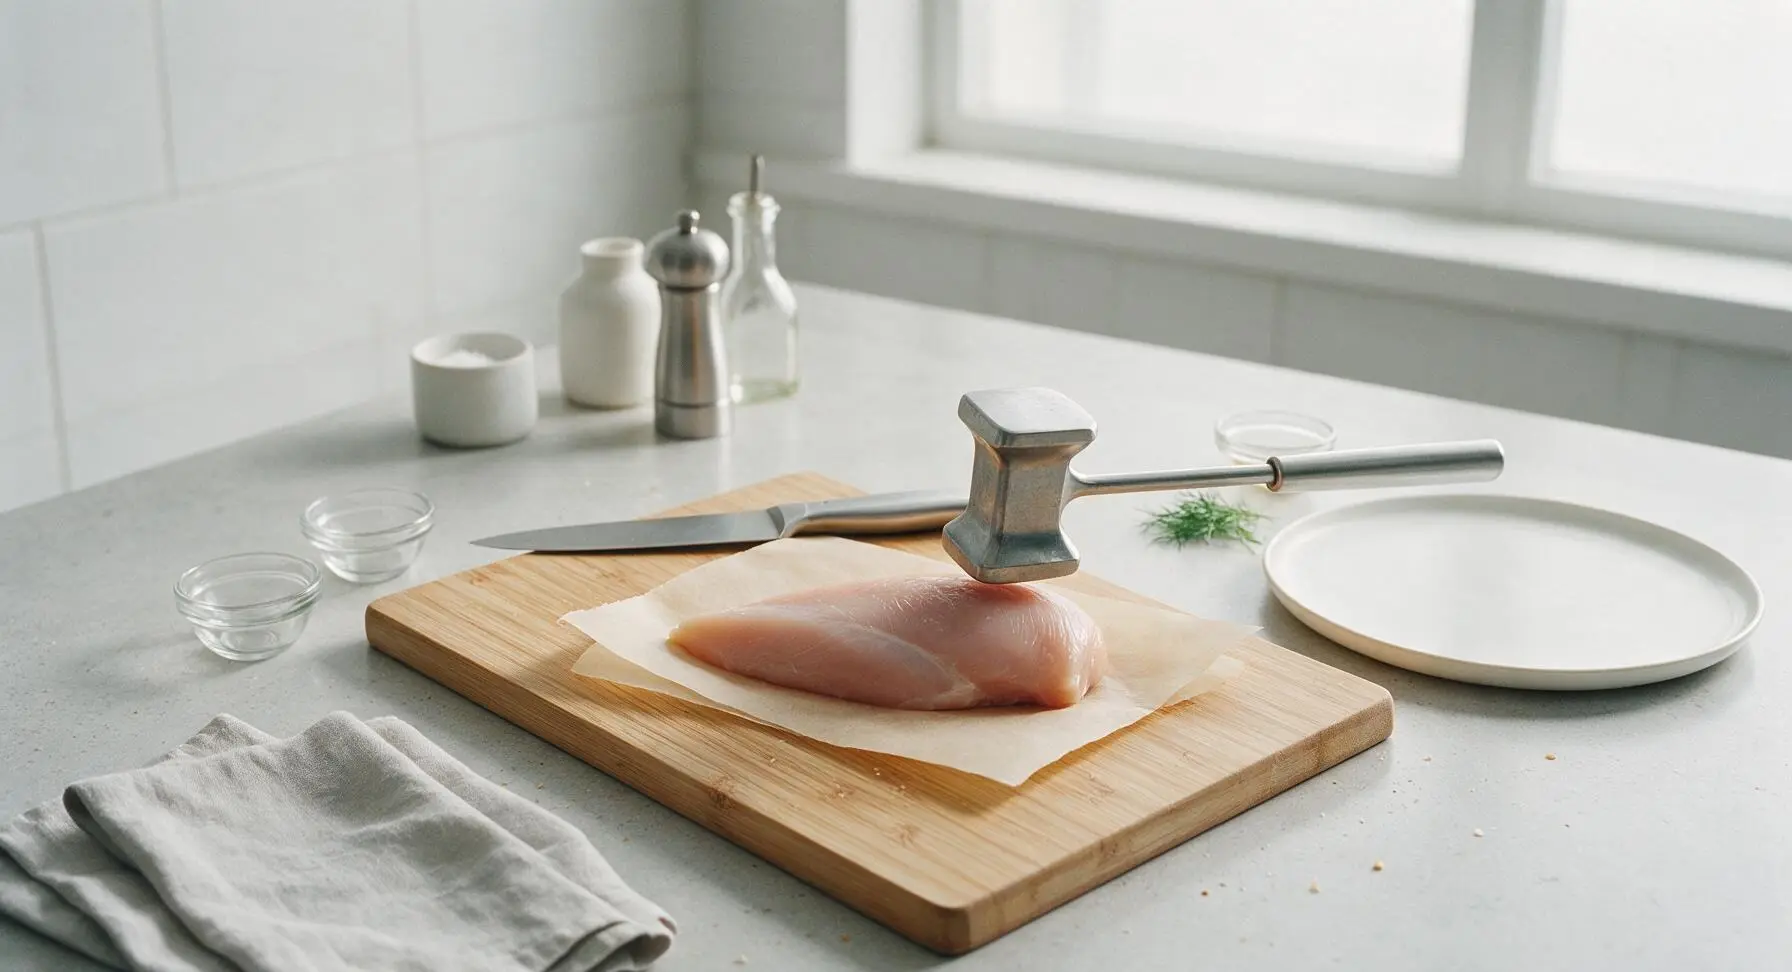
Pound chicken to even thickness
Place each chicken breast between two sheets of unbleached parchment paper on the bamboo cutting board. Use the stainless steel meat mallet to pound the thickest tapered parts of each breast until the entire piece is a uniform 1.5cm (1/2 inch) thick. This eliminates uneven cooking that leads to dry, overcooked thin edges. Set pounded chicken aside on a clean corner of the board.
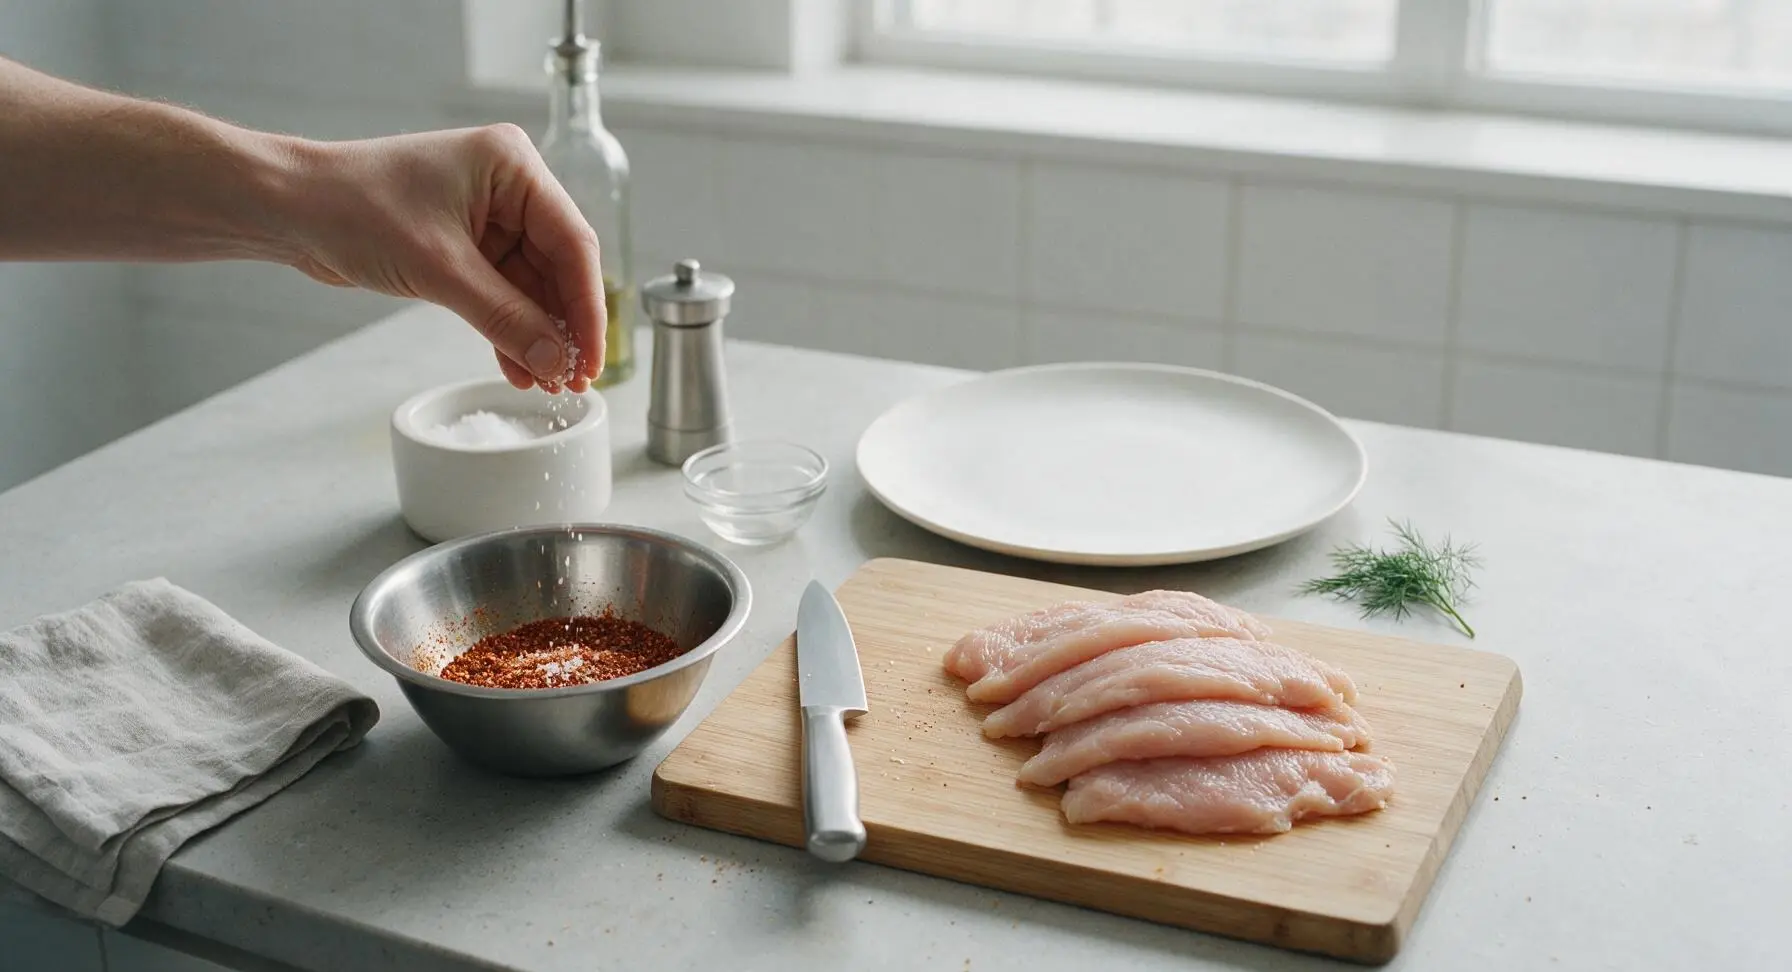
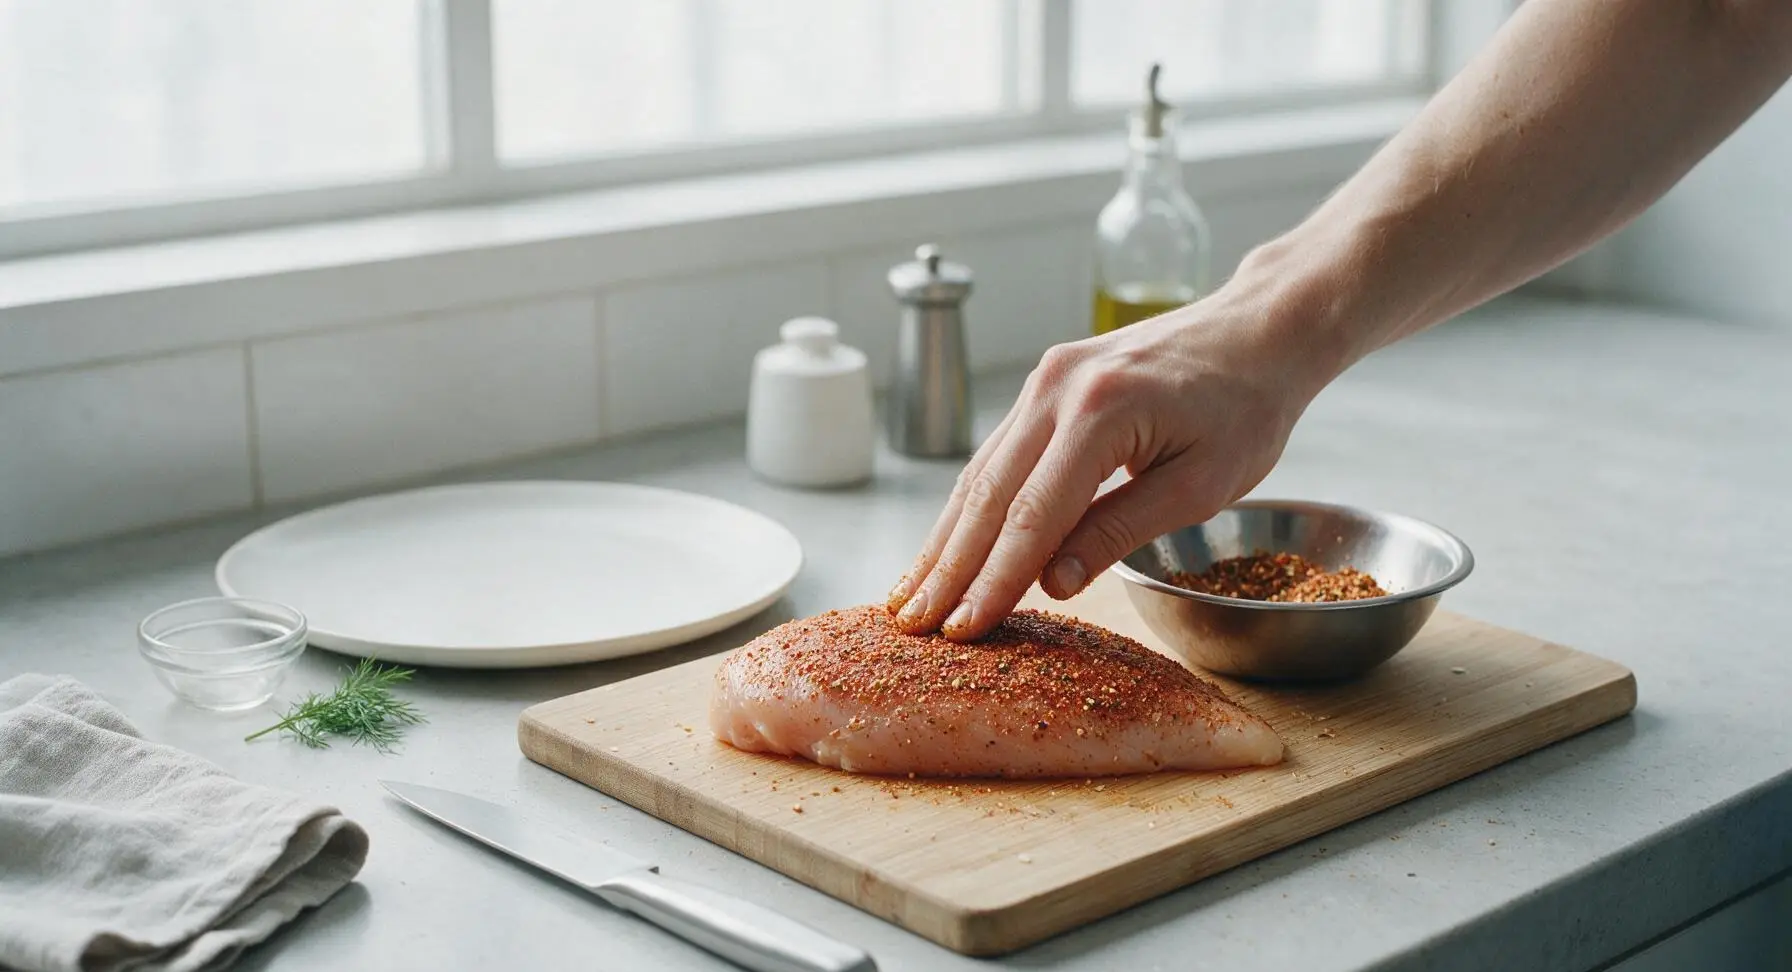
Season chicken breasts evenly
In the small stainless steel mixing bowl, combine 2 teaspoons garlic powder, 1 teaspoon smoked paprika, 1 teaspoon onion powder, 1 teaspoon flaky sea salt, and 1/2 teaspoon ground black pepper, stirring to fully blend. Pat all pounded chicken breasts dry with a corner of the cotton kitchen towel, then rub the spice mixture evenly over every side of the chicken, pressing gently so spices adhere to the meat surface. Let seasoned chicken rest 5 minutes at room temperature to allow spices to penetrate.
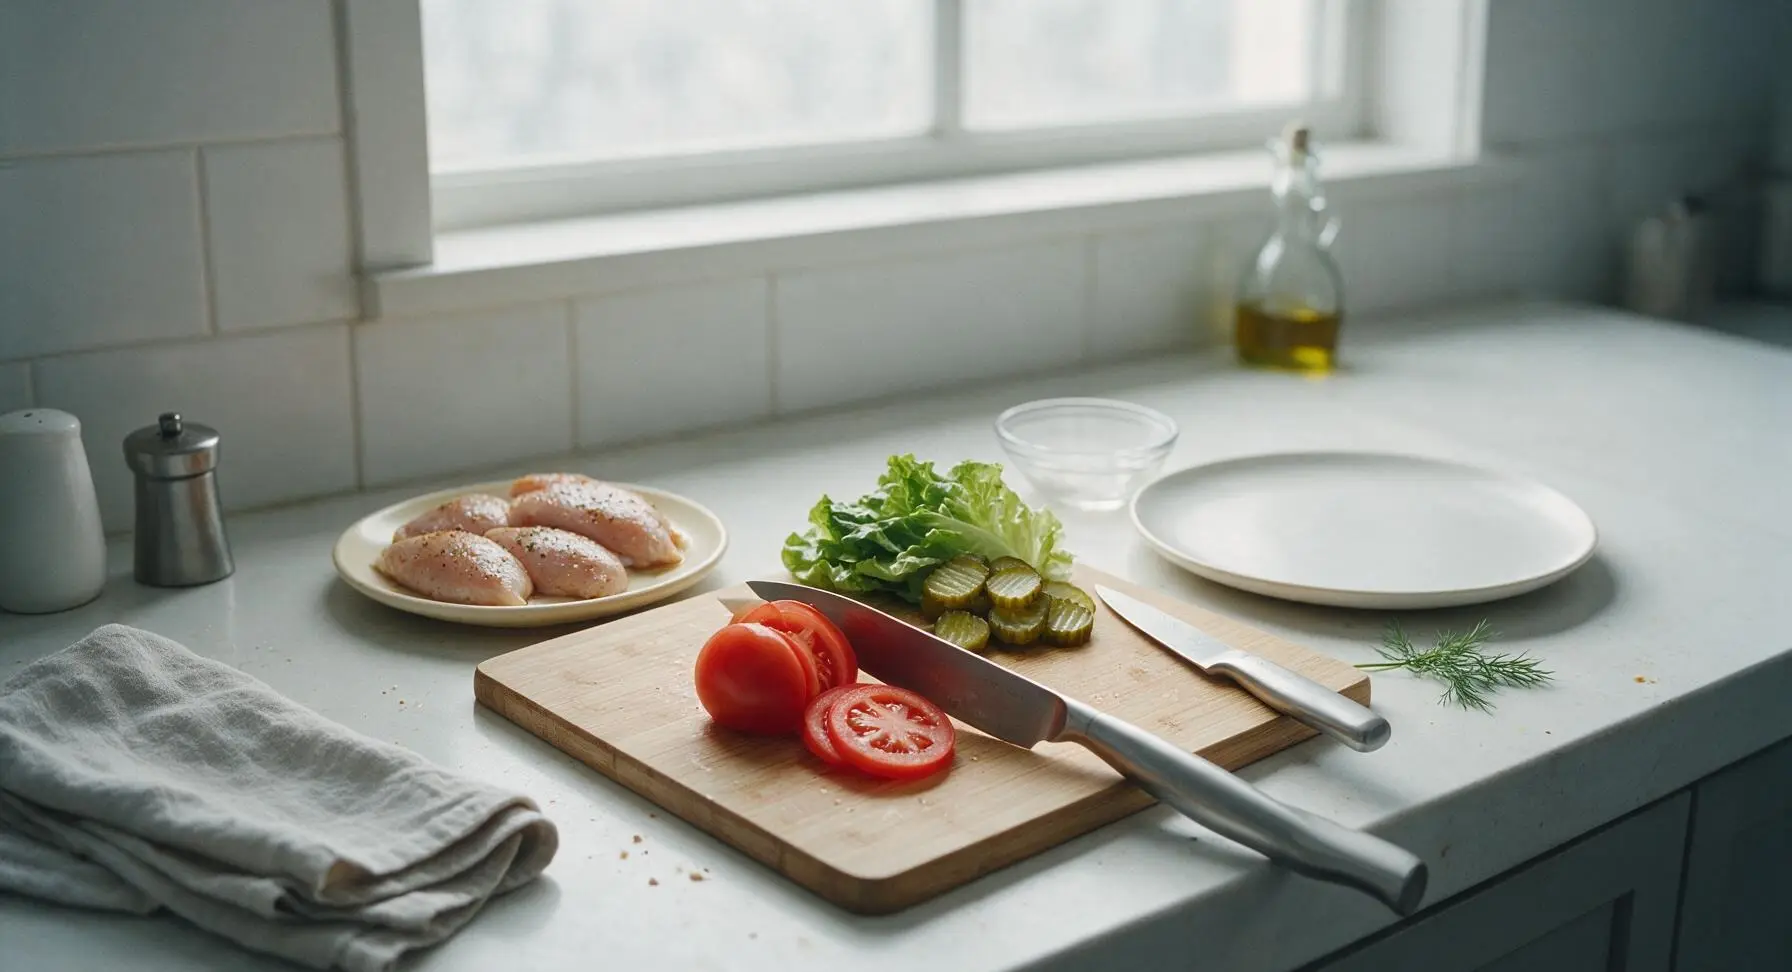
Prep fresh sandwich toppings
While the seasoned chicken rests, use the chef knife on the bamboo cutting board to slice the tomato into 4 even 5mm-thick rounds, patting slices lightly with the cotton towel to remove excess juice that would make the sandwich soggy. Separate 4 large, intact leaves from the head of green leaf lettuce, tearing off any thick tough stems, and pat completely dry. Count out 8 dill pickle slices, setting all prepped toppings in a small pile at the corner of the cutting board.
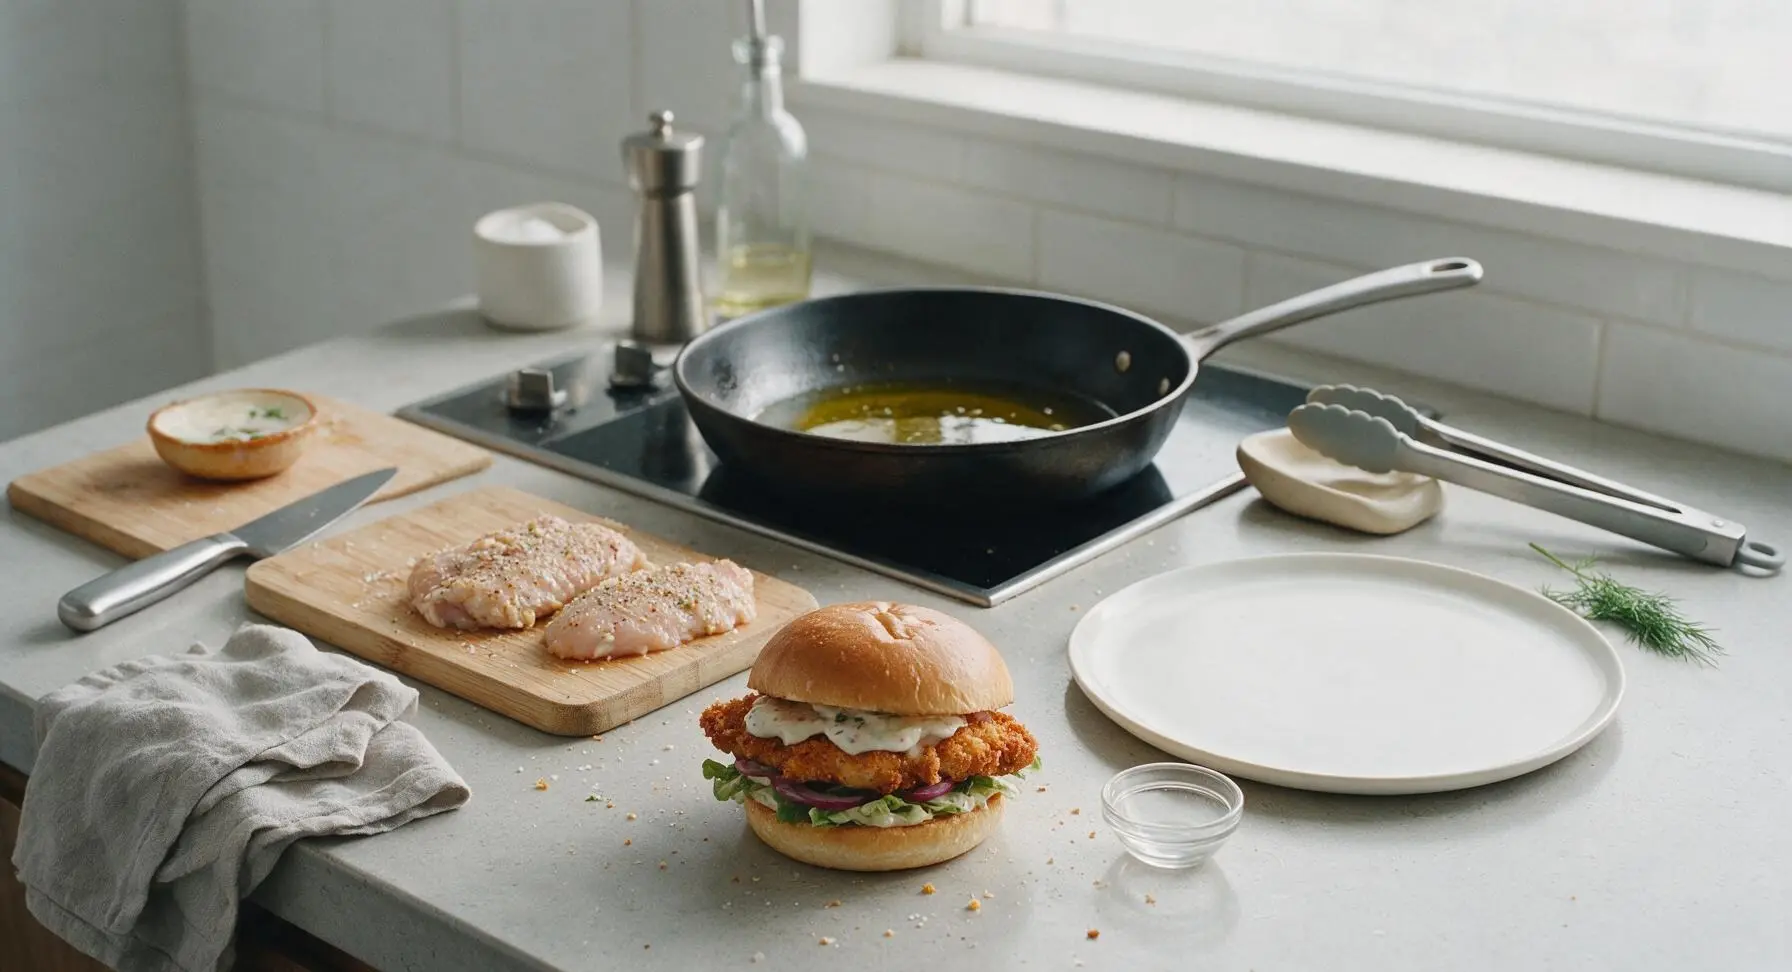
Preheat the cooking skillet
Retrieve the matte black carbon steel skillet from lower storage and place it on the back center induction cooktop zone. Turn heat to medium-high, and add 2 tablespoons of extra-virgin olive oil. Let the oil heat for 2 minutes until it shimmers and flows easily across the pan surface; test readiness by flicking a single drop of water into the oil—it should sizzle and evaporate immediately. Do not let the oil reach smoking point. Set out the spoon rest and tongs beside the skillet for cooking.
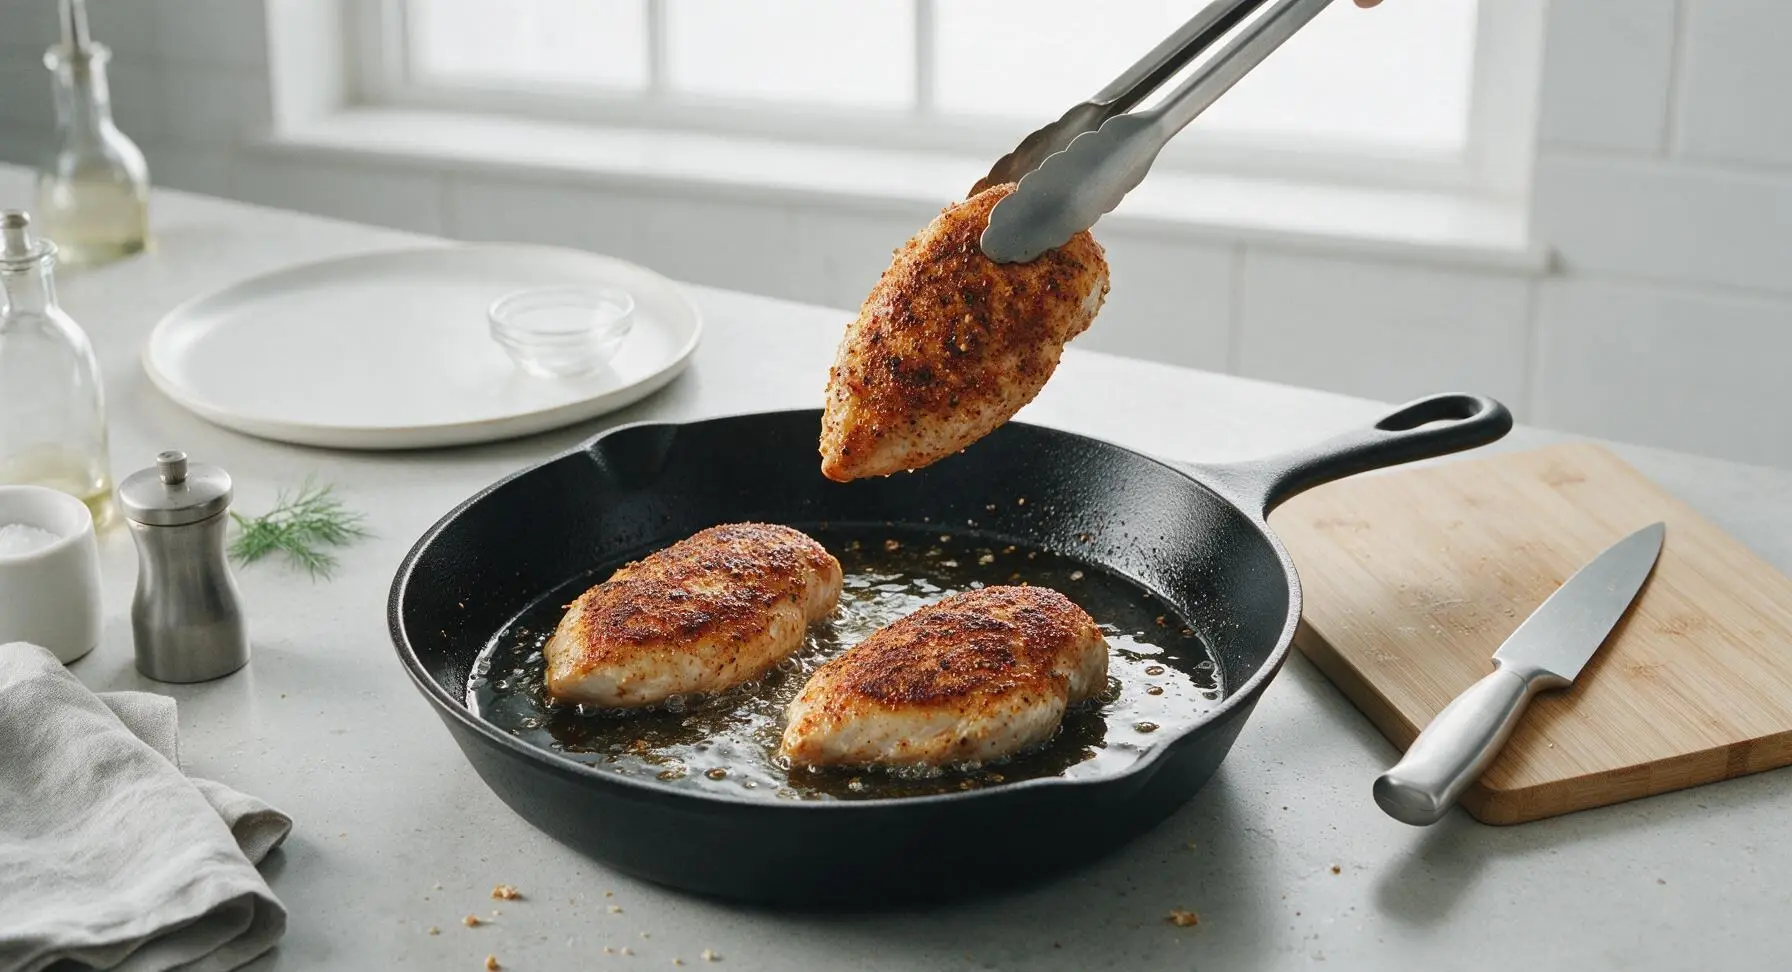
Sear chicken until crispy
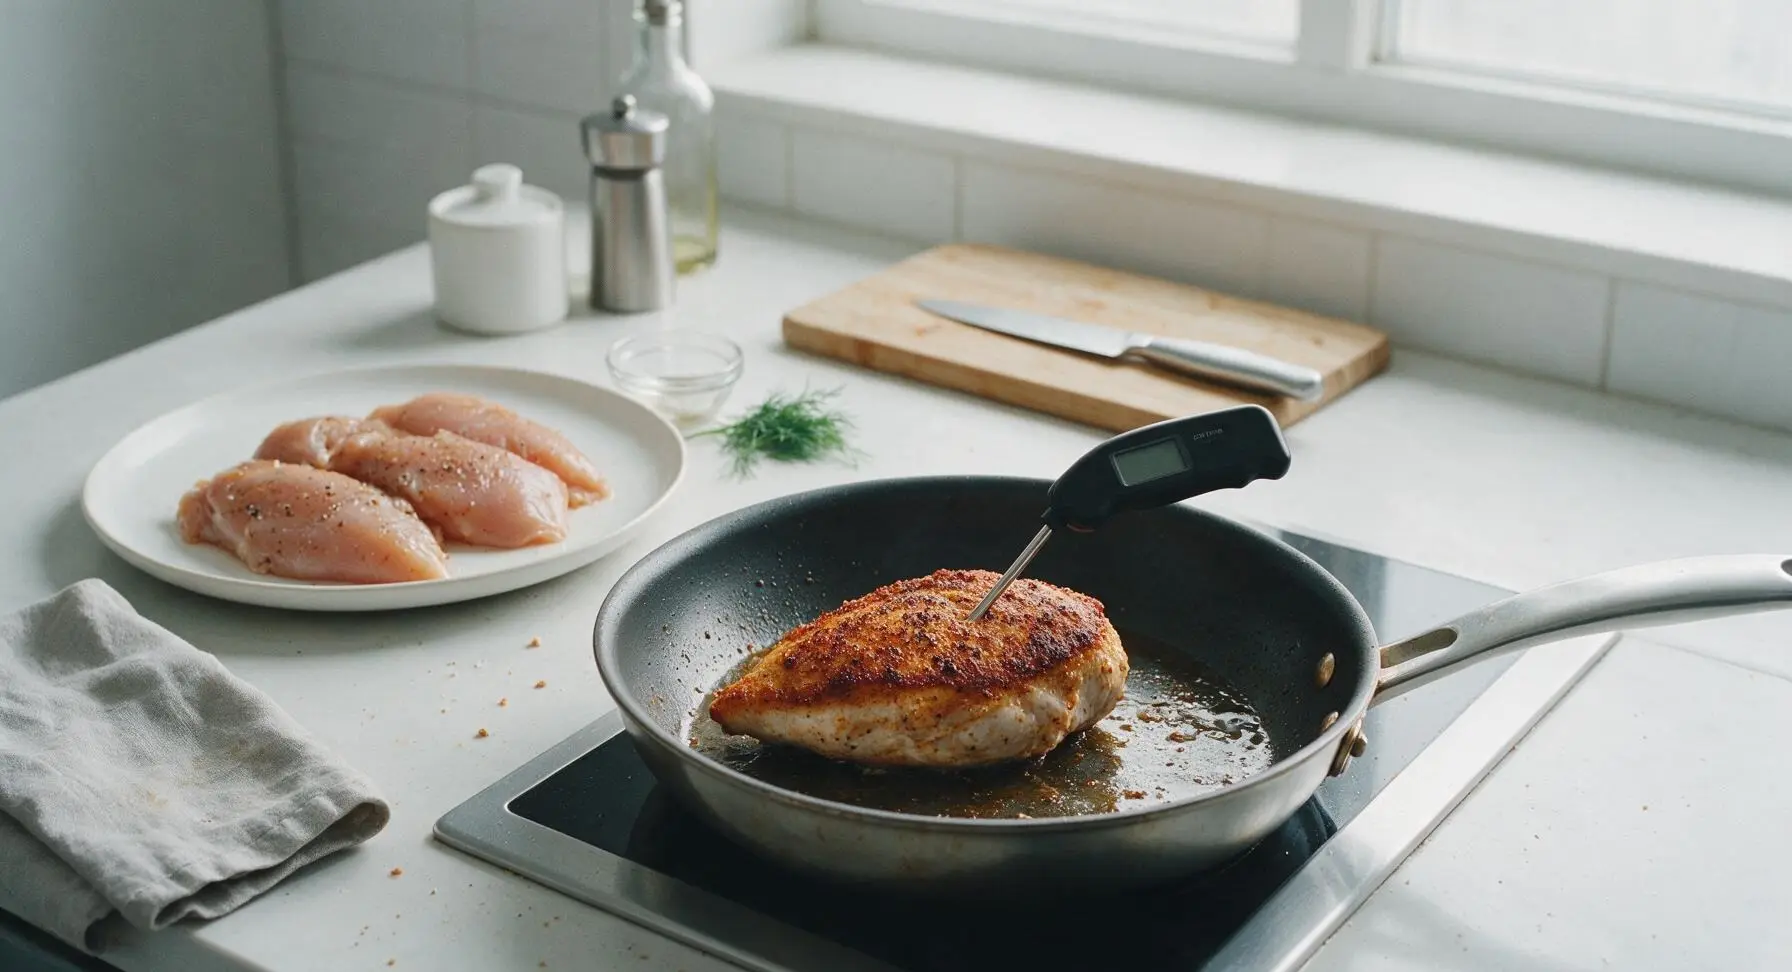
Use the stainless steel tongs to carefully place each seasoned chicken breast into the hot skillet in a single layer, cooking in two batches if your pan is too small to hold all four breasts without touching (overcrowding causes steaming instead of crisping). Cook undisturbed for 6 minutes on the first side, until the bottom develops a deep golden, crispy spiced crust. Flip each breast with the tongs, then cook for another 5-6 minutes on the second side, until the internal temperature reaches 74°C (165°F) when measured at the thickest point with the instant-read meat thermometer. Transfer cooked chicken to a stacked cream ceramic dinner plate and let rest for 3 minutes to allow juices to redistribute.
Toast brioche buns lightly
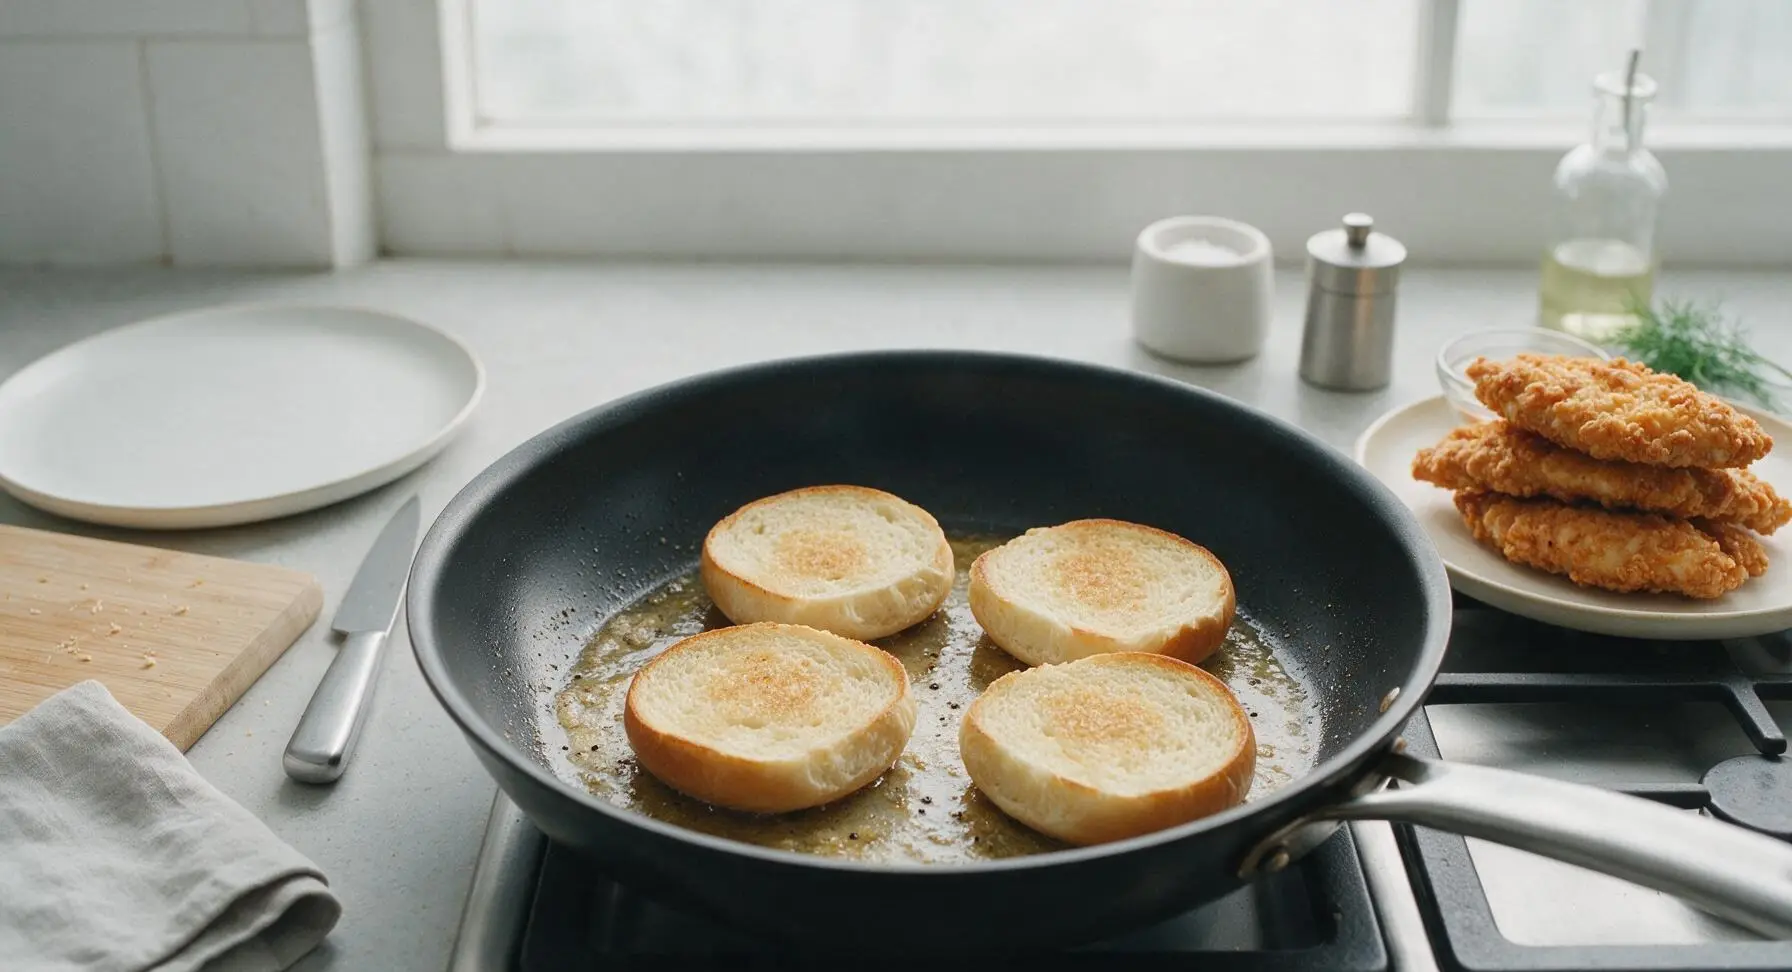
After removing the last batch of cooked chicken from the skillet, turn heat to medium-low. Place the split brioche buns cut-side down into the residual oil and chicken drippings left in the pan. Toast for 1-2 minutes, until the cut surface is light golden and slightly crisp, with a rich, toasty brioche aroma. Use tongs to remove buns from the pan immediately to prevent burning, setting them on the cutting board for assembly.
Assemble sandwich layers
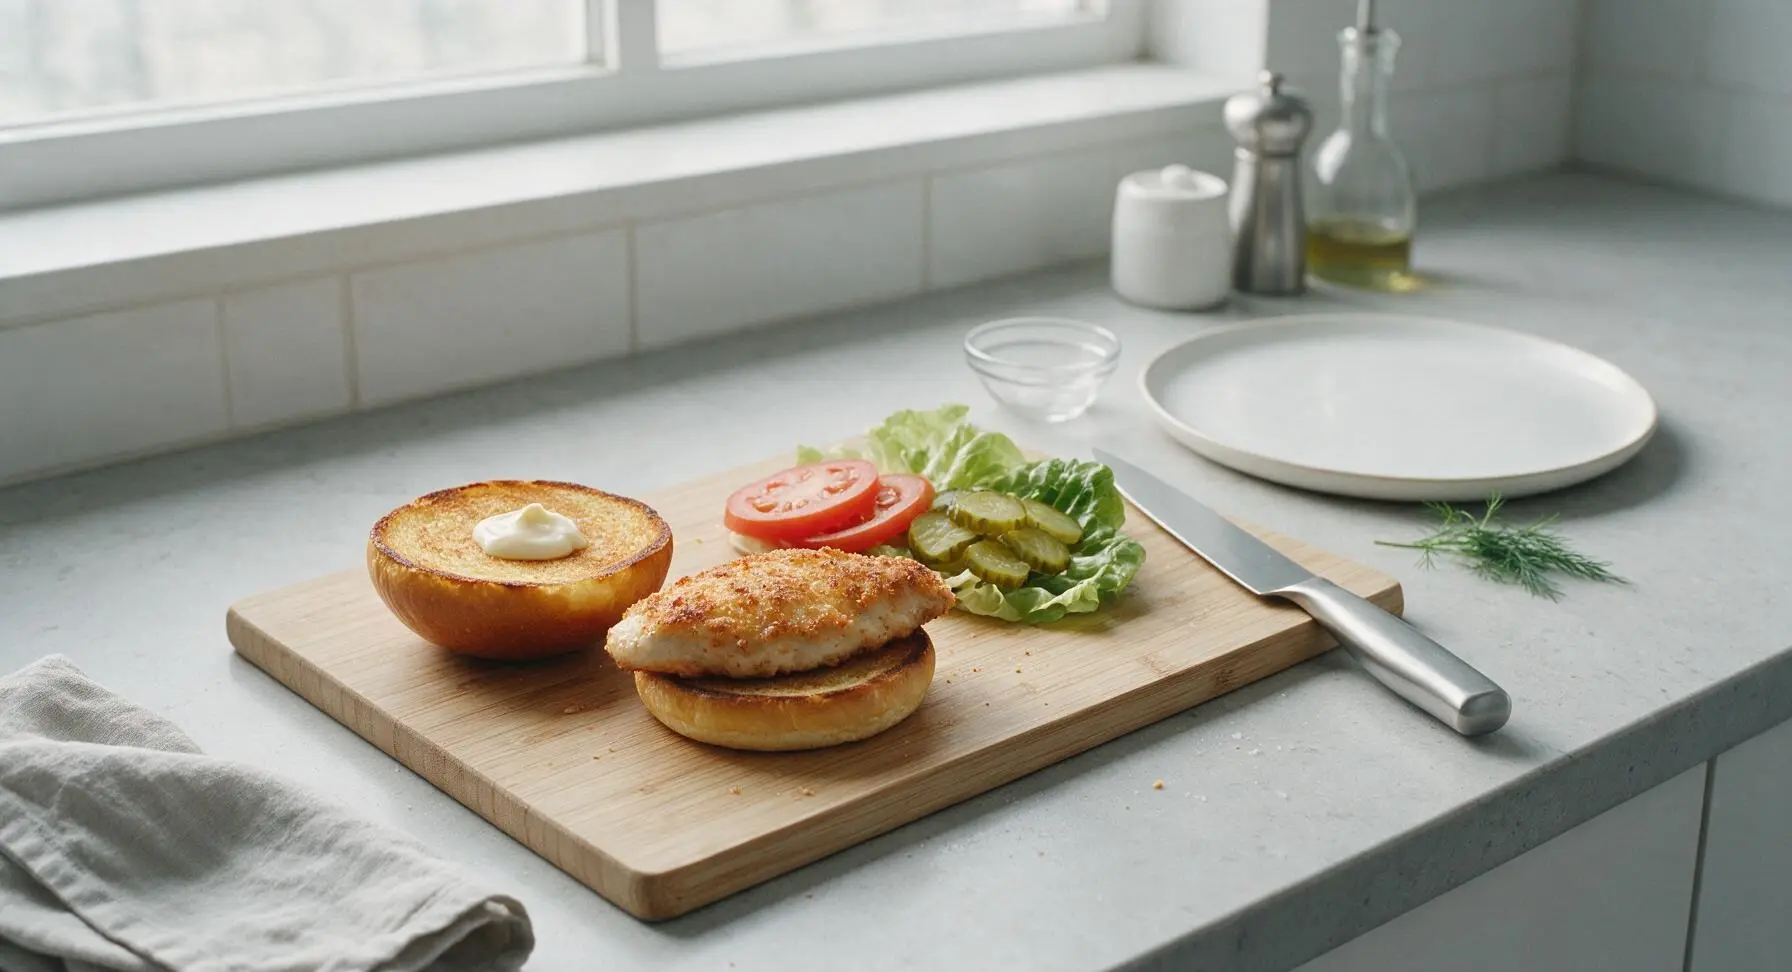
Spread 1 tablespoon of mayonnaise evenly across the cut side of both the top and bottom toasted brioche bun for each sandwich. Layer ingredients on the bottom bun in order: one piece of crispy rested chicken, one thin dry tomato slice, two dill pickle slices, one crisp dry lettuce leaf. Place the top bun over the layers, pressing down gently to secure the fillings without squeezing mayo out the sides. Serve immediately.
Tips
2.Pat tomato slices and lettuce completely dry with the kitchen towel before assembling: excess water from fresh produce will seep into the soft brioche bun and turn it soggy within 10-15 minutes, even if the sandwich is served immediately.
3.Avoid moving the chicken for the first 6 minutes of searing: leaving it undisturbed allows the spice coating to form a firm, crispy crust that won’t stick to the pan or rub off when flipped, rather than steaming against the hot metal.






OMG this was SO good! Threw it together for a quick weeknight dinner last night and my picky 7 year old asked for seconds before he even finished his first half. 15 minute cook time is no joke, I didn’t even have to rush to get it on the table before soccer practice.
Game changer for my weekly meal prep! I made a batch of these chicken patties on Sunday, toasted the buns right before eating all week, and they stayed crispy even after reheating in the air fryer for 2 minutes. Way better than grabbing fast food on my lunch break.
Brought these to our neighborhood block party potluck last weekend and people were begging for the recipe! I topped a few with pickles and spicy mayo, a couple with coleslaw for the folks who don’t like heat, and every single sandwich was gone within 20 minutes. So easy to scale for a crowd too!
As someone who can barely boil water without messing it up, this was so doable! No fancy ingredients, no complicated steps, and it tasted exactly like the crispy chicken sandwiches I pay $10 for at the fast food place down the street. Saved me so much money this week already.
This is great, but I added a teaspoon of cayenne and a half teaspoon of paprika to the breading for an extra kick, and it was chef’s kiss. Only issue I had was my first piece got a little soggy because I overcrowded the pan. Any tips to avoid that next time?
Made these for my teen son and his friends after their football practice yesterday, they all said it’s better than the fast food version we usually get after games. Zero complaints, even from the kid who swears he only eats chicken nuggets. Win for dad!
Has anyone tried this with gluten free panko instead of regular breadcrumbs? I have a celiac kiddo and would love to make this for our next family movie night.
Wait, 15 minutes cook time total? I was skeptical because every other crispy chicken recipe I’ve tried takes forever to prep and fry, but this clocked in at 14 minutes for me. No lie, I set a timer to check. Crispy, juicy, no dry chicken at all.
I added extra dill pickles and a little pickle brine to the mayo for the sauce, and it was *to die for*. The crisp on the chicken held up even with all the sauce slathered on, which never happens with homemade sandwiches for me.
Help! I tried making this tonight and my breading kept falling off the chicken while it was frying. What did I do wrong? The parts that stayed on were so good so I want to get it right next time.
Has anyone tested this in the air fryer instead of pan frying? I try to avoid pan frying when I can because of the oil splatter all over my stove.
This is now a permanent entry on our weekly dinner rotation! My husband raved about it so much he asked me to make it two nights in a row last week. I serve it with sweet potato fries on the side and it’s the perfect easy meal.
Wow, this is so much cheaper than buying crispy chicken sandwiches out! I did the math and each sandwich costs me like $1.75 to make at home, compared to $8+ at the drive-thru. I’m never going back.