
Homemade Cranberry Sauce with Orange Zest
intro
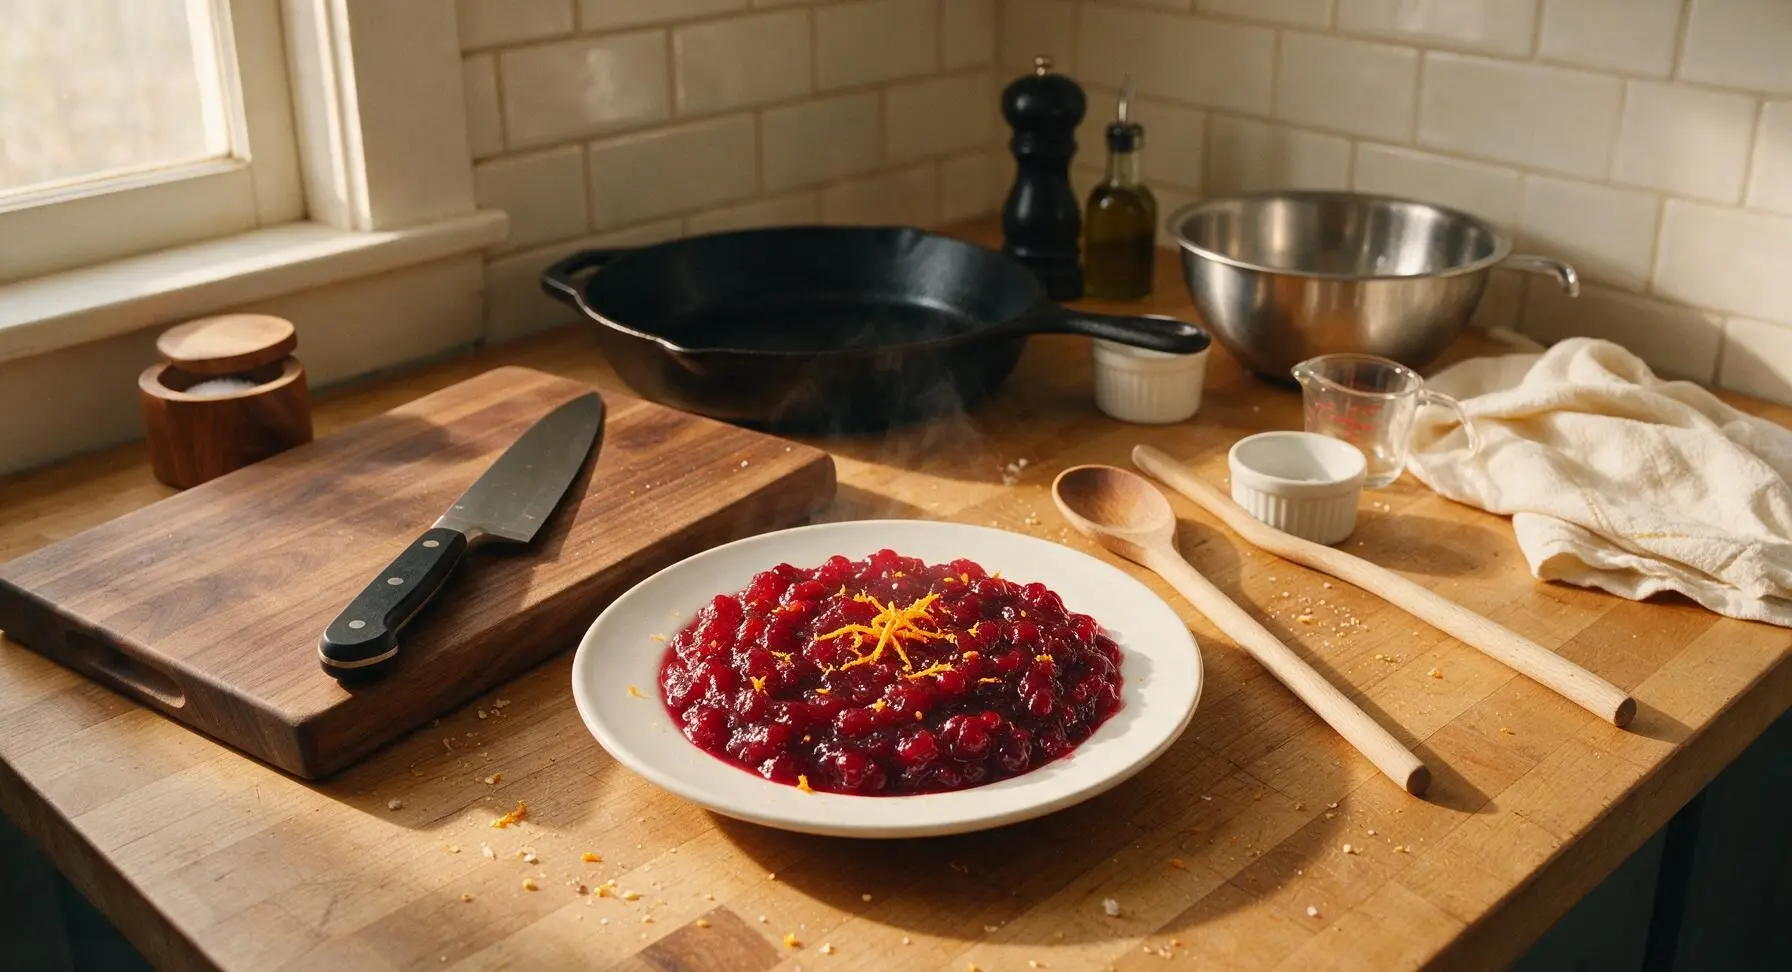
Bright, tart-sweet homemade cranberry sauce laced with fresh orange zest, perfectly balanced to cut through rich holiday roasts, with a jammy, tender texture and bright citrus aroma.
Ingredients
Steps
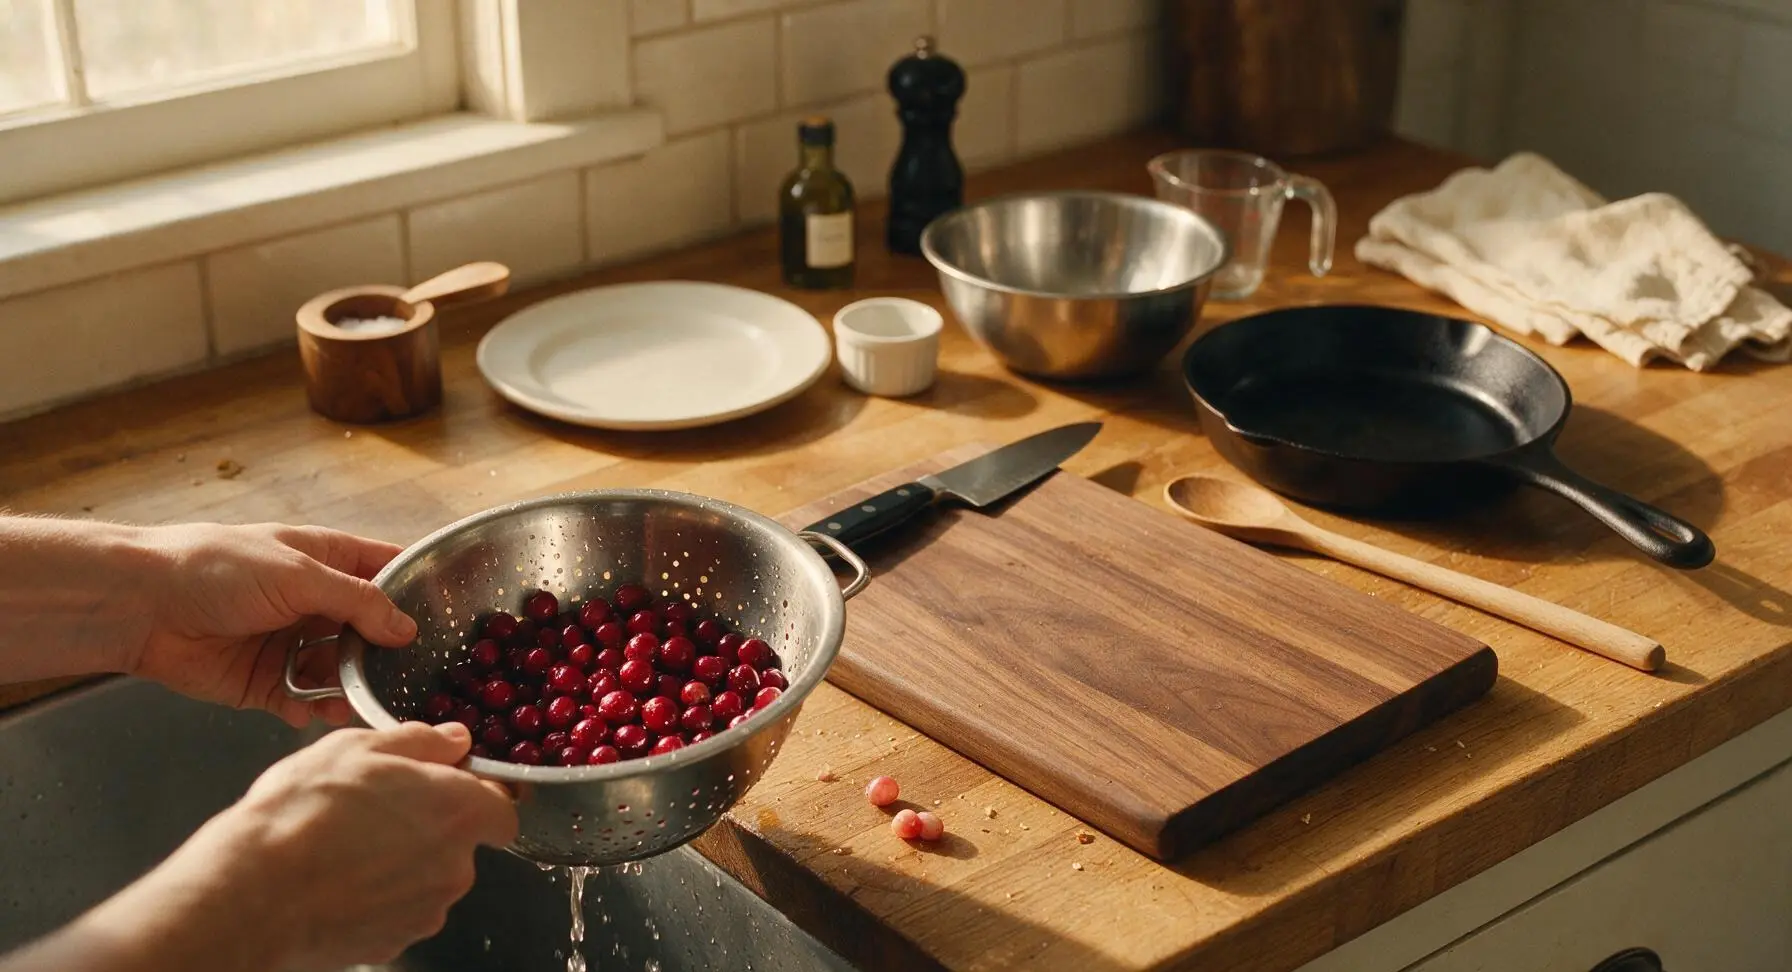
Rinse and sort cranberries
Pour the 340g of fresh cranberries into the small stainless steel colander. Rinse under cool running water, sorting through to remove any soft, bruised, or moldy berries, as well as any leftover tiny brown stems. Shake the colander gently over the sink to drain excess water from the berries, then set the colander on the left edge of the maple cutting board.
Zest the navel orange
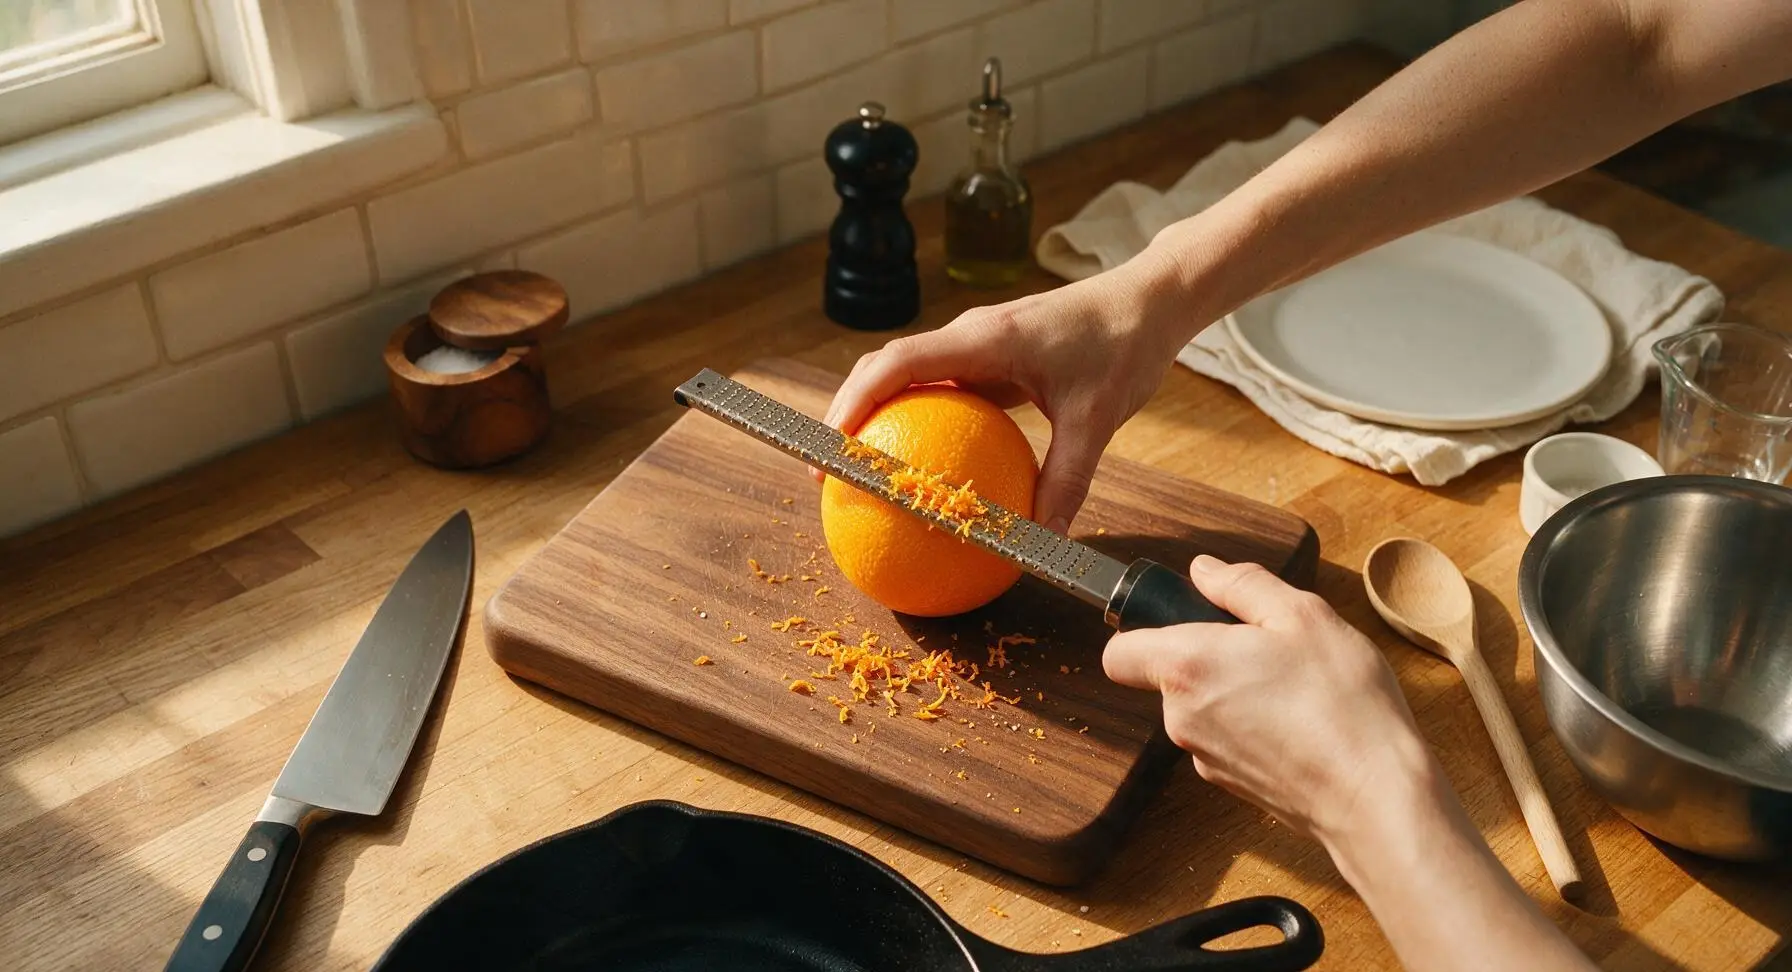
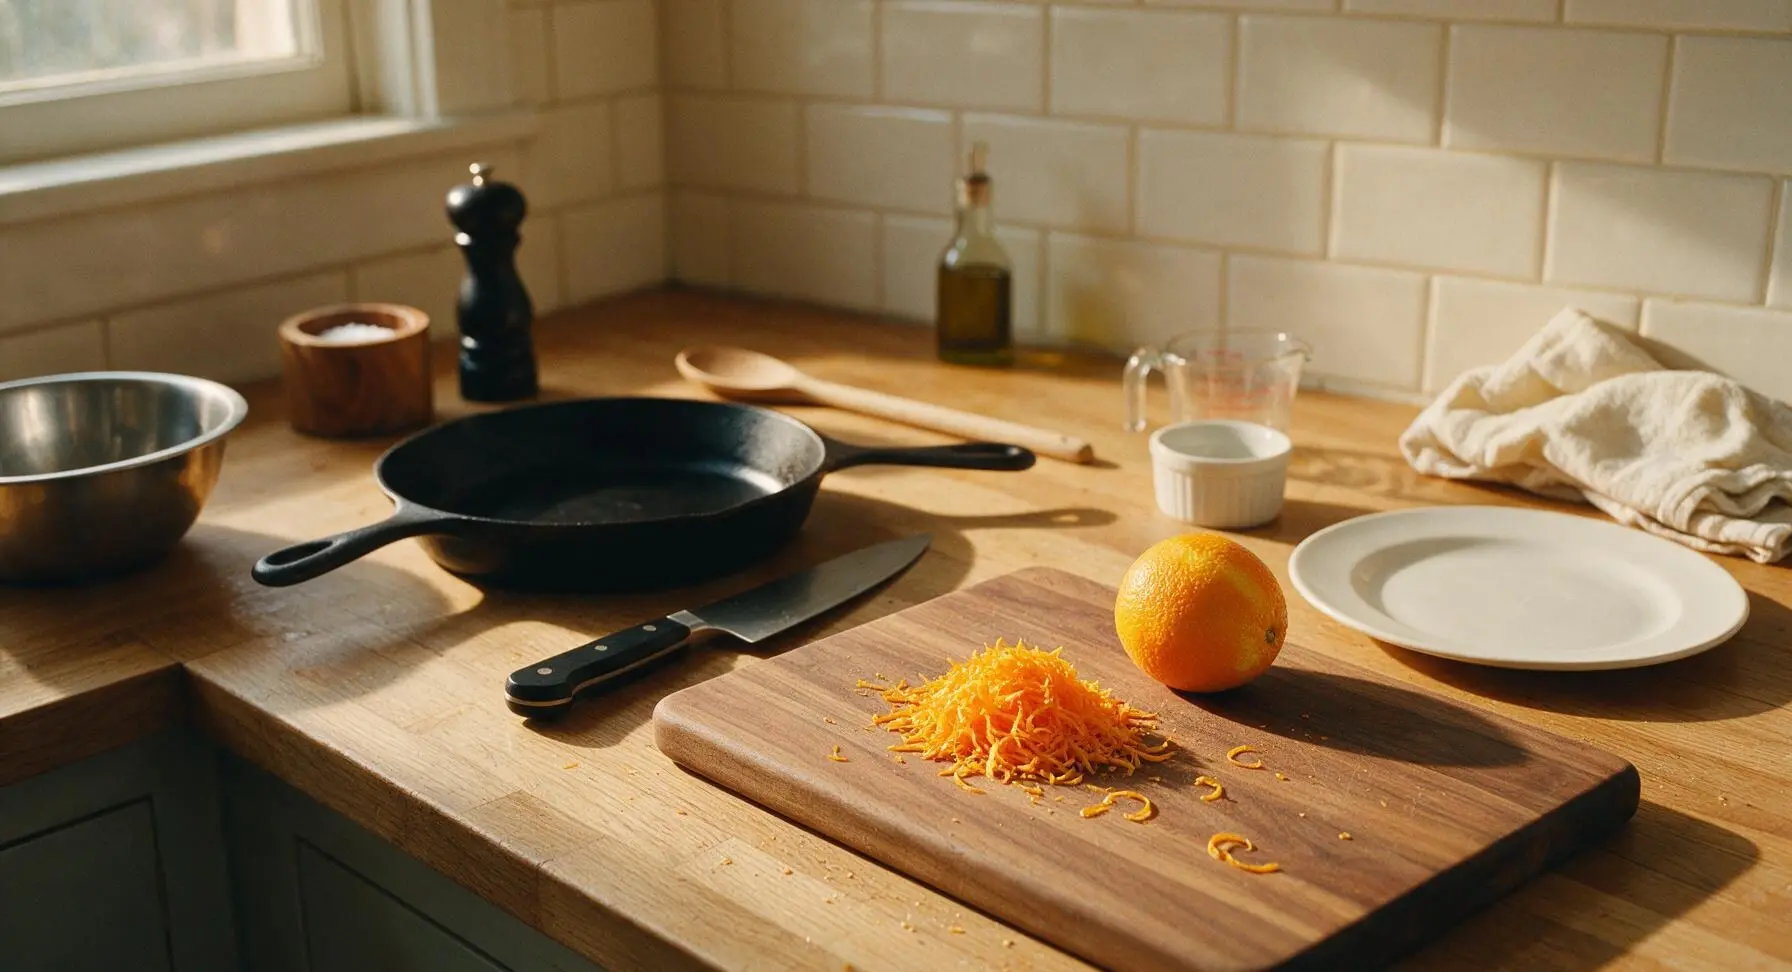
Place the whole navel orange on the center of the maple wood cutting board. Hold the microplane zester at a 45-degree angle, and gently grate only the bright outer orange peel, applying light pressure to avoid scraping the bitter white pith underneath. Continue grating until you have collected 1 tablespoon of fine, fragrant orange zest on the cutting board. Set the zested orange aside for juicing.
Squeeze fresh orange juice
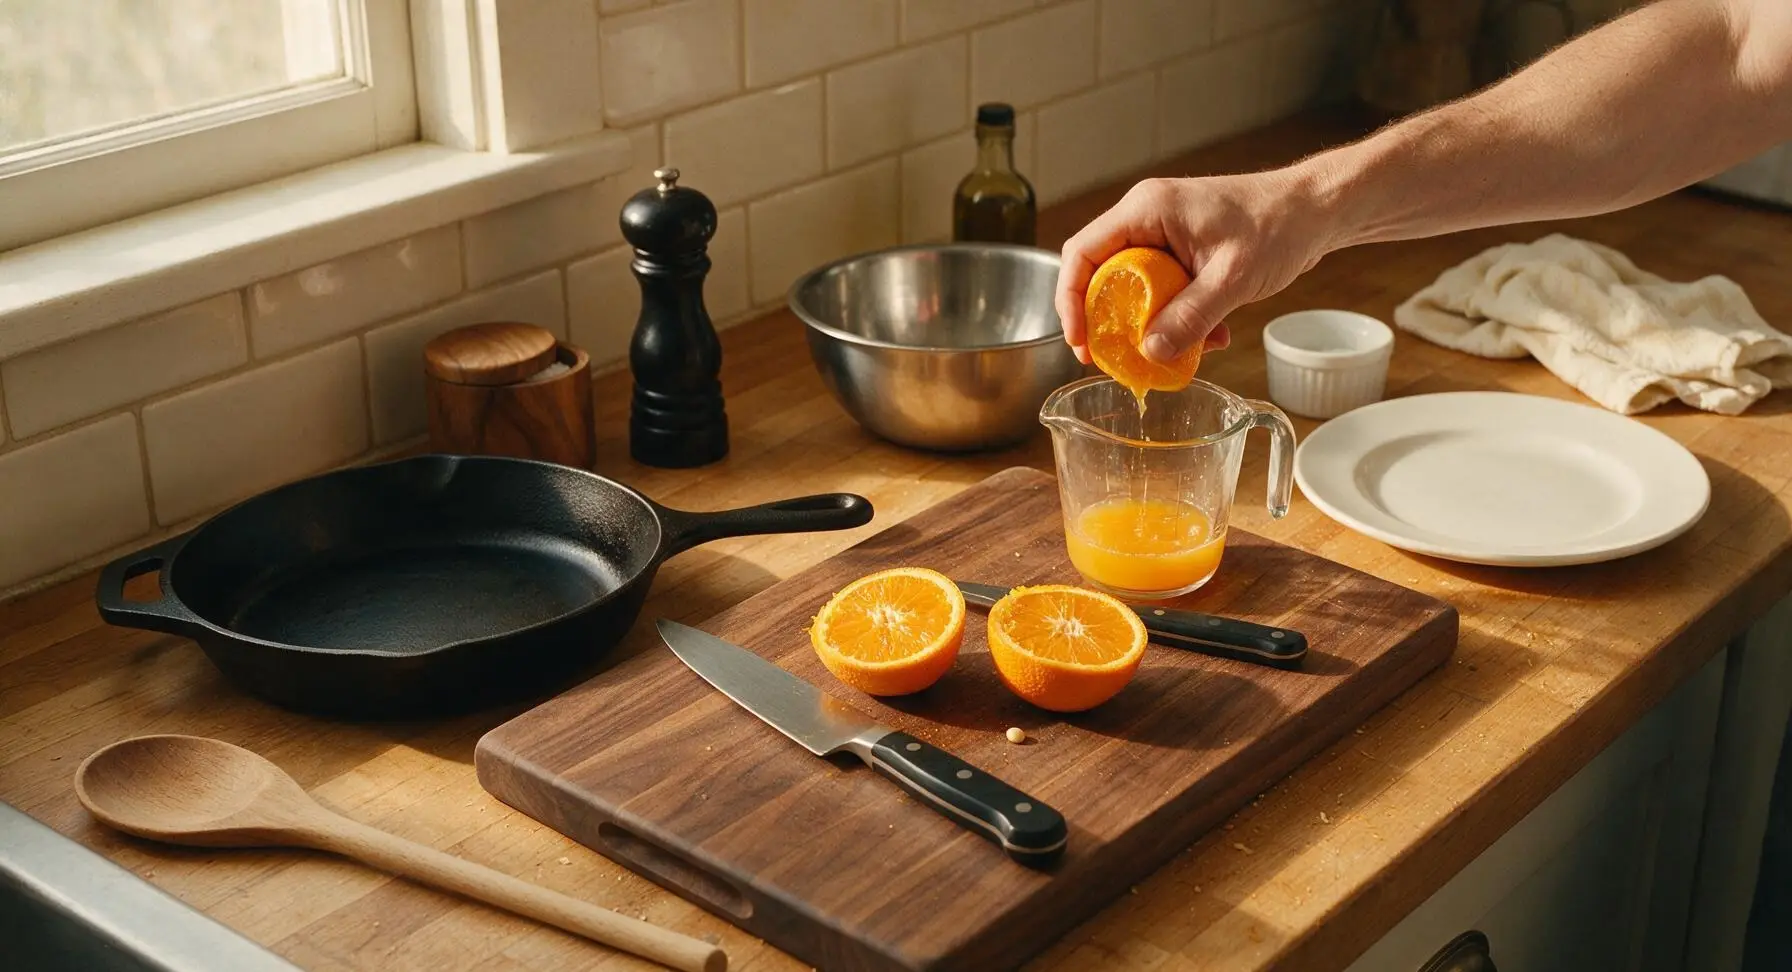
Use the paring knife to cut the zested orange in half across its equator. Squeeze each half by hand over the clear glass measuring cup to extract 60ml (1/4 cup) of fresh orange juice, picking out any seeds that fall into the juice. Discard the squeezed orange peels, and set the measured juice aside.
Combine sauce base ingredients
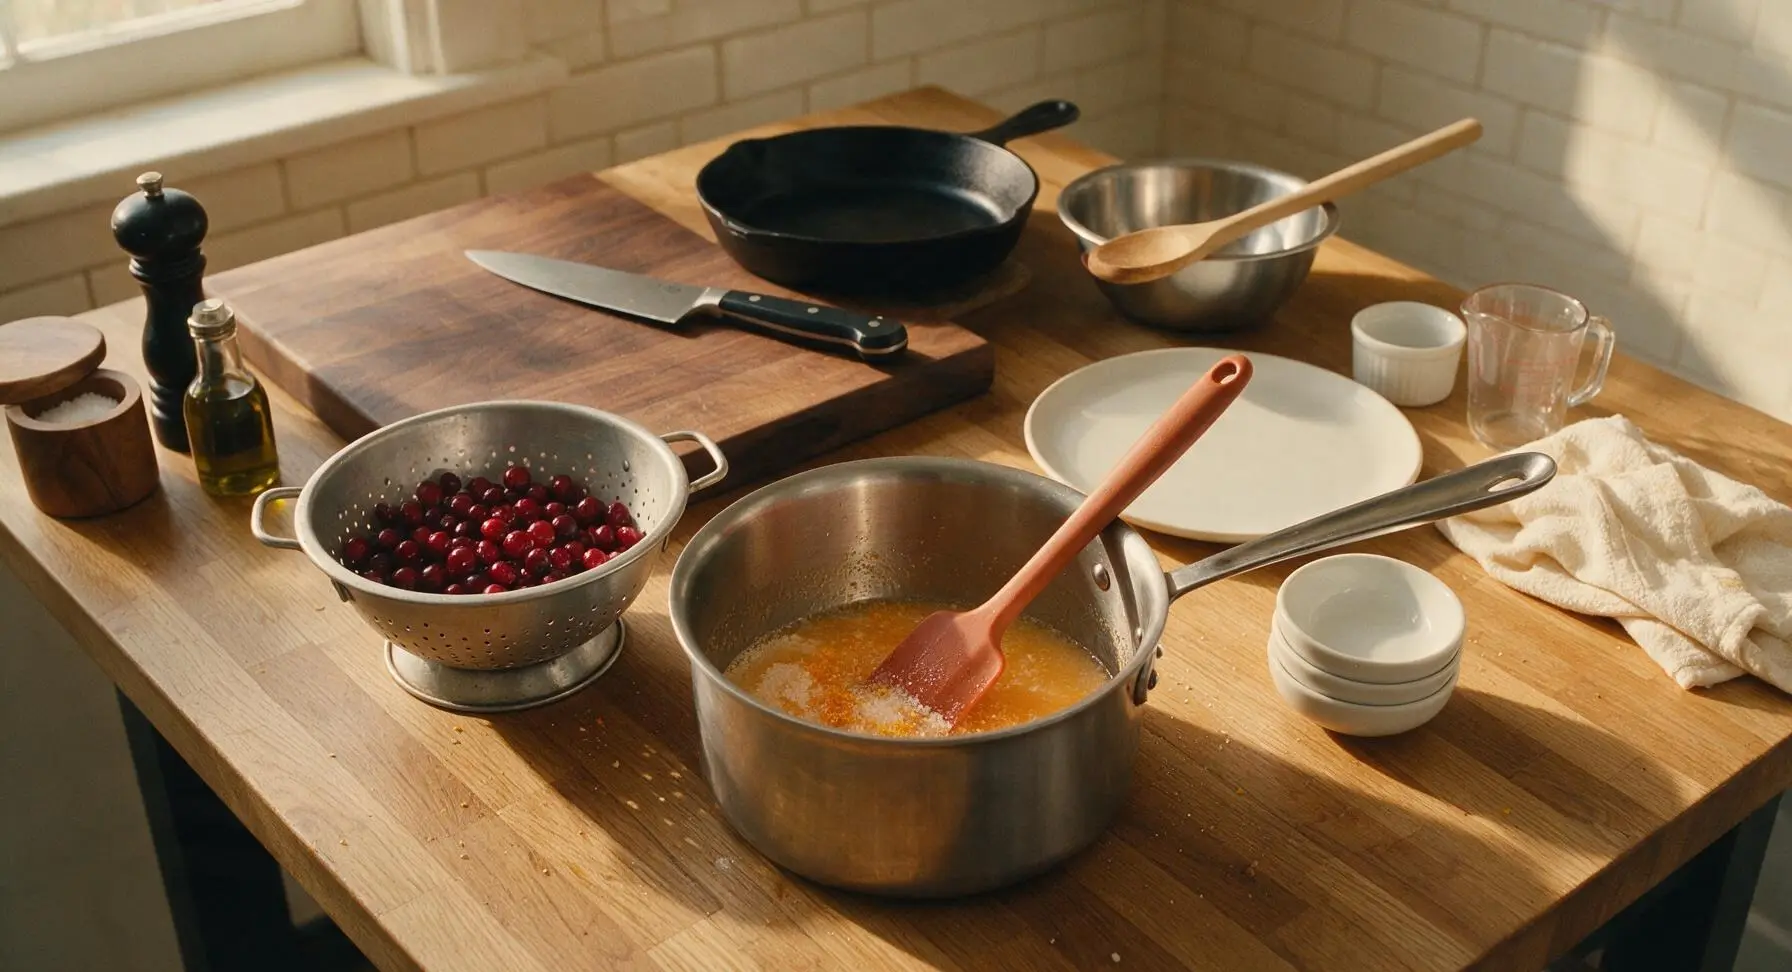
Set the 2L heavy-bottomed stainless steel saucepan in the center of the quartz countertop. Use the stainless steel measuring cups to add the 120ml filtered water, 200g granulated sugar, and 1/8 teaspoon fine sea salt to the pan, then pour in the 60ml fresh orange juice and add the collected 1 tablespoon orange zest. Stir briefly with the terracotta silicone spatula to moisten all the sugar.
Heat sugar syrup to simmer
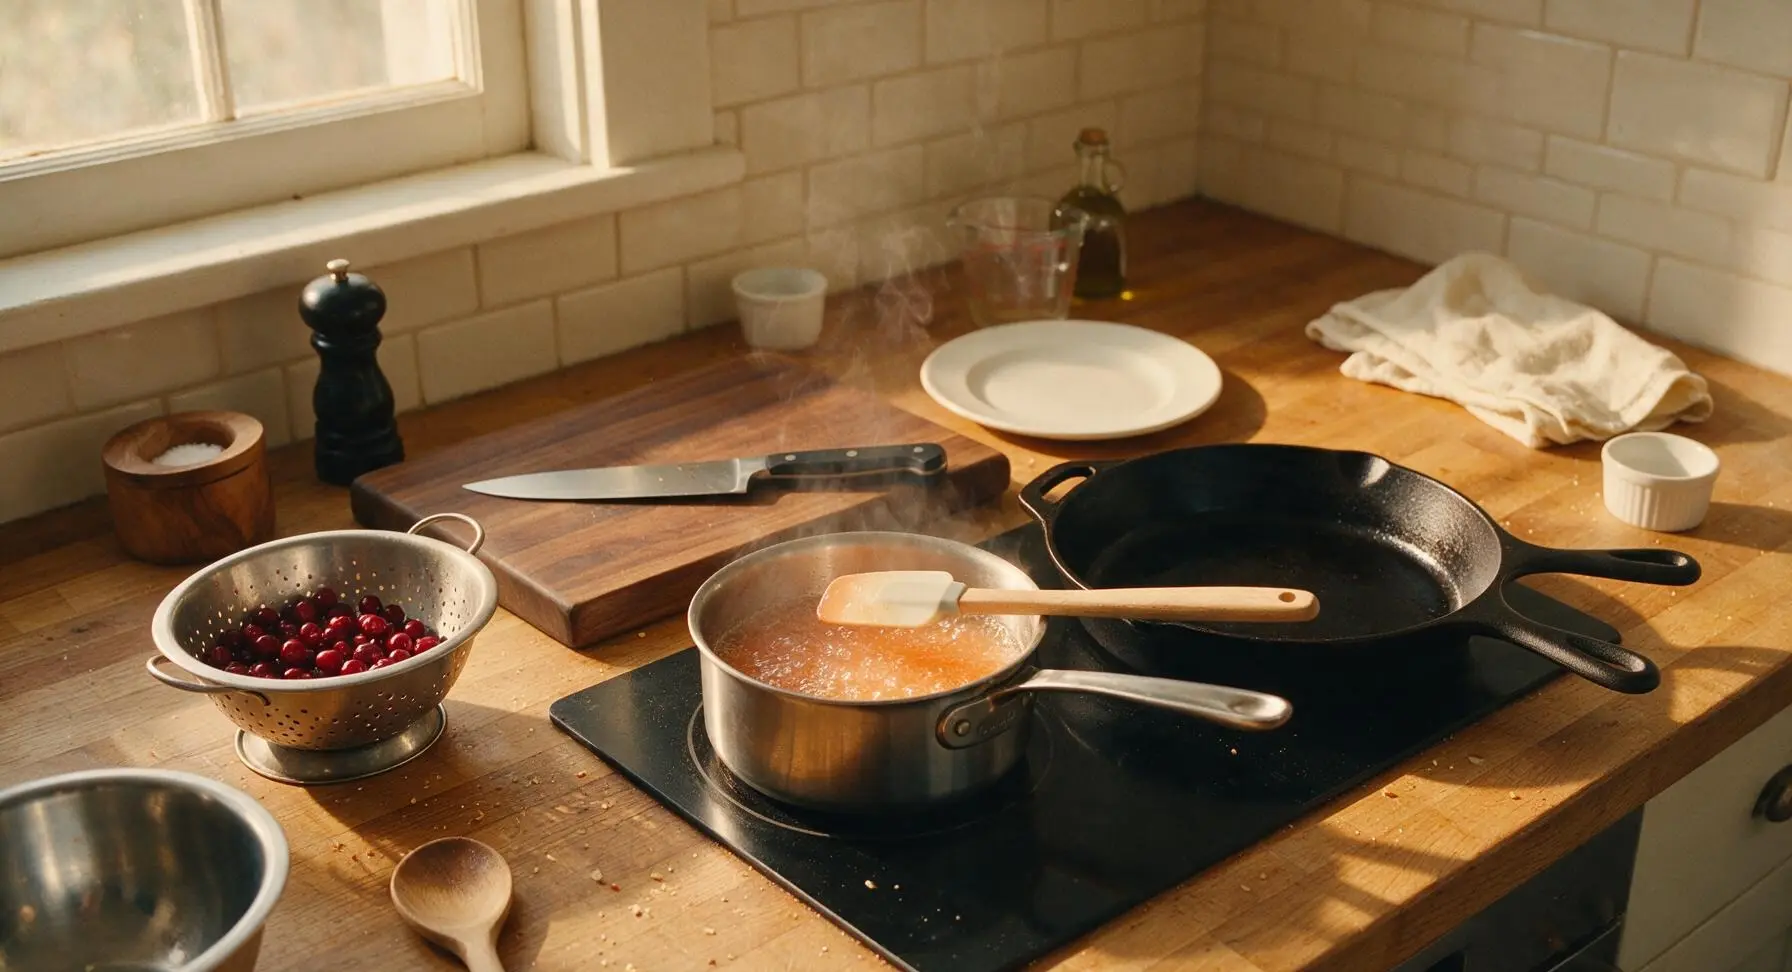
Move the saucepan to the central burner on the matte black stovetop, set to medium heat. Cook the sugar mixture, stirring occasionally with the silicone spatula, for 3-4 minutes until the sugar fully dissolves and the liquid comes to a gentle, rolling simmer. You will no longer feel gritty undissolved sugar crystals when you run the spatula across the bottom of the pan.
Add cranberries to syrup
Carefully pour all the rinsed, drained cranberries from the colander into the simmering sugar syrup. Stir once gently with the silicone spatula to coat all cranberries evenly in the hot syrup. Wait for the mixture to return to a gentle simmer, then reduce the stovetop heat to medium-low to maintain a soft, steady bubble rather than a violent rolling boil.
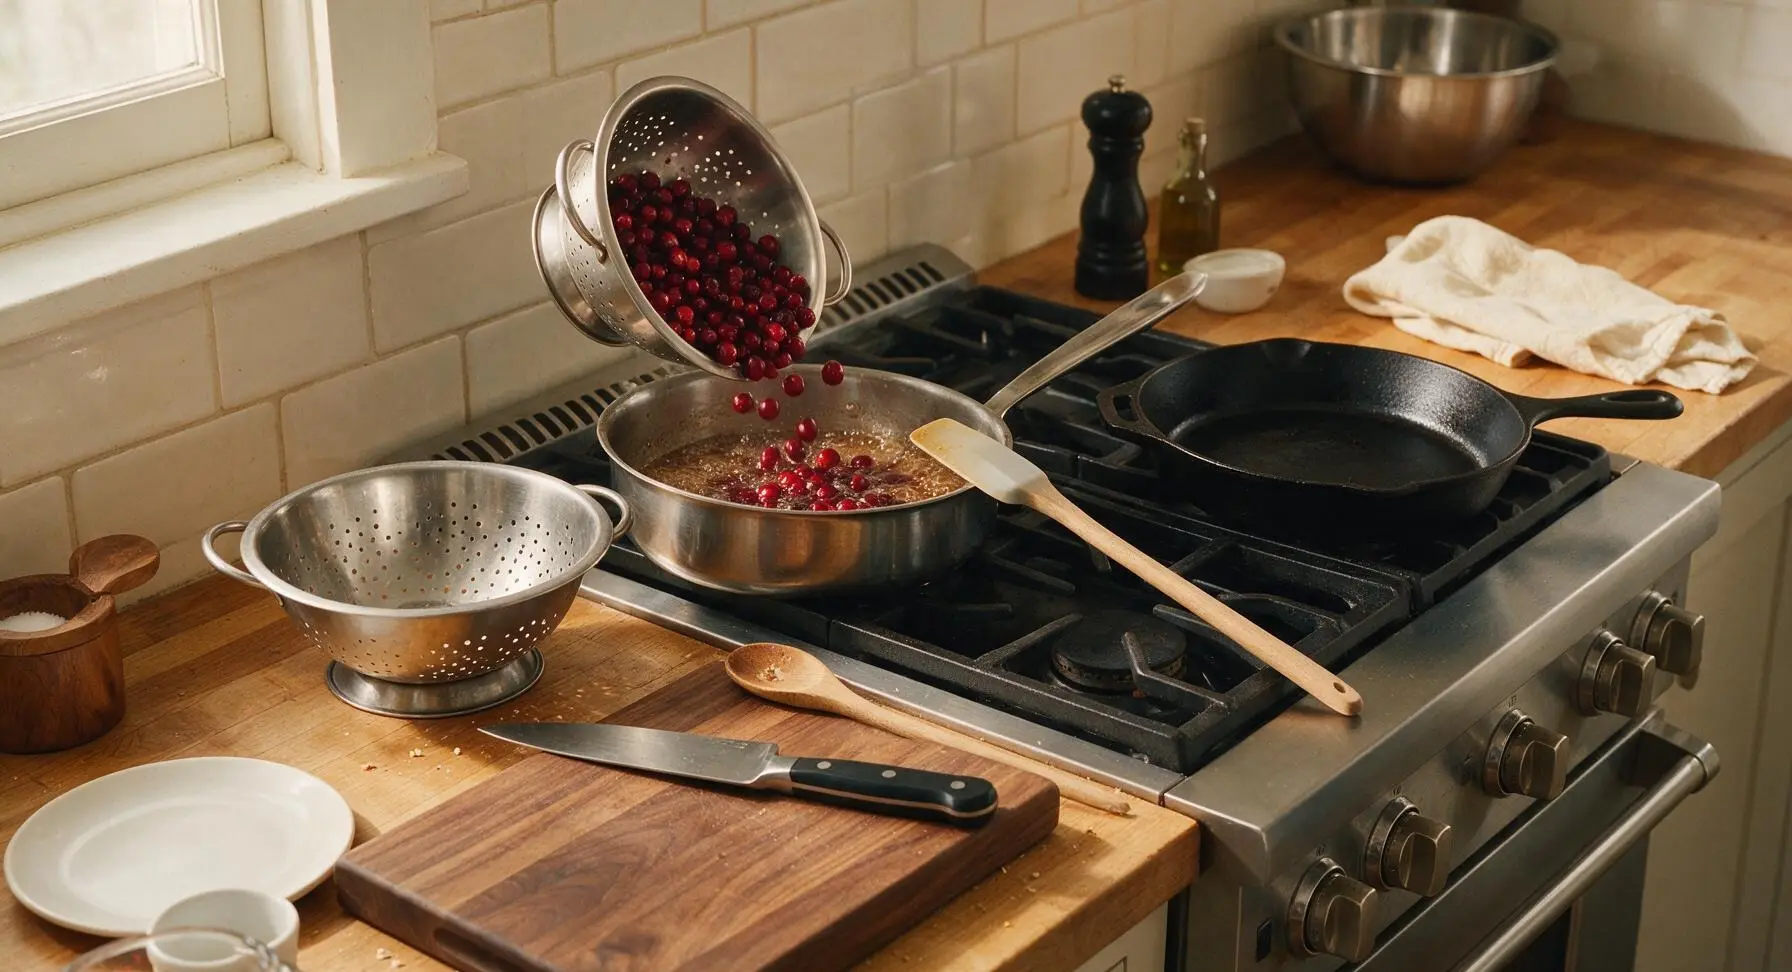
Simmer to jammy texture
Simmer the cranberry mixture, stirring gently every 2-3 minutes with the silicone spatula to prevent sticking on the pan bottom, for 10-12 minutes. You will hear soft popping sounds as cranberry skins split open, and the sauce will darken to a deep ruby red and thicken to a loose, jammy consistency. Stop cooking when roughly 2/3 of the cranberries have popped, leaving a few whole berries for texture—remember the sauce will thicken significantly as it cools.
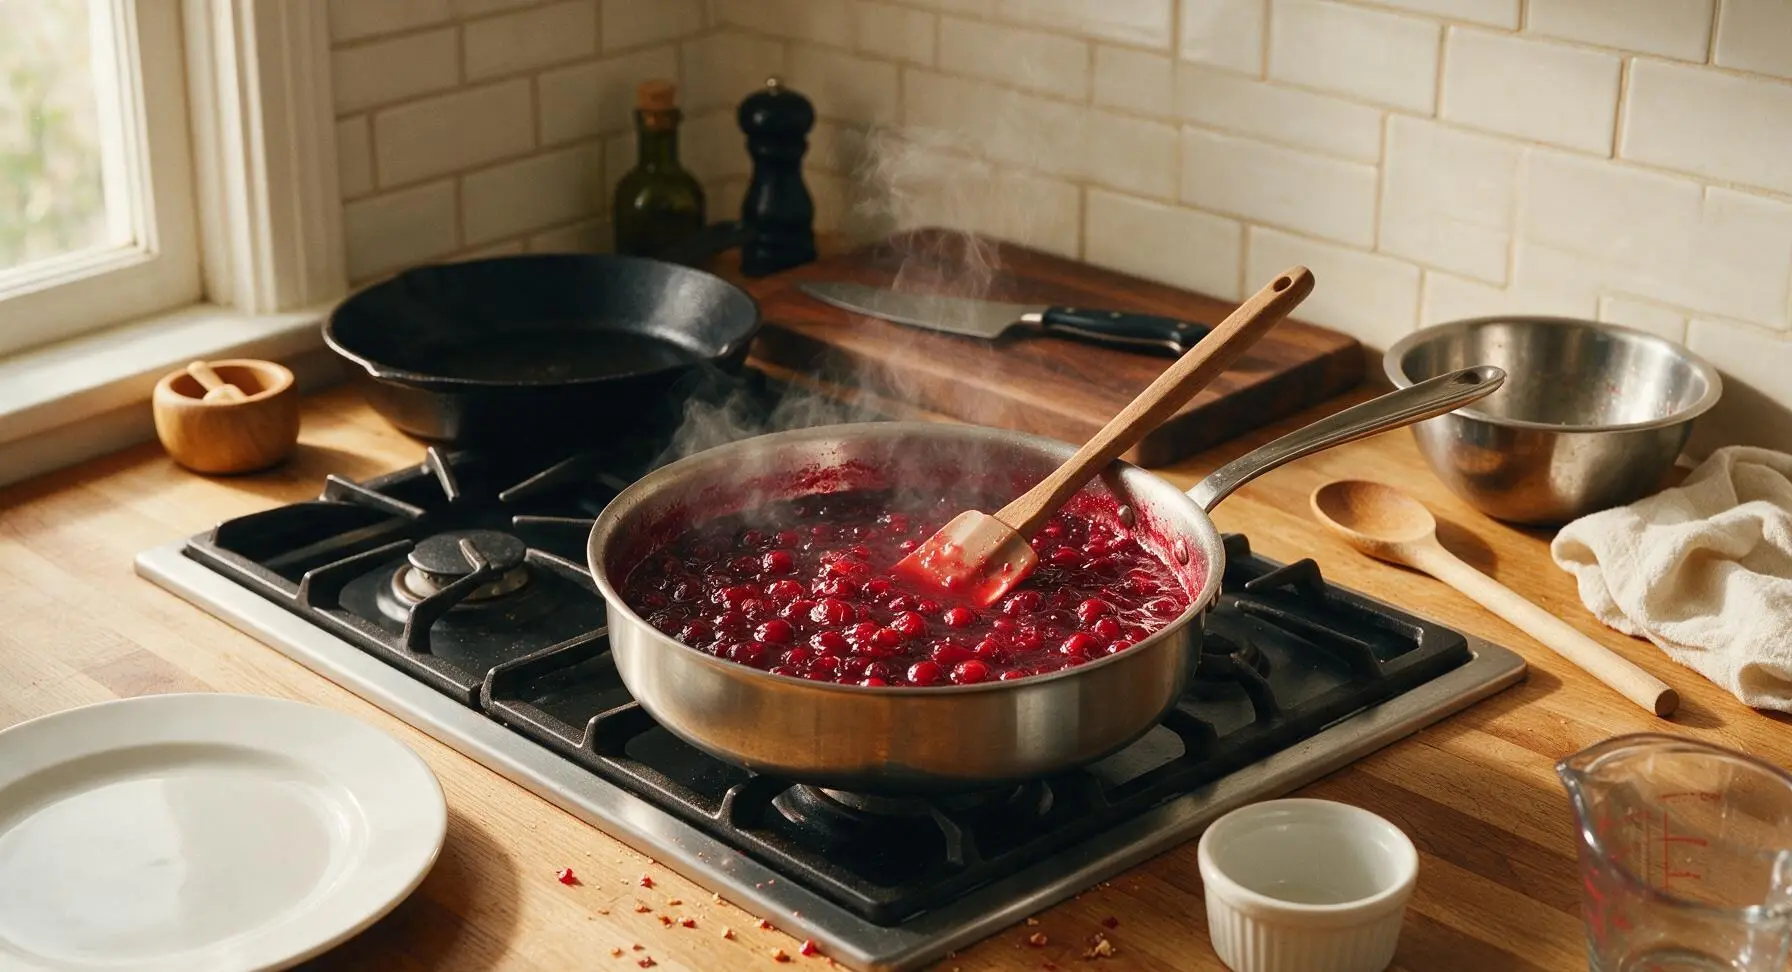
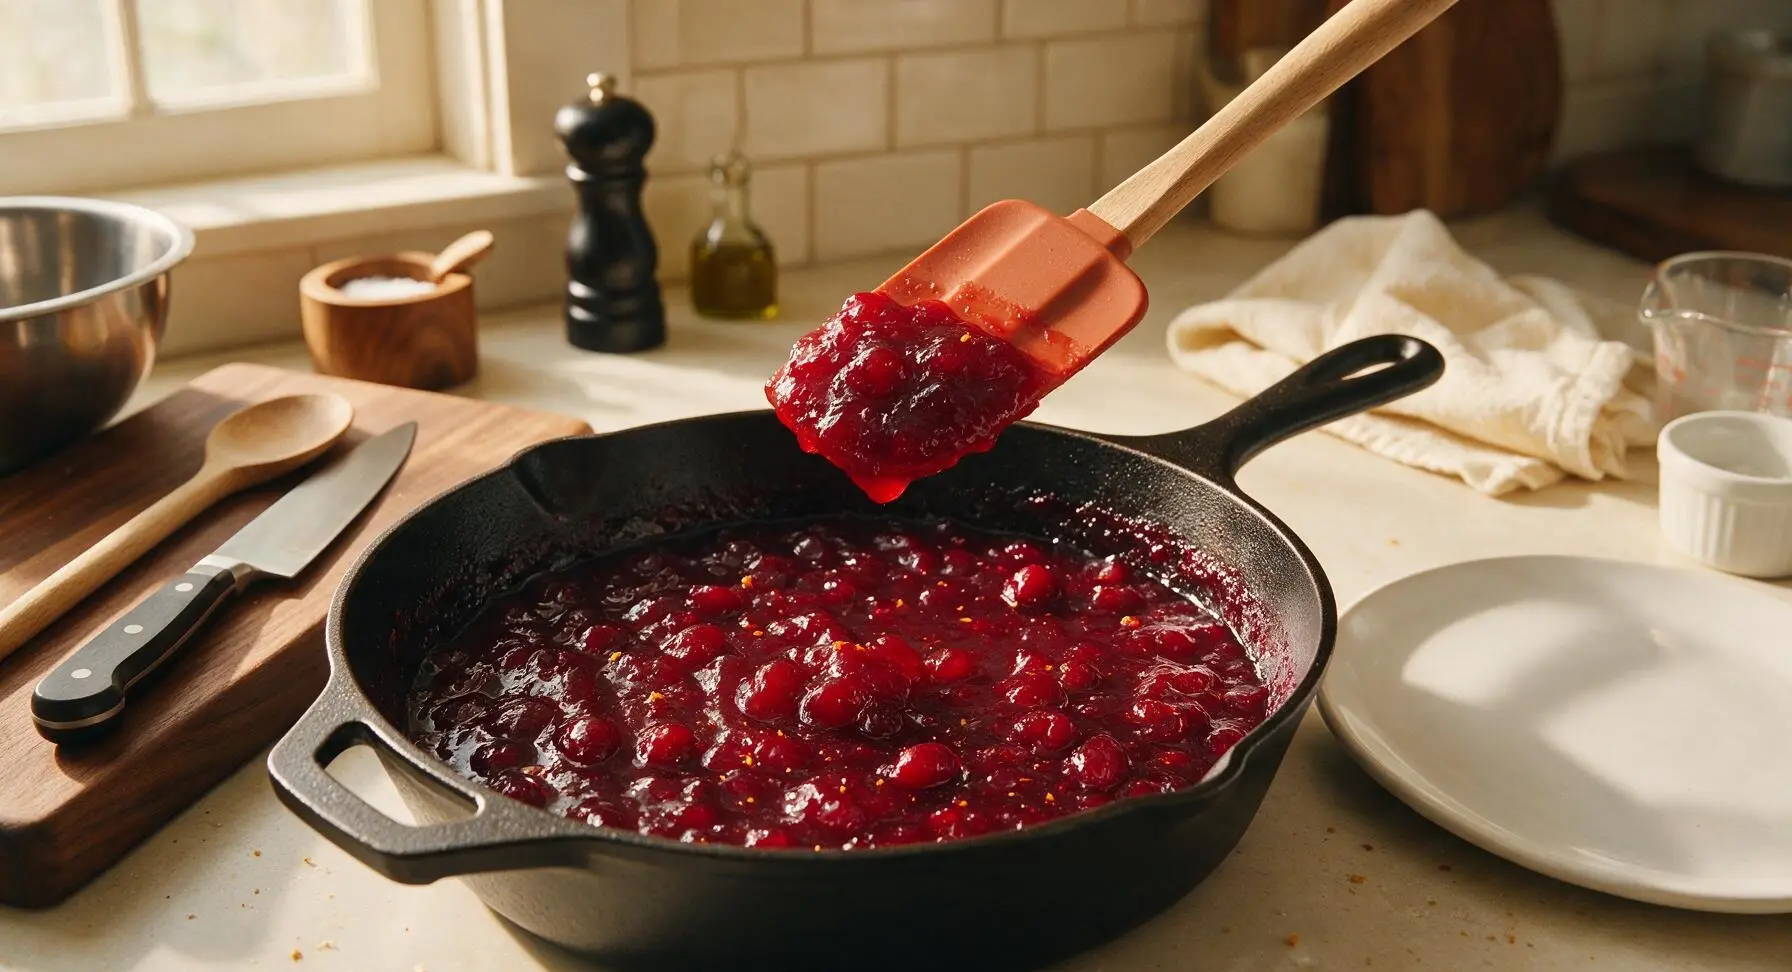
Cool sauce before serving
Turn off the stovetop heat. Carefully pour the hot cranberry sauce into the small round cream ceramic serving bowl, using the silicone spatula to scrape every last bit of sauce from the pan. Let the sauce cool to room temperature for 1 hour, then cover with plastic wrap and refrigerate for at least 2 hours before serving to allow the pectin to set the sauce to the perfect spreadable consistency.
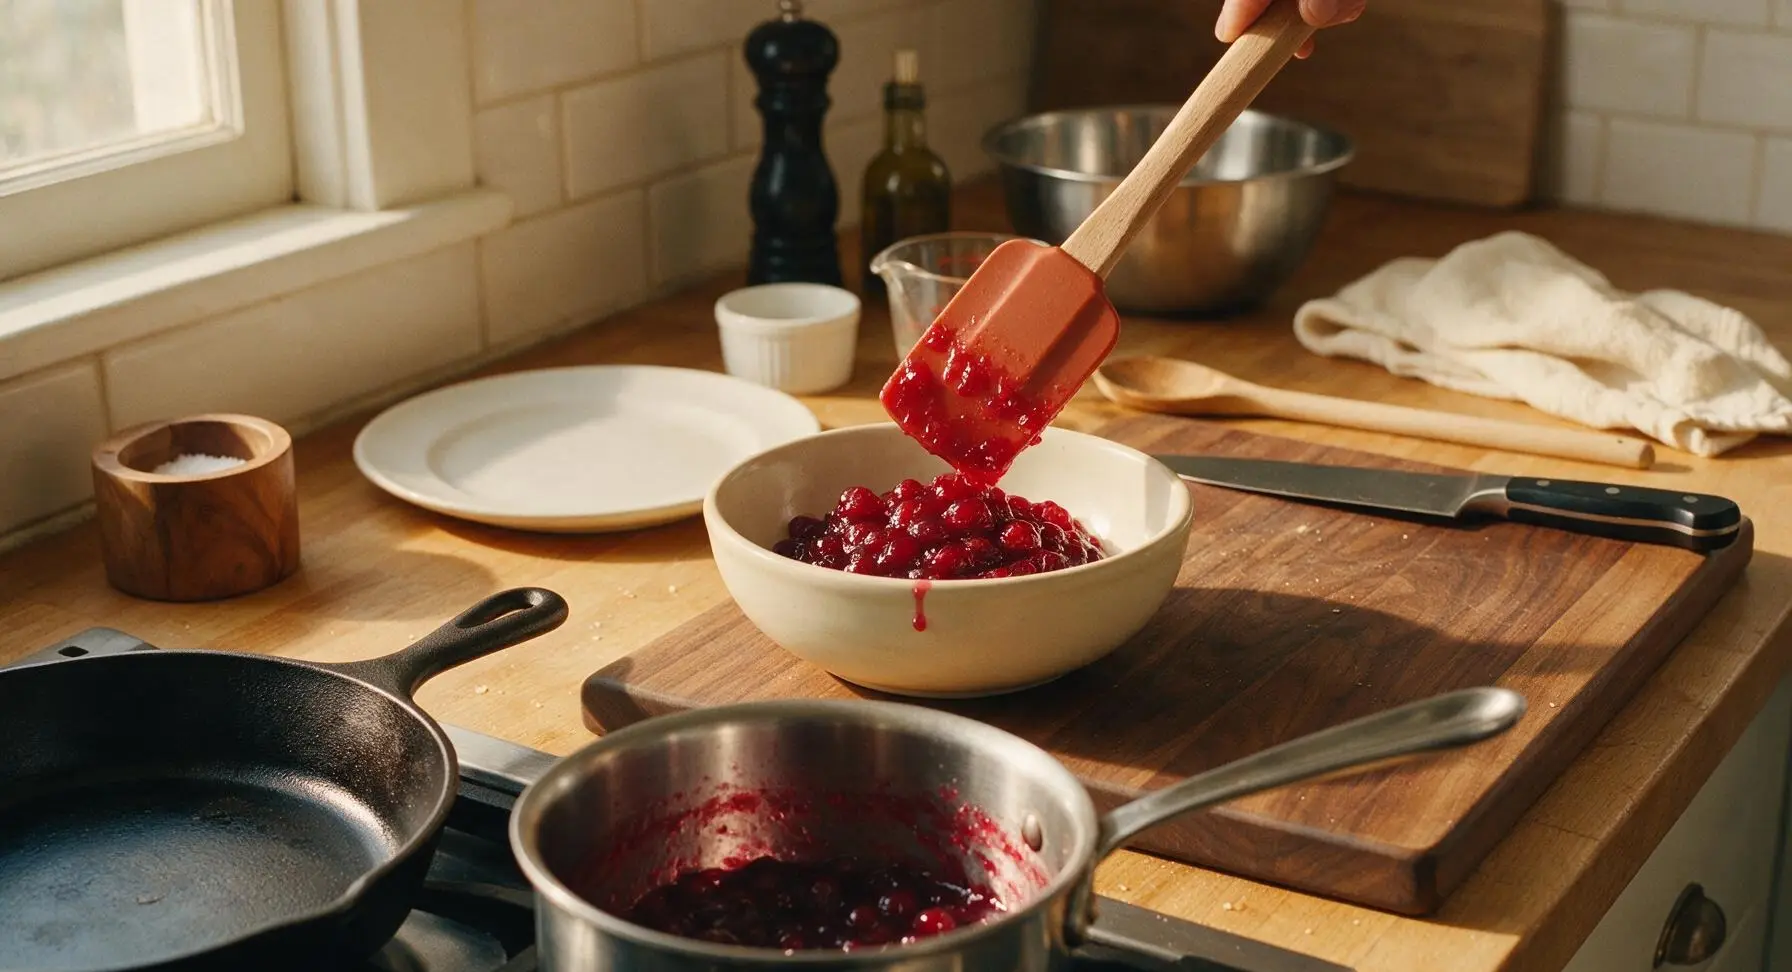
Tips
2.Resist the urge to overcook the sauce: it will look quite thin and runny when you first remove it from heat, but the natural pectin released from cranberry skins as they cool will thicken the sauce to a perfect jammy consistency after chilling. Overcooking leads to a tough, rubbery jellied texture.
3.This sauce stores beautifully for up to 1 week in a sealed airtight container in the refrigerator, so make it 2-3 days ahead of your holiday meal to cut down on last-minute cooking tasks. The citrus and cranberry flavors will meld and deepen as it rests.






OMG this cranberry sauce is such a game changer! I’ve been making the gloopy canned stuff for years because I thought homemade was too hard, but 15 minutes?? My whole family fought over the last spoonful at our Sunday dinner last night. The orange zest cuts the tartness so perfectly, no weird added junk either. 10/10 will be making this for our Thanksgiving spread for sure!
Made this last night to go with smoked pork chops and wow, SO good. I was skeptical orange and cranberry would pair that well with savory smoked meat but it balanced the salt perfectly. Only change I made was adding a tiny pinch of cinnamon because I love warm spices, worked like a charm.
Super easy recipe even for someone who burns toast half the time! Threw this together for my friend’s Friendsgiving pre-game and everyone asked for the recipe. Way cheaper than buying the fancy artisanal stuff at the grocery store too. Will be adding this to my regular meal rotation for sure.
I’ve been making cranberry sauce for 40 years and I have to say, this recipe is my new go-to! The orange zest adds such a bright, fresh pop that my old recipe was missing. My grandkids ate seconds, which never happens with cranberry sauce at our house. Thank you for sharing such a simple, delicious recipe!
Made a big batch of this on Sunday for meal prep and it’s been perfect all week! I’ve put it on oatmeal, paired it with turkey sandwiches, even ate a little straight out of the container as a snack. Who knew cranberry sauce was this versatile? 15 minutes of cook time for a whole week of good eats, can’t beat that.
Brought this to my neighborhood block party potluck last weekend and people were coming up to me all night asking for the recipe! I added a little extra orange zest because I love that bright citrus flavor, and it was a total hit. Even the people who swear they hate cranberry sauce went back for seconds.
I was so worried I’d mess this up for my first Thanksgiving hosting, but it was literally impossible to screw up! 15 minutes on the stove, stir a few times, add the zest, done. No fancy ingredients, no complicated steps, and it tastes a million times better than the can-shaped jellied stuff. SO glad I found this recipe!