
Homemade Dinner Rolls (Soft Buttery)
intro
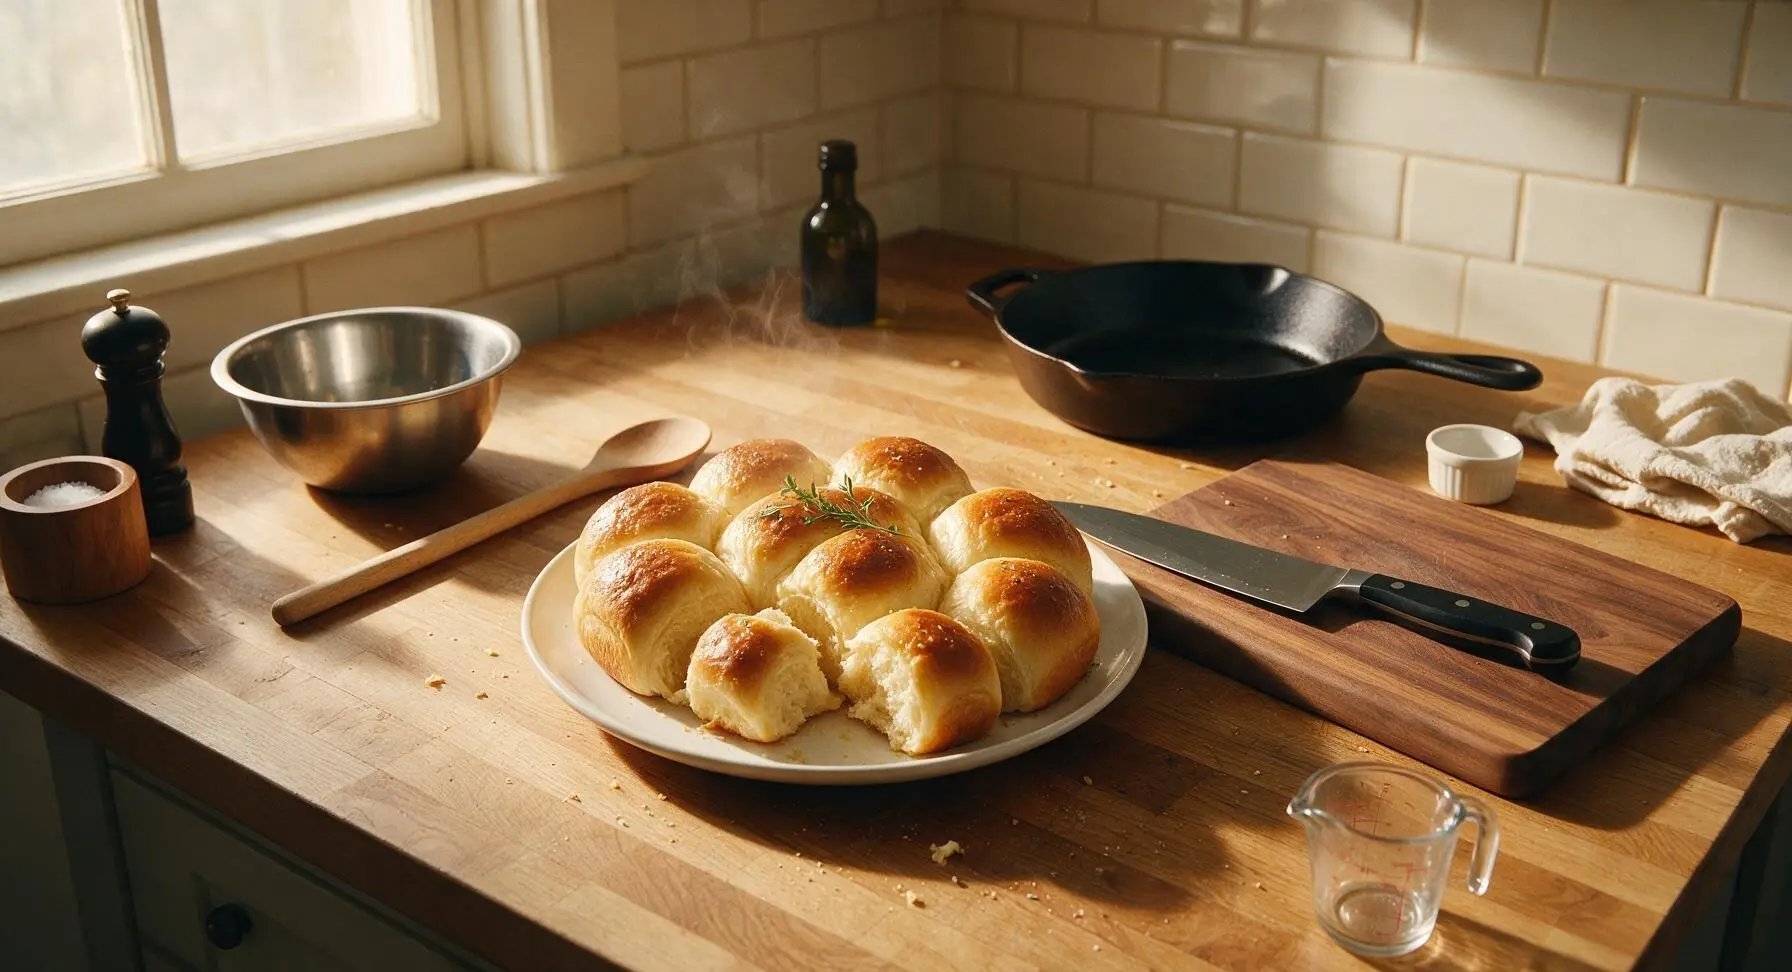
Pillowy-soft, golden-crusted, butter-soaked homemade dinner rolls with a light, melt-in-your-mouth crumb. The ultimate cozy side for family meals.
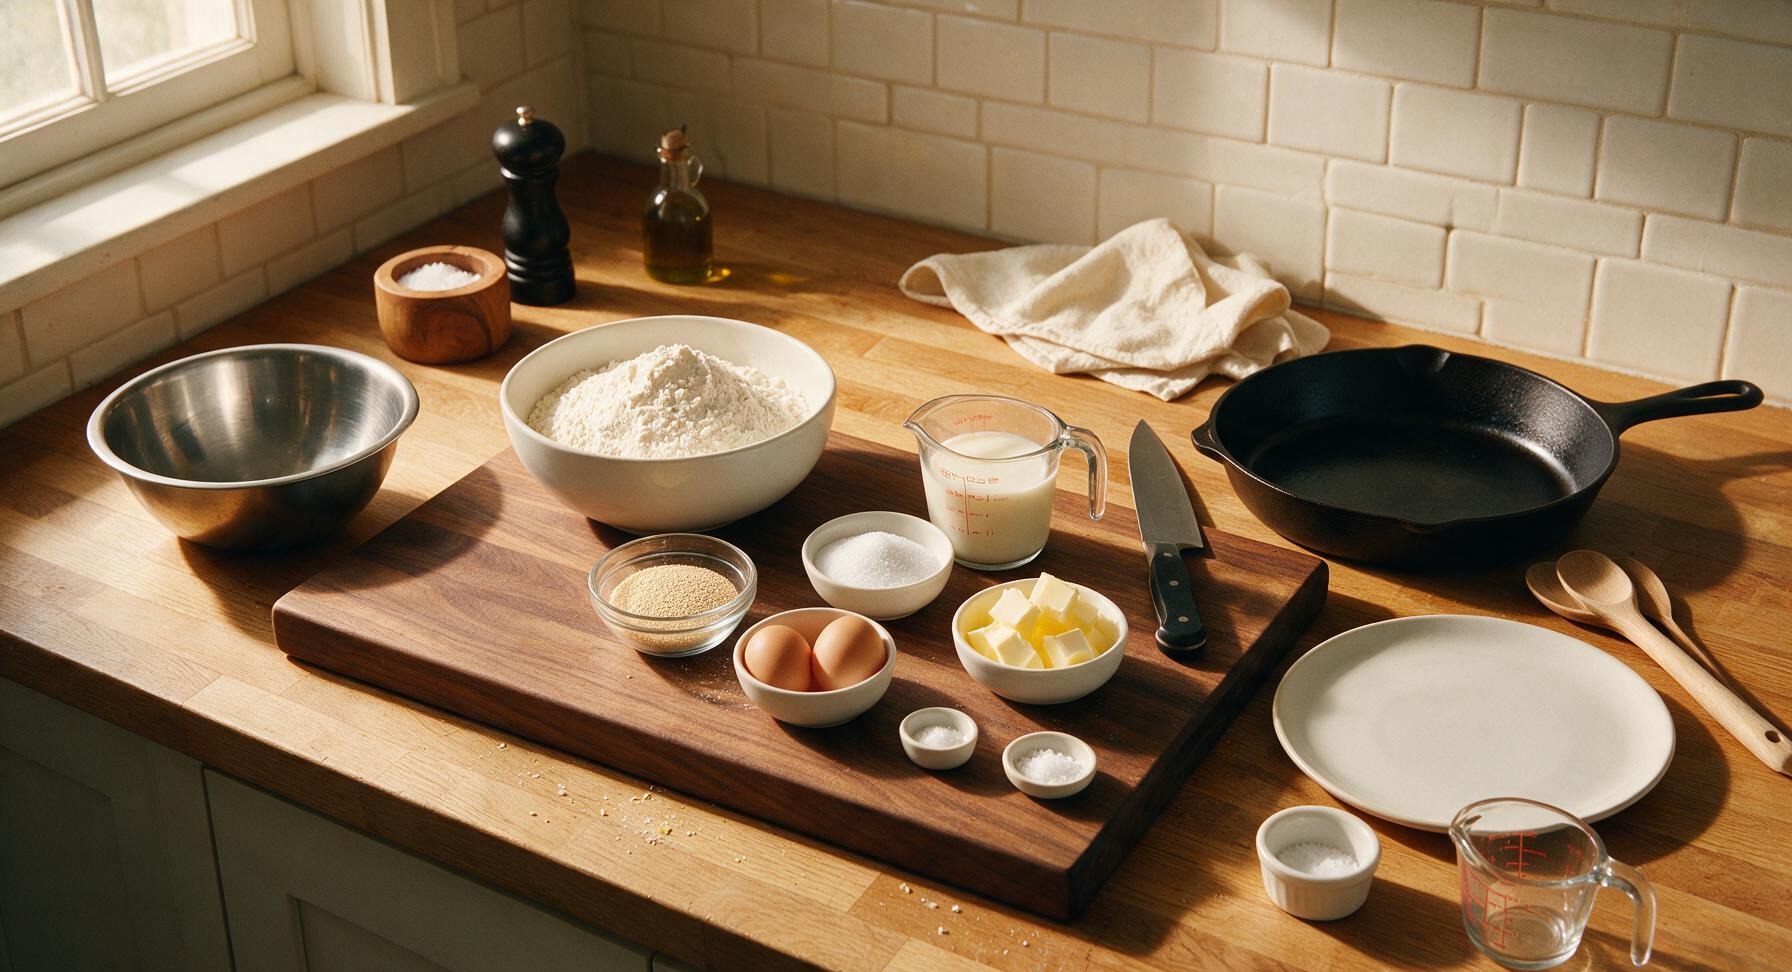
Ingredients
Steps
Activate the Yeast
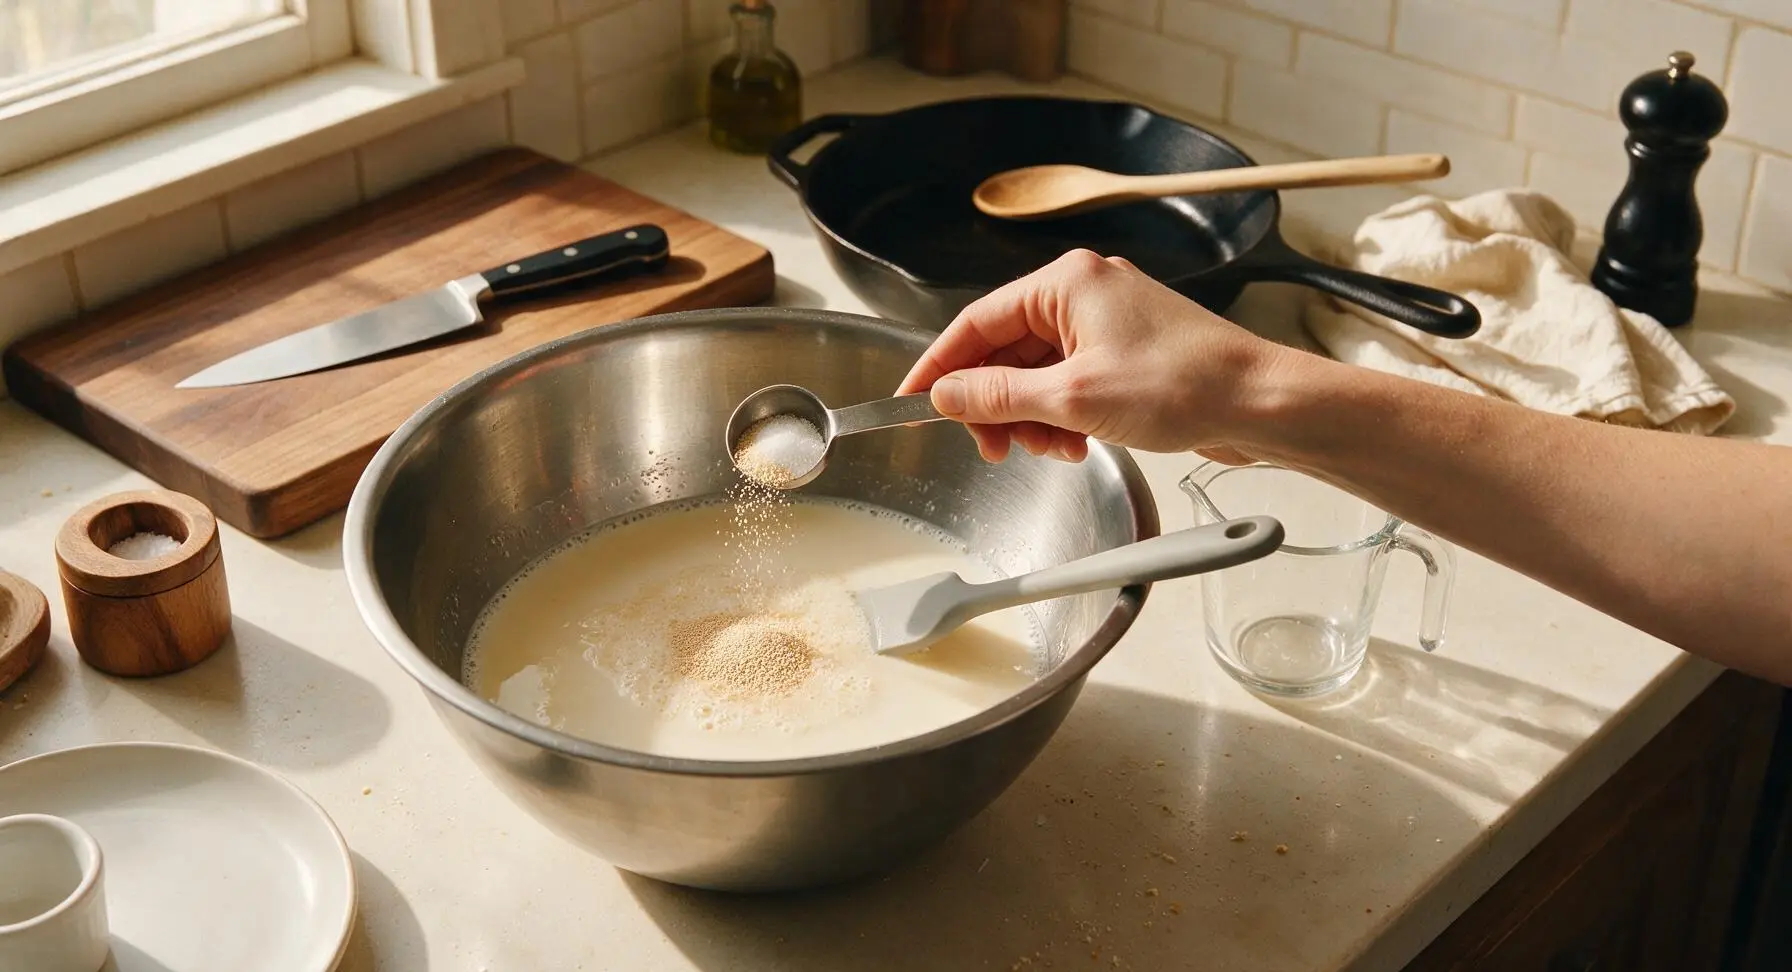
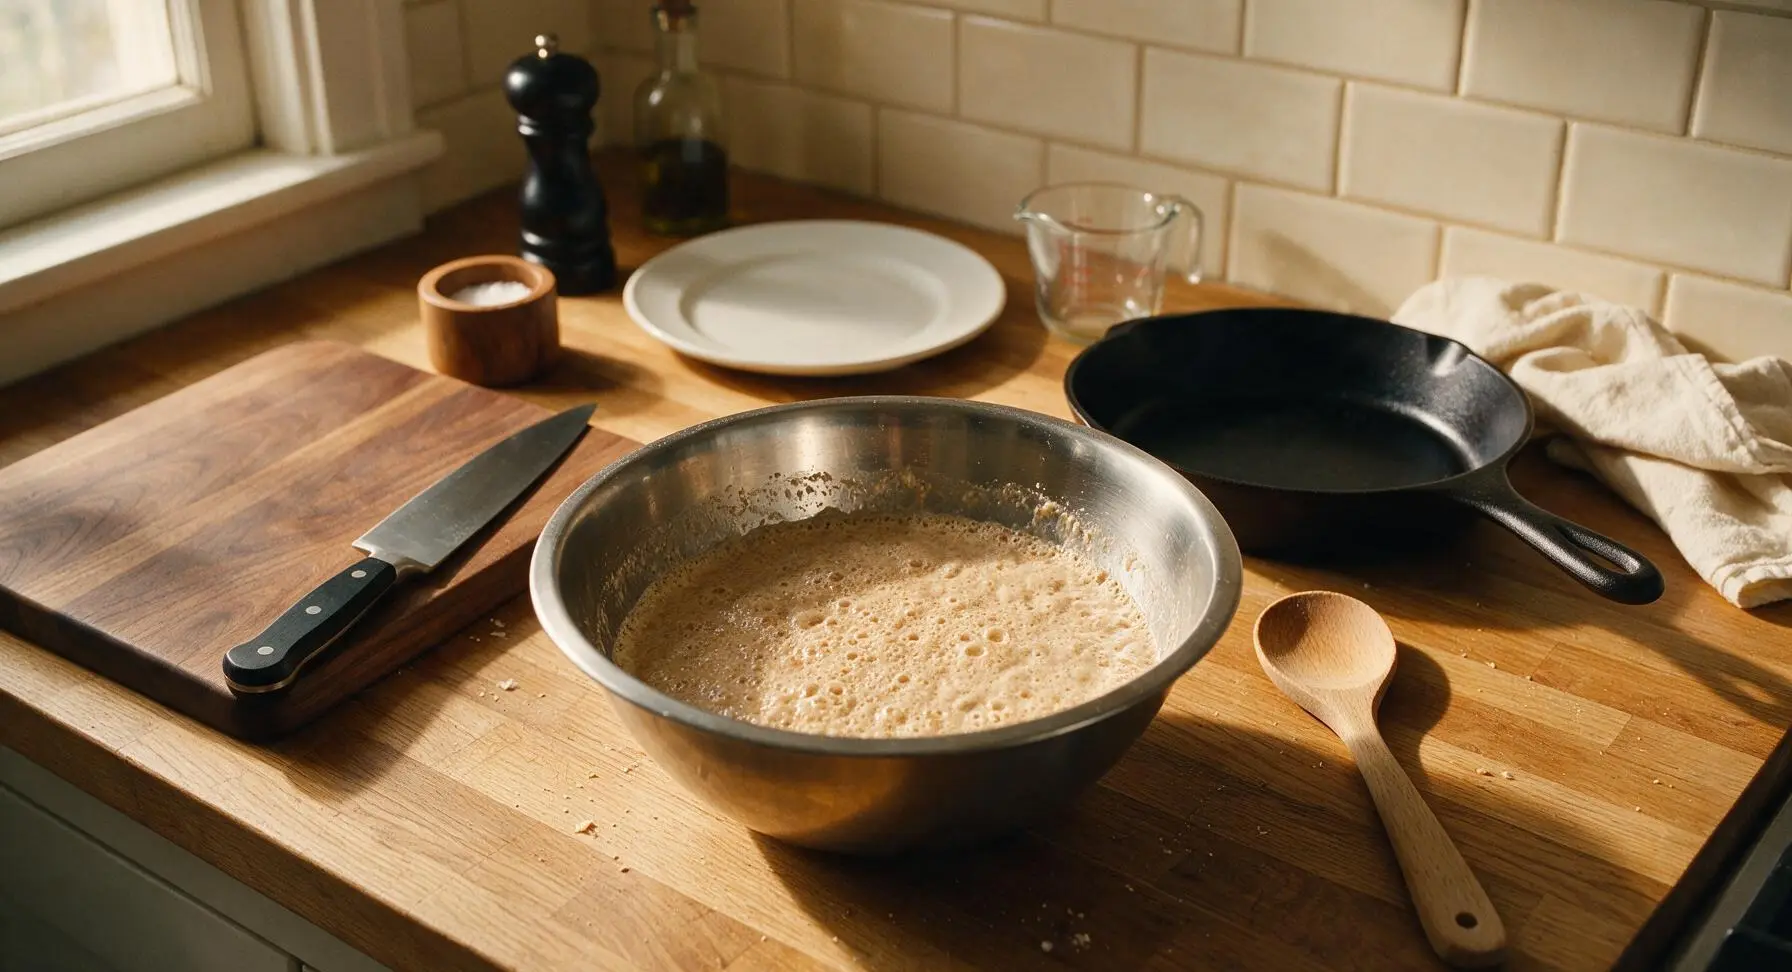
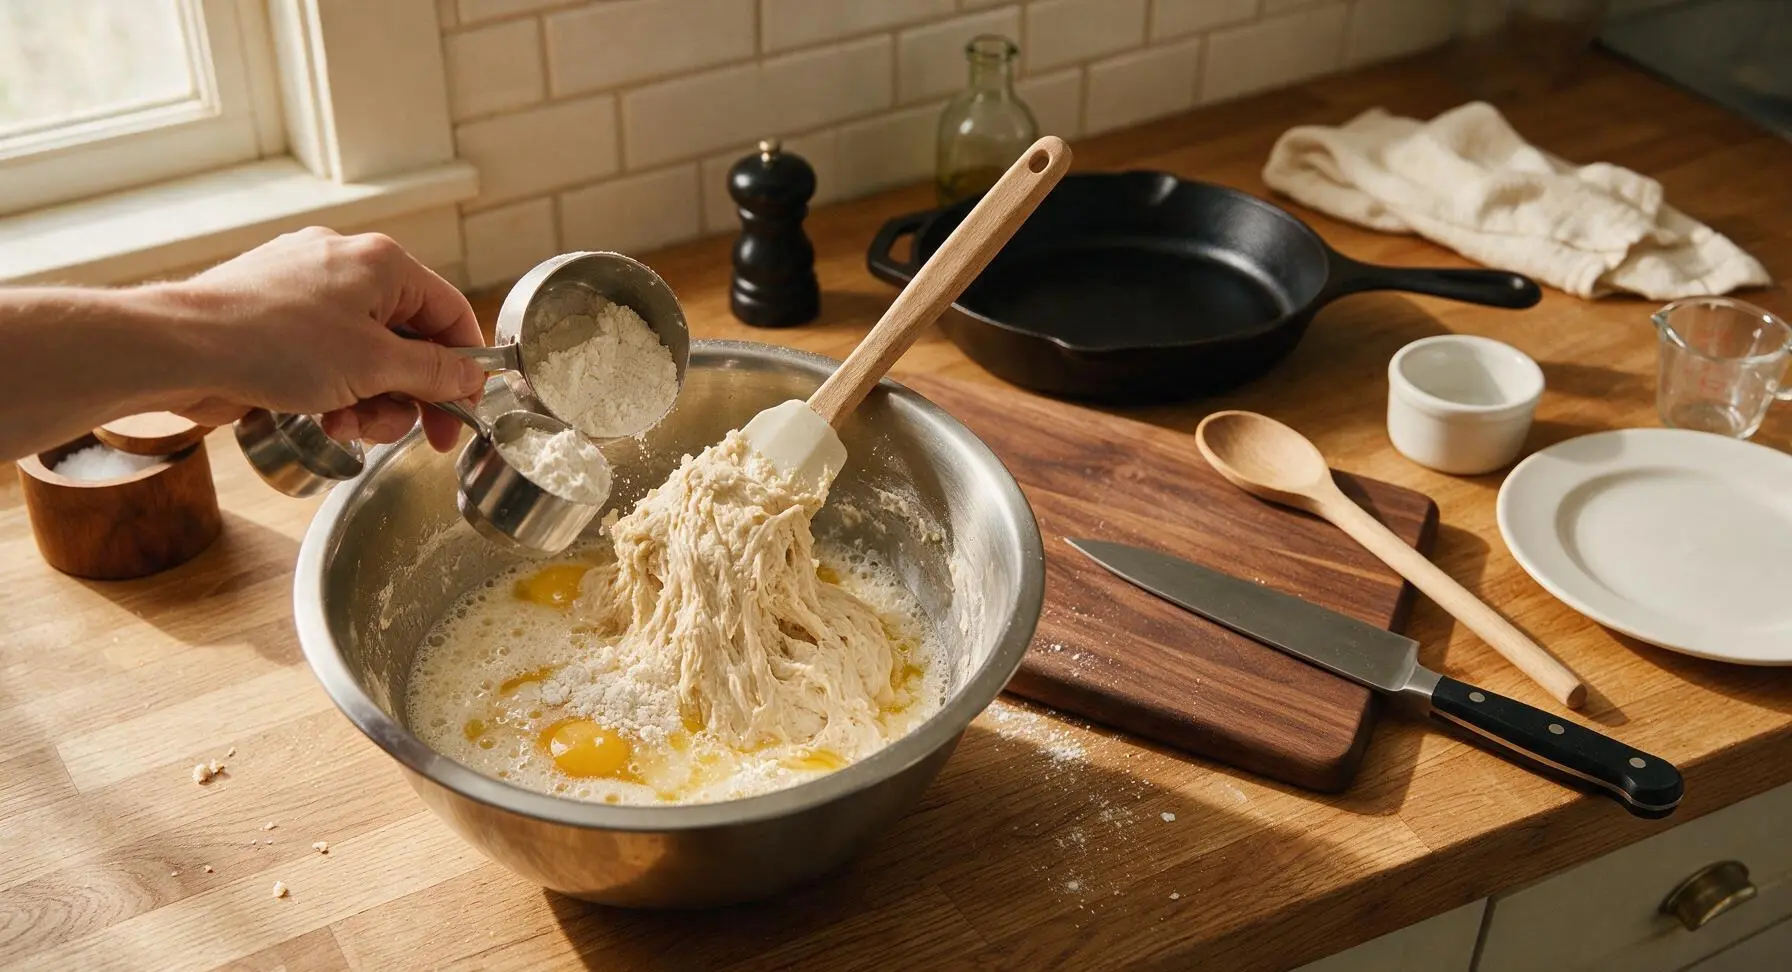
Pour the warm 110°F whole milk into the large brushed stainless steel mixing bowl. Stir in 1 tablespoon of the granulated sugar and the full packet of active dry yeast with the matte gray silicone spatula. Let rest for 5-7 minutes, until the mixture forms a foamy, frothy layer on top that smells distinctly of bready yeast. If no foam forms, the yeast is inactive and should be replaced to avoid dense, flat rolls.
Mix the Dough
Add the remaining 2 tablespoons granulated sugar, 6 tablespoons of cooled melted unsalted butter, room temperature eggs, and fine sea salt to the activated yeast mixture, stirring with the silicone spatula to combine. Gradually add the all-purpose flour 1 cup at a time, stirring until a shaggy, slightly sticky dough forms that pulls away from the sides of the bowl, with no dry flour pockets remaining.
Knead the Dough
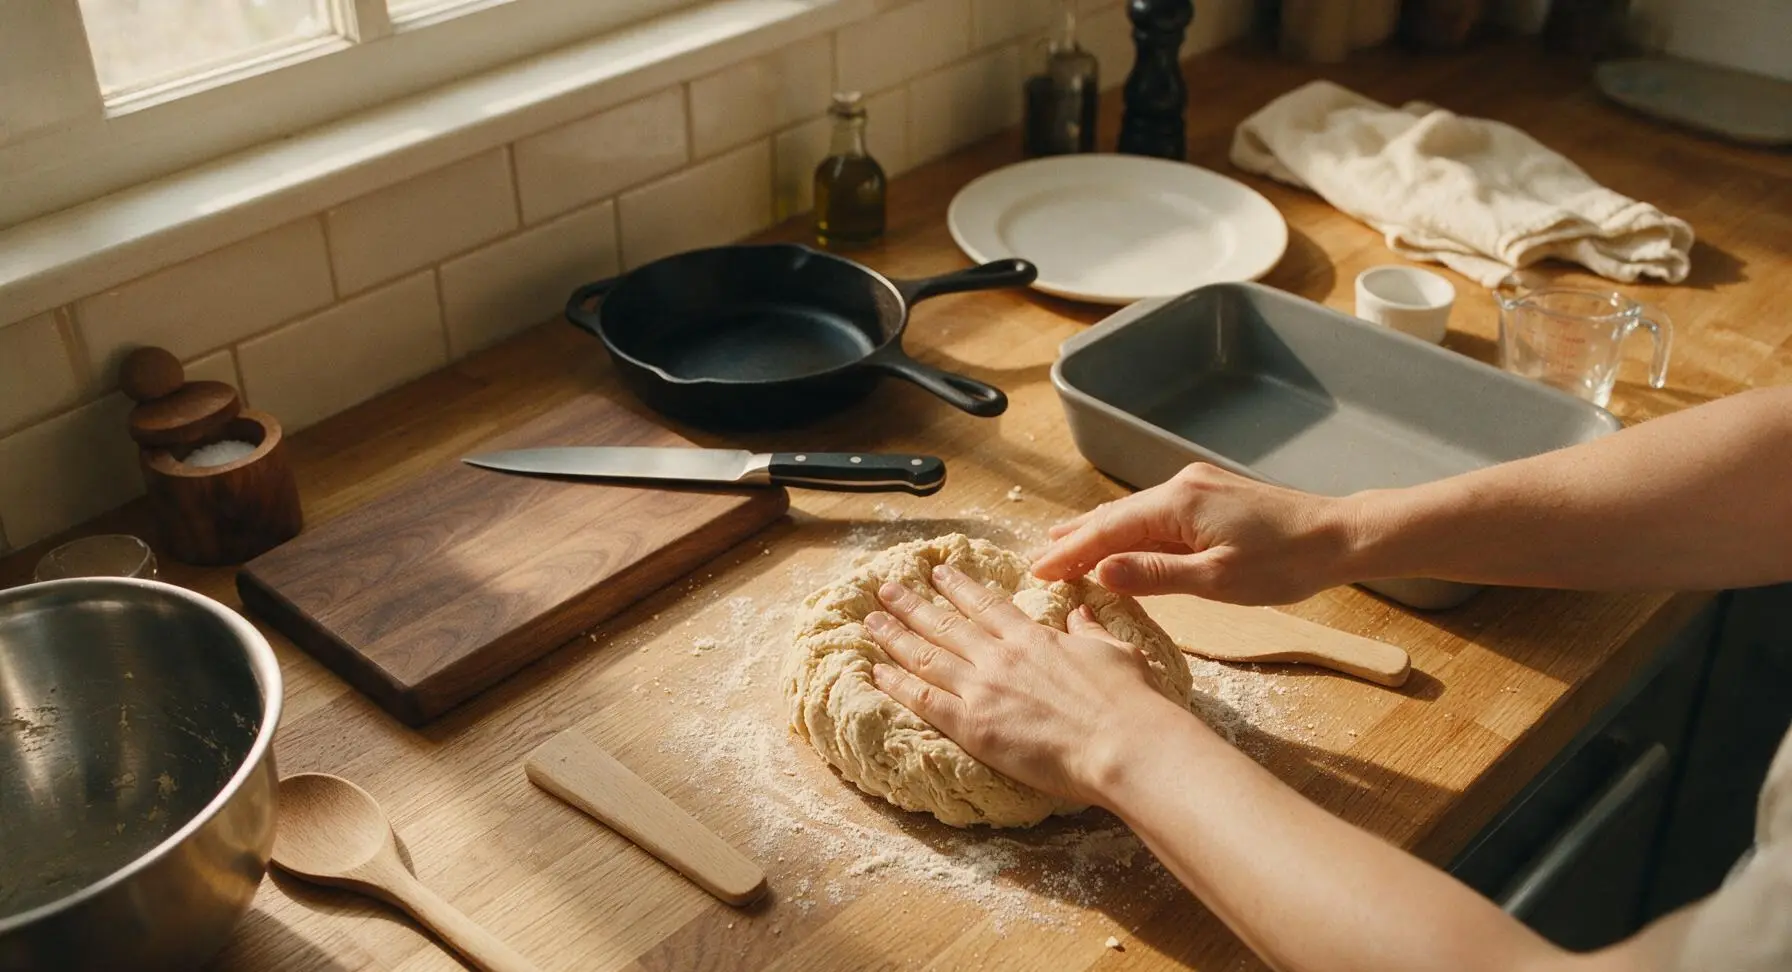
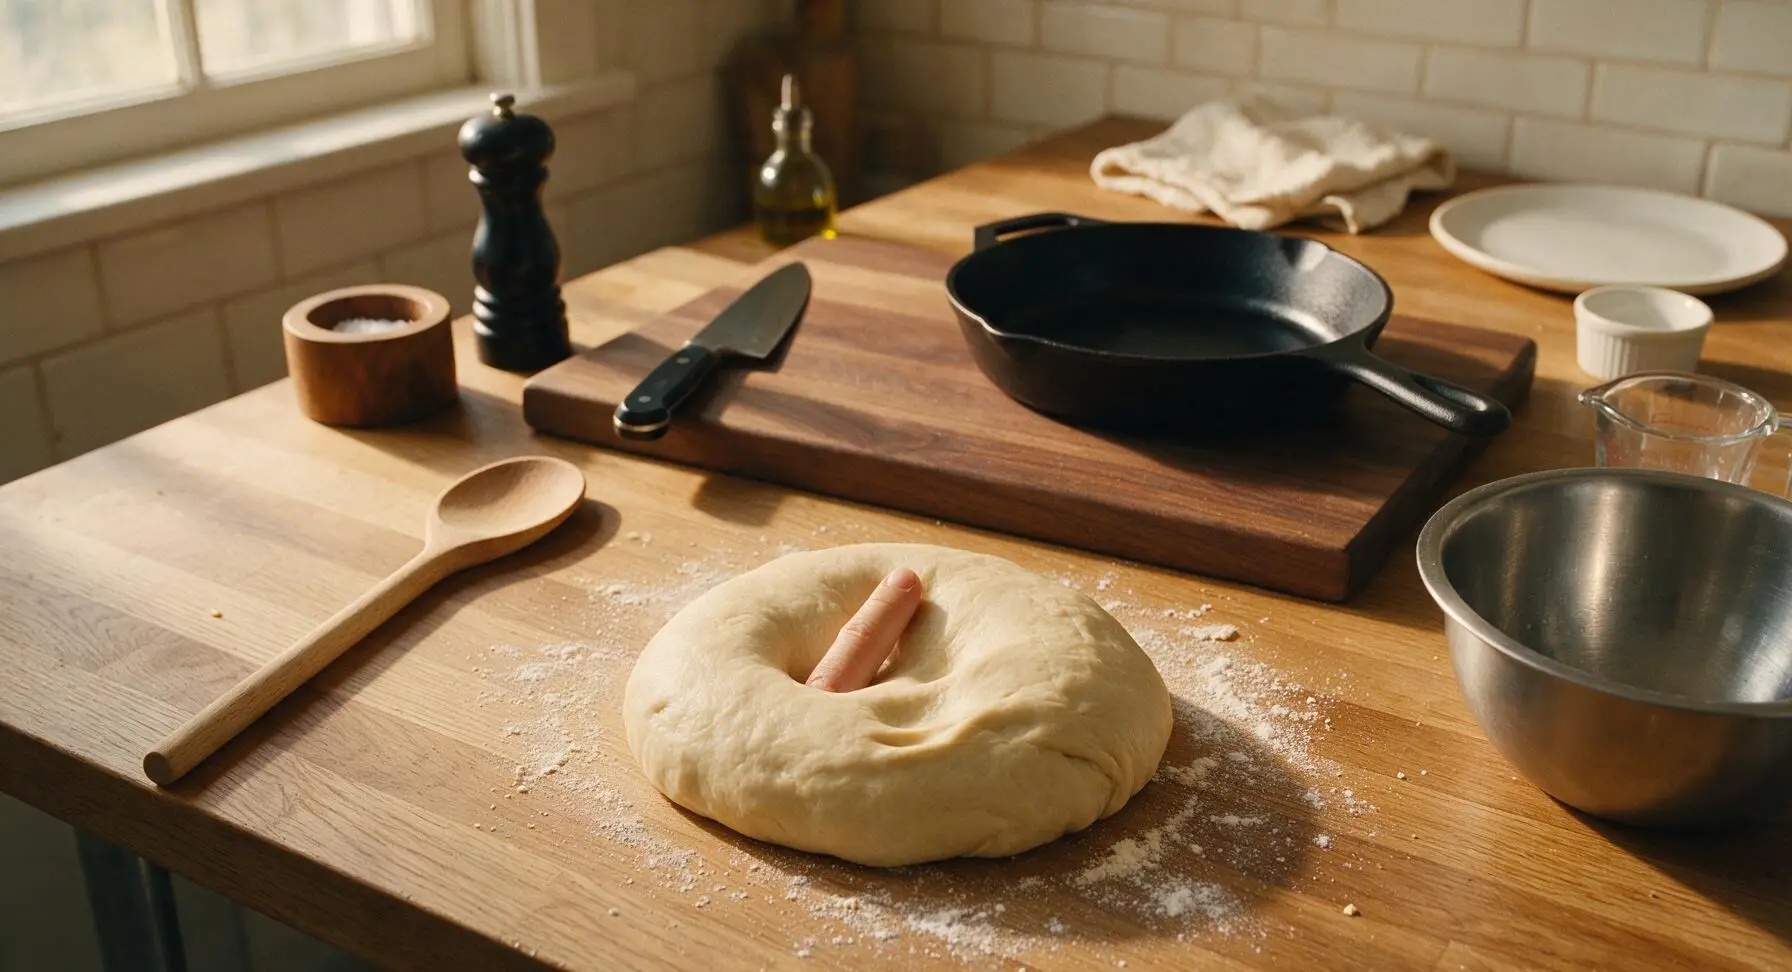
Turn the shaggy dough out onto a lightly floured section of the counter. Knead by hand for 8-10 minutes, using the light beech wood dough scraper to lift sticky dough from the counter as needed, until the dough is smooth, elastic, and springs back slowly when poked with a finger (the indentation will fill halfway in 2-3 seconds). Avoid adding too much extra flour, as this will create dense rolls.
Let Dough Rise
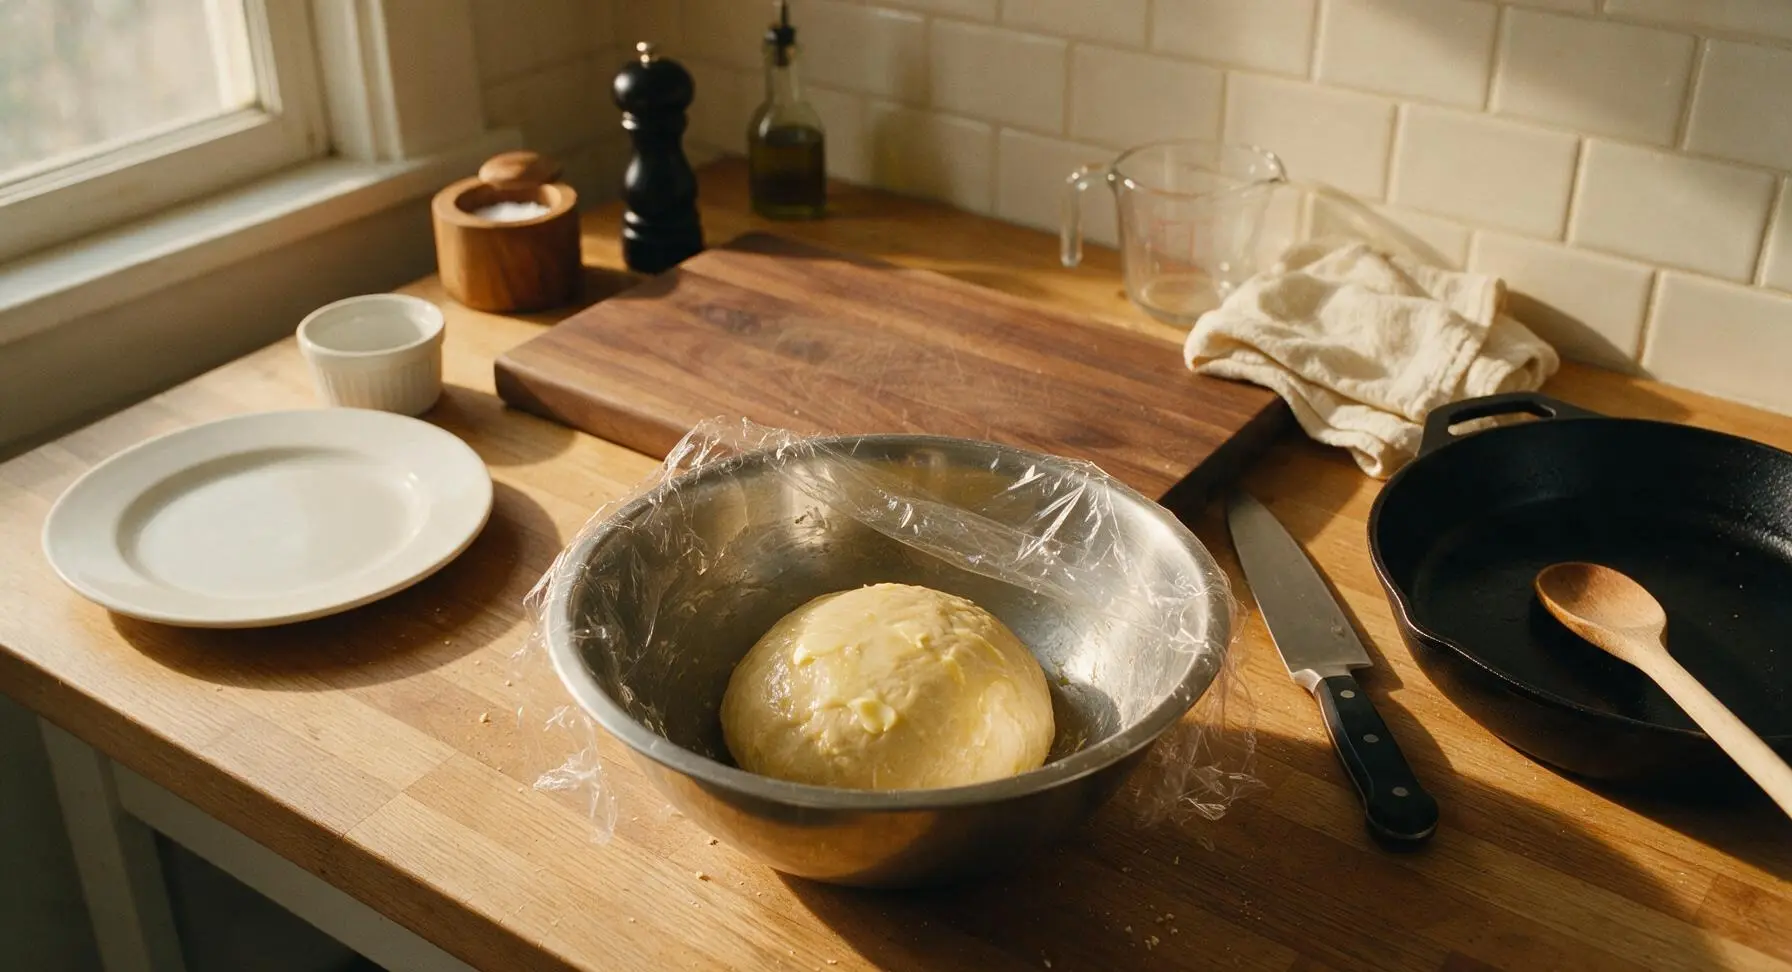
Grease the inside of the large stainless steel mixing bowl with a thin layer of softened butter. Form the kneaded dough into a tight ball, place it back into the greased bowl, and turn once to coat the dough surface in butter. Cover the bowl tightly with clear plastic wrap, then set it in a warm, draft-free spot on the counter. Let rise for 1 hour, until the dough doubles in size, and an indentation pressed 1 inch into the center stays without bouncing back.
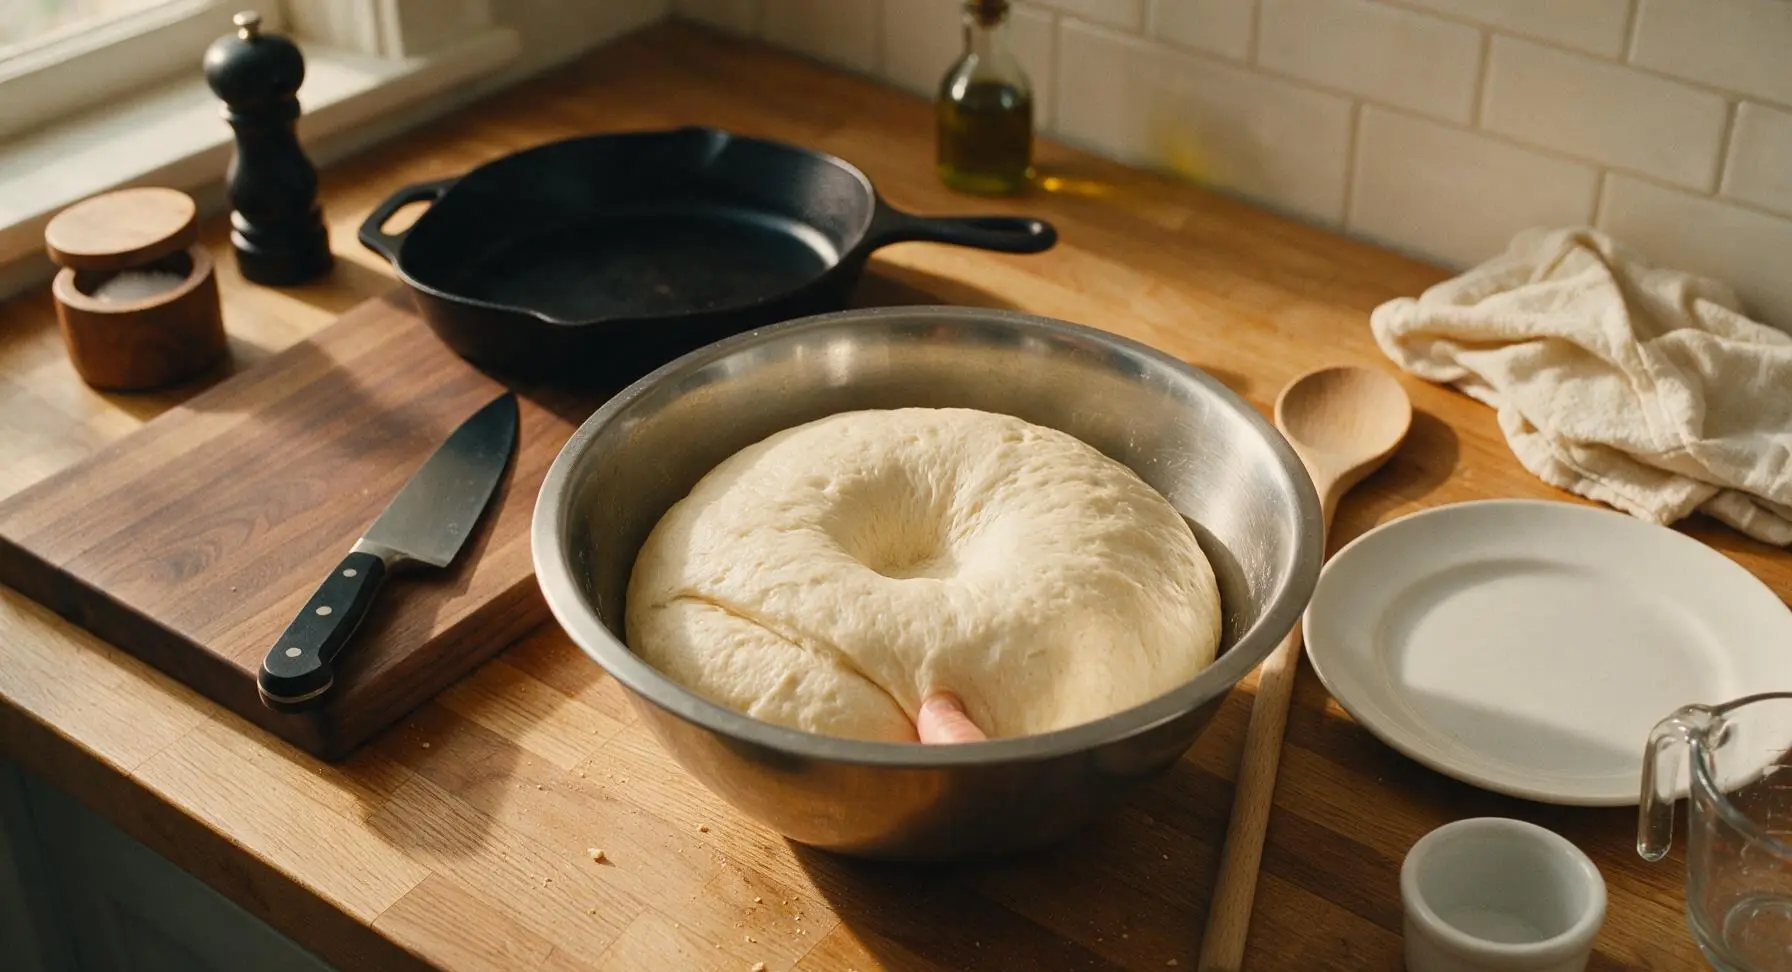
Shape the Rolls
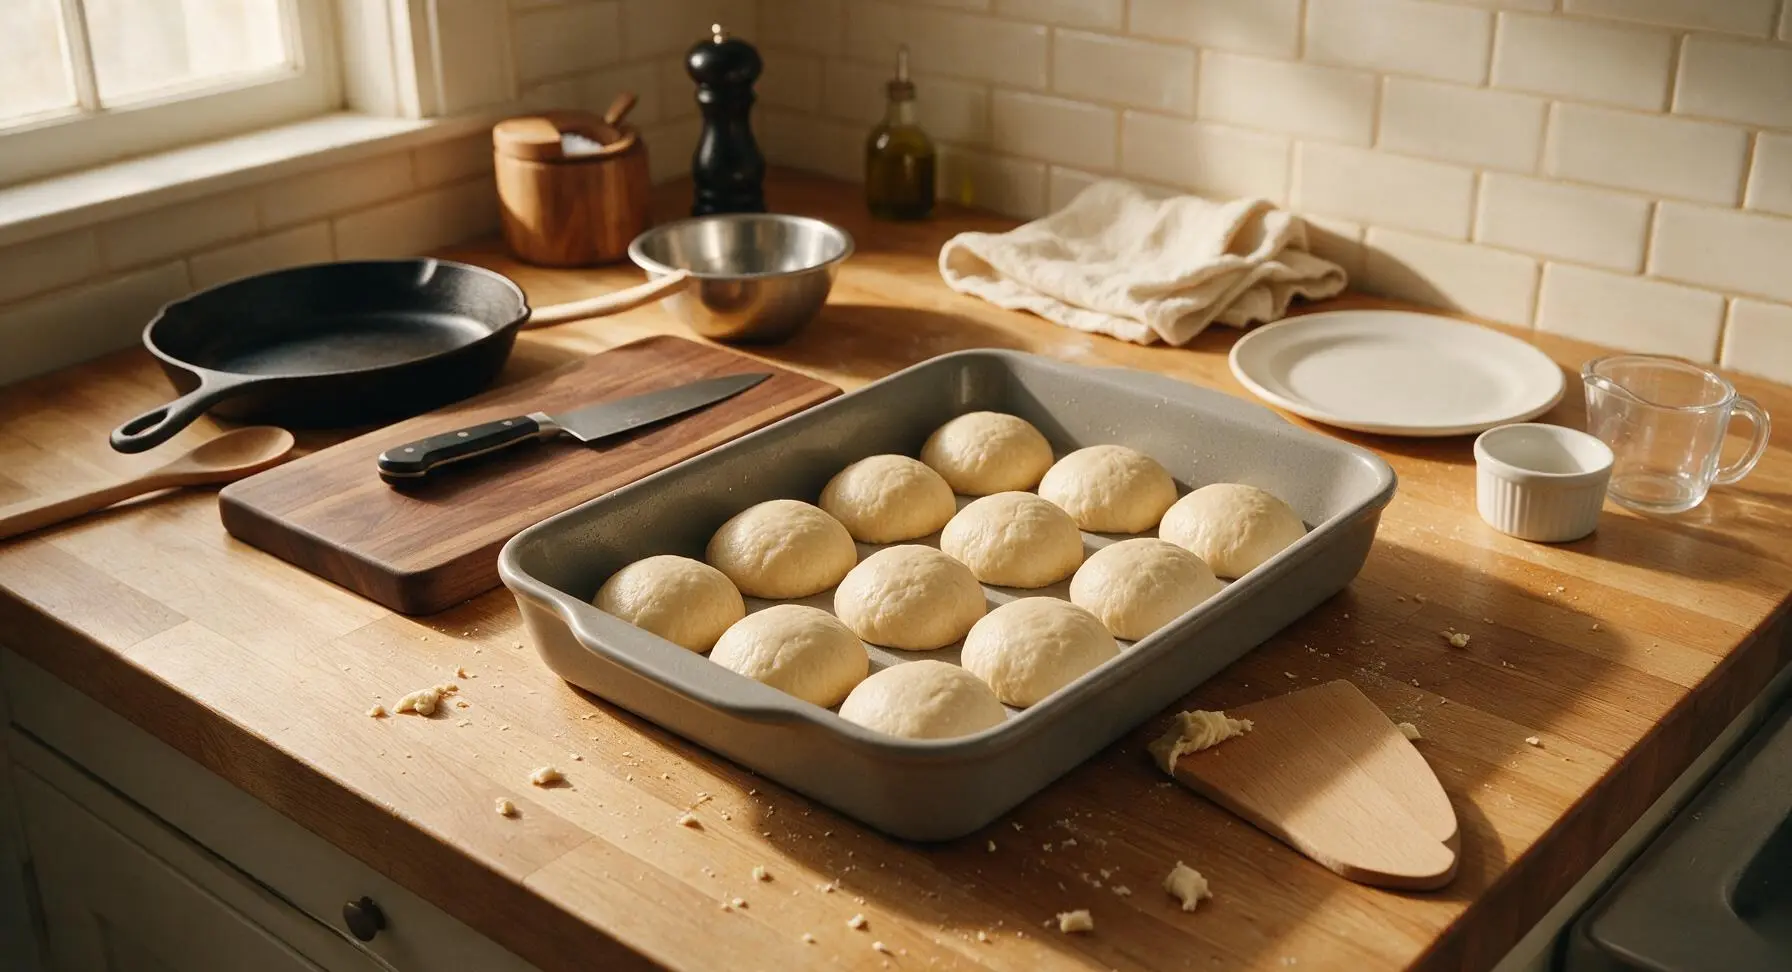
Punch the risen dough down firmly in the center to release all trapped air, then turn it out onto a lightly floured counter surface. Use the beech wood dough scraper to divide the dough evenly into 12 equal pieces (about 70g each). Roll each piece into a tight, smooth ball by cupping your hand over the dough and rolling it in small circles on the counter, pulling edges down to the bottom to create surface tension. Grease the 9x13 inch matte gray ceramic baking dish with a thin layer of butter, then arrange the shaped dough balls evenly in the dish, leaving ½ inch of space between each roll to allow for rising.
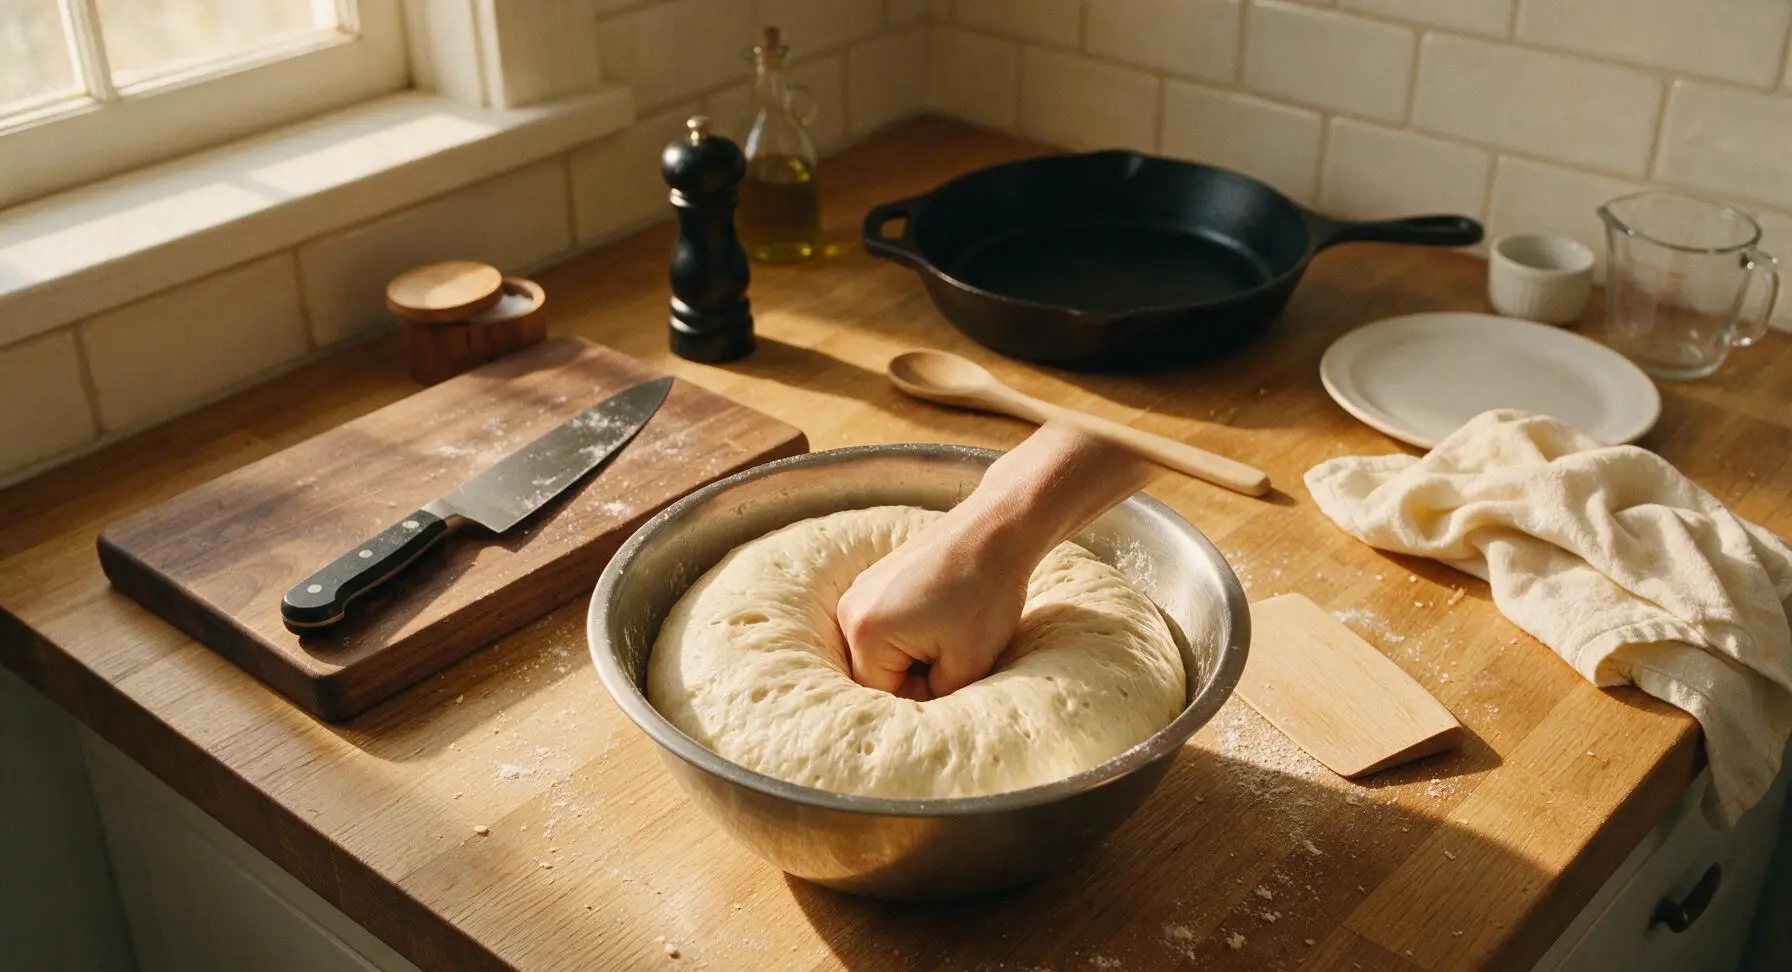
Let Rolls Rise
Cover the baking dish of shaped rolls loosely with clear plastic wrap, and let rise in a warm draft-free spot for 35-40 minutes, until the rolls have puffed up to fill the gaps between them, and they jiggle slightly when the dish is gently tapped. Toward the end of the rise time, preheat the oven to 375°F (190°C).
Bake the Rolls
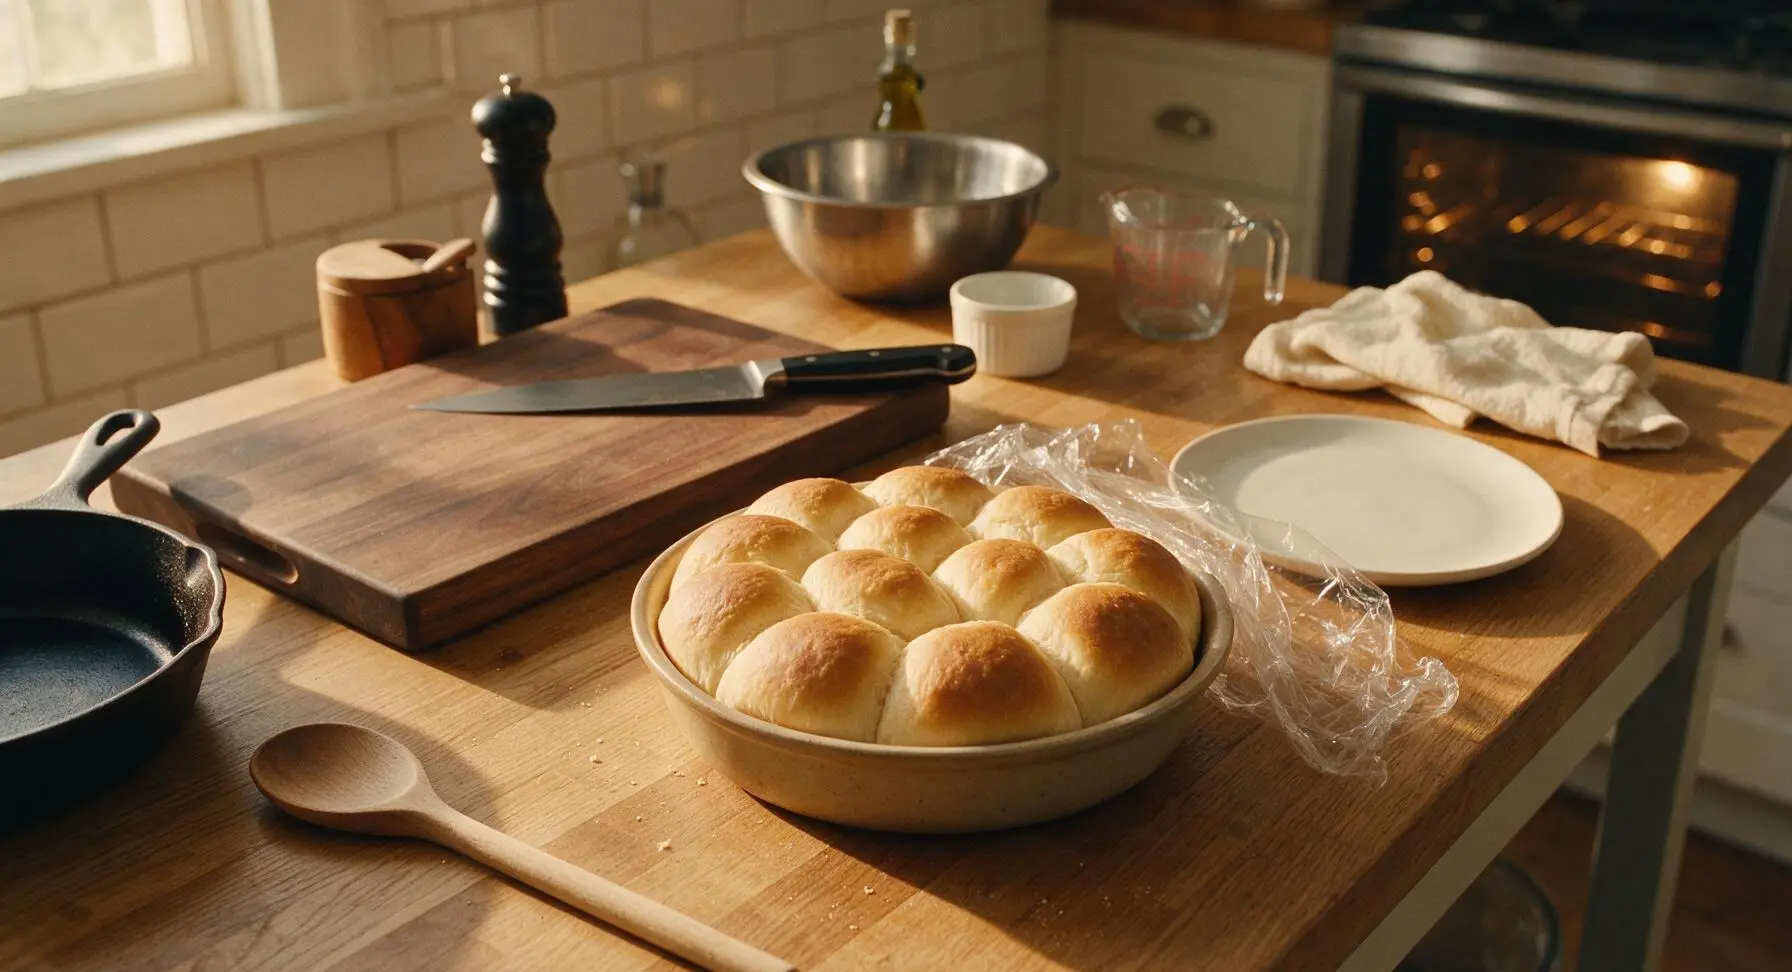
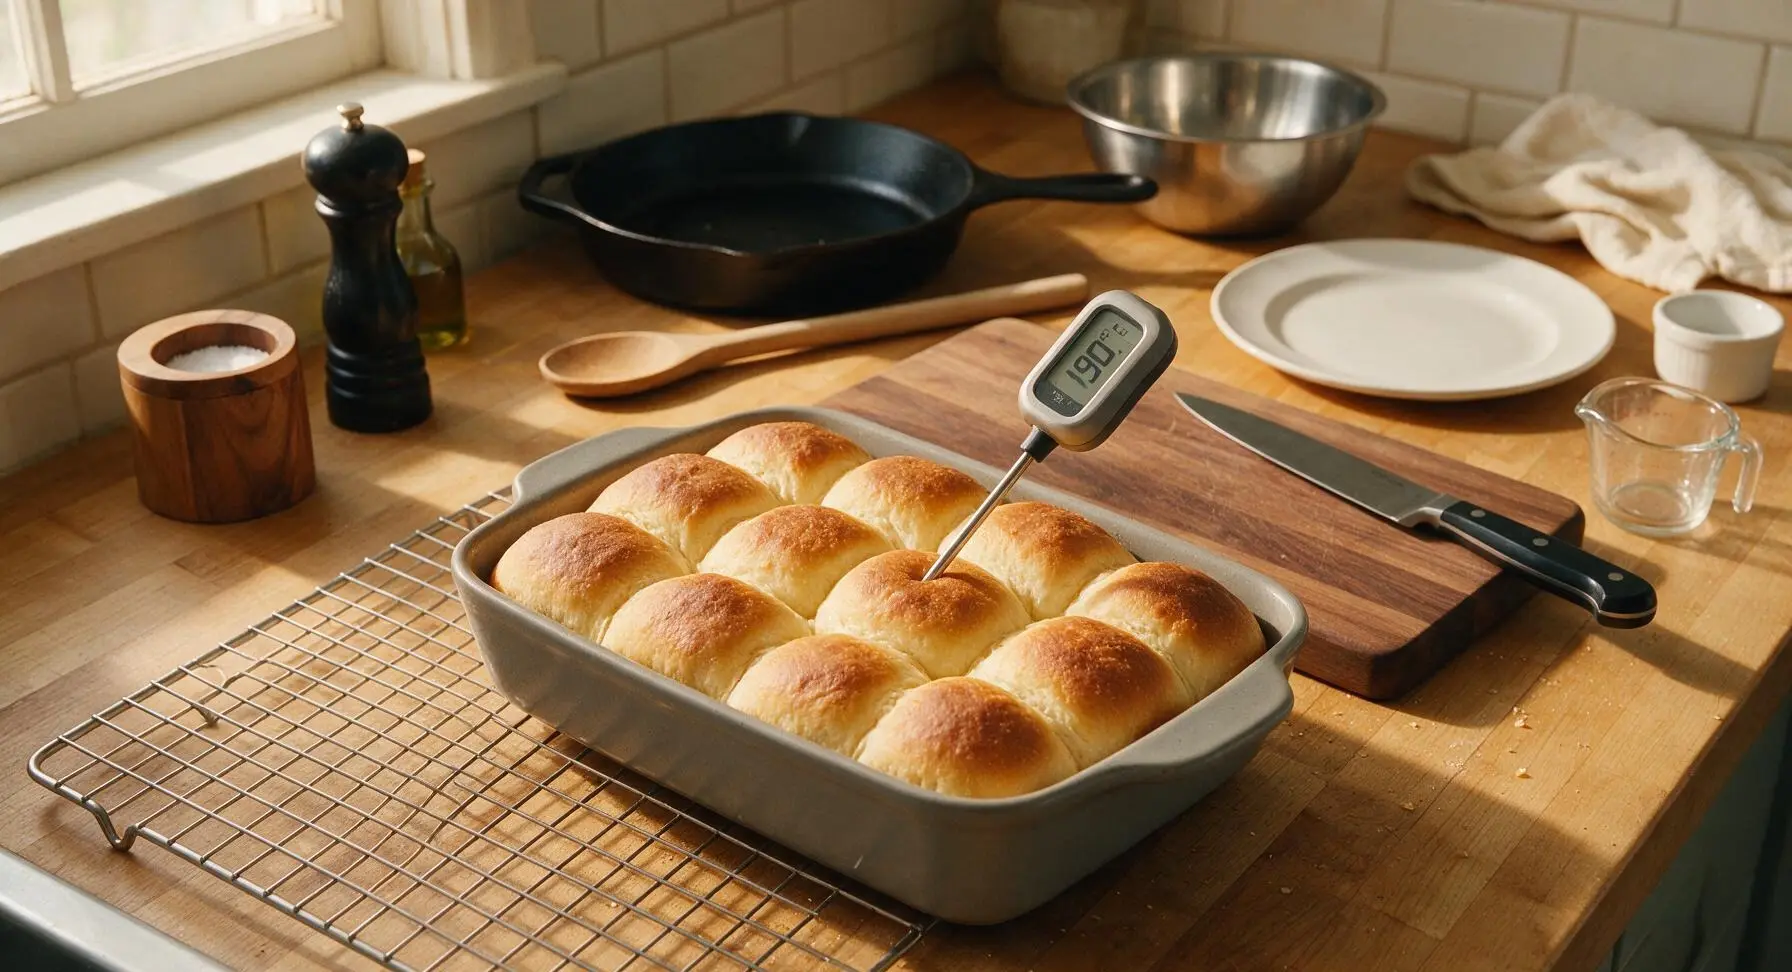
Remove the plastic wrap from the baking dish, and place the dish on the middle rack of the preheated 375°F oven. Bake for 18-20 minutes, until the tops of the rolls are a deep, even golden brown, and the internal temperature of the center roll reads 190°F (88°C) on the digital instant-read thermometer. The rolls will sound hollow when tapped on the top if fully baked.
Butter and Serve
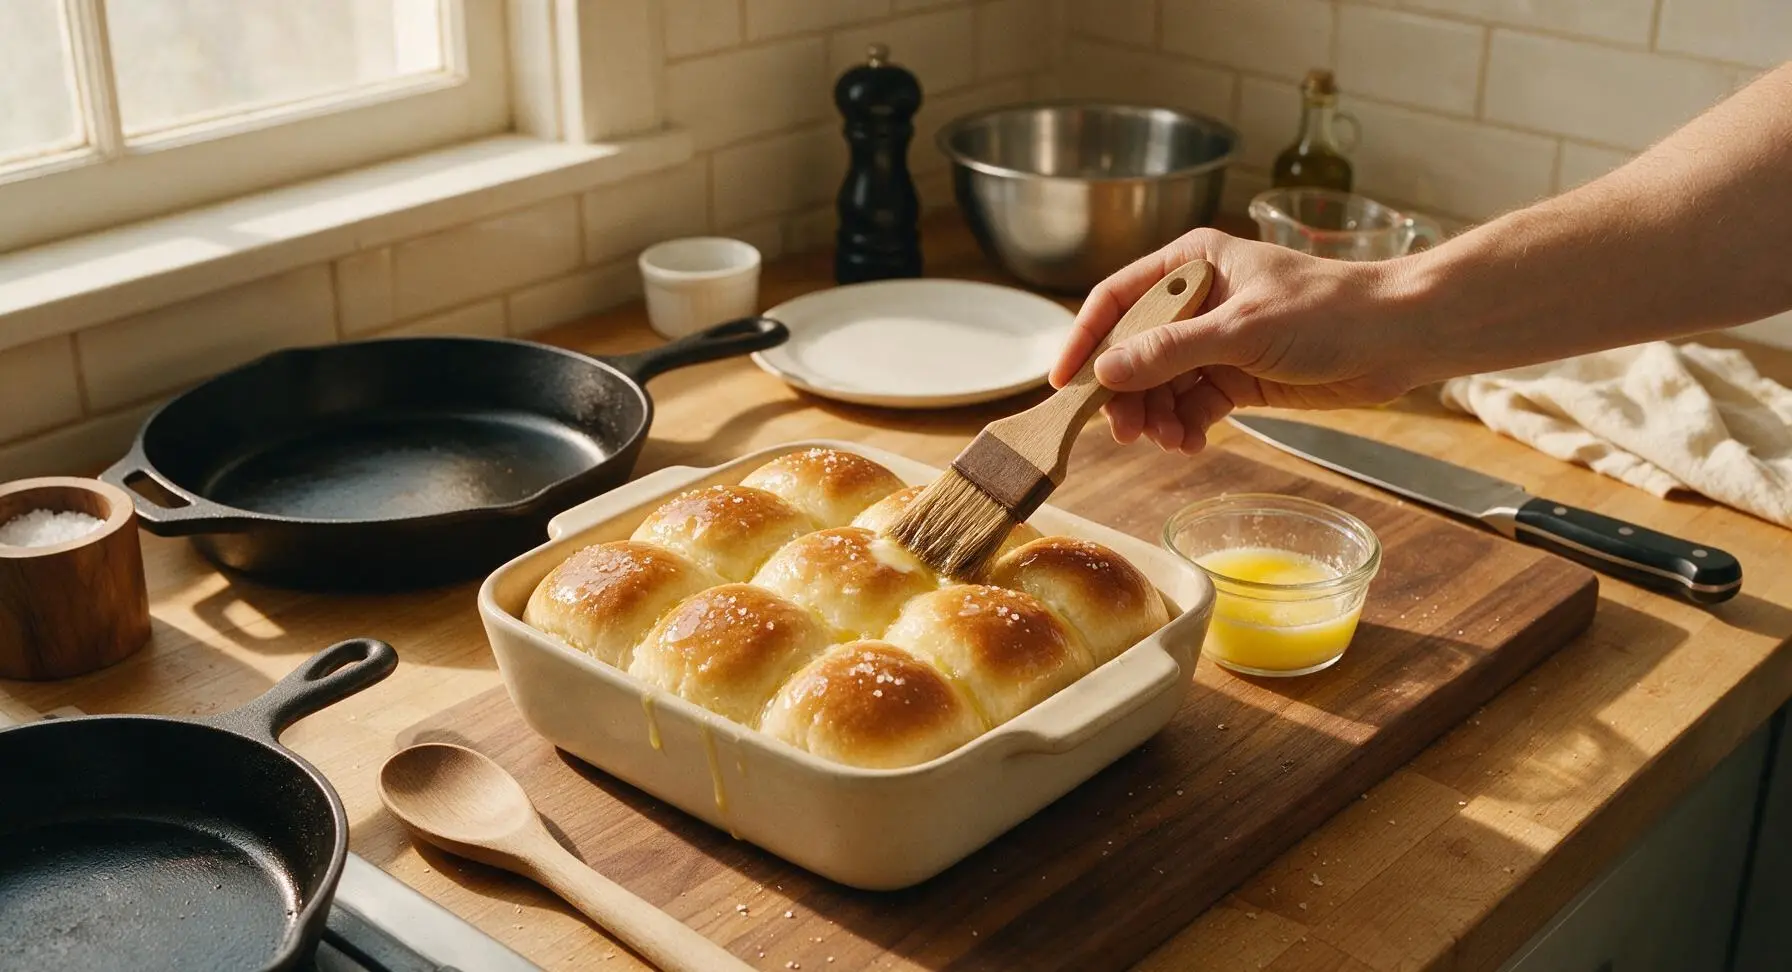
Immediately after removing the rolls from the oven, use the natural boar bristle pastry brush to brush the tops generously with the remaining 2 tablespoons of melted unsalted butter, letting the butter soak into the warm crevices between rolls. Sprinkle lightly with flaky sea salt. Let the rolls cool in the baking dish for 5 minutes, then transfer them to the round matte cream ceramic serving platter to serve warm.
Tips
2.Resist adding extra flour during kneading: the dough will feel slightly sticky at first, but too much additional flour will produce tough, dense rolls instead of the desired pillowy texture. Use the dough scraper to lift sticky dough from the counter instead of dusting with more flour.
3.Brush rolls with melted butter immediately after removing them from the oven: this creates a soft, flavorful top crust rather than a dry, crisp exterior, and helps flaky sea salt adhere evenly to the roll surfaces.






OMG these are the SOFTEST dinner rolls I’ve ever made from scratch! I was nervous about the rising time but it was totally hands off and so worth it. My kids devoured 3 each at our Sunday family dinner, even my picky 7 year old asked for seconds. Total game changer for holiday meals!
Shocked how easy these were! I’m a total beginner at bread baking and I thought for sure I’d mess up the yeast, but the instructions were so straightforward. I made a batch on Sunday to pair with soups all week and they held up perfectly in the fridge for 4 days. Will be making these biweekly from now on.
These were really good! Super buttery and soft, though I did have to add an extra 10 minutes of rising time because my apartment is so cold this time of year. Definitely better than the store-bought frozen rolls I usually grab for weeknight dinners. Next time I’m going to add a little garlic powder to the butter topping for extra flavor.
I’ve tried so many homemade dinner roll recipes over the years and none have come out as pillowy soft as these! The buttery flavor is perfectly balanced, not too rich that it overpowers the rest of the meal. I served these with my famous pot roast last night and my husband said they tasted just like the rolls his grandma used to make.
Taste was great when they finally came out, but I totally missed the note about the 1 hour 40 minutes of rising time! I started making these 45 minutes before dinner and had to pivot to garlic bread when I realized how long they needed to rise. Don’t be like me, read the full recipe first lol.
Even as someone who sticks to mostly high protein meals, I couldn’t stop eating these. Made them to go with my wife’s birthday meatloaf dinner and I had two before we even sat down at the table. SO good, the buttery top has just the right amount of salt. 10/10, will make again even if it blows my macro count for the day.
Tested these out ahead of my Thanksgiving dinner this year and they are a lock for the menu! I was worried they’d be too much work with all the cooking I have to do that day, but I can prep the dough the night before and let it do the first rise in the fridge right? Would save me so much oven and counter space day of.
Made these with a 1:1 gluten free all purpose flour swap and they came out way better than I expected! Still soft and buttery, just a tiny bit denser than the regular version I’m sure. Would love to see a dedicated gluten free version of this recipe down the line!
Just pulled these out of my tiny dorm oven and they’re insane! I didn’t have a stand mixer so I just kneaded the dough by hand on my desk (don’t tell my RA lol) and they still came out perfectly soft. My roommates are already begging me to make another batch this weekend.
These rolls take me right back to the school cafeteria lunches I used to serve back in the 80s—soft, buttery, just a touch of sweetness. I made them for my bridge club luncheon last week and all the ladies asked for the recipe to share with their grandkids. Easy enough for this old lady to pull off without any fancy gadgets!
These rolls are the perfect side for my weekend brisket smokes. I let them rise while the brisket is resting and they’re done right when it’s time to slice the meat. I’ve been making the same frozen rolls for years and I’ll never go back—these taste so much fresher and that buttery flavor pairs so good with smoky BBQ.
Wait can I freeze these after baking? I want to make a double batch so I can pull a few out at a time for quick weeknight sides instead of buying bread every week. The texture looks so soft I’m worried freezing will make them tough.
Used vegan butter and oat milk to make these dairy free for my sister who’s visiting, and you literally can’t tell the difference! They’re still just as soft and buttery, no weird aftertaste like some vegan bread recipes have. Served them with lentil soup and it was the coziest fall dinner.
Made these for the team potluck after our son’s championship game win and they were gone in 10 minutes flat. All the other parents were asking where I bought them, they couldn’t believe I made them from scratch! So easy even a dad who burns toast can pull these off, trust me.
These are really solid easy dinner rolls! I’m used to sourdough so I added a tablespoon of my discard to the dough for a little extra tang, and it worked perfectly. My only note is that 20 minutes cook time was a little long in my convection oven, mine were done at 15 minutes so keep an eye on them if you have a hotter oven.
Served these at our monthly book club last night with whipped honey butter and jam on the side, and everyone raved about them. We spent more time talking about how good the rolls were than we did talking about the book, oops! So easy to make ahead, I shaped them in the afternoon and let them do the second rise while I set up for the group.
I was so scared to work with yeast for the first time! I thought for sure I’d kill it with too hot water and the rolls wouldn’t rise, but the step by step instructions made it foolproof. My first ever batch of bread came out golden, buttery, and so soft I almost cried. Thank you for such a great beginner recipe!
Y’all. I mixed 2 cloves of minced garlic and a little parmesan into the melted butter topping and these tasted just like the garlic bread rolls from my favorite Italian restaurant. 10/10, will be making this variation every single time from now on. Game changer.
Made these in my cast iron Dutch oven on a camping trip last weekend and they were a hit around the campfire! I pre-mixed the dry ingredients at home so I just had to add the wet ingredients and let the dough rise in a warm spot by the fire. Nothing beats warm buttery rolls after a long day of hiking. Can’t wait to make them at home too.
Wait who says dinner rolls are only for dinner? I made these for brunch today to go with scrambled eggs and bacon, and they were perfect. I even made little slider sandwiches with leftover ham and cheese with a couple of them for my post-brunch snack. So versatile!