
homemade green beans

title 1
homemade green beans
⏱️ cook time 12 minutes
🍽️ servings 4
⚡ Difficulty easy

intro

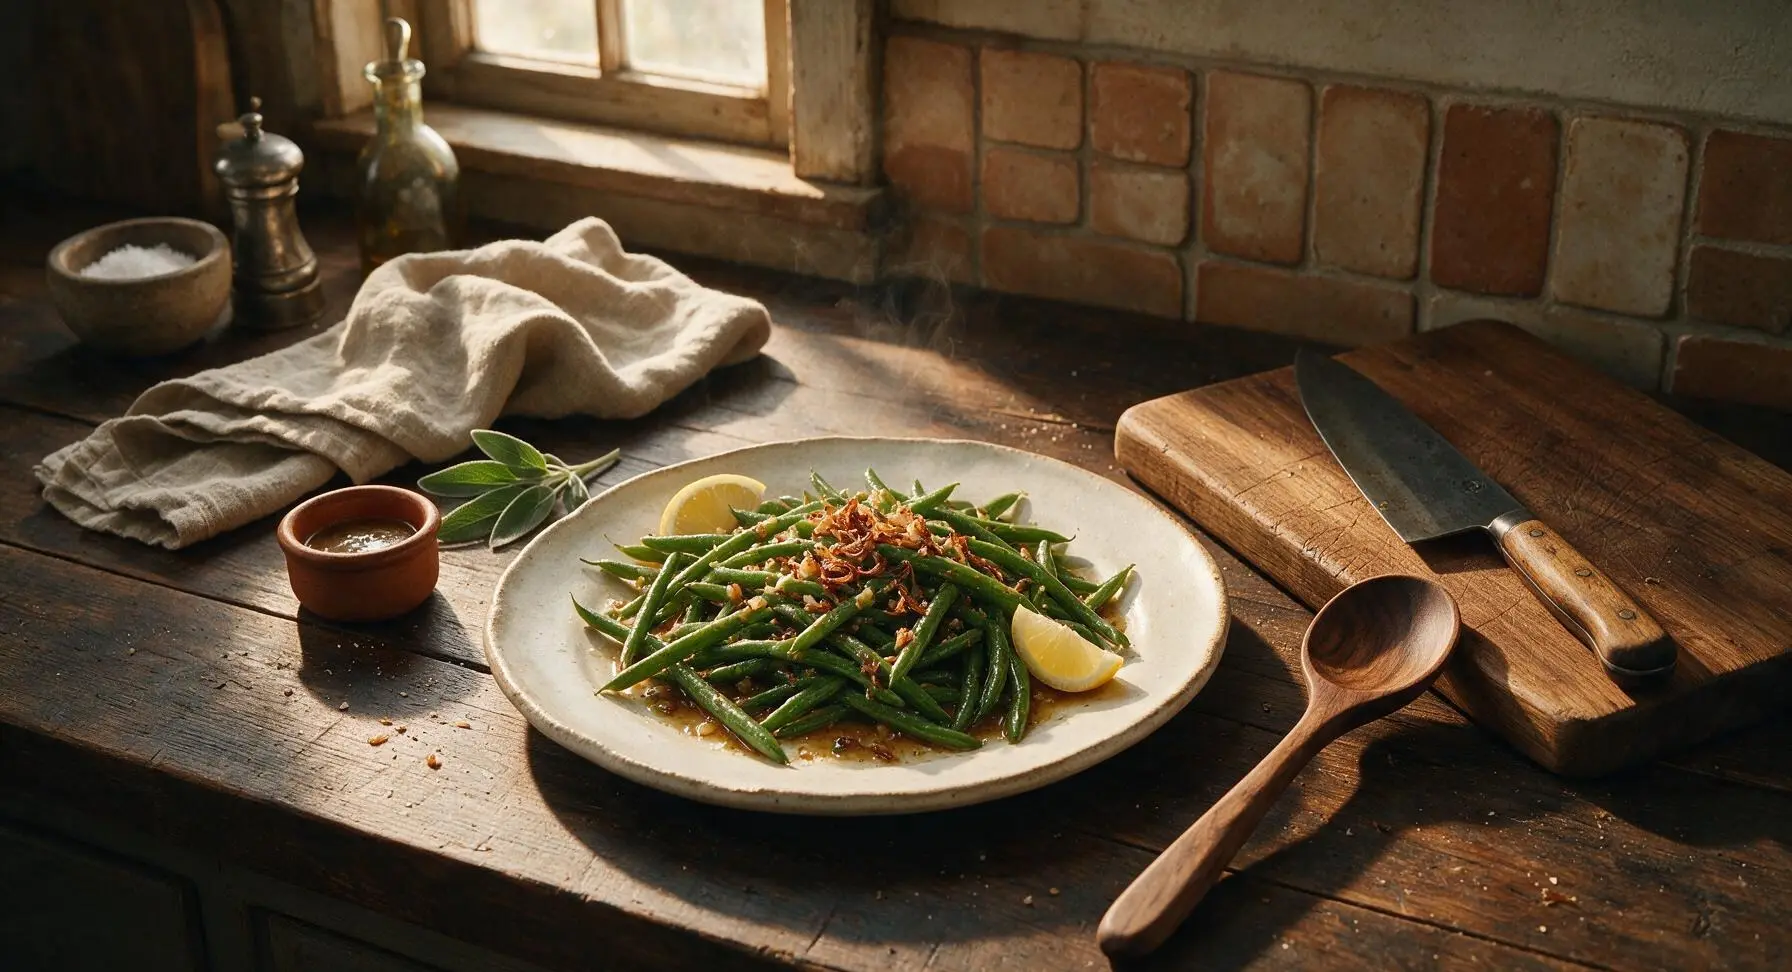
Tender-crisp fresh green beans tossed in garlicky brown butter, brightened with fresh lemon, and topped with crispy shallots—an easy, beloved classic side for family meals.

Ingredients
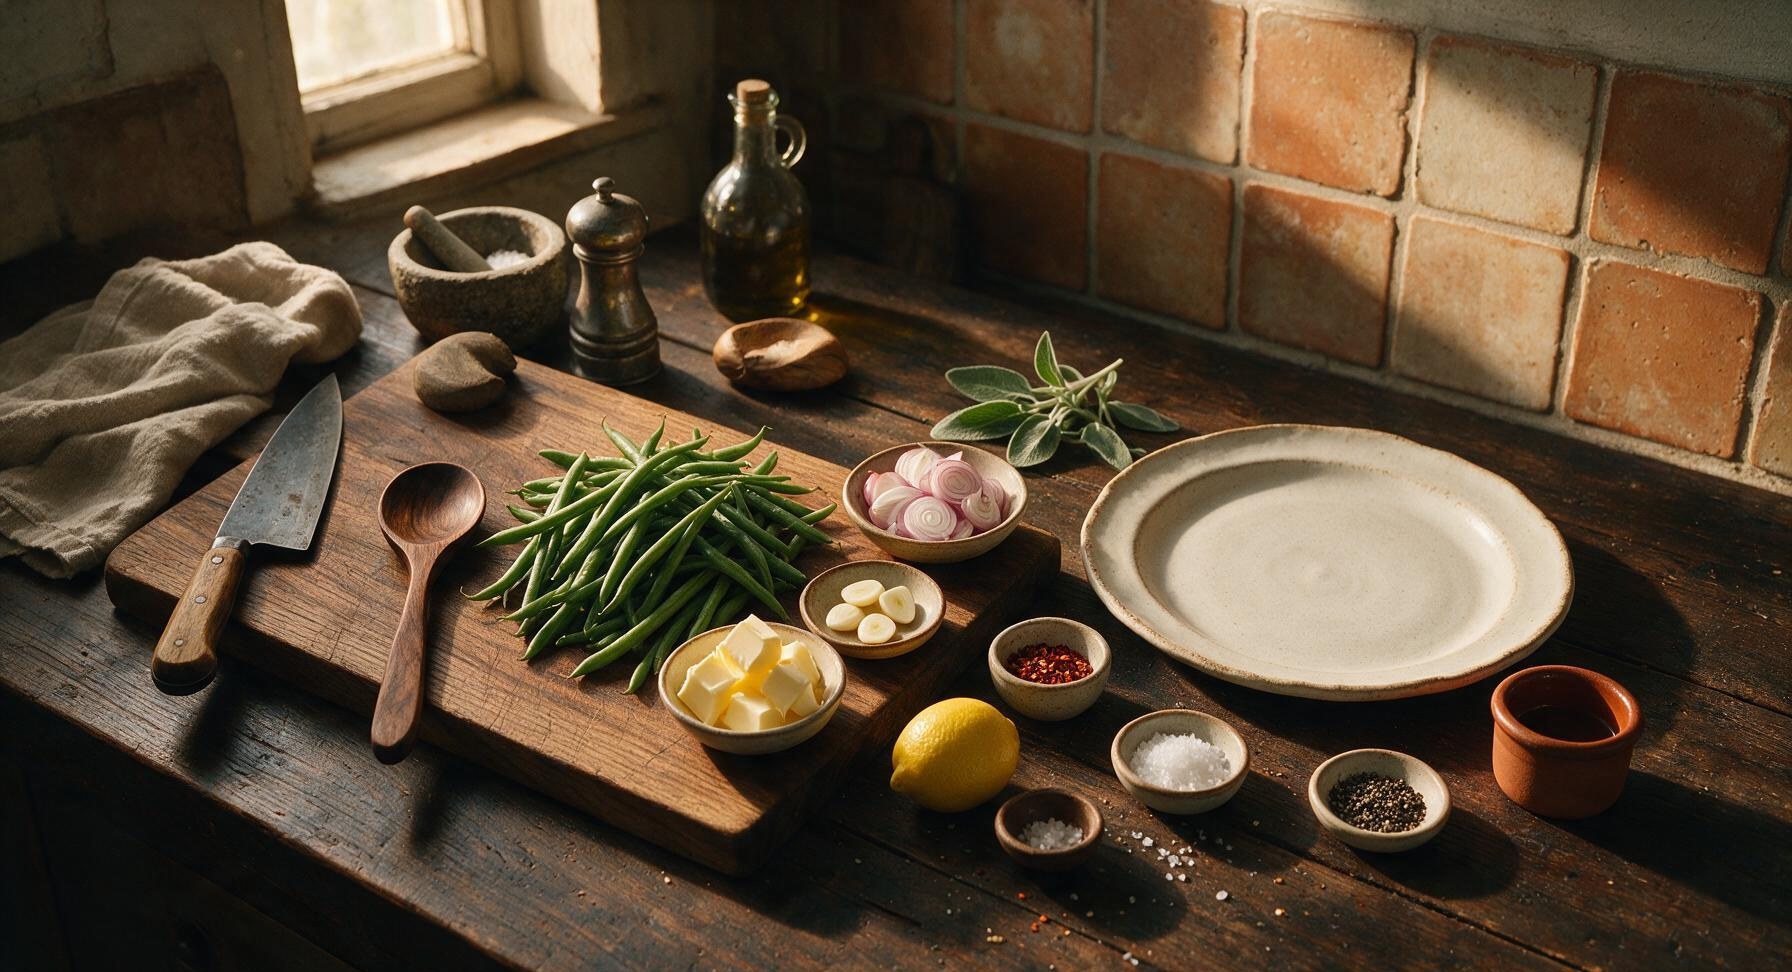
Fresh green beans, tough stem ends trimmed 1 lb (450g)
Unsalted butter 3 tbsp (42g)
Garlic cloves, thinly sliced 4 cloves
Small shallots, thinly sliced into rings 2 (60g total)
Fresh lemon (for zest and juice) 1
Red pepper flakes 1/4 tsp
Flaky sea salt 1/2 tsp
Freshly cracked black pepper 1/4 tsp

Steps

1

Trim Green Bean Ends

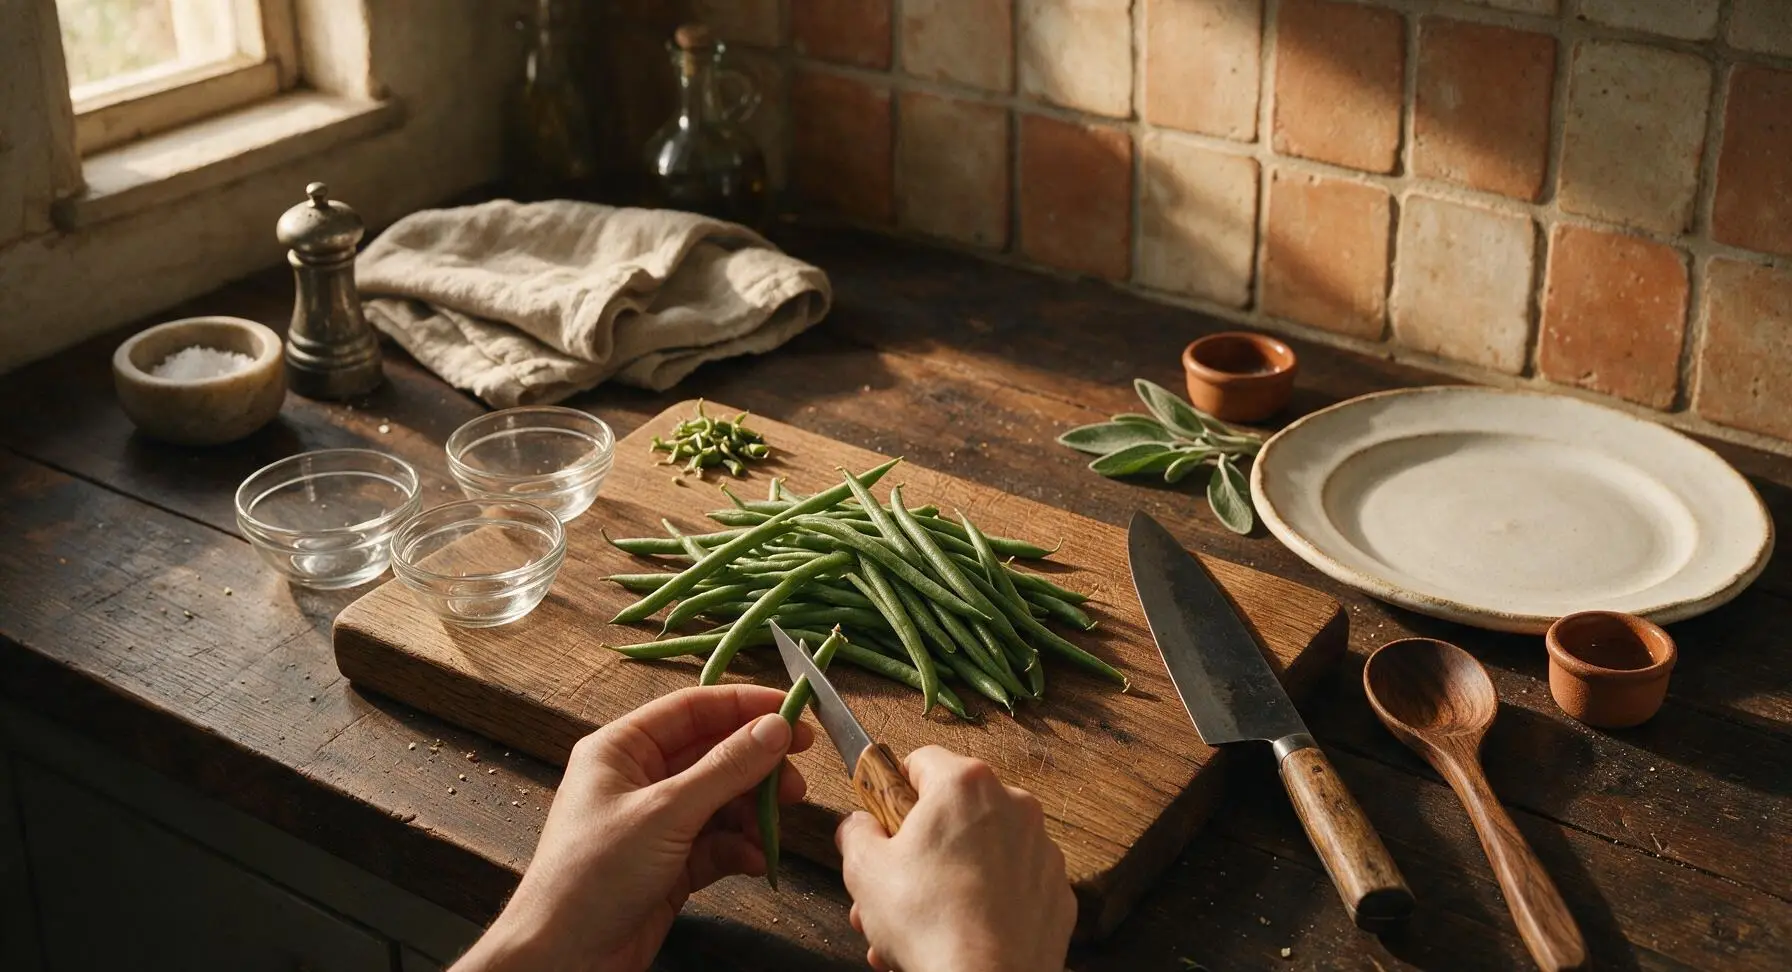
Rinse 1lb fresh green beans under cool running water, then transfer to the honey maple cutting board. Use the stainless steel paring knife with olive wood handle to trim off the tough, woody stem end from each bean; the delicate tapered tail may be left on for rustic presentation. Collect discarded ends in a small pile at the corner of the board, then pat all trimmed beans fully dry with a corner of the folded blue linen towel—any surface moisture will cause hot butter to splatter later. Set dried beans aside in one of the clear glass prep bowls. This step takes roughly 7 minutes.
Step 1
step1:Trim Green Bean Ends
2

Slice Aromatics Thinly

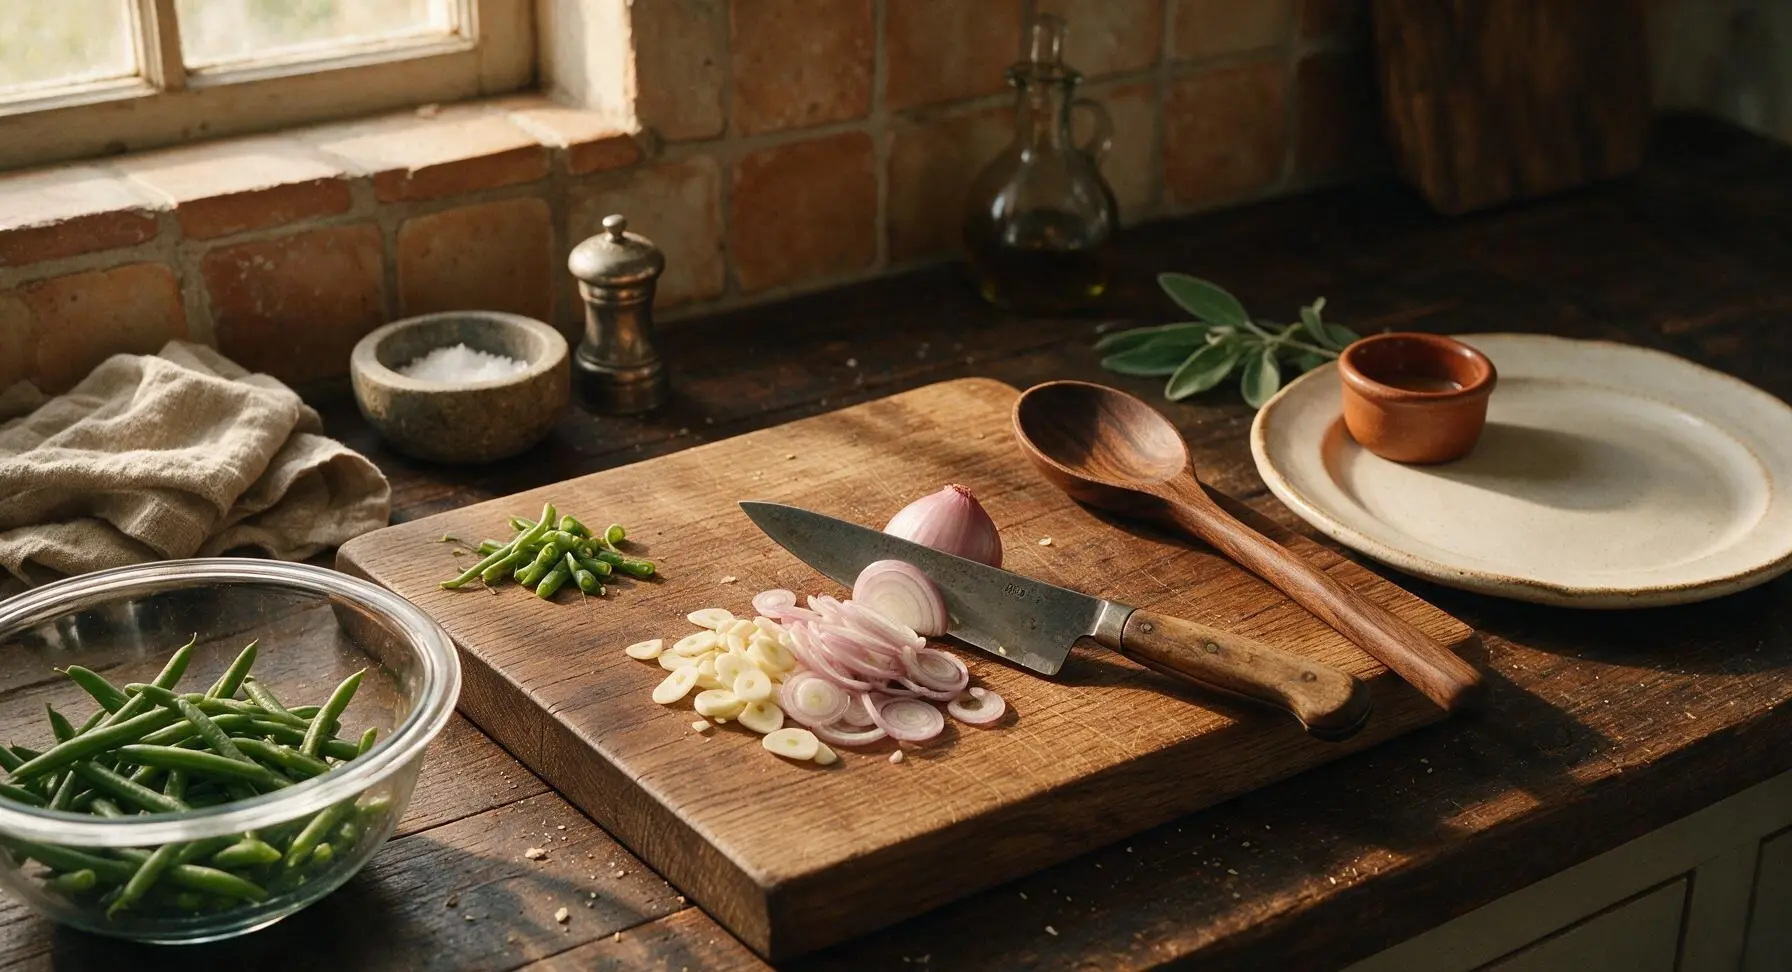
Place the peeled garlic cloves and peeled shallots on the now-empty section of the maple cutting board. Use the same paring knife to slice garlic into 1/8-inch thick slices, taking care not to mince it (thin slices will crisp without burning quickly). Slice shallots into thin, even rings, separating the layers slightly as you go. Transfer sliced garlic to one small prep bowl, sliced shallots to another. This step takes roughly 3 minutes.
Step 2
step2:Slice Aromatics Thinly
3

Crisp Shallot Rings

Place the 12-inch stainless steel skillet on the induction cooktop over medium heat (350°F). Add 1 tablespoon of the unsalted butter to the pan, and once melted and foaming, add the sliced shallot rings. Cook, stirring occasionally with the maple wooden cooking spoon, for 3-4 minutes until the shallots turn pale golden and crispy. Use the slotted stainless steel turner to transfer crispy shallots to one of the small clear glass prep bowls set to the right of the skillet, and set aside. Do not wipe out the skillet— the leftover shallot-infused butter will flavor the beans. Visual cue: shallots should be light golden, not dark brown, as they will continue to cook from residual heat after being removed from the pan.
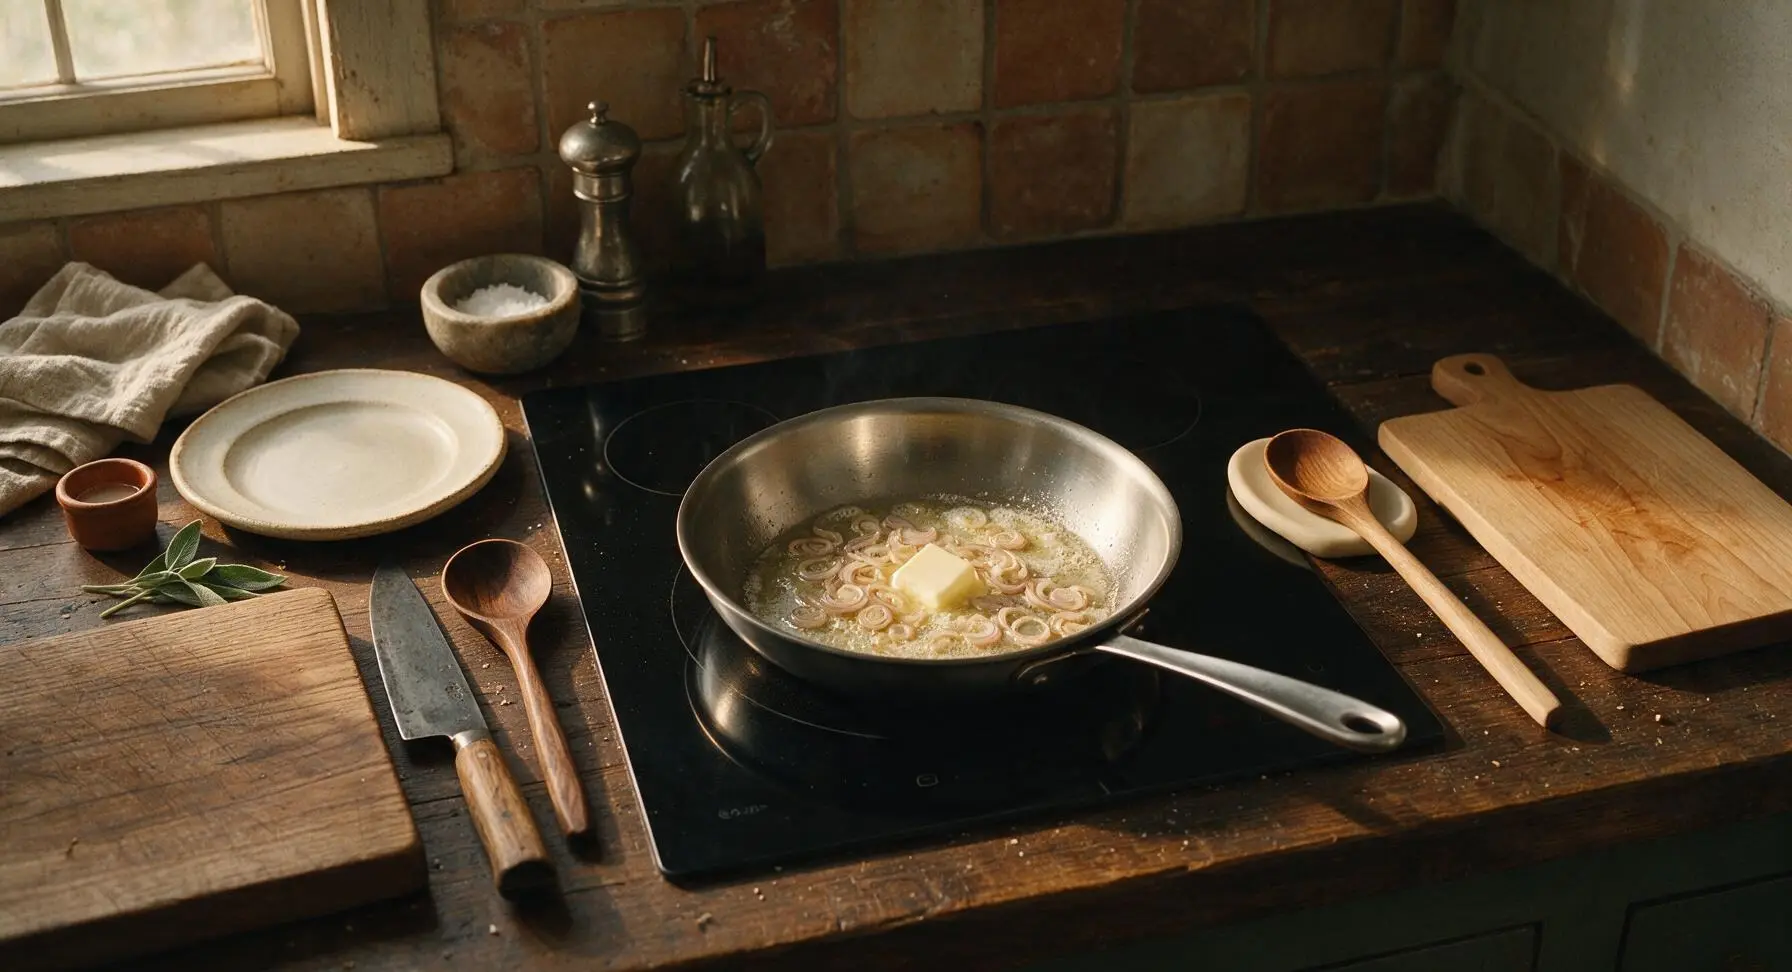
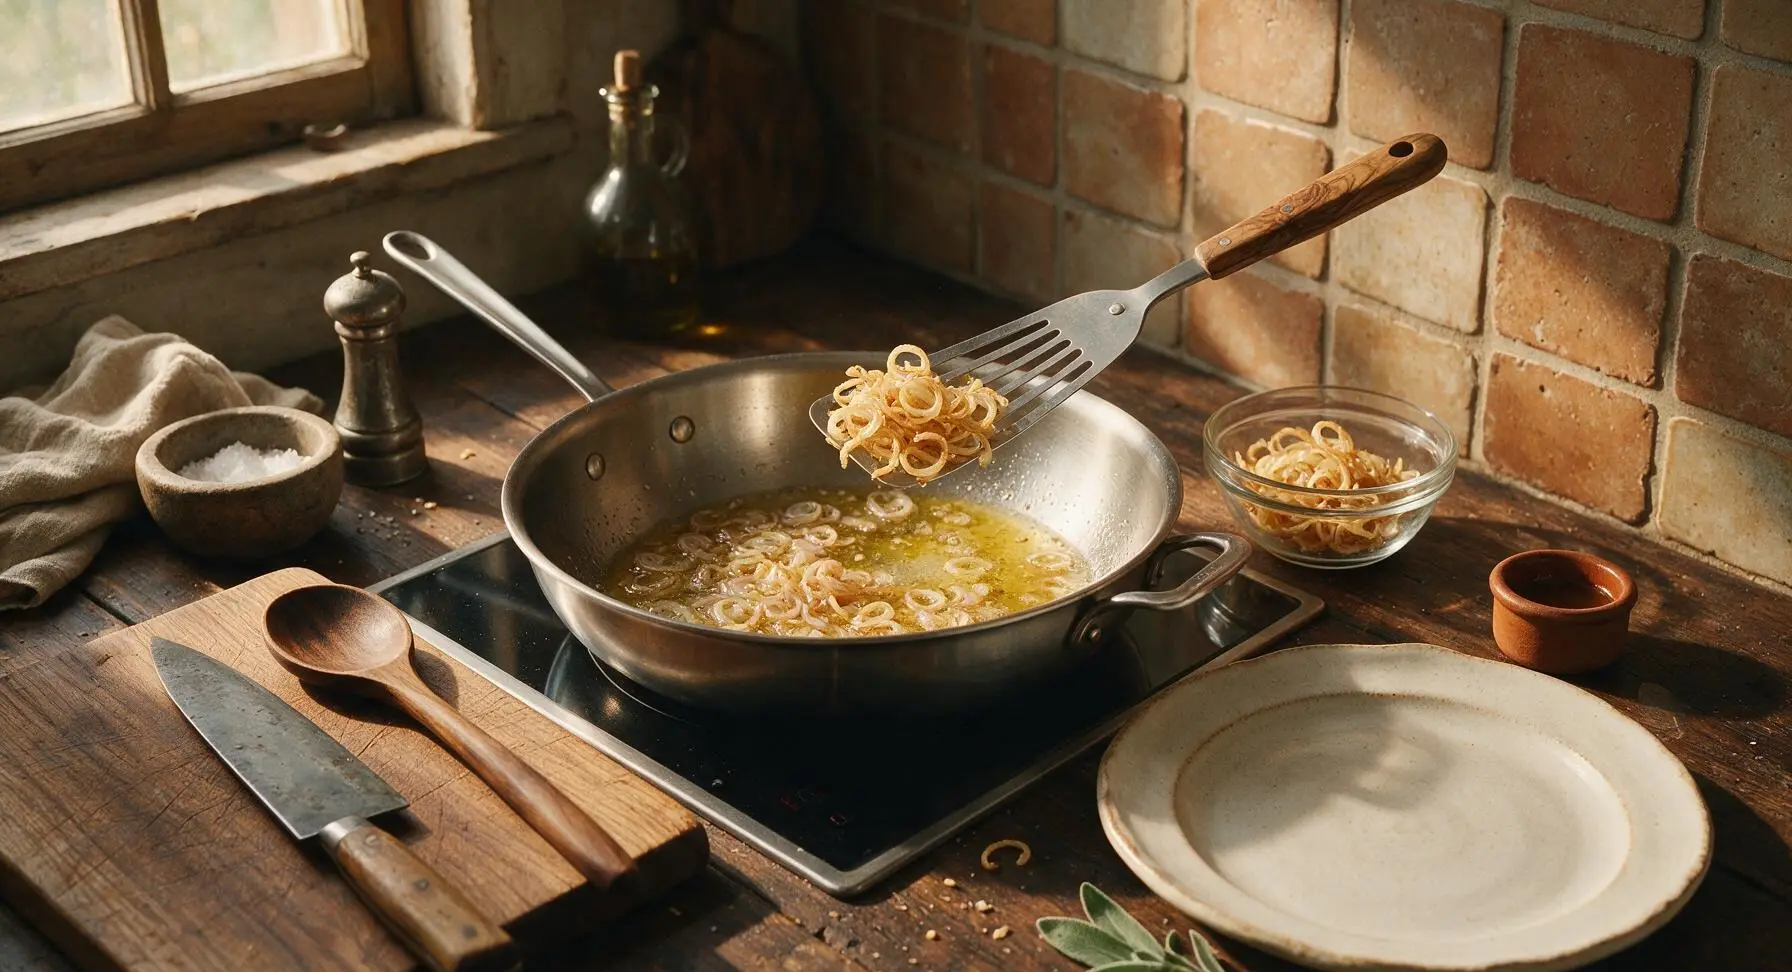
Step 3
step3:Crisp Shallot Rings
Step 3
step3:Crisp Shallot Rings
4

Toast Garlic Slices

Reduce the cooktop heat to medium-low (300°F). Add the remaining 2 tablespoons of unsalted butter to the same skillet with the leftover shallot butter. Once melted, add the thinly sliced garlic and 1/4 teaspoon red pepper flakes. Cook, stirring constantly with the wooden spoon, for 30-45 seconds until the garlic turns pale golden and smells deeply fragrant. Watch closely: garlic will burn in seconds if left unattended, turning bitter.
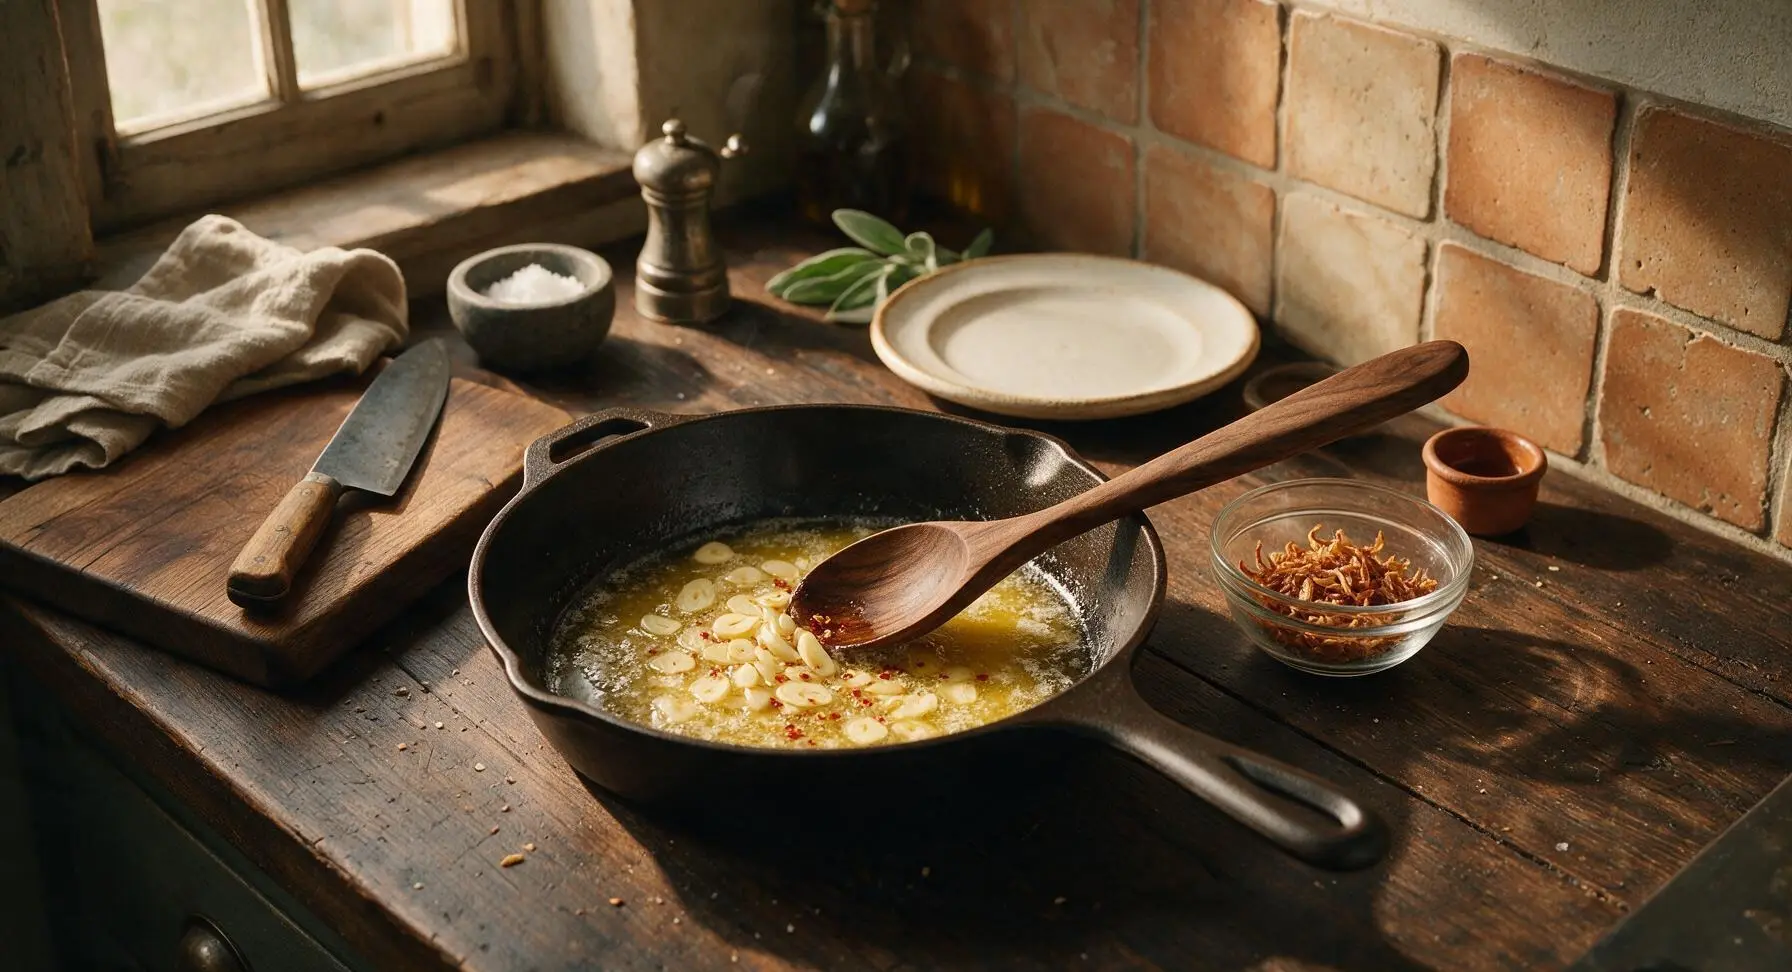
Step 4
step4:Toast Garlic Slices
5

Sauté Green Beans

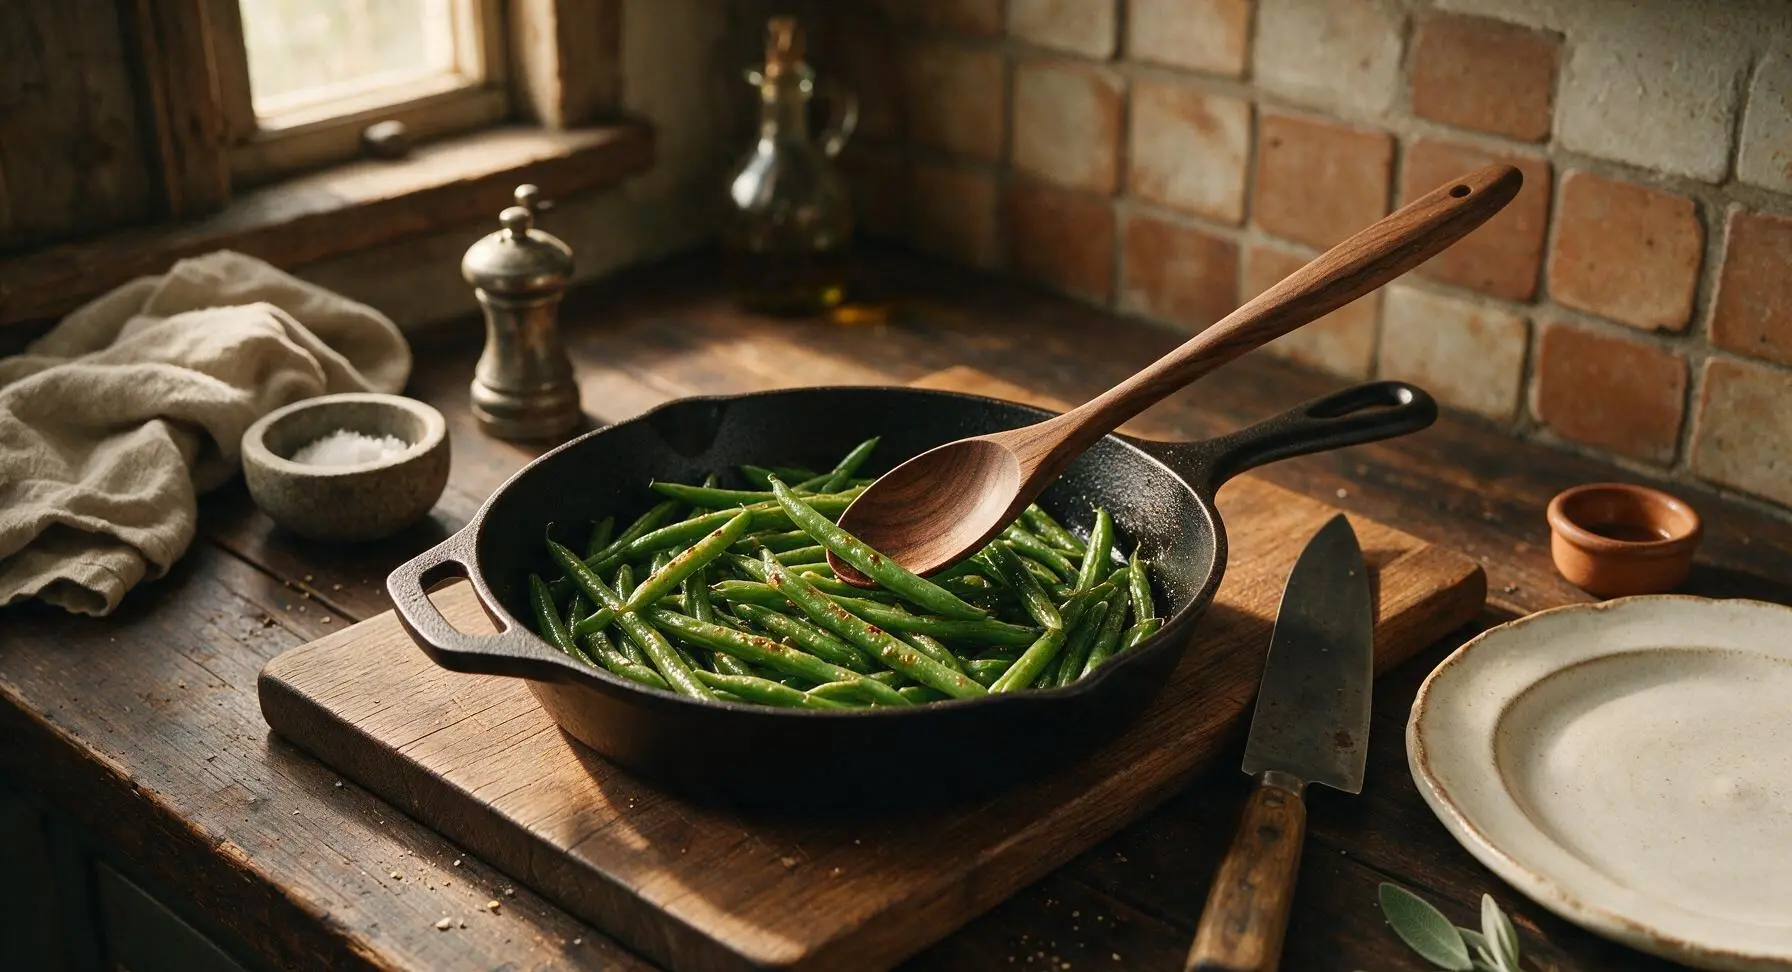
Add the fully dried, trimmed green beans to the skillet, tossing with the wooden spoon to coat every bean in the garlicky butter. Season with 1/2 teaspoon flaky sea salt and 1/4 teaspoon cracked black pepper. Cook, tossing every 1-2 minutes, for 6-7 minutes until the beans are bright green, tender-crisp, and have a few faint golden blistered spots on their surface. They should give slightly when pierced with the tip of the paring knife, but still have a firm snap when bitten. Do not overcook to a mushy texture.
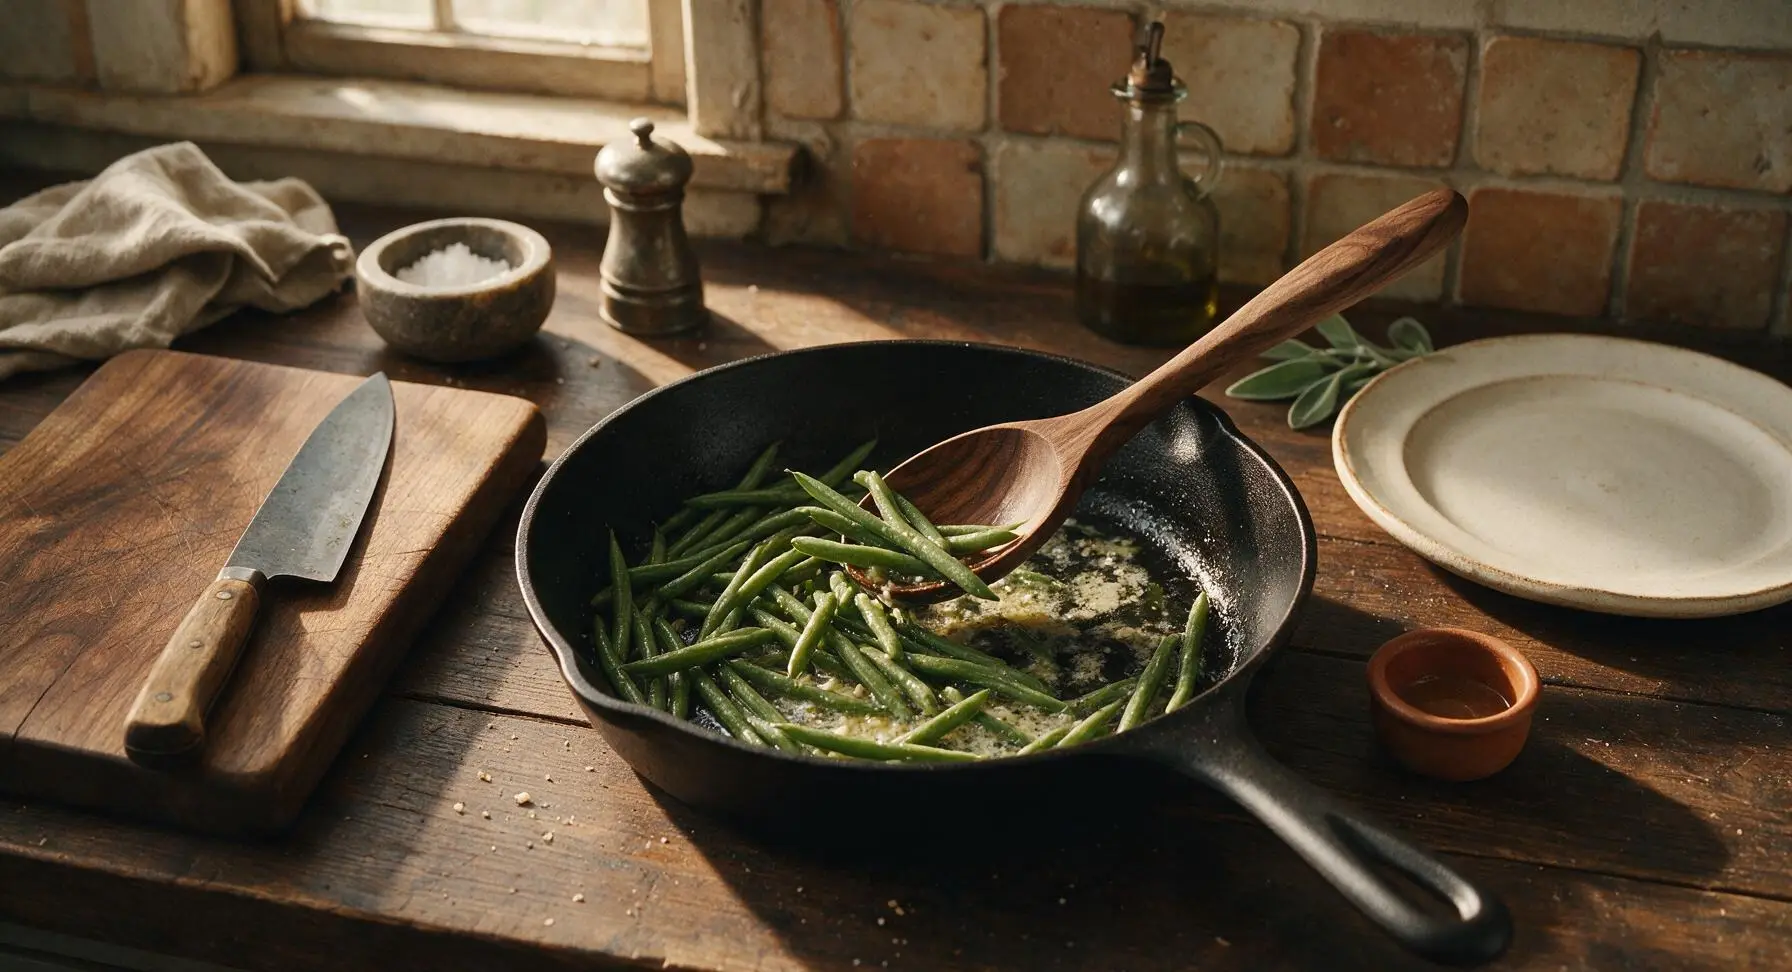
Step 5
step5:Sauté Green Beans
Step 5
step5:Sauté Green Beans
6

Finish with Lemon

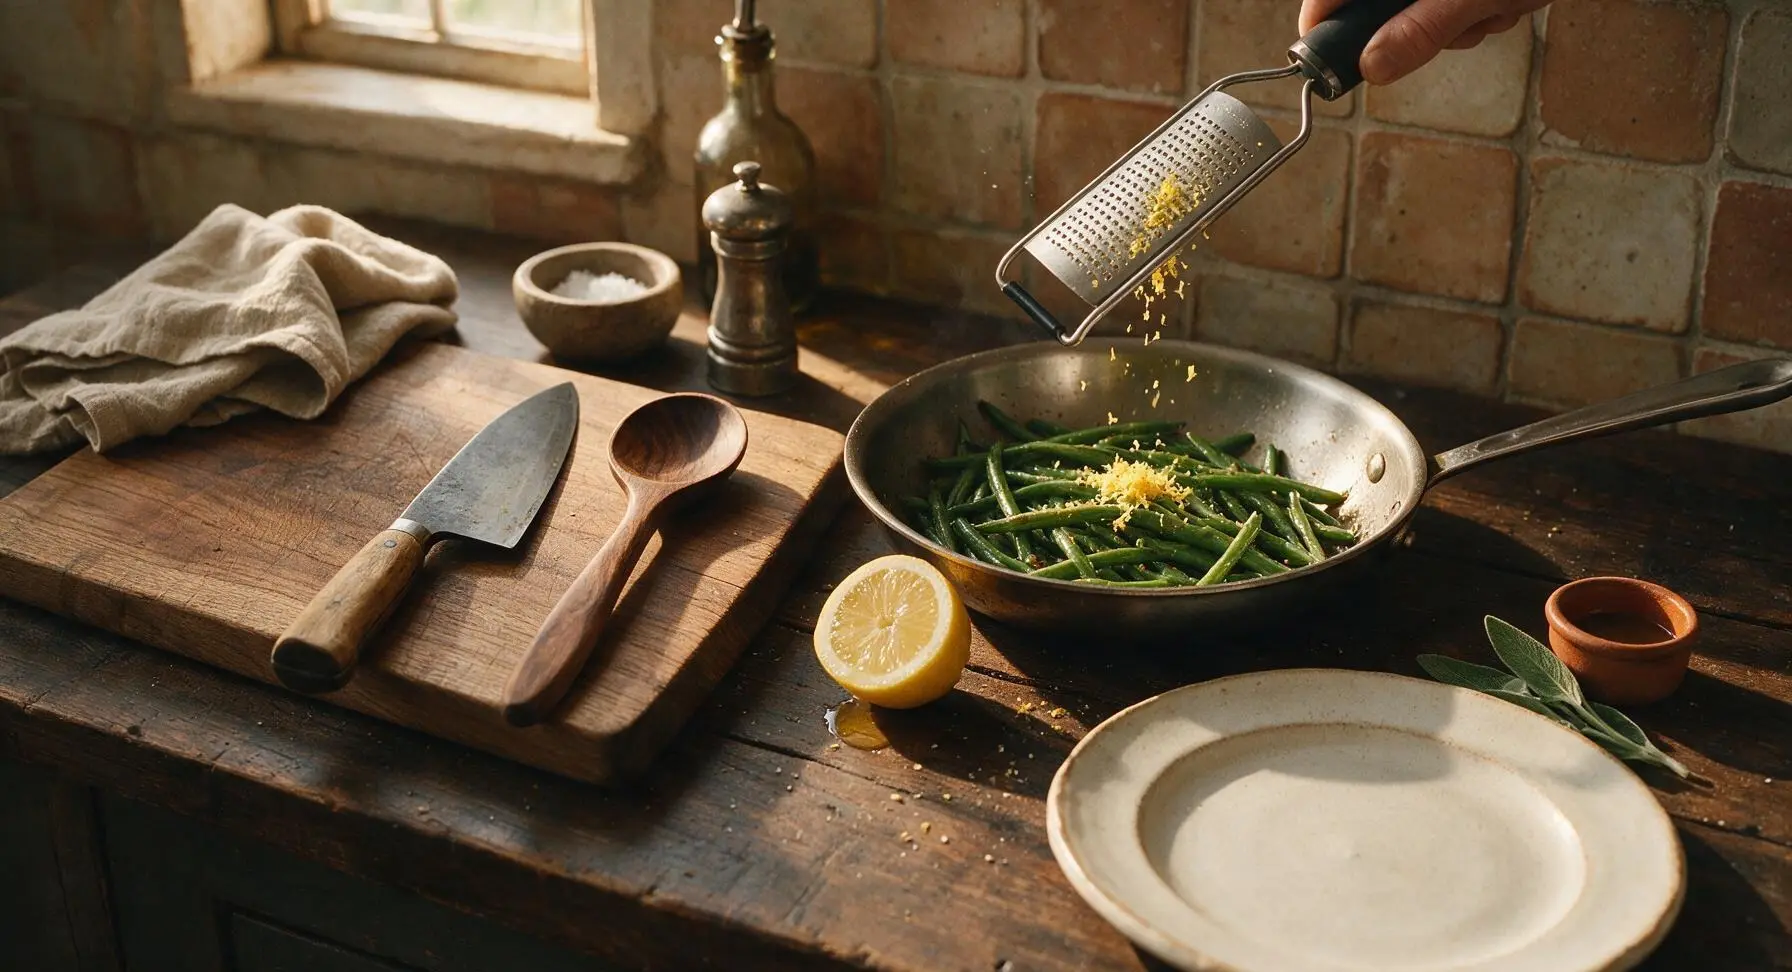
Turn off the cooktop heat. Use the microplane zester to grate 1/2 teaspoon of fresh lemon zest directly over the beans in the skillet, then squeeze 1 teaspoon of fresh lemon juice over top, tossing gently to combine. Taste and adjust salt or pepper if needed. The bright acid will cut through the richness of the butter and elevate the bean flavor.
Step 6
step6:Finish with Lemon
7

Plate and Garnish

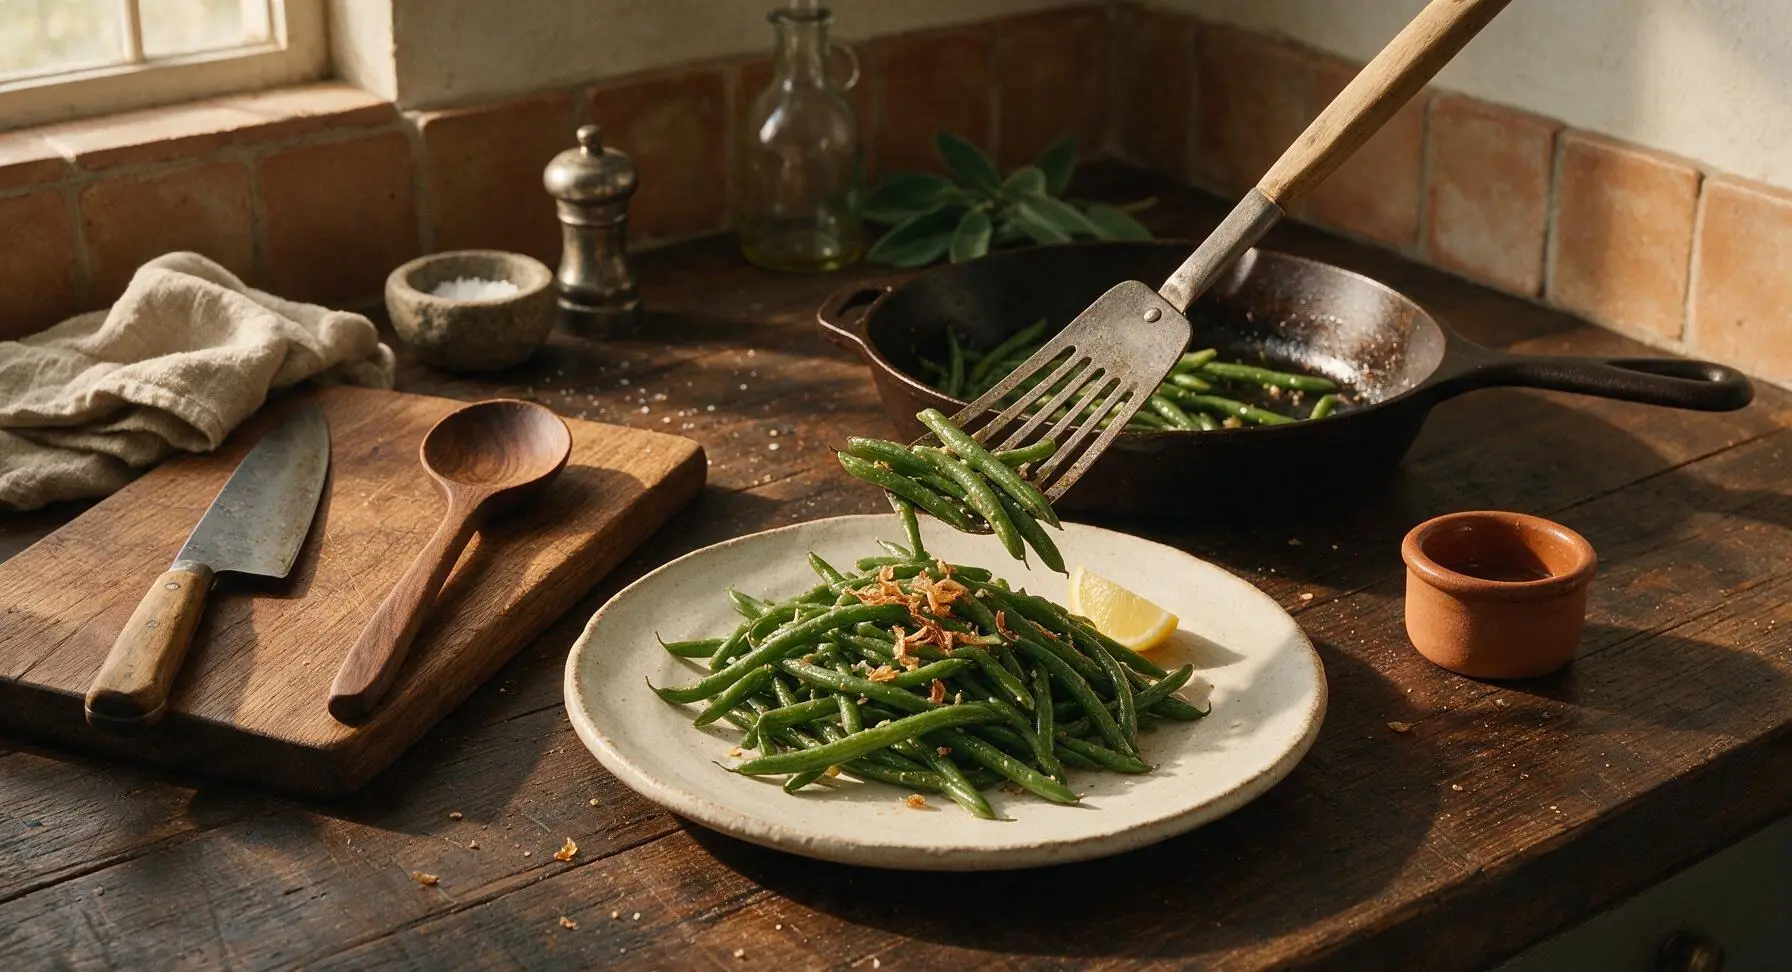
Transfer the finished green beans to the matte off-white ceramic dinner plate, piling them loosely in the center. Scatter the reserved crispy shallots evenly across the top of the beans. Garnish with an extra twist of black pepper and a small lemon wedge placed on the plate rim for guests who want extra citrus. Serve immediately while warm.
Step 7
step7:Plate and Garnish

Tips

1.Always pat green beans completely dry before adding to hot butter: excess surface moisture will cause dangerous hot butter splatters, and will steam the beans instead of sautéing them, leading to a soggy, mushy texture instead of the desired tender-crisp bite.
2.Cook garlic over medium-low heat and watch it constantly: thin garlic slices go from perfectly fragrant and golden to burnt and unpleasantly bitter in under 60 seconds, so never walk away from the pan during this step. If dark brown edges form immediately, pull the pan off the heat for 30 seconds to cool slightly.
3.Wait to add lemon juice and zest until after you turn off the heat: cooking citrus for extended periods dulls its bright, tart flavor and can leave a bitter aftertaste; adding it off-heat preserves the fresh, bright contrast to rich, nutty butter.


✨ You May Also Like

Side Dishes
🍜 India

Velvety, aromatic all-purpose curry sauce perfect for tossing with roasted veggies, grilled protein, or rice for fast, cozy, flavorful meals.

⏱️ 25 minuteSide Dishes ★ 4.8
Side Dishes
🍜 Spain

Tender, starchy boiled yuca tossed in bright, garlicky citrus mojo sauce—an iconic, zesty side that pairs beautifully with roasted pork, grilled meats, and rice and beans.

⏱️ 40 minuteSide Dishes ★ 5
Side Dishes
🍜 United States

Tender, paper-thin potato flatbread, a beloved Norwegian-American Minnesota Christmas staple, griddled until softly spotted and served warm with butter.

⏱️ 1 hour 30Side Dishes ★ 4.6
Side Dishes
🍜 United States

Rich, deeply savory cured salt pork, a long-lasting kitchen staple perfect for frying crispy as a side or adding umami to stews, beans, and chowders.

⏱️ 7 days (2Side Dishes ★ 4.9
Side Dishes
🍜 United States

Crispy, tangy classic Southern fried green tomatoes with a crunchy cornmeal crust, served hot for a nostalgic, comforting summery bite.

⏱️ 25 minuteSide Dishes ★ 4.9
Side Dishes
🍜 United States

Moist, golden-crusted savory muffins with sweet corn, zesty jalapeño, and melted cheddar, perfect for pairing with smoky summer grilled fare.

⏱️ 30 minuteSide Dishes ★ 4.9

homemade green beans:Frequently Asked Questions

1.How do I keep my green beans tender-crisp instead of turning mushy? ▾
Start by blanching trimmed beans in heavily salted, rolling boiling water for exactly 3 to 4 minutes, then scoop them straight into an ice water bath to halt cooking instantly. This locks in bright color and snappy texture. When you toss them in brown butter later, only heat them for 1 to 2 minutes so they don’t oversoften.
2.What’s the trick to making brown butter without burning it? ▾
Melt unsalted butter over medium-low heat, swirling the pan frequently as it foams. You’ll notice golden, nutty-smelling specks form at the bottom of the pan after 3 to 5 minutes—pull it off the heat immediately once those specks turn deep amber, because it can burn in 10 seconds flat. Add sliced garlic right off the heat to mellow it without scorching.
3.Can I use frozen green beans instead of fresh for this recipe? ▾
You absolutely can, though the texture will be slightly less snappy than fresh. Skip the blanching step, and pat thawed frozen beans completely dry with paper towels before tossing them in the garlic butter—excess moisture will make the dish watery and keep the butter from coating every bean evenly. Sauté them for 2 to 3 minutes to warm through.
4.How do I get my crispy shallots to stay crunchy instead of soggy? ▾
Thinly slice shallots into uniform rings, separate them, and toss with a tiny pinch of all-purpose flour before frying in a thin layer of butter over medium heat for 2 to 3 minutes, stirring constantly. Scoop them out onto a paper towel-lined plate as soon as they turn light golden, and don’t top the beans with them until right before serving.
5.Why does my garlic turn bitter every time I cook it in butter? ▾
Garlic burns extremely fast, especially in hot brown butter. Add your thinly sliced garlic to the pan right after you pull the brown butter off direct heat—residual pan heat will soften it and bring out its sweet, mellow flavor in 30 to 60 seconds without turning it bitter, brown, or acrid. Don’t leave it on active high heat for more than a few seconds.
6.Can I make this side dish ahead of time for a holiday meal? ▾
You can prep all components a day ahead: blanch and shock the green beans, store them sealed in the fridge, and fry your crispy shallots, keeping them in an airtight container at room temp. Right before serving, whip up the brown garlic butter, toss the beans in it to warm, top with shallots, and finish with lemon to avoid sogginess.
7.Do I really need both lemon zest and lemon juice for this recipe? ▾
Both elements add distinct bright layers that cut through the rich, nutty butter! Lemon zest adds bright, aromatic citrus flavor without extra tang, while a teaspoon or two of fresh juice right at the end adds a bright, acidic pop that balances the savoriness of garlic and butter. Skip bottled juice, it tastes flat compared to fresh.
8.What main dishes pair best with these buttery garlic green beans? ▾
This is such a versatile classic side! It pairs perfectly with roasted chicken, seared steak, baked salmon, holiday turkey, or even creamy pasta dishes. It’s light enough for quick weeknight family dinners but feels elevated enough for Thanksgiving, Easter, or dinner party spreads without requiring fancy, time-consuming prep.
9.Can I make this dairy-free for guests with dietary restrictions? ▾
Absolutely! Swap the unsalted butter for a high-quality plant-based butter that browns well (look for one with high fat content and low water content) or even ghee if you’re avoiding lactose rather than all dairy. The nutty, garlicky flavor will still shine through, and the texture will be nearly identical to the original version.
10.How long do leftovers keep in the fridge, and what’s the best way to reheat them? ▾
Leftovers will stay good for up to 3 days stored in a sealed airtight container in the fridge. Reheat them in a dry skillet over medium-low heat for 2 to 3 minutes, tossing occasionally, until warmed through—skip the microwave, which will turn the beans mushy and make the garlic butter separate unevenly.
11.Is there a substitute for shallots if I don’t have them on hand? ▾
If you don’t have shallots, you can swap them for very thinly sliced sweet onion for the crispy topping, though it will have a slightly sharper, less mild flavor. In a pinch, skip the crispy topping entirely and toss in a tablespoon of toasted slivered almonds for a similar crunchy, nutty contrast to the soft beans and rich butter.
12.Do I need to trim both ends of the green beans, or just the tough stem end? ▾
You only need to trim the tough, fibrous stem end of each fresh green bean—the pointy tail end is totally tender and edible, so there’s no need to snip it off unless you prefer a more uniform, polished look. To trim quickly, line a handful of beans up on a cutting board and slice the stem ends off in one big batch to save prep time.
13.How much salt should I add, and when is the best time to season? ▾
Salt your blanching water as heavily as sea water first—that seasons the beans all the way through, rather than just on the surface. Taste the beans after tossing them in the garlic butter, then add a tiny pinch of flaky sea salt only if needed, since the brown butter and natural bean sweetness already carry lots of flavor.
14.Can I add extra mix-ins to make these green beans more hearty? ▾
Of course! Toss in crumbled crispy bacon, toasted pine nuts, grated parmesan, a pinch of red pepper flakes for heat, or halved cherry tomatoes right at the end if you want to bulk up the dish. Just don’t overload the beans so much that the bright, nutty garlic butter flavor gets buried under extra add-ins.

Comments (13)

2 days ago

OMG these were SO good! I made them for our Sunday family dinner last night and even my super picky 7 year old asked for seconds. The buttery garlic flavor isn’t overpowering at all, and 12 minute cook time? Total game changer for busy weeknights too.

1 day ago

Same! My kiddo usually turns his nose up at any green veg but he ate every last bean off his plate when I made these last week. Total winner.

1 day ago

That makes our day to hear! We love that this recipe works for even the pickiest eaters—so glad it was a hit at your family dinner!

1 week ago

Added these to my weekly meal prep rotation! I blanch them a tiny bit first so they stay crisp when I reheat them for lunches all week, and the garlic butter holds up so much better than I thought it would. Perfect easy side to pair with grilled chicken or salmon.

3 days ago

Brought these to our neighborhood potluck this past weekend and the bowl was literally empty in 10 minutes! People kept asking me for the recipe, I couldn’t believe how big of a hit they were. Only thing I did extra was toss in a tiny sprinkle of parmesan at the end, chef’s kiss.

2 days ago

Love the parmesan add-in! That salty, cheesy kick pairs so perfectly with the garlic butter—we’re definitely going to try that trick next time we make them. So glad they were a potluck hit!

2 hours ago

Wait, is it really only 12 minutes cook time? I always overcook green beans until they’re mushy, I’m nervous to mess these up because they sound amazing. Any tips for getting that perfect crisp-tender texture?

1 hour ago

Pro tip! Set a timer as soon as you toss them in the pan, and pull them off right when they turn that bright vibrant green. I used to overcook mine too, and the timer trick has never failed me with this recipe.

45 minutes ago

Great tip from Linda! We also recommend using fresh (not frozen) green beans if you can, and sautéing them over medium-high heat so they get a little char on the edges without turning mushy. You’ve got this!

5 days ago

As someone who’s literally only ever made microwave steamed veggies before, this was so easy! I already had butter, garlic, and a bag of green beans from the grocery store, no fancy ingredients needed. Tasted like something from a nice steakhouse, I was shocked.

3 days ago

Right?! I made these to go with a cheap pan-seared steak last week and felt like I was eating at a $50 a plate restaurant. So good for how little effort it takes.

1 week ago

Made these after a long day hike this weekend and they hit the spot. Light but flavorful, didn’t leave me feeling sluggish like heavier sides do. I added a squeeze of lemon at the end per a friend’s suggestion and it brightened the whole dish up so much!

2 weeks ago

I’ve been making green beans for 60+ years and I have to say, this recipe is a new favorite! I used to cook mine with bacon for hours, but this quick buttery garlic version is so much fresher tasting. My granddaughter said they’re the best green beans she’s ever had.

2 weeks ago

Wow, that means the world coming from someone with so much cooking experience! So happy you and your granddaughter loved the fresh, quick take on a classic side.

yesterday

Perfect low-carb side for my keto meal plan! The butter adds such a nice richness, no weird additives or sugary sauces like a lot of green bean recipes have. Will be making these at least once a week from now on.

30 minutes ago

Same! I’ve been searching for a keto side that doesn’t get boring and this is it. I tossed in a little red pepper flakes for a tiny kick and it’s chef’s kiss.

20 minutes ago

Thrilled this fits so well into your keto routine! The red pepper flake add-in sounds delicious—we love a little heat with that rich garlic butter.

30 minutes ago

Super straightforward recipe, no weird steps or hard to find ingredients. I messed up and added a little too much garlic on my first try and it was still delicious. 10/10, will be my go-to green bean recipe from now on.

5 minutes ago

Just made these for my first ever dinner party in my new apartment and all my roommates loved them! I was so stressed about making sides that weren’t total fails, but this was so easy even I couldn’t mess it up. Thank you for the great recipe!

just now

Congratulations on the new apartment! We’re so honored this recipe got to be part of your first dinner party—sounds like a total success to us!

3 days ago

Has anyone tried this with frozen green beans? I don’t have time to run to the store for fresh today but I have a giant bag of frozen in the freezer, would that work?

2 days ago

I made them with frozen last week! Just thaw them first and pat them really dry so they don’t get watery in the pan, they turned out almost as good as fresh for half the price.

2 days ago

Great call from Kelly! Frozen green beans work perfectly as long as you dry them well before sautéing—you might just need to add an extra minute or two of cook time to get that nice crisp edge. Enjoy!

1 week ago

Made these as a side for our steak and eggs brunch last Sunday and everyone raved. The garlic gets all fragrant and nutty when you sauté it in the butter, I could’ve eaten the whole pan by myself honestly.

5 days ago

Steak and eggs with these green beans sounds like the dream brunch! I usually only do roasted veggies for brunch but I’m absolutely making these next weekend.

2 weeks ago

Made these for my high school cooking club demo this week to show the kids how easy fresh veggie sides can be! They all got to help mince garlic and toss the beans, and so many of them said they were going to make them for their families at home. Love an easy, approachable recipe that gets kids excited about cooking.



