
Homemade Hazelnut Liqueur

title 1
Homemade Hazelnut Liqueur
⏱️ cook time 15 minutes
🍽️ servings 16
⚡ Difficulty easy

intro

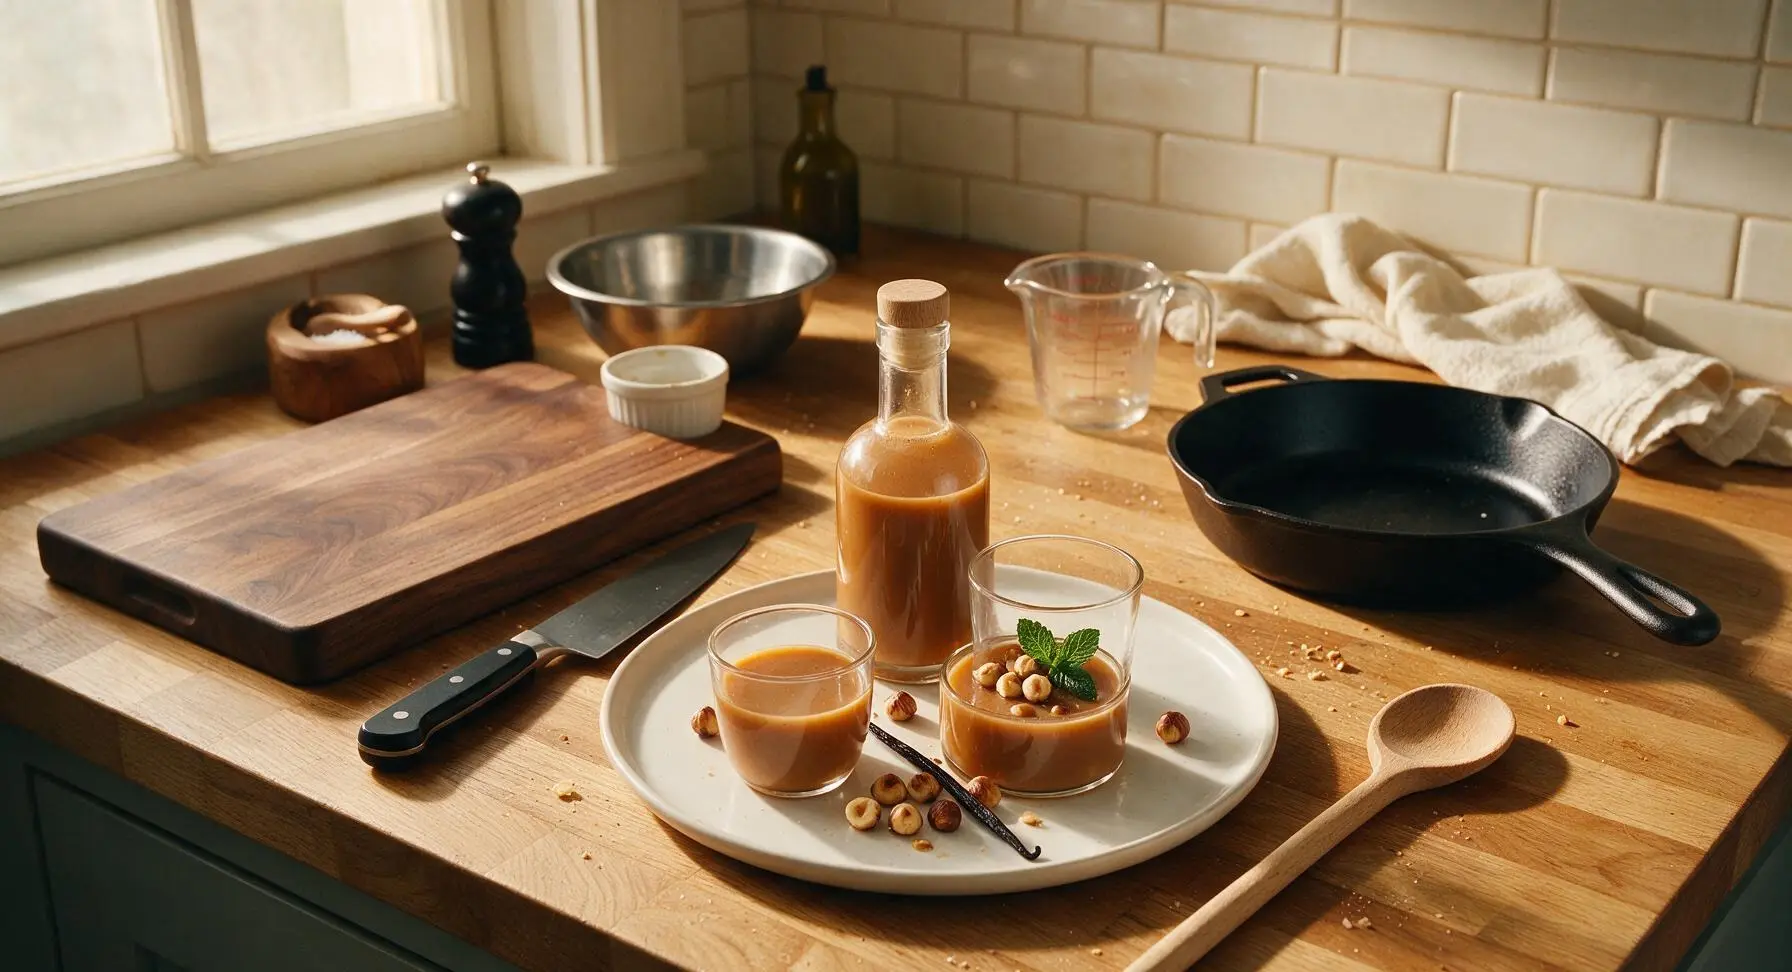
Rich, toasty, vanilla-kissed homemade hazelnut liqueur, smoother than store-bought, perfect for sipping neat, gifting, or stirring into winter coffee and holiday cocktails.

Ingredients
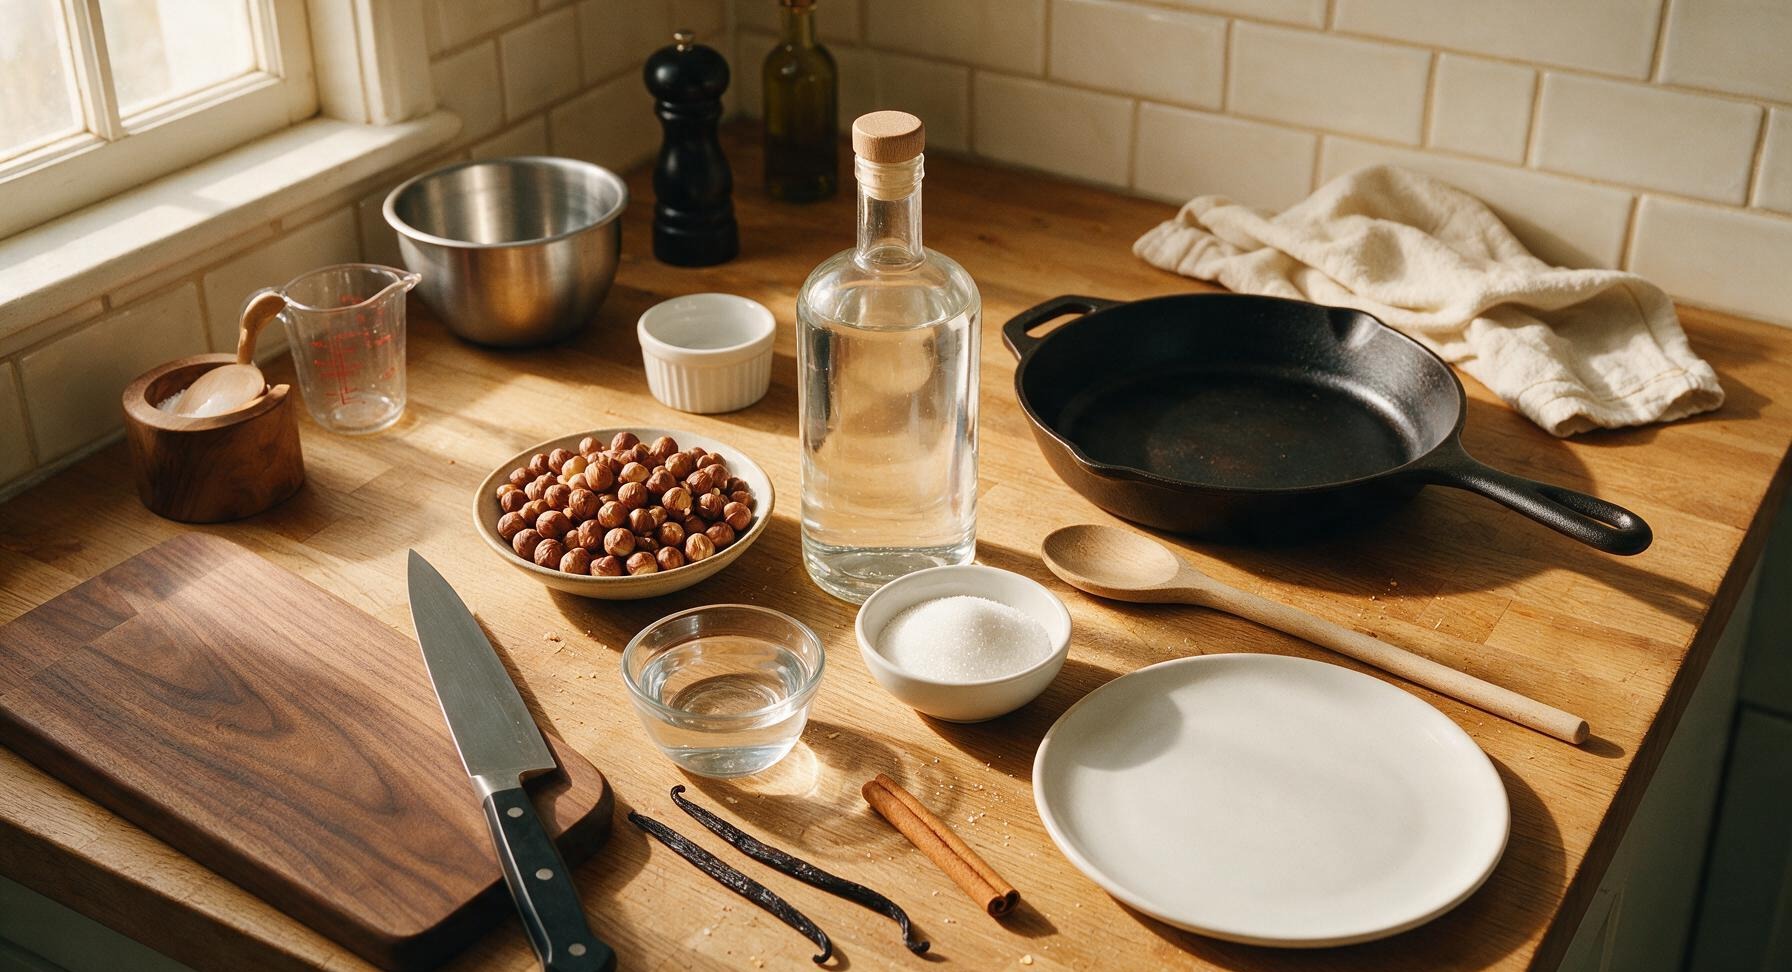
Raw shelled hazelnuts 200g
Neutral grain vodka (40% ABV) 500ml
Granulated white sugar 150g
Filtered water 180ml
Whole vanilla bean 1 (15cm length)
Cinnamon stick 1 (5cm length)

Steps

1

Toast Raw Hazelnuts

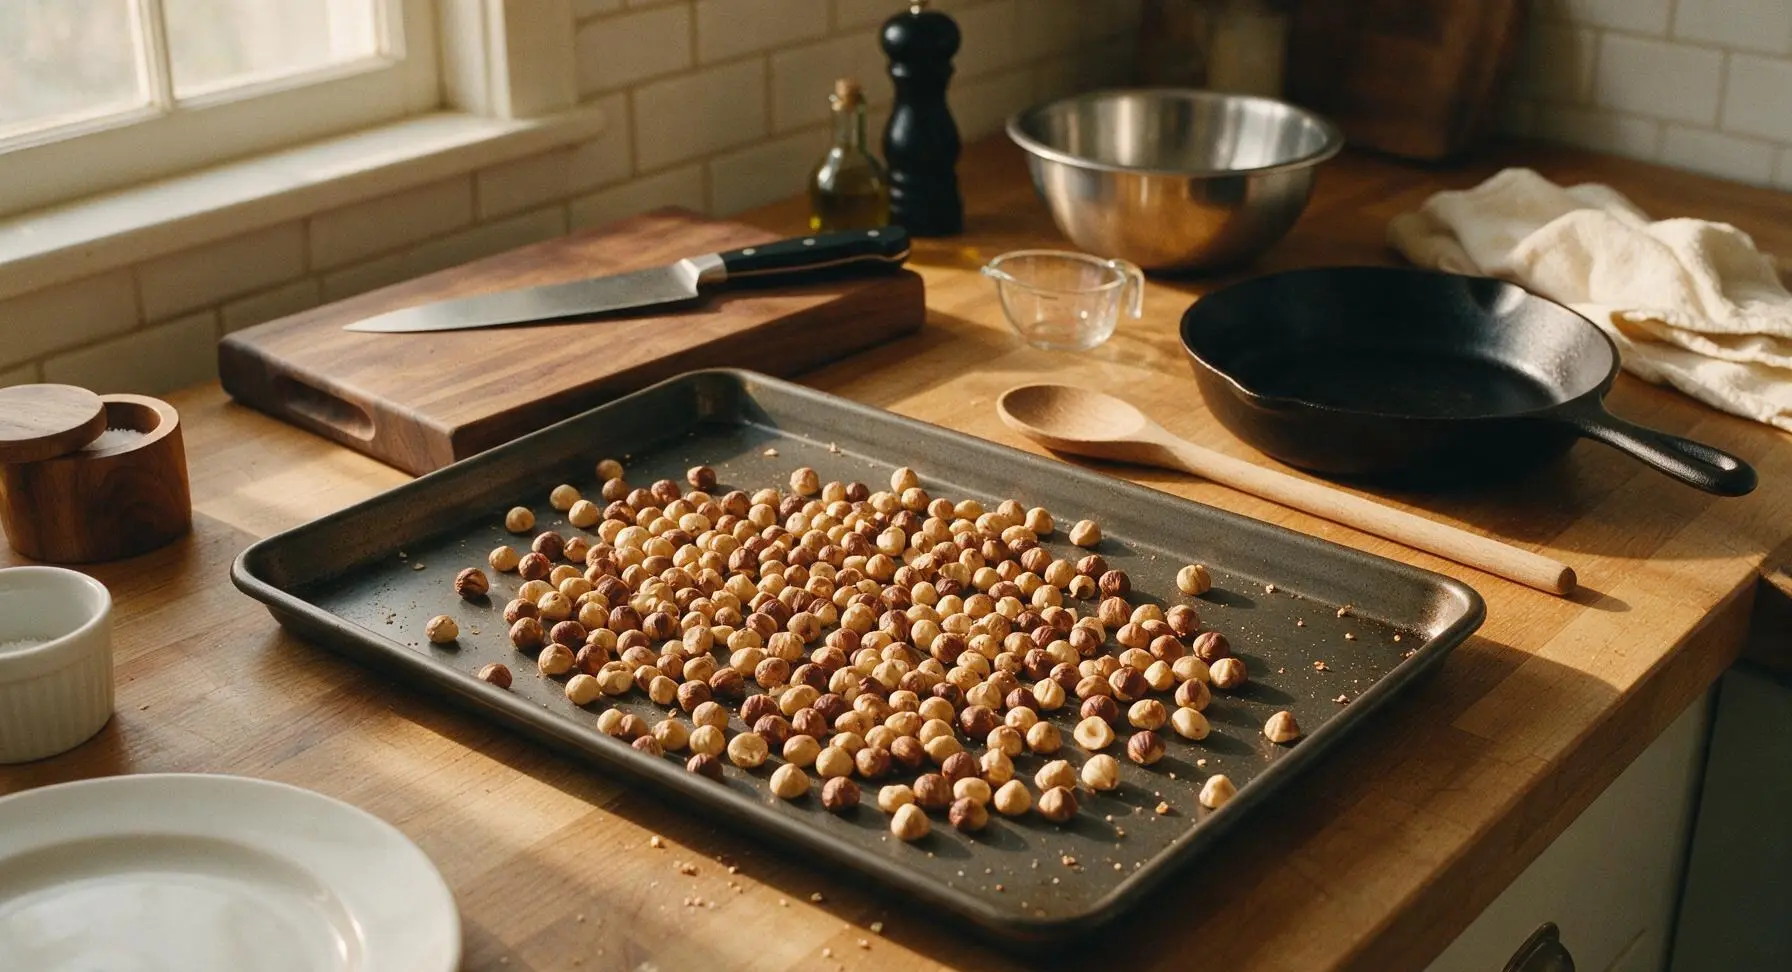
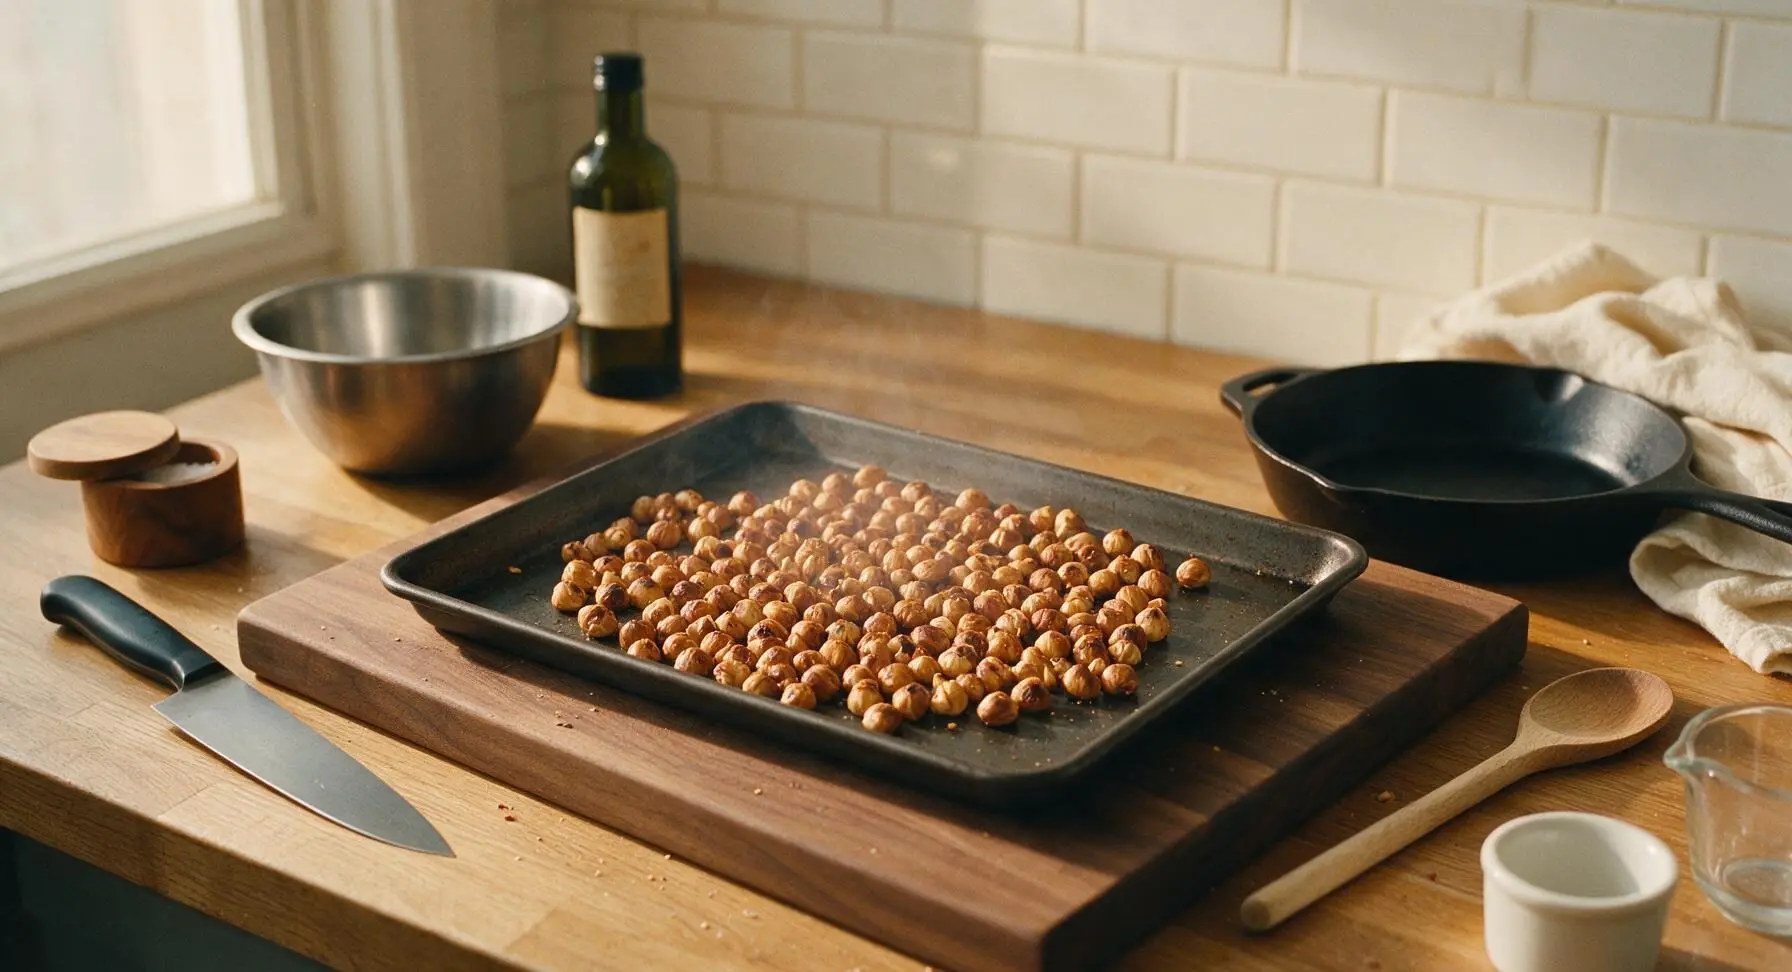
Preheat oven to 175°C (350°F). Spread the 200g raw shelled hazelnuts in a single even layer on the matte carbon steel baking sheet. Toast for 10–12 minutes, shaking the sheet firmly at the 6-minute mark to rotate the nuts, until the papery skins crack and the nuts release a rich, warm nutty aroma. Watch closely after 8 minutes, as hazelnuts burn quickly and will lend a bitter flavor to the finished liqueur.
Step 1
step1:Toast Raw Hazelnuts
Step 1
step1:Toast Raw Hazelnuts
2

Remove Loose Skins

Let the toasted hazelnuts cool completely on the baking sheet for 10 minutes, then rub small handfuls of nuts between your palms over the sheet to slough off 70–80% of the bitter, papery brown outer skins. Discard the loose skin flakes; you do not need to remove every last bit of skin, as small amounts add depth without bitterness. Let the skinned nuts cool fully to room temperature (approximately 20 minutes) before infusing, as residual heat will make the vodka taste harsh and solvent-like.
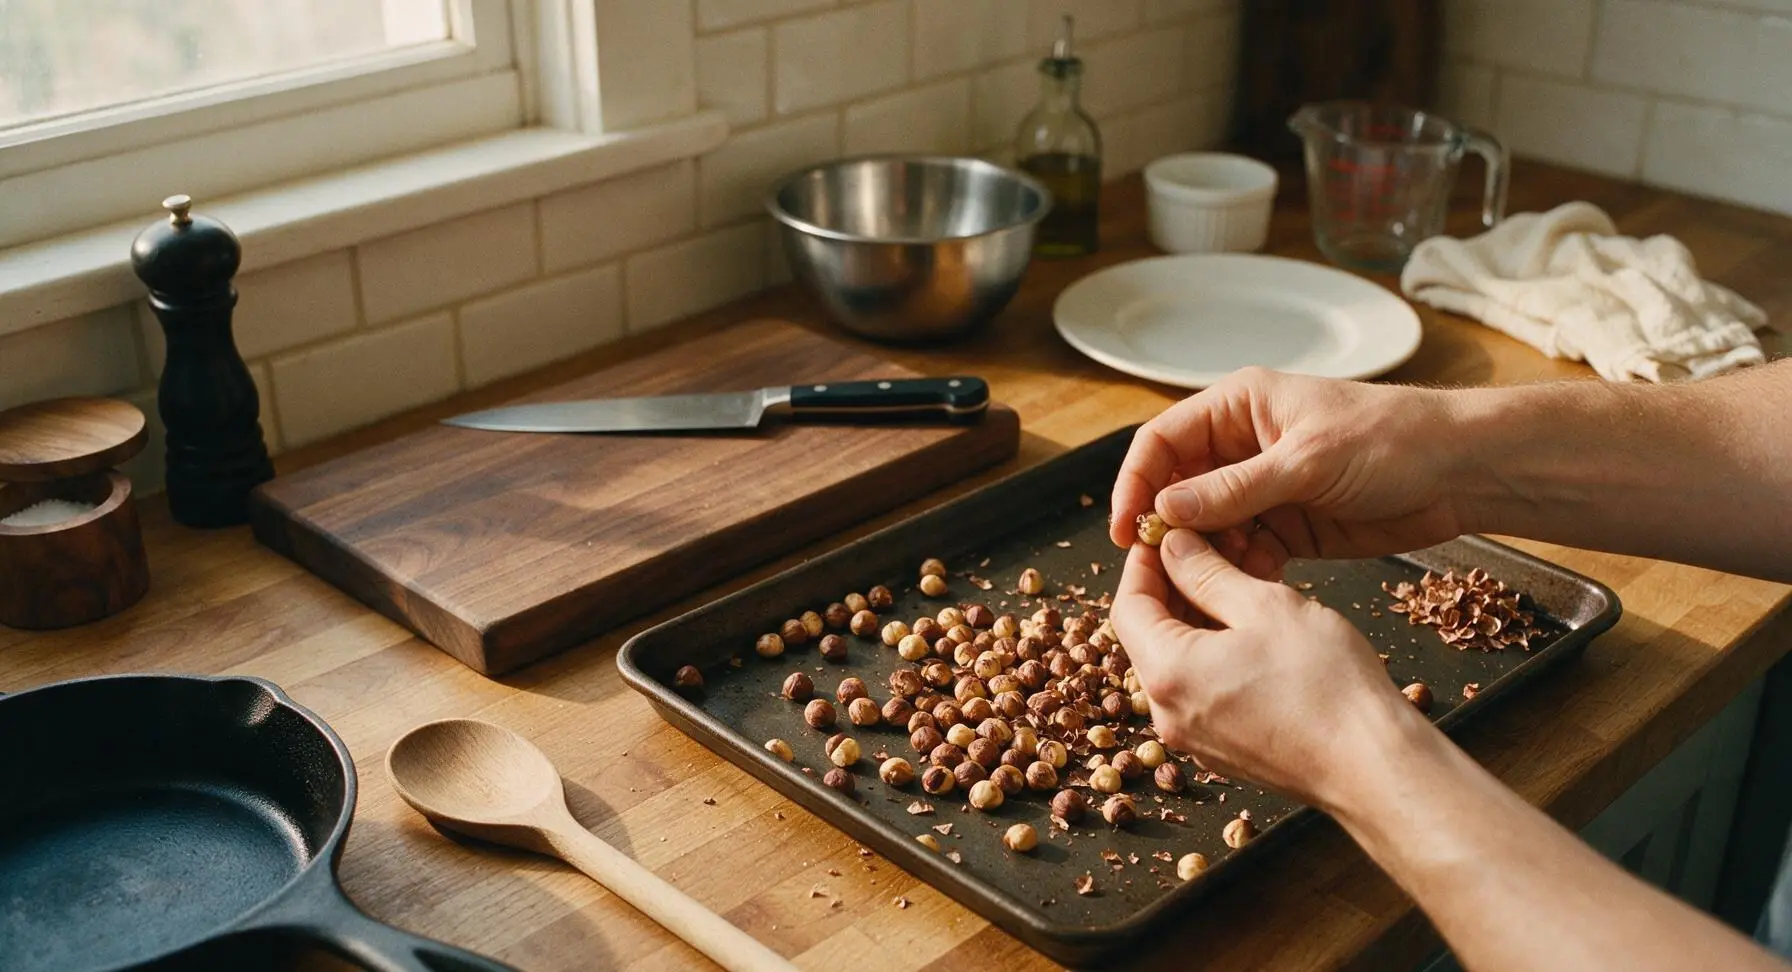
Step 2
step2:Remove Loose Skins
3

Load Infusion Jar

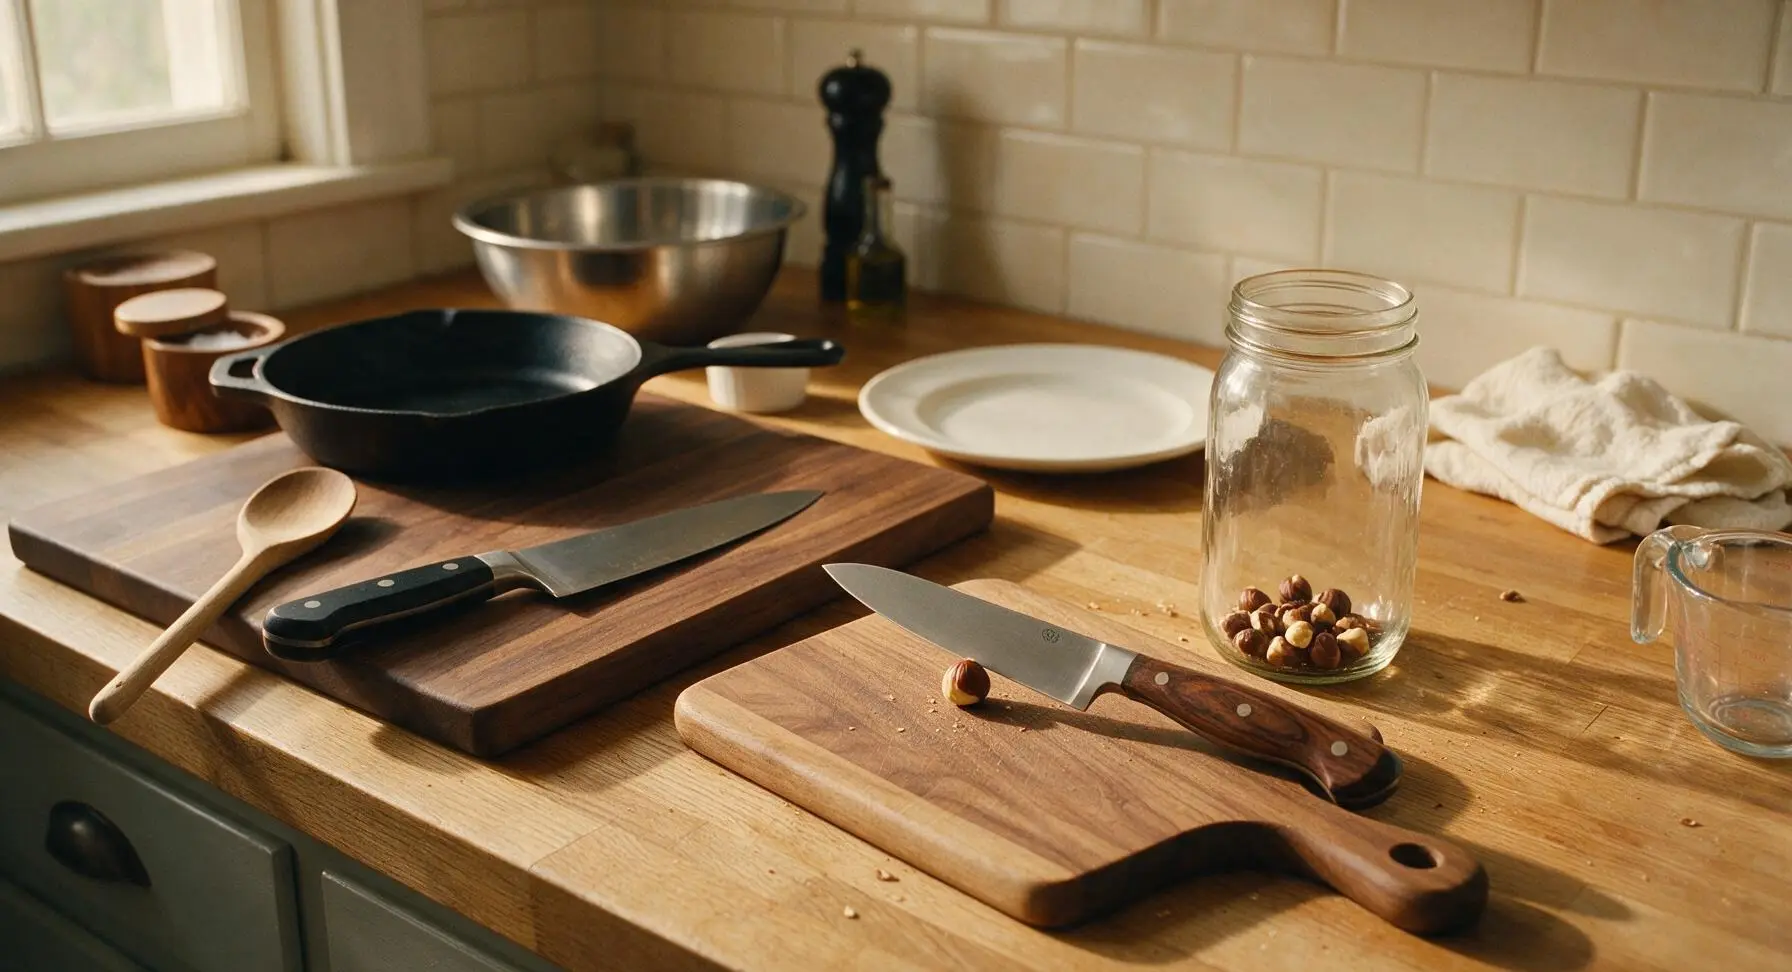
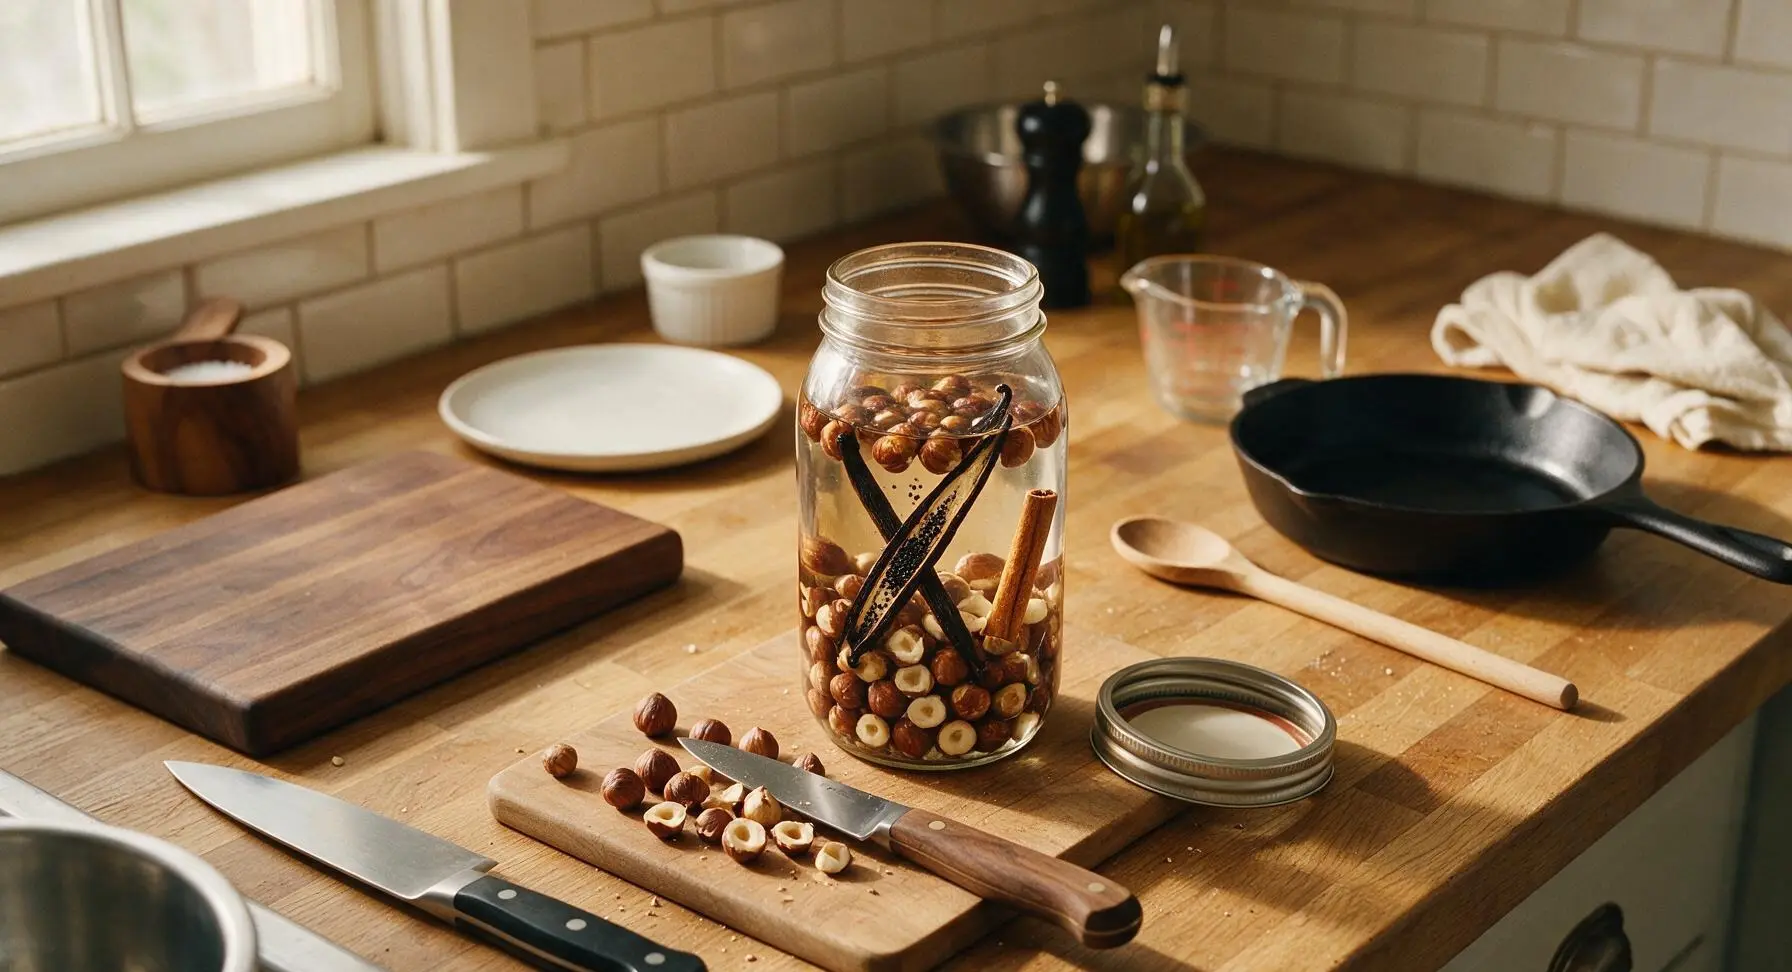
Set the small maple cutting board on the center of the counter. Use the flat side of the walnut-handled utility knife to lightly crack half of the cooled hazelnuts to expose their creamy inner flesh, which speeds up flavor extraction. Place all whole and cracked hazelnuts into the clean 1L wide-mouth mason jar. Split the vanilla bean lengthwise with the utility knife, scrape the tiny black seeds into the jar, then drop in the empty vanilla pod and the 5cm cinnamon stick. Pour the full 500ml of neutral vodka over the solids, ensuring all ingredients are fully submerged.
Step 3
step3:Load Infusion Jar
Step 3
step3:Load Infusion Jar
4

Seal and Steep

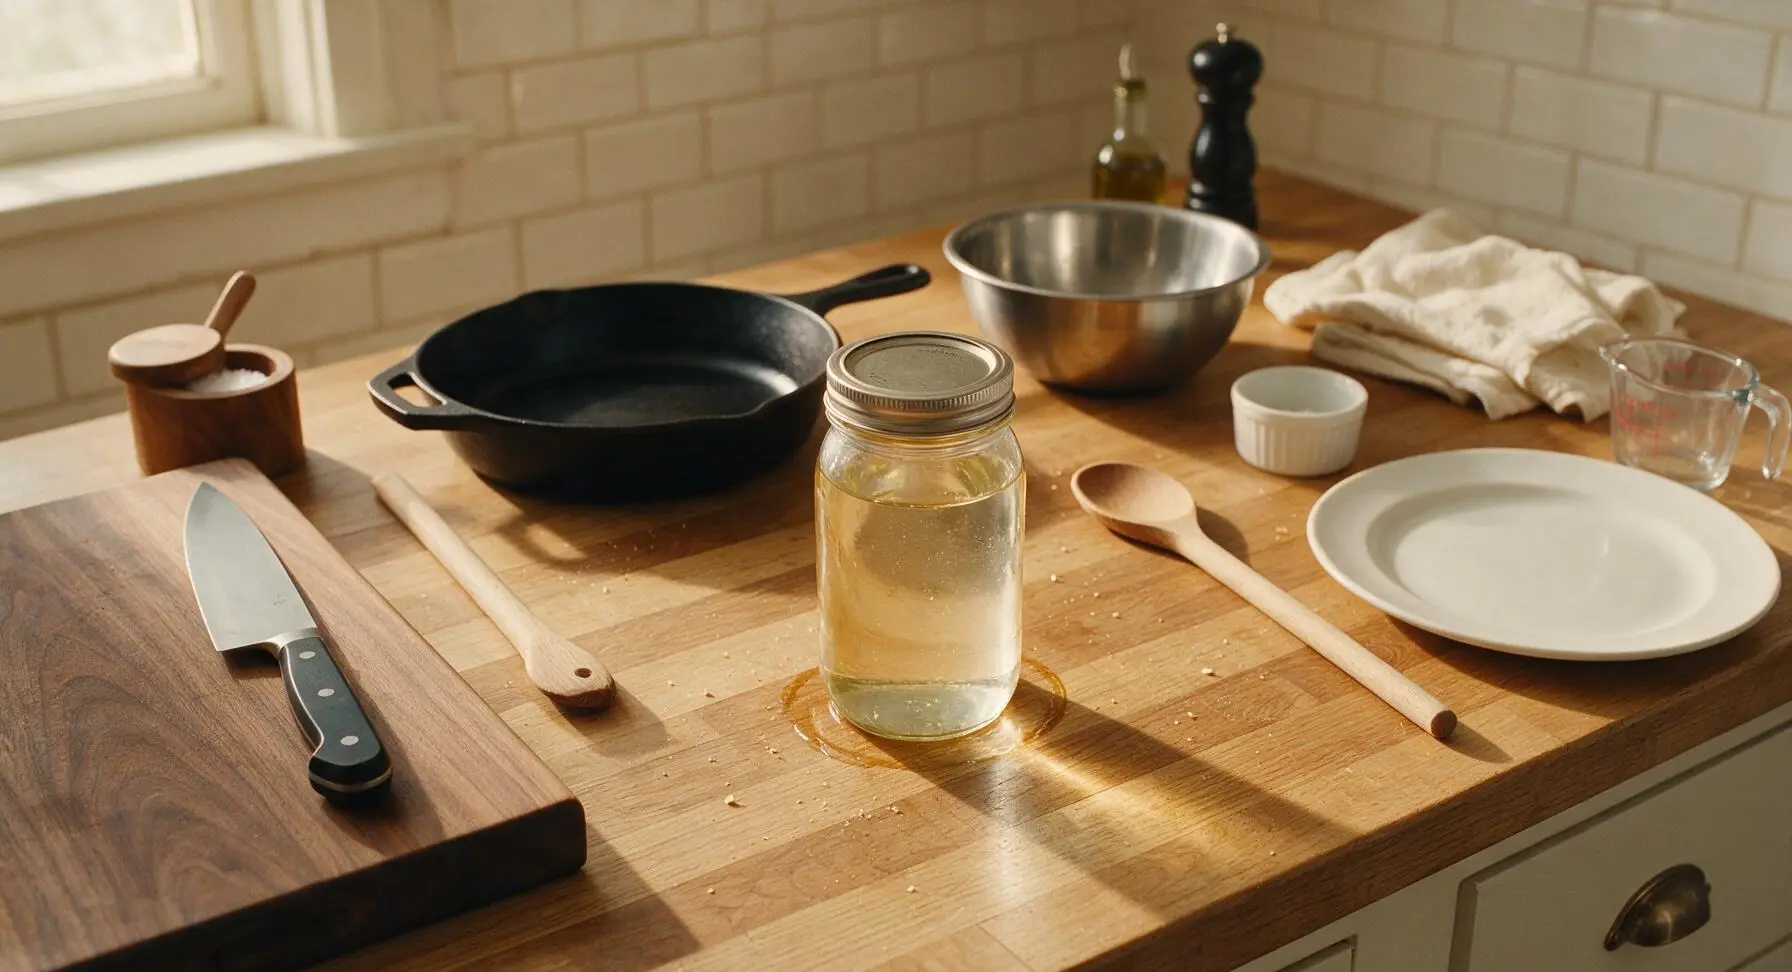
Seal the mason jar tightly with its metal screw band, then give it 3 slow, gentle shakes to evenly distribute the ingredients. Store the jar in a cool, dark cabinet away from direct sunlight for 4 weeks, shaking it gently once every 3 days to encourage even flavor extraction. The vodka will gradually darken to a warm pale amber as hazelnut flavor leaches into the spirit.
Step 4
step4:Seal and Steep
5

Make Simple Syrup

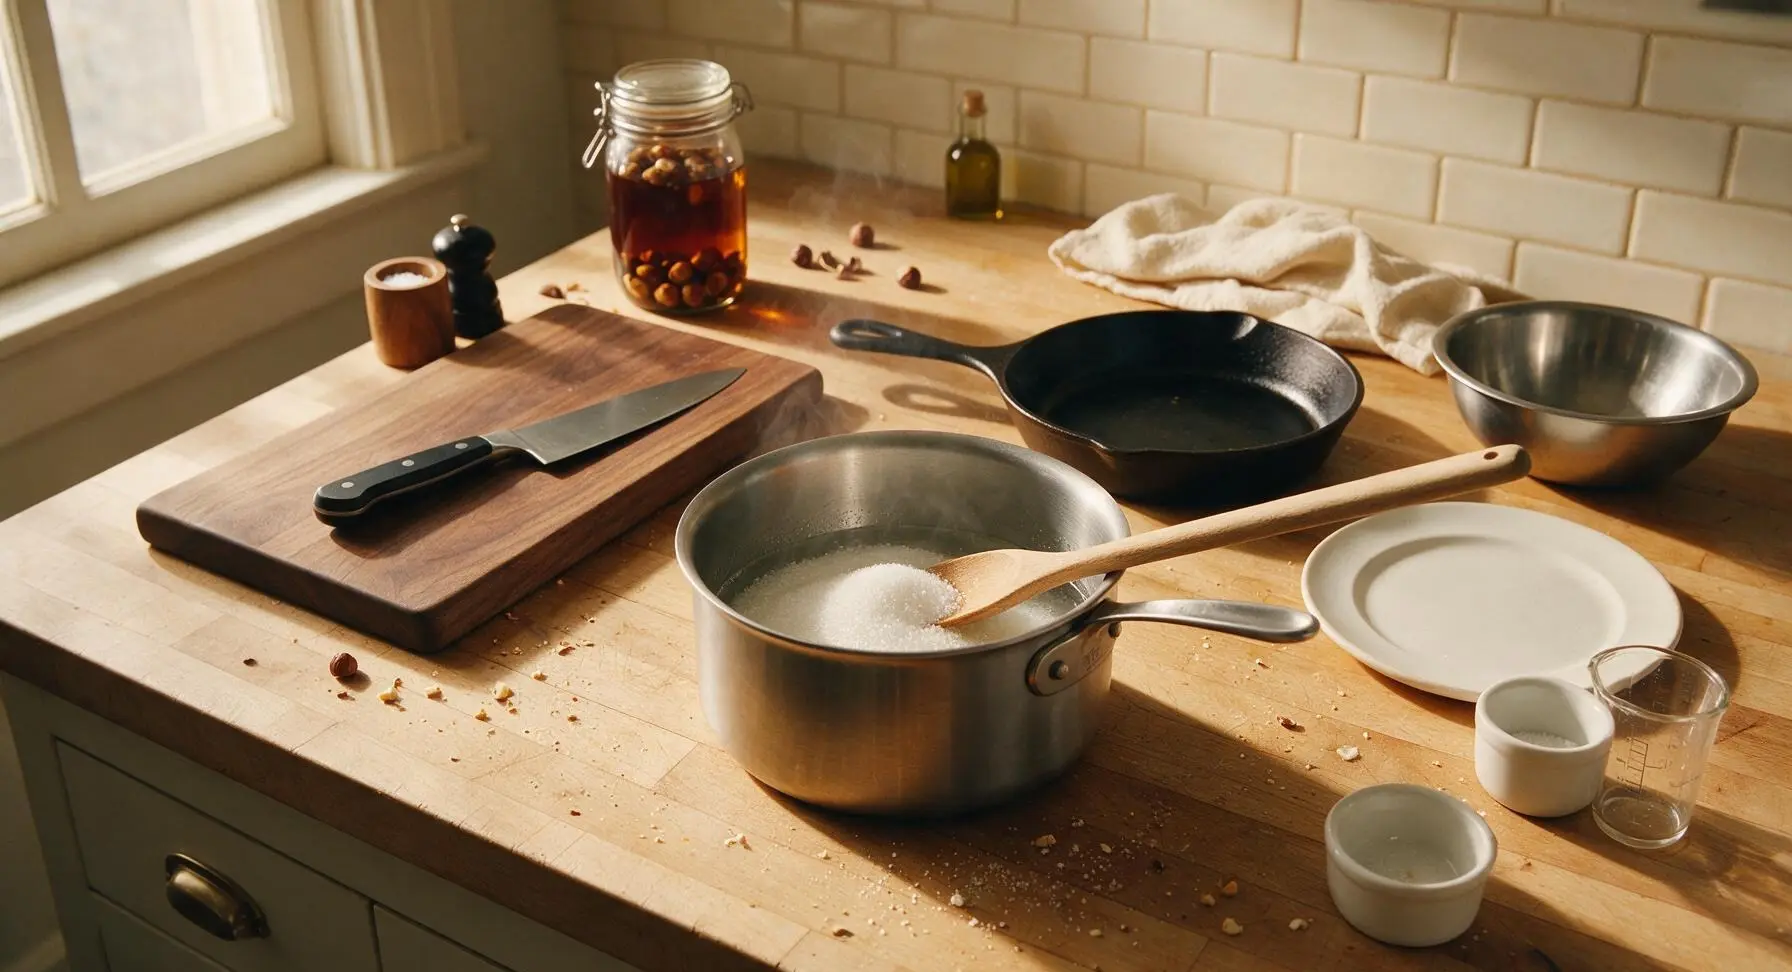
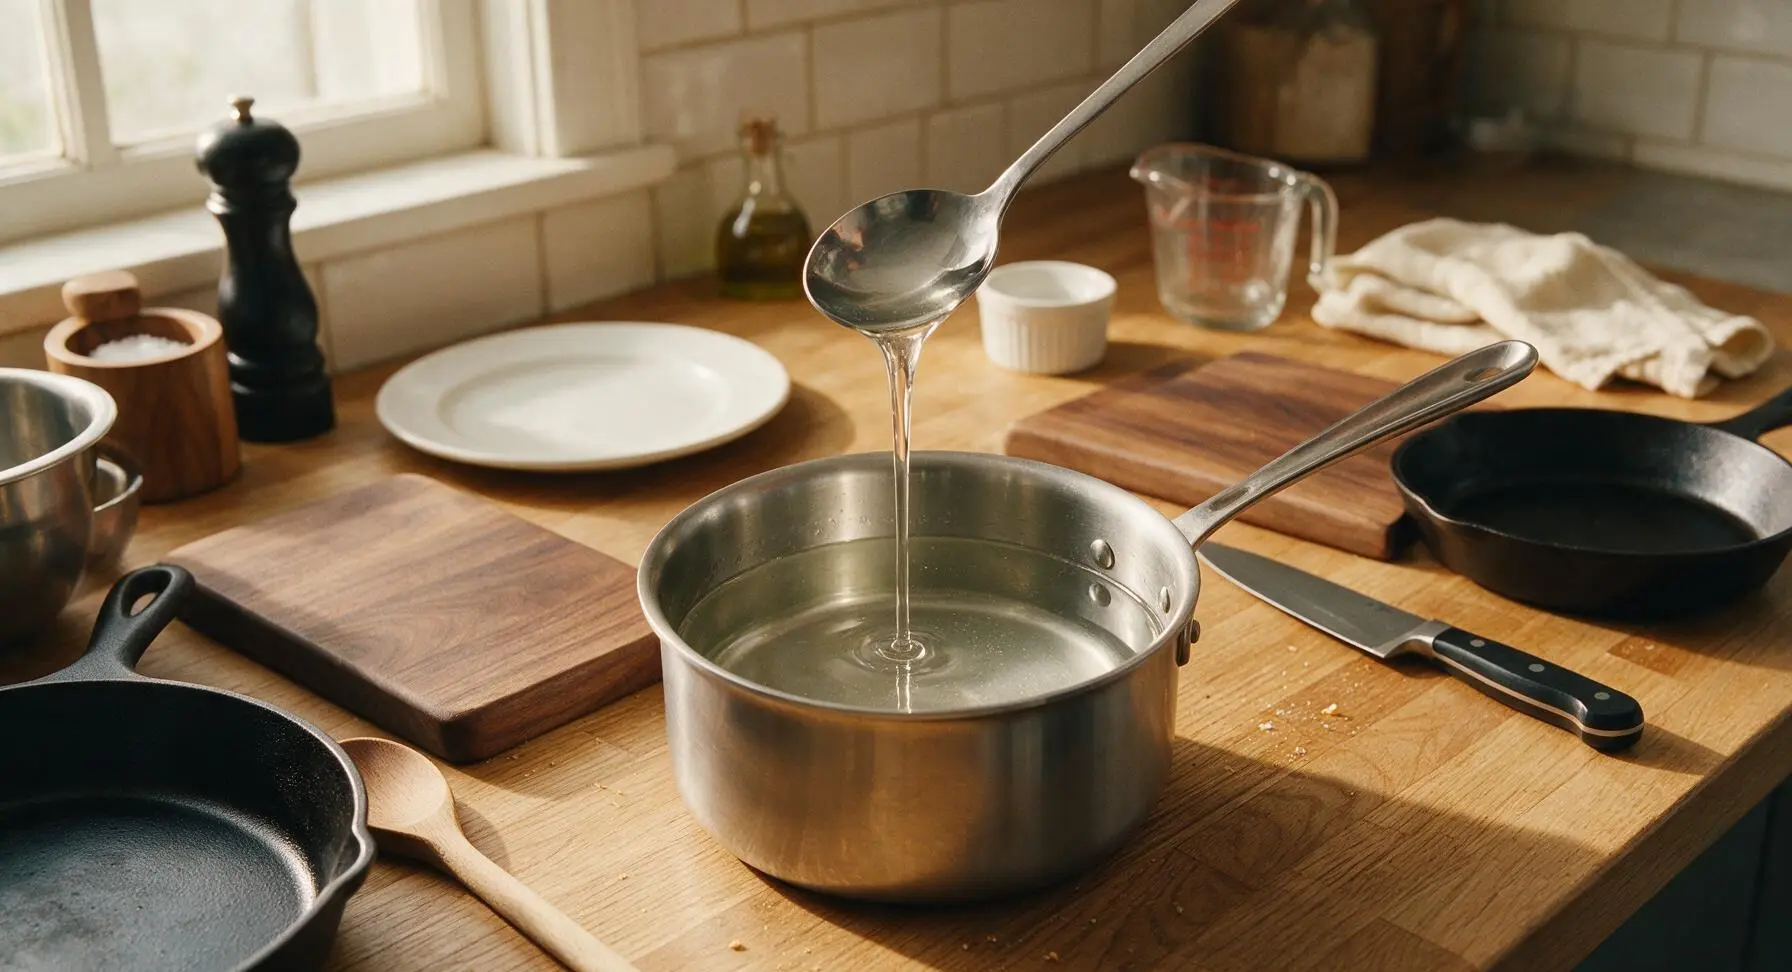
After the 4-week infusion period is complete, place the 1.5L brushed stainless steel saucepan on the center of the counter. Combine 150g granulated sugar and 180ml filtered water in the pan, then heat over medium-low heat, stirring occasionally with the long stainless steel spoon, for 3–4 minutes until all sugar crystals fully dissolve (do not boil the syrup). Let the syrup cool completely to room temperature (about 30 minutes) before adding to the infusion; hot syrup will evaporate alcohol and create a cloudy, harsh liqueur.
Step 5
step5:Make Simple Syrup
Step 5
step5:Make Simple Syrup
6

Mix Syrup and Infusion

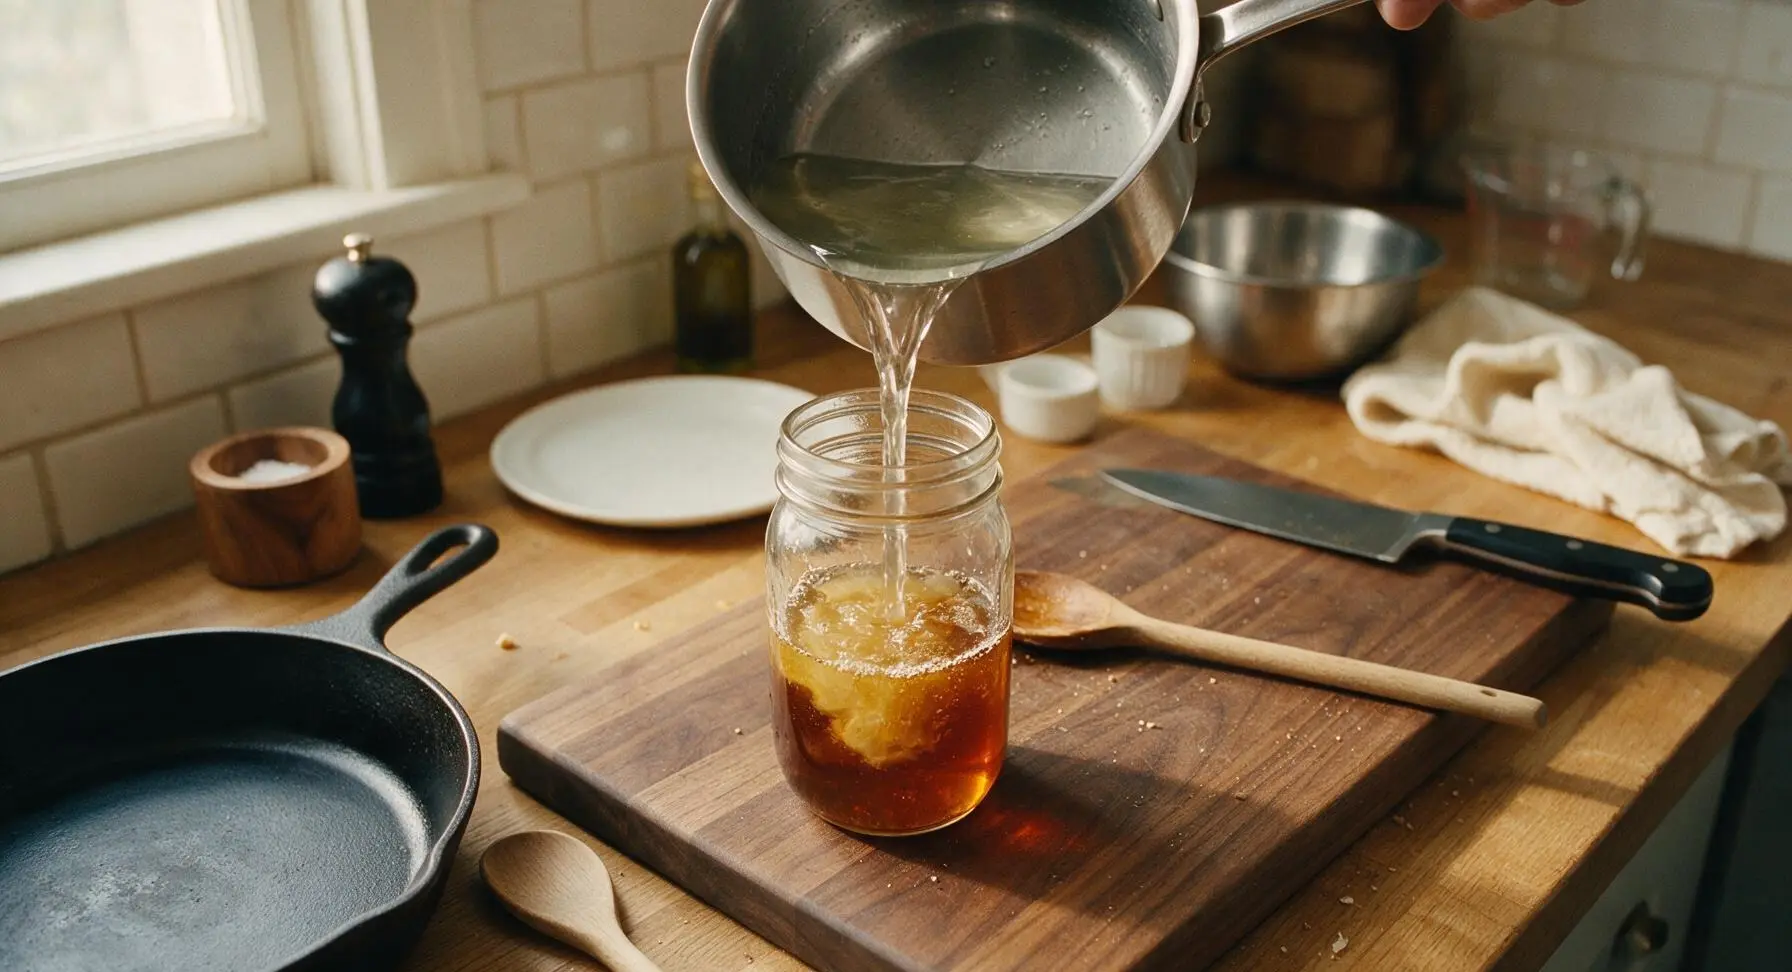
Once the simple syrup is fully cooled, unscrew the mason jar lid and pour all of the syrup into the hazelnut infusion. Reseal the jar tightly, shake it gently to fully combine the syrup and spirit, then return it to the cool dark cabinet for 3 additional days to let flavors meld and fine sediment settle to the jar bottom.
Step 6
step6:Mix Syrup and Infusion
7

Strain the Liqueur

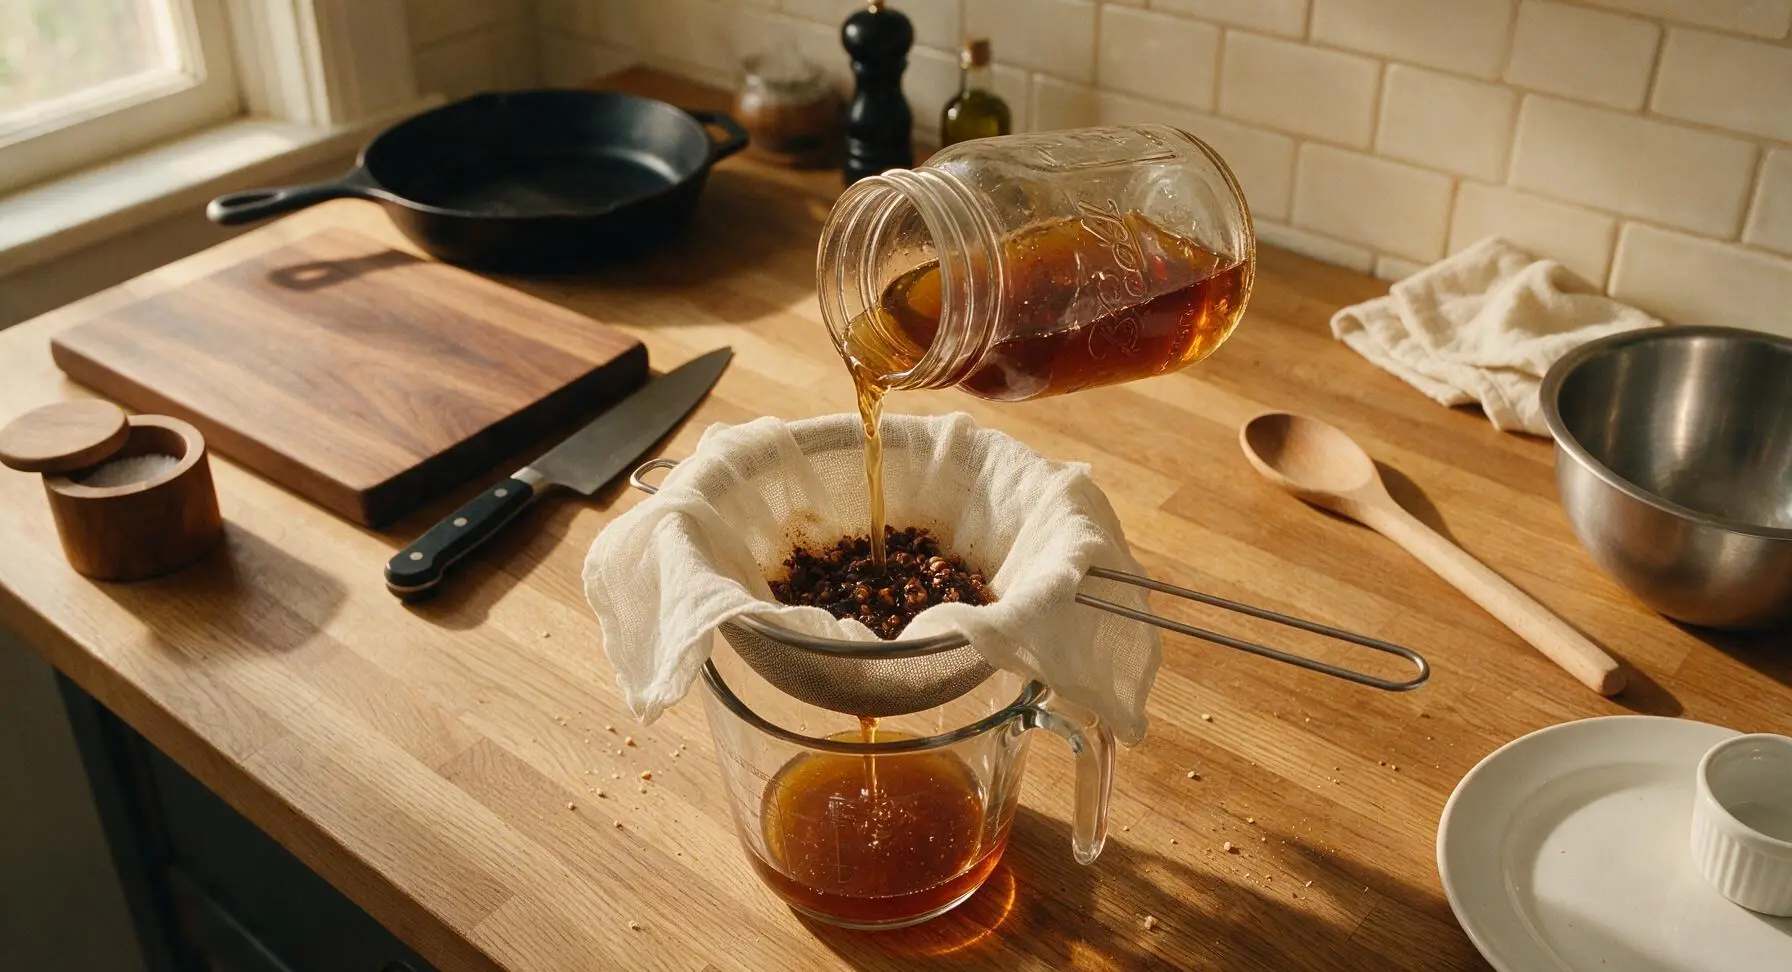
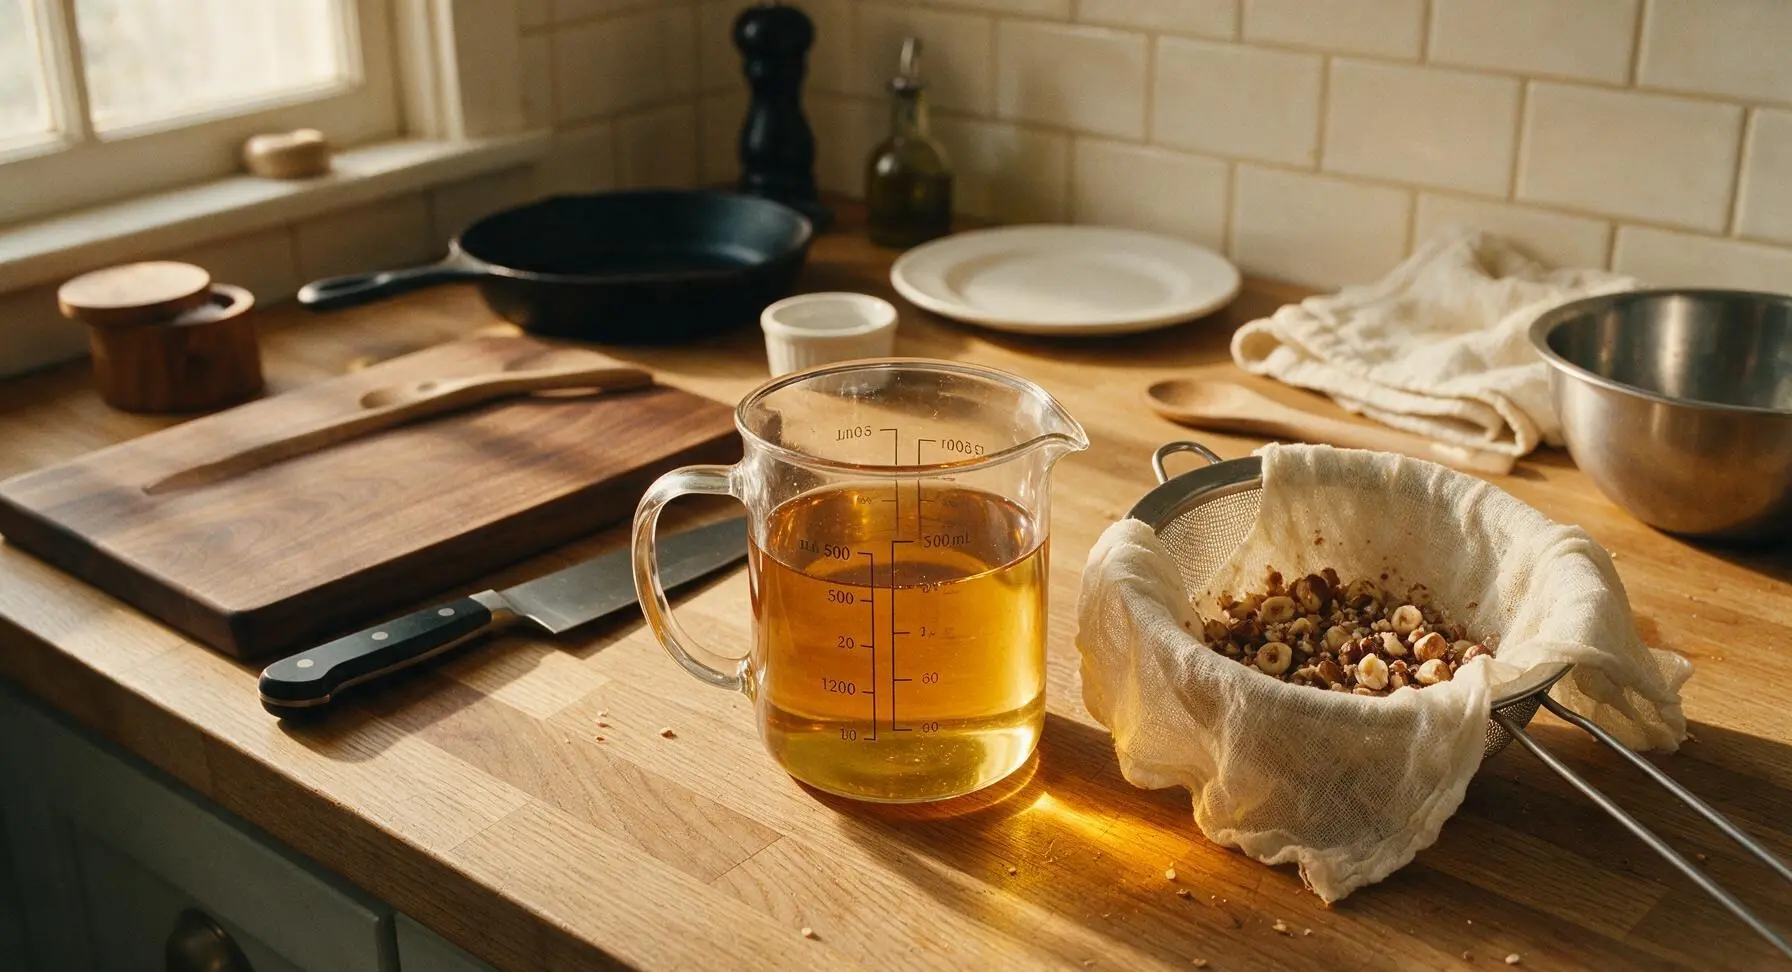
After the 3-day rest, set the fine-mesh stainless steel sieve over the 500ml glass measuring cup, then line the sieve with 3 layers of unbleached cheesecloth. Slowly pour the liqueur through the cheesecloth-lined sieve to catch all hazelnut particles, vanilla seed clumps, and cinnamon sediment. Let the liqueur drain fully on its own; do not press on the solids in the cheesecloth, as this will push fine particles through and make the finished liqueur cloudy. Discard the cheesecloth and spent nut solids once straining is complete.
Step 7
step7:Strain the Liqueur
Step 7
step7:Strain the Liqueur
8

Bottle Finished Liqueur

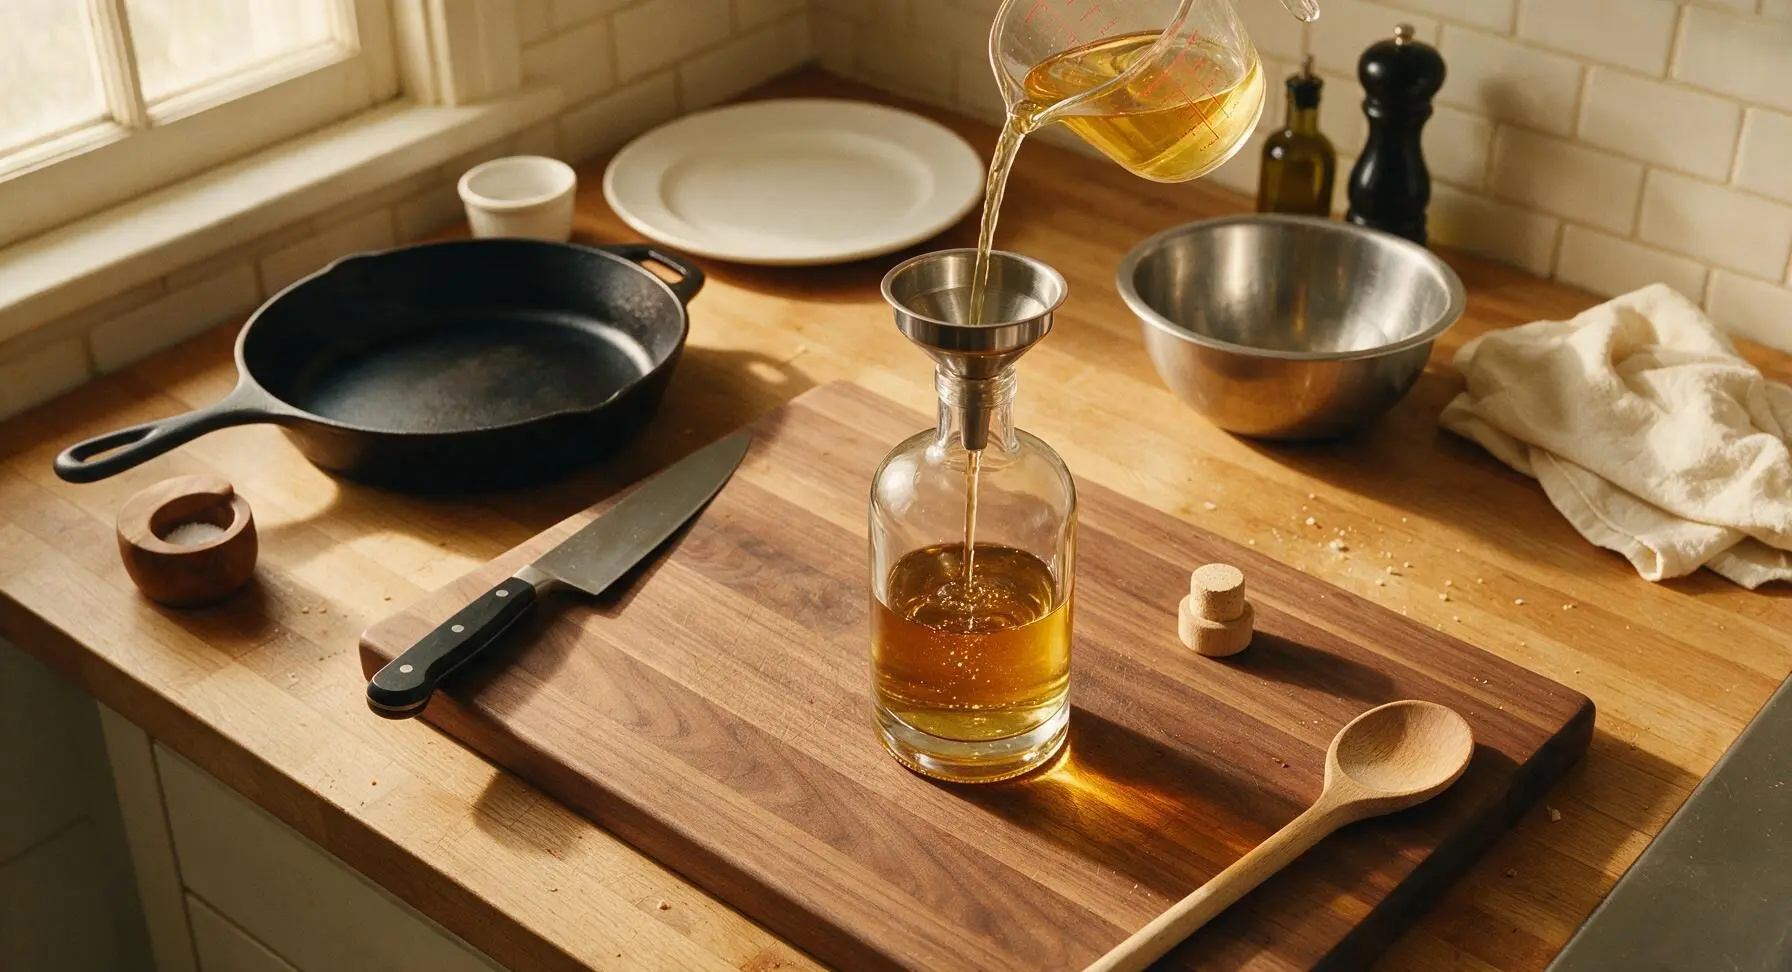
Place the stainless steel funnel in the neck of the clean 750ml clear glass liqueur bottle. Slowly pour the strained liqueur through the funnel into the bottle, leaving 2cm of headspace below the cork. Seal the bottle tightly with the natural cork stopper. The liqueur is ready to sip immediately, but will mellow and grow smoother with an additional 2 weeks of rest in a cool, dark place. It will keep for up to 1 year unopened, or 6 months after opening.
Step 8
step8:Bottle Finished Liqueur

Tips

1.Use a neutral, mid-shelf grain vodka rather than premium or flavored vodka: high-proof neutral spirit acts as a blank canvas to highlight delicate toasty hazelnut flavor, while expensive vodkas with distinct mineral notes or added flavors will compete with the nuts.
2.Never press on the solids during straining: squeezing the cheesecloth to extract extra liquid pushes fine hazelnut sediment and bitter skin particles into the liqueur, creating a cloudy, gritty texture and harsh aftertaste. Let gravity do the work for a crystal-clear, smooth final product.
3.For a festive holiday gift, add one whole toasted hazelnut and a 2cm strip of orange zest (no white pith, which is bitter) to the bottle before corking: the zest adds a bright, subtle citrus note that complements hazelnut beautifully, and looks elegant visible through the clear glass.


✨ You May Also Like

Drinks & Beverages
🍜 Mexico

A bright, balanced tequila-based cocktail with zesty fresh lime, smooth orange liqueur, and a signature salt rim, perfect for warm summer sipping.

⏱️ 5 minutesDrinks & Beverages ★ 4.9
Drinks & Beverages
🍜 United States

Thick, creamy, nostalgic classic vanilla milkshake with a rich, smooth texture, topped with whipped cream and a cherry for cool, sweet refreshment.

⏱️ 5 minutesDrinks & Beverages ★ 4.7
Drinks & Beverages
🍜 United States

A bright, golden strong ale with fruity banana-clove notes, subtle hop spice, and soft carbonation, brewed in classic Trappist Tripel tradition.

⏱️ 2 hours aDrinks & Beverages ★ 4.5
Drinks & Beverages
🍜 United States

A frothy, nostalgic American soda fountain treat pairing bubbly cold root beer with creamy vanilla ice cream, perfect for cooling down at warm weather gatherings.

⏱️ 20 minuteDrinks & Beverages ★ 4.8
Drinks & Beverages
🍜 United States

Tart, funky, effervescent American Wild Ale is a complex fruity craft beer brewed with wild yeast, delivering bright, zesty notes perfect for warm-weather sipping.

⏱️ 2 hours aDrinks & Beverages ★ 4.4
Drinks & Beverages
🍜 United States

Bright, bubbly copycat of the iconic American caramel cola, balanced with citrus and warm spice, perfect for sipping ice-cold on hot days.

⏱️ 15 minuteDrinks & Beverages ★ 4.8

Homemade Hazelnut Liqueur:Frequently Asked Questions

1.Do I have to toast the raw hazelnuts before steeping them for the liqueur? ▾
Absolutely—this step is non-negotiable for that rich, deep, nutty flavor that makes this liqueur better than store-bought. Toast shelled hazelnuts at 350°F for 10 to 12 minutes until fragrant, then rub off any loose papery skins to prevent bitter, astringent notes from seeping into your final liqueur.
2.How long do I need to steep the hazelnuts and vanilla in vodka before it’s ready? ▾
Plan for a 10 to 14 day steep at room temperature, out of direct sunlight. Give the jar a gentle swirl every other day to help flavor distribute evenly. Taste a small sample after 10 days—if you want a stronger, nuttier profile, let it steep up to 4 more days before straining.
3.Can I use vanilla extract instead of a whole vanilla bean for this recipe? ▾
You can, but a whole vanilla bean gives a softer, rounder, more complex vanilla note that doesn’t taste harsh or artificial. If you substitute, use 2 teaspoons of pure vanilla extract, and add it right after straining the nut infusion instead of steeping it the whole time to avoid an overpowering vanilla bite.
4.What’s the best way to strain the liqueur to get it perfectly smooth with no grit? ▾
Start by straining out the hazelnuts with a fine-mesh sieve, then line that sieve with a double layer of cheesecloth or a paper coffee filter and pour the liqueur through a second time. For ultra-smooth results, let it rest 2 days after straining, then decant carefully to leave any tiny settled sediment behind.
5.How sweet is this liqueur, and can I adjust the sugar amount to taste? ▾
The base recipe uses a 1:1 simple syrup made with granulated white sugar and filtered water for a balanced, not cloying sweetness that matches premium commercial hazelnut liqueurs. After mixing the syrup with the infused vodka, taste it, and adjust with extra syrup for more sweetness or extra infused vodka for less.
6.How long does homemade hazelnut liqueur last, and do I need to refrigerate it? ▾
Stored in a tightly sealed, clean glass bottle in a cool, dark cabinet, your liqueur will stay perfectly flavorful for up to 2 years. The high alcohol and sugar content act as natural preservatives, so refrigeration isn’t required, though you can chill it if you prefer to sip it straight cold.
7.Can I leave the hazelnut skins on instead of rubbing them off after toasting? ▾
I don’t recommend it. Those papery brown skins have a bitter, tannic quality that will seep into your liqueur during steeping, leaving a dry, unpleasant aftertaste. You don’t have to remove every last speck of skin, but rubbing warm toasted nuts in a clean towel to remove most loose skins makes a huge difference in smoothness.
8.What’s the best way to use this liqueur besides sipping it neat? ▾
It’s incredibly versatile! Stir a shot into hot coffee or spiced hot cocoa for a cozy winter treat, mix it into holiday cocktails like espresso martinis or spiked eggnog, drizzle a splash over vanilla ice cream, or pour it into decorative glass bottles for thoughtful, easy homemade holiday gifts for friends and family.
9.My liqueur looks a little cloudy after straining—did I do something wrong? ▾
That slight cloudiness is totally normal for homemade nut liqueurs, and it doesn’t mean you messed up! It comes from tiny, harmless hazelnut oil particles that don’t get caught in straining. If the cloudiness bothers you, let the liqueur rest 3 to 4 days, then slowly pour off the clear top layer, leaving thin sediment at the bottom.
10.Can I use lower-proof vodka, like 30% ABV, to make this liqueur? ▾
I don’t recommend it. The 40% ABV neutral grain vodka extracts hazelnut and vanilla flavor efficiently, and stands up to dilution from simple syrup to keep the final liqueur stable at around 25-30% ABV. Lower-proof vodka will result in a weaker, less flavorful liqueur with a shorter shelf life that won’t hold up to long storage.
11.Do I need to use filtered water for the simple syrup, or is tap water fine? ▾
Filtered water is always the better choice here, because unfiltered tap water can have off-flavors from chlorine or mineral deposits that will dull the bright nutty, vanilla notes of your liqueur. If you only have tap water, boil it for 5 minutes first and let it cool to evaporate chlorine before using it to make your simple syrup.
12.Can I add other flavors, like cinnamon or chocolate, to customize the liqueur? ▾
Absolutely! Once you master the base recipe, feel free to add 1 cracked cinnamon stick, 1 tablespoon of lightly crushed cacao nibs, or a strip of orange zest (no bitter white pith) to the steeping jar with hazelnuts and vanilla. Start with small amounts, though—these add-ins can overpower hazelnut if overused.
13.Why is my homemade hazelnut liqueur smoother than most store-bought versions? ▾
Two big reasons: First, you’re using freshly toasted hazelnuts instead of the artificial hazelnut flavoring many mass-produced brands rely on. Second, you control the steep time and sugar level to avoid the harsh, overly sweet bite cheap commercial liqueurs often have, resulting in a rounder, more balanced sip.

Comments (5)

2 weeks ago

OMG this homemade hazelnut liqueur is SO good! I made a batch last weekend for our fall potluck and everyone was begging for the recipe. Tastes way better than the store-bought stuff, and I couldn’t believe how easy it was—only 15 minutes of actual prep? Game changer. Already planning to make a few extra bottles to give as Christmas gifts this year!

1 week ago

Wait how long did you let it steep before serving? I’m making mine for a girls’ night next week and don’t want to jump the gun!

1 week ago

Great question! For the smoothest, most nutty flavor we recommend letting it steep for 10-14 days in a cool, dark spot, giving the jar a gentle shake every other day. If you’re short on time, 7 days will still taste delicious, it just won’t have quite as deep a hazelnut kick!

1 week ago

Made this to add to my after-dinner coffee and wow, total chef’s kiss. I was worried it’d be too sweet but the ratios are perfect. My wife even snuck a splash into her hot cocoa last night and said it’s the best cold weather treat we’ve made all season. Super easy too, no fancy equipment needed at all.

5 days ago

So happy you two are enjoying it! It’s absolutely chef’s kiss in hot cocoa and coffee—we also love a splash over vanilla ice cream for a quick fancy dessert!

5 days ago

Wait, can I use raw hazelnuts instead of toasted ones? I have a big bag in my pantry I’ve been meaning to use up and I don’t want to run to the store just for this. Also, does it matter what kind of vodka I use? Super excited to try this, I’ve never made homemade liqueur before!

3 days ago

Great questions! Toasted hazelnuts give a deeper, nuttier flavor, but raw will work totally fine—you just might want to let it steep a couple extra days to amp up the hazelnut taste. As for vodka, mid-range works perfectly, no need to splurge on the super fancy top-shelf stuff since the hazelnut and sweetener add so much flavor!

2 days ago

I made this for my family’s Friendsgiving dinner pre-game a couple weeks back and it was such a hit! My cousin who swears she only drinks fancy craft cocktails went back for three servings over ice. I added a tiny cinnamon stick to my steeping jar and it gave it the coziest warm note, 10/10 would recommend that little hack.

30 minutes ago

SO good! I bottled up mini versions of this for my hiking group holiday swap and everyone lost their minds. It’s smooth, nutty, not cloyingly sweet, and the 15 minute prep time meant I could make three batches in one evening after work without breaking a sweat. Already have plans to mix it into hot cocoa for our next ski trip up north!



