
Homemade rice milk (plant-based milk)
intro
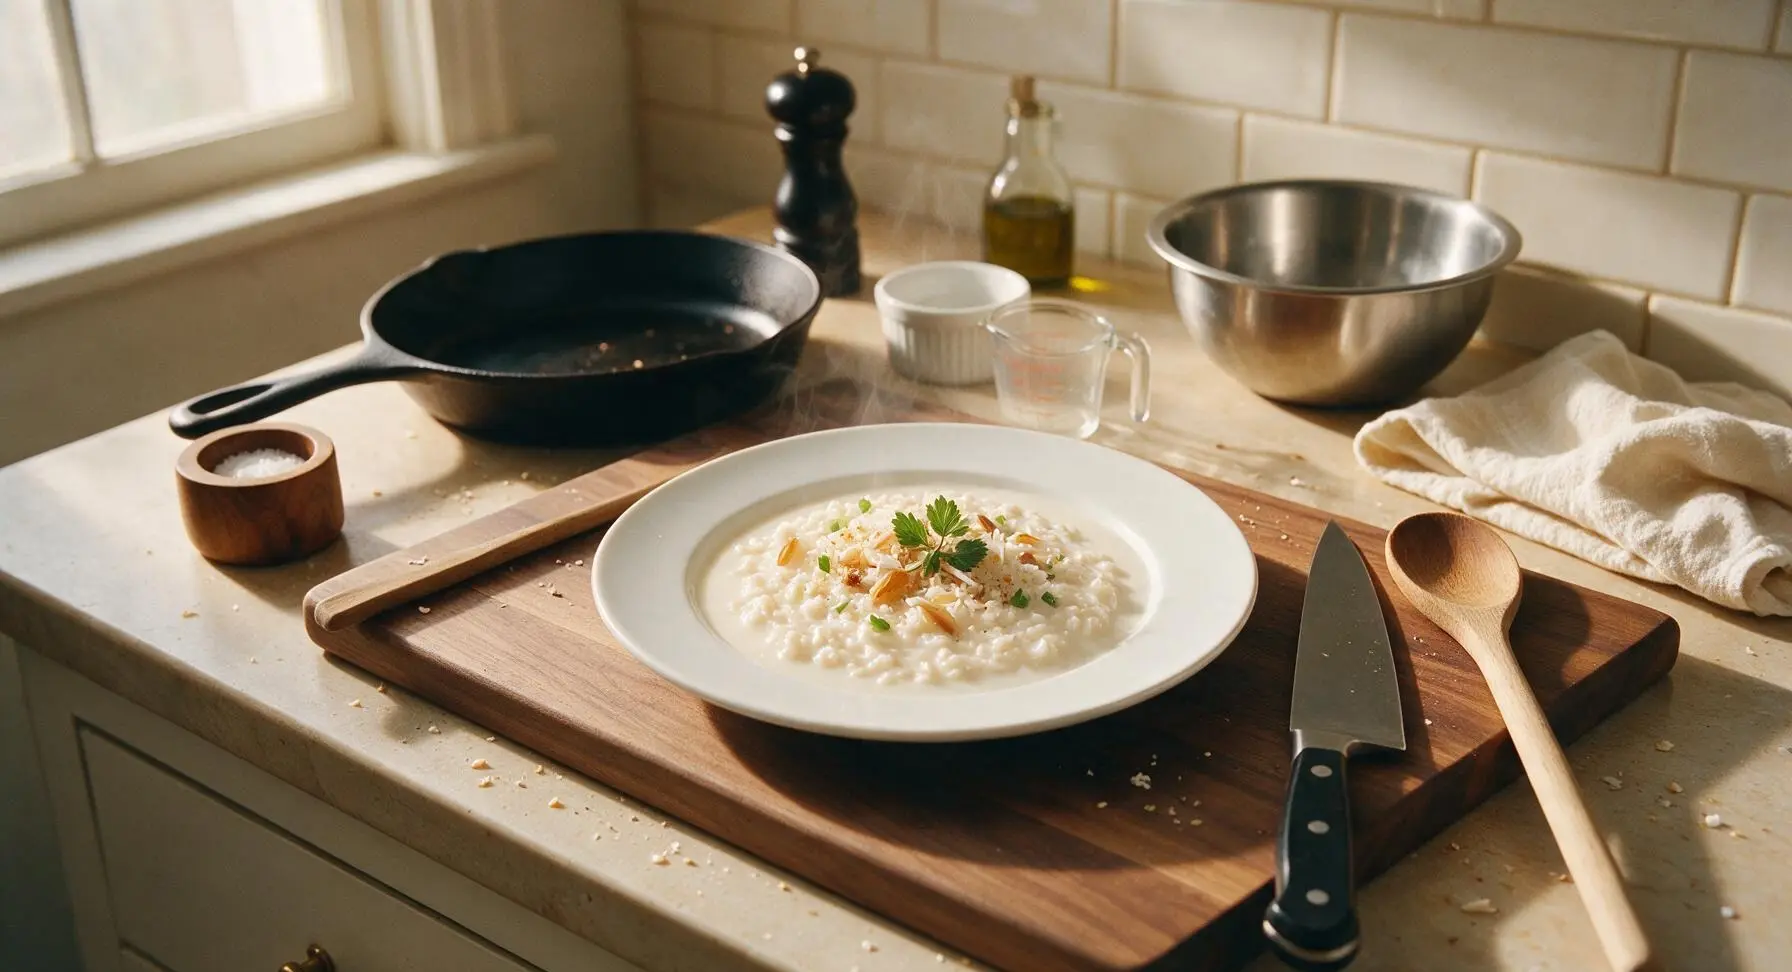
Creamy, subtly sweet homemade rice milk is a budget-friendly, allergy-friendly vegan staple free of additives, perfect for drinking, coffee, cereal, and baking.
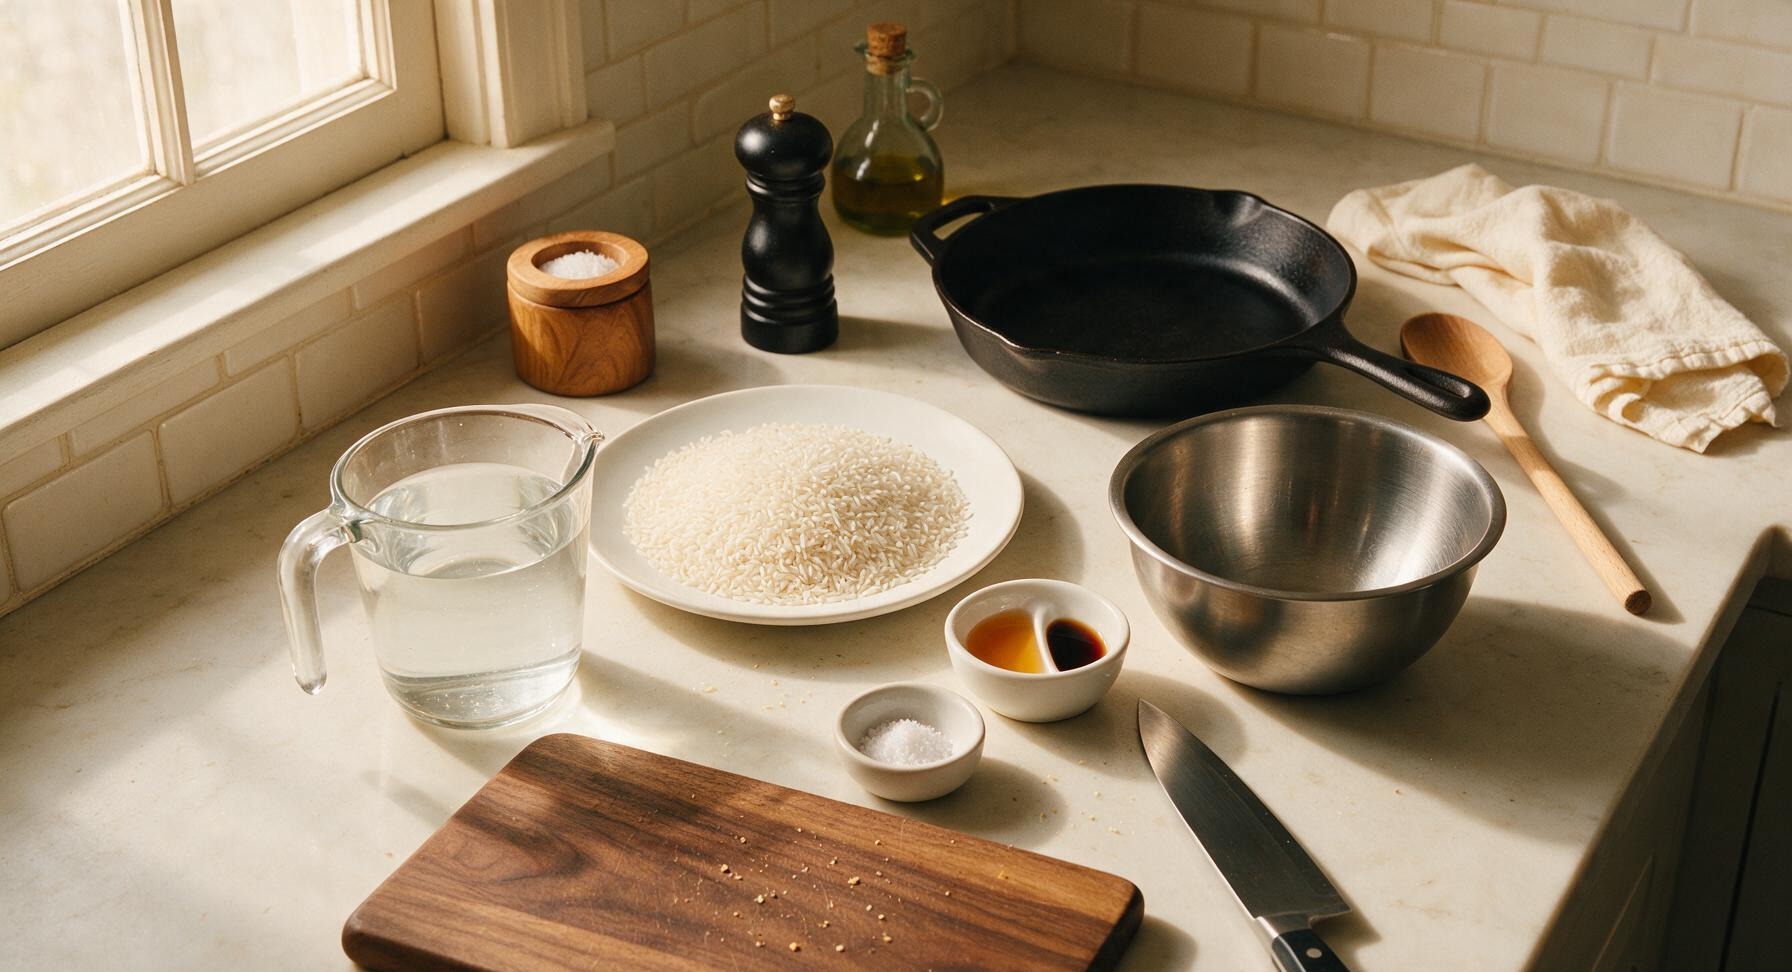
Ingredients
Steps
Rinse and Soak Rice
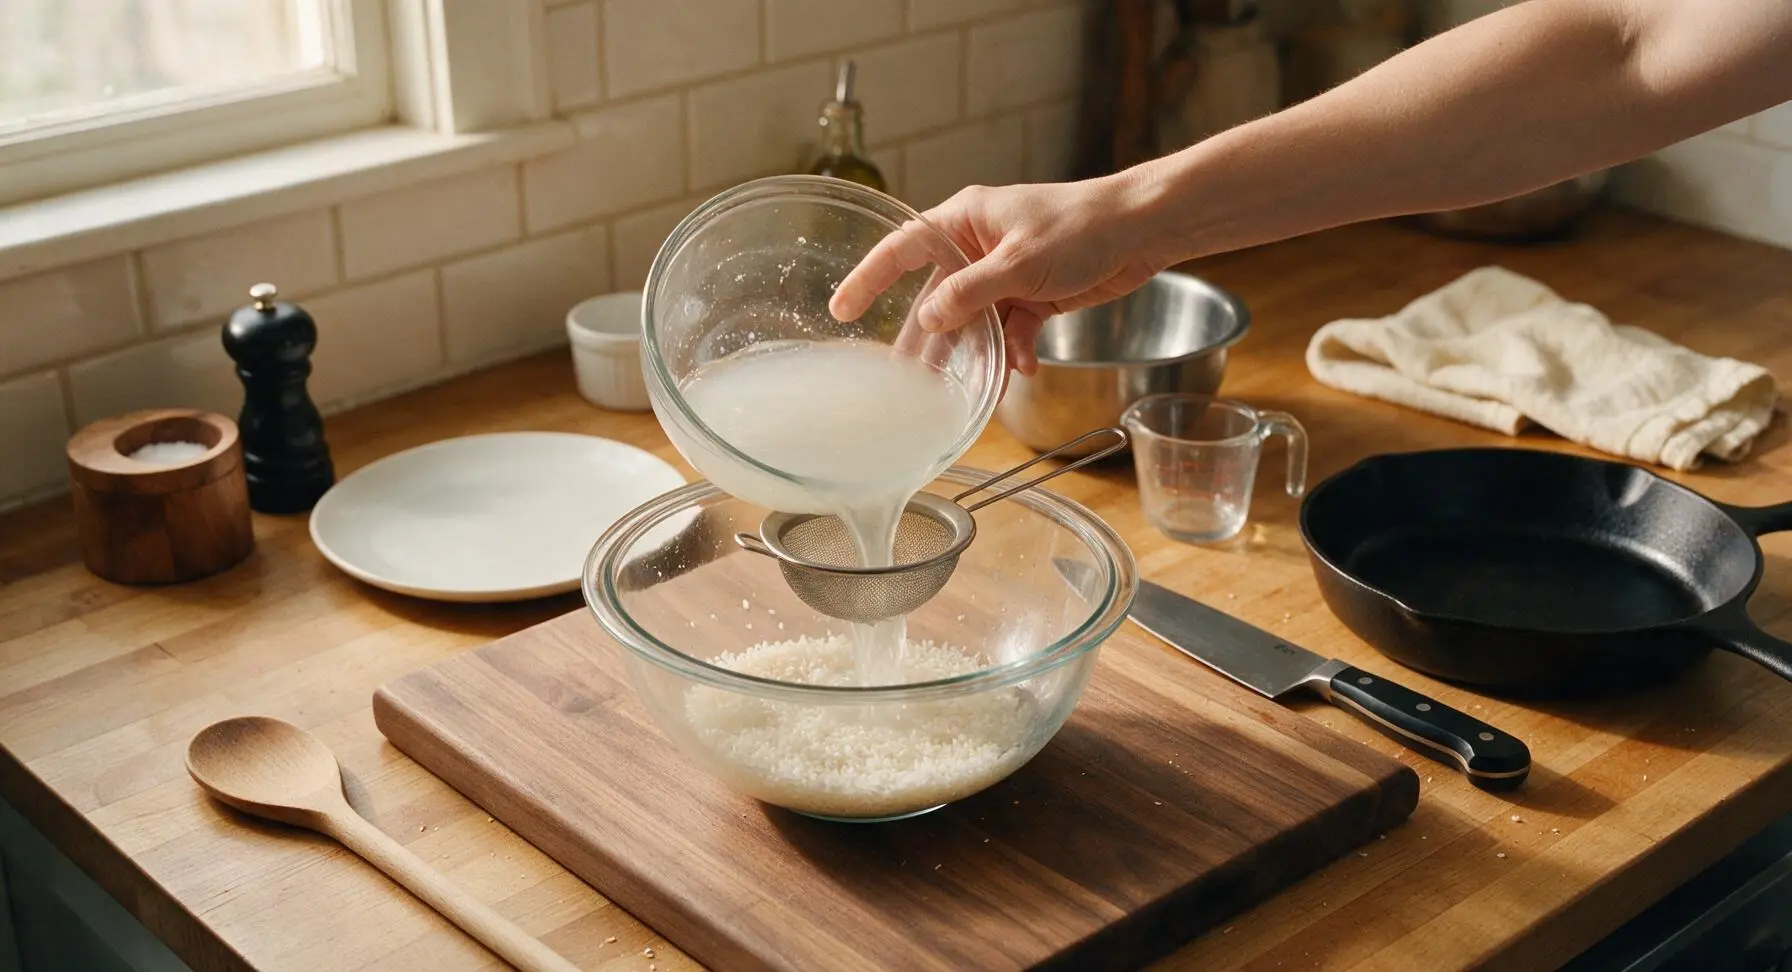
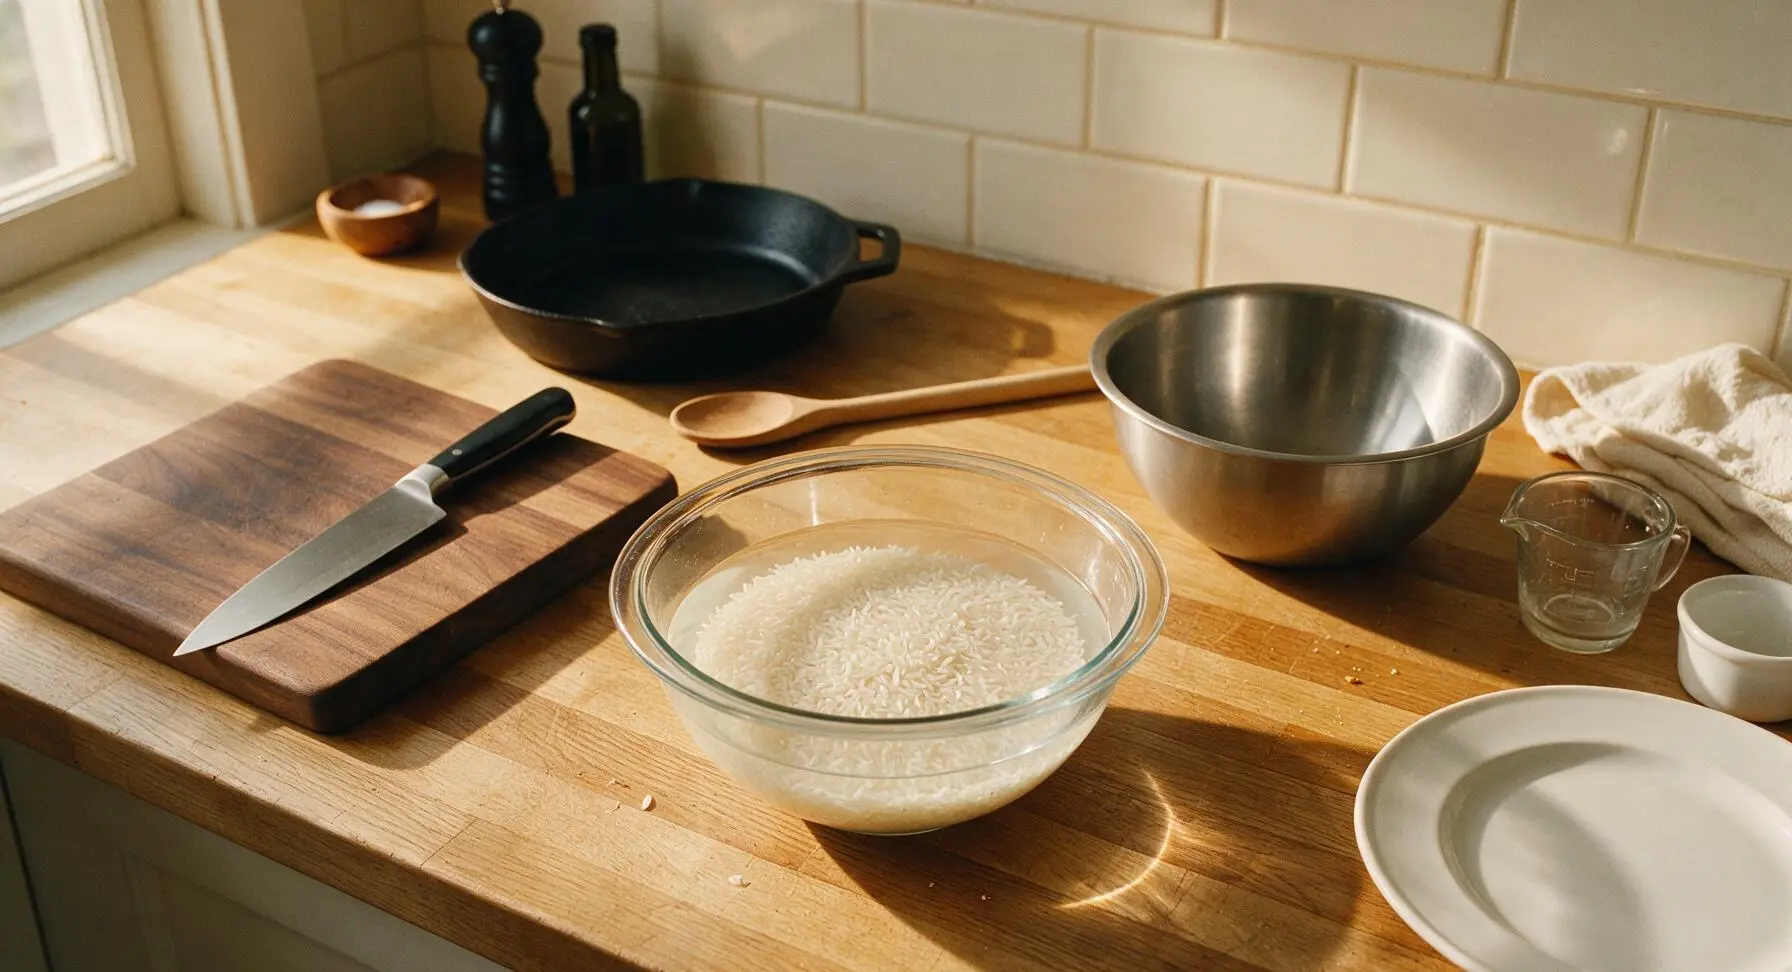
Place 90g of long-grain white rice in the medium glass mixing bowl. Cover with 500ml (2 cups) of cold filtered water, swish gently with clean fingers to dislodge surface starch, then pour off the cloudy starchy water through the stainless steel strainer. Repeat this rinsing process 2-3 times until the water poured off runs almost completely clear, with no milky cloudiness. Cover the rinsed rice with 720ml (3 cups) of fresh cold filtered water, cover the bowl loosely with a small plate, and leave to soak at room temperature for 4-8 hours (or refrigerate for up to 12 hours for overnight soaking). The rice is fully soaked when grains have doubled in size and break easily when pinched between two fingers.
Drain Soaked Rice
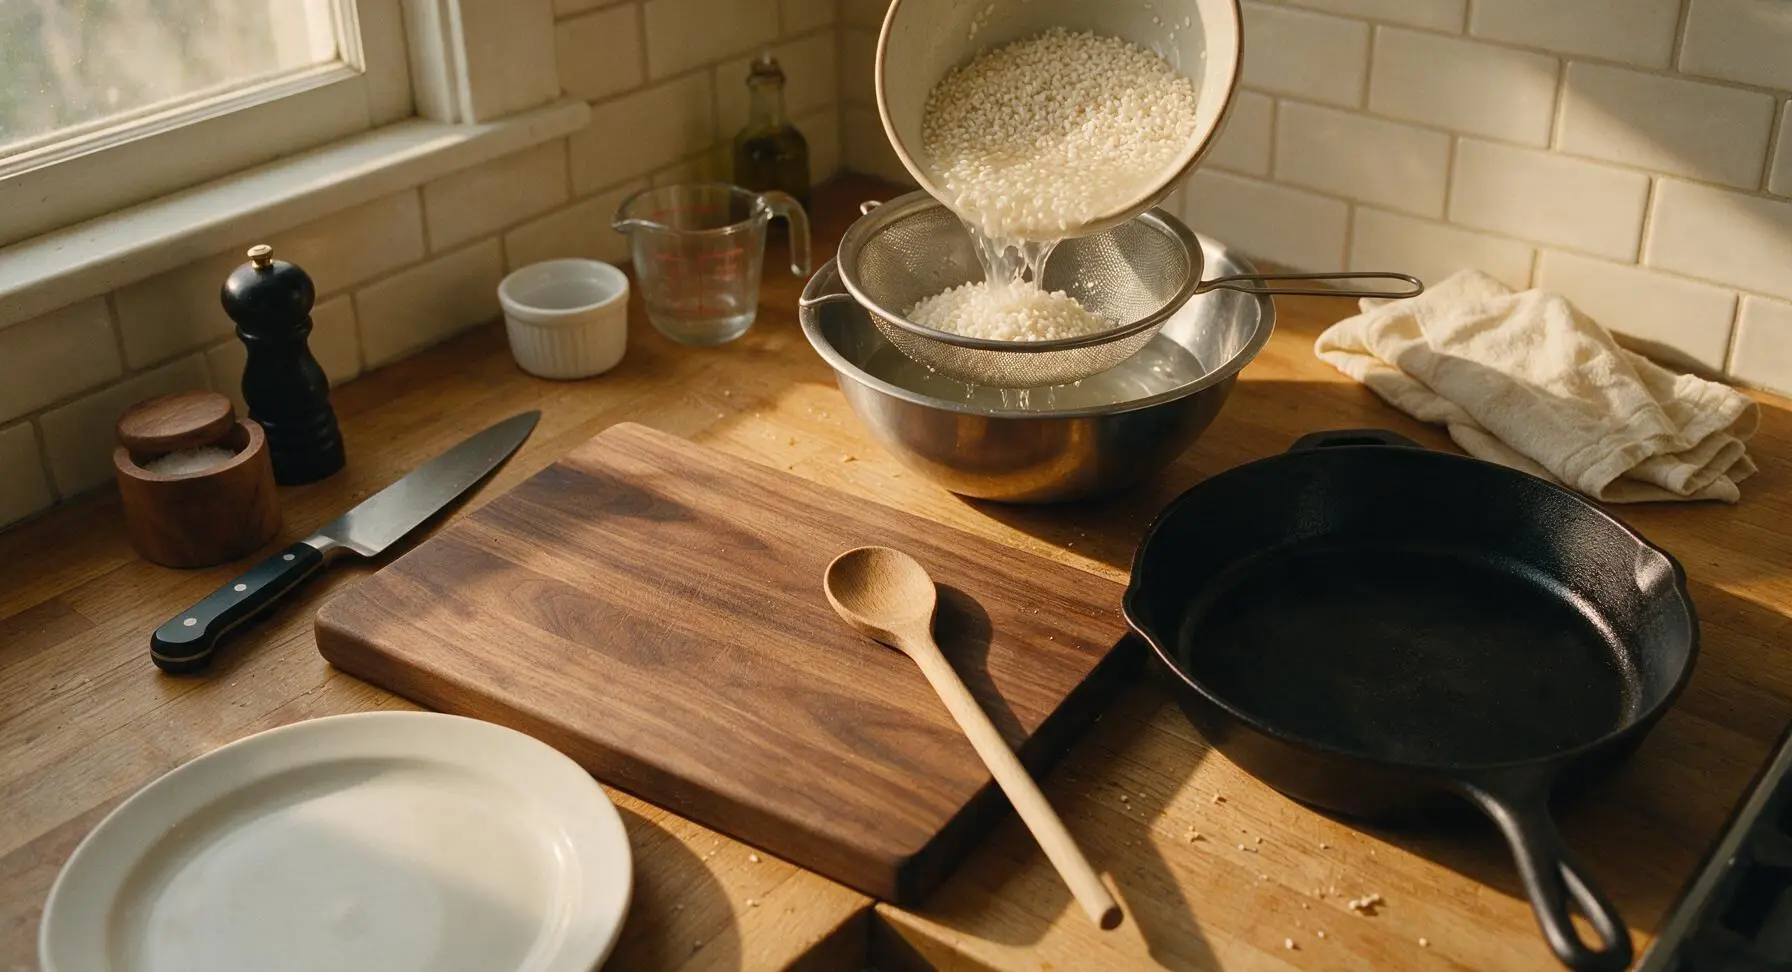
Once soaking is complete, place the stainless steel strainer over the now-empty glass mixing bowl. Pour all of the soaked rice and soaking water into the strainer to fully drain, discarding the cloudy soaking water (it contains excess loose starch that can make finished milk feel slimy or gritty). Shake the strainer gently for 10 seconds to dislodge as much excess clinging water as possible from the rice grains; do not rinse the rice again after soaking, as this will wash away the creamy starch that gives the milk its smooth texture.
Blend Rice and Water
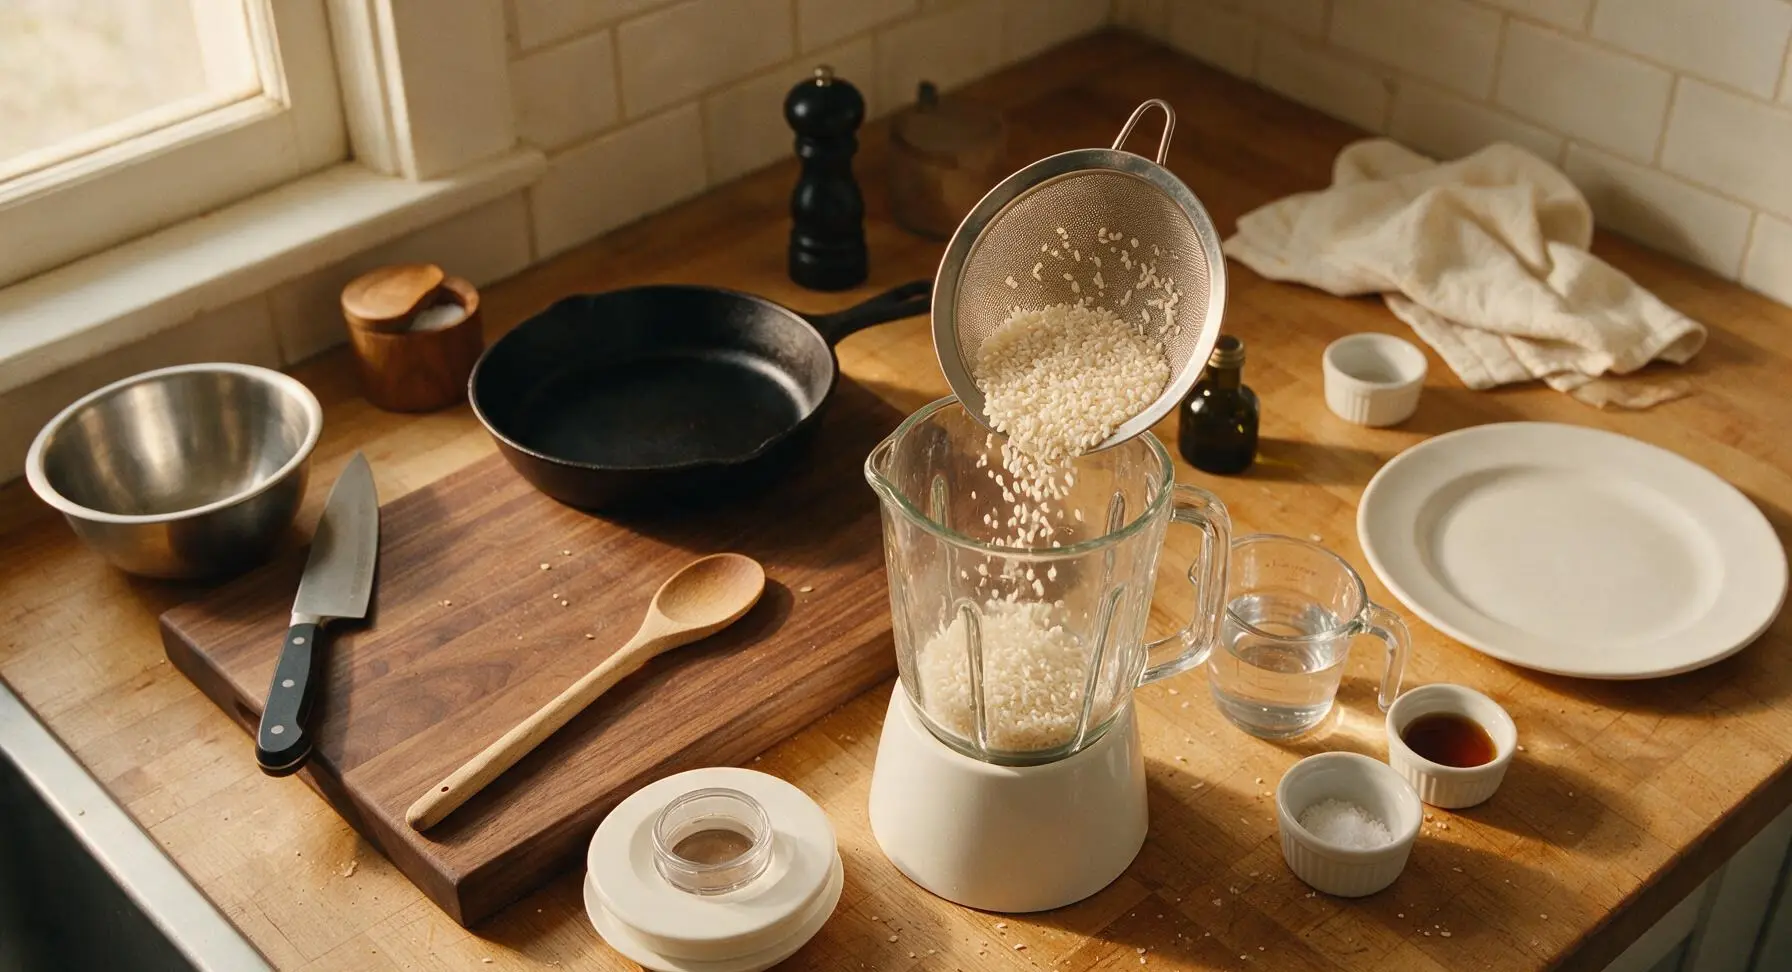
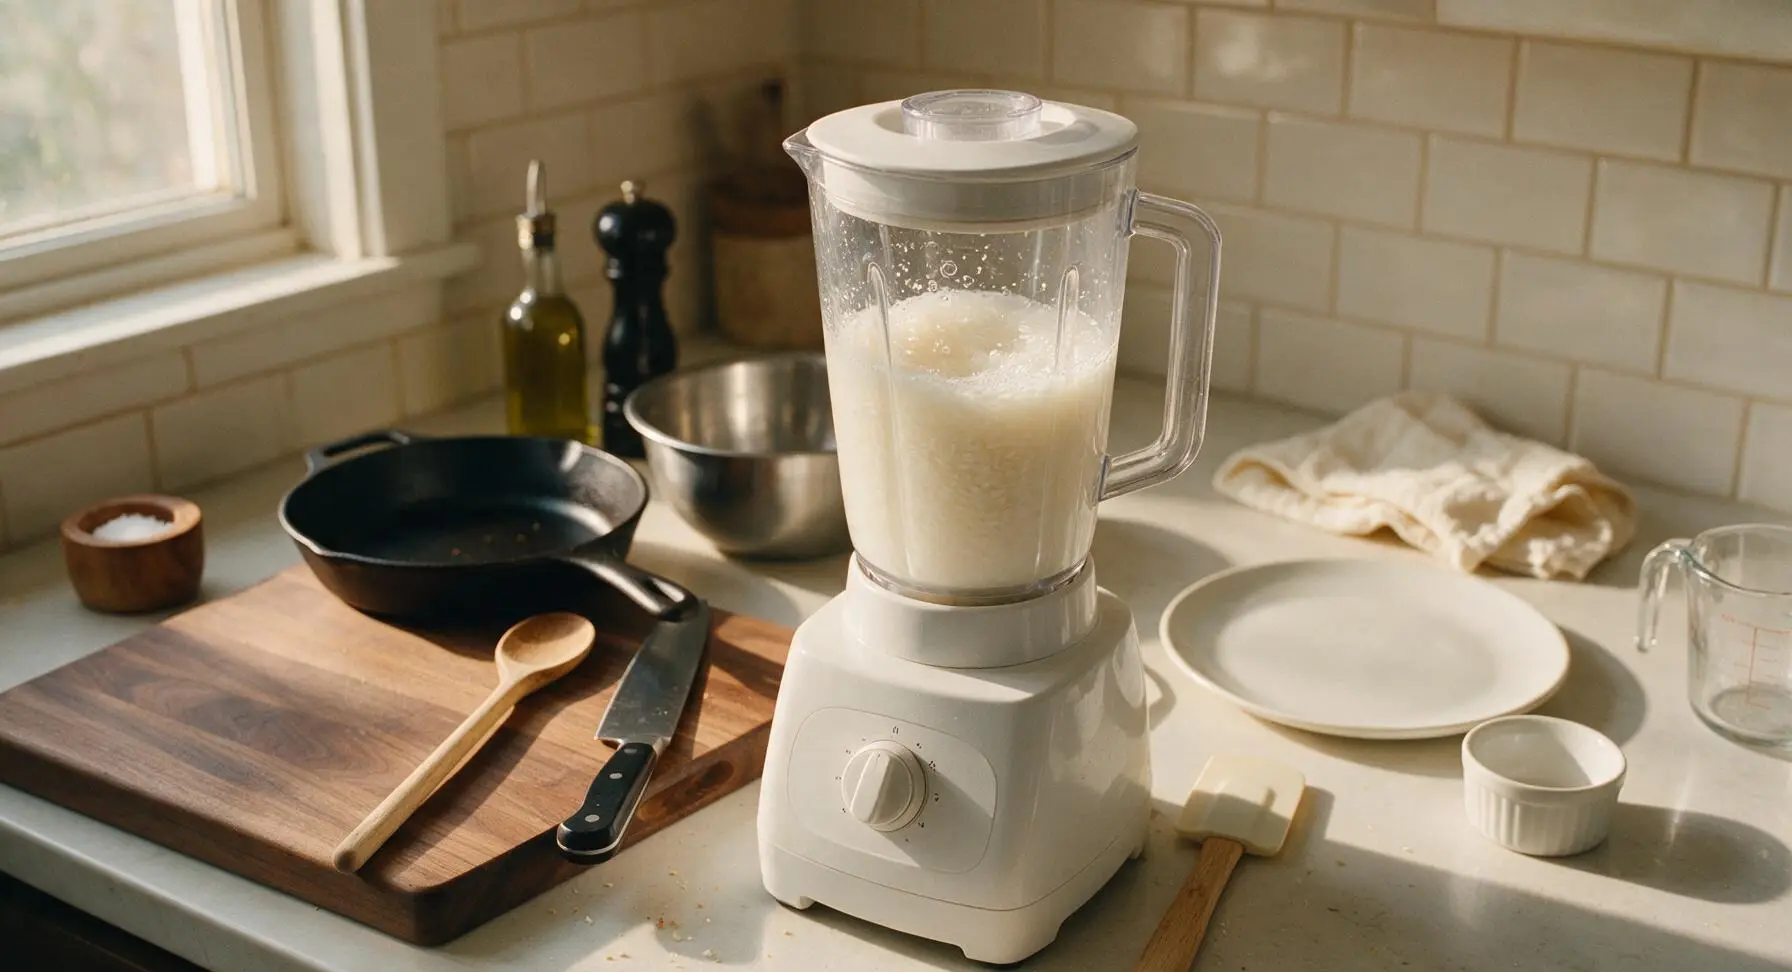
Transfer the fully drained, plump soaked rice into the clear pitcher of the matte white blender. Add the full 960ml (4 cups) of fresh filtered water, 1 tablespoon maple syrup, ¼ teaspoon vanilla extract, and pinch of fine sea salt. Secure the blender lid tightly, then blend on high speed for 1-2 minutes, stopping once halfway through to scrape down the pitcher sides with the silicone spatula to dislodge any rice grains stuck above the blade line. The finished blended mixture will be pale milky white, completely smooth to the eye, with no visible whole rice grains remaining.
Strain Rice Milk
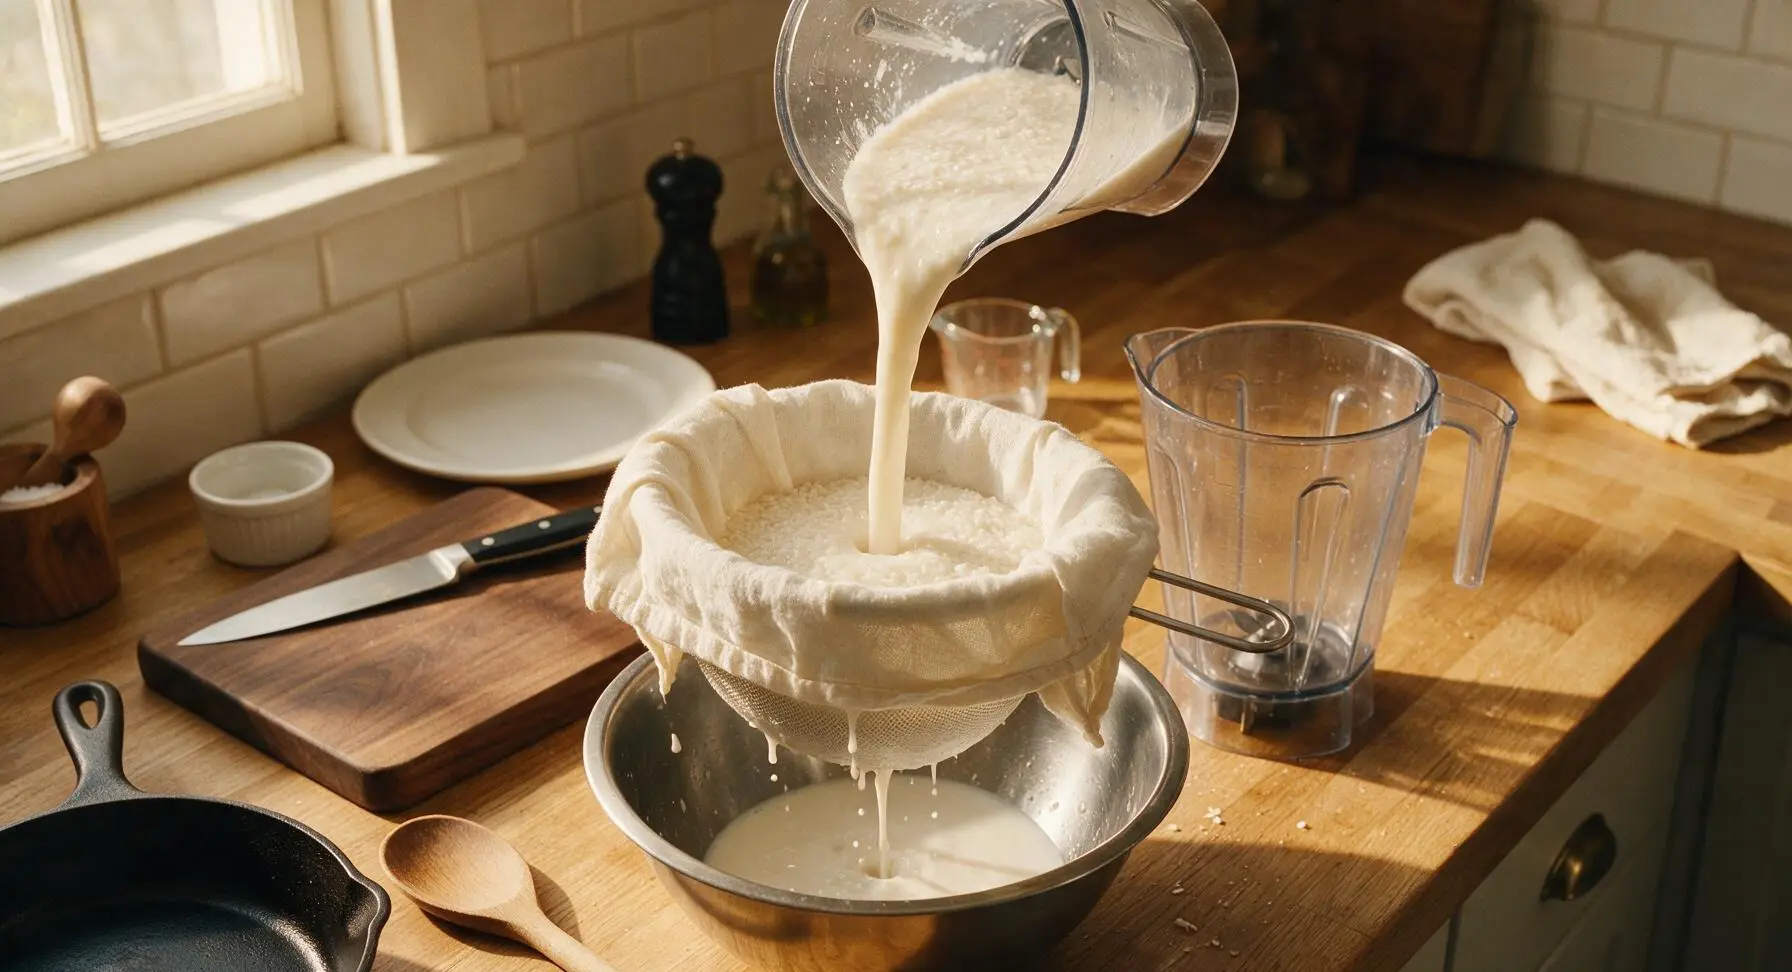
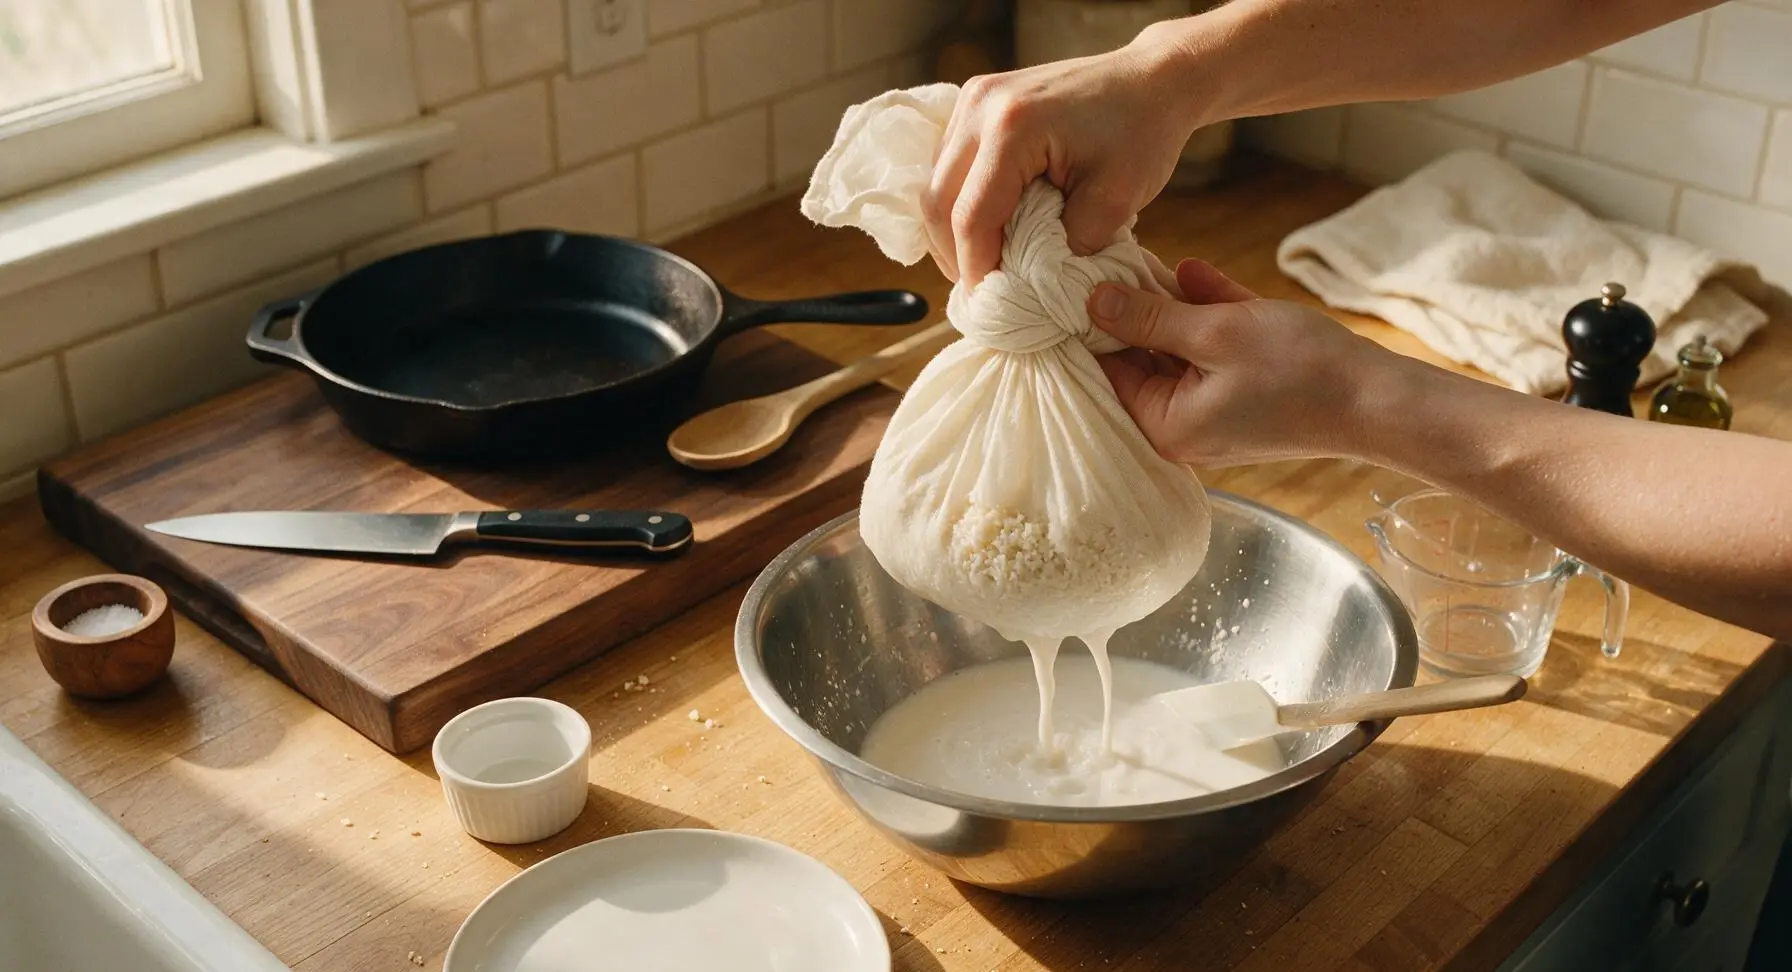
Place the clean stainless steel strainer over the empty glass mixing bowl, then line the strainer with the unbleached cotton nut milk bag. Slowly pour all of the blended rice mixture into the lined bag. Gather the top edges of the nut milk bag and twist closed, then squeeze gently with clean hands to extract smooth milk into the bowl below. Use the silicone spatula to press the remaining damp pulp against the bag to maximize milk yield; avoid squeezing so hard that fine rice pulp pushes through the bag weave, as this will create a gritty final texture. The leftover dry, pale rice pulp will remain inside the bag once all milk is extracted.
Simmer for Longer Shelf Life
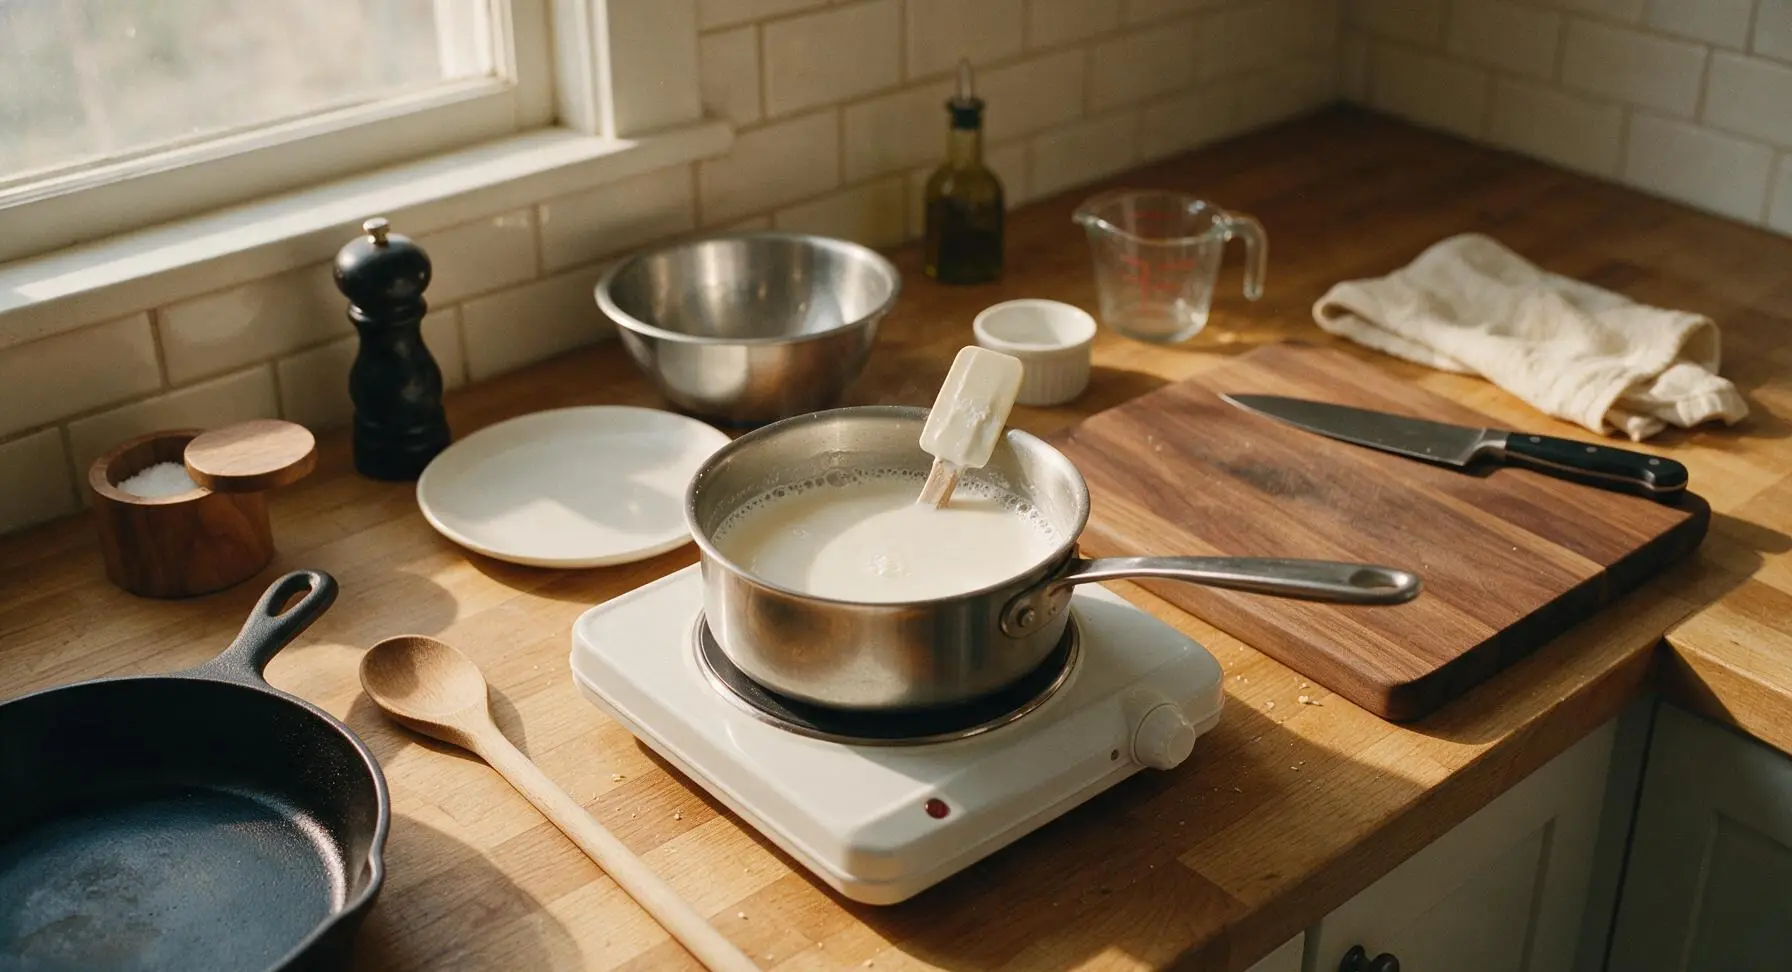
For a 2-day longer shelf life (up to 5 days refrigerated, vs 3 days for raw no-cook milk) and a richer, creamier mouthfeel, pour the strained rice milk into the small stainless steel saucepan. Place the pan on the small matte white portable induction cooktop set to medium-low heat, stirring constantly with the silicone spatula for 3-5 minutes, until the milk just reaches a gentle simmer (small bubbles forming around the pan edge, internal temperature of 82C/180F). Do not bring the milk to a rolling boil, as high heat will cause the rice starch to thicken into a pudding-like consistency. Remove the pan from heat immediately once the first small bubbles appear, and let cool fully to room temperature.
Bottle and Chill
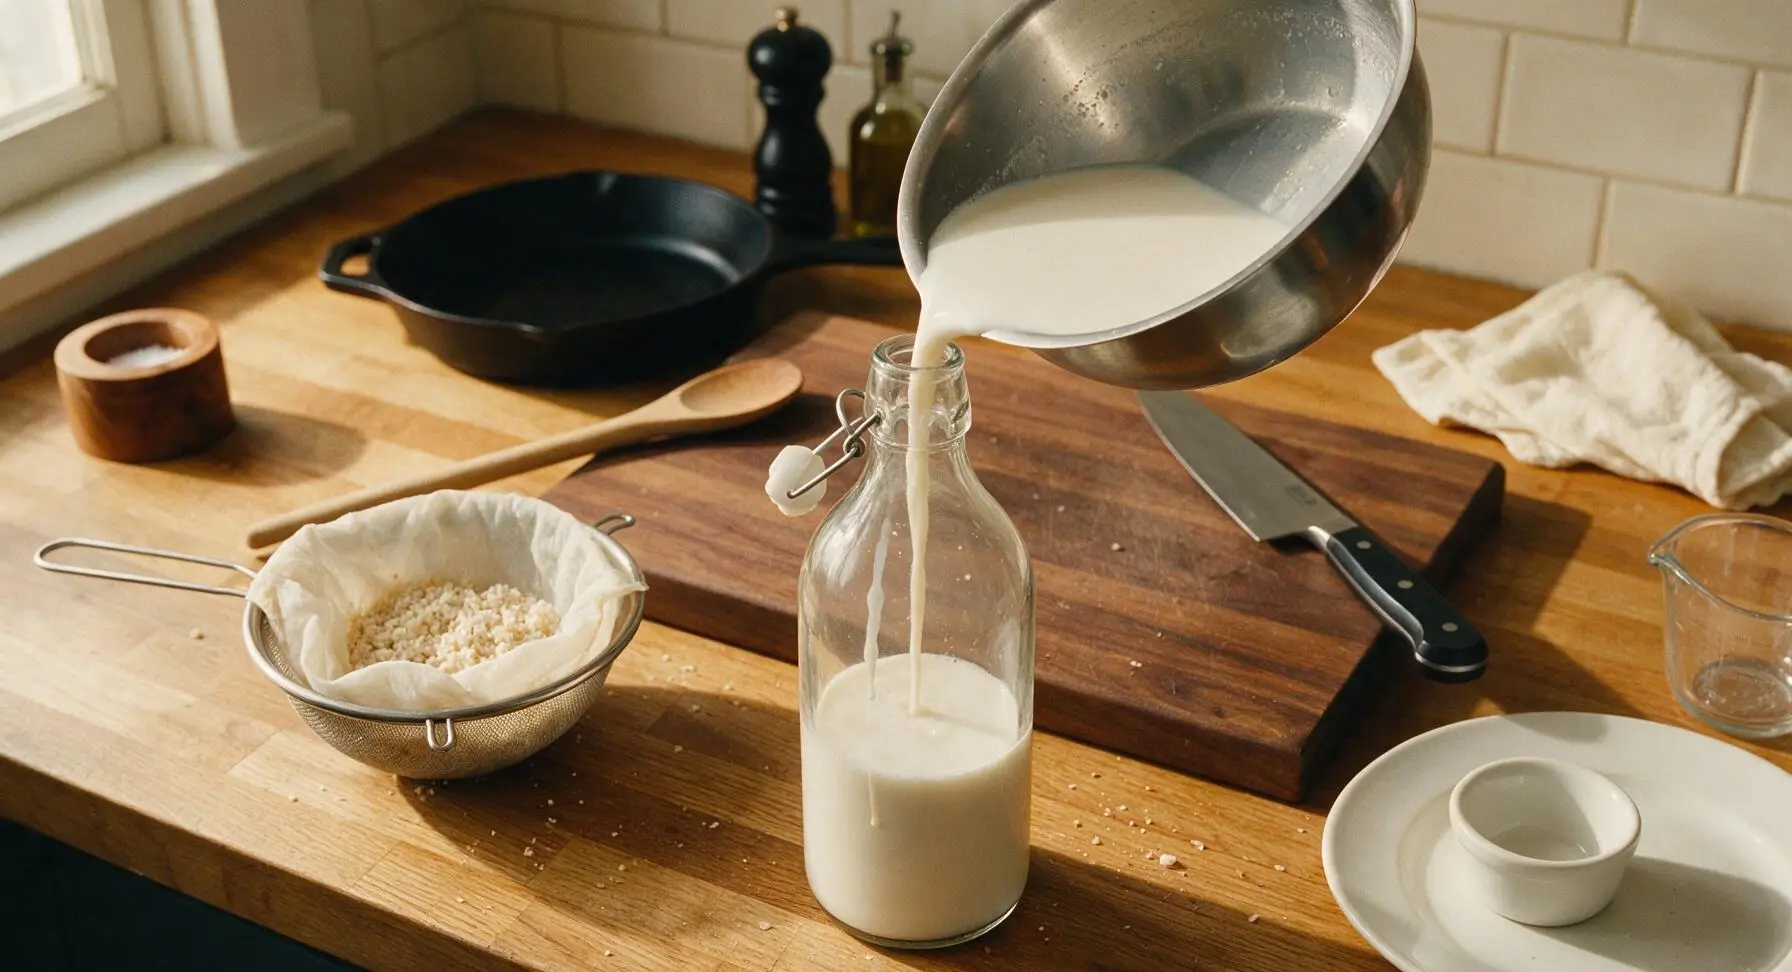
Once the milk is fully cooled (skip cooling if making the no-cook raw version), pour it into the 1L clear swing-top glass storage bottle. Seal the metal swing clasp tightly, then refrigerate for at least 1 hour before serving for the best cold, refreshing flavor. Shake the bottle vigorously for 5 seconds before every use, as natural separation of fine rice solids is completely normal and not a sign of spoilage.
Tips
2.Save the leftover rice pulp! Spread it in a thin, even layer on a baking sheet and dry in a low 95C/200F oven for 2 hours, then blend into a fine rice flour to use for gluten-free baking, thickening soups, or mixing into smoothies for extra fiber for zero food waste.
3.For a barista-quality rice milk that works perfectly in hot lattes without curdling, add 1 tablespoon of refined coconut oil (melted) to the blender before mixing. The oil emulsifies with the rice starch to create a creamier, more stable milk that won't separate when poured into hot coffee.






OMG this homemade rice milk is such a game changer! I’ve been dropping $5 a carton on store-bought rice milk forever for my son’s nut-free, oat-free school lunches, and this is SO much easier (and cheaper!) than I expected. No weird unpronounceable additives, tastes way creamier than the shelf-stable stuff, and my kids loved it even straight up in a cup after school. 10/10 will be whipping up a big batch every Sunday for weekly meal prep!
Made this for my neighborhood potluck last weekend to go with the vegan cookie platter I brought, and people were asking me for the recipe left and right! I added a tiny splash of vanilla and a pinch of cinnamon like I do with my overnight oats, and it was chef’s kiss. So easy to throw together even when you’re running late to an event, no fancy equipment needed.
Wait a second, the recipe says the simmer is optional? I’m curious if skipping the simmer changes the taste or shelf life much? I’m super lazy and would rather not heat anything up if I don’t have to, lol. Tried it raw yesterday and it tasted fine to me, just want to make sure I’m not missing out!
As someone who burns toast 90% of the time, I was shocked how easy this was! 5 minute cook time? Are you kidding? I thought all homemade plant milks were a whole production. It’s not quite as sweet as the store-bought vanilla rice milk I used to get, so I’ll add a tiny bit of maple syrup next time, but overall this is such a win for my grocery budget.