
Homemade Soft Dinner Rolls

title 1
Homemade Soft Dinner Rolls
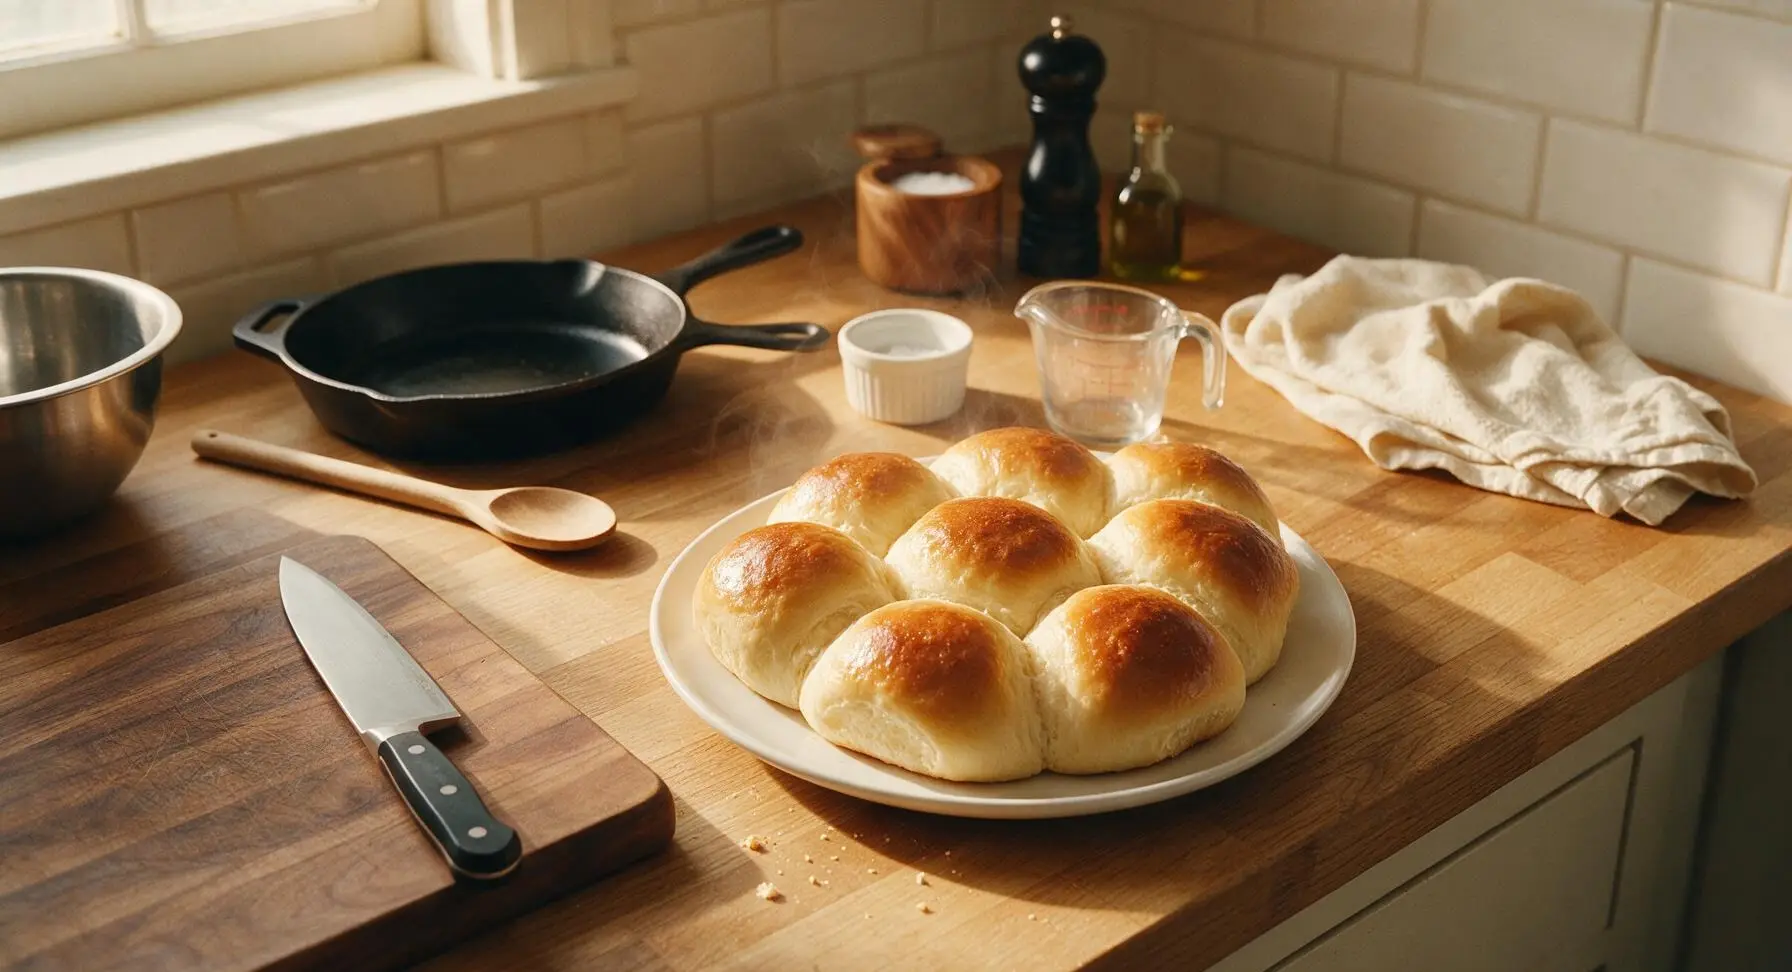
⏱️ cook time 20 minutes (plus 1 hour 40 minutes inactive rising/proofing time)
🍽️ servings 12
⚡ Difficulty easy

intro

Pillowy, buttery soft homemade dinner rolls, perfect for pulling apart and slathering with salted butter, the ideal cozy side for warm family meals.

Ingredients
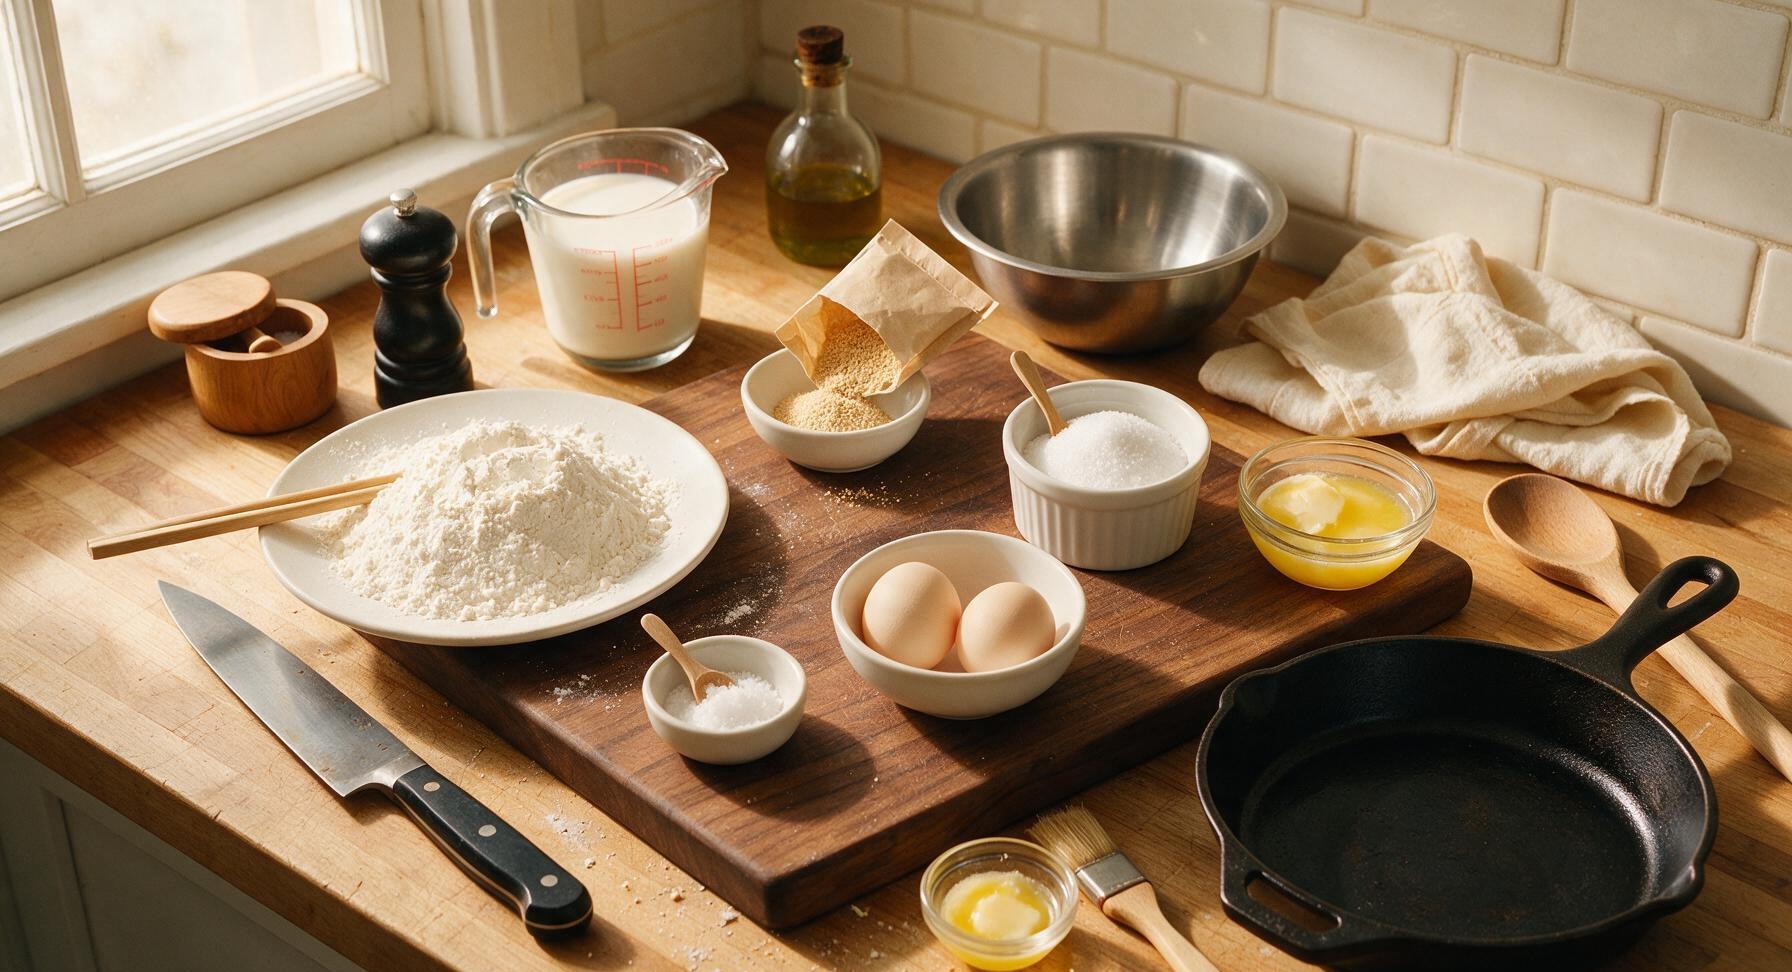
All-purpose flour, spooned and leveled 480g (approx 4 cups)
Whole milk, warmed to 110°F (43°C) 240ml (1 cup)
Active dry yeast 7g (1 standard 1/4oz packet)
Granulated sugar 50g (1/4 cup)
Unsalted butter, melted and cooled slightly 57g (4 tbsp)
Large eggs, room temperature 2 whole
Fine sea salt 1 tsp
Extra unsalted butter, melted (for topping) 28g (2 tbsp)

Steps

1

Activate the Yeast

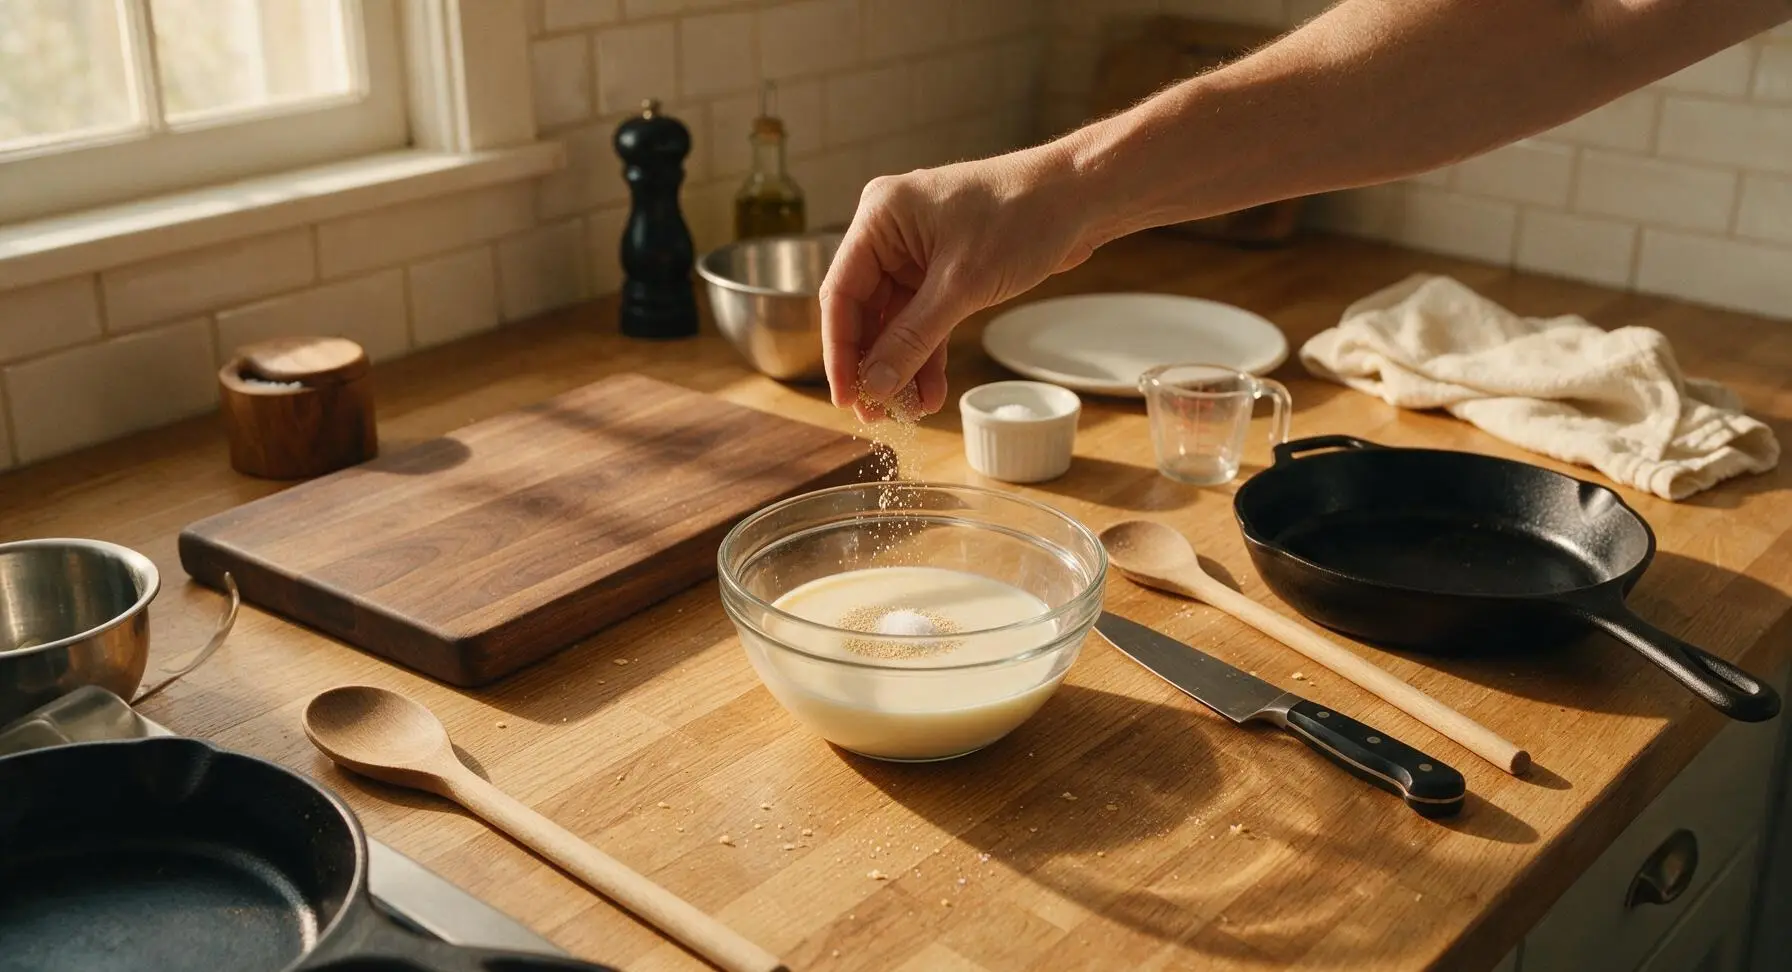
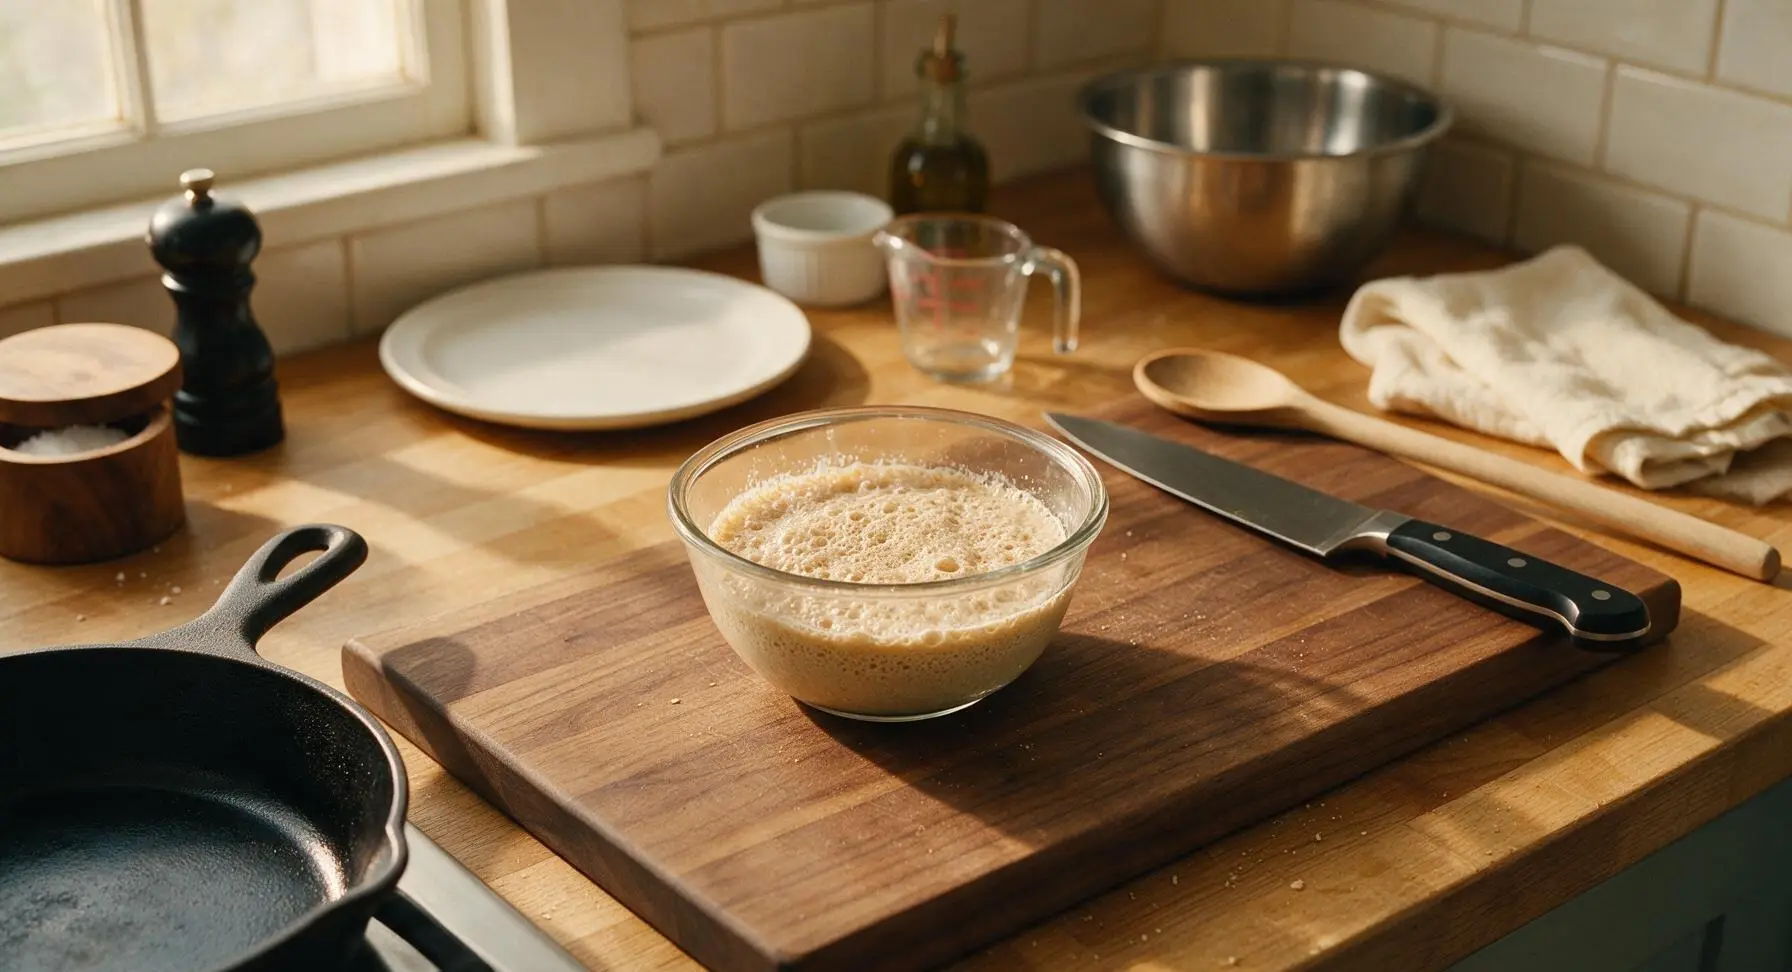
Pour the warmed whole milk into the small glass prep bowl, stir in 1 teaspoon of the measured granulated sugar and the full packet of active dry yeast. Let the mixture rest at room temperature for 5-7 minutes, until a thick, frothy tan foam covers the surface — this confirms the yeast is active. If no foam forms after 10 minutes, discard the mixture and start with fresh yeast, as inactive yeast will produce dense, flat rolls.
Step 1
step1:Activate the Yeast
Step 1
step1:Activate the Yeast
2

Mix Dough Base

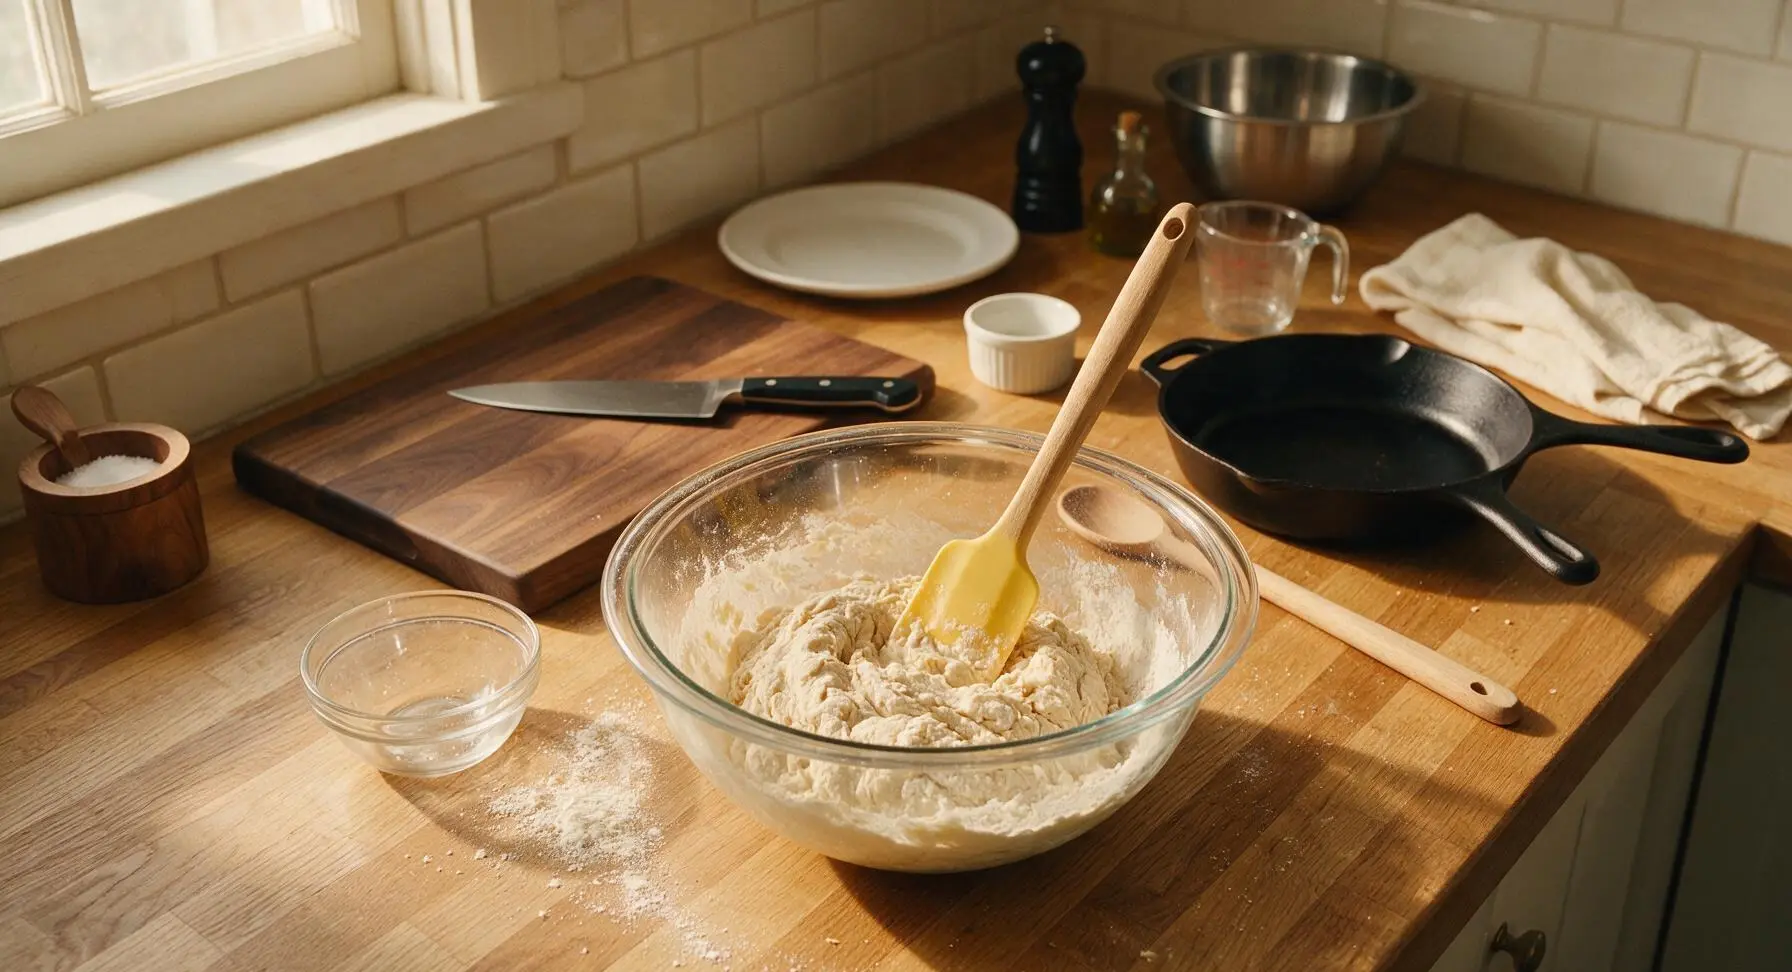
Add the remaining granulated sugar, cooled melted butter, room temperature eggs, and fine sea salt to the large clear glass mixing bowl. Whisk gently to combine, then pour in the foamy activated yeast mixture and stir with the butter-yellow silicone spatula until fully incorporated, with no streaks of unblended egg visible. Gradually add the all-purpose flour 1 cup at a time, stirring after each addition, until a shaggy, slightly sticky dough forms that pulls away from the bowl sides.
Step 2
step2:Mix Dough Base
3

Knead Until Smooth

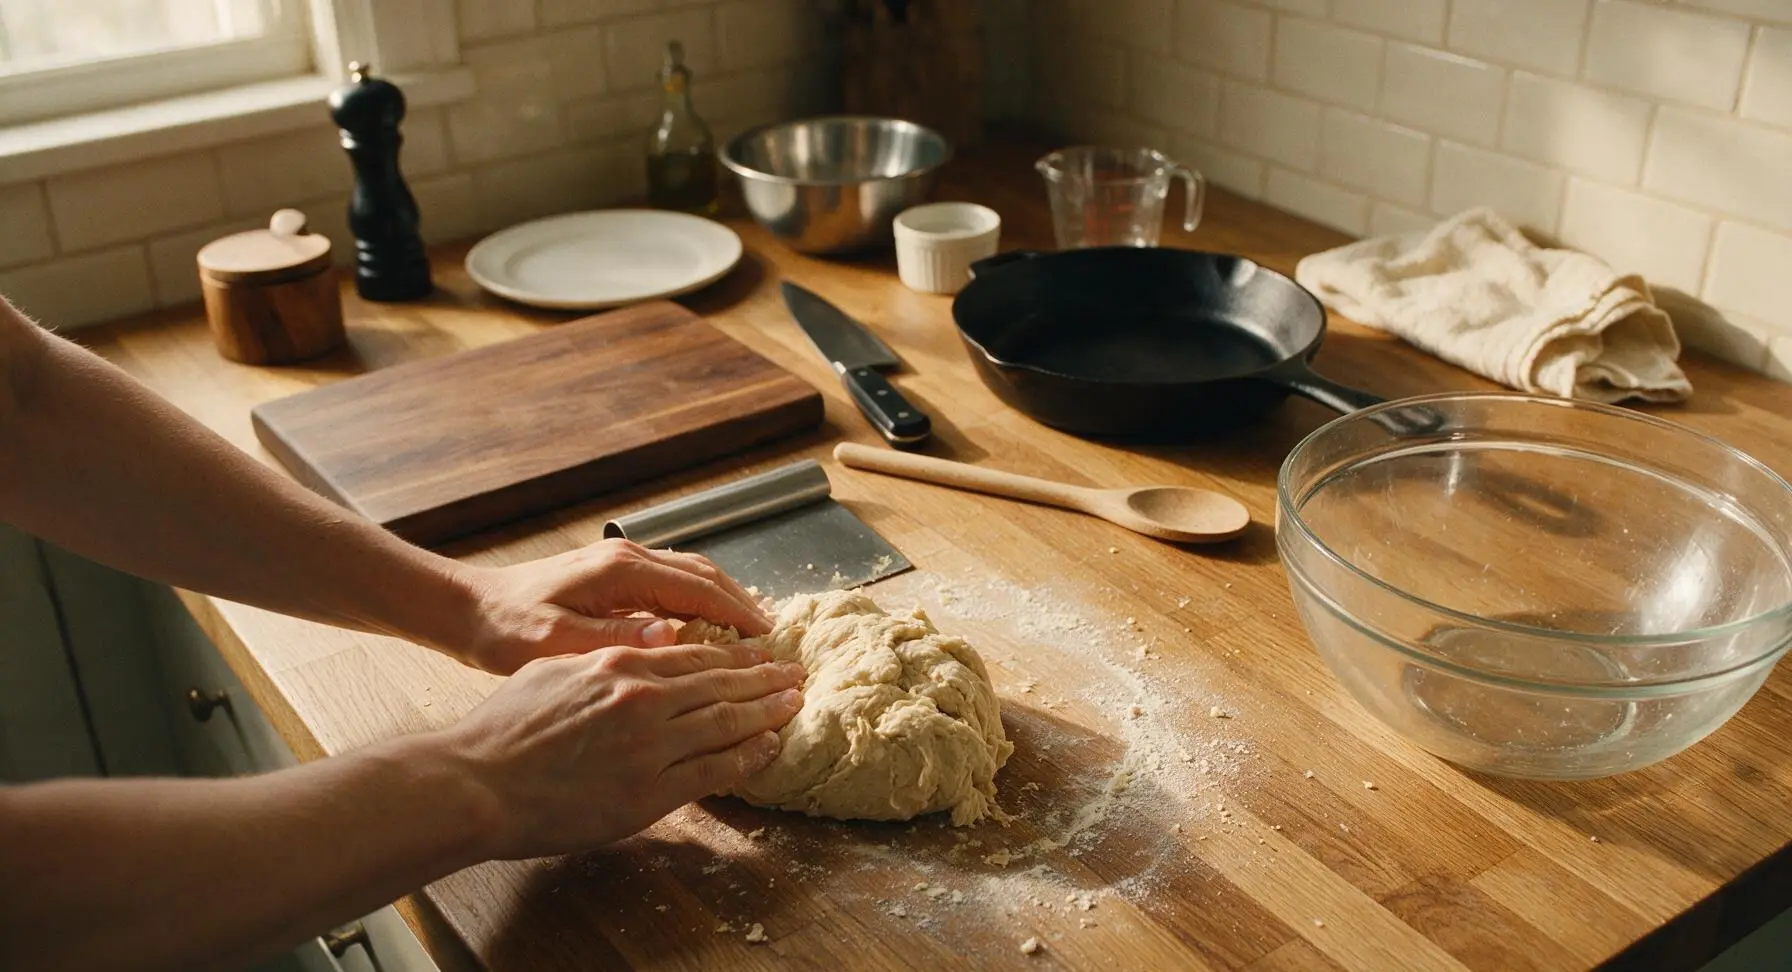
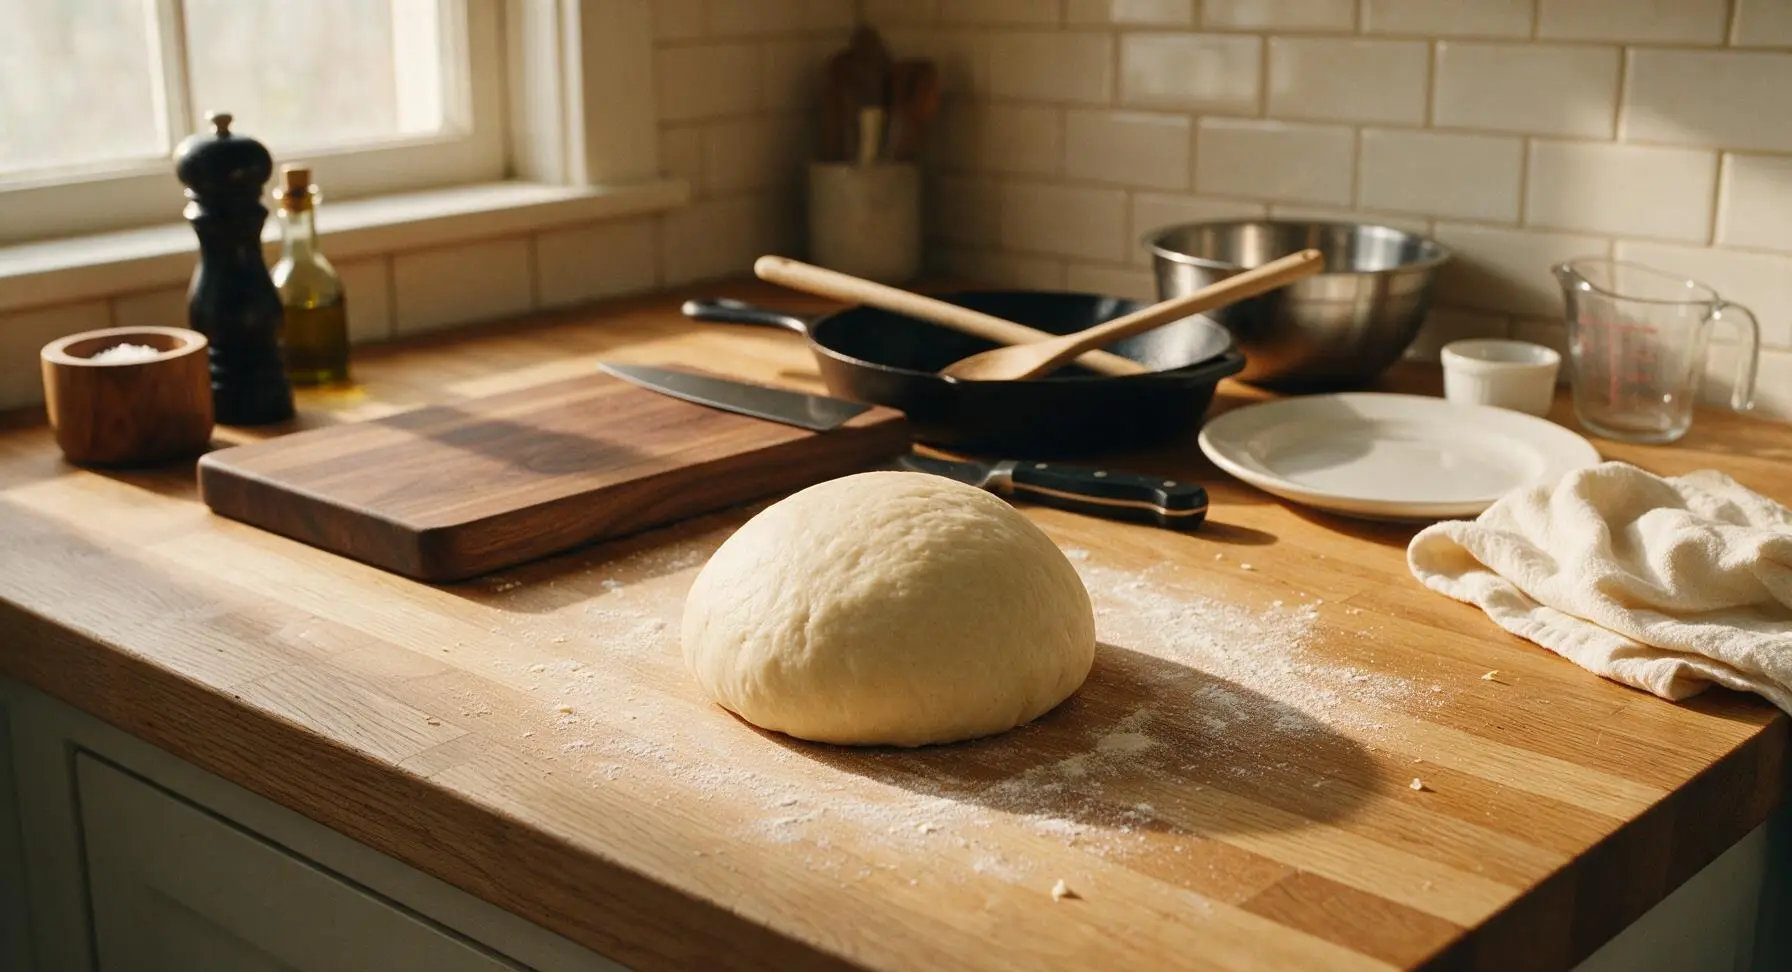
Turn the shaggy dough out onto a lightly floured section of the counter. Knead by hand for 8-10 minutes, folding the dough over itself and pushing forward with the heel of your hand in a rhythmic motion, until the dough becomes smooth, elastic, and only slightly tacky to the touch. Test for doneness by pulling a small piece of dough thin: it should form a translucent 'windowpane' without tearing. Use the stainless steel dough scraper to lift any stuck dough bits from the counter as you work.
Step 3
step3:Knead Until Smooth
Step 3
step3:Knead Until Smooth
4

First Dough Rise

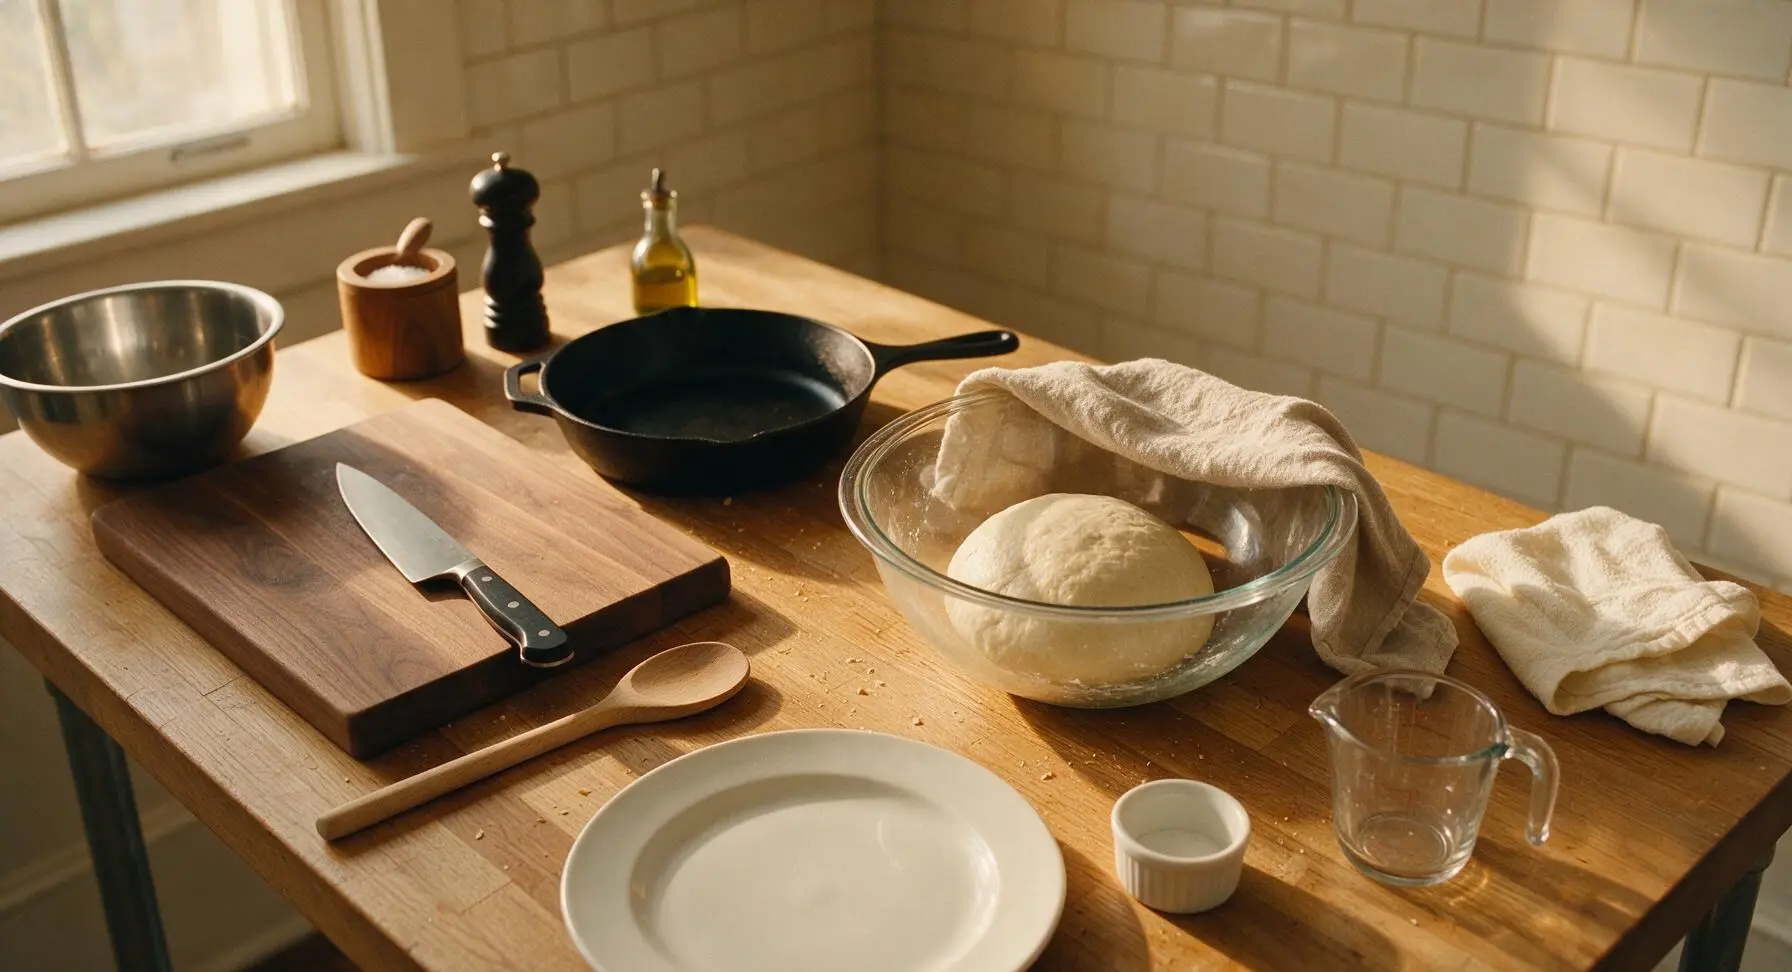
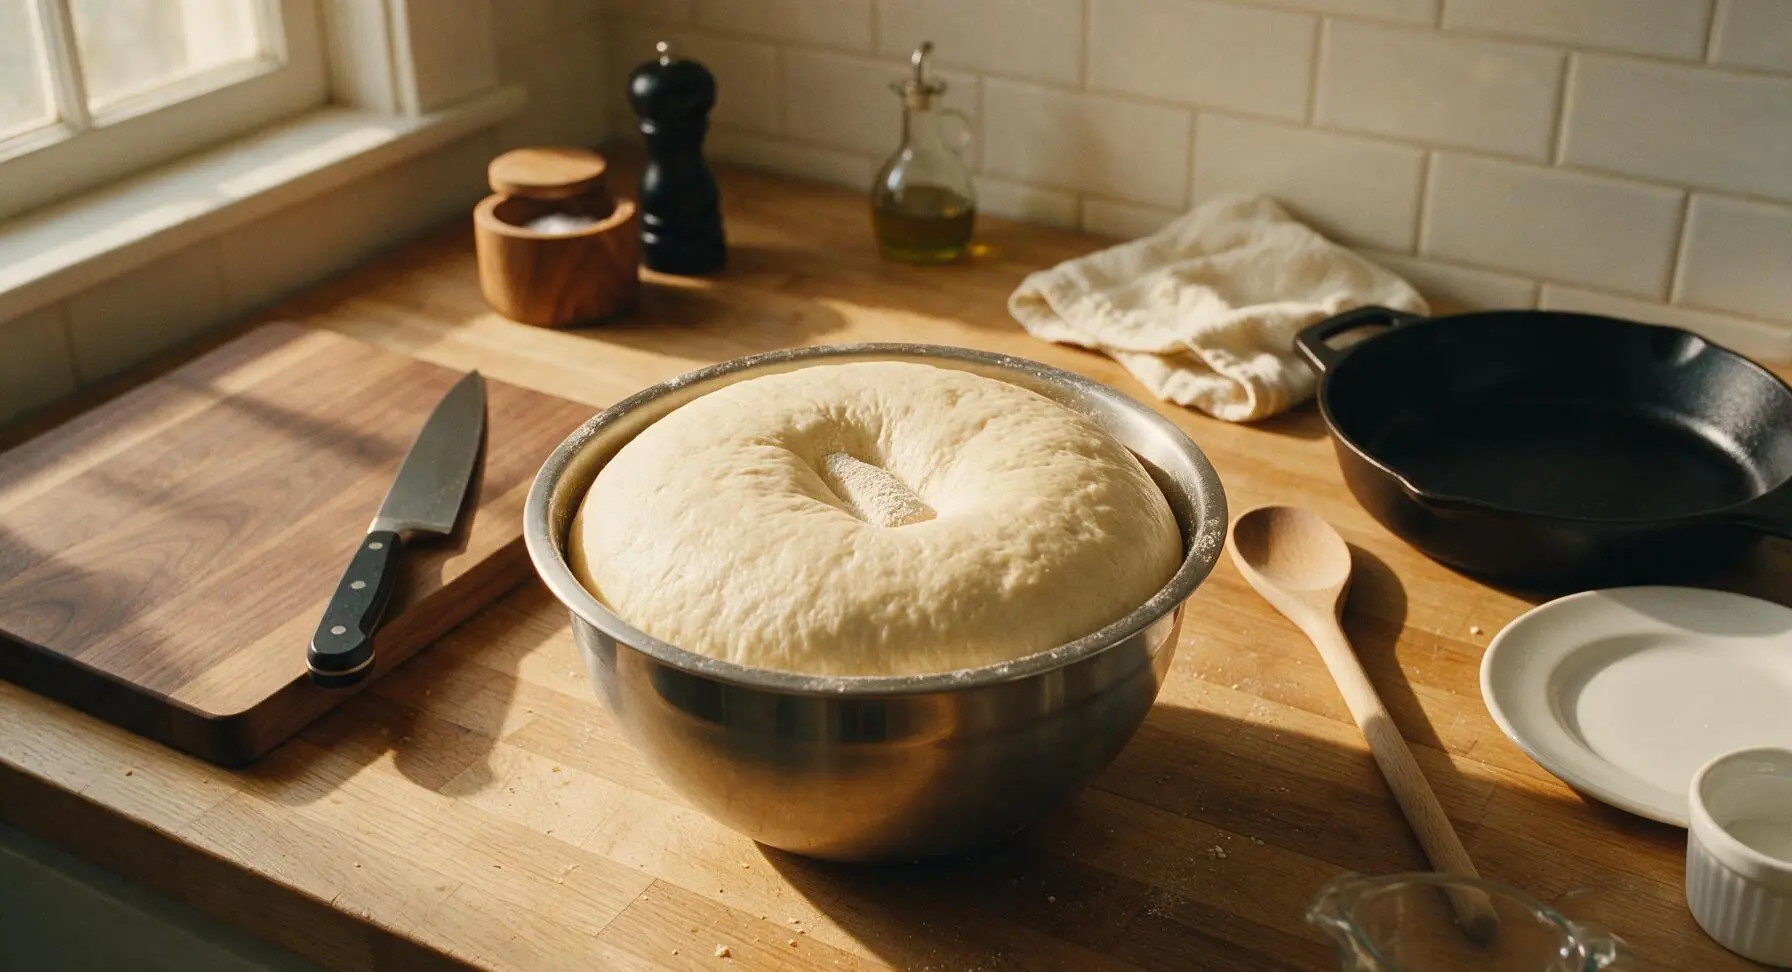
Place the smooth dough ball back into the lightly greased large glass mixing bowl. Drape the oatmeal linen towel (taken from its top right storage spot) loosely over the bowl rim, and let the dough rise in a warm, draft-free spot for 1 hour, until it has doubled in size. The dough is ready when a floured finger pressed 1 inch into the center leaves a permanent indentation that does not spring back.
Step 4
step4:First Dough Rise
Step 4
step4:First Dough Rise
5

Shape Roll Portions

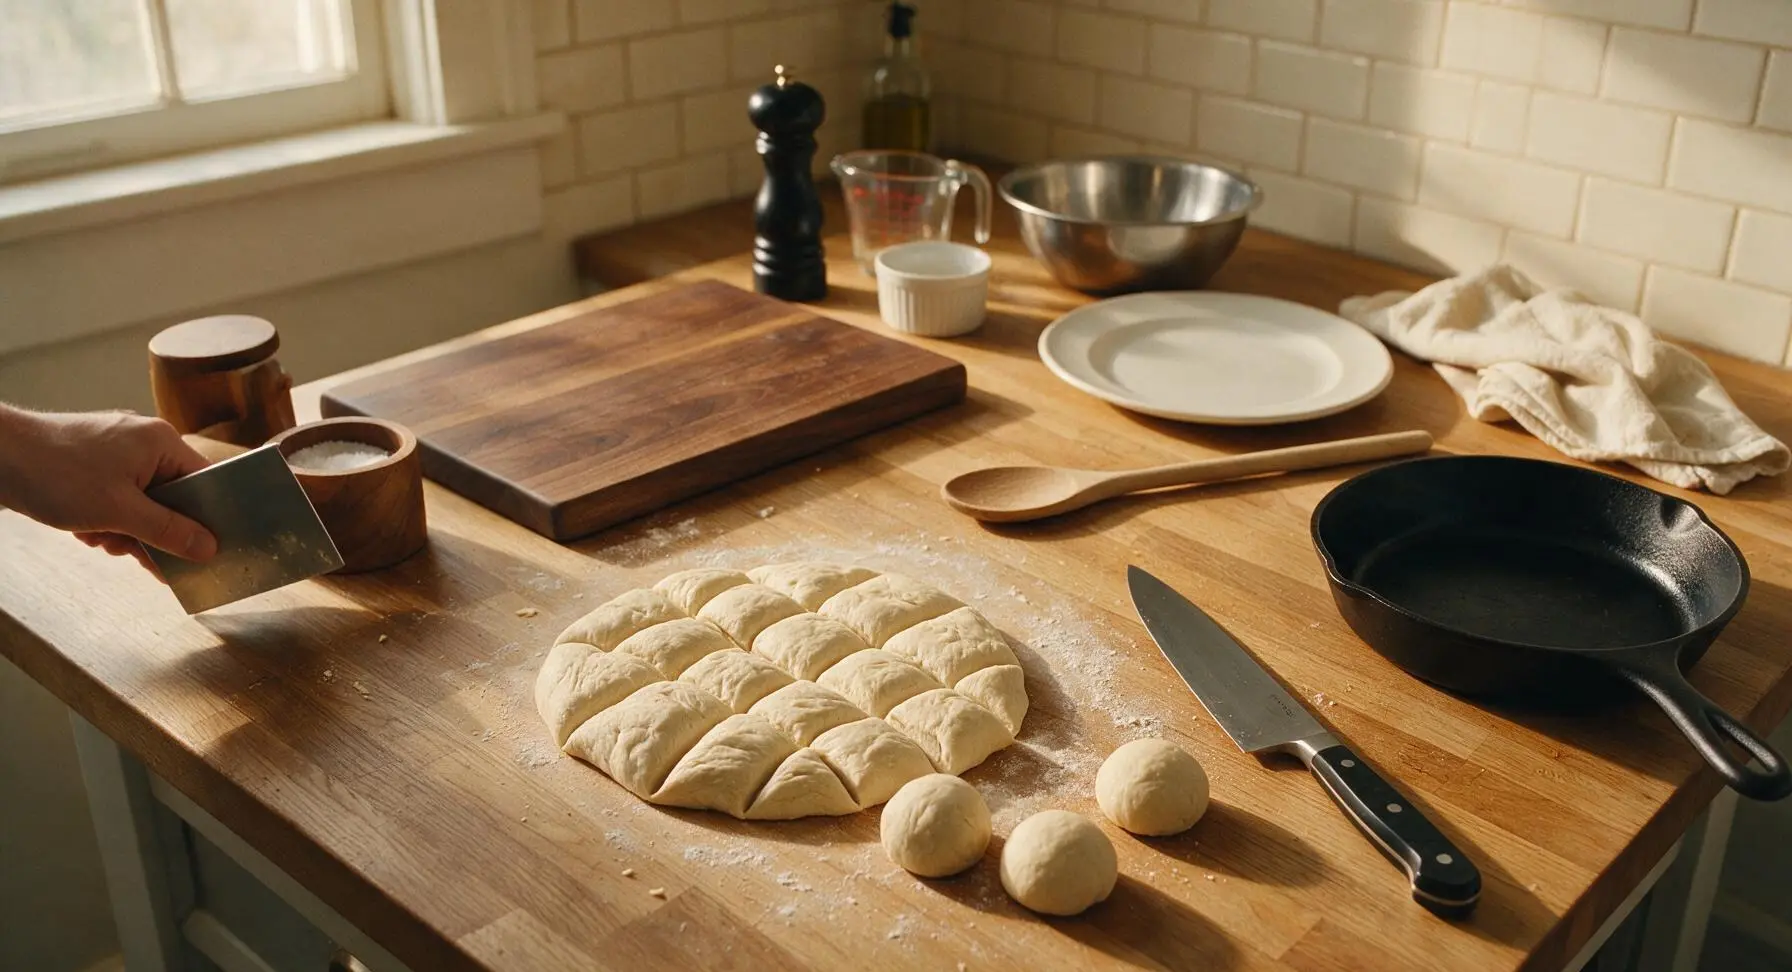
Punch the risen dough firmly in the center to release all trapped air, then turn it out onto the lightly floured counter. Use the stainless steel dough scraper to cut the dough evenly into 12 equal portions (approximately 65g each). Roll each portion into a tight, smooth ball by cupping your hand over the dough and applying gentle downward pressure as you roll it in small circles on the counter.
Step 5
step5:Shape Roll Portions
6

Proof Rolls in Pan

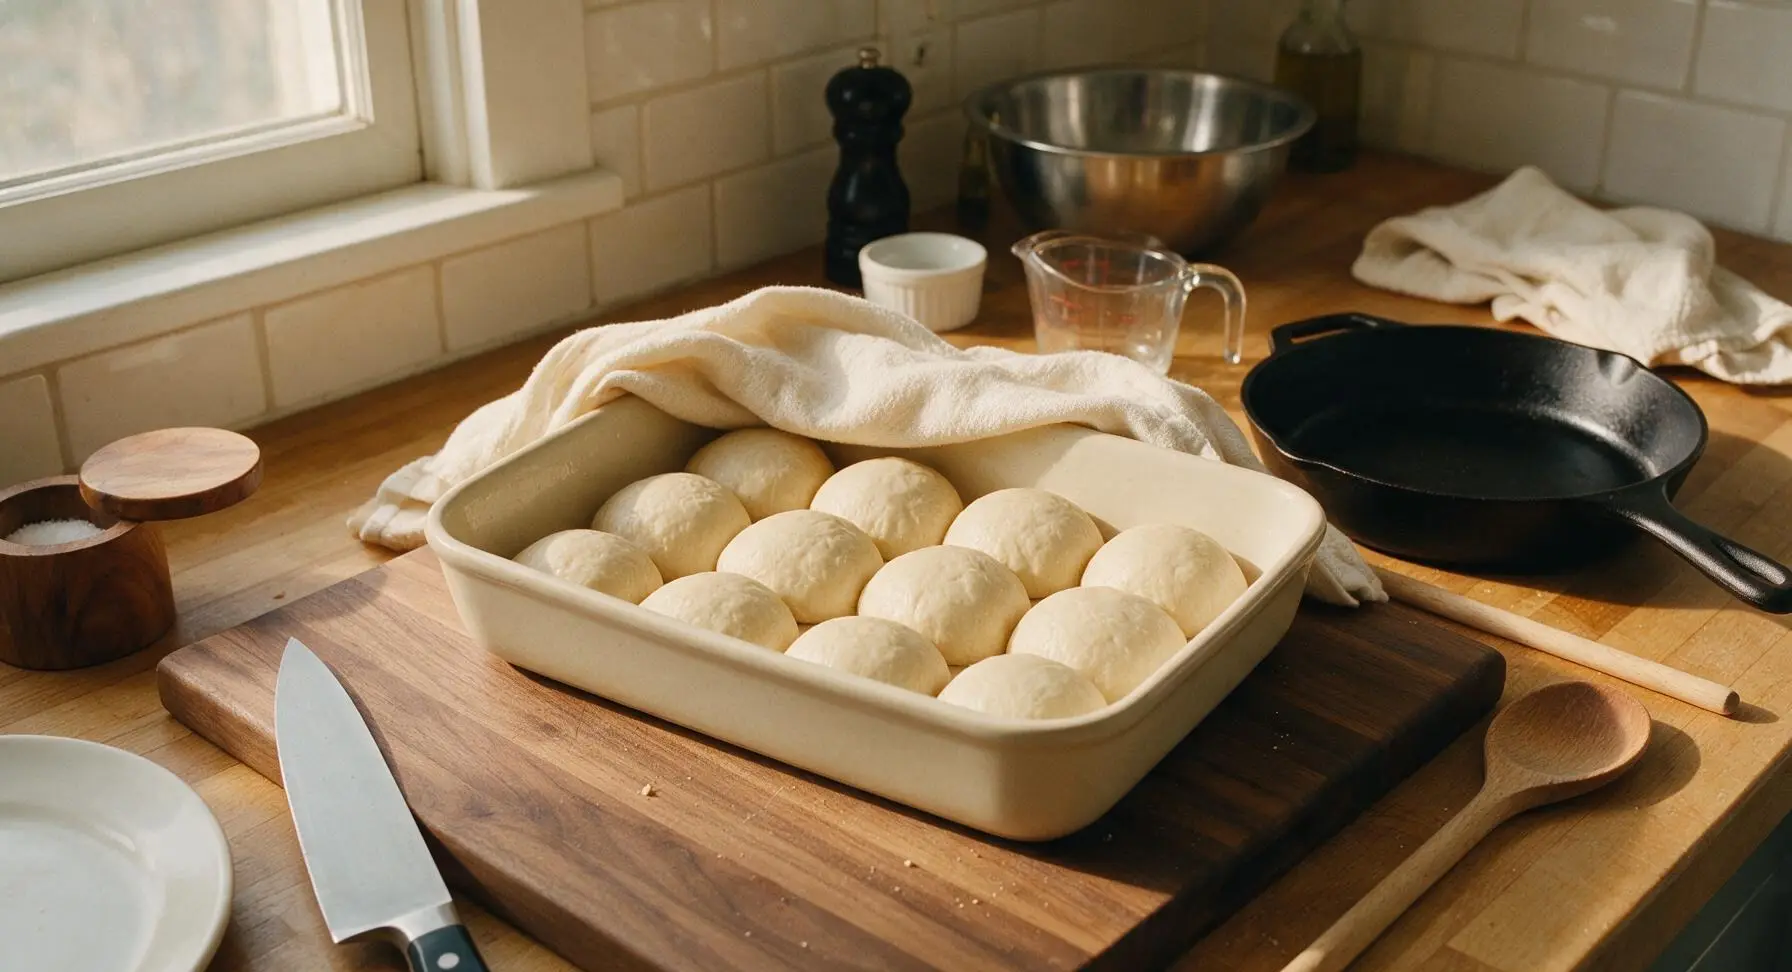
Arrange the 12 shaped dough balls in even 3x4 rows in the matte cream 9x13 inch ceramic baking dish, leaving 1/2 inch of space between each ball to allow for rising. Drape the oatmeal linen towel loosely over the dish again, and let the rolls rise for a second 40 minutes, until they are puffy, touching one another, and doubled in size. During the last 10 minutes of proofing, preheat your oven to 375°F (190°C).
Step 6
step6:Proof Rolls in Pan
Step 6
step6:Proof Rolls in Pan
7

Bake Until Golden

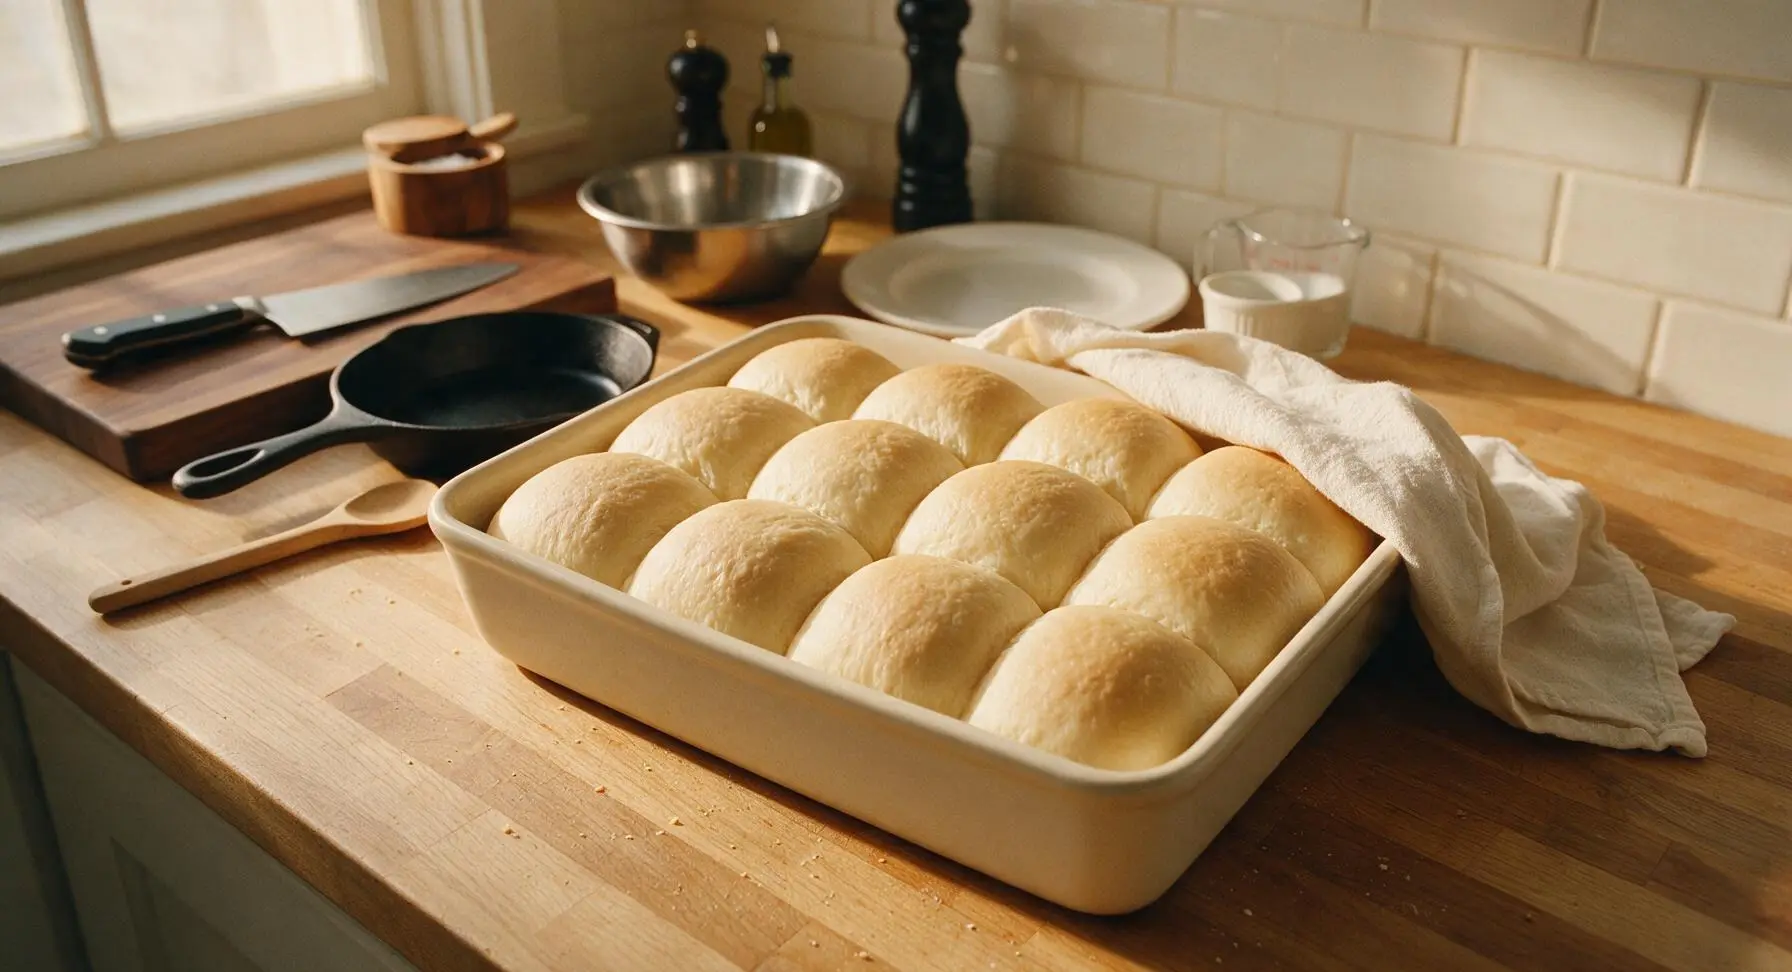
Remove the linen towel from the baking dish, and place the dish on the middle rack of the preheated 375°F (190°C) oven. Bake for 18-20 minutes, until the tops of the rolls are an even deep golden brown, and the internal temperature of the center rolls reads 190°F (88°C) on an instant-read thermometer. Watch closely during the final 3 minutes of baking to prevent over-browning the tops.
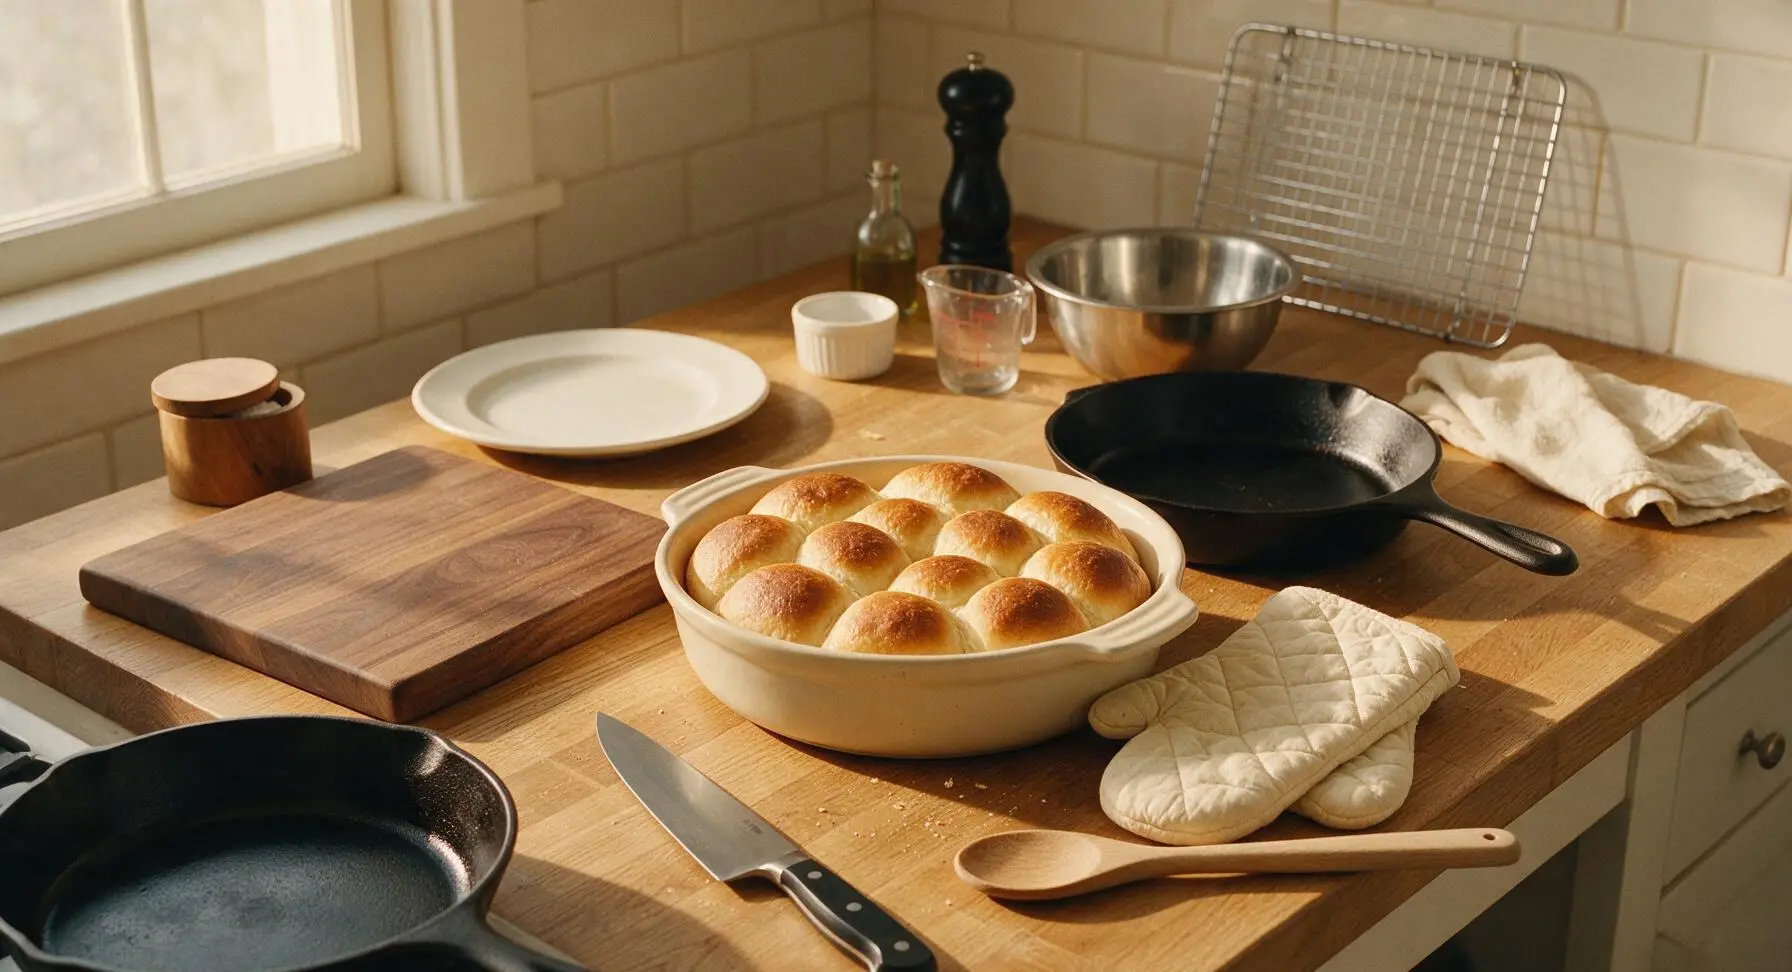
Step 7
step7:Bake Until Golden
8

Butter and Cool

Immediately after removing the rolls from the oven, use the boar bristle pastry brush to brush the tops generously with the 2 tablespoons of melted extra butter, which will soak into the warm crust and keep the rolls soft. Let the rolls cool in the baking dish for 5 minutes set on the wire cooling rack, before transferring them to the serving platter.
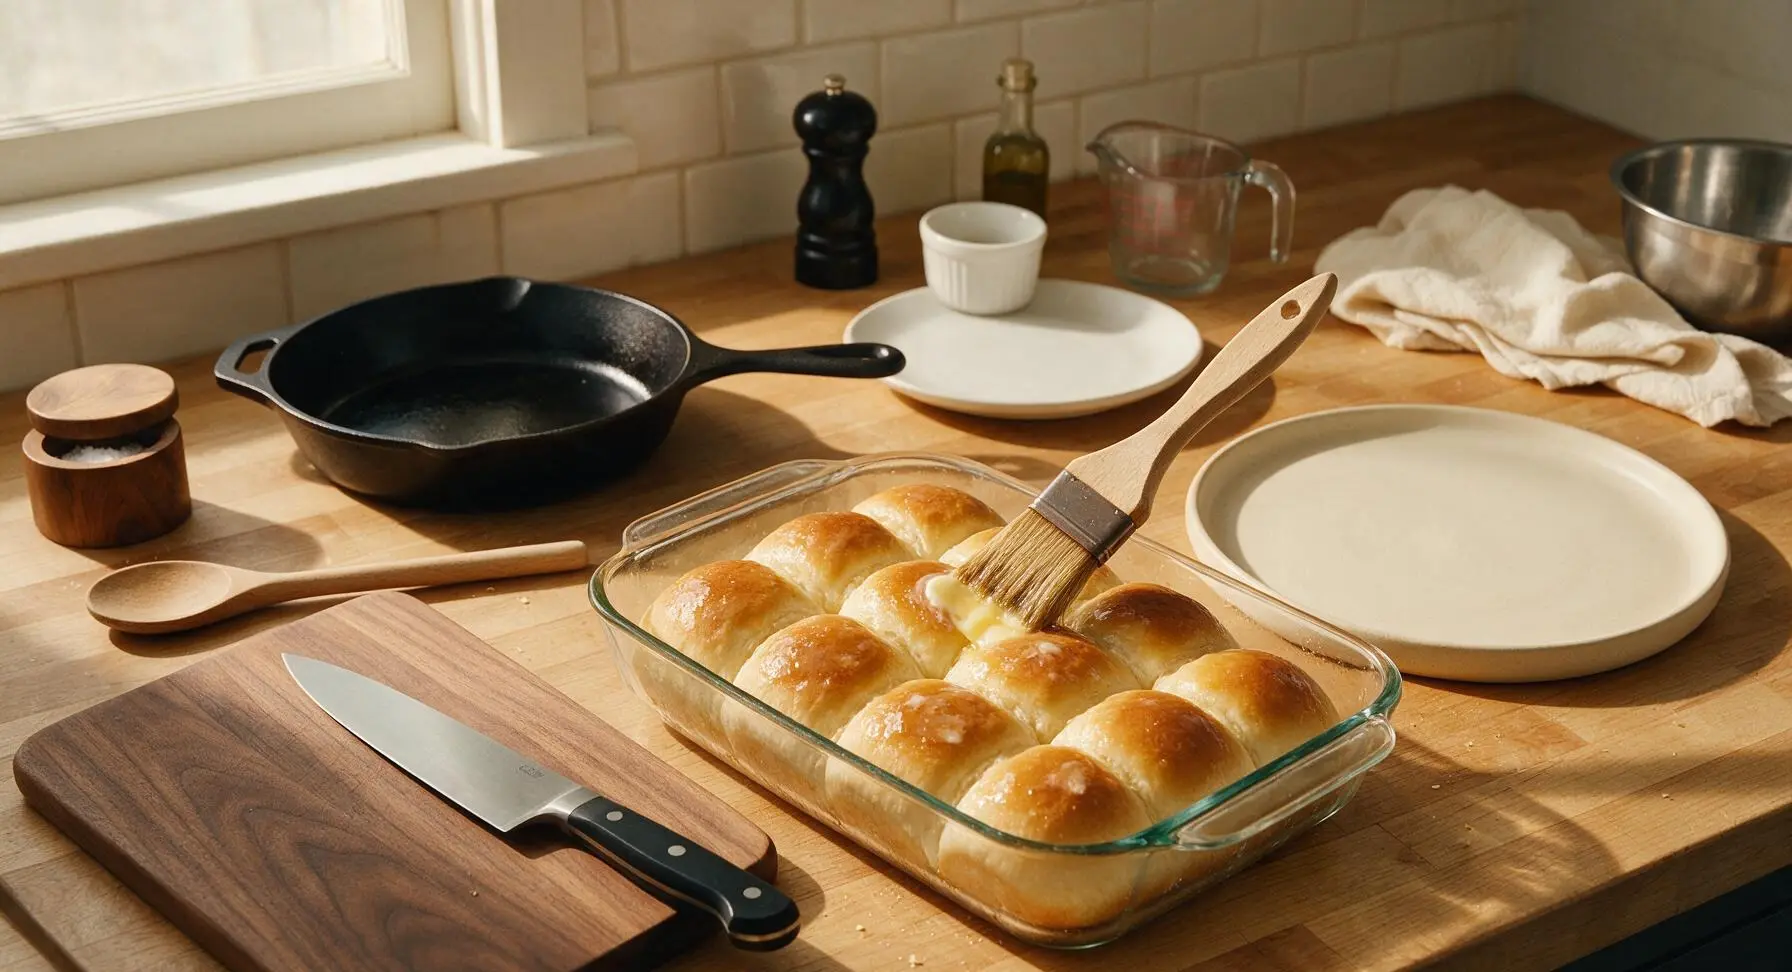
Step 8
step8:Butter and Cool

Tips

1.Check milk temperature with a thermometer before adding yeast: milk hotter than 115°F (46°C) will kill yeast, while milk cooler than 105°F (40°C) will fail to activate it, leading to dense, heavy rolls instead of light, fluffy ones.
2.Don’t rush the second rise: this shorter proof after shaping creates the pillowy, pull-apart crumb structure that makes dinner rolls soft; skipping it will result in tougher, denser bread that doesn’t rise properly in the oven.
3.Brush baked rolls with melted butter immediately after removing them from the oven: this adds rich, buttery flavor and prevents the crust from hardening as it cools, keeping roll tops soft and tender instead of crisp.


✨ You May Also Like

Side Dishes
🍜 India

Velvety, aromatic all-purpose curry sauce perfect for tossing with roasted veggies, grilled protein, or rice for fast, cozy, flavorful meals.

⏱️ 25 minuteSide Dishes ★ 4.8
Side Dishes
🍜 Spain

Tender, starchy boiled yuca tossed in bright, garlicky citrus mojo sauce—an iconic, zesty side that pairs beautifully with roasted pork, grilled meats, and rice and beans.

⏱️ 40 minuteSide Dishes ★ 5
Side Dishes
🍜 United States

Tender, paper-thin potato flatbread, a beloved Norwegian-American Minnesota Christmas staple, griddled until softly spotted and served warm with butter.

⏱️ 1 hour 30Side Dishes ★ 4.6
Side Dishes
🍜 United States

Rich, deeply savory cured salt pork, a long-lasting kitchen staple perfect for frying crispy as a side or adding umami to stews, beans, and chowders.

⏱️ 7 days (2Side Dishes ★ 4.9
Side Dishes
🍜 United States

Crispy, tangy classic Southern fried green tomatoes with a crunchy cornmeal crust, served hot for a nostalgic, comforting summery bite.

⏱️ 25 minuteSide Dishes ★ 4.9
Side Dishes
🍜 United States

Moist, golden-crusted savory muffins with sweet corn, zesty jalapeño, and melted cheddar, perfect for pairing with smoky summer grilled fare.

⏱️ 30 minuteSide Dishes ★ 4.9

Homemade Soft Dinner Rolls:Frequently Asked Questions

1.Why do I need to warm the whole milk to exactly 110°F for this recipe? ▾
That’s the ideal sweet spot to wake up active dry yeast without killing it! Milk colder than 100°F won’t activate yeast properly, leading to flat, dense rolls, while milk hotter than 120°F kills yeast entirely. Use a quick-read thermometer for accuracy; if you don’t have one, aim for bath-water warm, no hotter than you can comfortably hold a finger in for 3 seconds.
2.Can I use bread flour instead of spooned-and-leveled all-purpose flour for these rolls? ▾
Absolutely! Bread flour has a slightly higher protein content (12-14% vs. all-purpose’s 10-12%) that creates a chewier, more structured crumb that still stays perfectly soft. Use the same spoon-and-level measurement to avoid packing extra flour, and add 1-2 extra teaspoons of warm milk if your dough feels overly stiff when mixing.
3.How do I tell when I’ve kneaded the roll dough long enough? ▾
Use the simple windowpane test! Pinch off a small chunk of dough and gently stretch it thin between your fingers. If it stretches thin enough to let light pass through without tearing, you’re done. If it rips right away, keep kneading for 2-3 more minutes and test again—under-kneaded dough leads to dense, lumpy rolls.
4.My rolls didn’t rise at all—what went wrong? ▾
Nine times out of 10, this is a yeast issue. Either your milk was too hot and killed the yeast, your active dry yeast was expired, or your rising spot was too cold (yeast thrives in a 75-80°F draft-free spot). Test yeast first by stirring a pinch of granulated sugar into warm milk with yeast; it should foam in 5 minutes, or you need a fresh packet.
5.Can I prep these soft dinner rolls ahead of time? ▾
Definitely! For easy advance prep, shape the portioned dough balls, arrange them in your greased baking pan, cover tightly, and refrigerate for up to 16 hours. When you’re ready to bake, pull the pan out, let the rolls rise at room temp until doubled (about 1 hour, since they’re chilled), then bake as directed for the same pillowy texture.
6.Do I really need to spoon and level my all-purpose flour, or can I scoop straight from the bag? ▾
Skipping the spoon-and-level step is the number one cause of tough, dense rolls! Scooping directly from the flour bag packs 20-30% extra flour into your measuring cup, throwing off the entire dough ratio. Spoon flour loosely into your cup, then scrape a flat edge across the top to level it for that light, melt-in-your-mouth crumb.
7.Can I use salted butter instead of the unsalted butter called for? ▾
You can, with one small tweak! If using salted butter, cut any added salt in the recipe by ½ teaspoon to keep flavors balanced, since salted butter has added sodium that will make rolls taste overly salty if you keep the full salt amount. Melt and cool it the exact same way you would unsalted butter for identical soft texture.
8.Why are my baked rolls turning out dry and hard on top? ▾
This usually comes from one of two common mistakes: either you overbaked the rolls, or you let the shaped dough dry out during rises. Keep rising dough covered with a damp tea towel or loose plastic wrap to prevent a tough skin from forming, and pull rolls when their internal temp hits 190°F—they’ll keep cooking briefly as they cool.
9.Can I freeze these dinner rolls after baking? ▾
Totally! Let fully baked rolls cool completely to room temperature, then tuck them into a freezer-safe zip-top bag, squeezing out as much excess air as possible, and freeze for up to 3 months. To reheat, wrap rolls in foil and warm in a 325°F oven for 10-12 minutes, and they’ll taste just as soft and buttery as bake day.
10.What size should I portion individual dough balls for even baking? ▾
For uniformly sized rolls that rise and bake at the same rate, portion your dough into 2-ounce pieces, roughly the size of a golf ball, when shaping. Tuck the edges of each piece under to form a tight, smooth top, and space them ½ inch apart in the pan so they rise into each other for that perfect pull-apart texture.
11.Can I use instant yeast instead of active dry yeast for this recipe? ▾
You sure can! Swap active dry yeast for instant yeast at a 3:4 ratio—for a standard 2 ¼ teaspoon (1 packet) active dry measure, use 1 ¾ teaspoons instant yeast. You won’t need to proof it in warm milk first; just mix it straight in with dry ingredients, and cut your first rise time by about 15 minutes, since instant yeast activates faster.
12.Why do my rolls have a strong, beer-like yeasty aftertaste? ▾
That off, overly yeasty flavor happens when dough rises too long, or rises in a spot that’s too warm, causing yeast to over-ferment. Stick to the recommended rise times, keep your rising spot around 75-80°F, and don’t let dough more than double in size during either rise to keep that mild, buttery, subtly sweet flavor without the tang.
13.Do I need a stand mixer to make these rolls, or can I mix them by hand? ▾
No stand mixer is required at all! You can mix the dough in a large bowl with a wooden spoon, then turn it out onto a lightly floured counter to knead by hand for 8-10 minutes, until it passes the windowpane test. It takes a little extra arm work, but you’ll get the exact same pillowy soft results—just don’t add too much extra flour while kneading.
14.Should I brush the rolls with melted butter before baking, or after? ▾
For the softest, most buttery top, do both! Brush the tops of fully risen rolls with half of your melted, slightly cooled butter right before baking to help them brown evenly and build a tender, rich crust. As soon as you pull the baked rolls out of the oven, brush them with the remaining butter for that glossy, irresistible finish.
15.My rolls spread out flat instead of rising up tall and fluffy—what did I do wrong? ▾
This usually happens if your dough was too sticky, or you didn’t shape dough balls tightly enough when portioning. When shaping, tuck the edges of each dough piece firmly under to create tight surface tension on top, which encourages rolls to rise up instead of spreading. Don’t skip the full second rise, either—under-proofed dough lacks the structure to hold a tall shape.

Comments (8)

2 weeks ago

I’ve been making dinner rolls for 50+ years and I have to say, this recipe is just as good as my mama’s! The crumb is so soft and fluffy, not tough at all like a lot of newer recipes I’ve tested lately. I added a tiny bit of honey to the butter wash for a little extra sweetness and it was perfect with our fried chicken dinner last Sunday.

1 week ago

What a huge compliment coming from someone with so much baking experience, Pat! The honey butter wash sounds absolutely delicious, I’m definitely going to try that on my next batch.

1 week ago

Meal prepped these on Sunday for the week and they held up perfectly! I sliced the leftovers, stuck them in the freezer, and popped them in the toaster for 30 seconds each morning to go with my eggs. Way better than the store bought dinner rolls that are full of weird preservatives. So easy to make even with my chaotic toddler running around the kitchen while I baked.

5 days ago

Love the meal prep hack, Nate! Freezing these after baking is such a smart move for quick weekday sides, so glad you found them easy enough to pull off with a little helper underfoot.

5 days ago

These tasted SO good, but my first batch came out a little lopsided? I think I messed up shaping them into balls, oops. Even with the wonky shape, my boyfriend ate 4 of them straight out of the basket so I can’t complain too much. Will definitely practice my shaping for next time!

3 days ago

I had the same problem at first! I watched a 30 second TikTok on how to pinch dough balls tight on the bottom and it fixed my lopsided rolls instantly, total game changer.

2 days ago

So happy they still tasted great even with the wonky shapes, Lila! Joe’s tip about pinching the bottoms tight is spot on – if you pull the edges of each dough piece down to a little nub on the bottom before setting them on the pan to rise, they’ll bake up nice and round every time.

3 days ago

Brought these to my office potluck earlier this week and people were asking me for the recipe before I even set the platter down! They stayed soft for HOURS after baking, even when I left them in a covered dish on my commute. Only change I made was sprinkling a little everything bagel seasoning on half the batch for the savory fans, chef’s kiss.

2 days ago

The everything bagel seasoning idea is genius! I’m making these for our neighborhood block party next weekend, definitely stealing that hack.

yesterday

Love the everything bagel seasoning twist, Steve! So stoked these were a potluck hit – that covered dish trick is exactly what we recommend for keeping them soft on the go, great call.

2 days ago

OMG these rolls are a GAME CHANGER for our weekly Sunday family dinner! I was so nervous they’d be dense because every other roll recipe I’ve tried flops, but these came out pillowy soft even after I let them rise a little extra while my kid’s soccer game ran late. Brushed them with garlic butter right out of the oven and my whole family was fighting over the last one. 10/10 will make every week from now on!

yesterday

Wait how much extra rise time did you give them? I’m terrified of overproofing and killing the yeast ?

30 minutes ago

So glad your family loved them, Katie! For anyone worried about overproofing: if the dough springs back halfway when you poke it gently, it’s good to go! An extra 15-20 minutes of rise time in a warm kitchen won’t ruin these at all.

yesterday

I’m a total beginner who’s never baked bread in my life and these came out perfect first try!!! I was so worried about killing the yeast but the instructions were super straightforward, no fancy stand mixer or anything needed, just a bowl and my hands. My roommates are convinced I’m a secret professional baker now lmao. 10/10 will be making these for our Friendsgiving next month.

2 hours ago

Wait did you make these in your tiny dorm oven? Mine runs like 50 degrees too hot, wondering if I need to drop the temp a little to keep them from burning?

5 minutes ago

Just pulled these out of the oven and my whole house smells like a bakery!!! I can’t believe how easy these were to throw together after work, I thought for sure the rising time would be a hassle but I just let the dough sit while I made the main dish and salad. SO good, even my super picky 7 year old asked for seconds. No notes!

just now

Made these for our camping trip over the weekend and they were perfect for sandwiching pulled pork around the campfire! I let them do the second rise in a covered dish on the drive up (the cool fall day kept the temp just right) and baked them in my cast iron dutch oven over the coals, and they came out just as soft as when I make them in my regular oven at home. Will absolutely be adding these to our regular camping meal rotation.



