
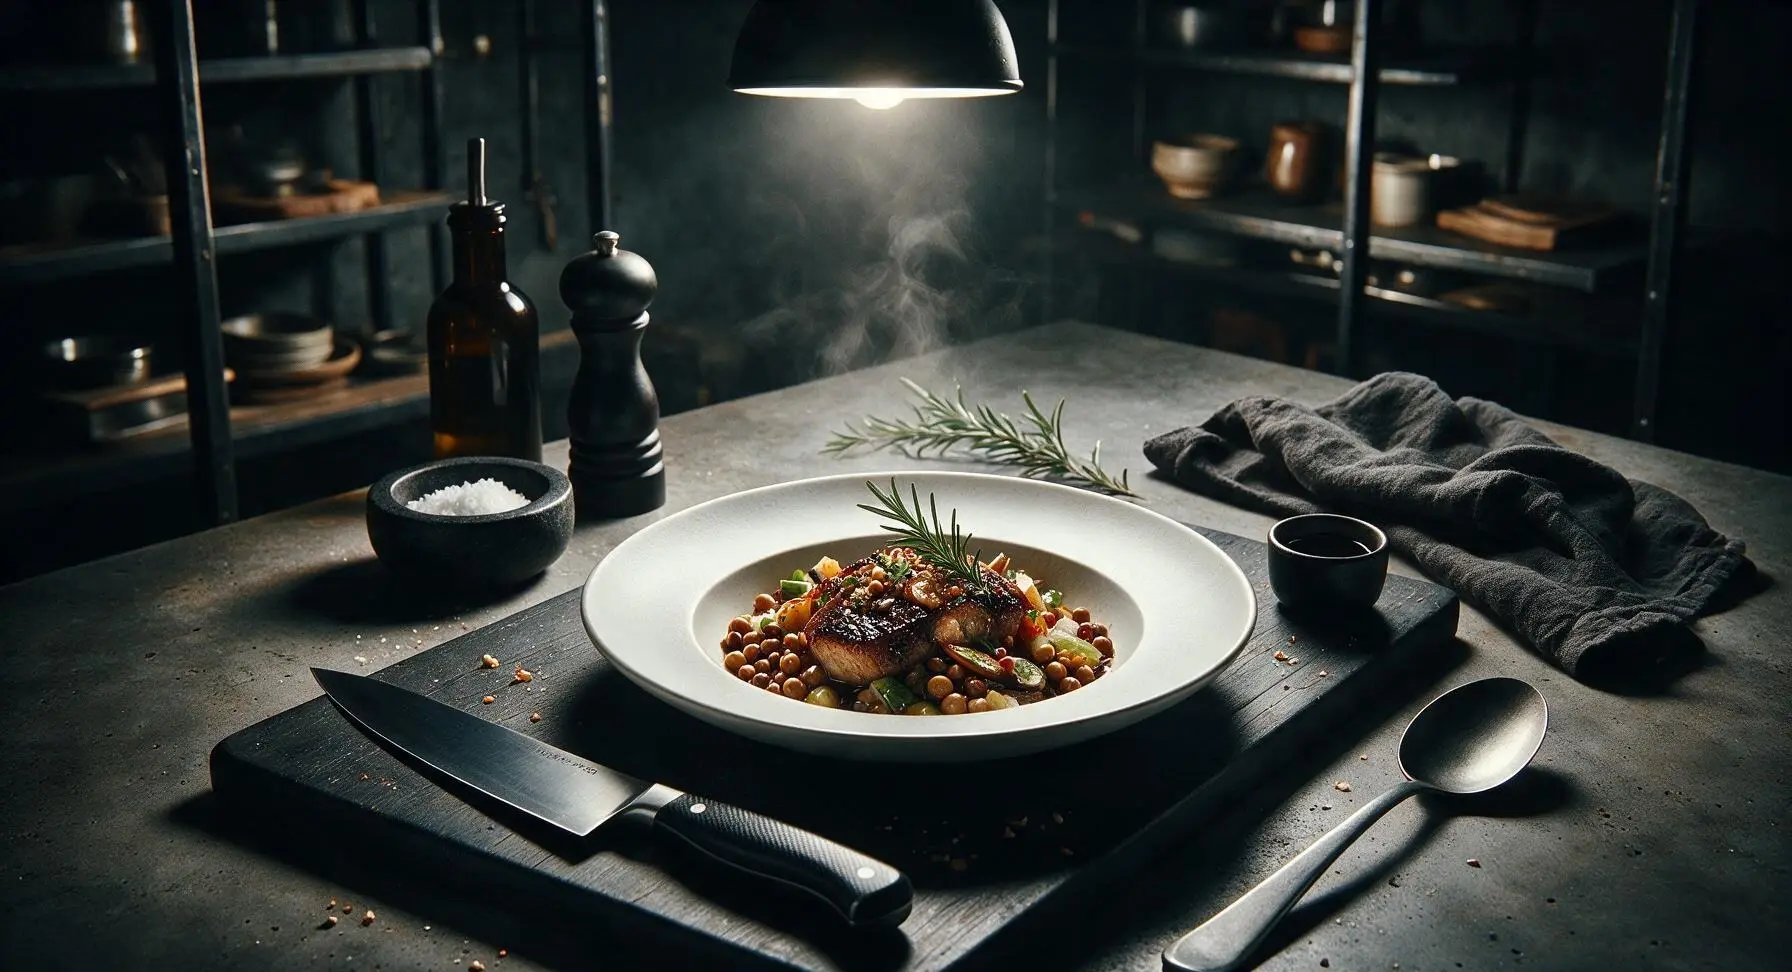
homemade soy sauce

title 1
homemade soy sauce
⏱️ cook time 1 hour 30 minutes
🍽️ servings 96
⚡ Difficulty hard

intro

Deeply umami, fragrant traditional homemade fermented soy sauce, made with simple whole ingredients, aged for rich, complex savoriness far beyond store-bought bottles.

Ingredients
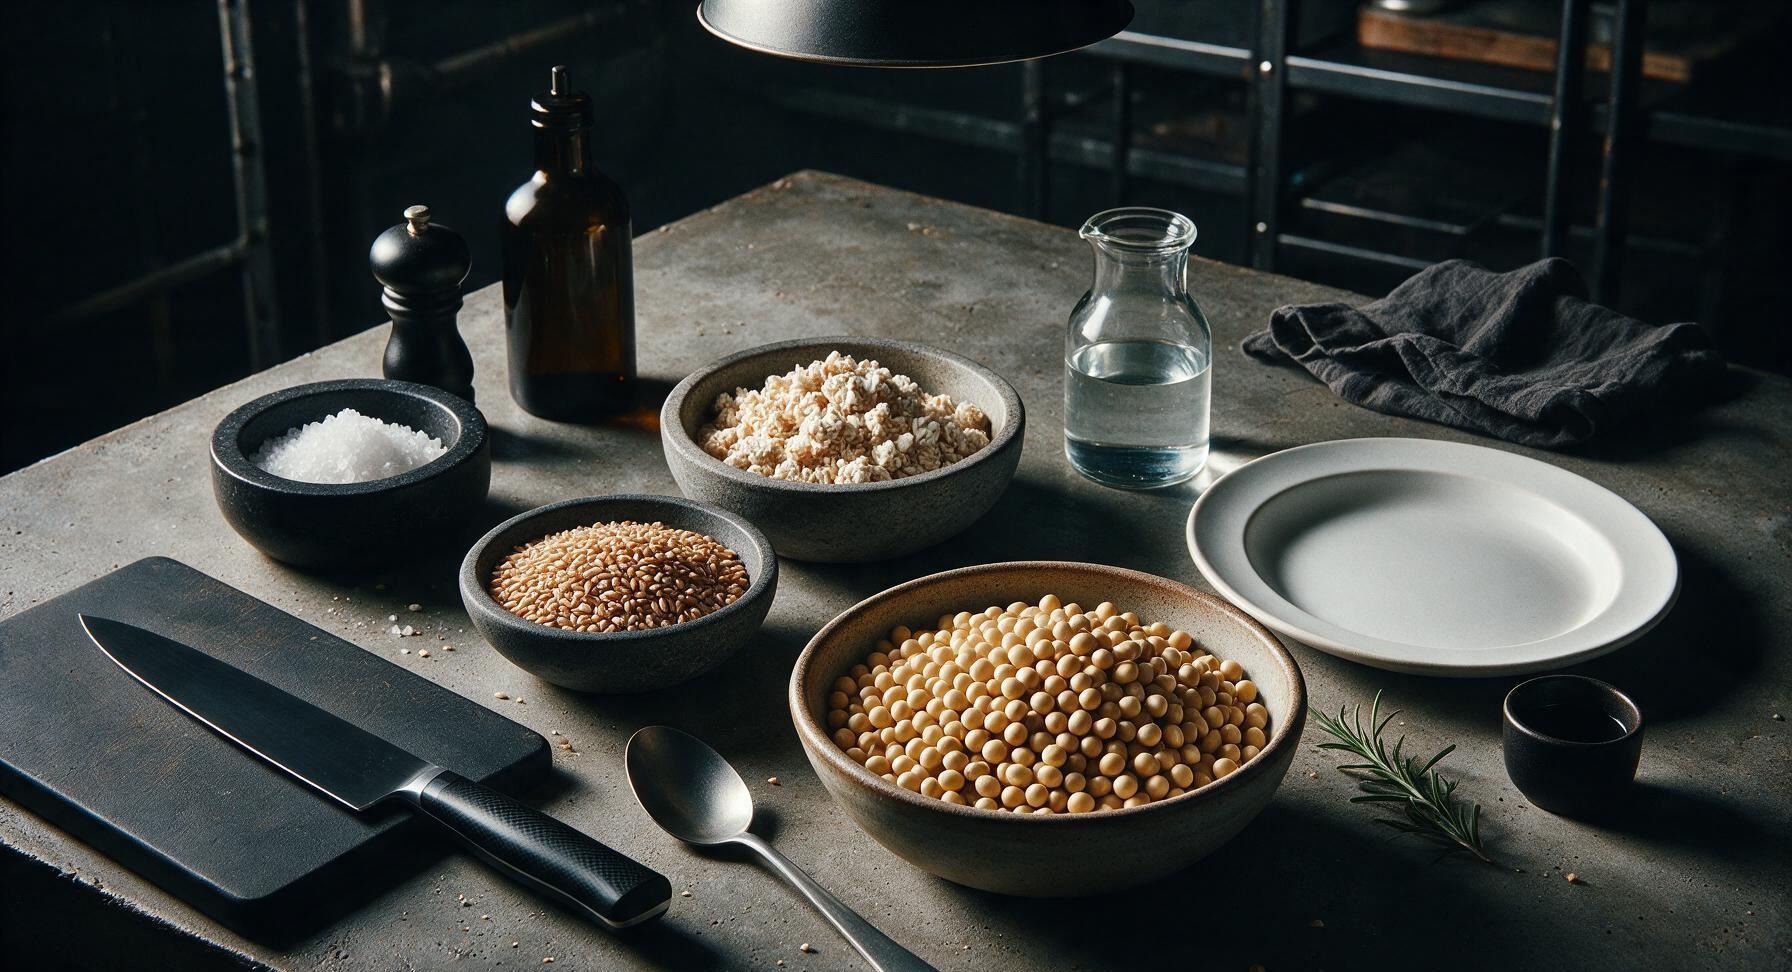
Dried organic soybeans 500g
Raw whole wheat berries 200g
Dried rice koji (Aspergillus oryzae culture) 300g
Coarse sea salt 400g
Non-chlorinated filtered water 2L

Steps

1

Sort and Rinse Soybeans

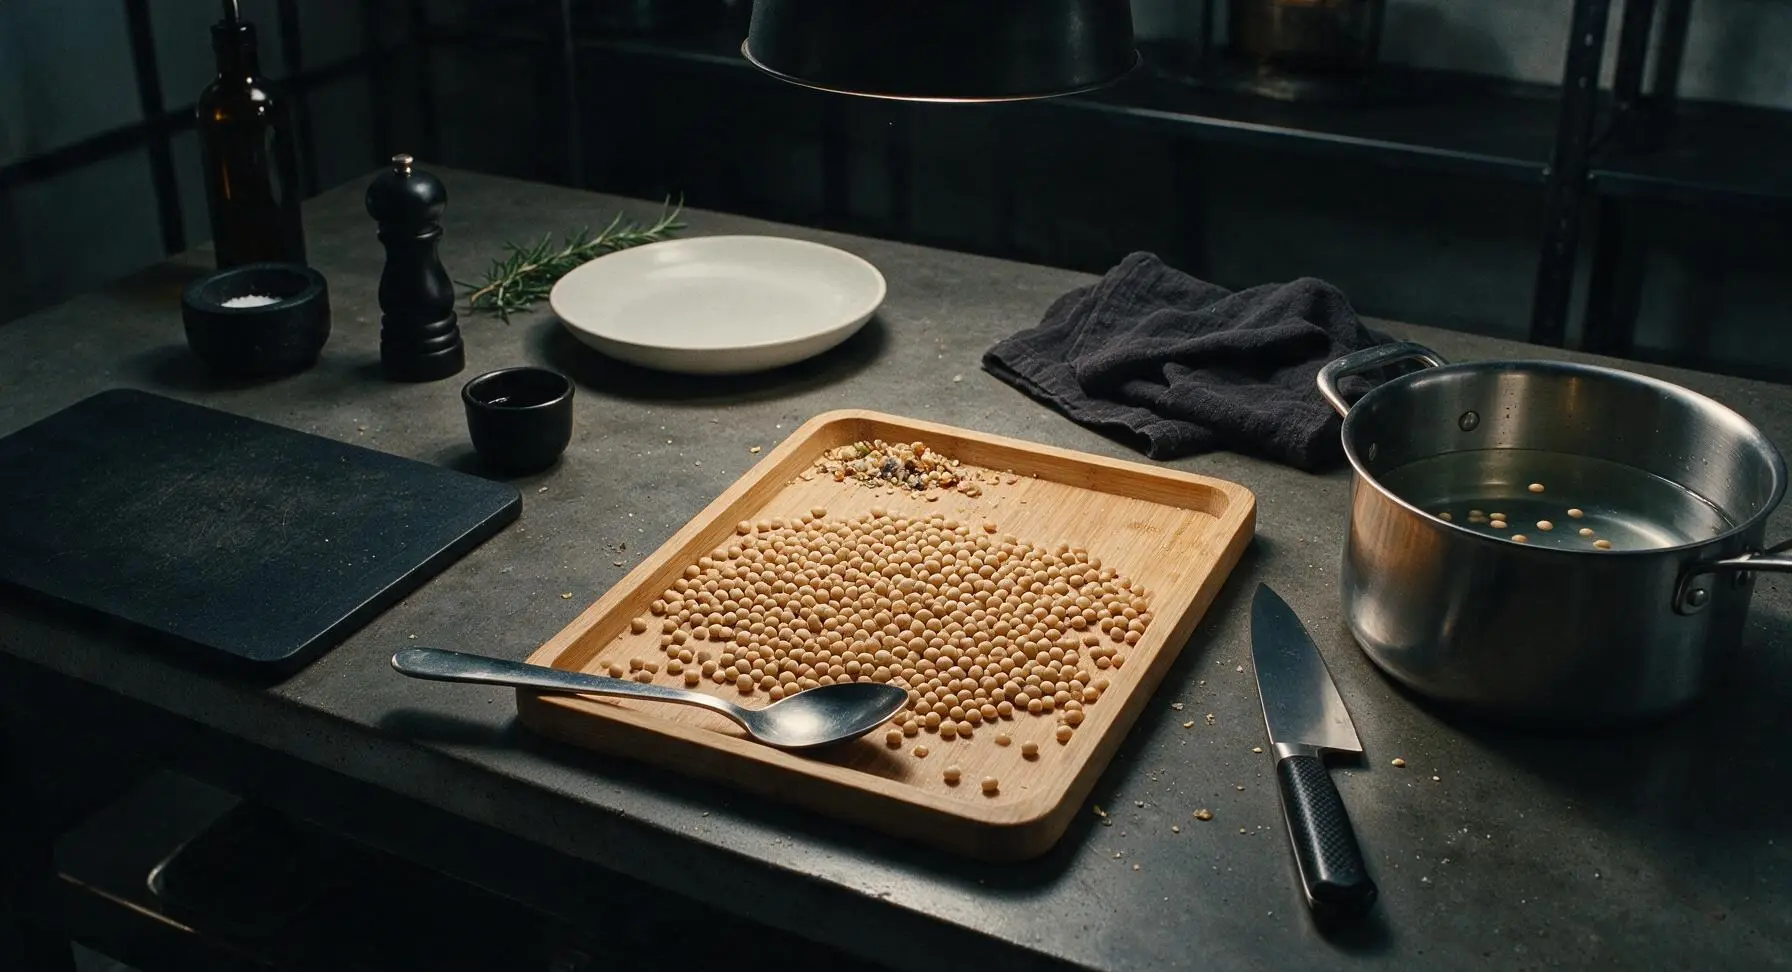
Spread 500g dried soybeans on the light bamboo mixing tray, pick out any discolored beans, small rocks, or plant debris. Transfer sorted beans to the stainless steel stock pot, cover with cold filtered water, and rinse 3 times until the water runs completely clear with no cloudy starchy residue. Drain all rinse water fully after washing.
Step 1
step1:Sort and Rinse Soybeans
2

Soak Beans Overnight

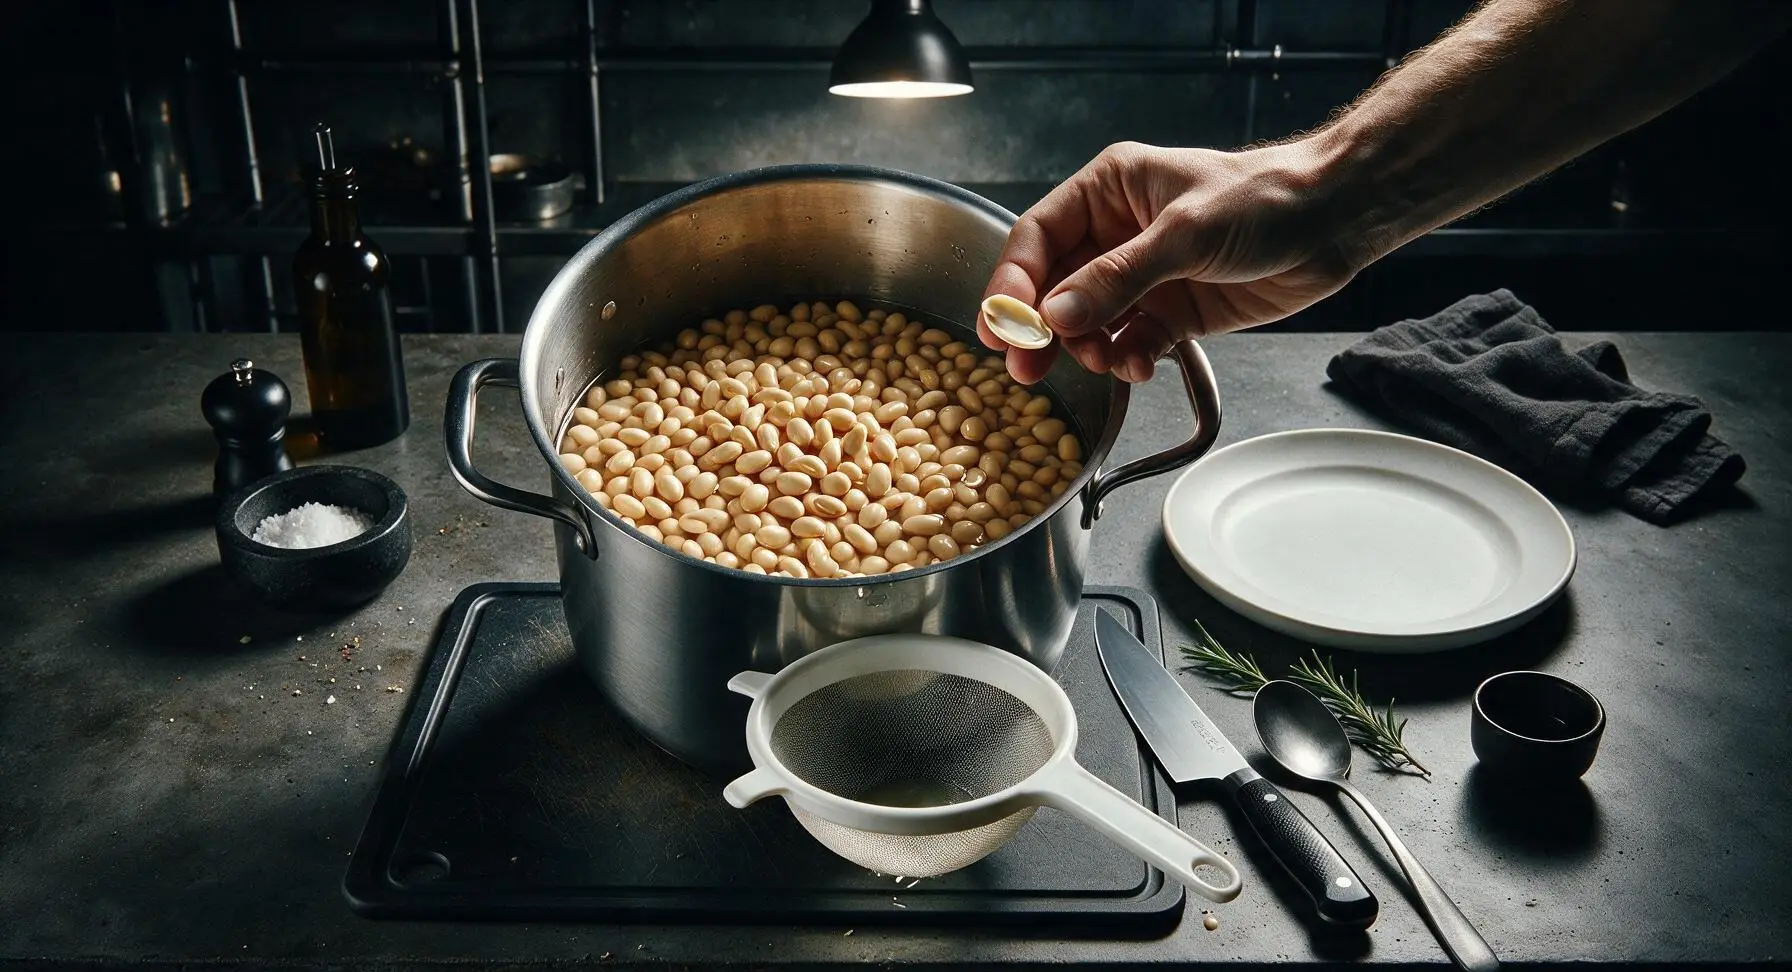
Cover rinsed soybeans in the stainless steel stock pot with 1.5L cold filtered water, ensuring water sits 5cm above the top of the beans. Leave to soak for 12-16 hours at 18-22C room temperature, until beans double in size and split cleanly when squeezed between thumb and forefinger. Drain all soaking water completely before cooking.
Step 2
step2:Soak Beans Overnight
3

Cook Soybeans Tender

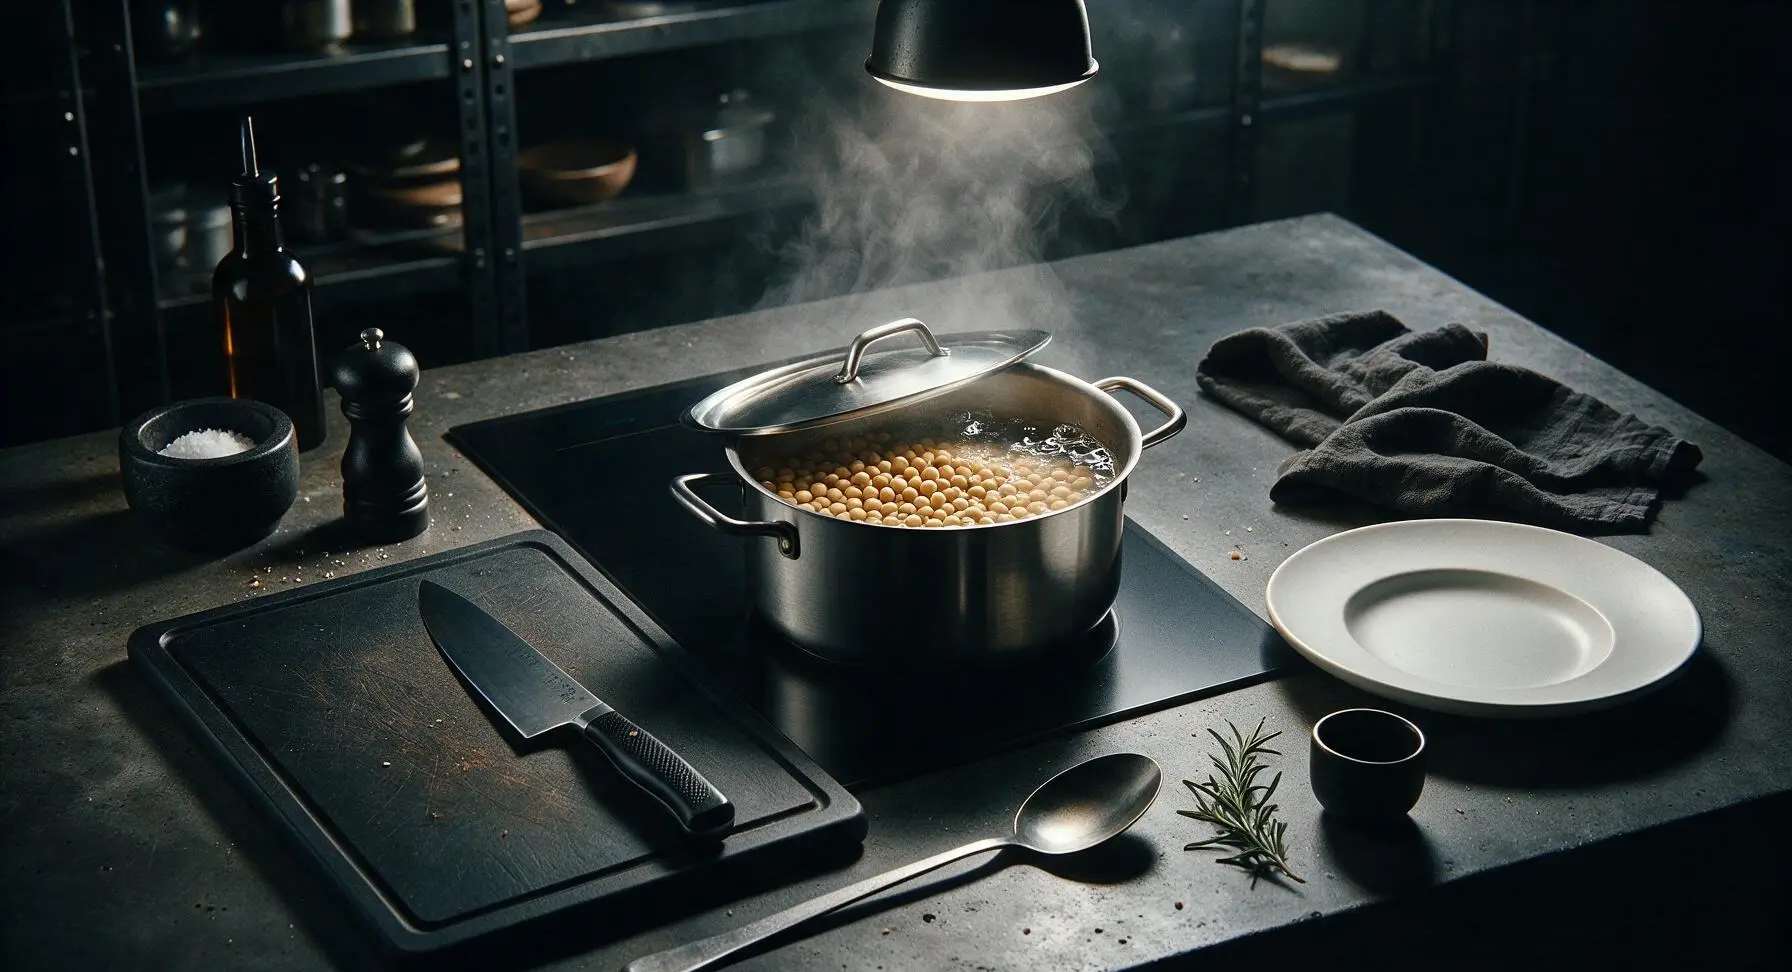
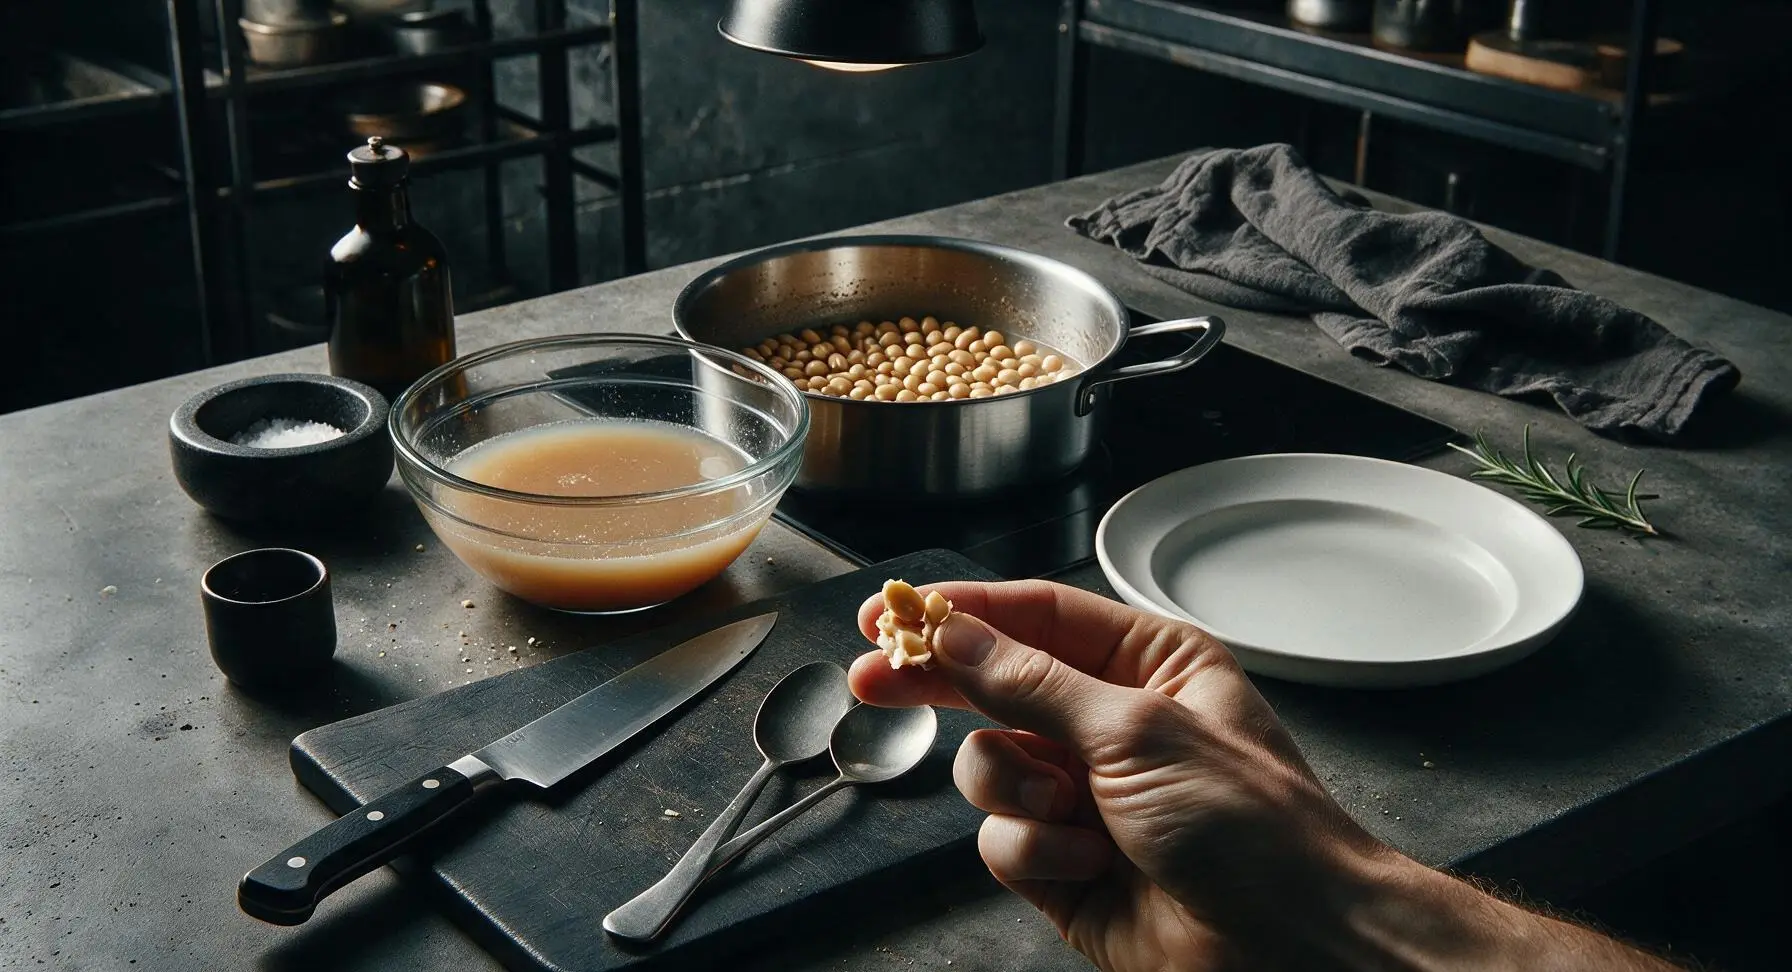
Add fresh filtered water to the drained soybeans in the stock pot until beans are covered by 3cm of water. Place the pot on the matte black induction cooktop, bring to a rolling boil over medium-high heat, then reduce to a low simmer, cover, and cook for 1 hour 20 minutes. Beans are done when they crush easily between fingers with no hard white core. Drain thoroughly, reserving 500ml of the starchy bean cooking water, and let beans cool to 35C (lukewarm, body temperature).
Step 3
step3:Cook Soybeans Tender
Step 3
step3:Cook Soybeans Tender
4

Roast and Crack Wheat

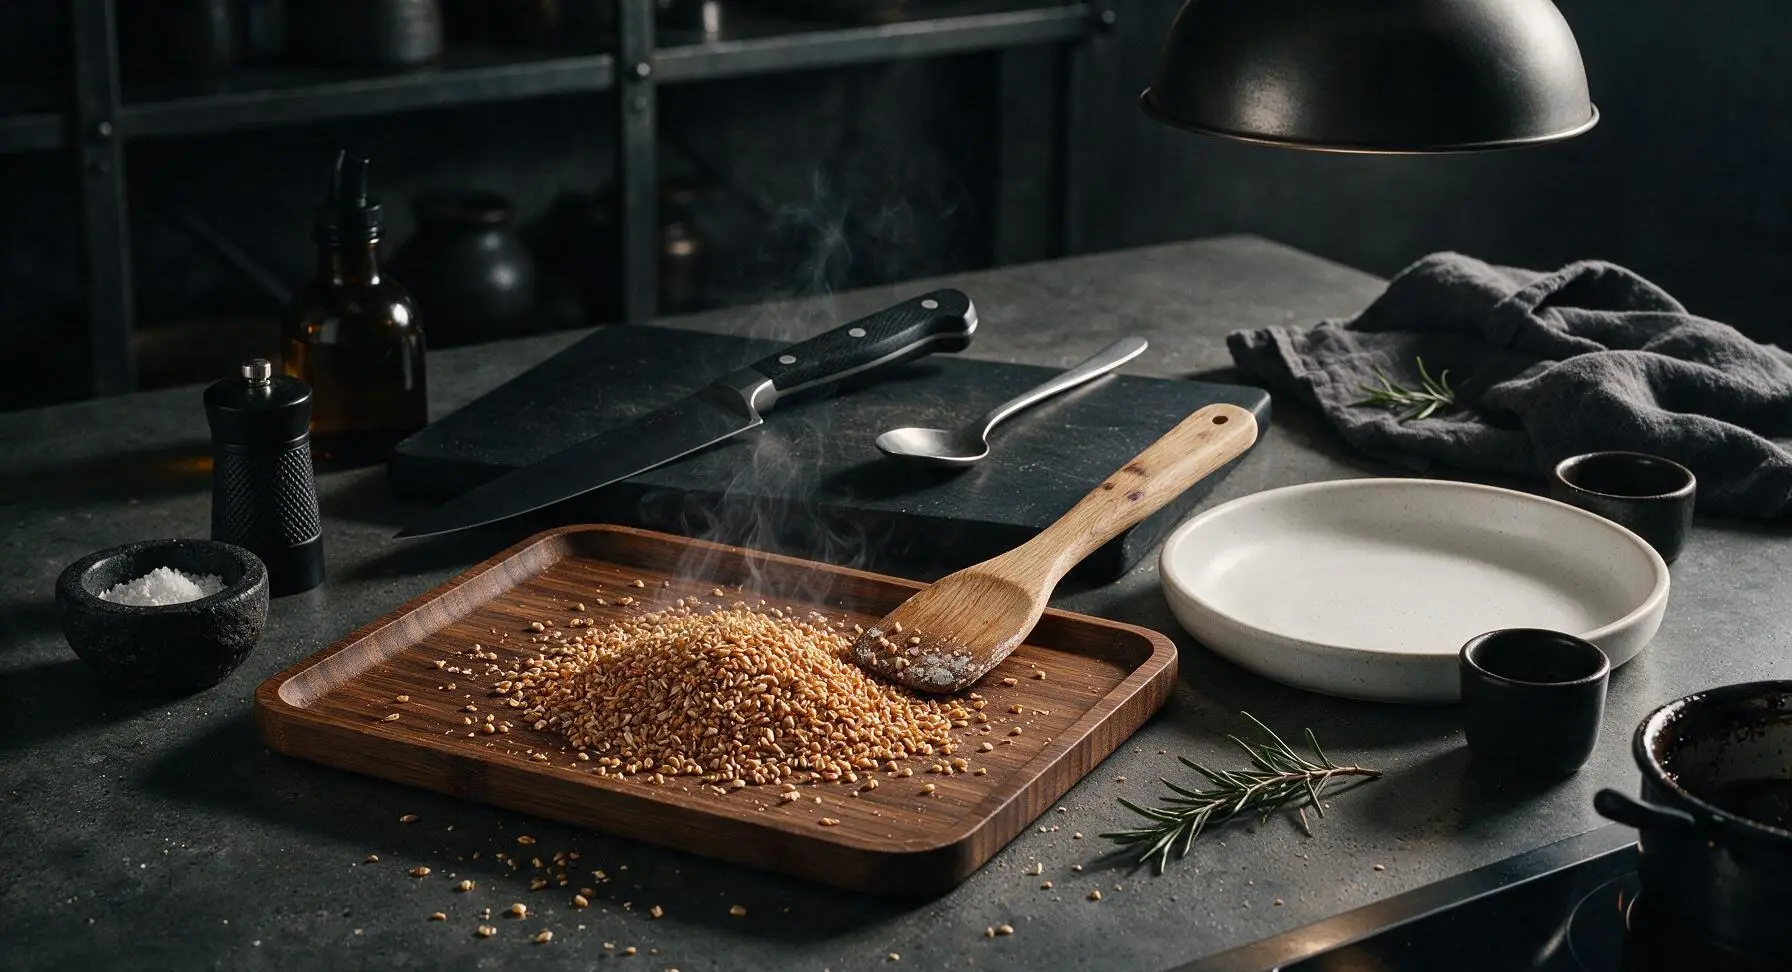
While soybeans cool, wipe the stock pot clean and dry, add 200g whole wheat berries, and toast over medium heat on the induction cooktop for 5 minutes, stirring constantly with the oak wooden spatula, until wheat is fragrant and deep golden brown (do not burn). Let cool 10 minutes, then crush berries coarsely with the end of the spatula until roughly half the berries are cracked, not ground into fine flour.
Step 4
step4:Roast and Crack Wheat
5

Mix Fermentation Base

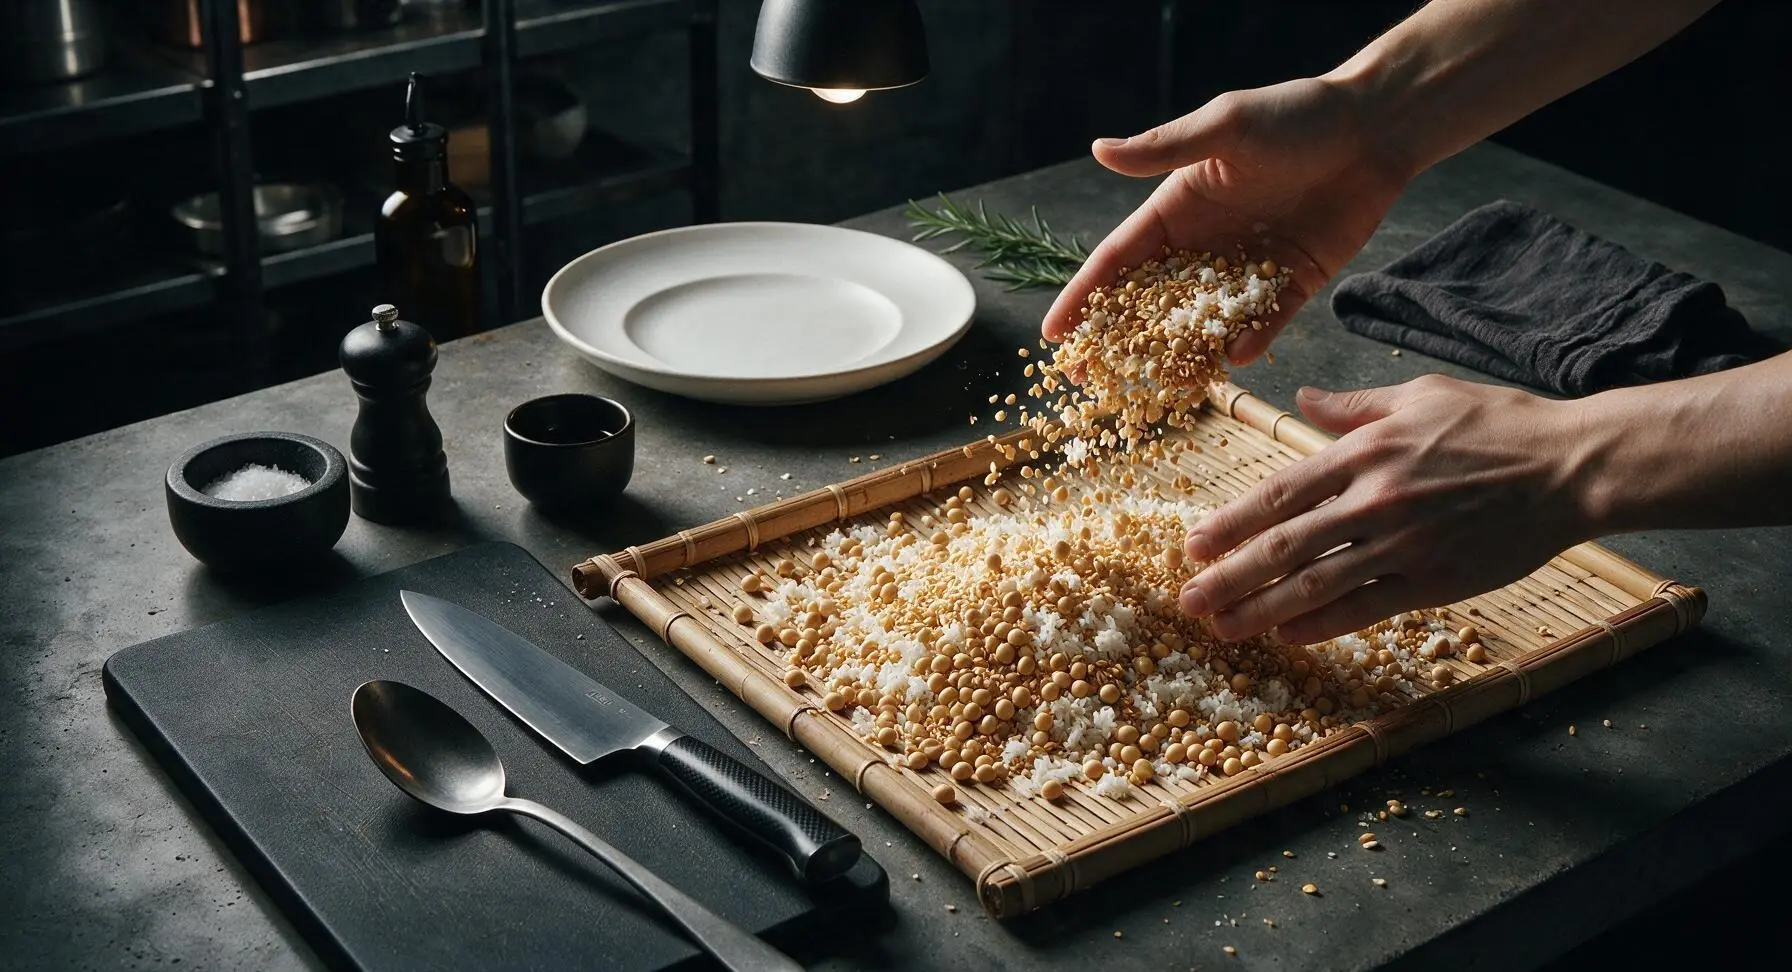
Combine cooled cooked soybeans, cracked roasted wheat, and 300g dried rice koji on the bamboo mixing tray. Toss gently with clean, sanitized hands to distribute all three ingredients evenly. Dissolve 380g coarse sea salt in 1.5L filtered water mixed with the reserved cooled bean cooking water in the clear glass mixing bowl, stirring with the oak spatula until salt is fully dissolved to make brine.
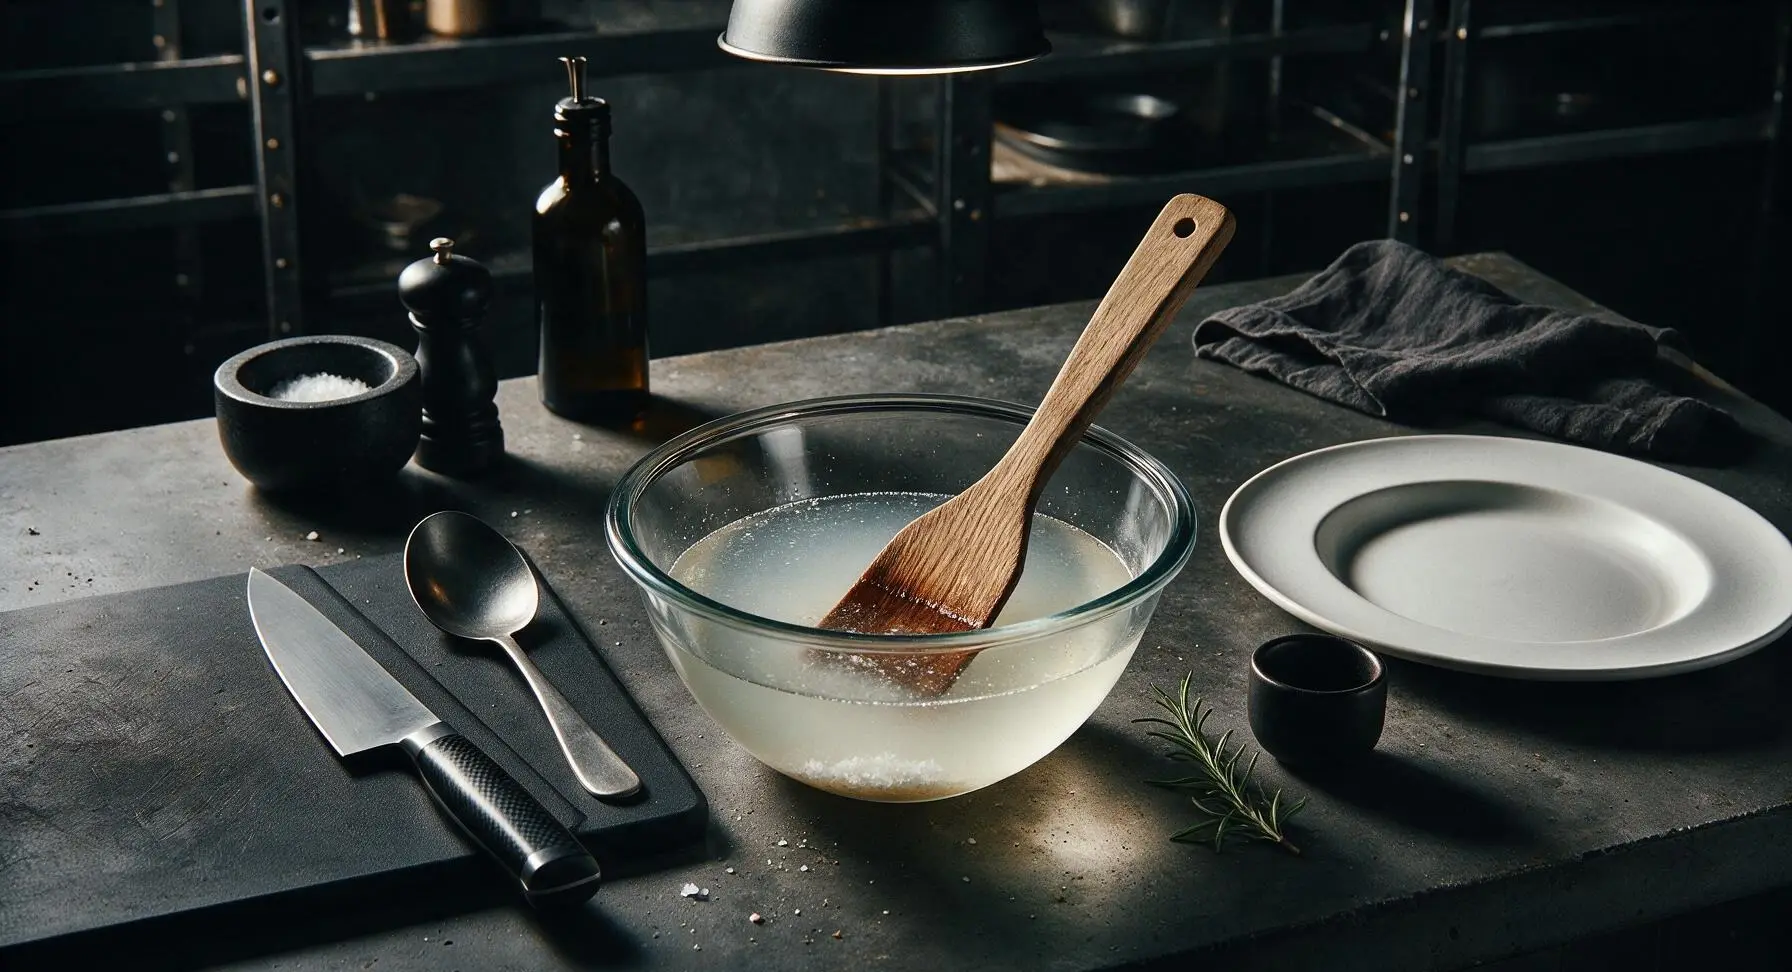
Step 5
step5:Mix Fermentation Base
Step 5
step5:Mix Fermentation Base
6

Pack Crock for Ferment

Transfer the mixed soybean, wheat, and koji mixture into the sterilized clear glass fermentation crock. Pour the cooled salt brine over the mixture, pressing solids down gently to ensure all ingredients are fully submerged under 2cm of brine. Sprinkle the remaining 20g coarse sea salt across the brine surface to form a protective layer, then seal the crock with the airlock lid, adding a small amount of filtered water to the airlock to create an airtight seal.
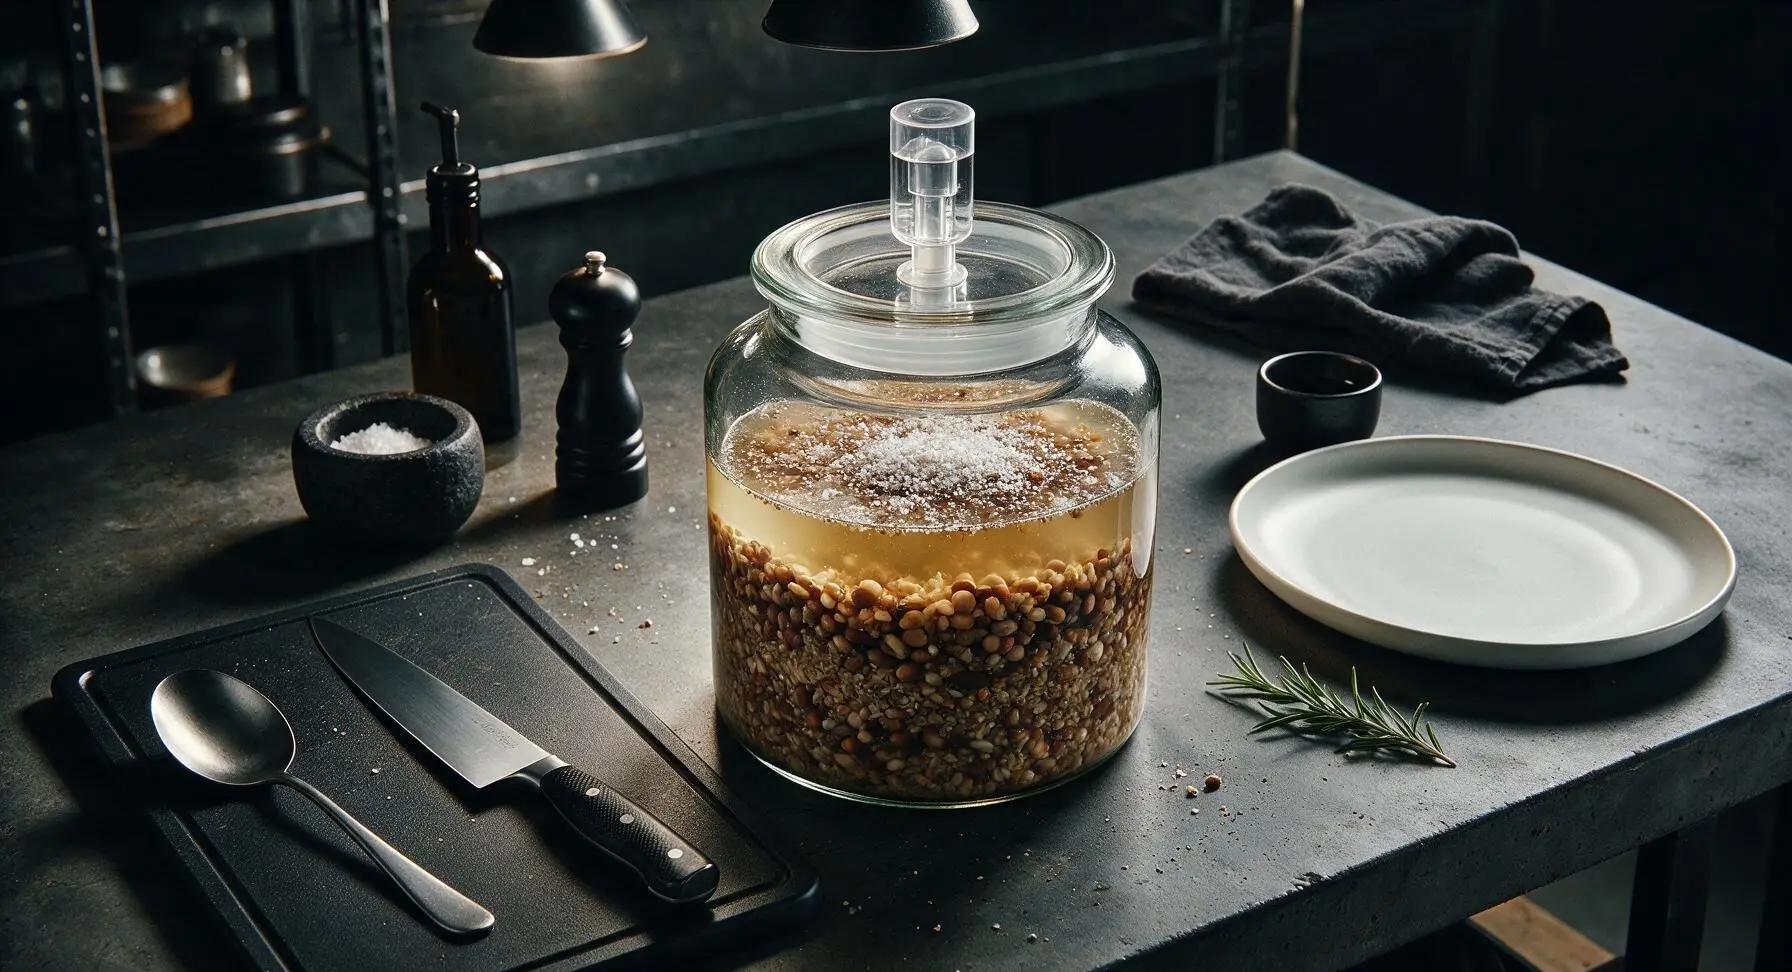
Step 6
step6:Pack Crock for Ferment
7

Age and Monitor Ferment

Move the sealed crock to a cool, dark spot with a consistent 18-22C temperature, away from direct sunlight, to ferment for 6 months. Check the crock once weekly for the first month, pressing any floating solids back under the brine, and skimming any thin, white, wrinkly kahm yeast (harmless) if it forms. The brine will darken gradually over time as umami flavor develops.
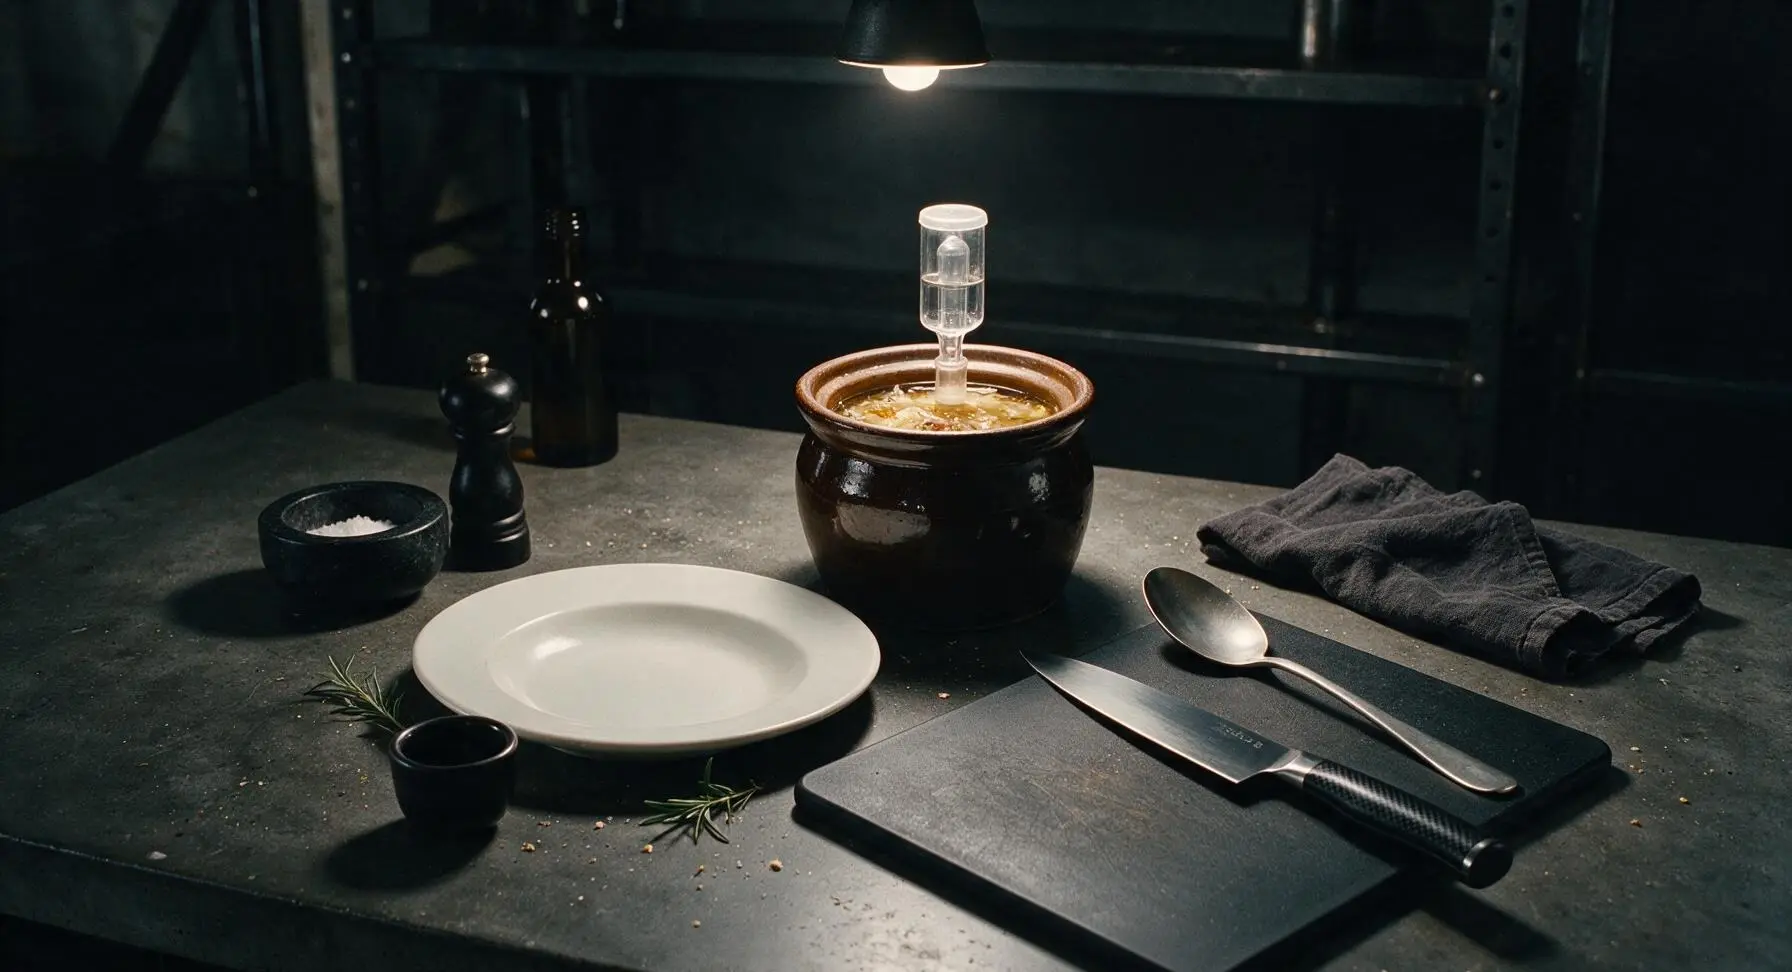
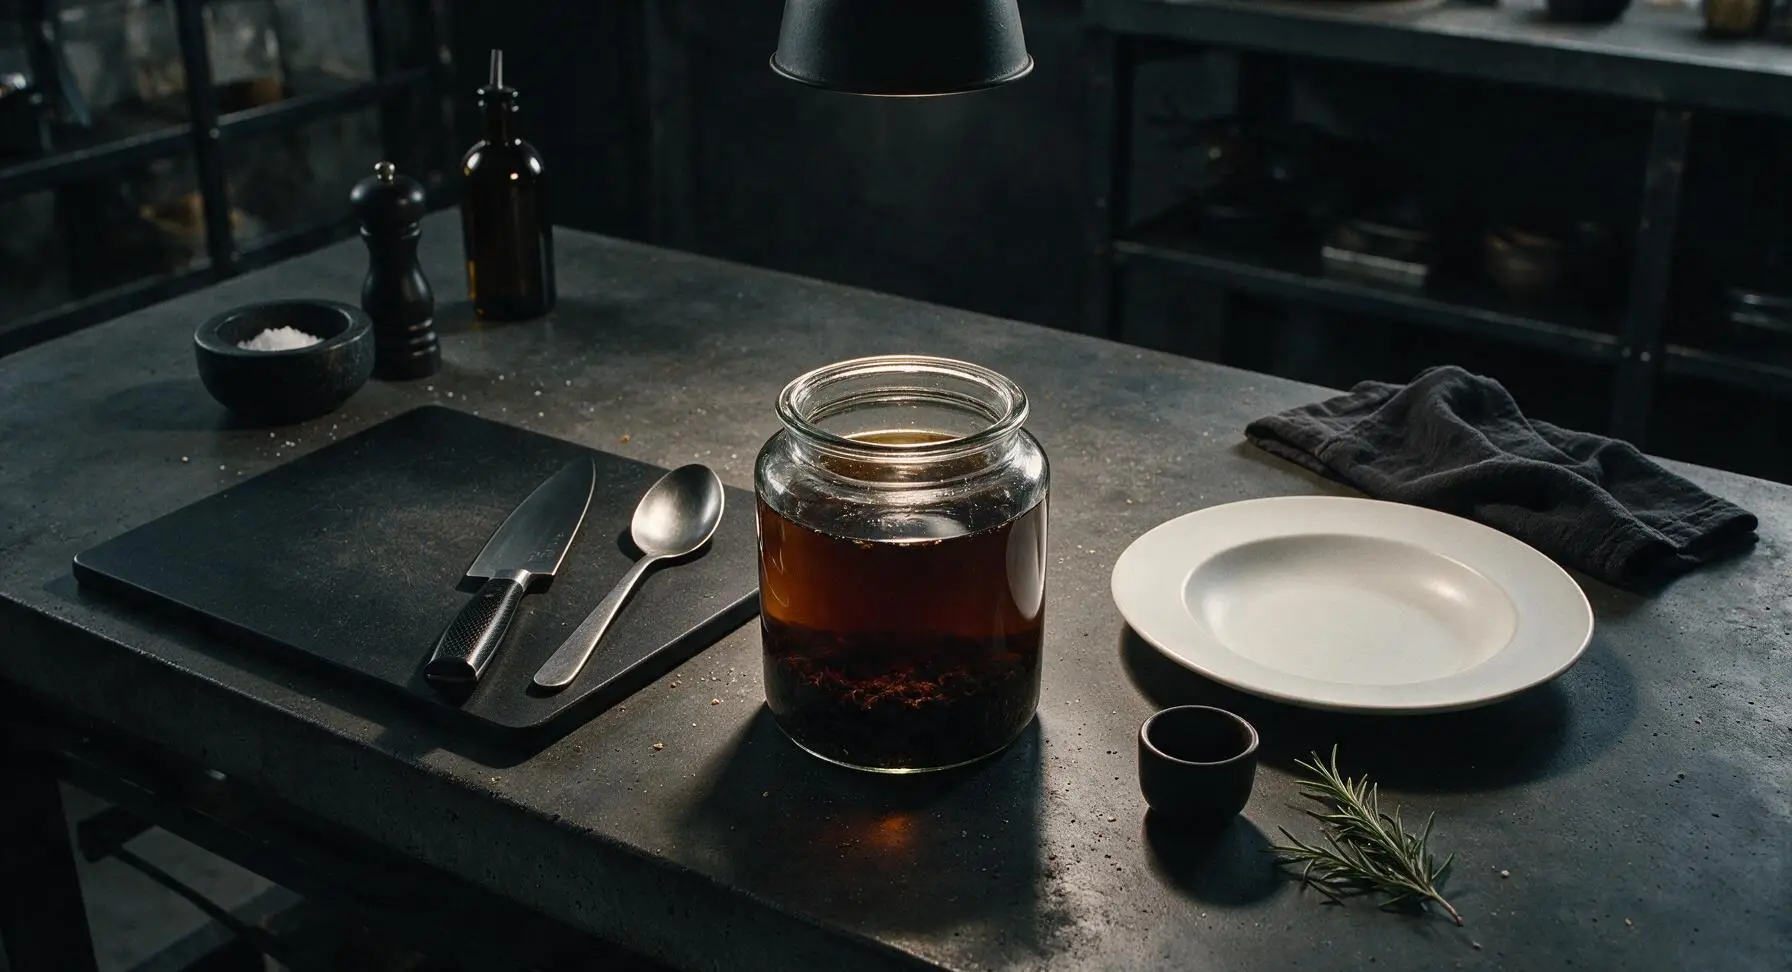
Step 7
step7:Age and Monitor Ferment
Step 7
step7:Age and Monitor Ferment
8

Strain Finished Sauce

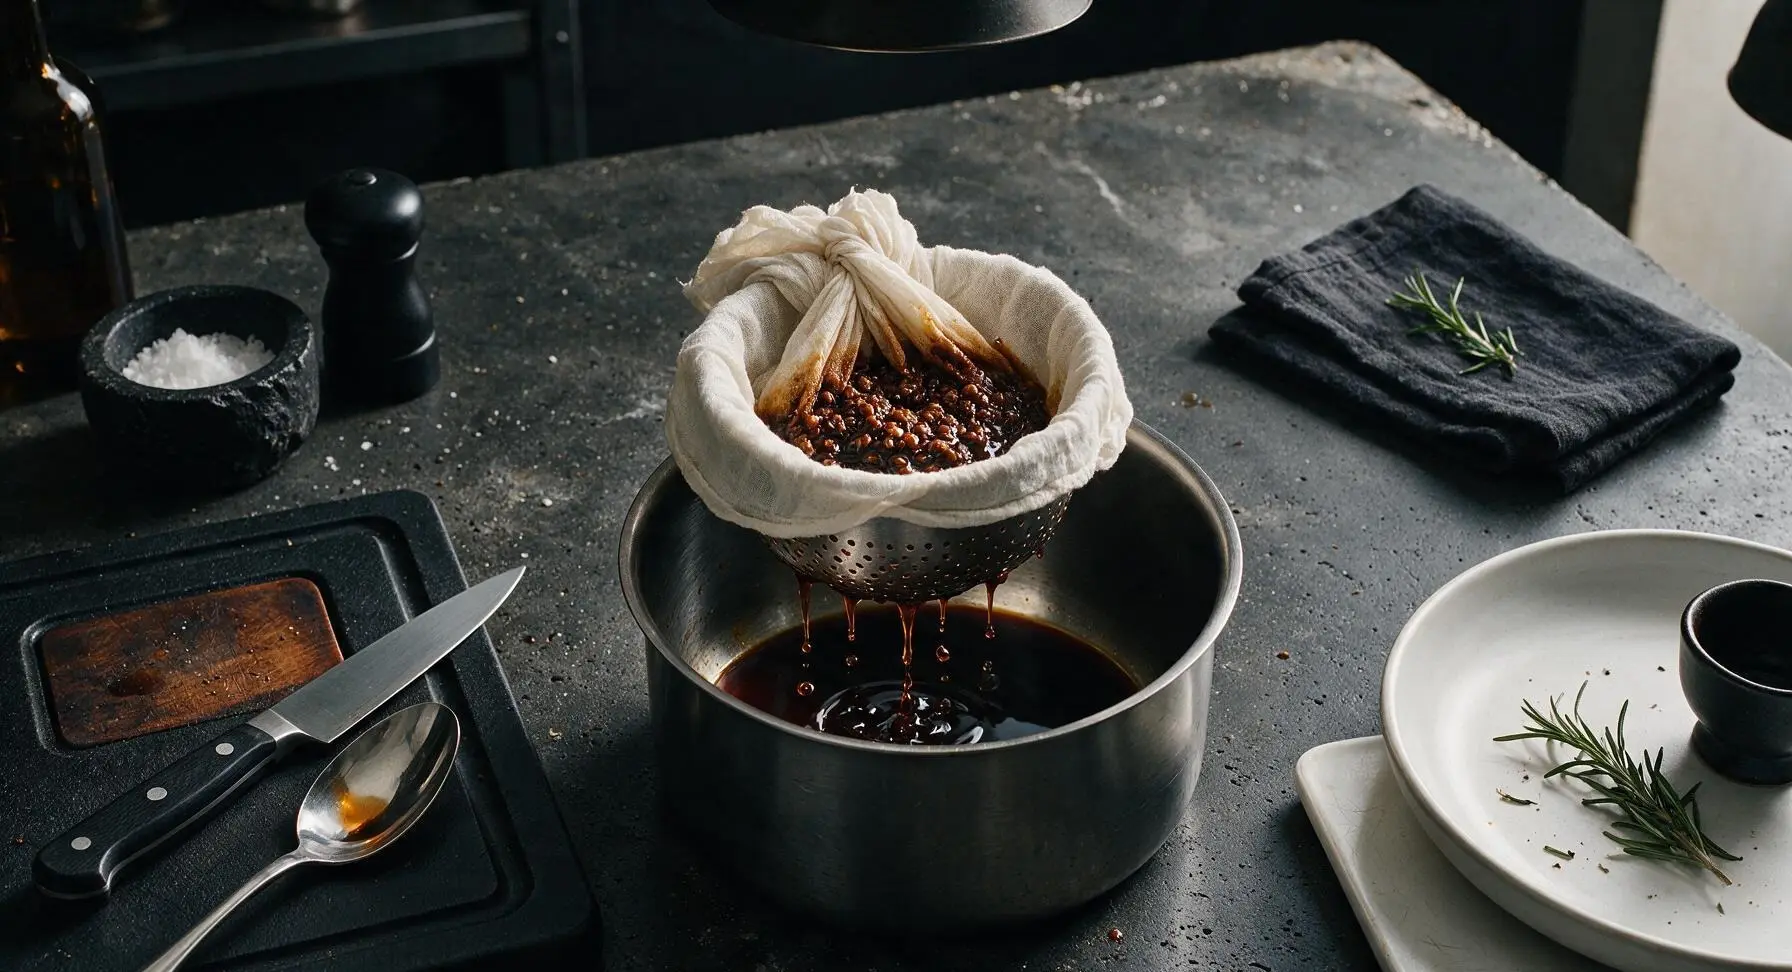
After 6 months, line the white fine-mesh strainer with a double layer of unbleached cotton cheesecloth, set over the clean stainless steel stock pot. Carefully pour the crock contents through the strainer, letting liquid drain for 2 hours via gravity without squeezing, to keep the sauce clear. Gather the cheesecloth around the spent fermented bean mash (moromi) and press very gently to extract remaining liquid, then discard the solids.
Step 8
step8:Strain Finished Sauce
9

Pasteurize and Store

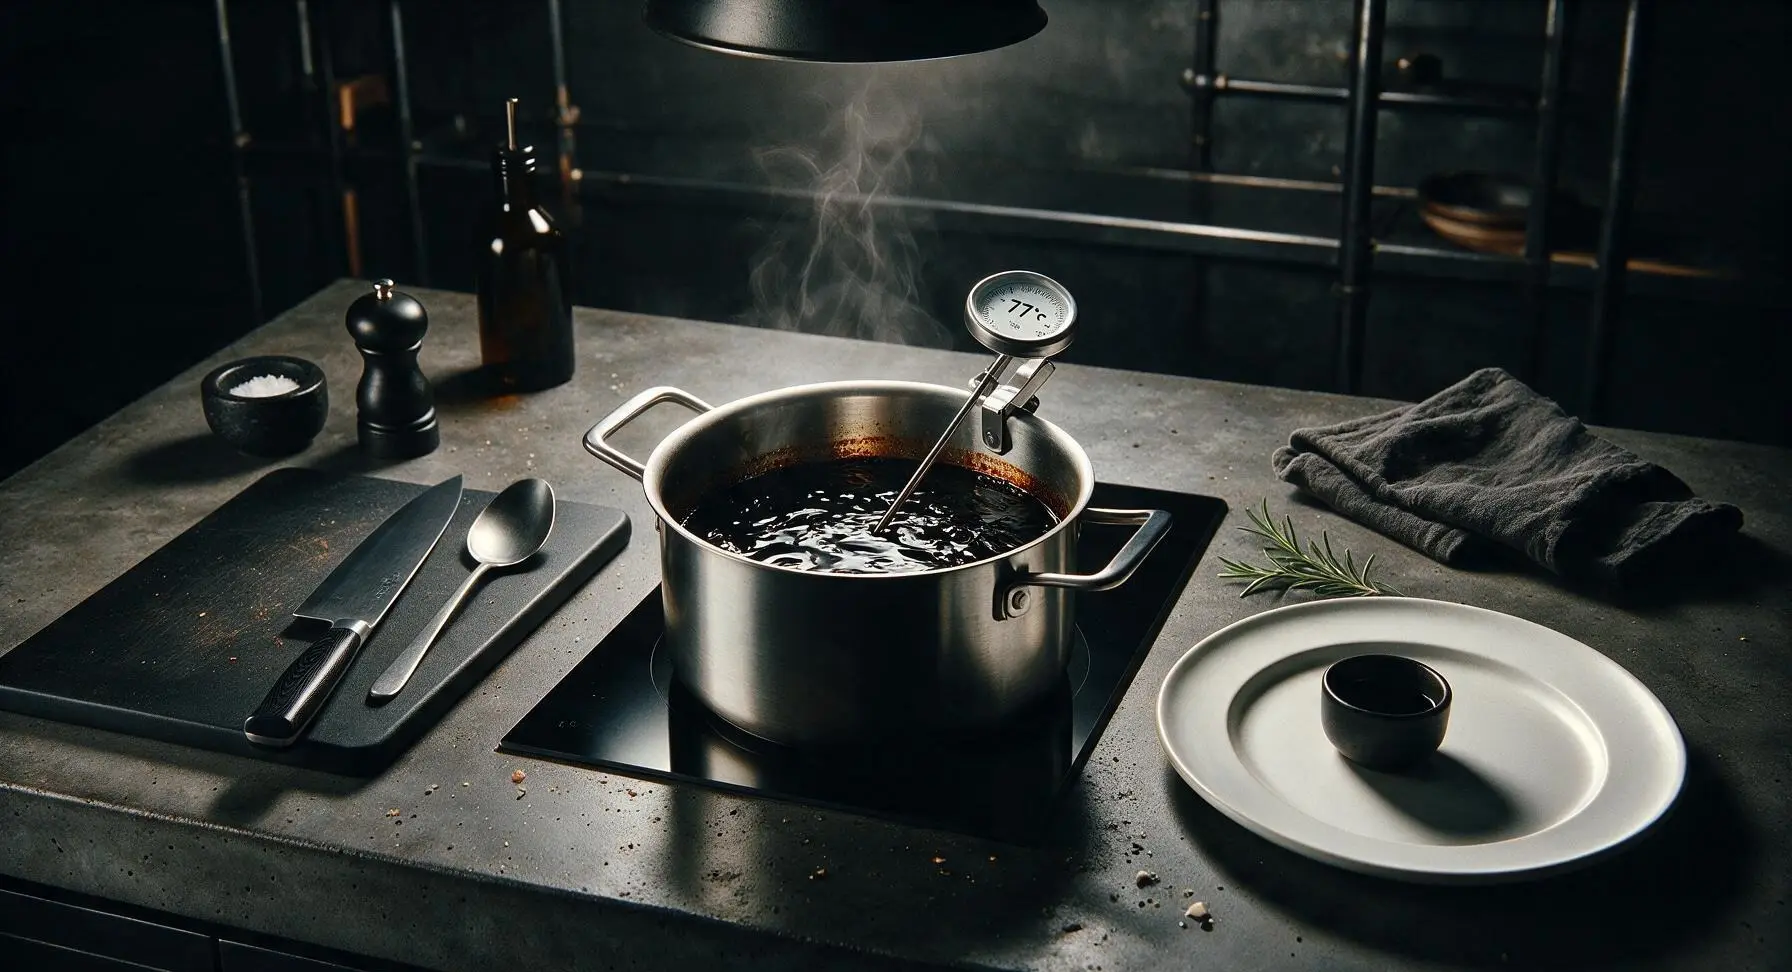
Transfer strained soy sauce back to the clean stock pot, place on the induction cooktop over low heat, and warm slowly to 77C (170F), holding that temperature for 10 minutes to pasteurize (do not boil, as high heat will destroy delicate flavor compounds). Let cool fully to room temperature, then pour into sterilized glass bottles for storage; finished soy sauce keeps for up to 2 years in a cool, dark cabinet.
Step 9
step9:Pasteurize and Store

Tips

1.Use only non-chlorinated water for all stages of fermentation: chlorine kills the beneficial Aspergillus oryzae culture in rice koji, leading to stuck fermentation or off-flavors. If using tap water, leave it uncovered for 24 hours first to let chlorine dissipate fully.
2.Avoid squeezing the cheesecloth tightly when straining the finished sauce: pressing hard forces fine, gritty sediment through the cloth, resulting in a cloudy, textured sauce. Let gravity drain the liquid for 2 hours for a perfectly clear, smooth final product.
3.Discard the batch immediately if you see fuzzy green, black, or pink mold on the brine surface: these are toxic molds, unlike the thin, white, wrinkly harmless kahm yeast that may appear in early fermentation. Sterilize all tools and crocks with boiling water before starting to reduce mold risk.


✨ You May Also Like

Side Dishes
🍜 India

Velvety, aromatic all-purpose curry sauce perfect for tossing with roasted veggies, grilled protein, or rice for fast, cozy, flavorful meals.

⏱️ 25 minuteSide Dishes ★ 4.8
Side Dishes
🍜 Spain

Tender, starchy boiled yuca tossed in bright, garlicky citrus mojo sauce—an iconic, zesty side that pairs beautifully with roasted pork, grilled meats, and rice and beans.

⏱️ 40 minuteSide Dishes ★ 5
Side Dishes
🍜 United States

Tender, paper-thin potato flatbread, a beloved Norwegian-American Minnesota Christmas staple, griddled until softly spotted and served warm with butter.

⏱️ 1 hour 30Side Dishes ★ 4.6
Side Dishes
🍜 United States

Rich, deeply savory cured salt pork, a long-lasting kitchen staple perfect for frying crispy as a side or adding umami to stews, beans, and chowders.

⏱️ 7 days (2Side Dishes ★ 4.9
Side Dishes
🍜 United States

Crispy, tangy classic Southern fried green tomatoes with a crunchy cornmeal crust, served hot for a nostalgic, comforting summery bite.

⏱️ 25 minuteSide Dishes ★ 4.9
Side Dishes
🍜 United States

Moist, golden-crusted savory muffins with sweet corn, zesty jalapeño, and melted cheddar, perfect for pairing with smoky summer grilled fare.

⏱️ 30 minuteSide Dishes ★ 4.9

homemade soy sauce:Frequently Asked Questions

1.Why is non-chlorinated water required for this fermented soy sauce? ▾
Chlorine in standard tap water is designed to kill microbes, which means it will wipe out the beneficial Aspergillus oryzae from your rice koji that creates soy sauce’s signature umami depth. If you don’t have filtered water, leave tap water out uncovered for 24 hours to let chlorine fully dissipate to avoid a failed batch.
2.Can I substitute regular table salt for the coarse sea salt called for? ▾
Skip table salt for this recipe—it has added anti-caking agents and iodine that can disrupt healthy fermentation and create harsh, bitter off-notes. Coarse sea salt dissolves slowly, creates the ideal brine concentration to block bad bacteria, and adds clean, mineral-rich savoriness without unwanted additives.
3.How long do I need to age this soy sauce for the best flavor? ▾
Traditional batches need a minimum of 6 months of cool, dark aging to develop balanced savoriness, but the sweet spot for that deep, complex umami is 12 to 18 months. You can pull tiny taste samples every 2 months after the 6-month mark, but don’t rush it—longer aging creates a smoother final product.
4.What is dried rice koji, and can I make it at home if I can’t find it? ▾
Dried rice koji is steamed rice inoculated with Aspergillus oryzae, the friendly mold that breaks down soy and wheat proteins to build soy sauce’s iconic umami. While you can make it at home with koji starter, store-bought dried koji is far more consistent for beginners and cuts down on extra prep work.
5.Do I need any special equipment to make this soy sauce safely? ▾
You don’t need fancy commercial gear, but you will need a food-grade 2-gallon glass or ceramic crock, a breathable cotton cover to keep bugs out, and a weight to keep the solid mash fully submerged under brine. Avoid metal containers, as salt brine will corrode metal and leach off-flavors.
6.Why does the recipe use whole wheat berries instead of wheat flour? ▾
Whole wheat berries add a subtle nutty sweetness and robust, rounded body to finished soy sauce that refined white flour can’t match. They also break down slowly during fermentation, feeding the koji culture over long aging instead of triggering too-fast initial fermentation that leads to sour off-flavors.
7.How do I tell if my fermenting soy sauce has gone bad and is unsafe? ▾
Healthy fermenting soy sauce has a deep, yeasty, savory aroma and dark brown brine; a thin pale white surface film is normal harmless kahm yeast. Throw out your batch immediately if you see fuzzy, brightly colored (green, pink, jet black) mold, smell rancid rot, or notice slimy mash—signs of harmful pathogen growth.
8.Can I use conventional dried soybeans instead of organic ones? ▾
You can use conventional dried soybeans, but organic soybeans are not treated with post-harvest preservatives that can kill your beneficial koji culture. Skip pre-cooked canned soybeans entirely: they are too soft, often have added salt and preservatives, and turn mushy to create sour, flat flavor.
9.What temperature is best for fermenting this soy sauce? ▾
Keep your fermenting crock in a consistently cool, dark spot between 55°F and 70°F (13°C to 21°C) for best results. Temperatures above 75°F speed fermentation too much, creating sharp, sour flavors, while temps below 50°F stall koji activity entirely and drag out the aging process.
10.How should I store finished homemade soy sauce? ▾
After straining out the solid mash, pour finished soy sauce into clean, sterilized glass bottles with tight lids. It will keep in the fridge for up to 3 years, continuing to mellow as it sits. For pantry storage (up to 1 year), gently pasteurize it to 175°F first to stop ongoing fermentation.

Comments (6)

2 days ago

OMG I was so nervous to try this because fermenting stuff feels so high stakes, but this guide walked me through every single step! I started a batch 6 months ago and just cracked it open last weekend for our family taco night (don’t judge, soy sauce on carnitas is chef’s kiss) and it is SO much better than the grocery store stuff. My kids loved it so much they kept asking what the “fancy sauce” was and wanted extra on their rice. Total game changer for meal prep too, I bottled a bunch to give to neighbors for our block potluck next month!

yesterday

Wait how salty did yours turn out? I messed up the salt ratio on my first test batch and it was practically inedible, I’m scared to waste all that time waiting again!

2 hours ago

So glad your batch turned out great! For anyone worried about salt ratios, make sure you’re measuring by weight not volume for the most consistent results, and don’t skip the weekly taste tests once fermentation really kicks in!

1 week ago

Took me two tries to get this right, but man was it worth it. The depth of flavor is unreal – I used it in my stir fry last night and my roommate thought I ordered takeout from our favorite Sichuan spot downtown. Only heads up is don’t skip the cheesecloth cover, I had a bunch of tiny gnats get into my first batch when I used a loose paper towel and had to toss the whole thing. Total bummer but lesson learned!

5 days ago

Great tip about the cheesecloth! Securing it tightly with a rubber band around the mouth of your crock keeps pests out while still letting the mixture get the air flow it needs to ferment properly. Sorry your first batch didn’t work out, so stoked the second one was a win!

2 hours ago

This is so much harder than I expected! I’m three weeks into fermenting and I keep panicking that I see mold on top. I followed the directions to a T but I’m this close to tossing it and just buying the store brand again. Maybe fermenting is just not for me, y’all.

3 days ago

Brought a small jar of this to our church potluck last Sunday and people were literally passing it around the table to drizzle on everything from fried chicken to potato salad. I never thought homemade soy sauce would be such a crowd pleaser! I did add a tiny splash of bourbon to my batch right before bottling, don’t know if that’s traditional but it added such a nice warm depth. 10/10 would make again, even if it takes forever.

2 days ago

Wait the bourbon addition sounds insane! How much did you add? I have a batch that’s almost done fermenting and I need to steal that hack immediately.

yesterday

Love that creative twist! Small, personal tweaks like that are what make homemade ferments so special. Just make sure if you add any extra ingredients post-ferment to store the sauce in the fridge to keep it fresh longer.

2 weeks ago

Who else forgot how long traditional fermented soy sauce actually takes? I saved this recipe months ago thinking I’d have it done by summer cookout season and now it’s almost fall and I’m still waiting! That said, the little tastes I’ve snuck during checks are so much more complex than the Kikkoman I grew up with, so I know it’s gonna be worth the wait.

1 week ago

Right?! I started mine in March and didn’t bottle it until mid-August, but I used it on grilled salmon last week and I’d wait double that time for how good it tastes. Patience pays off for real!

yesterday

Finally! A traditional soy sauce recipe that doesn’t cut corners with weird additives. I have a severe wheat sensitivity so most store bought soy sauces are totally off limits for me, and the gluten free tamari options are so expensive. This worked perfectly with the roasted wheat substitute I use, and I’ve already used it in three weeknight stir fries this week. SO good, will be a permanent staple in my pantry from now on.



