
homemade tots
intro
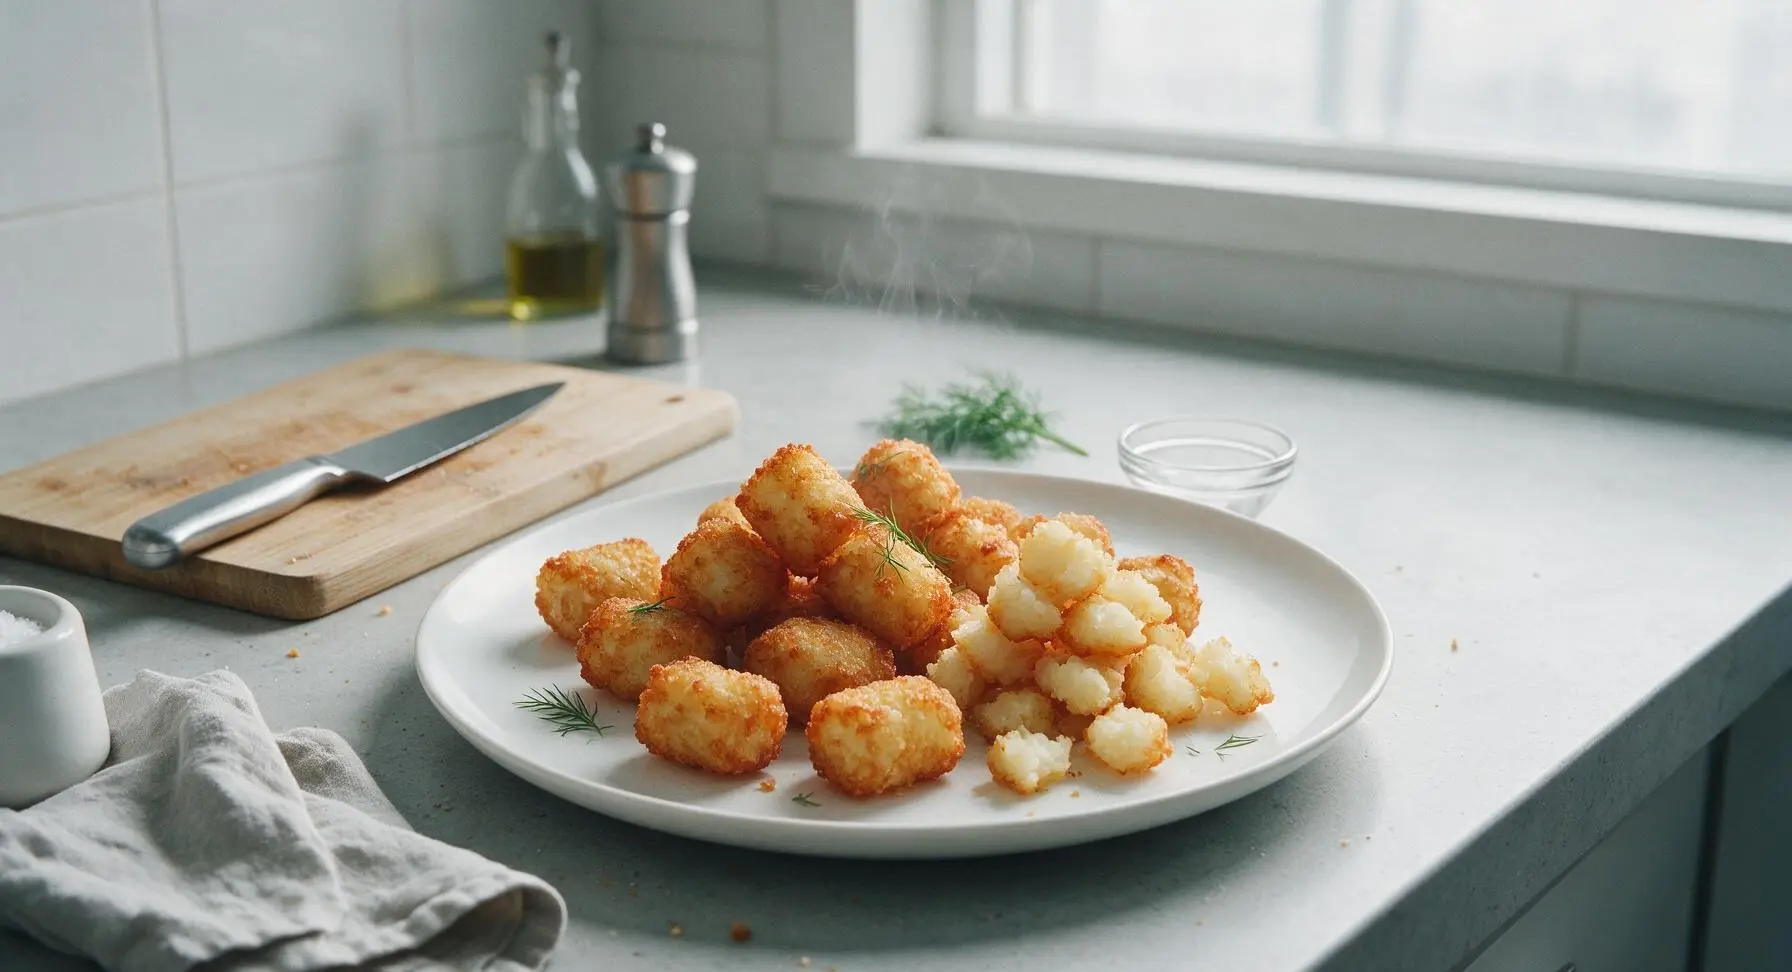
Shatteringly crisp on the outside, light and fluffy inside, these homemade tater tots put frozen grocery store versions to shame. Perfect for sharing with friends on cozy game nights.
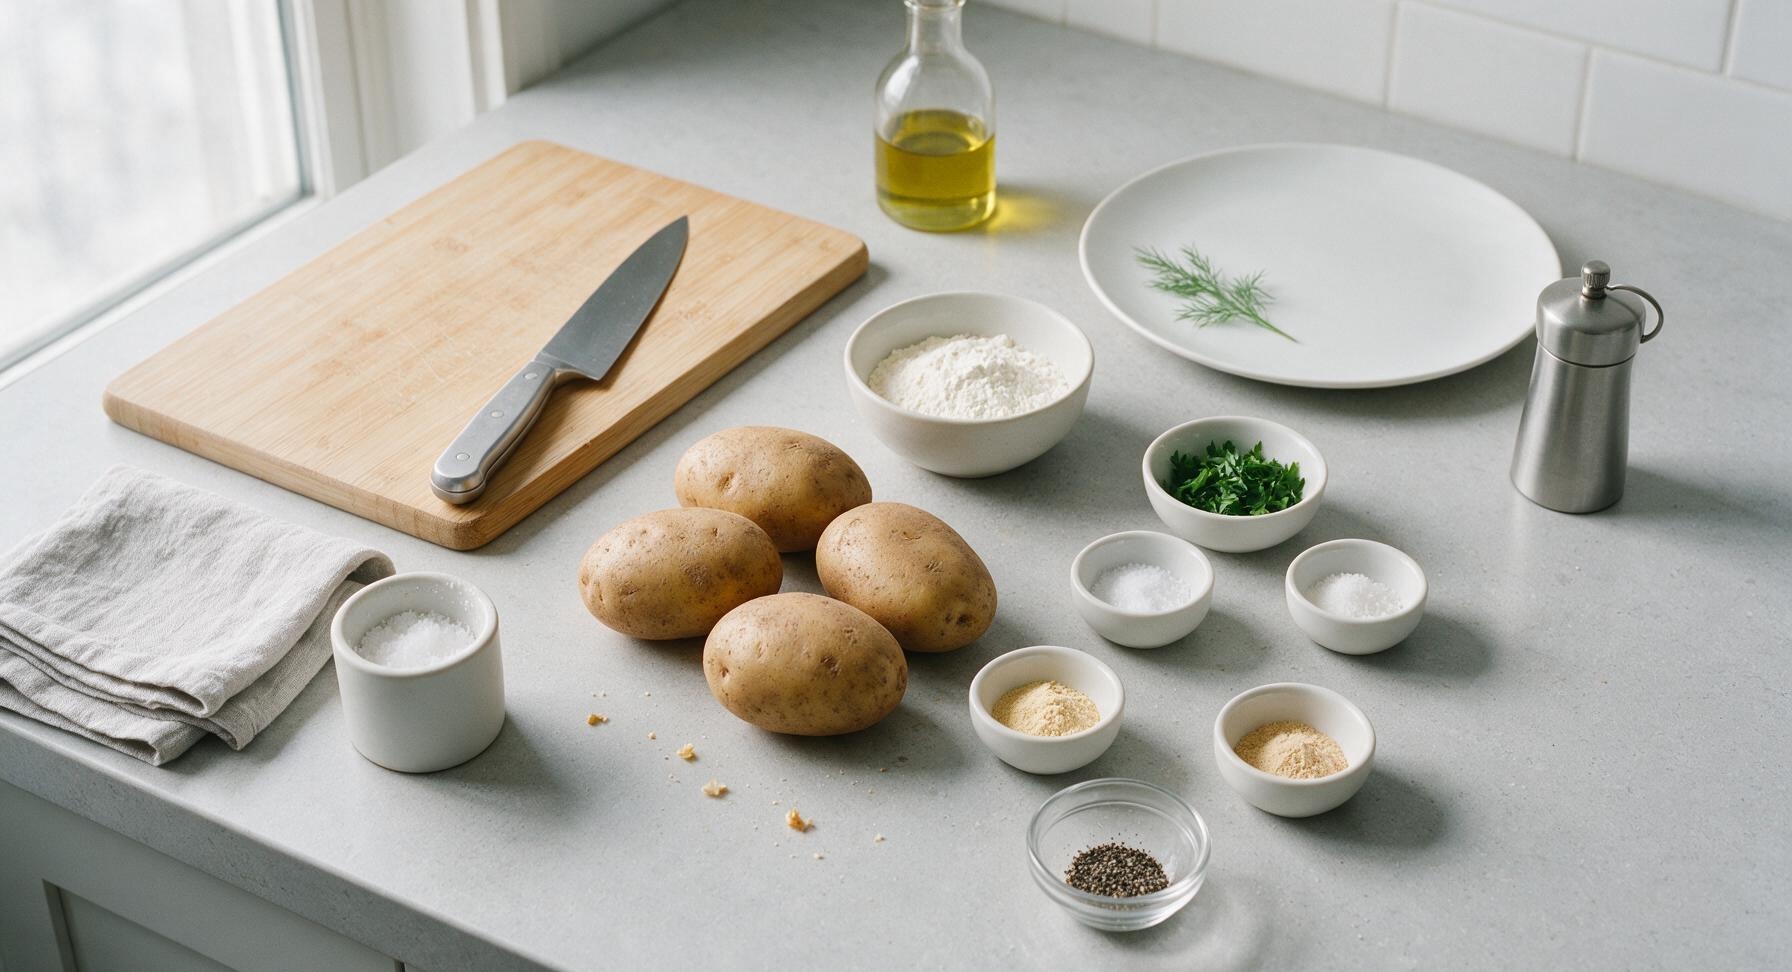
Ingredients
Steps
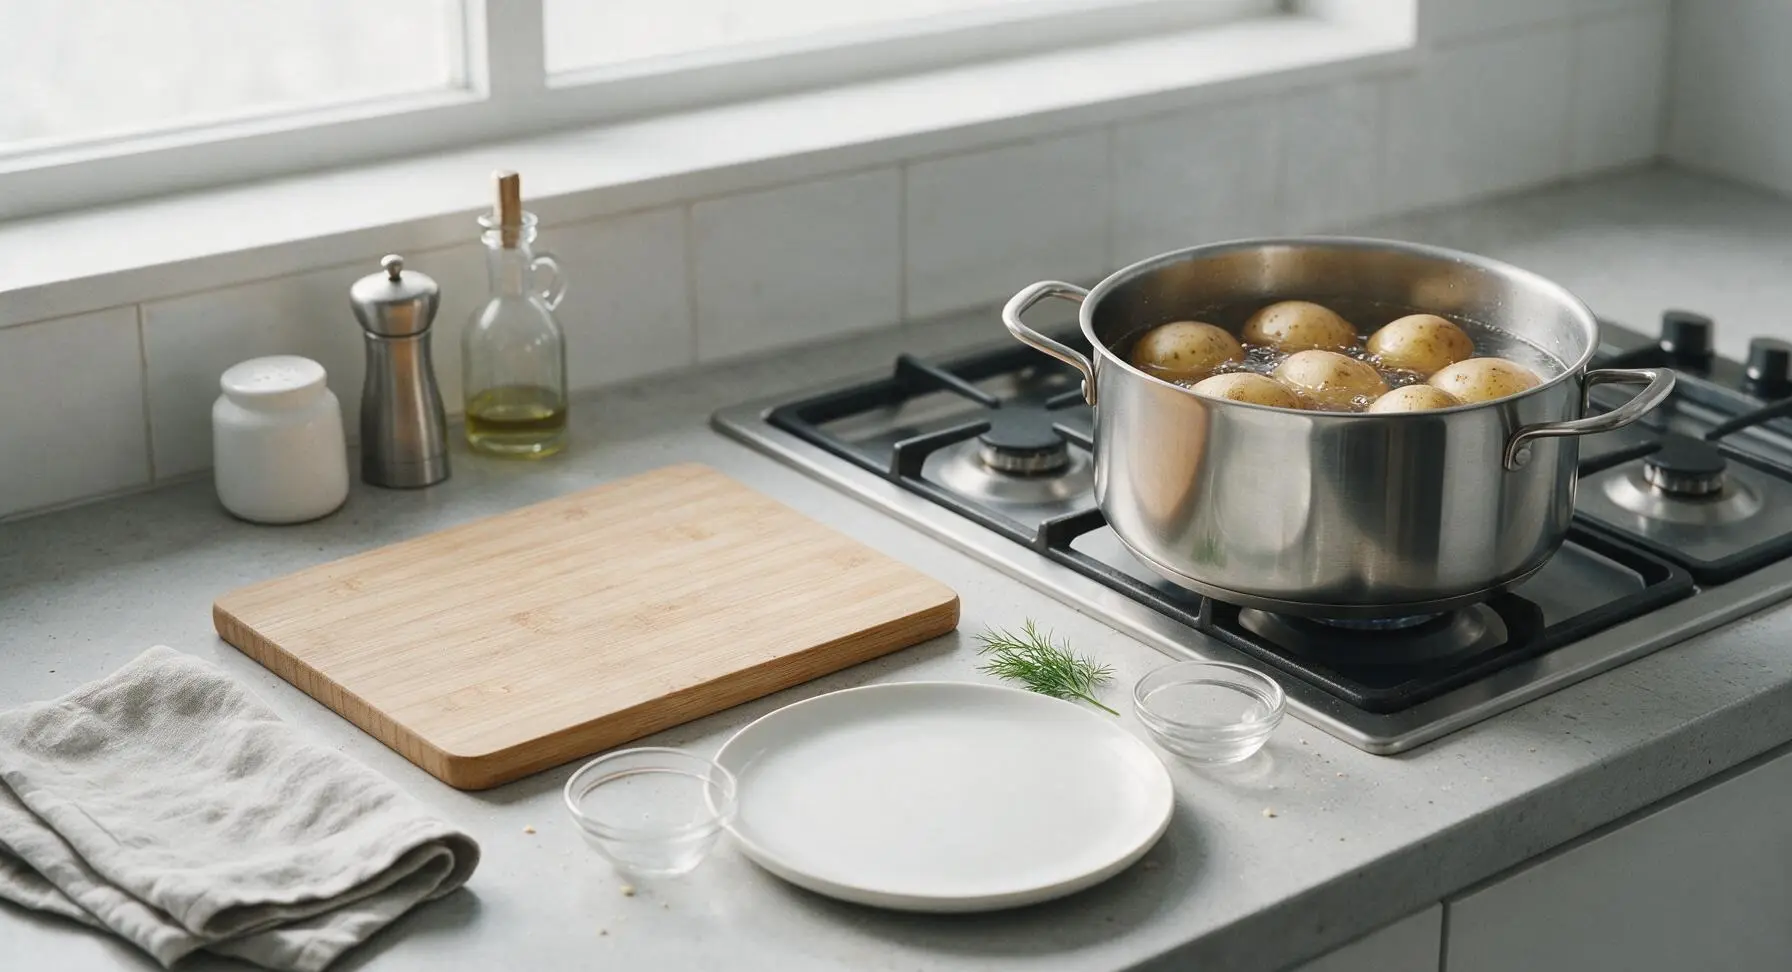
Parboil whole potatoes
Scrub 2 lbs of russet potatoes thoroughly, leaving skins intact. Place whole unpeeled potatoes in the 4L polished stainless steel stock pot, cover with cold water by 1 inch, and stir in 1 tsp of kosher salt. Bring to a rolling boil over high heat, then reduce to a steady simmer and cook for exactly 7 minutes. Potatoes should be firm when pierced with a fork, not fully tender—they will finish cooking during frying. Drain immediately and set aside to cool for 10 minutes until safe to handle.
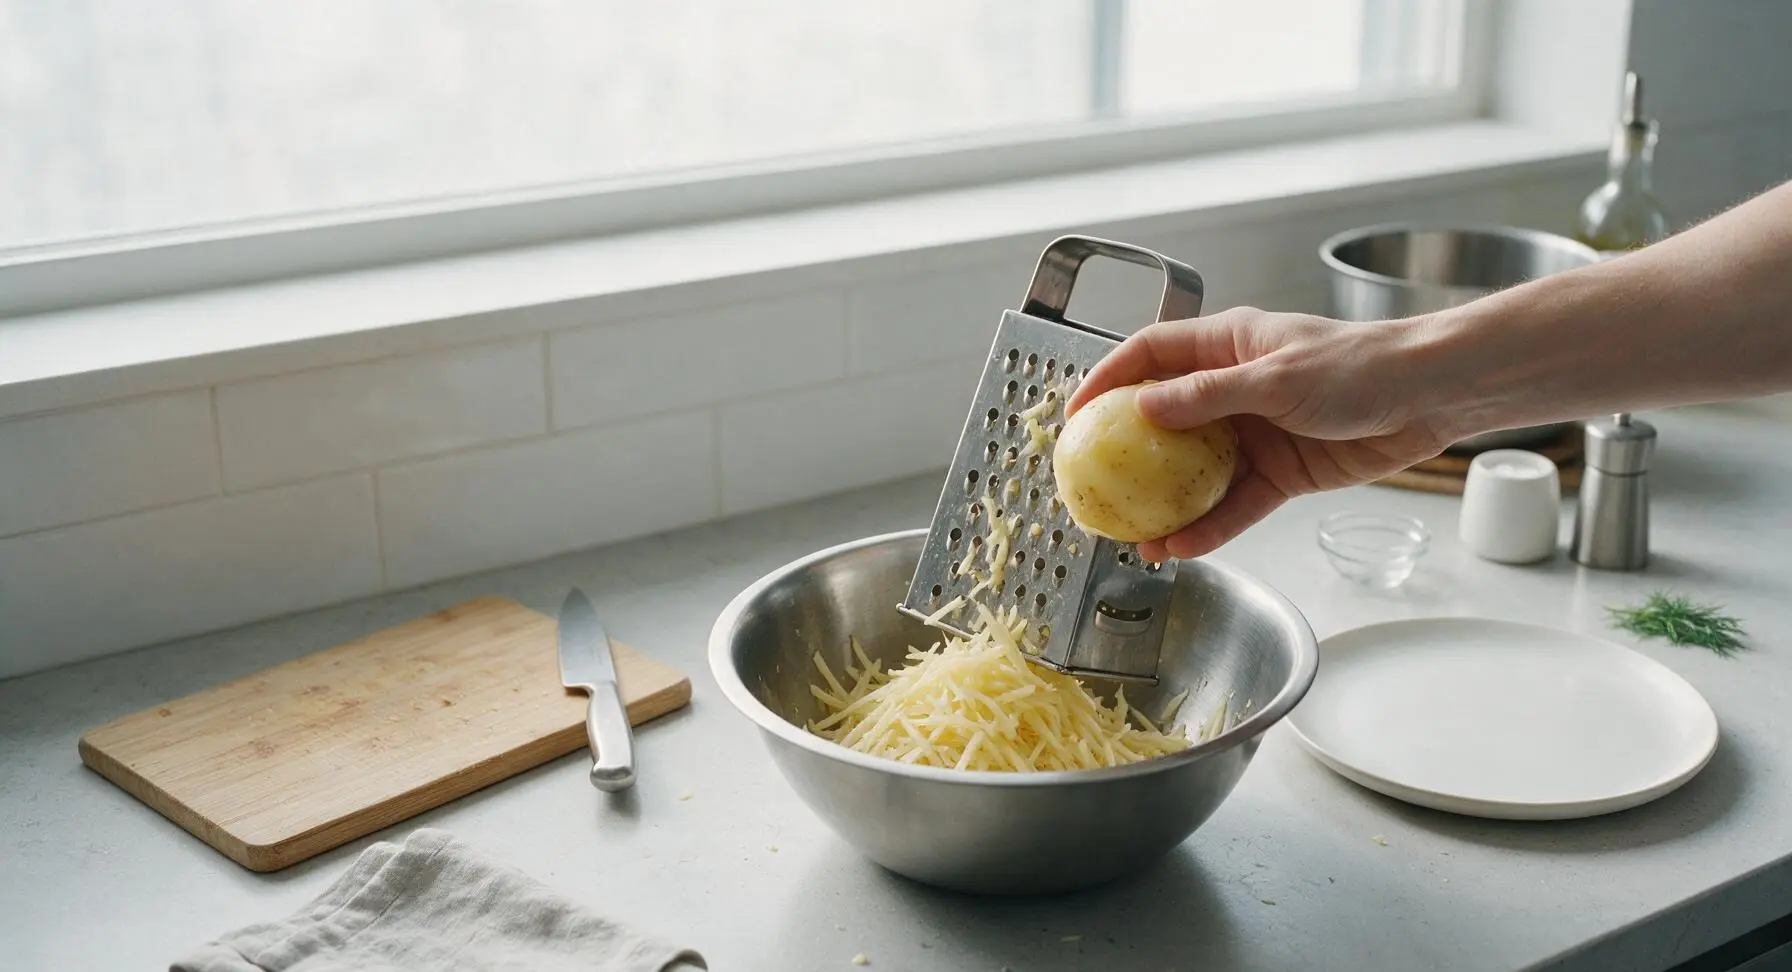
Grate parboiled potatoes
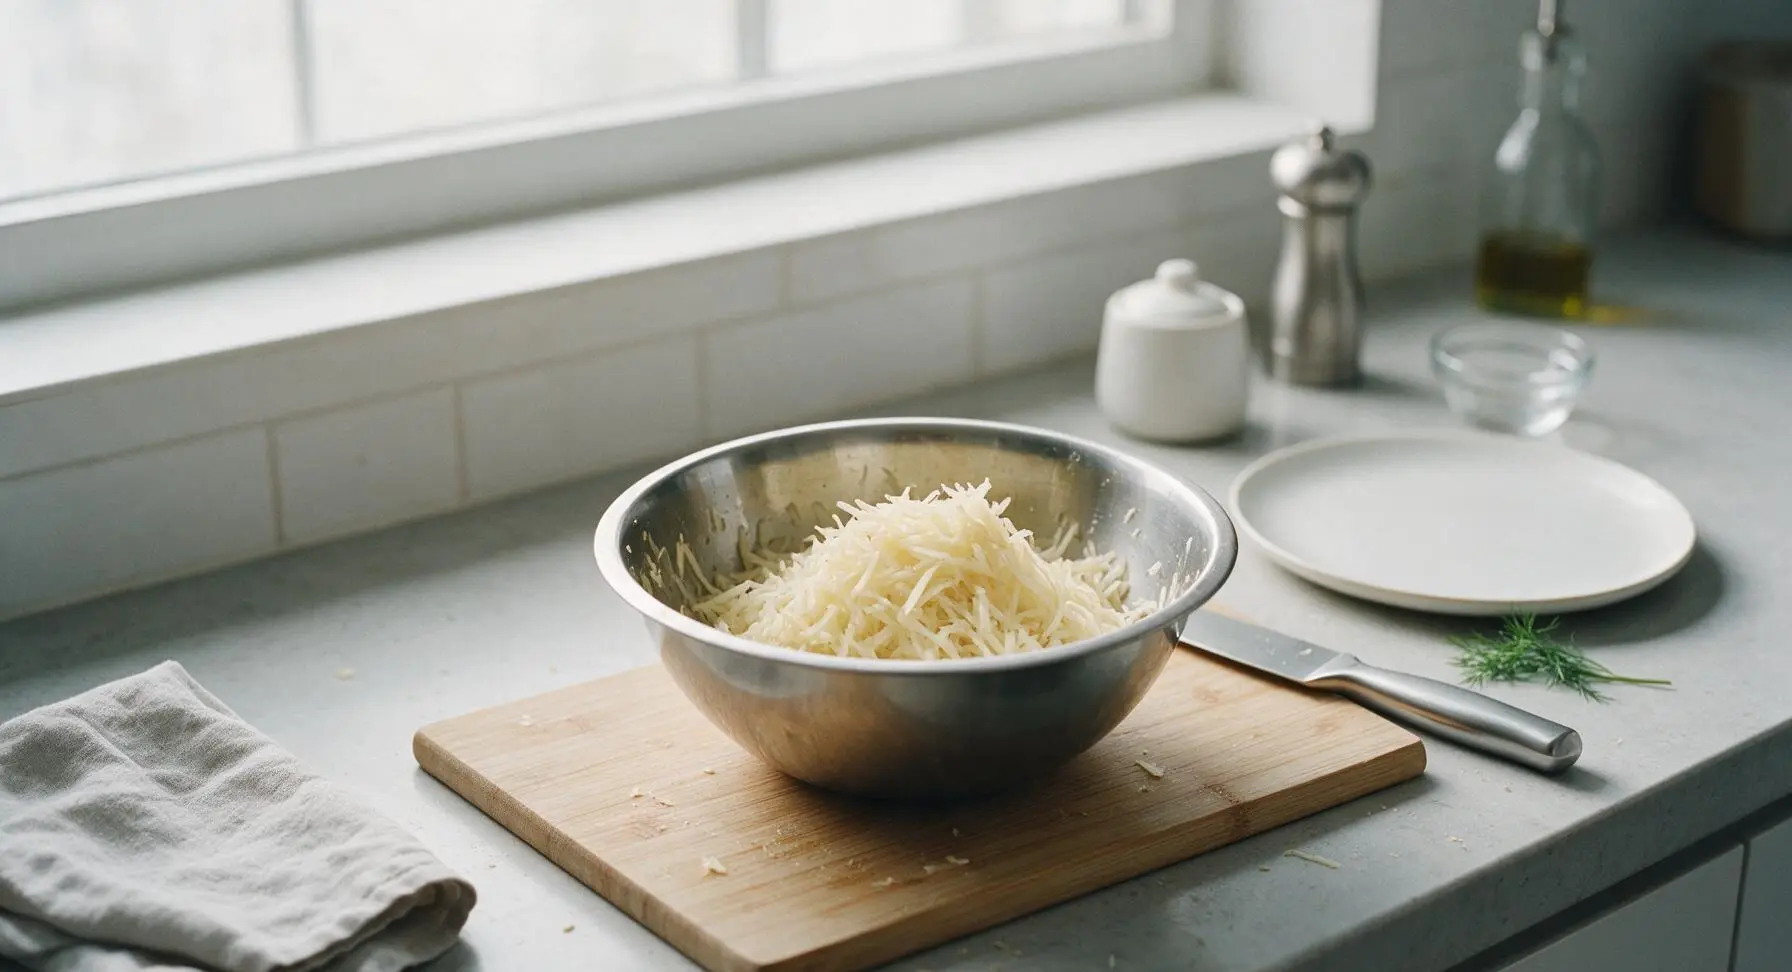
Once potatoes are cool enough to hold comfortably, use the large holes of the stainless steel box grater to grate all potatoes directly into the large brushed stainless steel mixing bowl. Grate lengthwise to create long, coarse shreds, applying light pressure to avoid mashing the soft potato flesh. Small flecks of potato skin will be mixed evenly throughout the pale yellow shreds.
Squeeze out moisture
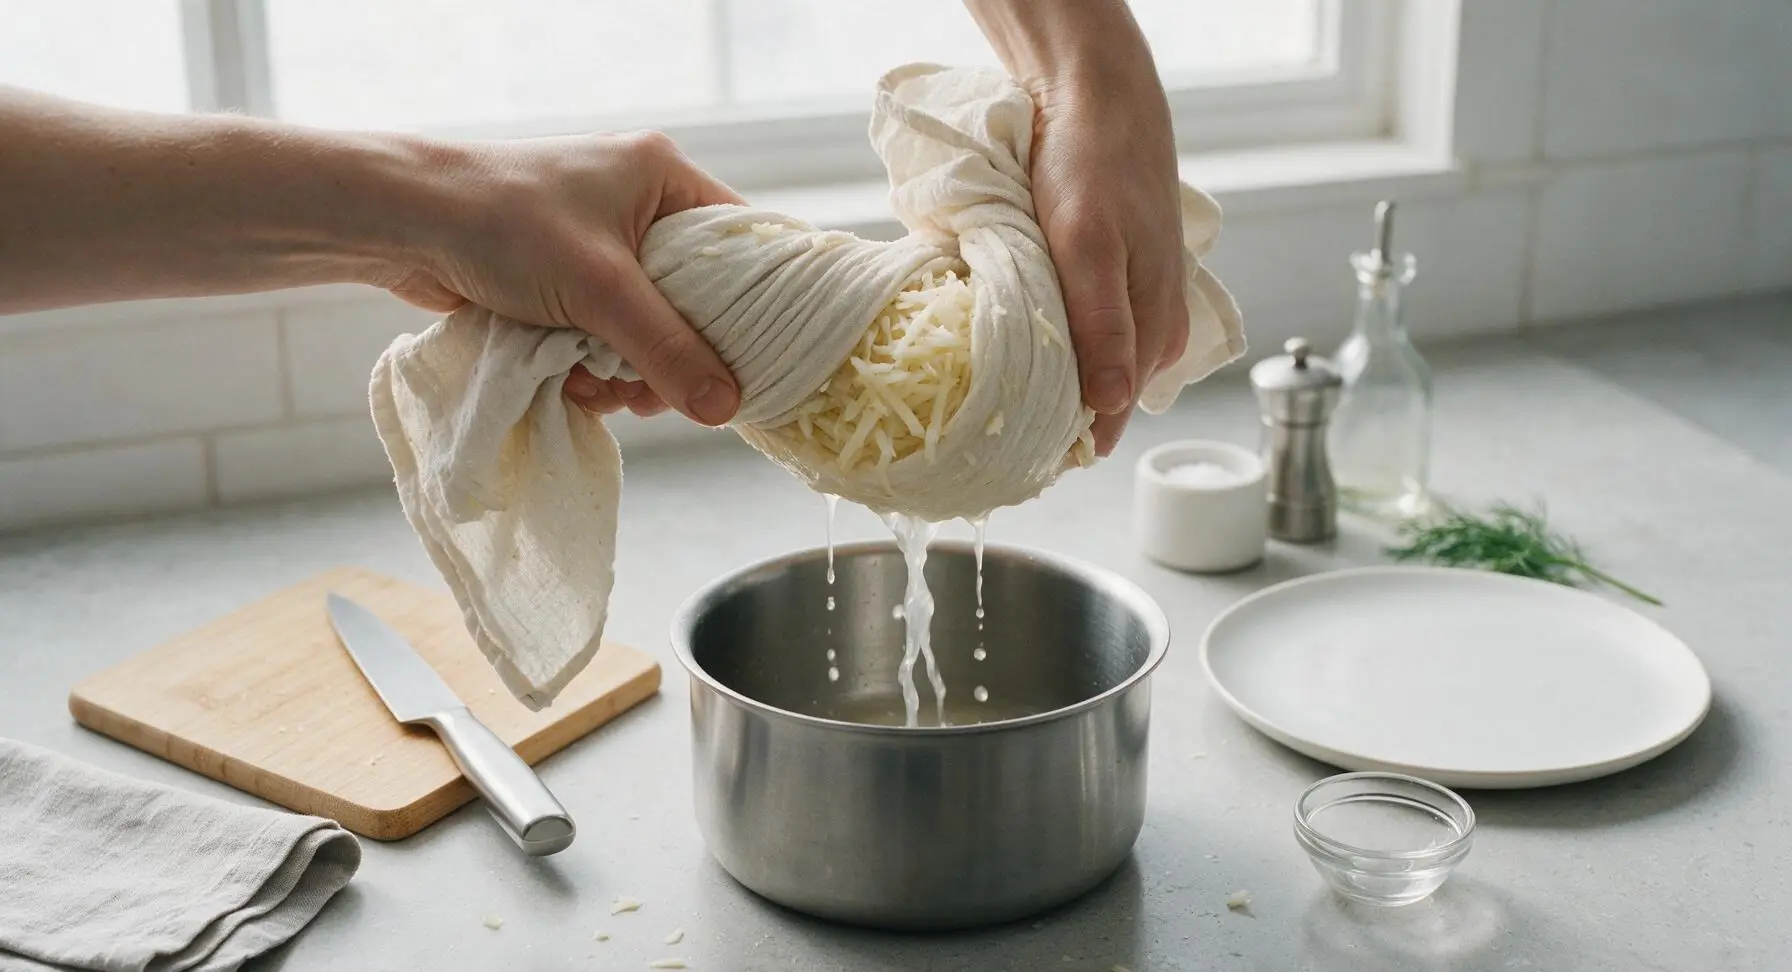
This is the most critical step for crisp, non-greasy tots: Transfer all grated potato shreds to the center of the unbleached cotton kitchen towel. Gather the towel edges to form a tight sealed bundle, then squeeze firmly over the empty stock pot to catch starchy runoff until no more cloudy liquid drips from the bundle. You should remove at least ½ cup of liquid; fully dried shreds guarantee crunchy, not soggy, finished tots. Return squeezed shreds to the mixing bowl.
Season tot mixture
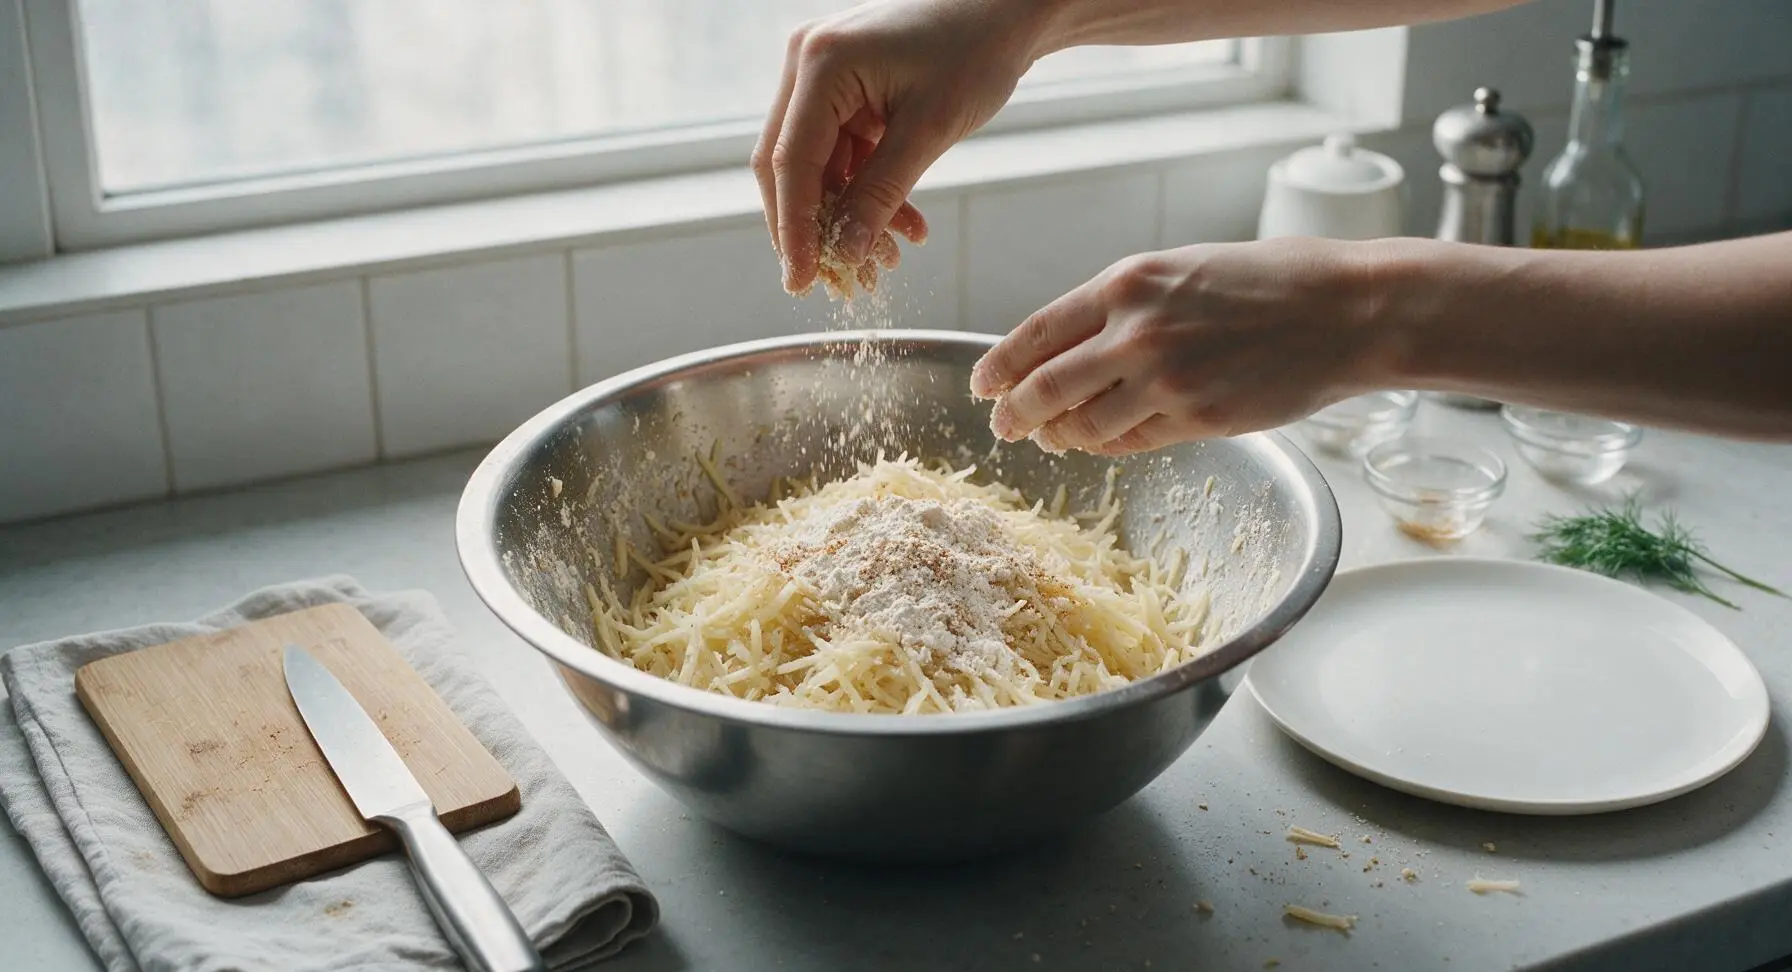
Add 2 tbsp all-purpose flour, 1 tsp garlic powder, 1 tsp onion powder, ½ tsp freshly ground black pepper, and the remaining ½ tsp kosher salt to the dried potato shreds. Use clean hands to gently toss the mixture until evenly combined, taking care not to mash or overwork the potato shreds. The thin coating of flour will help the tots hold their cylindrical shape during frying without making them heavy.
Shape into cylinders
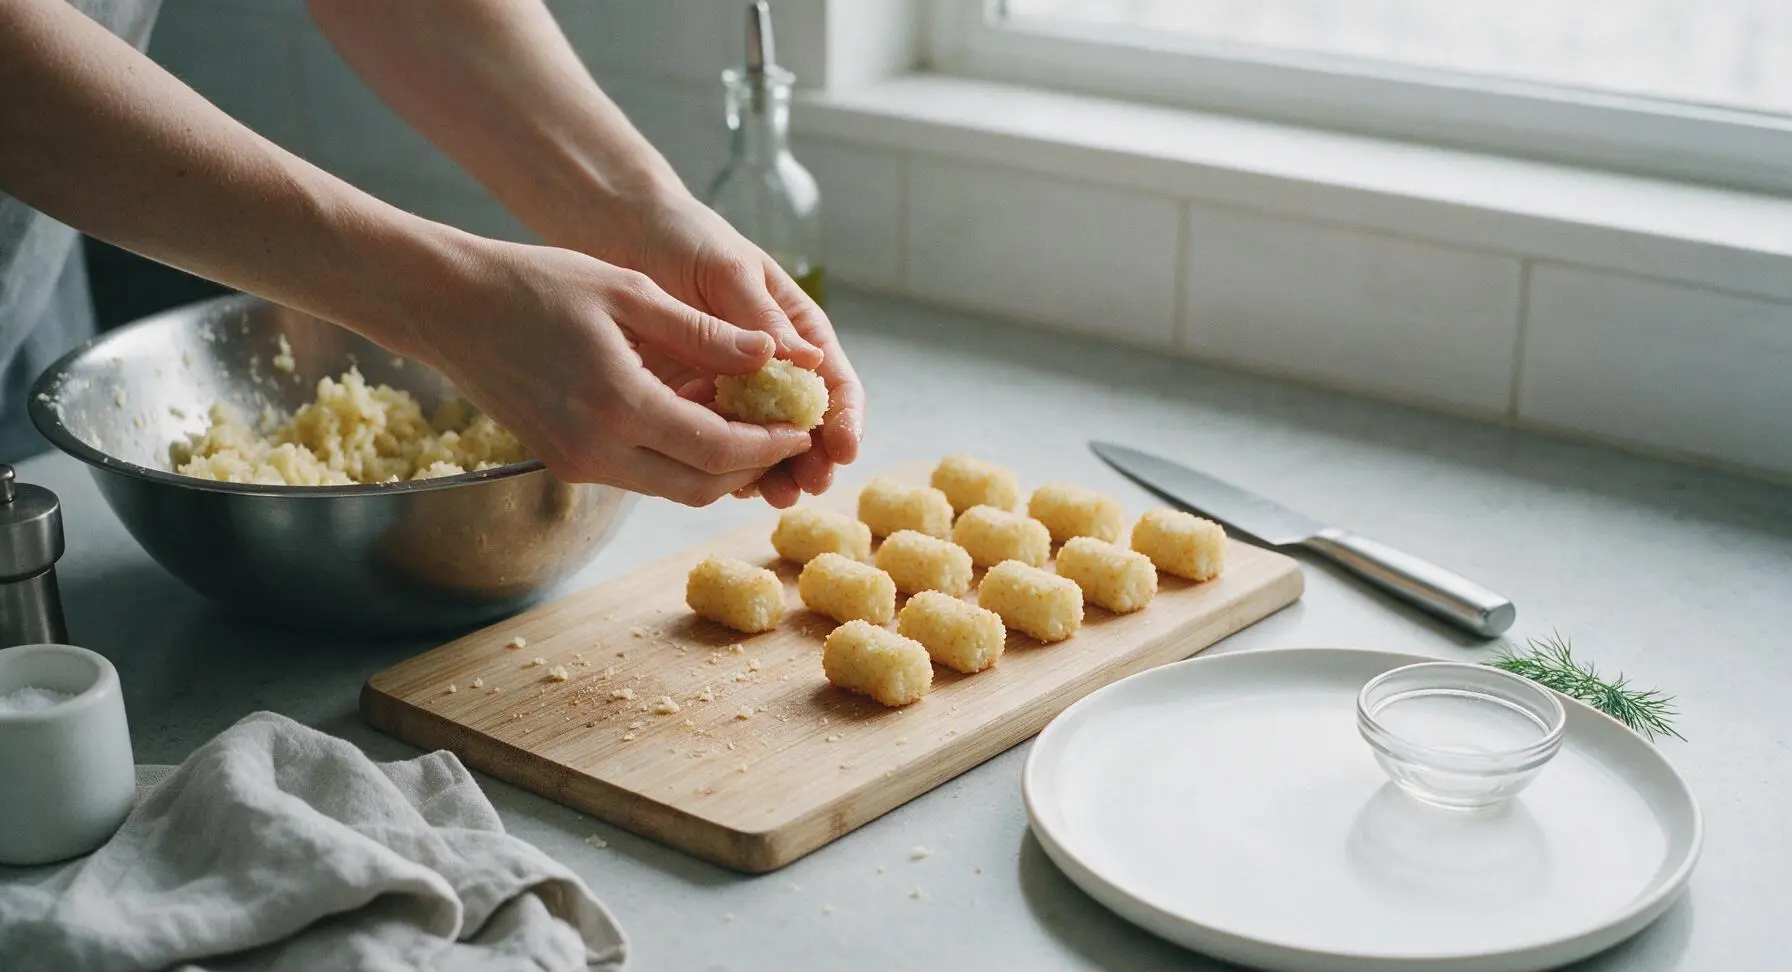
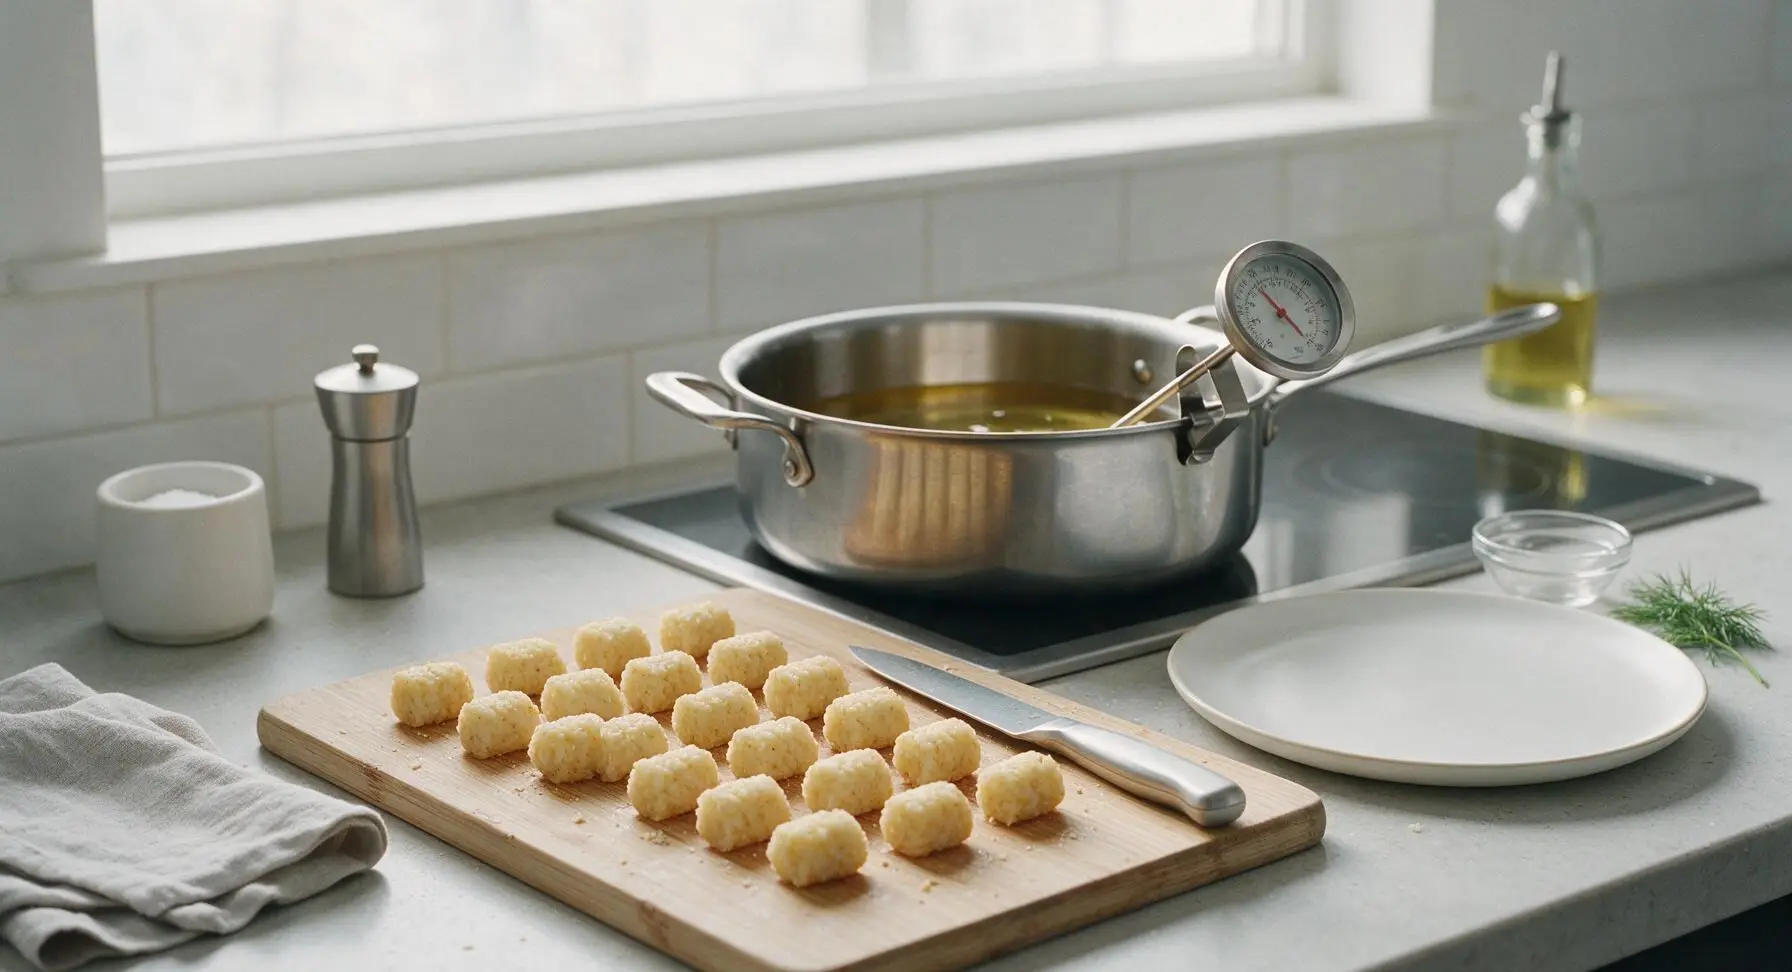
Scoop 1-tablespoon portions of the potato mixture, then squeeze firmly and roll between your palms to form small, slightly rough cylindrical tots about 1 inch wide and 1.5 inches long. Place formed tots on the maple cutting board as you work, leaving a small gap between each to prevent sticking. You will yield approximately 40 tots total.
Heat frying oil
Pour 4 cups of neutral canola oil into the heavy-bottomed stainless steel Dutch oven, set on the back center induction burner over medium heat. Clip the deep fry thermometer to the side of the pot, and heat the oil until it reaches a steady 350°F (175°C). Do not let oil exceed 375°F, as this will burn the tot exterior before the interior cooks through.
Fry tots in batches
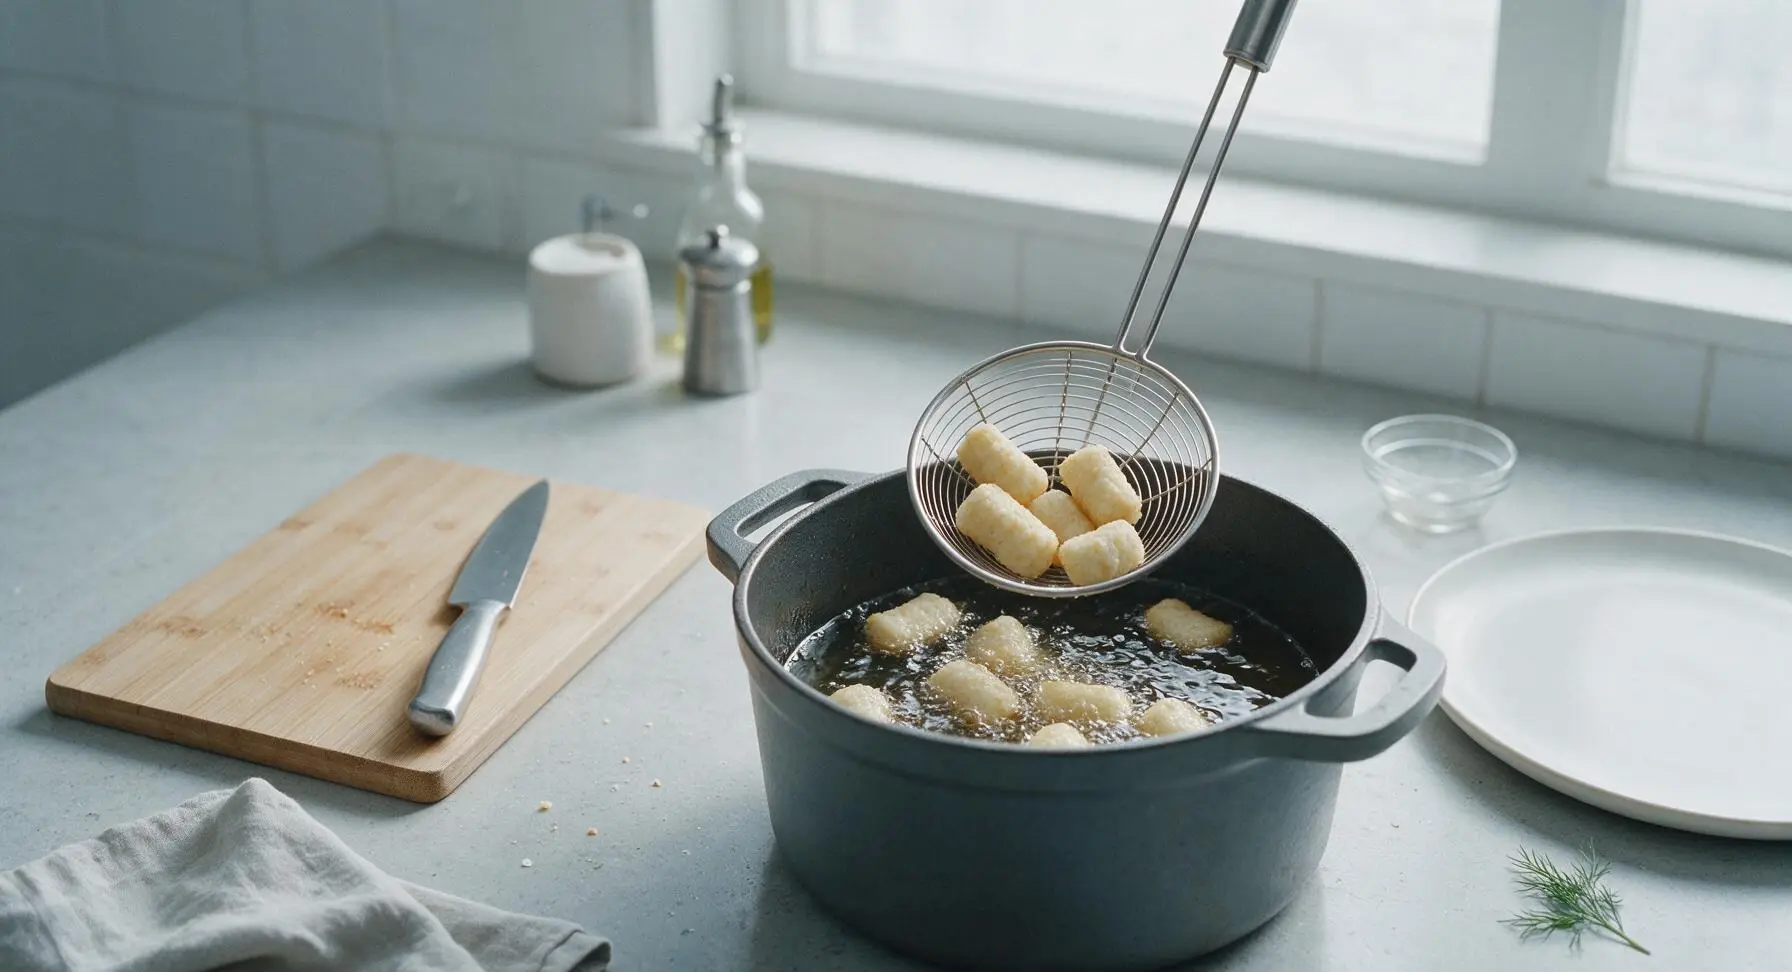
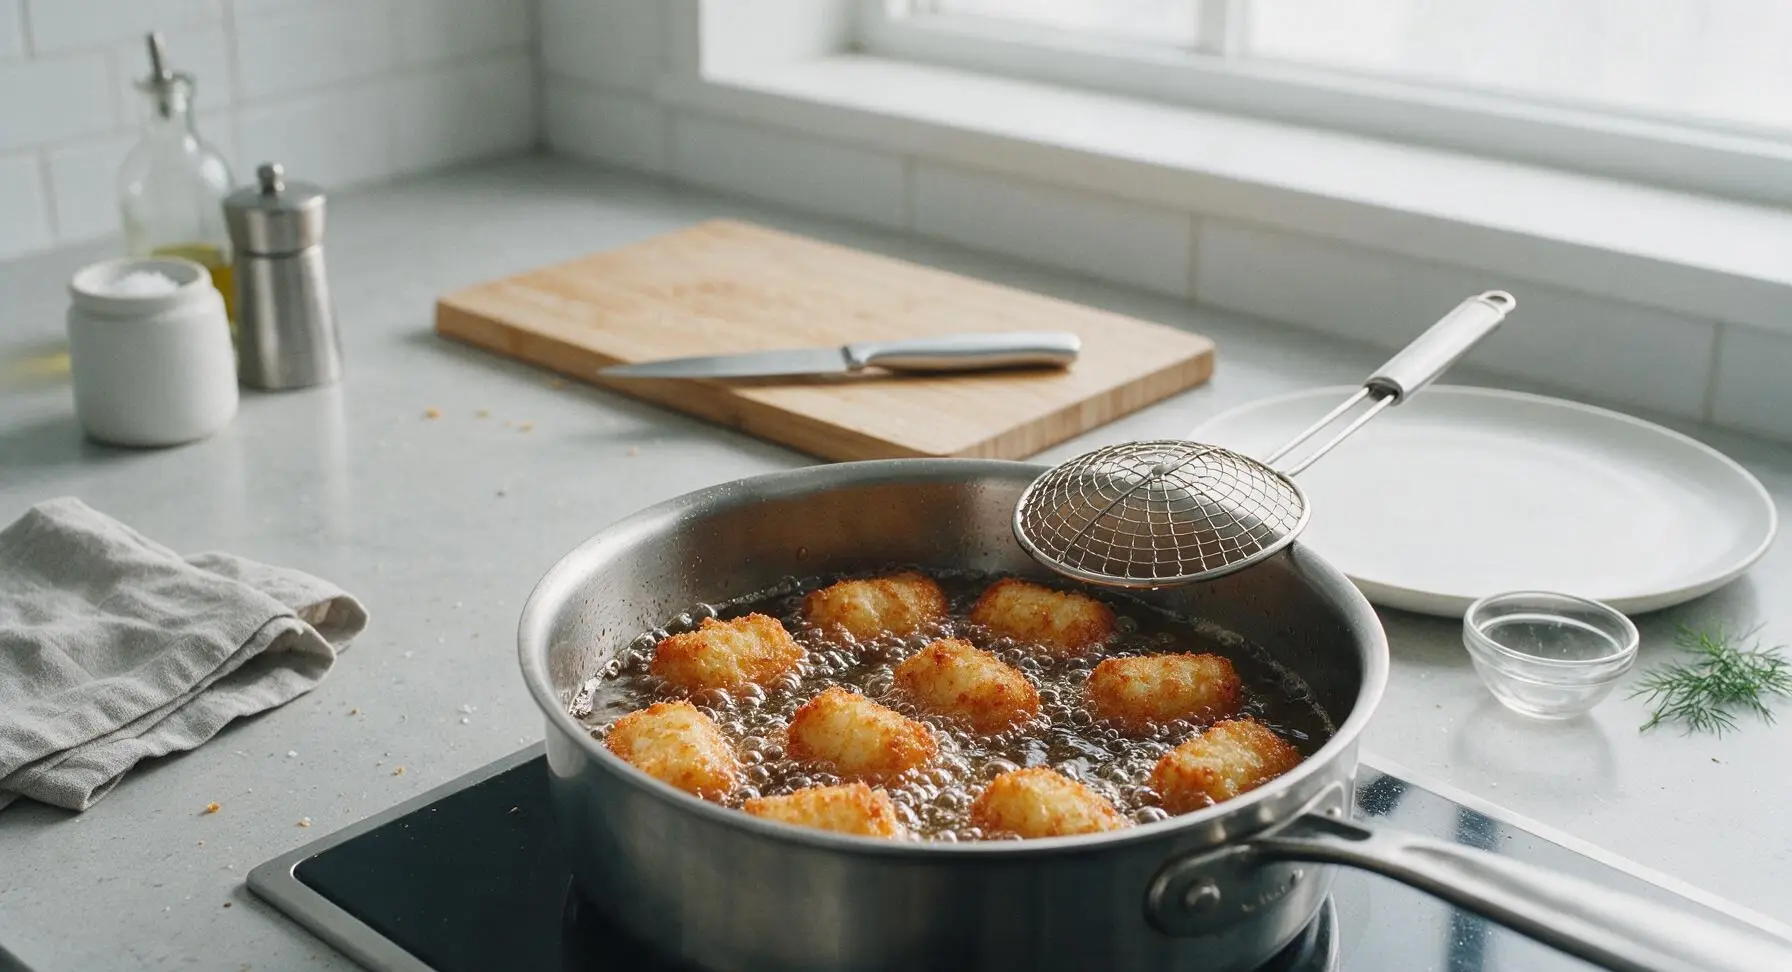
Carefully lower 8-10 tots into the hot oil using the spider skimmer—do not overcrowd the pot, as this drops oil temperature rapidly and causes soggy, oil-soaked tots. Fry for 3-4 minutes per batch, turning once halfway through cooking, until tots are deep golden brown and crispy on all sides. Wait for oil to return to 350°F between batches.
Drain and salt
Use the spider skimmer to lift finished tots from the oil, letting excess oil drain back into the pot for 2 seconds, then transfer tots to a sheet of unbleached paper towel laid next to the serving platter. Immediately sprinkle hot tots with a tiny pinch of extra kosher salt, so the salt adheres to the crispy surface as they cool slightly. Repeat frying and draining for all remaining batches.
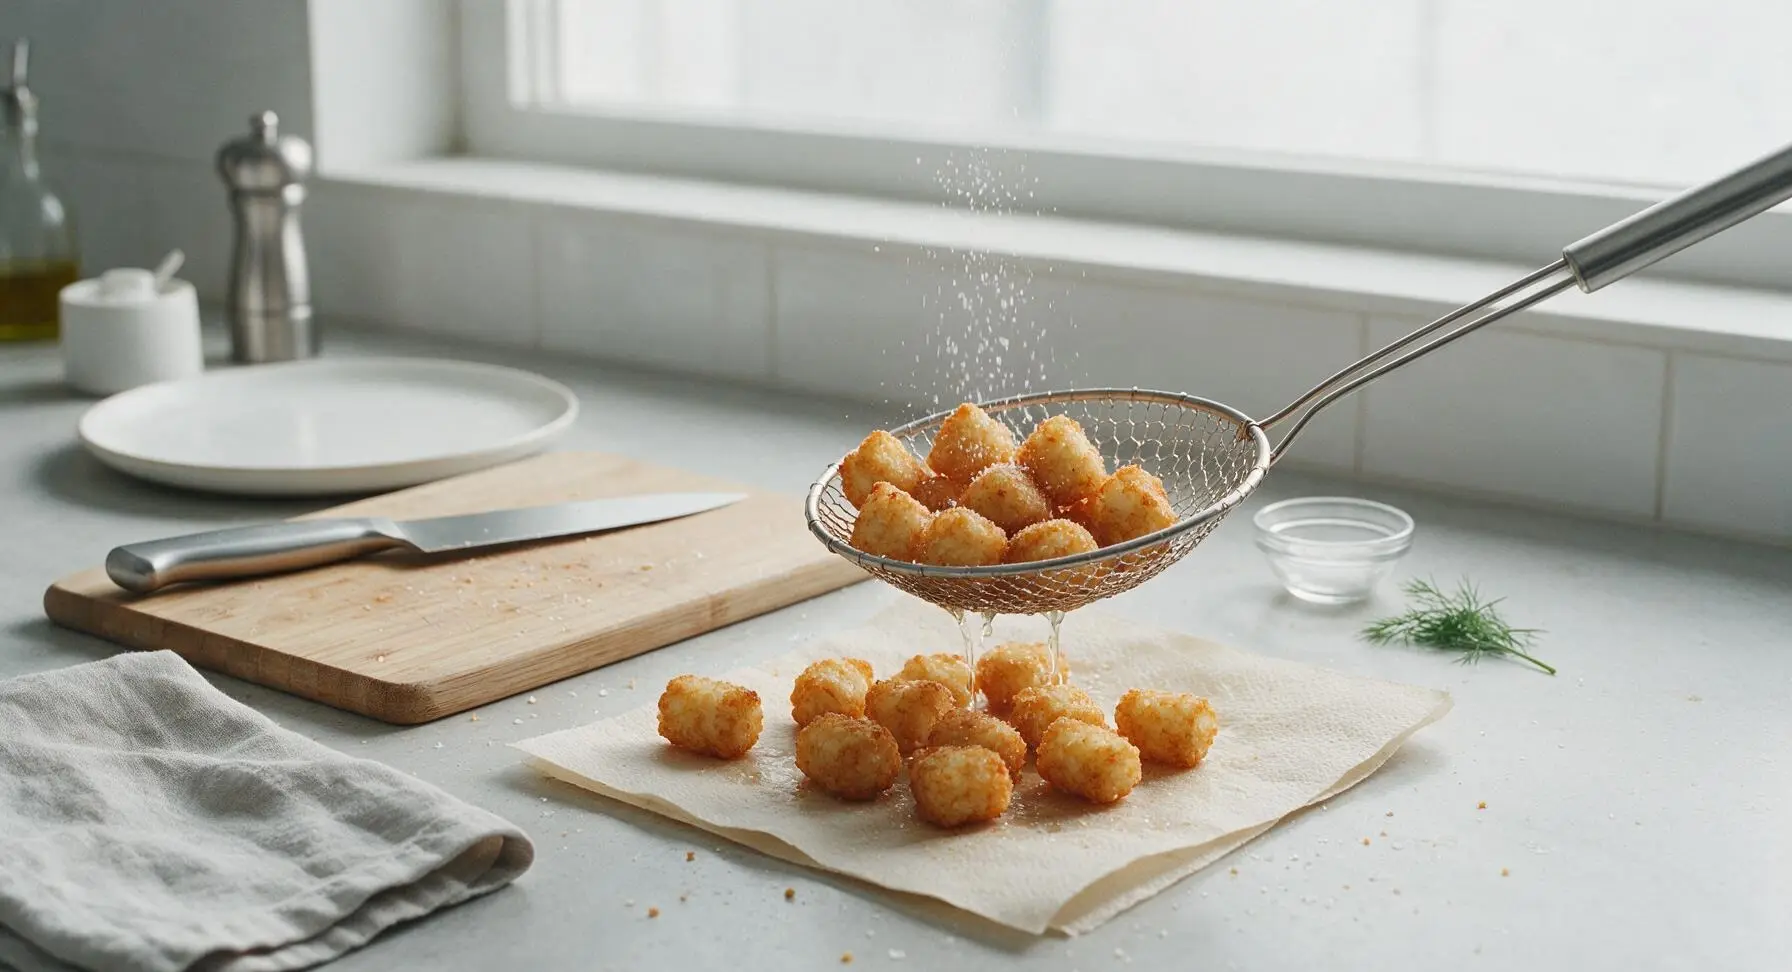
Plate and garnish
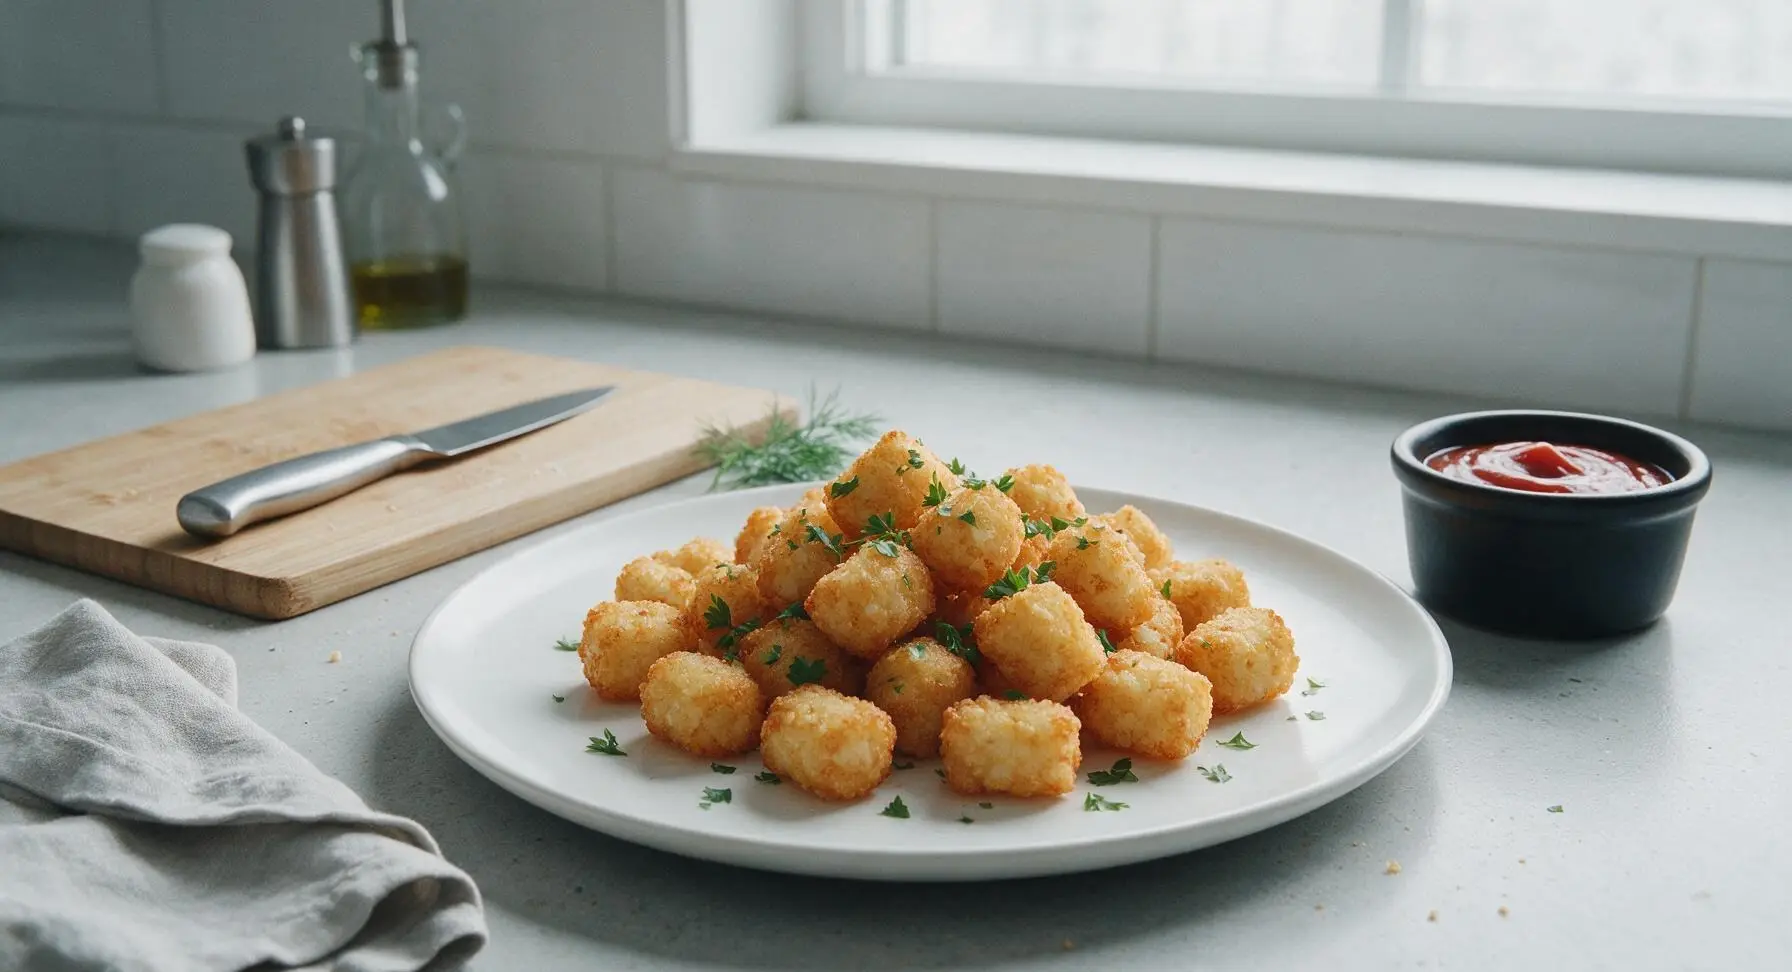
Pile all hot, crispy tots loosely onto the matte cream ceramic serving platter, then sprinkle with 1 tbsp of finely chopped fresh flat-leaf parsley for a bright, fresh garnish. Serve immediately, with ketchup or your preferred dipping sauce in the matte black ceramic ramekin.
Tips
2.Do not skip the 7-minute parboil step: par-cooking the potatoes gelatinizes the outer starch for a better crisp and creates that signature fluffy, tender interior; raw grated potatoes will turn hard and dense inside instead of soft.
3.Always wait for the oil to return to 350°F between batches: overcrowding the pot drops oil temperature by 50-75°F instantly, leading to oil-logged, pale tots instead of the deep golden, crunchy exterior you want.






OMG these are a total game changer and SO good! I’ve tried so many homemade tater tot recipes that came out soggy or fell apart while cooking, but these were perfectly crispy on the outside and light and fluffy inside. My three kids loved them and devoured a whole batch in 10 minutes before our family taco night last night. It’s so easy to throw together too, even on a chaotic busy weeknight! Will 100% be adding this to our regular dinner rotation.
Made these for our neighborhood potluck over the weekend and people would NOT stop asking me for the recipe. They’re way better than the frozen bagged kind — who knew shredding your own potatoes and squeezing out all that extra moisture makes such a huge difference? I tossed in a little extra garlic powder and smoked paprika for a tiny kick, chef’s kiss. 10/10, will make again for our next college football watch party.
Wait a second, 20 minute cook time? I was expecting homemade tater tots to take forever to make, but this was so quick! I made mine in the air fryer at 400F and they came out so crispy I thought I’d ordered them from a local diner. My husband thought I bought frozen ones until I told him I shredded the potatoes myself. Only mishap was I forgot to squeeze the water out of the first batch of shreds and they fell apart a little — don’t skip that step, y’all!
First time ever making anything potato-related that didn’t come out of a frozen bag and these SLAPPED. So easy even I couldn’t mess it up, and I once burned toast making breakfast. I didn’t have a box grater so I used the shred attachment on my beat-up old food processor and it worked perfectly. Dipped them in ranch, obviously. 10/10, making these for my roommates this weekend for our movie night.
Made these vegan by skipping the butter and using olive oil to coat, and they turned out amazing! I was worried they wouldn’t get crispy without dairy but they were perfectly crunchy on the outside and fluffy inside. They hold up really well in the fridge too, so they’re great for meal prep as a quick side dish for lunches. Brought a batch to my friend’s summer cookout and even the non-vegan folks were grabbing seconds off the platter. Super versatile recipe, easy to tweak to fit different dietary needs without losing any of that classic tater tot flavor.