
Hominy Grits
intro
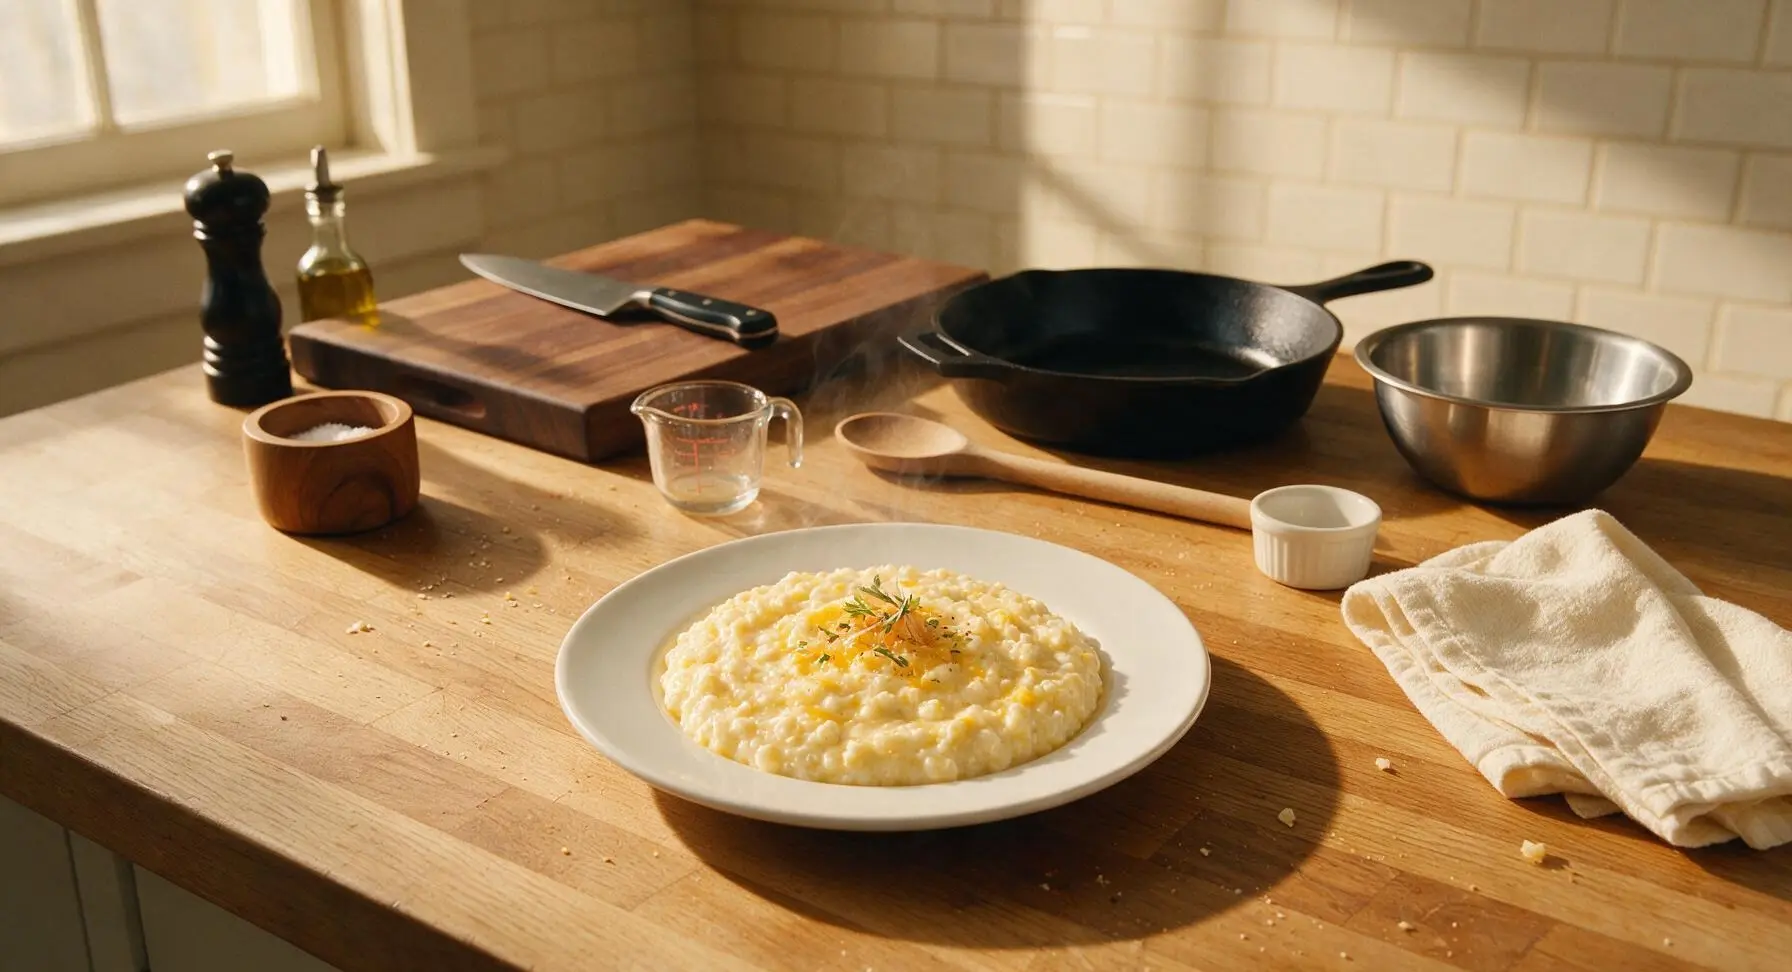
Velvety, slow-simmered hominy grits rich with butter and melted cheddar, the iconic comforting Southern side perfect for gathering around the family table.
Ingredients
Steps
Grate and measure ingredients
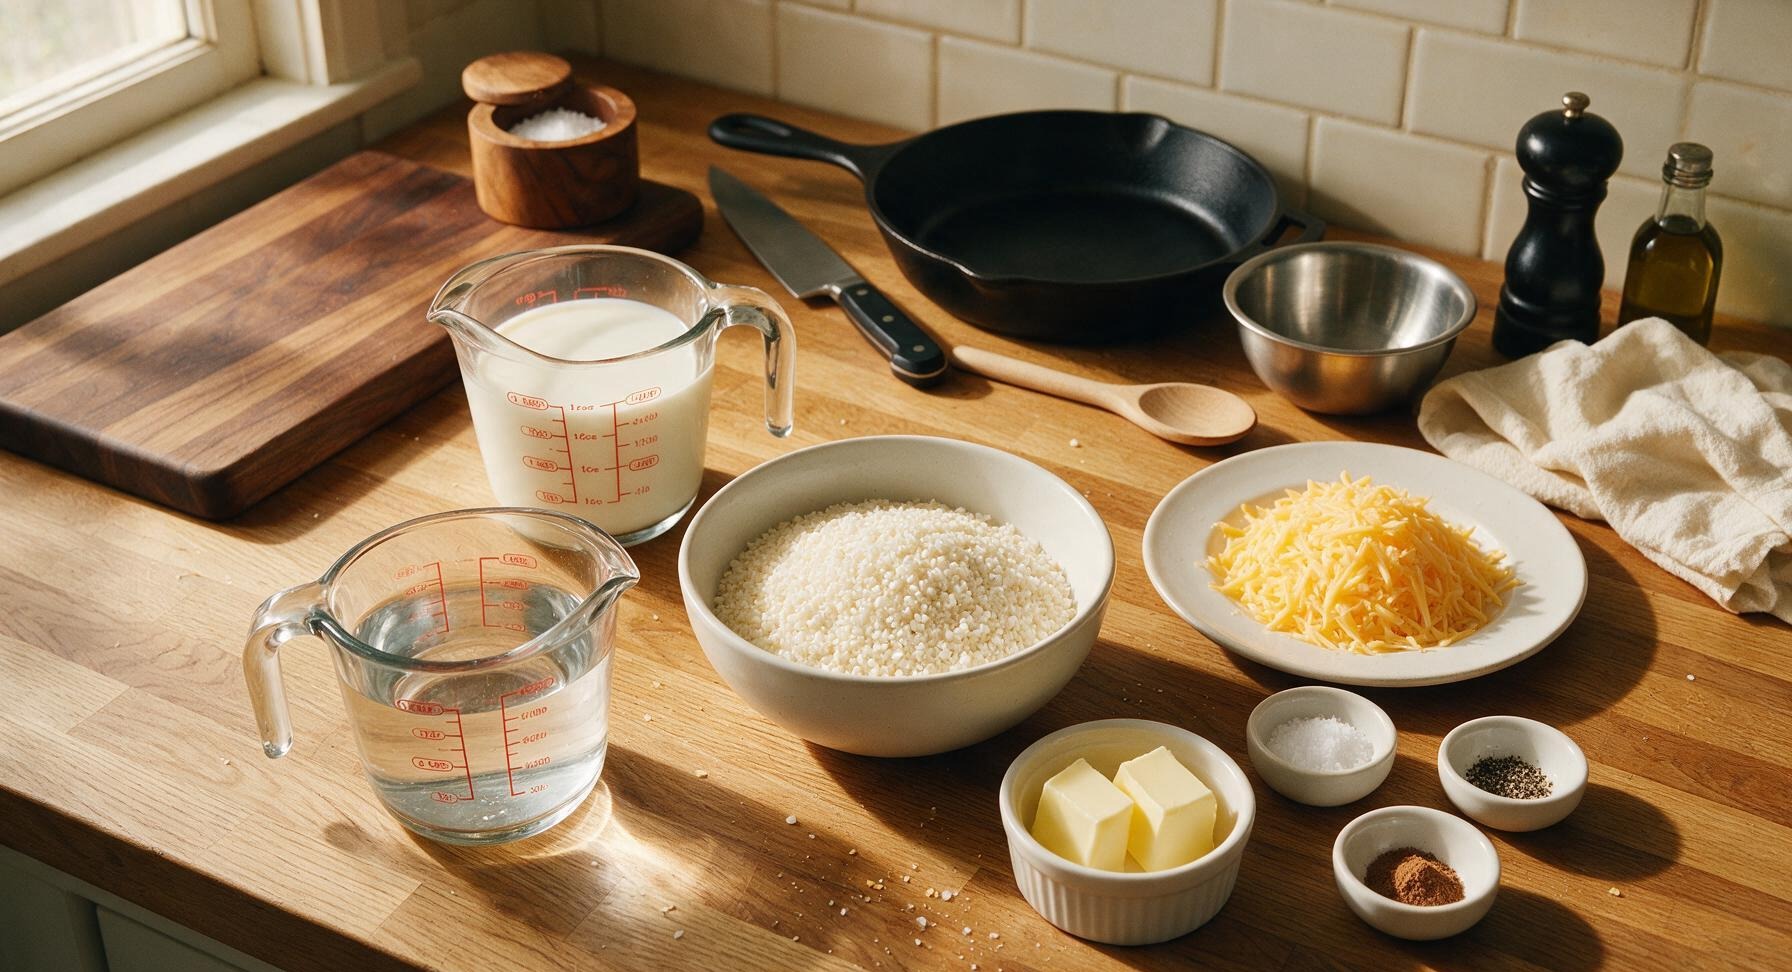
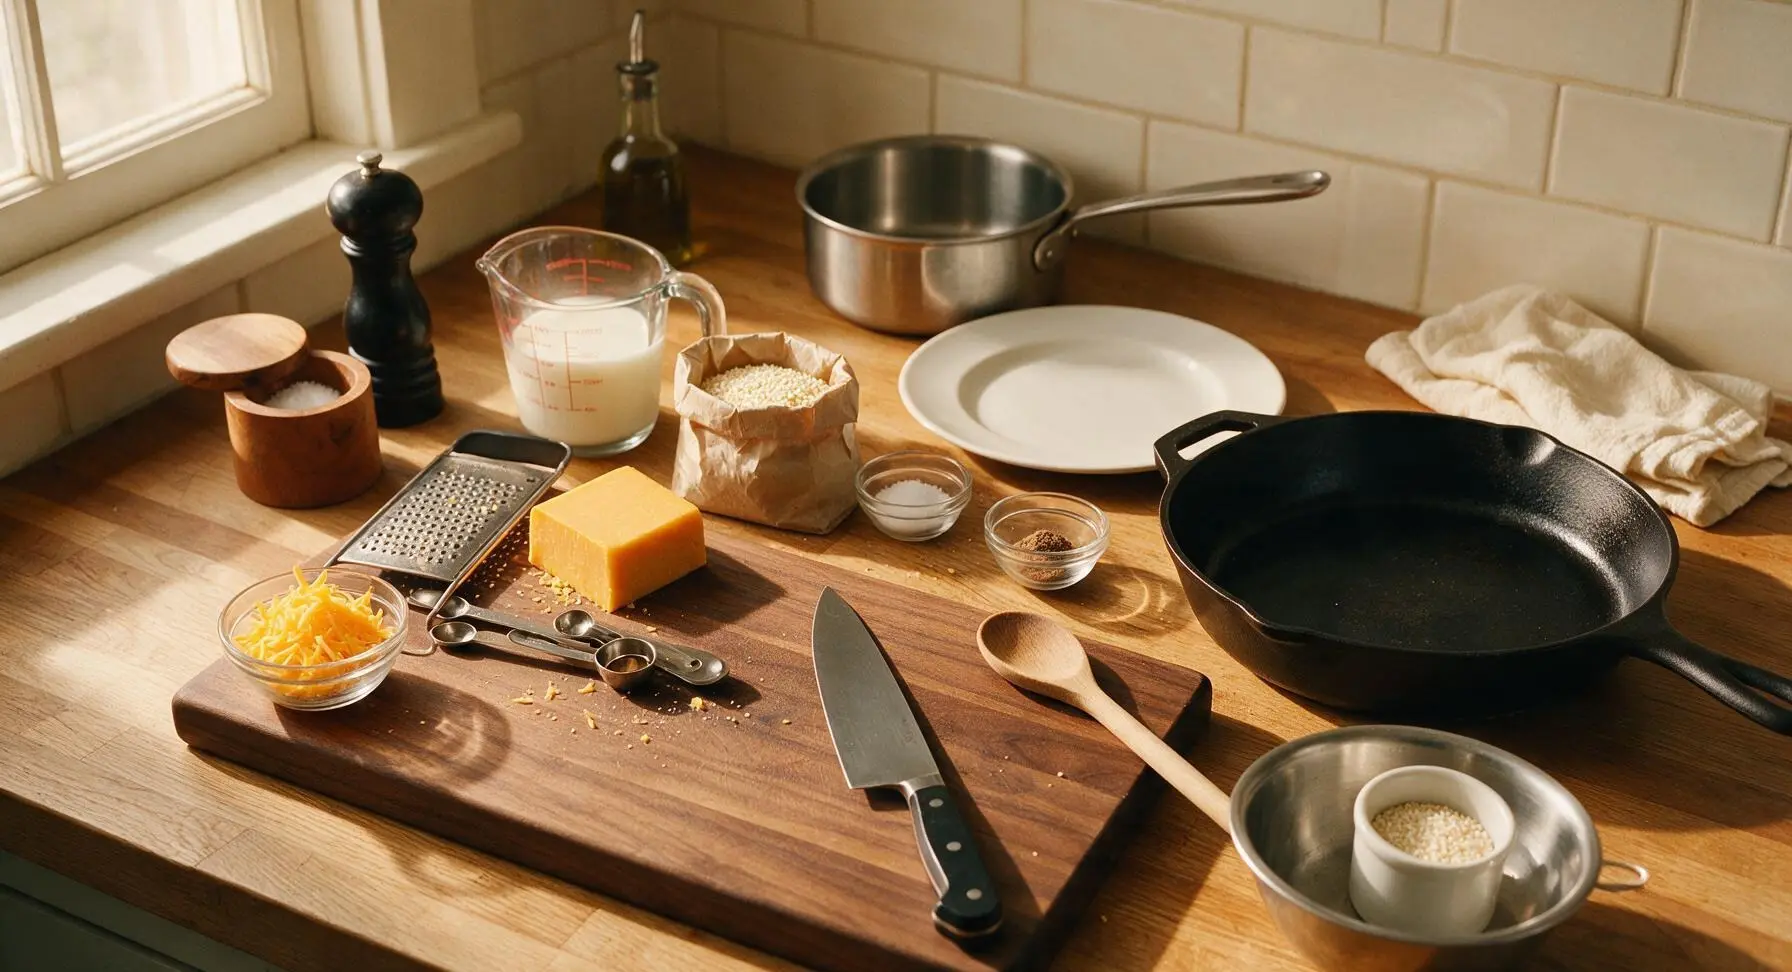
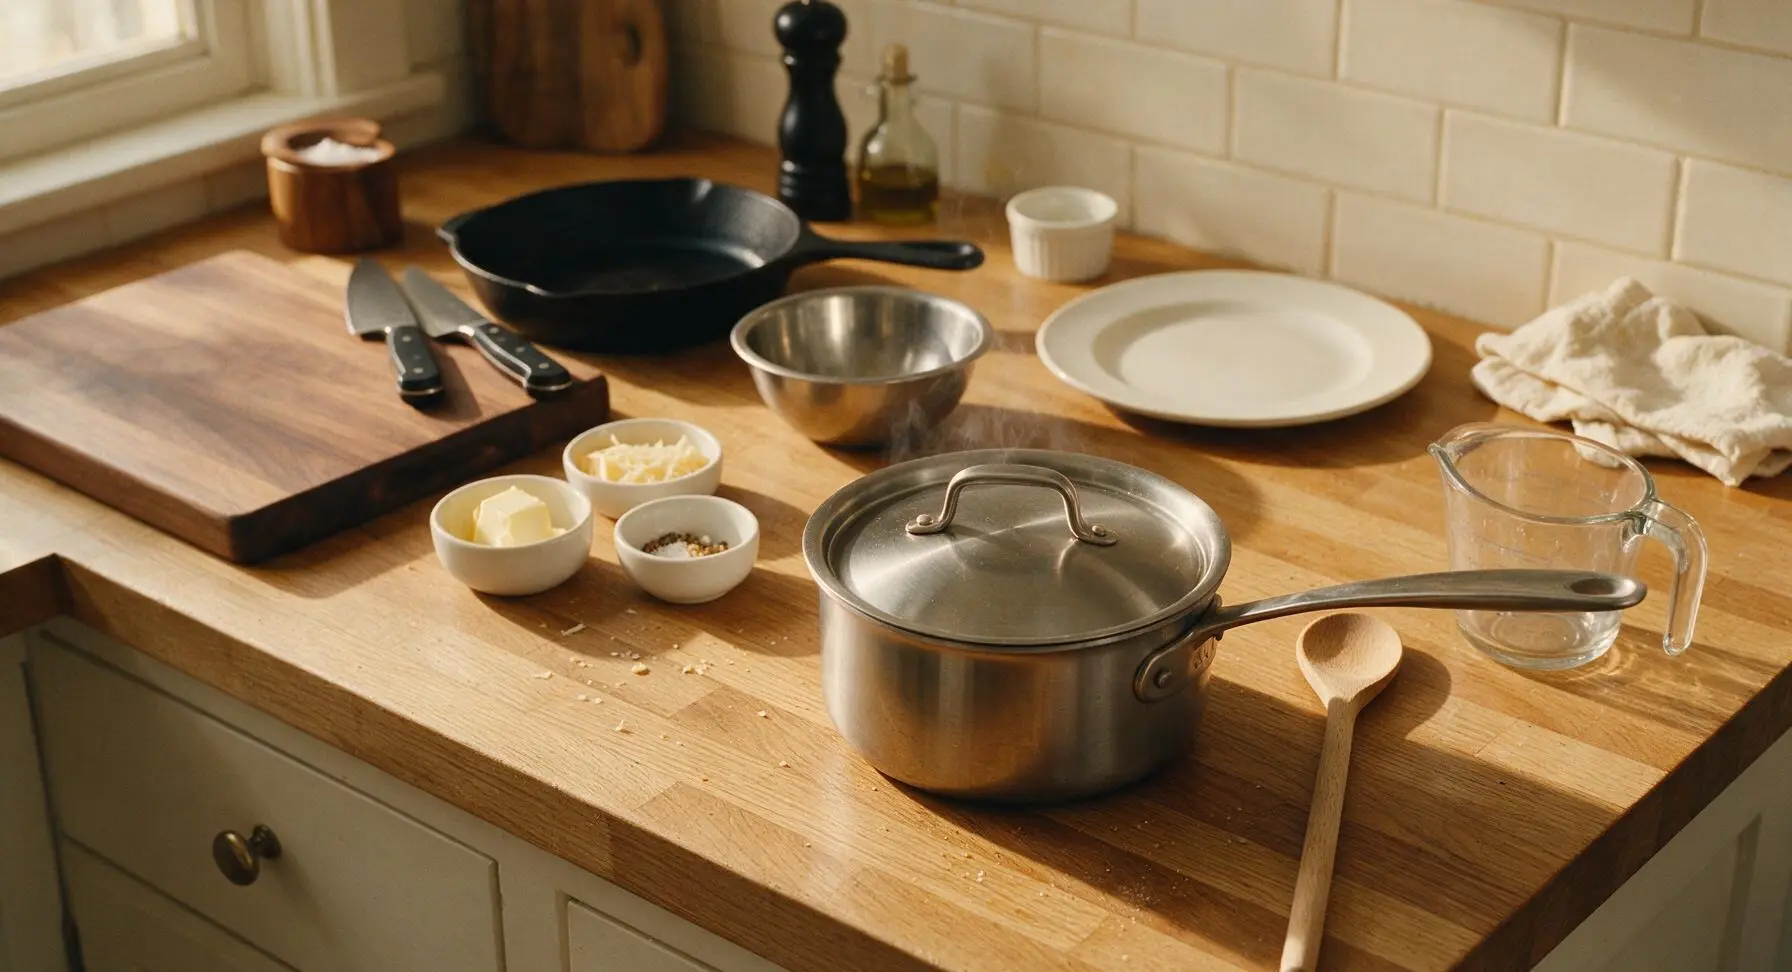
First, use the box grater on its medium-coarse side to shred 1 cup of sharp cheddar cheese, transferring it to one of the small clear glass prep bowls. Use the dry measuring cups and spoons to portion 1 cup of hominy grits, 1 tsp kosher salt, 1/4 tsp black pepper, and 1/8 tsp nutmeg into separate small prep bowls. Use the glass liquid measuring cup to measure 2 cups whole milk and 2 cups cold water, combining them in the cup. Arrange all prepped ingredients within arm’s reach of the stovetop to avoid scrambling once cooking starts.
Heat milk and water
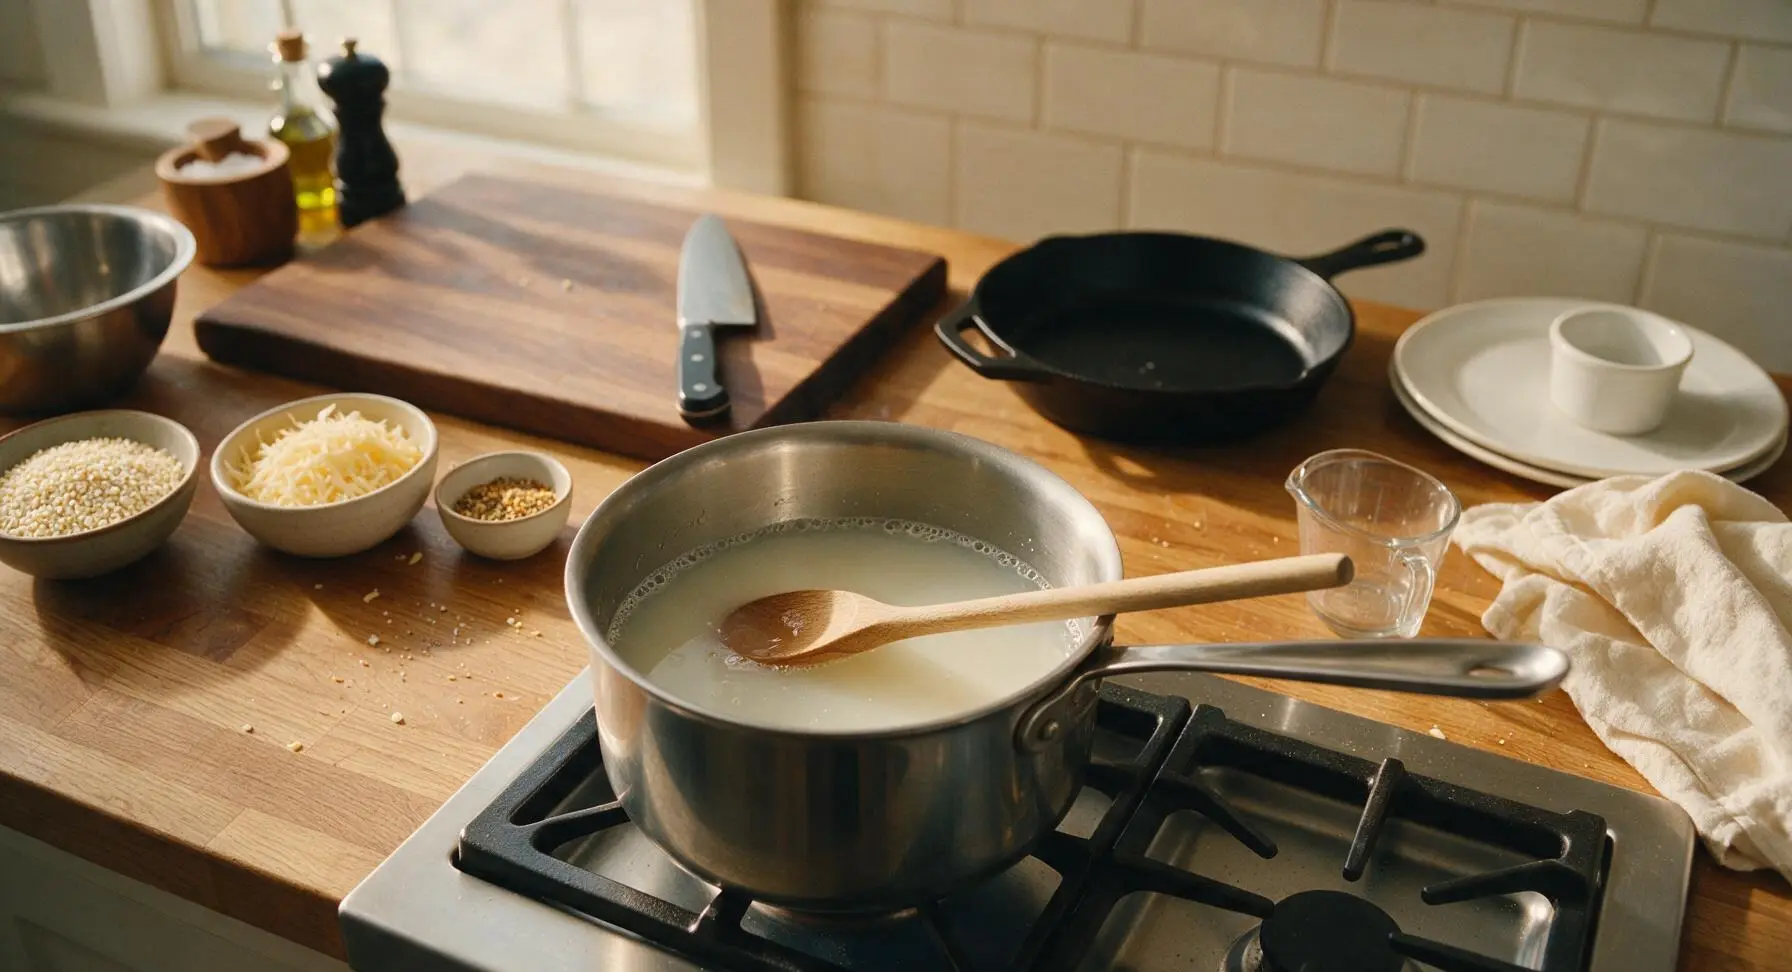
Place the 3-quart stainless steel saucepan on the stovetop over medium heat. Pour the measured milk and water mixture into the pan, add the 1 tsp of kosher salt, and stir briefly with the beech wood spoon. Bring the liquid to a gentle, low simmer (around 190°F / 88°C) — do not let it come to a rolling boil, as boiling milk can scald and curdle, leaving a bitter taste and lumpy texture. Watch for tiny, steady bubbles forming around the inner edge of the pan as your visual cue that the liquid is ready.
Whisk in dry grits
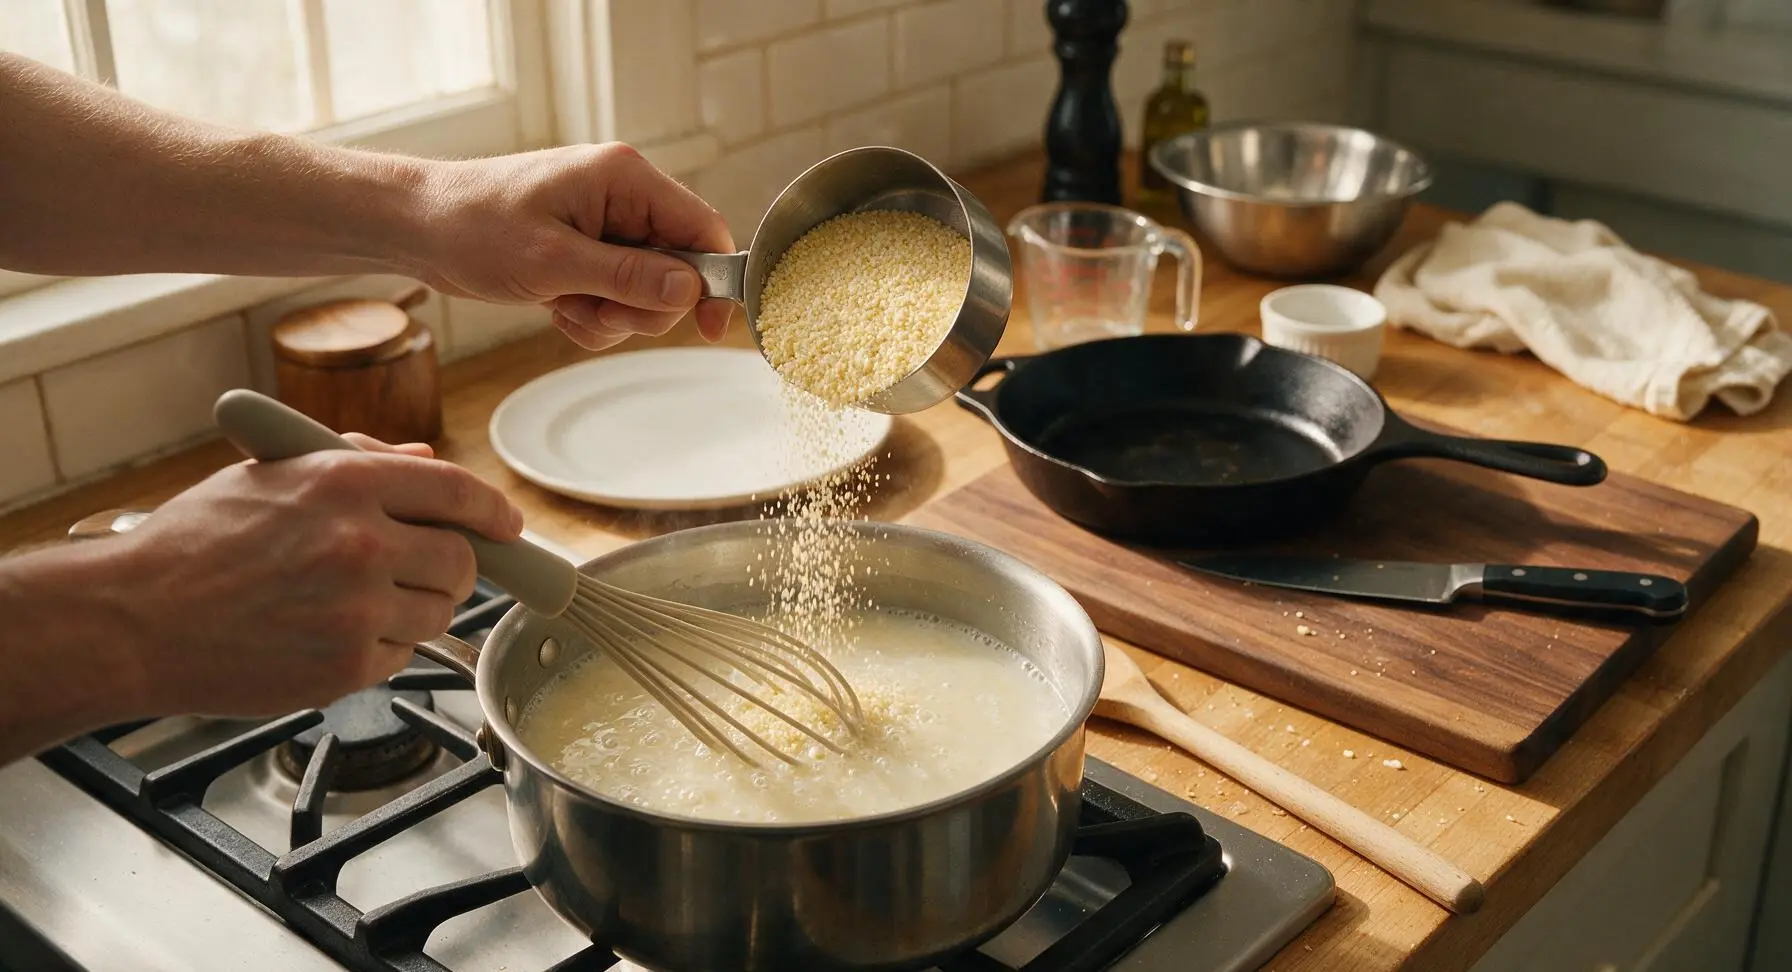
Once the liquid reaches a gentle simmer, grab the silicone whisk. Slowly pour the measured 1 cup of hominy grits into the simmering liquid in a thin, steady stream, whisking constantly as you pour to prevent clumps from forming. Make sure to scrape the bottom and corners of the pan as you whisk to catch any grits that might settle and stick. Continue whisking for 1 full minute after all grits are added to ensure no dry clumps remain in the thin mixture.
Simmer until tender
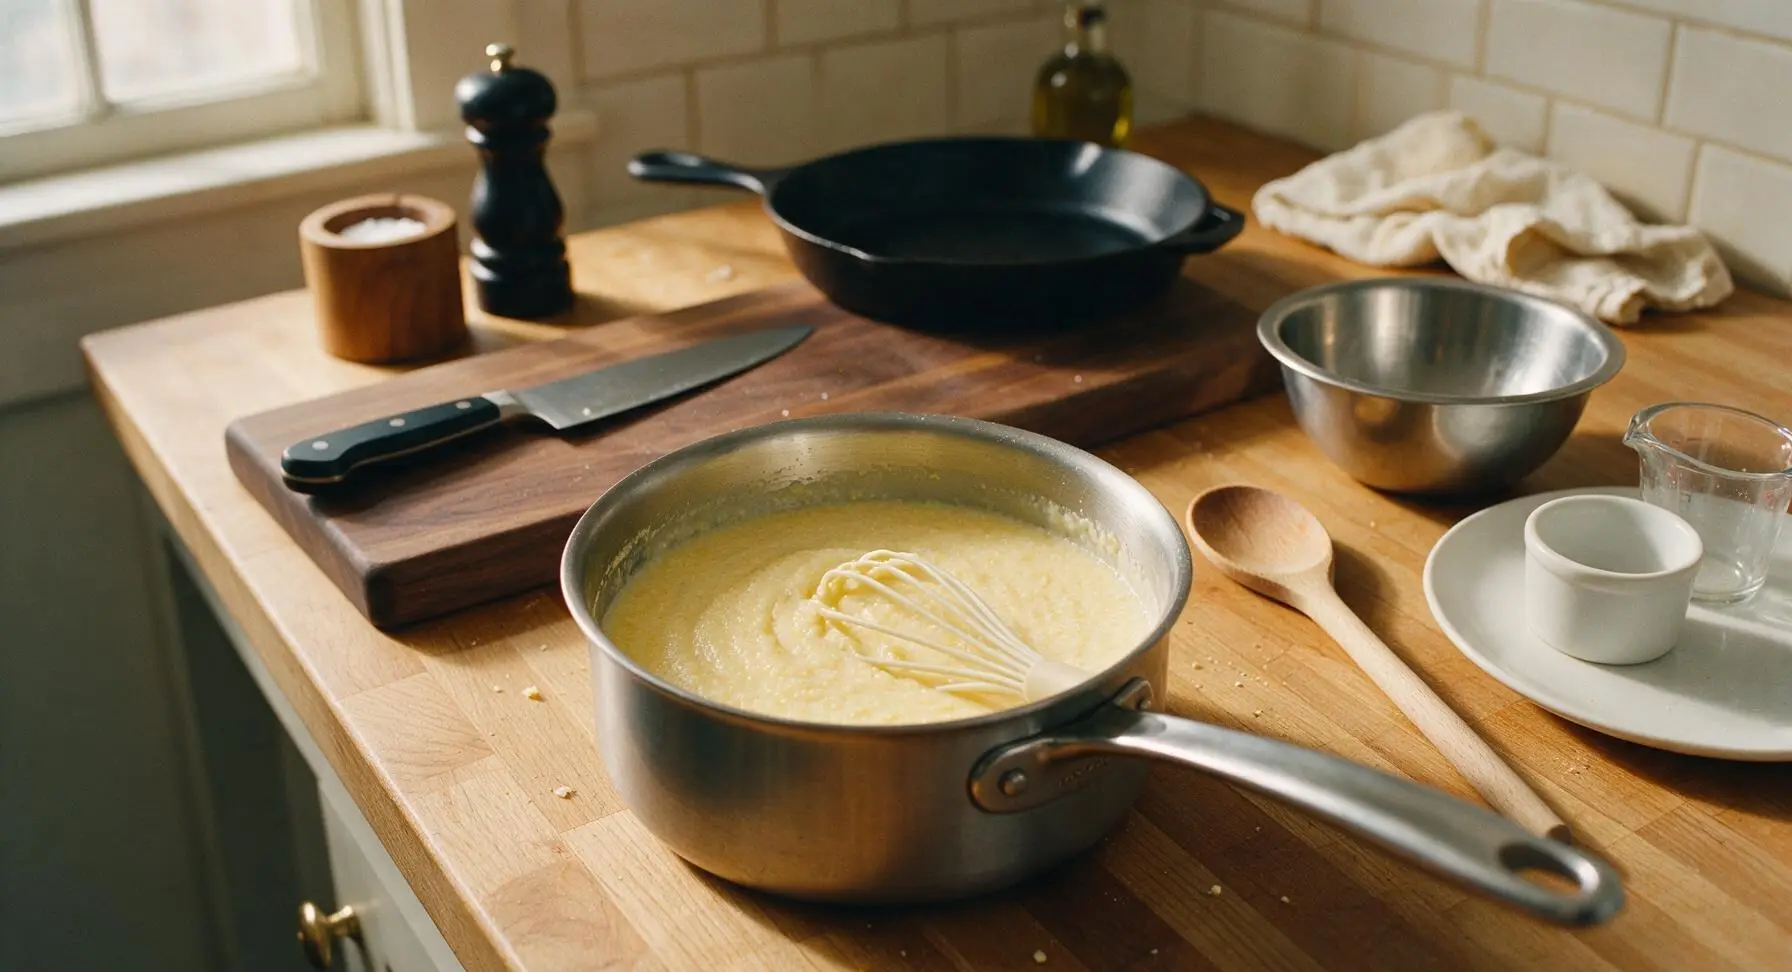
Reduce the stovetop heat to the lowest setting, cover the saucepan with its matching stainless steel lid, and let the grits simmer for 20 minutes. Every 3 to 4 minutes, remove the lid and stir the grits thoroughly with the beech wood spoon, making sure to scrape the bottom and sides of the pan to prevent sticking or burning. The grits are done when they are completely tender, with no hard, gritty bite when tasted, and thick enough to evenly coat the back of the spoon. If the grits become too thick before they are fully tender, stir in 2 tbsp of warm water at a time to thin to the right consistency.
Add butter and seasonings
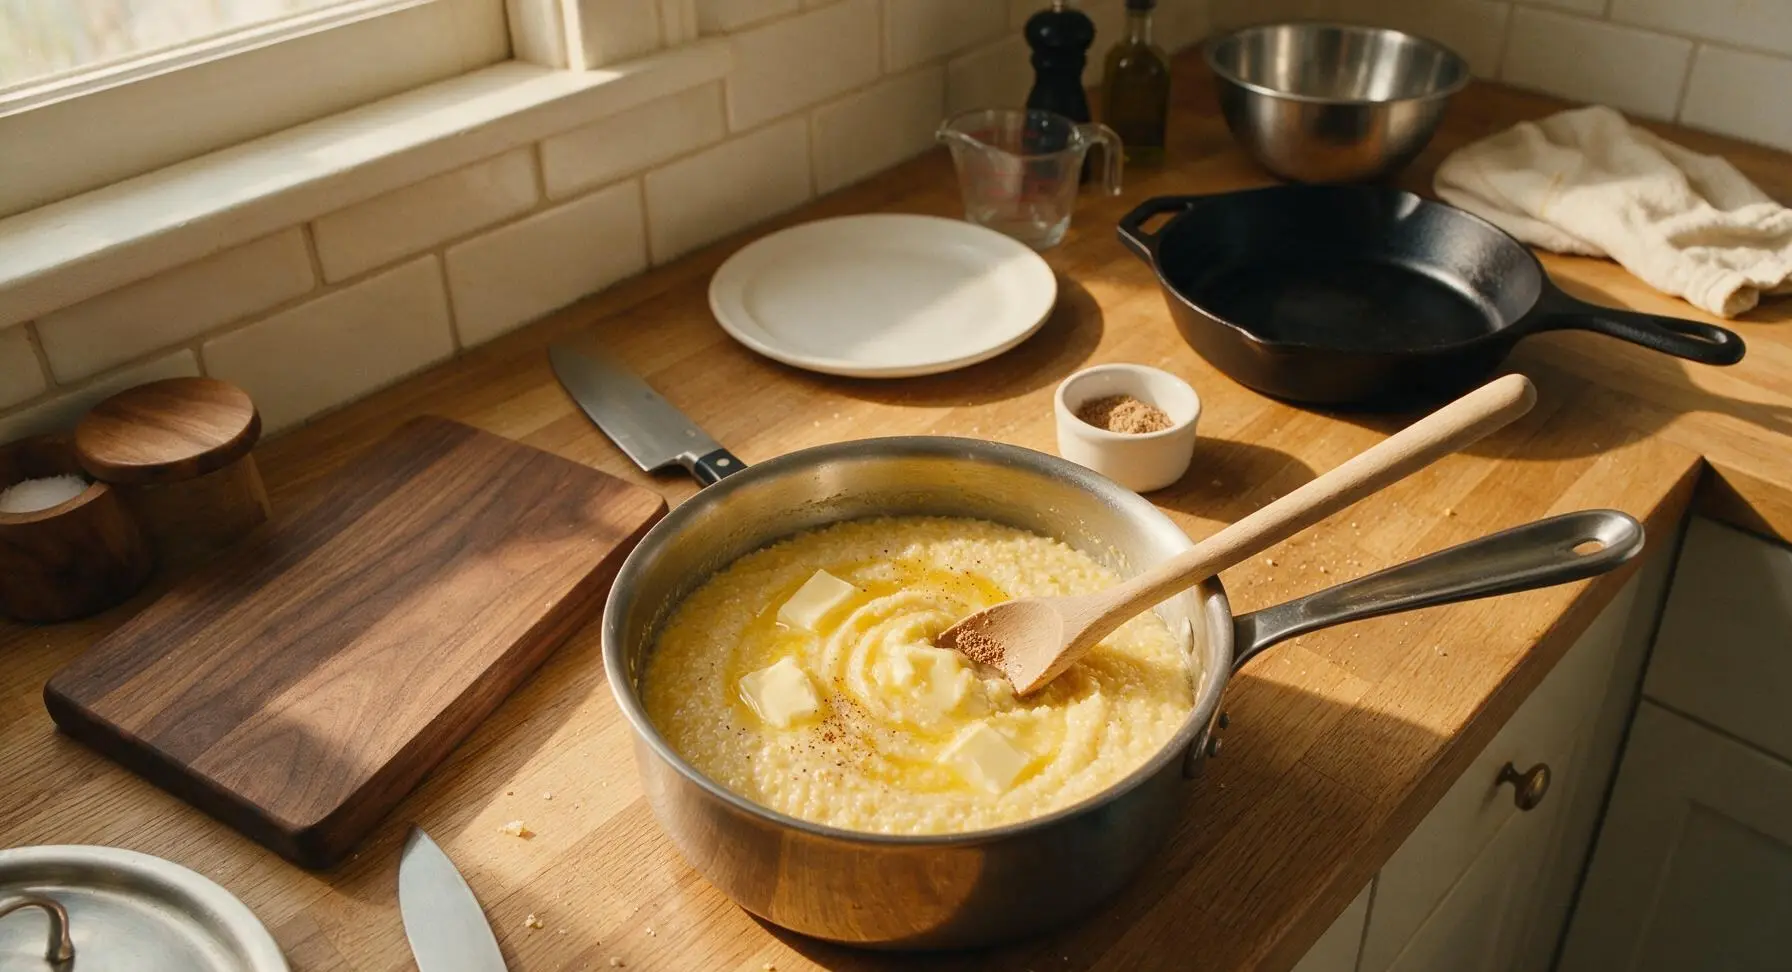
Once the grits are fully tender, turn off the stovetop heat. Remove the lid, and add the 3 tbsp of unsalted butter, 1/4 tsp black pepper, and 1/8 tsp ground nutmeg to the pan. Stir vigorously with the beech wood spoon until the butter is completely melted and fully incorporated into the grits, creating a glossy, smooth base. Taste and adjust salt if needed, keeping in mind the cheddar cheese will add extra salty depth.
Fold in shredded cheddar
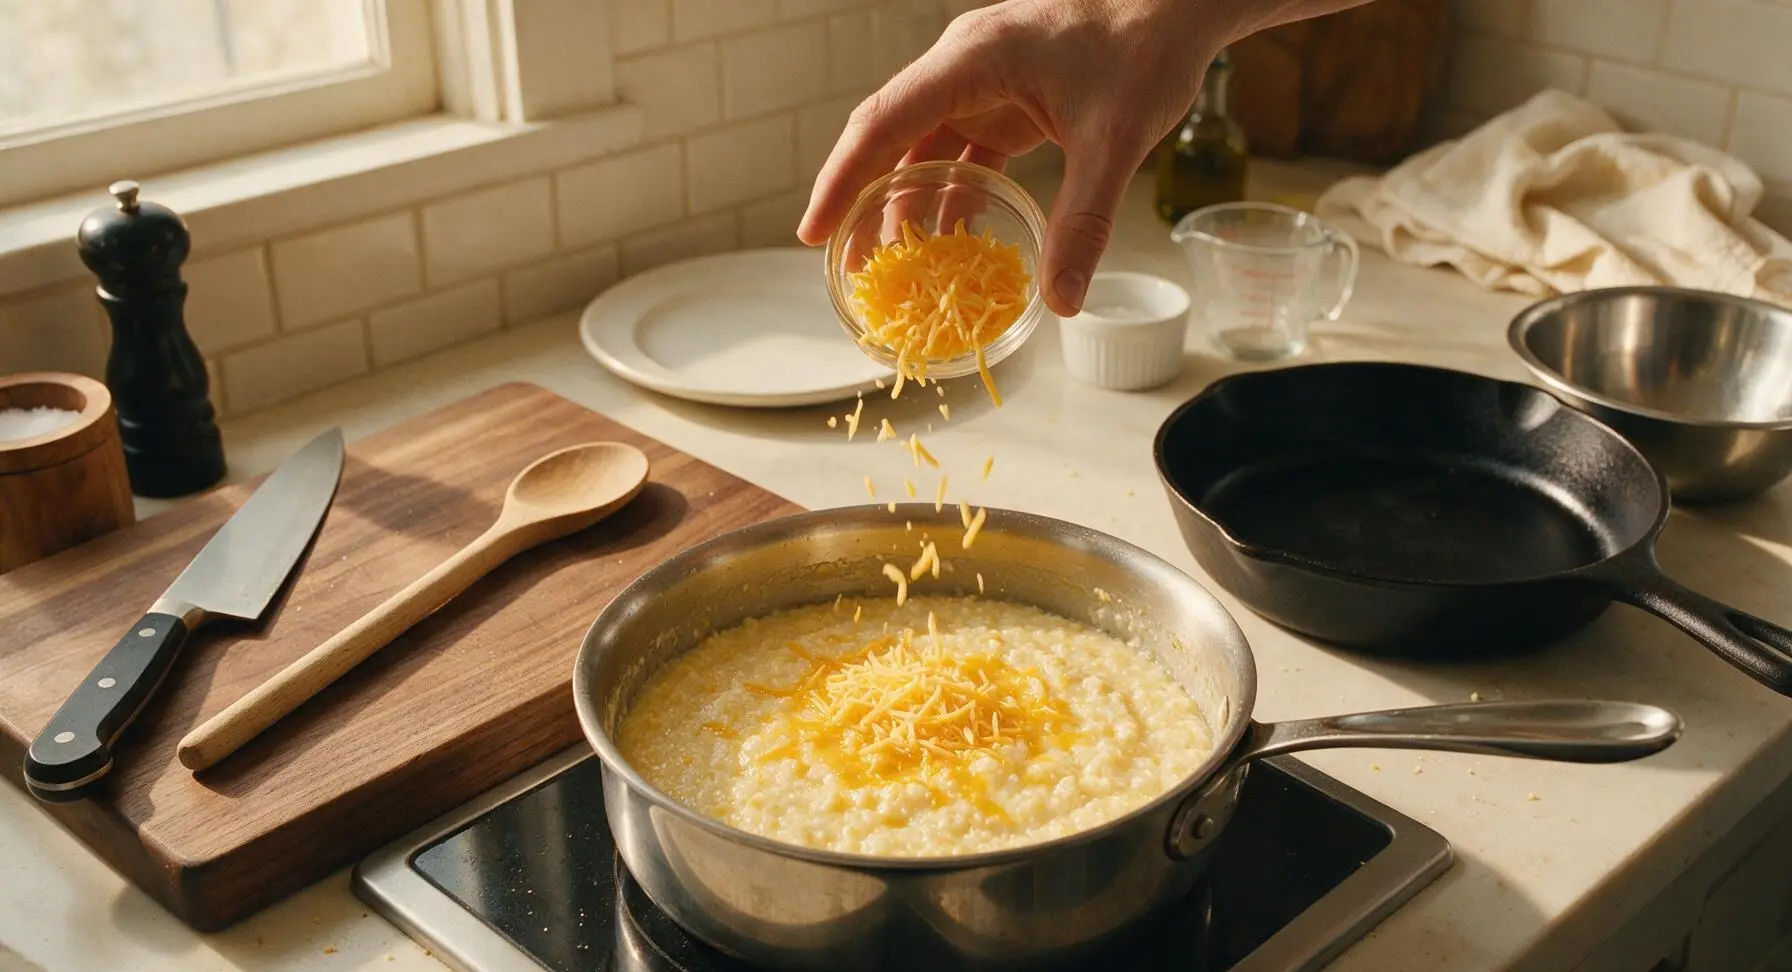
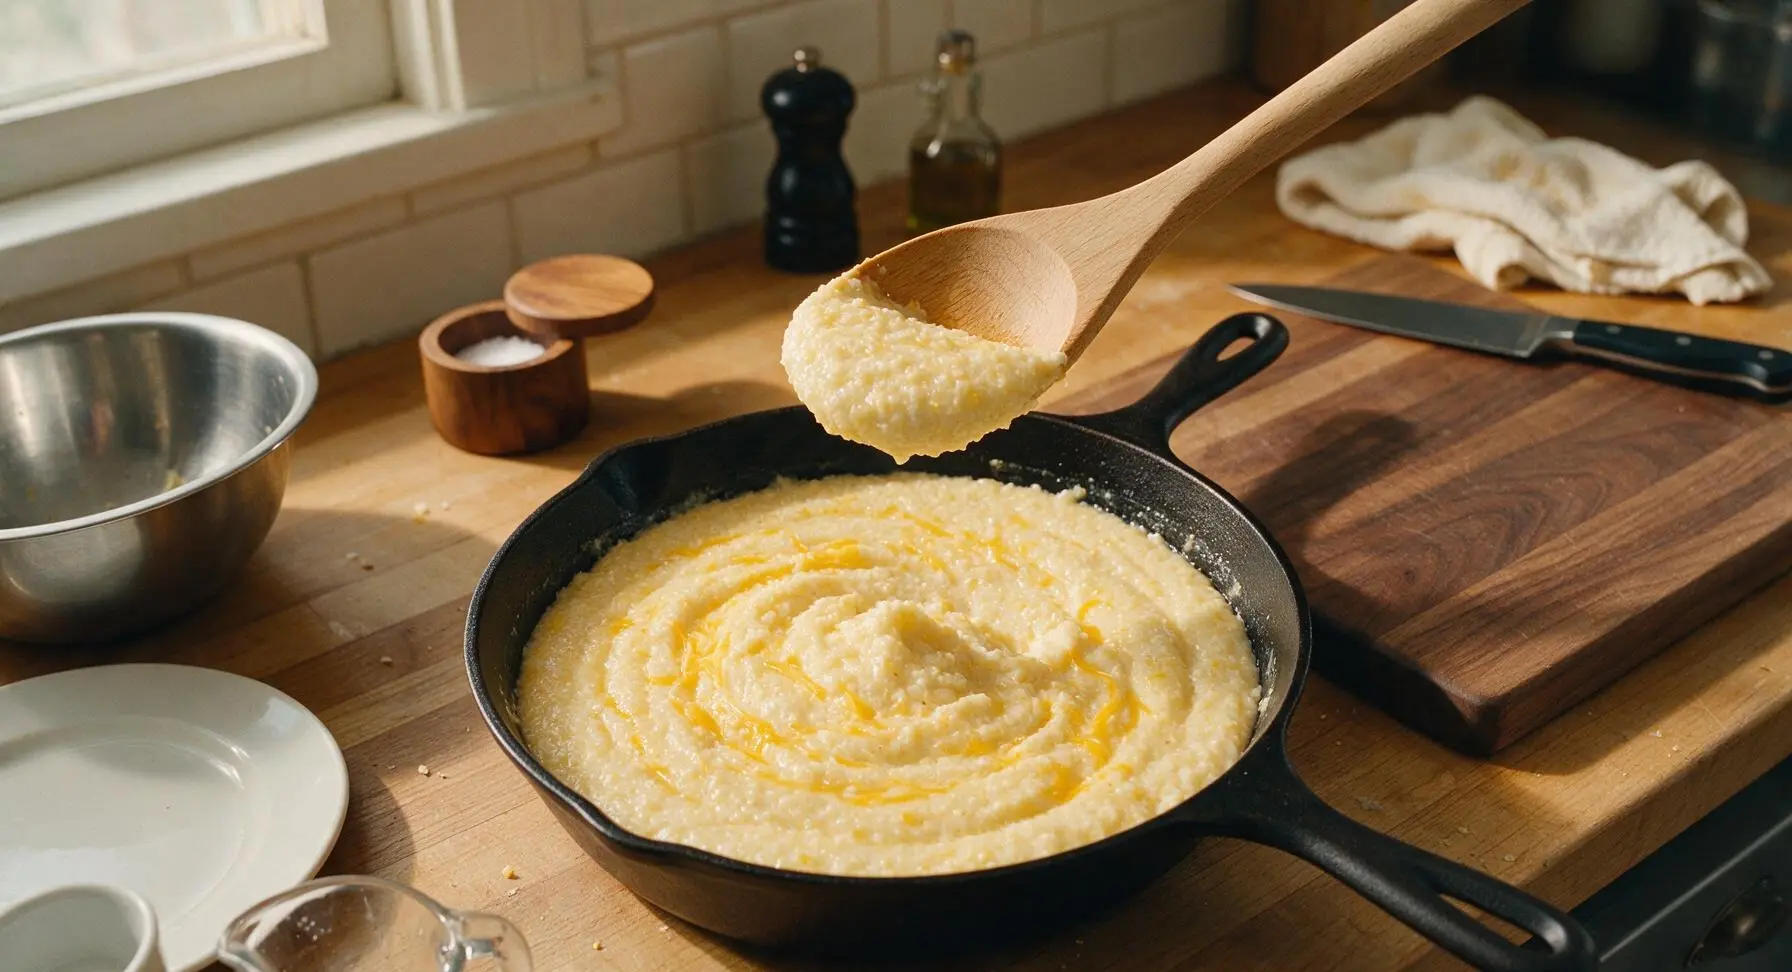
Add 3/4 cup of the grated sharp cheddar to the warm grits, reserving the remaining 1/4 cup for garnish. Stir gently with the beech wood spoon for 1 to 2 minutes, until the cheese is fully melted and distributed evenly throughout the grits. Do not over-stir, as this can overdevelop the corn starch and make the grits gluey and heavy in texture. The final consistency should be thick but softly pourable, spreading slowly when spooned onto a plate.
Rest and serve warm
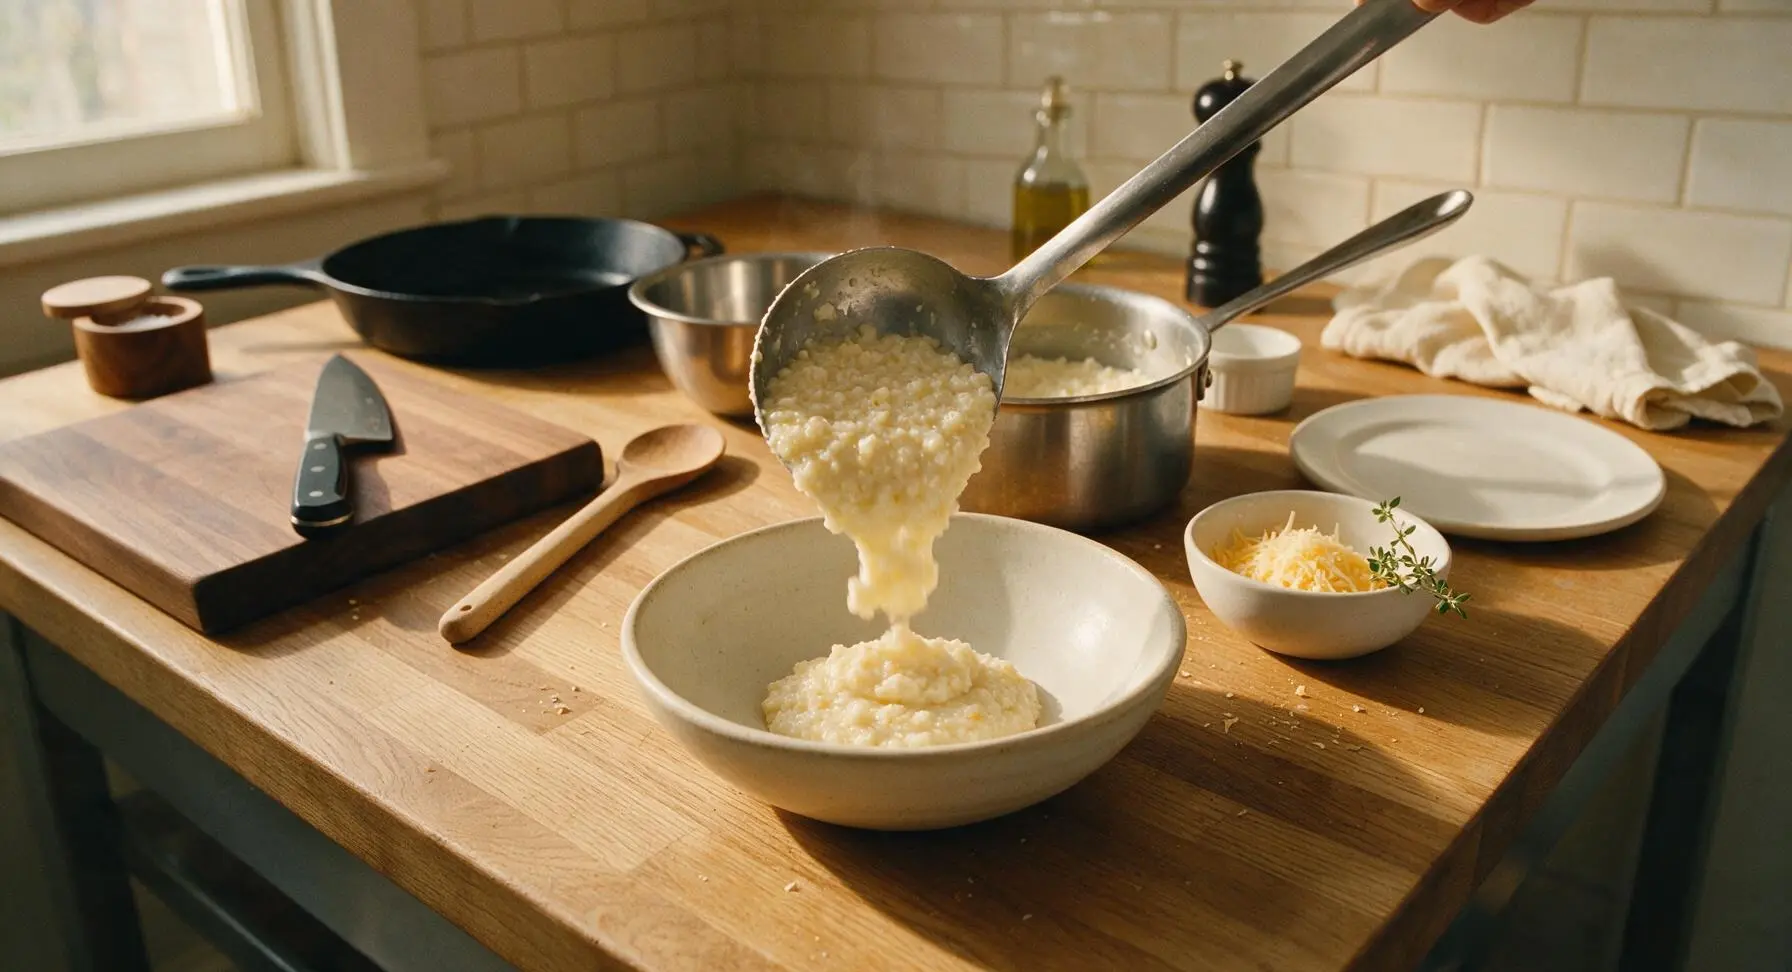
Let the grits rest, uncovered, for 3 minutes to thicken slightly and set. Spoon the warm grits into the off-white hand-thrown ceramic serving bowl, mounding them gently in the center. Top with the reserved 1/4 cup grated cheddar, a light crack of extra black pepper, and a small sprig of fresh lemon thyme plucked from the potted plant on the counter. Serve immediately while warm, as grits will thicken and firm up significantly as they cool.
Tips
2.Stream grits slowly into simmering liquid while whisking nonstop: dumping grits all at once into hot liquid causes the outer starch layer to gelatinize immediately, forming hard, dry lumps that cannot be broken down no matter how long you stir, resulting in a grainy, uneven texture.
3.Keep the heat at the lowest setting during simmering: high heat will scald the milk and burn the grits that settle to the pan bottom, creating a bitter, off-flavor that ruins the entire batch. Low, gentle heat coaxes out the corn’s natural sweetness and creates a silkier texture.






Made a big batch of these for weekly meal prep and they held up so much better than regular grits! I portioned them out with roasted shrimp and cajun seasoning for quick work lunches, zero grainy texture after reheating. 10/10 will make again.
Brought these to our neighborhood block party potluck last weekend and people were begging for the recipe! I added a handful of shredded sharp cheddar and some diced green chiles to the pot right at the end, everyone went crazy for them. SO good.
So happy I found this easy hominy grits recipe! I’m gluten free and always looking for quick side dishes that don’t require a million fancy ingredients. These came together in 25 minutes exactly like the recipe said, paired amazing with my fried catfish last night.
Wait, hominy grits are different from regular grits?? I had no idea, I grabbed a can of hominy from the pantry on a whim because I was sick of oatmeal and gave this a go. My roommate walked in and thought I ordered takeout from that fancy brunch spot downtown lmao
I’ve been making grits for 60 years and I have to say, this recipe is better than my old standby! The texture is perfectly silky, no lumps at all if you whisk constantly like the directions say. My grandkids asked for seconds, which never happens with my usual grits.
Made these last night with hot honey drizzled on top and a side of crispy fried chicken, absolutely unreal. The creamy texture cuts the heat from the hot honey so perfectly. I’ll be making these every other week from now on.
I used vegetable broth instead of chicken broth to make these vegetarian, and they still turned out so rich and flavorful! Topped them with roasted mushrooms and caramelized onions for a cozy meatless Monday dinner.
My kids loved it! I was worried the hominy texture would be weird for them because they’re super picky, but they ate every bite and asked if we could have “that creamy corn stuff” for breakfast tomorrow too. Total win.
Made these over the camp stove on our recent camping trip and they were so easy to throw together! We ate them with grilled sausage for breakfast after a long hike, everyone was raving. Way simpler than I thought they’d be for camp cooking.
I added a whole block of cream cheese to these because I saw someone do that with regular grits once, and let me tell you… zero regrets. So rich, so creamy, 10/10.
I’m a born and raised New Yorker who never had grits before moving down south for work, and this was the first recipe I tried. They turned out perfect on the first try! No lumps, super creamy, I get the hype now.
Love that this recipe doesn’t have any added sugar! So many grits recipes call for a spoonful of sugar which I hate, these are perfectly savory and creamy all on their own. Great base for all kinds of toppings.
25 minute cook time is no joke! I got home late from work, threw these together while my chicken baked, and had a whole hot dinner on the table in under half an hour. Total game changer for busy weeknights, I’m obsessed.
Took these to my church potluck last Sunday and got so many compliments. The hominy gives such a better depth of flavor than regular quick grits, I’ll never use the instant stuff again.
Made these after a late night out with friends and they single handedly cured my hangover. Topped with bacon, cheese, and a runny egg, chef’s kiss. So comforting.
I was skeptical of hominy because I only ever had it in posole before, but these grits converted me. Creamy, savory, the perfect side for my grilled pork chops last night. Will be making again.
OMG, I tossed in three cloves of roasted garlic while simmering these and it was chef’s kiss. The mellow garlic flavor mixed with that rich, creamy corn taste? Insanely good. Do yourself a favor and add the roasted garlic, you won’t regret it.