
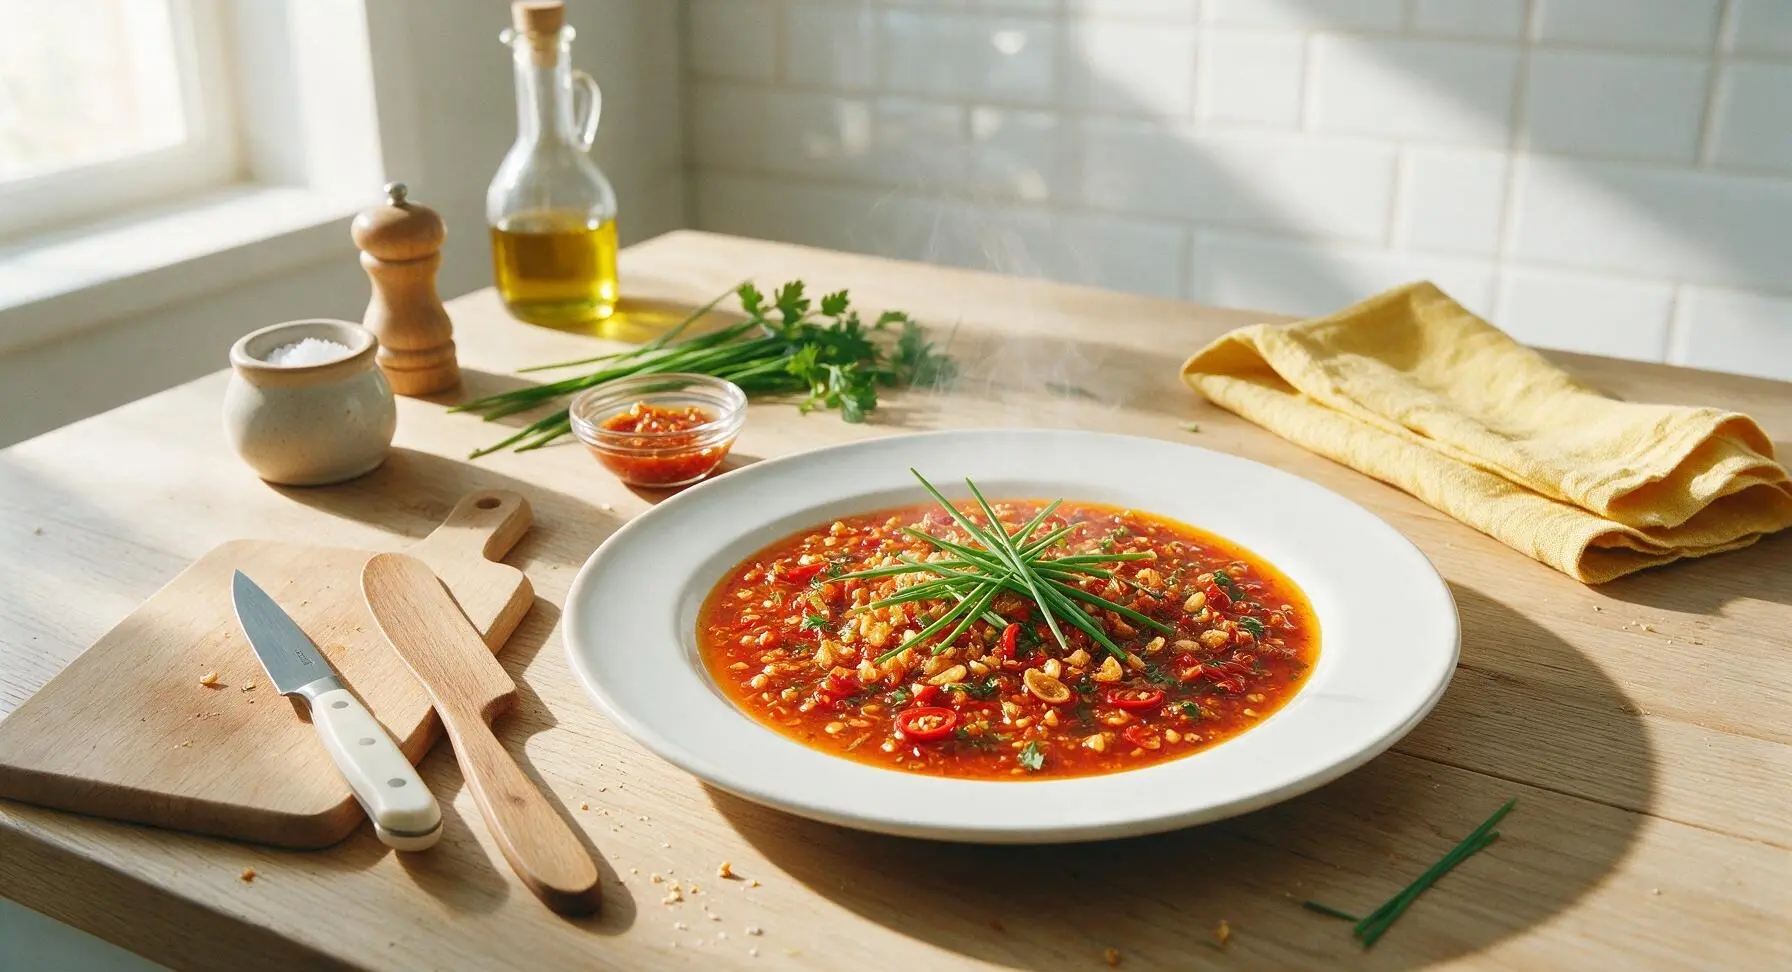
hot garlic sauce

title 1
hot garlic sauce
⏱️ cook time 8 minutes
🍽️ servings 8
⚡ Difficulty easy

intro

Bold, aromatic hot garlic sauce balances nutty fried garlic, tangy vinegar, spicy chili, and subtle sweet notes. Perfect for dipping, stir-fries, or grilled foods, ready in under 20 minutes.

Ingredients
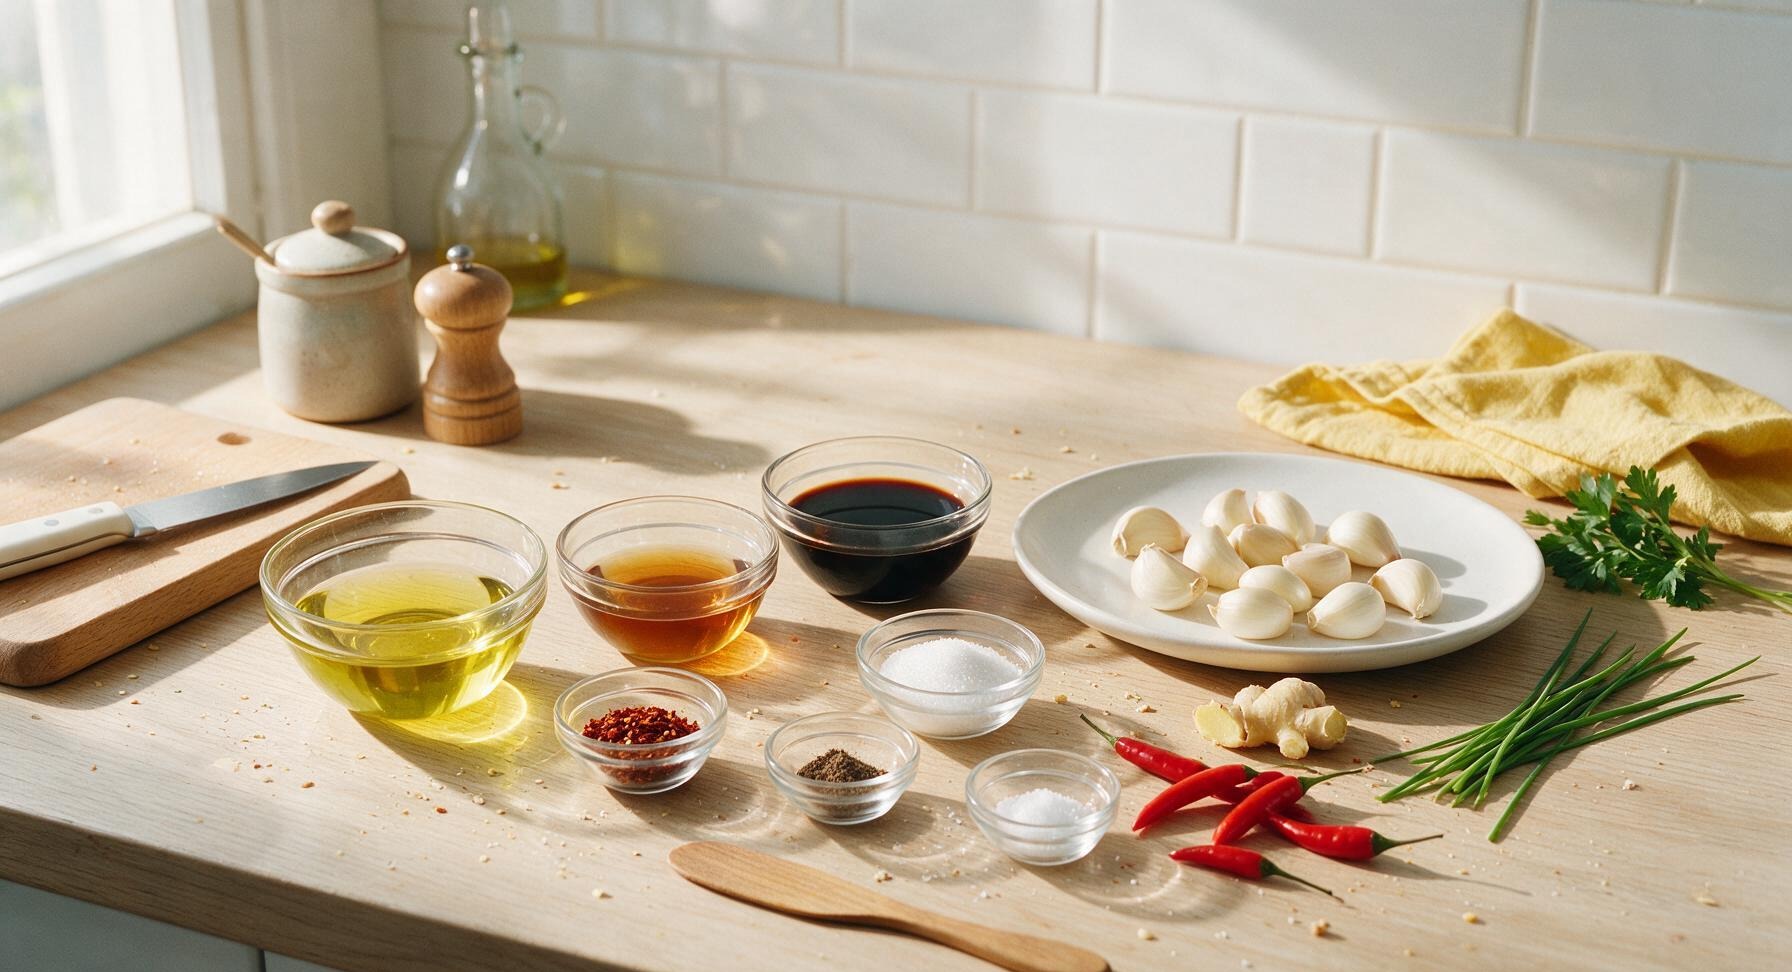
Fresh garlic cloves 12 cloves (approx 60g)
Fresh red Thai chilis 6 (approx 20g, seeds retained for heat)
Fresh ginger 1 tsp (5g, peeled)
Neutral canola oil 1/3 cup (80ml)
Light soy sauce 2 tbsp (30ml)
Chinkiang black vinegar 1.5 tbsp (22ml)
Granulated white sugar 1 tbsp (12g)
Red chili flakes 1 tsp (3g)
Sichuan peppercorn powder 1/4 tsp (0.5g, optional, for numbing heat)
Kosher salt 1/4 tsp (1g, adjust to taste)

Steps

1

Prep Garlic Aromatics

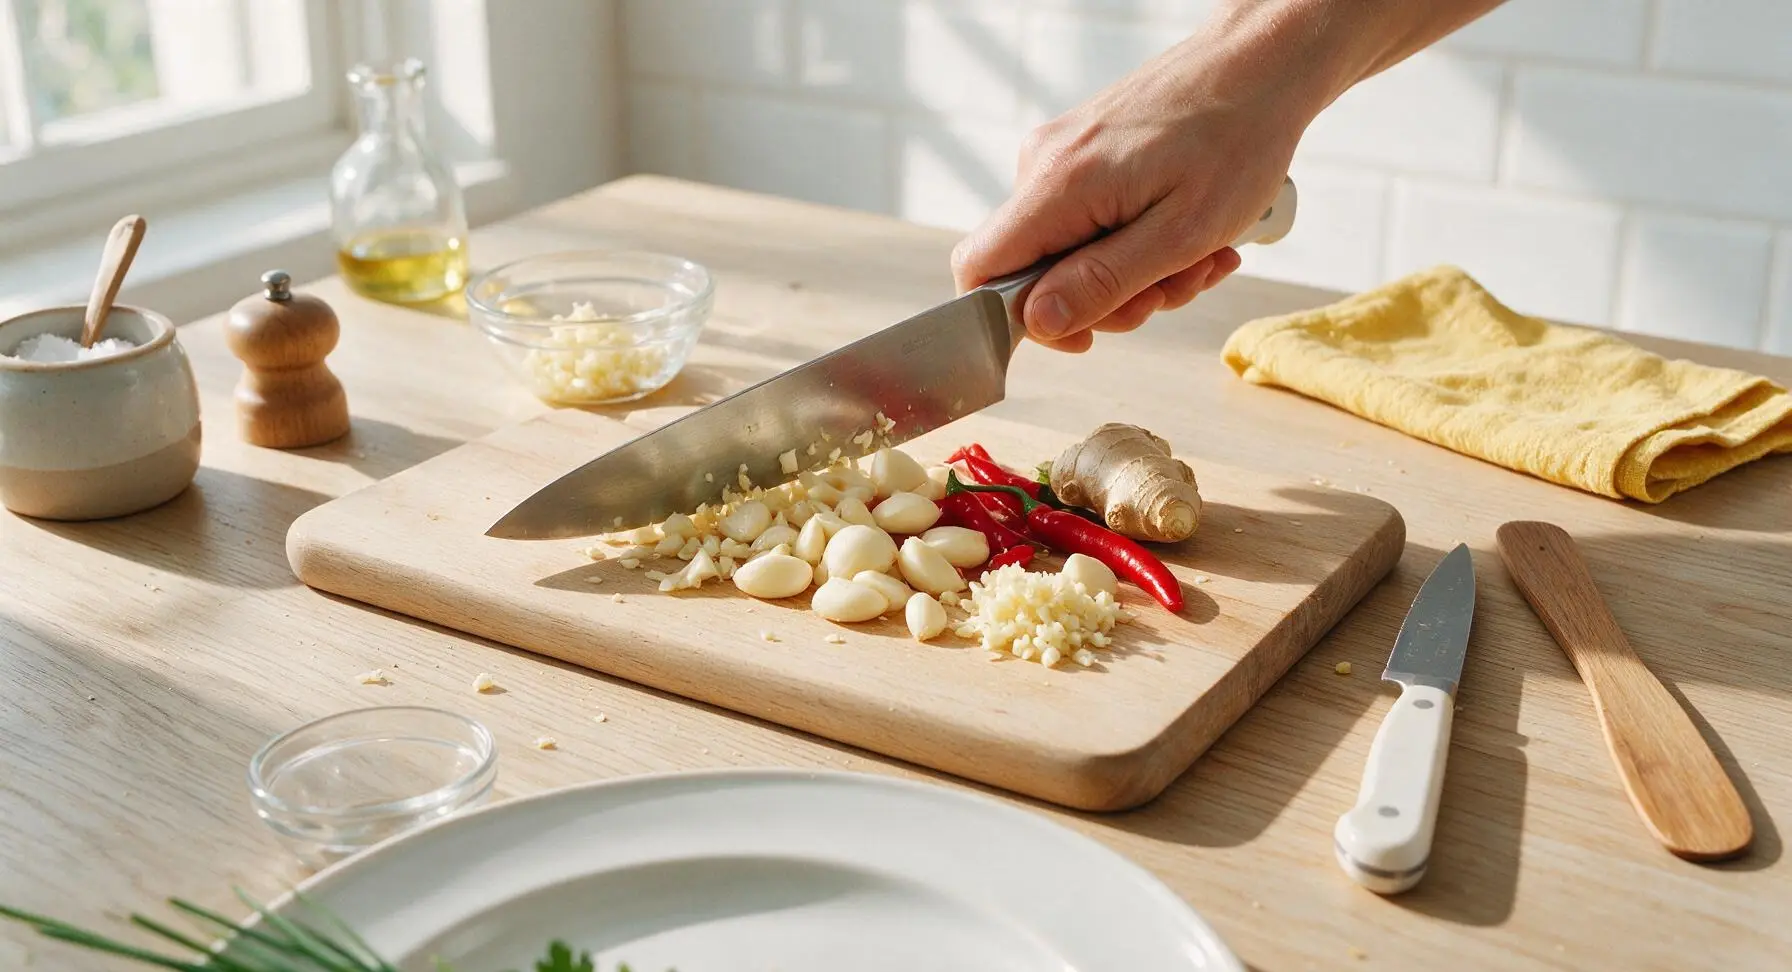
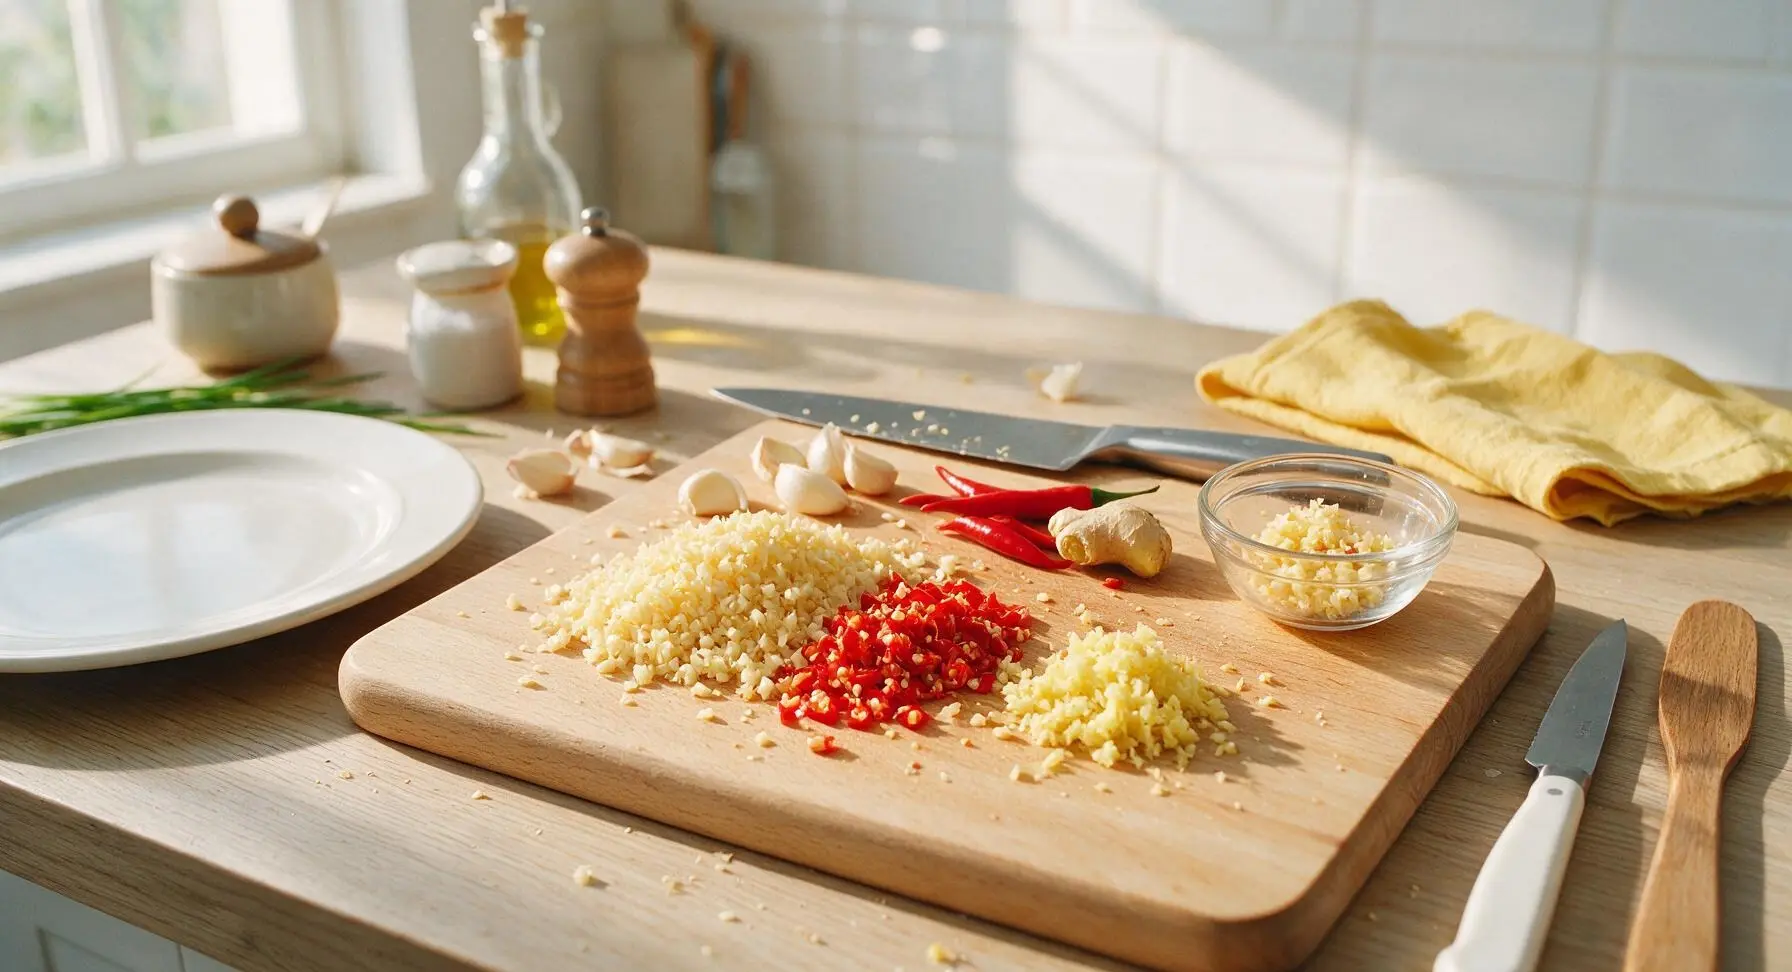
Place peeled garlic cloves, fresh red Thai chilis, and ginger knob on the honey-toned beech wood cutting board. Using the 6-inch stainless steel chef's knife, finely mince garlic to 1mm-sized pieces (avoid mashing into a paste, as distinct bits create better texture), finely chop chilis (retain seeds for maximum heat), and mince ginger until no tough fibrous strands remain. Set aside 1/3 of the minced garlic in one clear glass prep bowl to add later, which preserves a bright, fresh garlic flavor. This step takes approximately 6 minutes.
Step 1
step1:Prep Garlic Aromatics
Step 1
step1:Prep Garlic Aromatics
2

Mix Sauce Base

In a second clear glass prep bowl, combine light soy sauce, Chinkiang black vinegar, granulated sugar, red chili flakes, optional Sichuan peppercorn powder, and kosher salt. Stir with the small white ceramic tasting spoon until sugar and salt are fully dissolved, about 30 seconds. Taste the base: it should balance salty, tangy, and lightly sweet notes before cooking, adjust with extra sugar or soy if needed.

3

Warm Cooking Oil

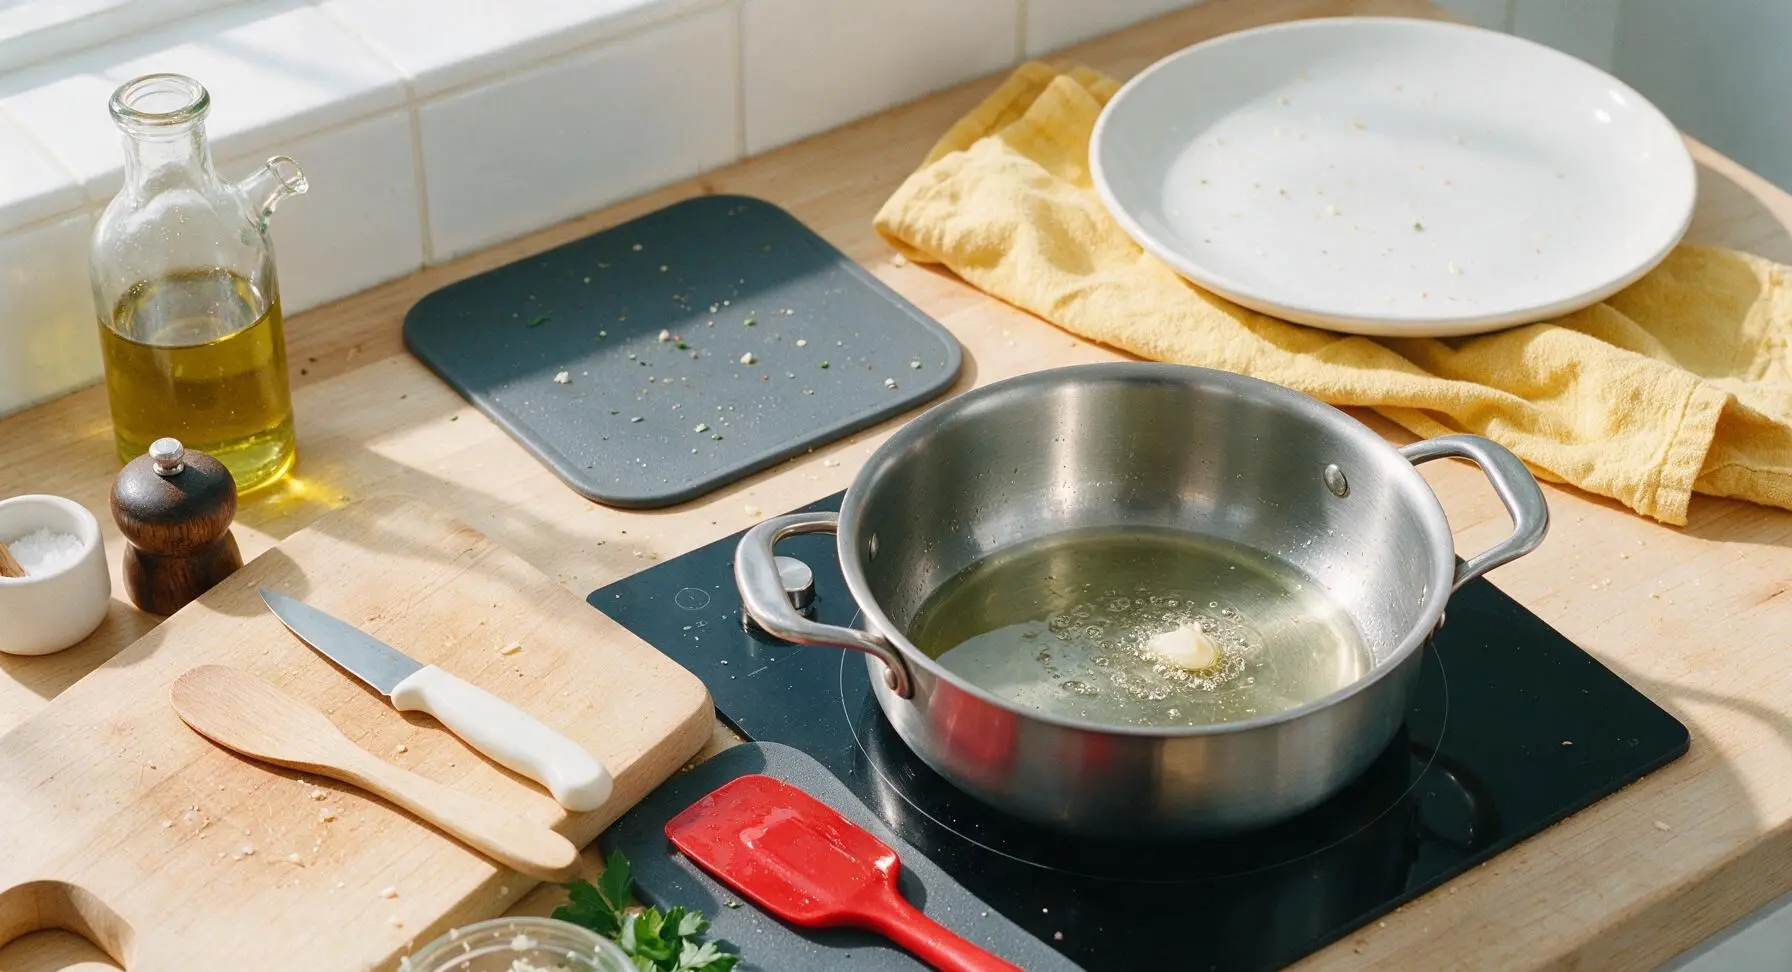
Move the 1.5-quart stainless steel saucepan from the charcoal silicone heat mat to the matte black portable induction cooktop. Pour in neutral canola oil, heat over medium-low heat to 300°F (150°C). Test temperature by dropping one small piece of minced garlic into the oil: it should sizzle gently immediately, not brown instantly (if it browns in 2 seconds, oil is too hot and will burn garlic; remove from heat for 1 minute to cool).
Step 3
step3:Warm Cooking Oil
4

Fry Aromatics Gently

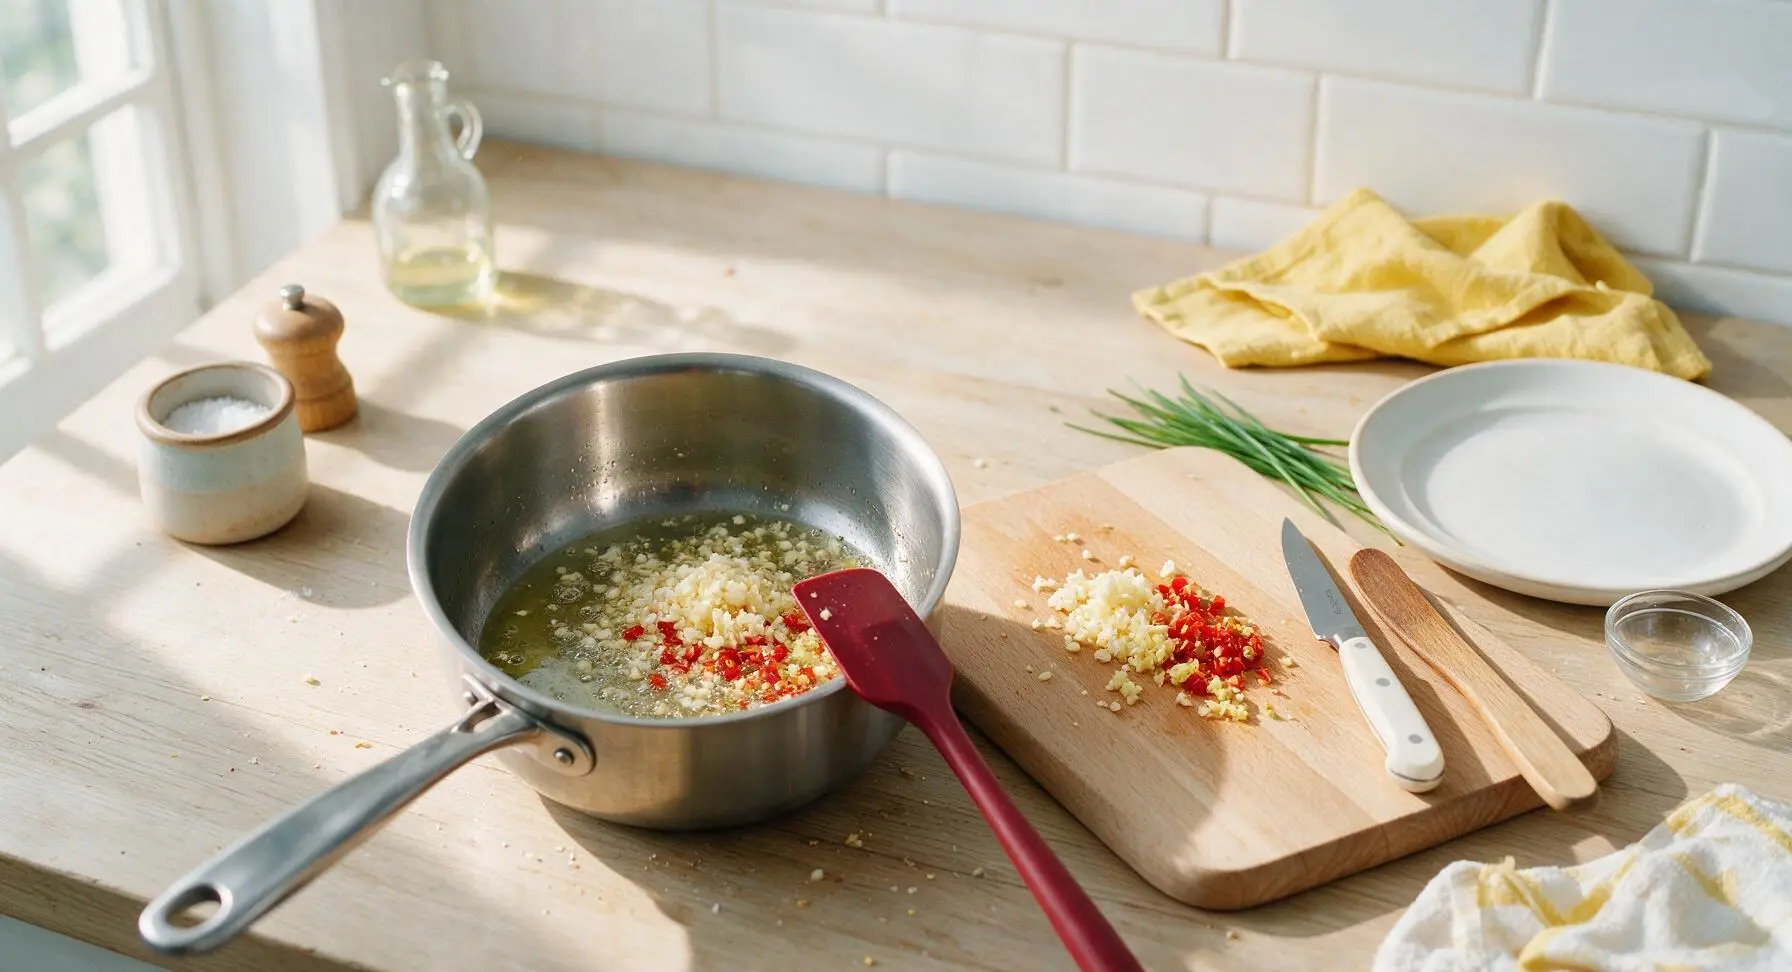
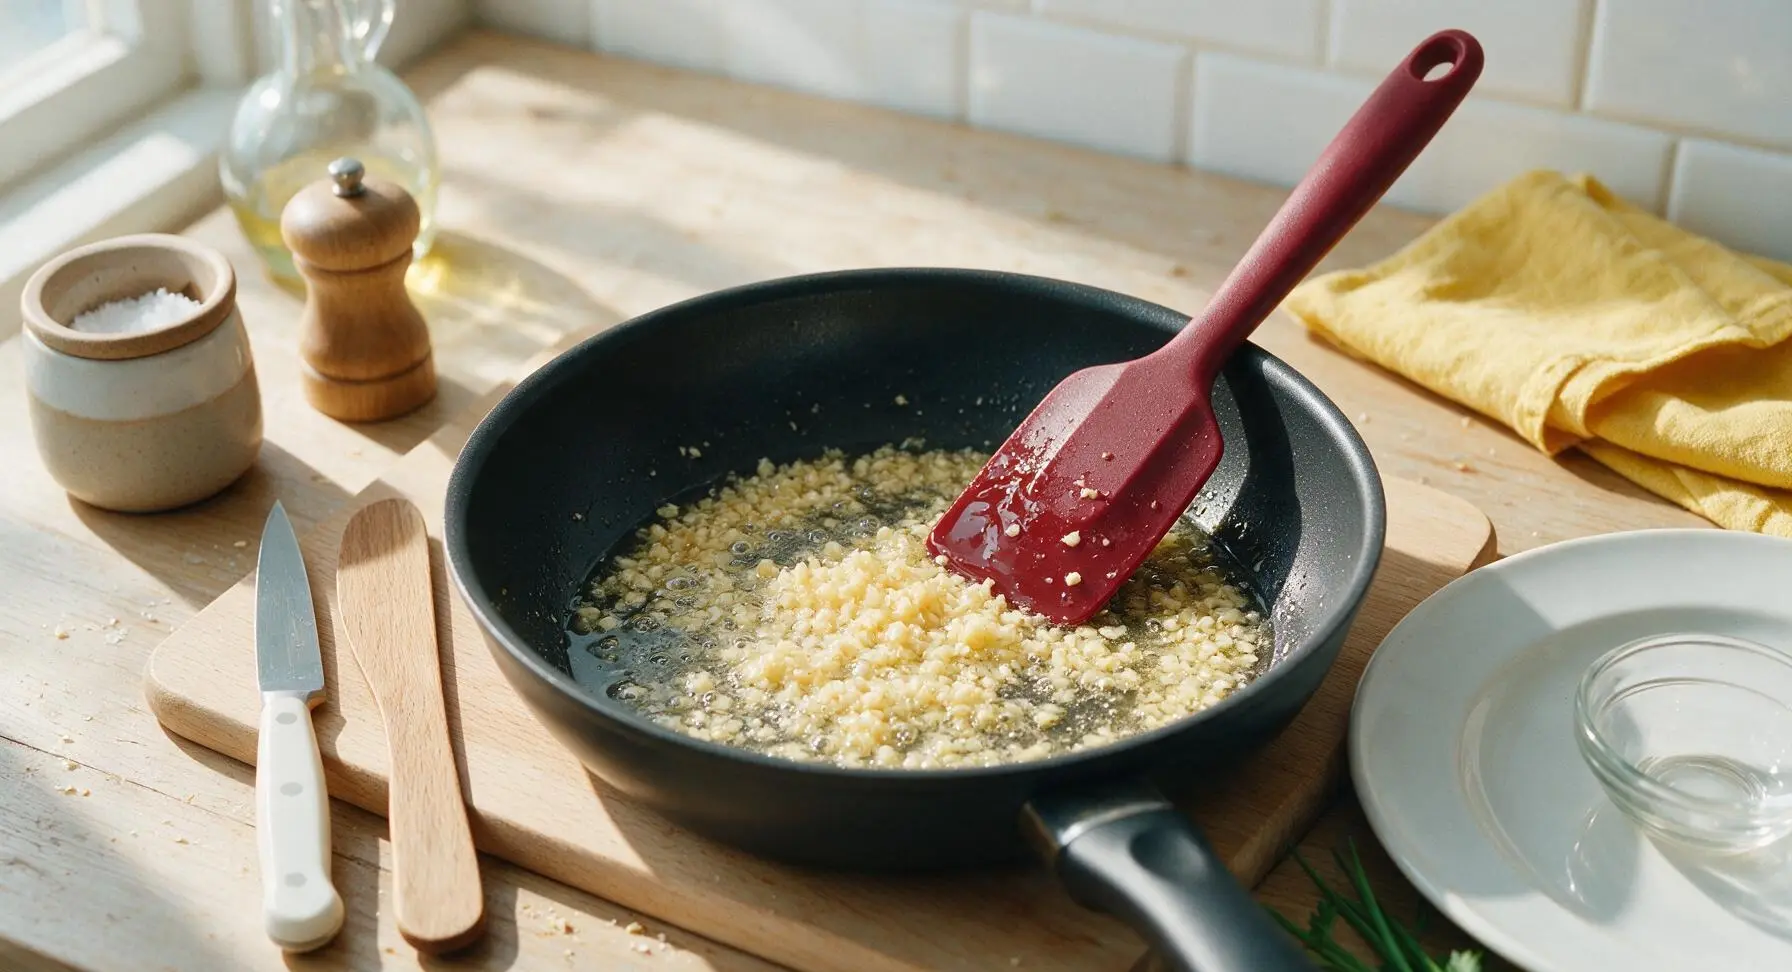
Add the larger 2/3 portion of minced garlic, chopped chilis, and minced ginger to the warm oil. Stir continuously with the deep red silicone spatula, cooking over medium-low heat for 3 minutes, until garlic turns a pale golden yellow and smells deeply savory and aromatic. Watch closely the entire time: do not let garlic turn dark brown, as this creates a harsh, bitter flavor.
Step 4
step4:Fry Aromatics Gently
Step 4
step4:Fry Aromatics Gently
5

Add Seasoning Mixture

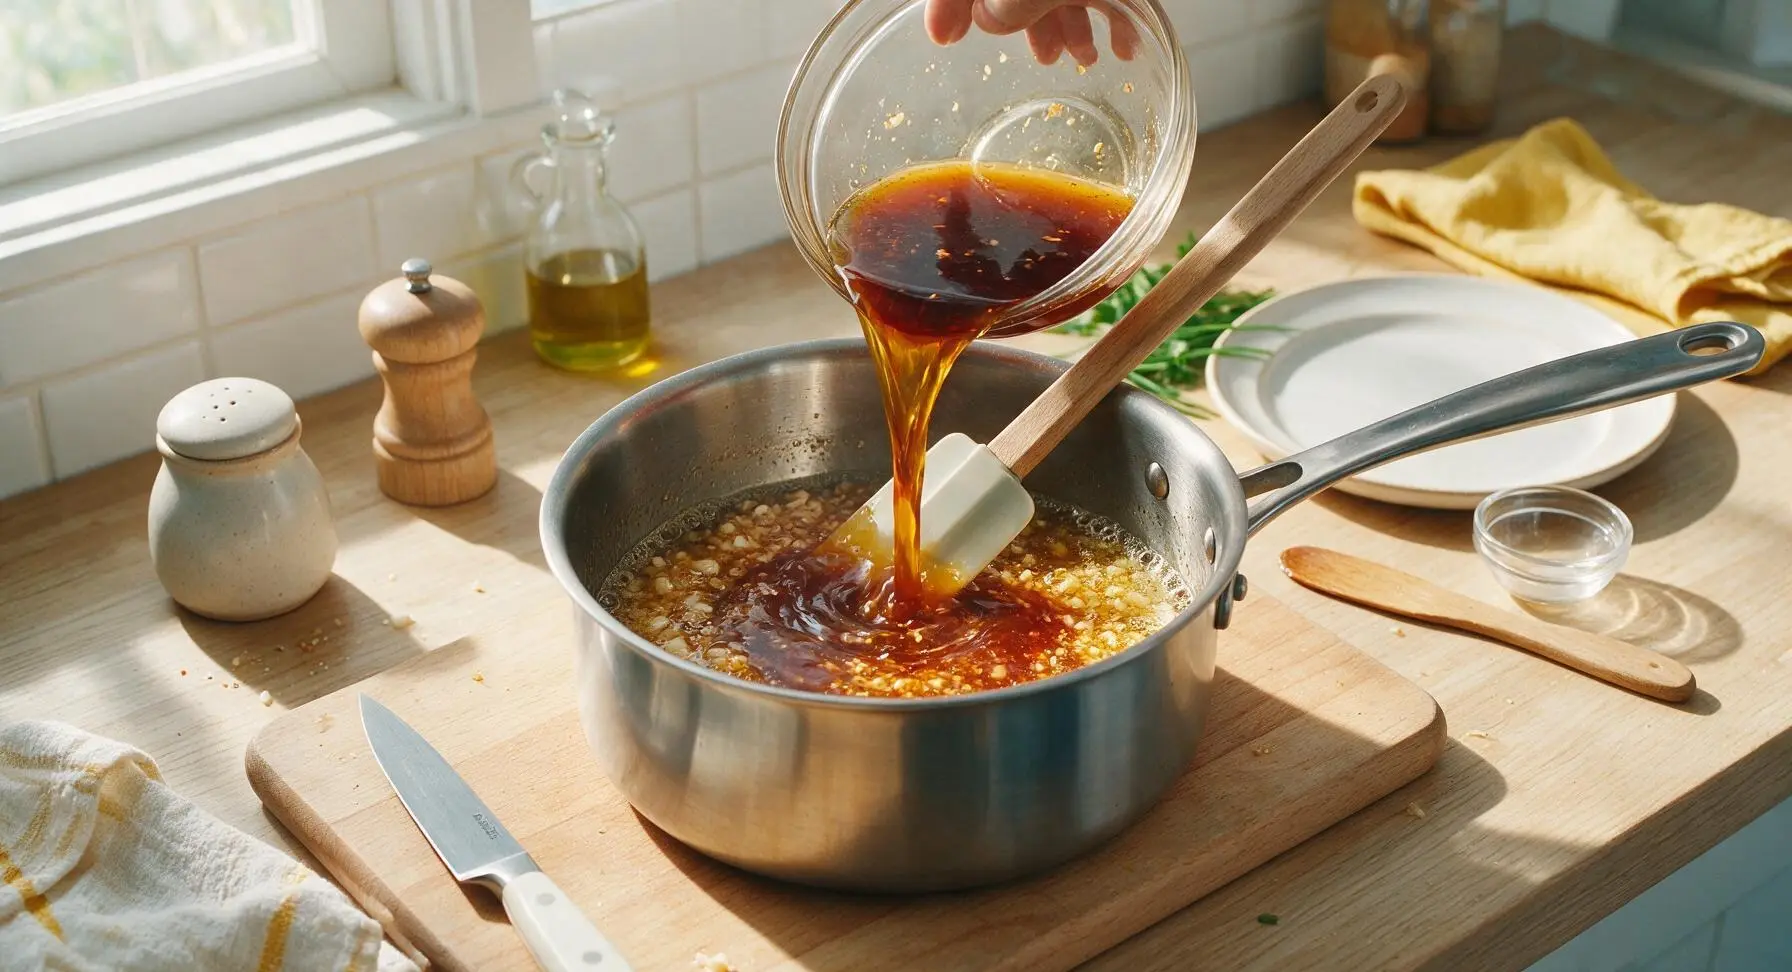
Pour the pre-mixed soy sauce and vinegar seasoning base into the saucepan with the fried garlic and oil. Stir constantly with the silicone spatula, bringing the mixture to a gentle simmer (small, steady bubbles breaking at the pan edges) over medium heat, about 2 minutes. The sauce will thin slightly as seasonings heat and emulsify with the oil.
Step 5
step5:Add Seasoning Mixture
6

Stir in Reserved Garlic

Turn off the induction cooktop heat, immediately stir in the reserved 1/3 portion of raw minced garlic. The residual heat of the sauce will gently cook the raw garlic just enough to mellow its sharp bite, while retaining a bright, pungent garlic flavor that avoids the bitterness of overcooked garlic. Let the sauce rest in the pan for 2 minutes to allow flavors to meld.
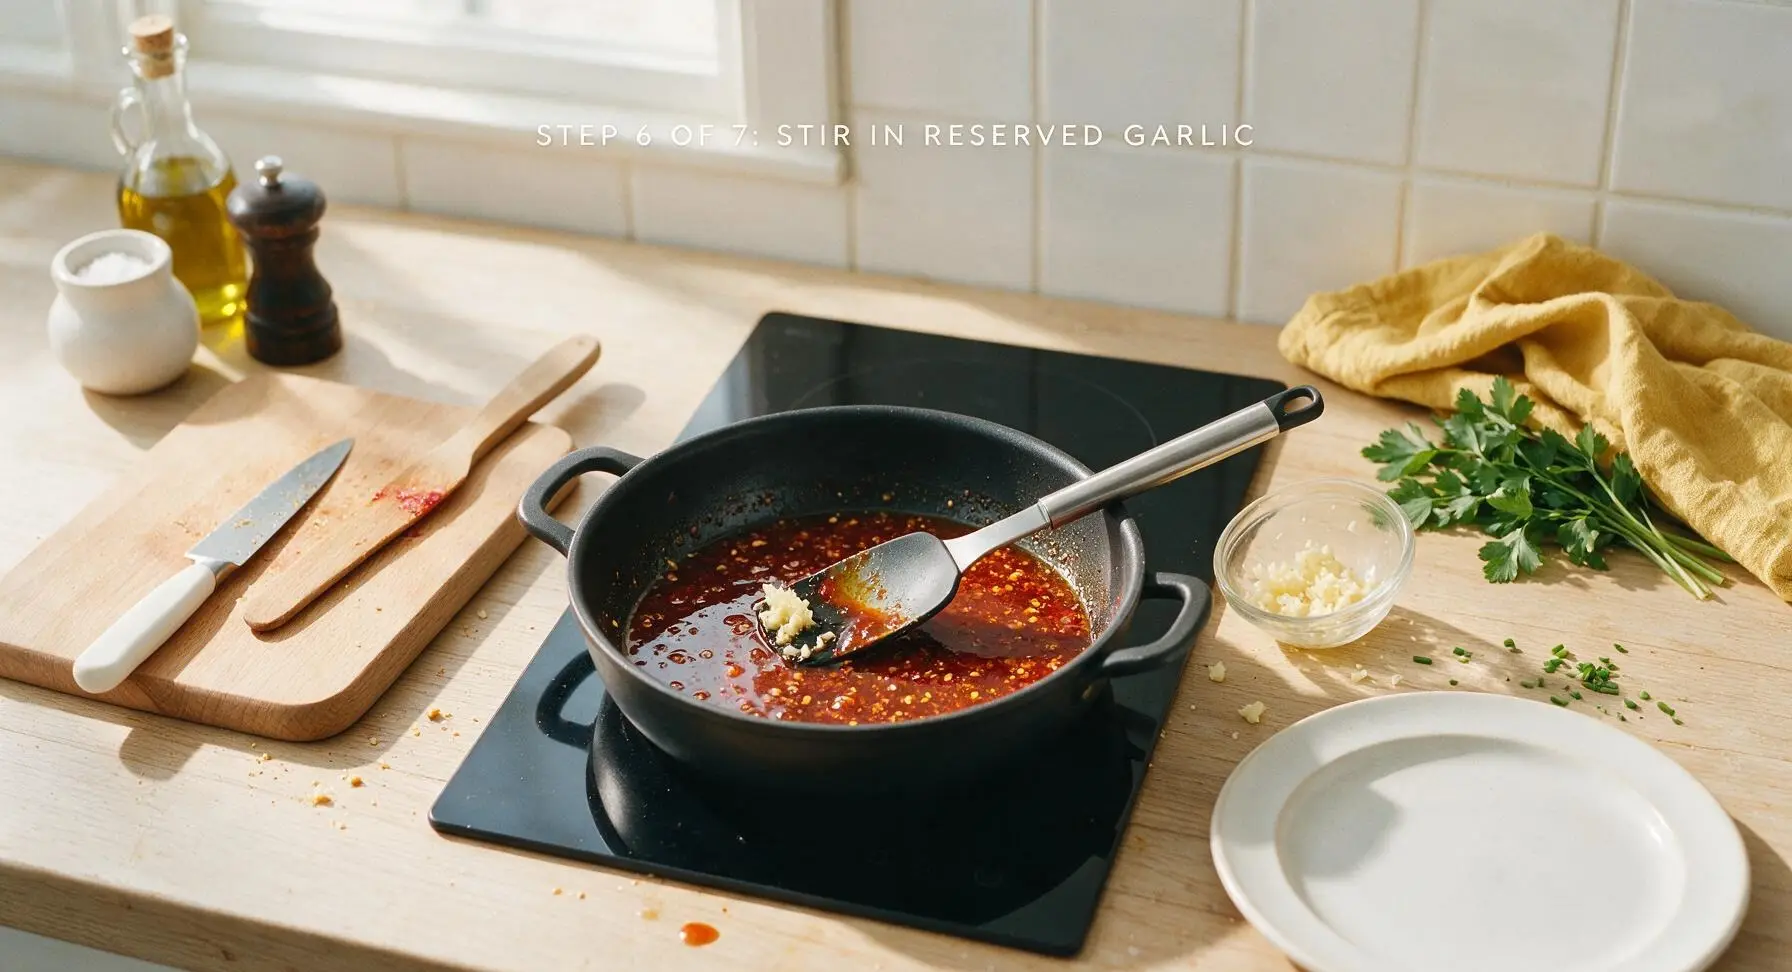
Step 6
step6:Stir in Reserved Garlic
7

Plate Finished Sauce

Carefully pour the hot garlic sauce from the saucepan into the waiting terracotta serving bowl. Scrape any remaining garlic and chili bits from the pan sides and bottom with the silicone spatula to ensure no flavorful bits are left behind. Let the sauce cool for 5 minutes before serving; it will thicken slightly as it cools to a perfect dippable, drizzleable consistency.
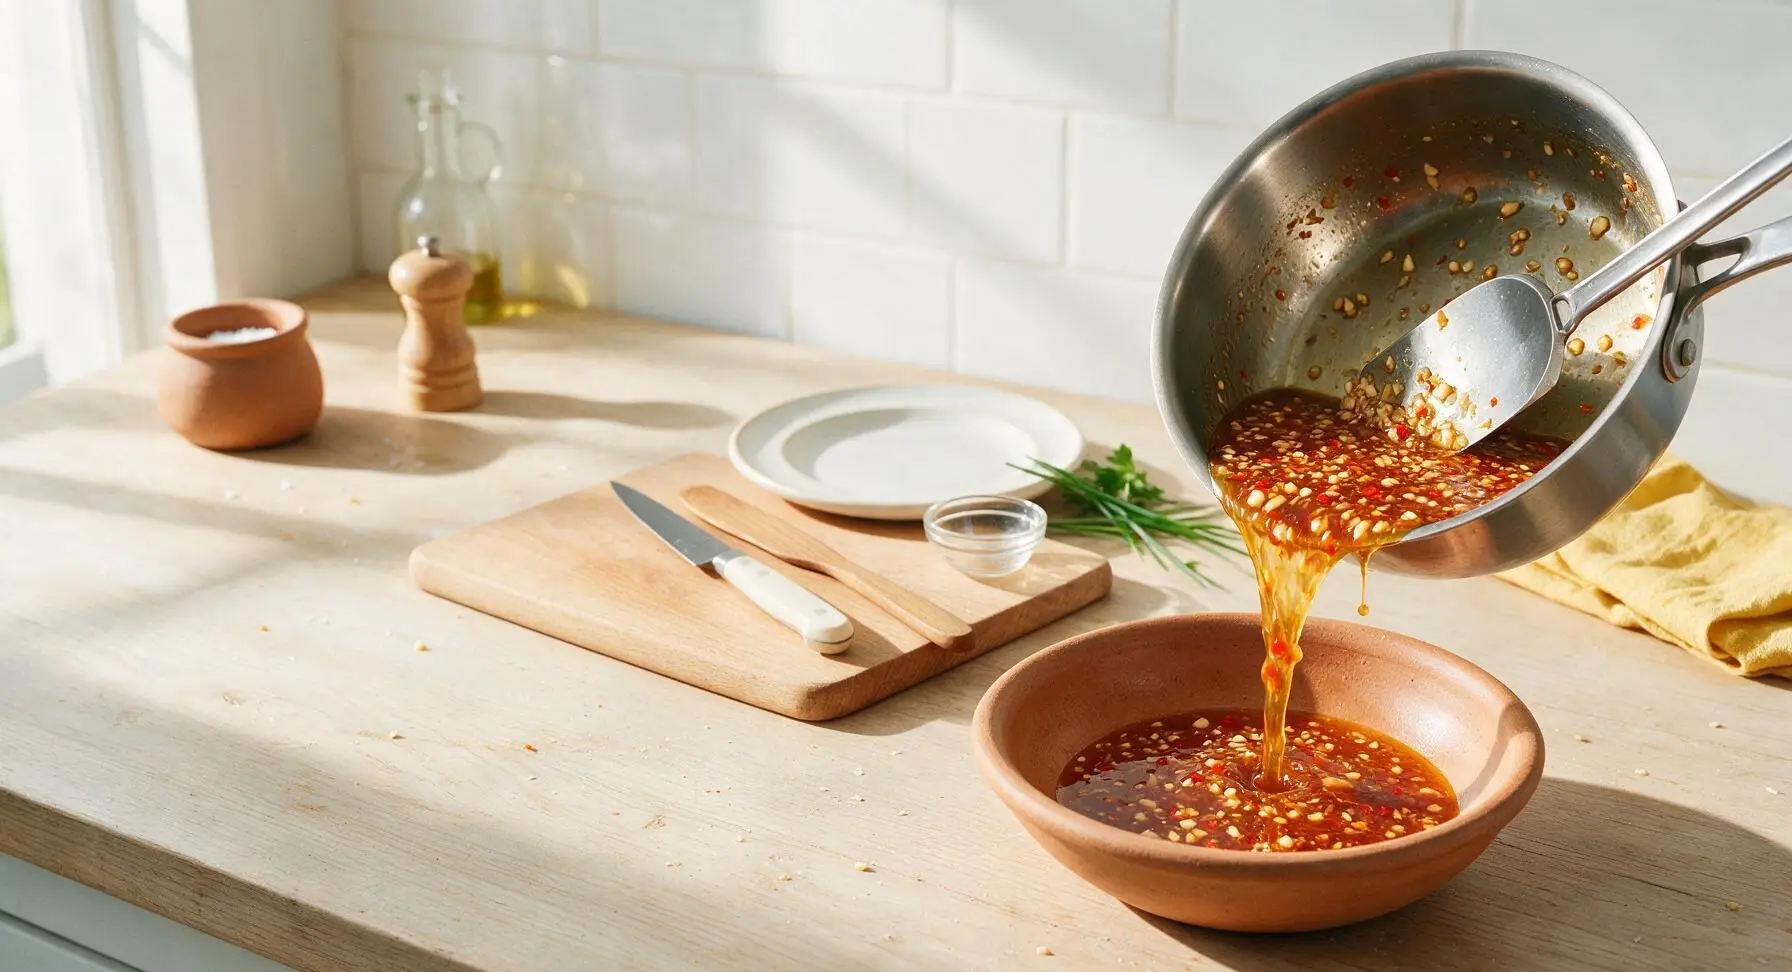
Step 7
step7:Plate Finished Sauce

Tips

1.Reserve 1/3 of the raw minced garlic to add after turning off the heat: fried garlic adds deep, nutty, caramelized aroma, while the residual-heat-cooked reserved garlic adds a bright, sharp garlic kick that prevents the sauce from tasting flat or overly muted. Skipping this step results in a one-note, dull garlic flavor.
2.Never heat the oil above 325°F (160°C) when frying garlic: garlic has high natural sugar content and burns in as little as 10 seconds at high heat, turning dark brown and imparting a harsh, bitter flavor that ruins the sauce. If you notice acrid-smelling dark brown garlic bits, discard the aromatic oil and start fresh.
3.Store cooled sauce in a sealed, sterilized glass jar in the refrigerator for up to 2 weeks: the oil and acid from vinegar act as natural preservatives. Let the sauce rest at room temperature for 10 minutes before use, as the oil will solidify slightly when cold; stir well to recombine before drizzling over noodles, dumplings, grilled meats, roasted vegetables, or fried rice.


✨ You May Also Like

Side Dishes
🍜 India

Velvety, aromatic all-purpose curry sauce perfect for tossing with roasted veggies, grilled protein, or rice for fast, cozy, flavorful meals.

⏱️ 25 minuteSide Dishes ★ 4.8
Side Dishes
🍜 Spain

Tender, starchy boiled yuca tossed in bright, garlicky citrus mojo sauce—an iconic, zesty side that pairs beautifully with roasted pork, grilled meats, and rice and beans.

⏱️ 40 minuteSide Dishes ★ 5
Side Dishes
🍜 United States

Tender, paper-thin potato flatbread, a beloved Norwegian-American Minnesota Christmas staple, griddled until softly spotted and served warm with butter.

⏱️ 1 hour 30Side Dishes ★ 4.6
Side Dishes
🍜 United States

Rich, deeply savory cured salt pork, a long-lasting kitchen staple perfect for frying crispy as a side or adding umami to stews, beans, and chowders.

⏱️ 7 days (2Side Dishes ★ 4.9
Side Dishes
🍜 United States

Crispy, tangy classic Southern fried green tomatoes with a crunchy cornmeal crust, served hot for a nostalgic, comforting summery bite.

⏱️ 25 minuteSide Dishes ★ 4.9
Side Dishes
🍜 United States

Moist, golden-crusted savory muffins with sweet corn, zesty jalapeño, and melted cheddar, perfect for pairing with smoky summer grilled fare.

⏱️ 30 minuteSide Dishes ★ 4.9

hot garlic sauce:Frequently Asked Questions

1.How long will homemade hot garlic sauce stay fresh in the refrigerator? ▾
When stored in a clean, airtight glass jar with a tight-sealing lid, this sauce will stay fresh for up to 2 weeks in the fridge. Always use a clean, dry spoon to scoop servings to avoid introducing bacteria that cause early spoilage, and give the jar a quick shake before each use to re-combine separated oil and solids.
2.Can I use dried garlic instead of fresh garlic cloves for this recipe? ▾
I strongly recommend sticking with fresh garlic to get that signature nutty, mellow fried garlic depth that defines this sauce. Dried garlic has a sharper, less rounded flavor and burns extremely quickly when fried, leading to a bitter, unpleasant aftertaste that throws off the sauce’s balanced sweet, tangy, spicy profile.
3.What makes this hot garlic sauce different from standard store-bought chili garlic sauce? ▾
This version leans into rich, nutty notes from slowly fried fresh garlic, rather than the sharp, raw garlic punch common in jarred chili garlic sauces. It balances bright vinegar tang, subtle warm sweetness, and gentle heat from fresh Thai chilis for a more rounded, less harsh flavor that works across far more dishes than standard store-bought options.
4.Can I adjust the spice level if I don’t tolerate extremely hot food? ▾
Absolutely! Heat level is totally customizable here. For milder sauce, simply remove the seeds and white inner membranes from your fresh red Thai chilis before chopping, or cut the number of chilis in half and swap in a small amount of mild red bell pepper for bright color without extra burn. Taste as you go to hit your perfect heat level.
5.Why did my fried garlic turn bitter the last time I tried making a similar sauce? ▾
Bitter fried garlic almost always comes from cooking it over too high heat or leaving it on the stove a minute too long. Garlic goes from perfectly golden and nutty to burnt and bitter in as little as 30 seconds, so keep your heat at medium-low, stir constantly as it fries, and pull the pan off heat the second the garlic turns pale golden.
6.What can I use as a substitute if I don’t have canola oil on hand? ▾
Stick with other neutral, high-smoke-point oils to avoid overpowering the garlic and chili flavors. Great swaps for canola include refined avocado oil, standard vegetable oil, or light refined peanut oil. Skip strongly flavored oils like extra-virgin olive oil, toasted sesame oil, or walnut oil, as they will clash with the sauce’s bright, balanced profile.
7.Is the vinegar really a necessary ingredient, or can I skip it? ▾
That small amount of tangy vinegar is key to cutting through the rich oil and nutty fried garlic, so I don’t recommend skipping it. It balances the heat from chilis and subtle sweet notes to keep the sauce from tasting heavy or one-note. Plain white vinegar, unseasoned rice vinegar, or even apple cider vinegar all work beautifully here.
8.The recipe says this is ready in under 20 minutes—does it require long simmering or special equipment? ▾
No long simmering, canning, or fancy equipment is required at all! This sauce comes together in 15 to 20 minutes total, with most of that time spent slowly toasting garlic to that perfect nutty golden color. You can even mince your aromatics while the oil heats up to cut down on total prep time.
9.How do I get that subtle sweet note mentioned in the recipe description? ▾
That gentle, balancing sweetness comes from a tiny amount of added sugar—usually 1 to 2 teaspoons of white or light brown sugar, stirred in while the sauce is still warm so it fully dissolves. You don’t need much; the goal is not to make the sauce sweet, just to round out sharp tang, salt, and heat so no single flavor dominates.
10.Can I freeze this hot garlic sauce to extend its shelf life? ▾
Yes, this sauce freezes really well for up to 3 months. Portion it into ice cube trays, freeze solid, then pop the cubes out into a labeled freezer bag for easy single-serve use. Thaw cubes in the fridge overnight, or toss a frozen cube straight into a hot stir-fry with no extra thawing needed for cooked applications.
11.Can I swap dark soy sauce for the light soy sauce the recipe calls for? ▾
Stick with light soy sauce for this recipe, as dark soy sauce has a much deeper, slightly bitter, molasses-like flavor and dark color that will overpower bright garlic and chili notes. If you only have dark soy sauce, use half the called-for amount and add a tiny pinch of extra salt to make up for the reduced salt level.
12.How fine should I chop the garlic, ginger, and Thai chilis for the best texture? ▾
Aim for a fine, uniform mince for all three aromatic ingredients, about the size of a pinhead. This lets them fry evenly without burning too quickly, distributes their flavor evenly through the oil, and creates a pleasant, slightly chunky texture that works for both dipping and stir-frying, rather than big, harsh chunks of raw aromatic.
13.What extra mix-ins work well to customize this sauce to my taste? ▾
Once you take the sauce off the heat, you can stir in add-ins like a pinch of Sichuan peppercorn powder for tingly numbing heat, a teaspoon of toasted sesame seeds for extra nuttiness, a splash of fish sauce for umami depth, or a handful of chopped scallions for bright, fresh onion flavor. Skip watery add-ins that speed up spoilage.
14.Is it normal for the oil to separate from the solids in the stored sauce? ▾
Separation is totally normal for oil-based hot sauces like this! Since there are no added emulsifiers, the oil will rise to the top of the jar as the sauce sits, with garlic, chili, and ginger solids settling at the bottom. Just give the jar a good, vigorous shake for 10 to 15 seconds before each use to re-combine it into a smooth, consistent sauce.
15.How do I keep the fresh ginger from making the sauce taste stringy or fibrous? ▾
To avoid stringy bits, always peel fresh ginger with the edge of a spoon (which gets into nooks and crannies better than a vegetable peeler) before mincing, and cut against the fibrous grain of the ginger root as you chop. For an ultra-smooth texture, grate ginger on a microplane instead of mincing, which eliminates all tough, stringy bits entirely.
16.Can I make this sauce with less oil if I’m watching my fat intake? ▾
You can reduce the oil by up to a third without ruining the sauce, but keep in mind the oil acts as both a cooking medium for the garlic and a preservative that extends fridge life. If you cut back on oil, plan to use the sauce within 1 week, and note it will be thicker and paste-like, ideal for stir-fries but less perfect for dipping.
17.What are the best ways to use this hot garlic sauce? ▾
It’s incredibly versatile! It’s fully ready to use straight off the stove once slightly cooled, so you can serve it as a dip for dumplings, egg rolls, or crispy tofu with no extra cooking. Toss it into stir-fries, brush it on grilled meats or veggies during the last minute of cooking, stir it into mayo for spicy aioli, or mix it into fried rice for a quick flavor boost.

Comments (7)

2 weeks ago

My kids loved it!!! I was worried it would be too spicy for them so I cut the chili flakes in half, and they were dipping their chicken nuggets and egg rolls in it like it was ketchup. Game changer for busy weeknights when I don’t have time to make a complicated meal. Already added the ingredients to my weekly grocery list so I never run out.

1 week ago

That’s such a good call cutting the chili flakes for kids! I never thought of that, my 6 year old keeps complaining my food is “too mouth burny” so I’m definitely gonna try that adjustment this weekend.

5 days ago

Love that kid-friendly hack, Zoe! Cutting the chili flakes is such a smart move for little ones, and it’s so fun to hear your kids enjoyed it enough to dip their nuggets in it. Thanks for sharing the tip!

1 week ago

SO good! I brought a batch of this tossed with wings to our neighborhood potluck last weekend and people were begging me for the recipe. It’s got the perfect kick without being so hot you can’t taste the garlic, and it’s so easy even someone who burns toast can make it. No notes, will be making this for every game day from now on.

5 days ago

Made this for my partner who is obsessed with all things spicy and he said it’s better than the sauce at our favorite local Chinese spot. We tossed it with fried rice last night and I’m already thinking about what else to put it on – shrimp? Chicken? Veggie stir fry? The options are endless. So easy too, took 8 minutes exactly like the recipe said, zero stress after a long work day.

2 days ago

OMG this hot garlic sauce is a total game changer! I tossed it with crispy tofu and broccoli for our weeknight family dinner last night and even my super picky 7-year-old asked for seconds. Cooked up in literally 8 minutes just like the recipe says, no fancy ingredients needed. 10/10 will be making this every other week for meal prep!

yesterday

Wait did you use low sodium soy sauce or regular? I’m trying to cut back on salt but don’t want it to taste bland!

2 hours ago

So glad your family loved it, Mia! To answer Lila’s question too – low sodium soy sauce works perfectly here, just add a tiny pinch of extra salt at the end if you feel it needs it after tasting!

yesterday

I messed up the first batch by adding way too much red pepper flake lmao, but even then it slapped. Second time I measured correctly and wow, this is way better than the takeout hot garlic sauce I pay $3 extra for. Saved me so much money already.

2 hours ago

Same! I accidentally doubled the garlic on my first go and honestly? It was even better. Garlic lovers unite lol

30 minutes ago

Wait, quick question – can I make this ahead and store it in the fridge for meal prep? I made a single batch last night to toss with noodles and it was so tasty, but I wanna make a bigger batch for my work bowls all week if it holds up!

5 minutes ago

Great question, Sarah! This sauce stores perfectly in an airtight jar in the fridge for up to a week – just give it a good stir before drizzling, it might separate a tiny bit as it chills. Hope you love it on your work bowls!

5 minutes ago

Is there a good substitute for the rice vinegar? I ran out halfway through making this and panicked, used apple cider vinegar but it tasted a little off. Wanna know what to use next time so I don’t mess it up!

just now

Oh no, sorry the apple cider vinegar threw off the flavor! If you don’t have rice vinegar, white wine vinegar is the closest swap – just use the same amount the recipe calls for. You can also use plain white vinegar in a pinch, but cut it by 1/4 teaspoon and add a tiny pinch of sugar to mellow it out. Hope your next batch turns out perfect!



