
instant pot chicken breast
intro
Juicy, tender Instant Pot chicken breast ready in under 35 minutes, with zero dry rubbery texture. Perfect for quick weeknights, meal prep, salads, and sandwiches.
Ingredients
Steps
Season the Chicken Breasts
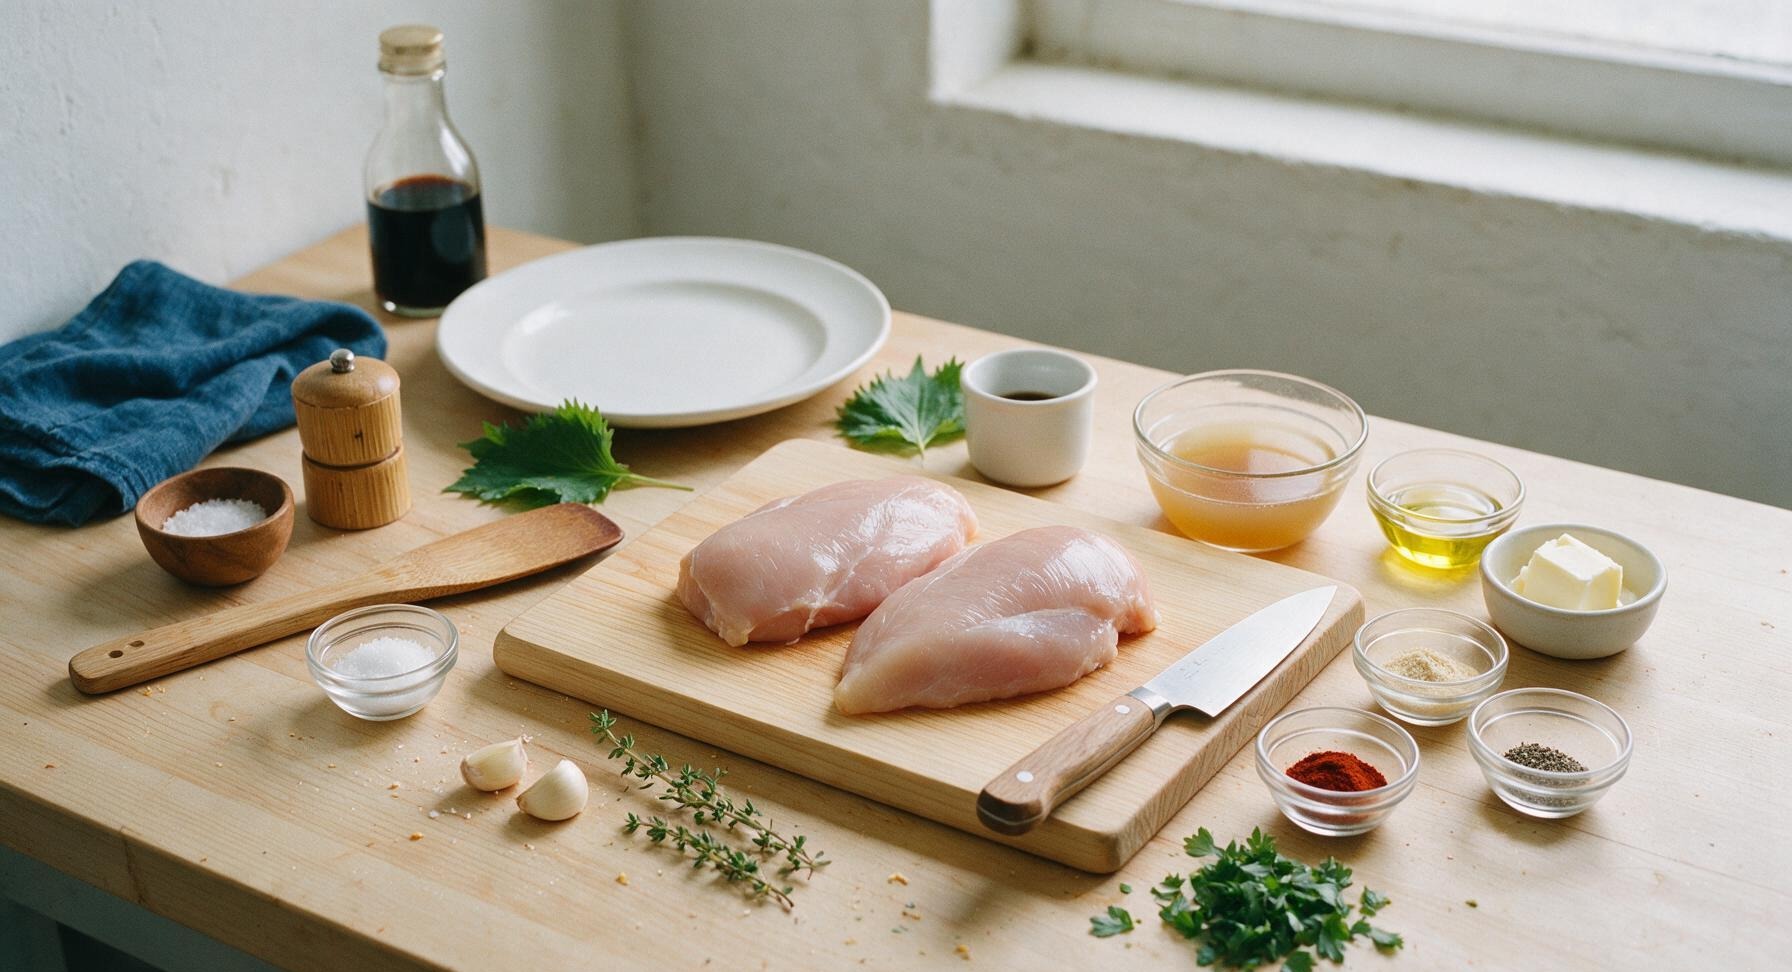
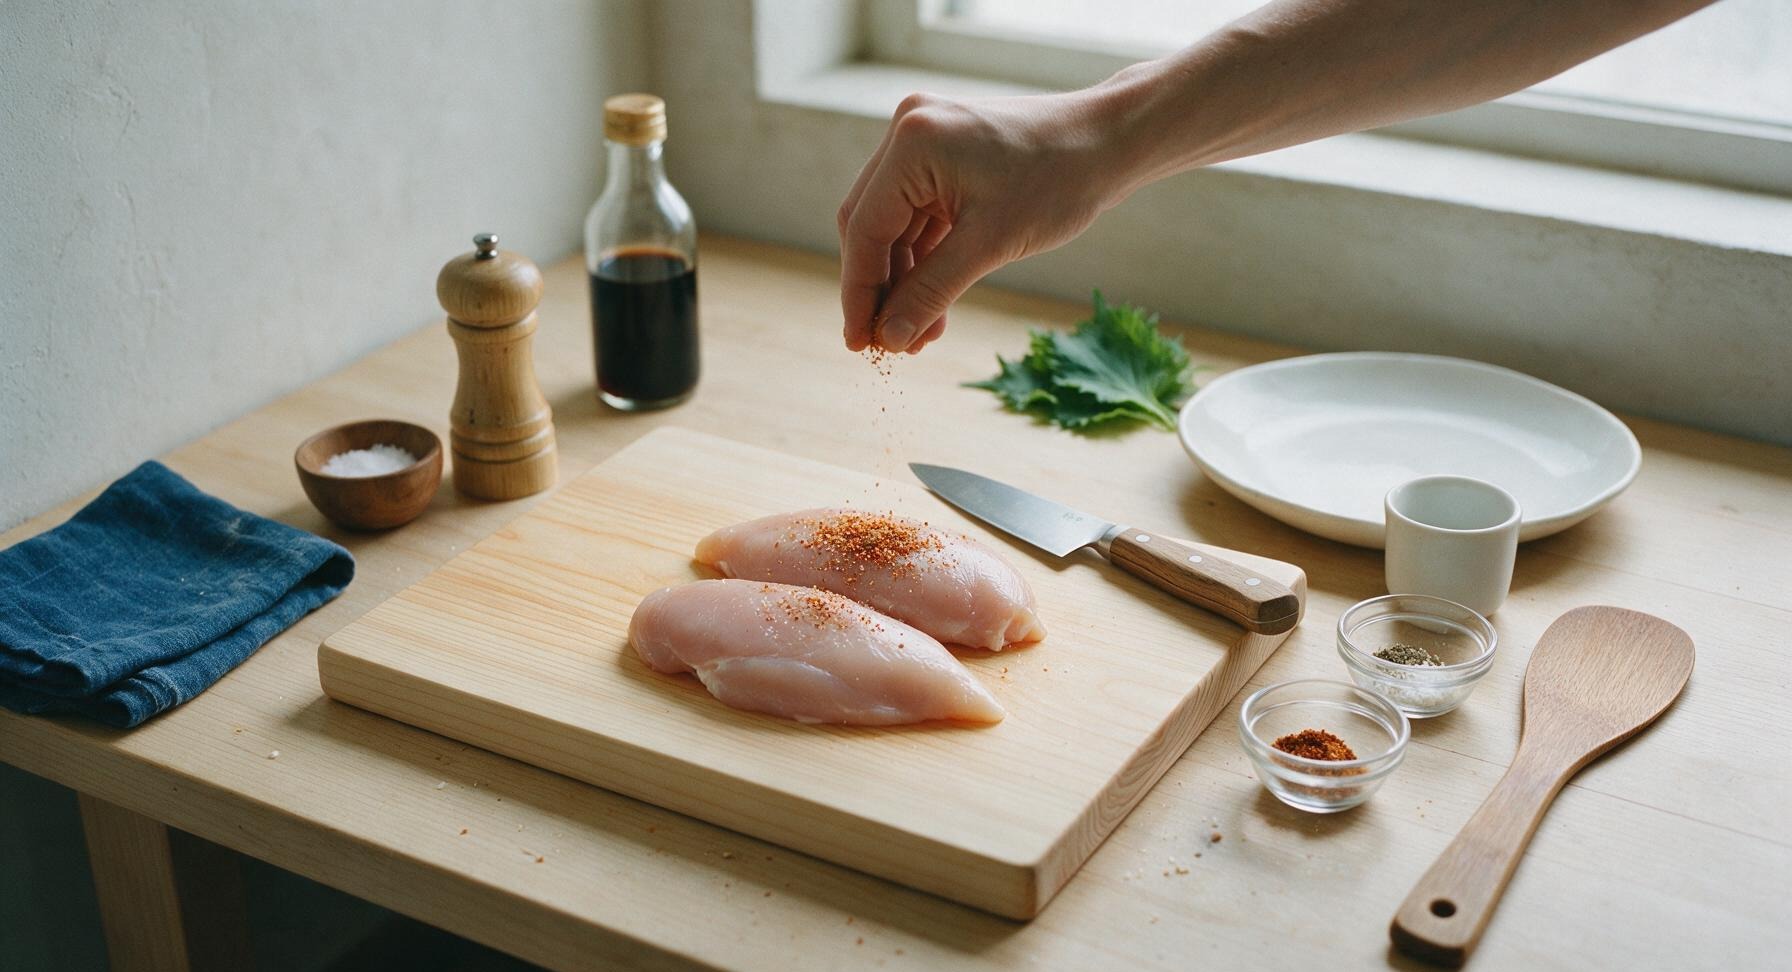
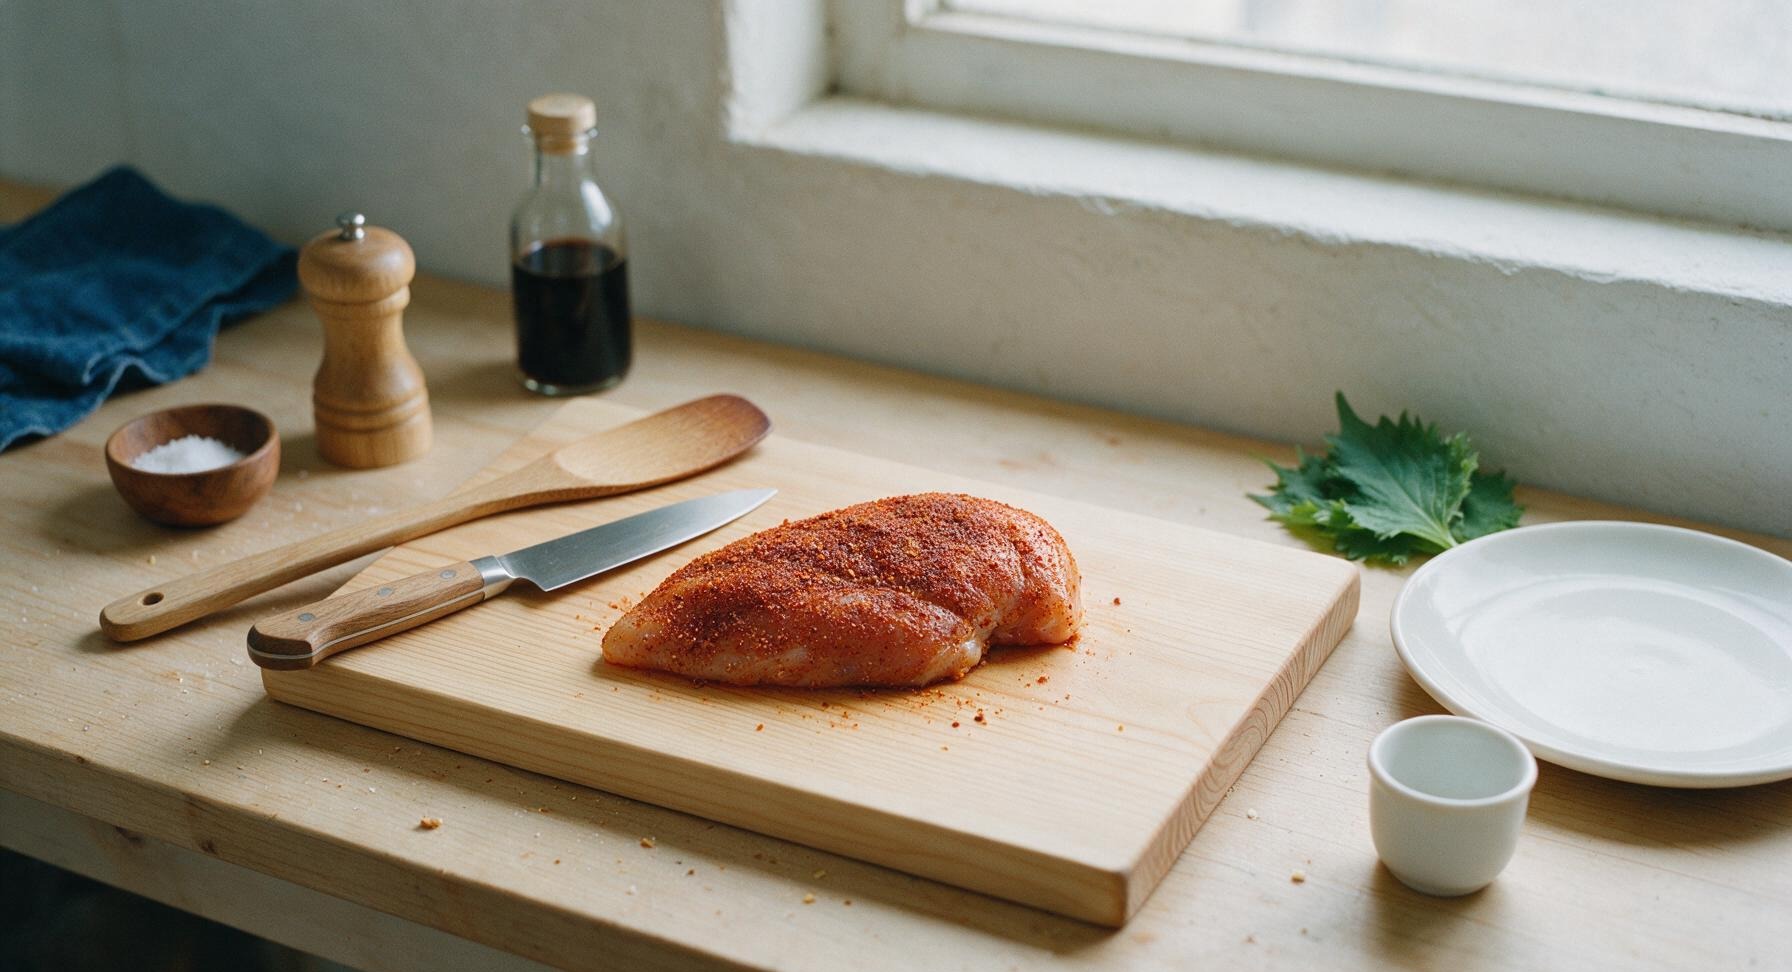
Place the honey-toned bamboo cutting board at center counter. Pat the 680g boneless, skinless chicken breasts completely dry with a paper towel, then rub all over with 1 tablespoon extra-virgin olive oil. In one of the small clear glass ramekins, mix 1 teaspoon kosher salt, 1 teaspoon garlic powder, 1 teaspoon smoked paprika, and ½ teaspoon freshly ground black pepper. Sprinkle the spice blend evenly over all sides of the chicken, rubbing gently to adhere, until no bare pink patches remain on the chicken surface.
Sear Chicken Lightly
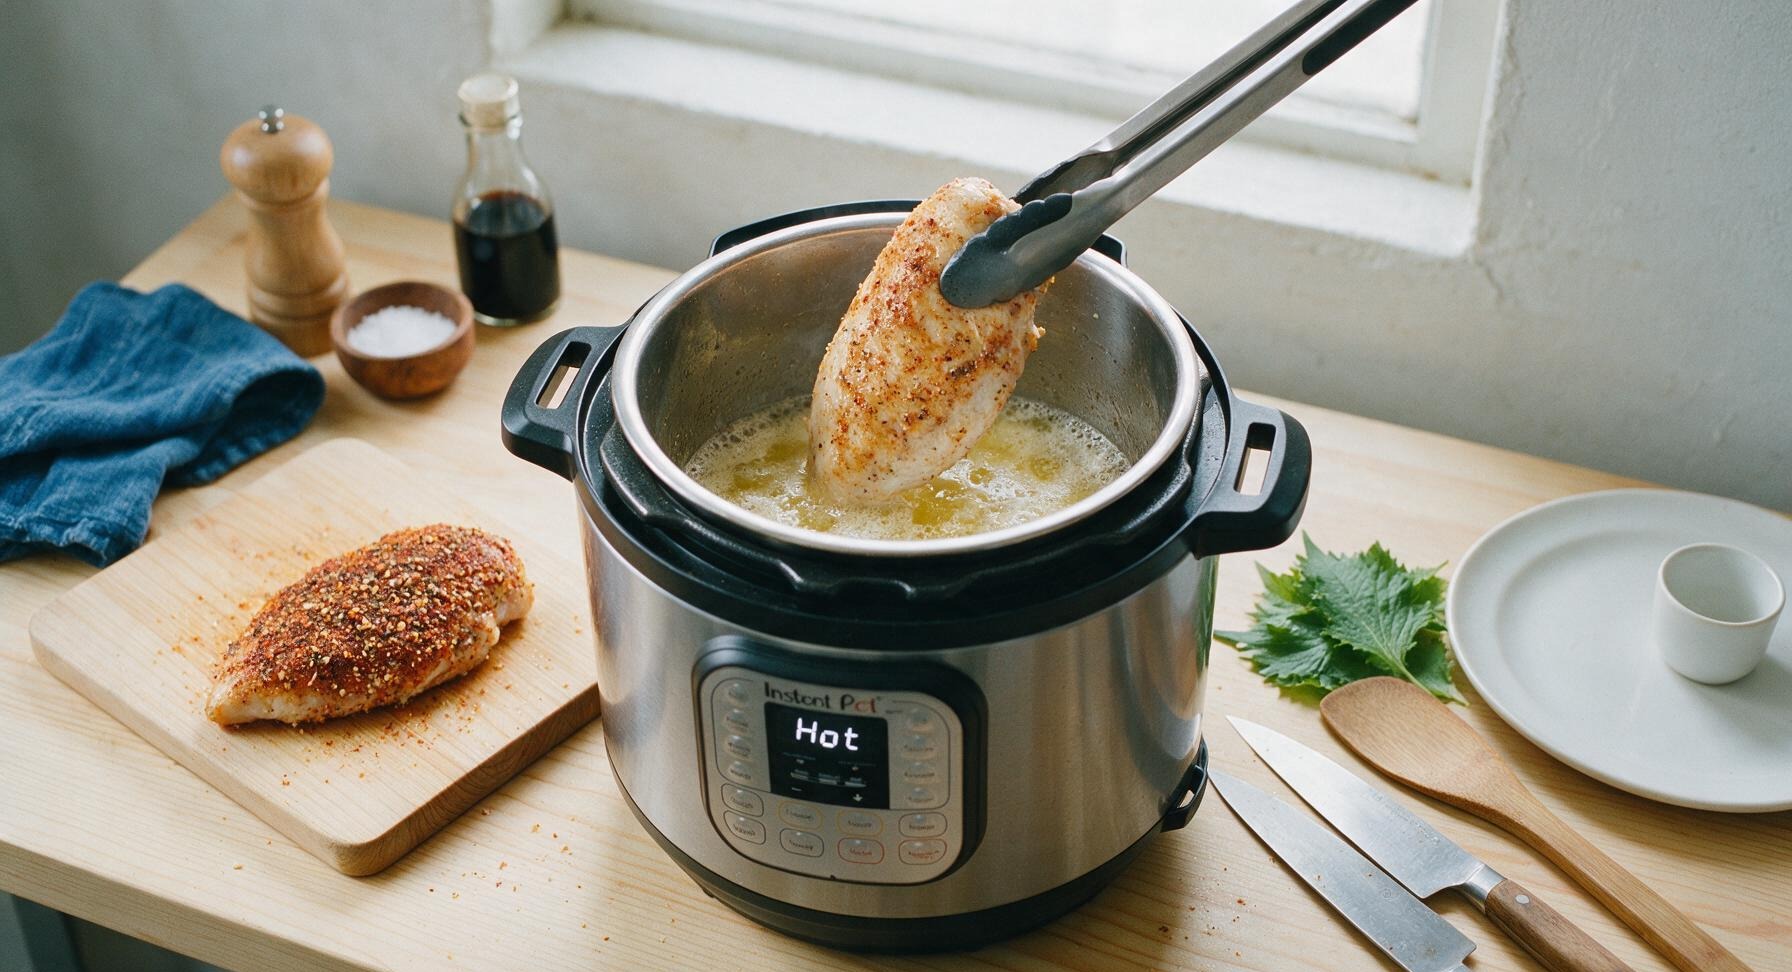
Position the 6-quart Instant Pot at center counter, then press the 'Sauté' function. Wait 3 minutes until the inner pot is hot (display reads 'Hot'), then add 1 tablespoon unsalted butter and let it melt until foamy. Use the stainless steel silicone-tipped tongs to lower the seasoned chicken breasts into the pot, searing 1 minute per side just until a light golden crust forms. Do not cook the chicken all the way through—this step only adds surface flavor.
Add Broth and Aromatics
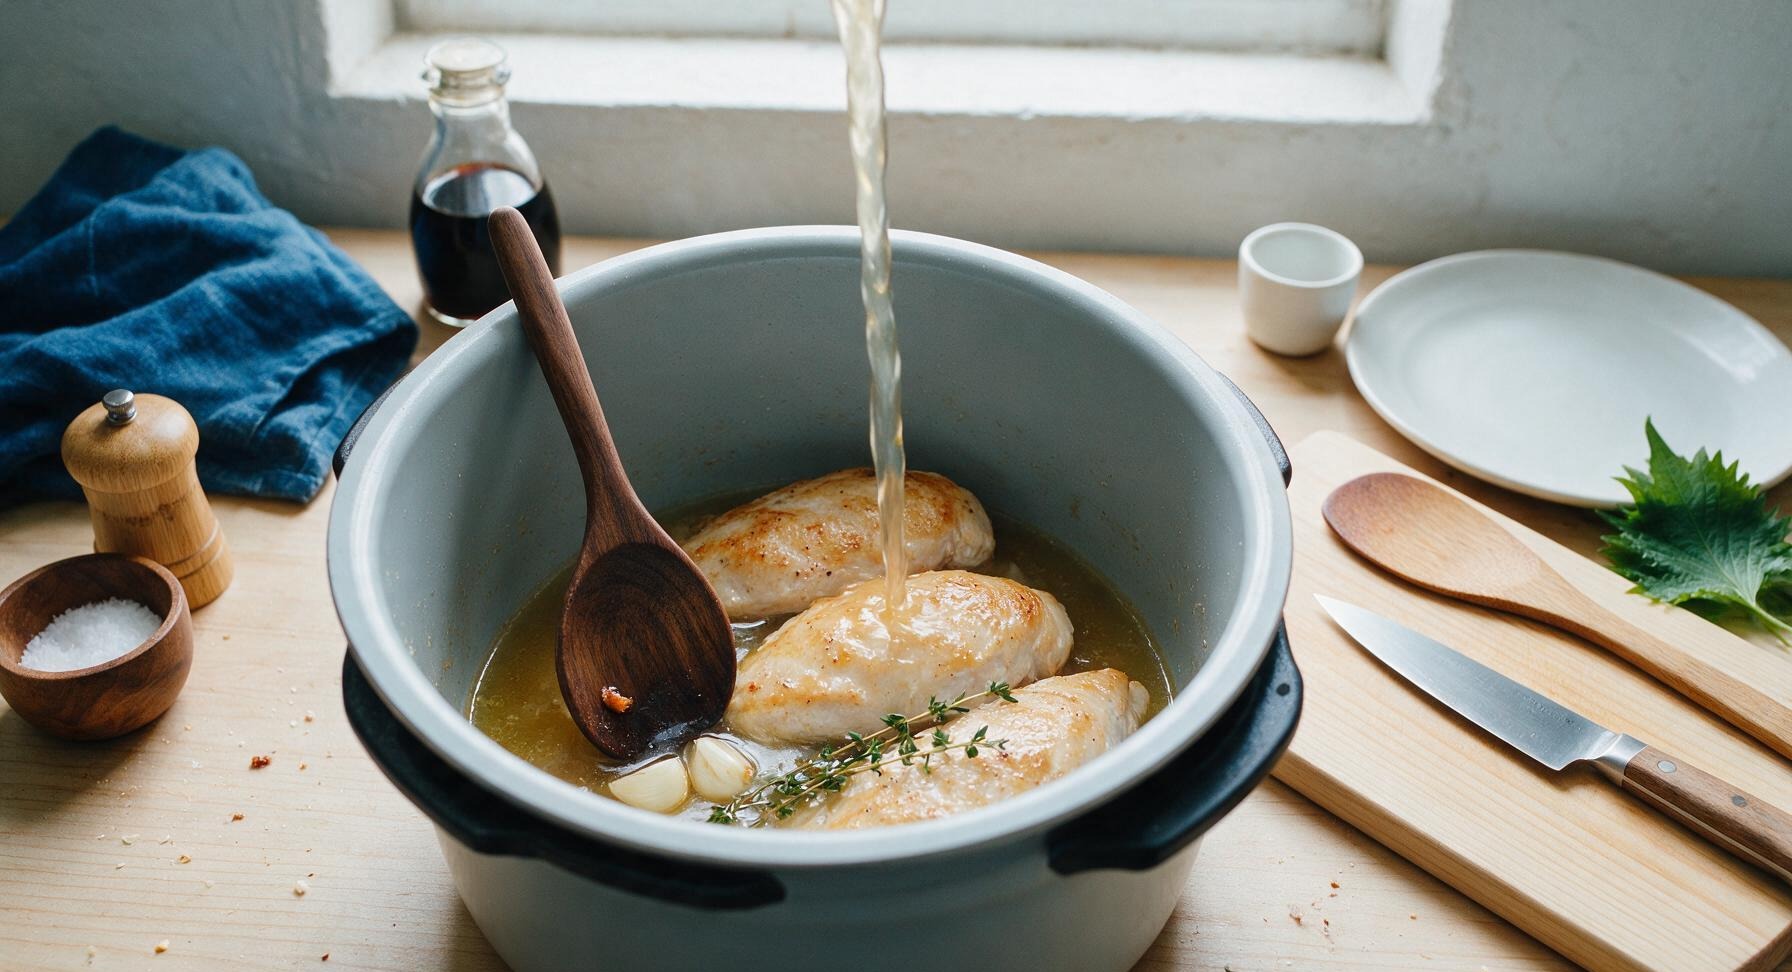
Once both sides of the chicken are lightly seared, pour 120ml low-sodium chicken broth into the inner pot. Use the dark walnut wooden spoon to gently scrape any browned fond bits from the bottom of the pot to prevent Instant Pot burn errors. Tuck the 2 crushed garlic cloves and 2 fresh thyme sprigs into the broth around the chicken, taking care not to fully submerge the chicken in liquid.
Pressure Cook on High
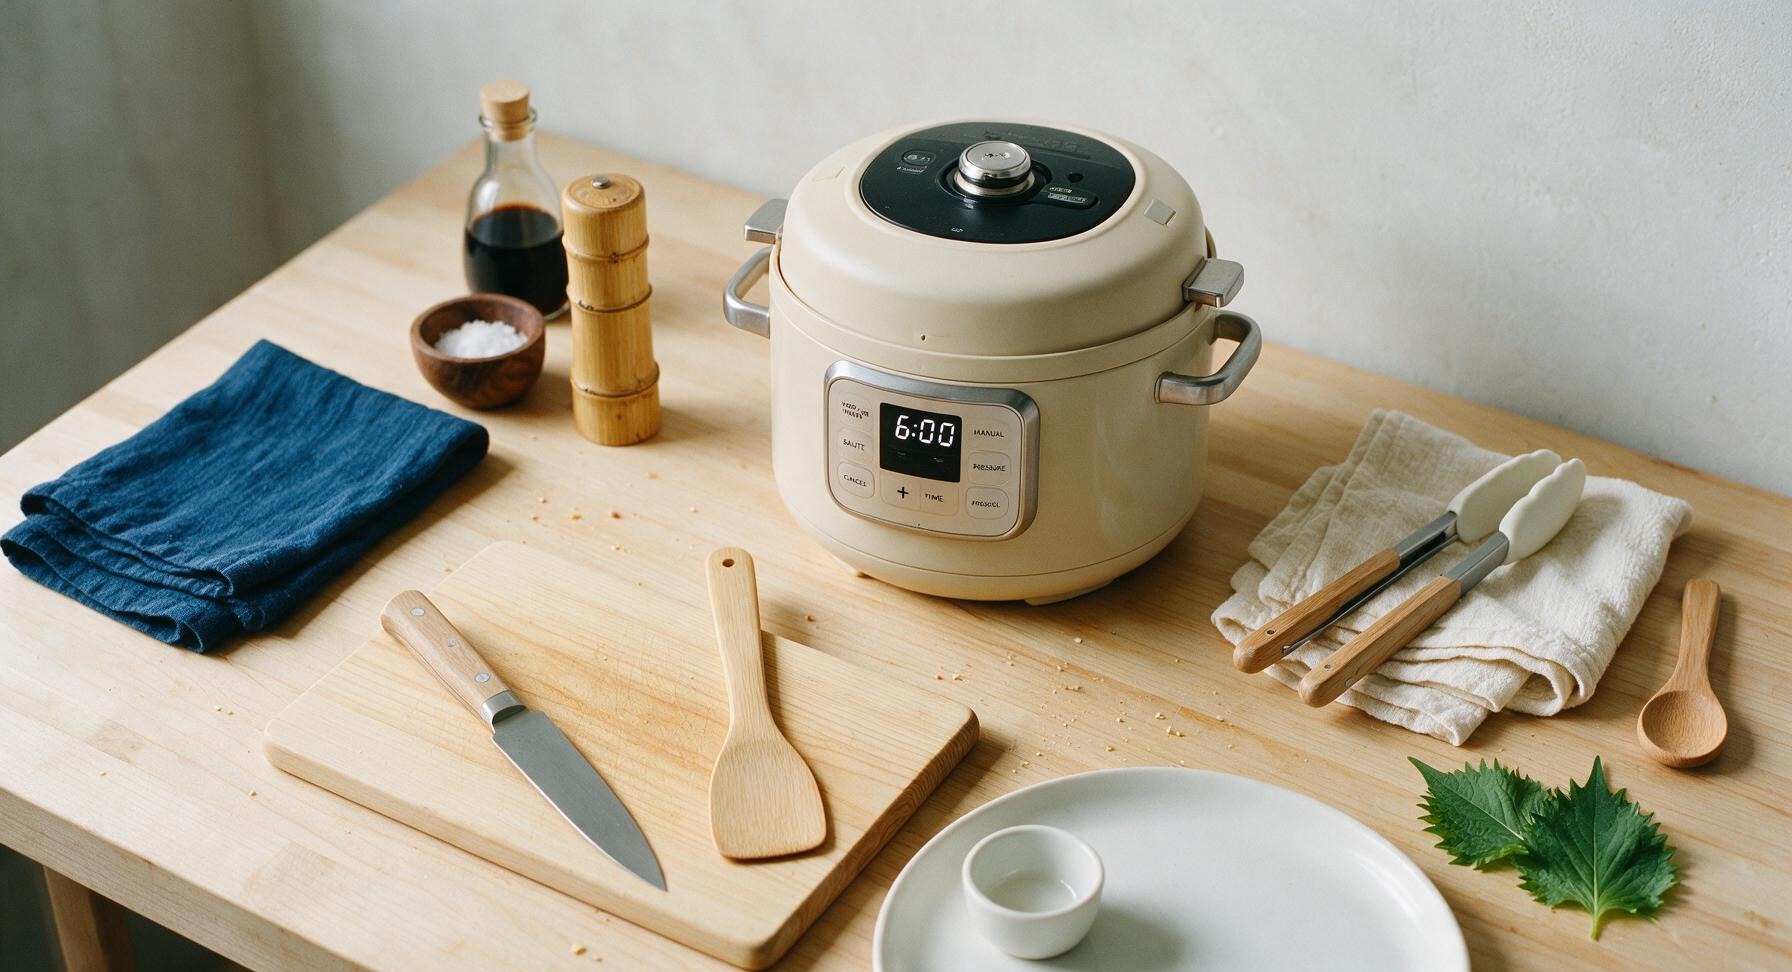
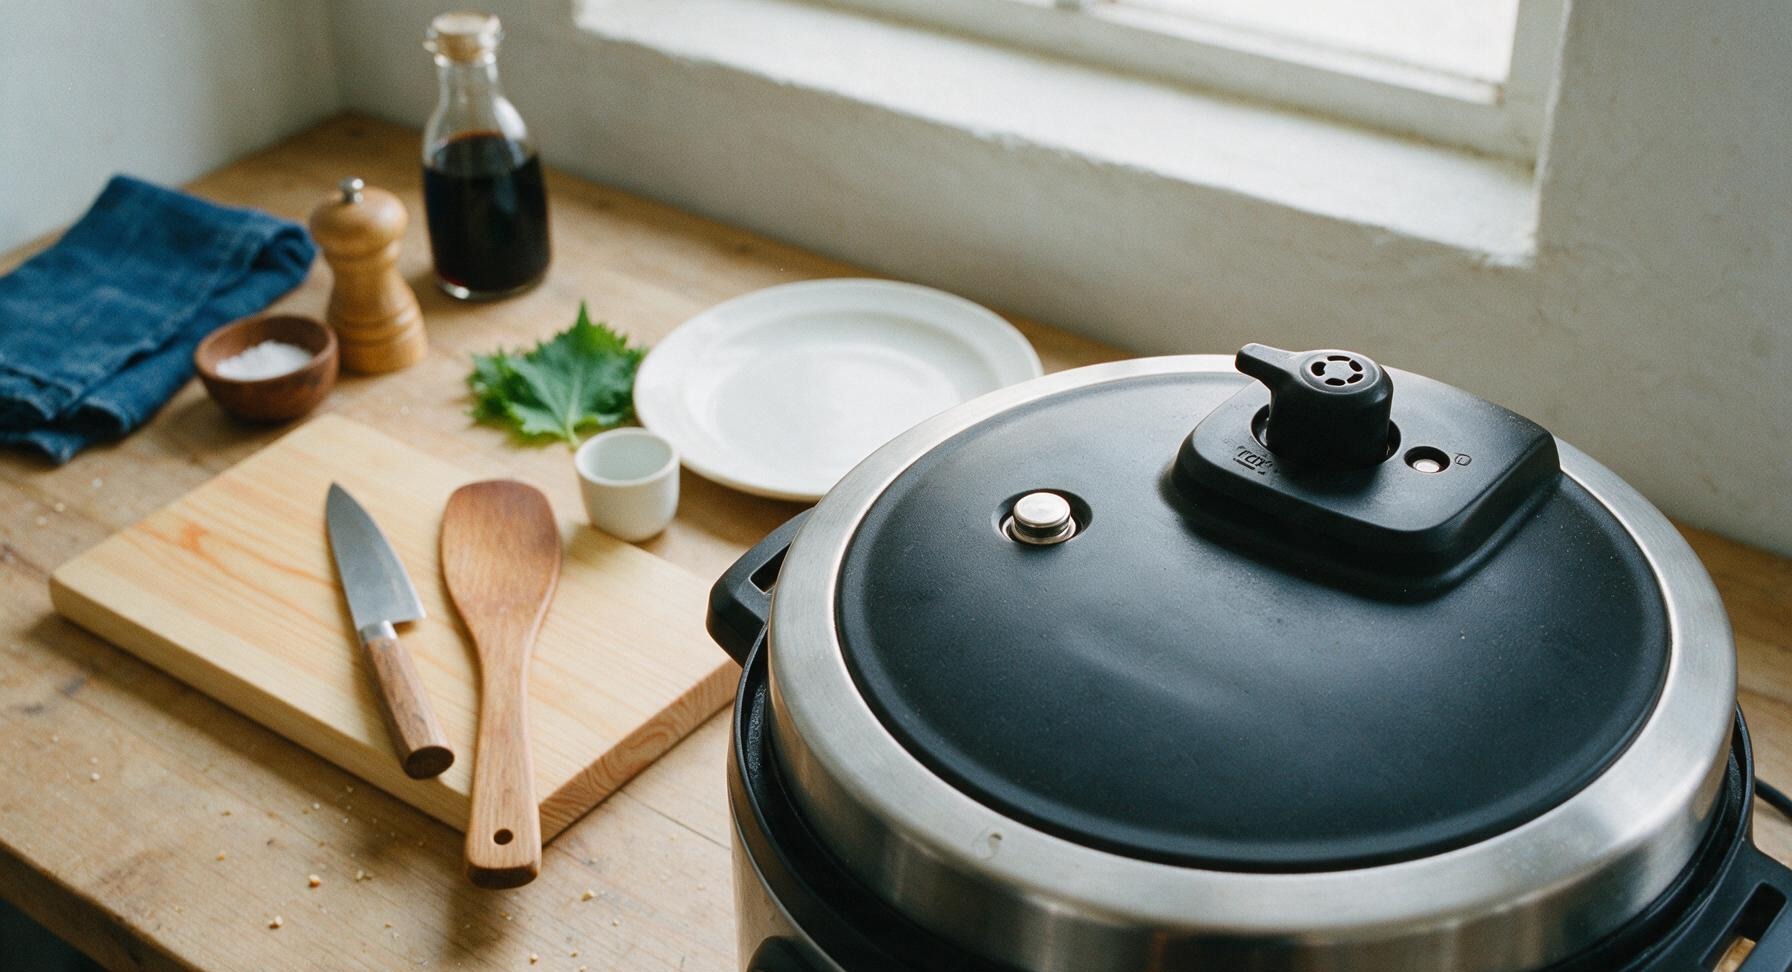
Secure the Instant Pot lid, turning the steam release valve firmly to the 'Sealing' position. Cancel the Sauté function, then select 'Manual/High Pressure' and set the cook time to 6 minutes. The pot will take approximately 8 minutes to build full pressure before the cook timer begins counting down; do not attempt to force the lid open during this time.
Natural Release Pressure
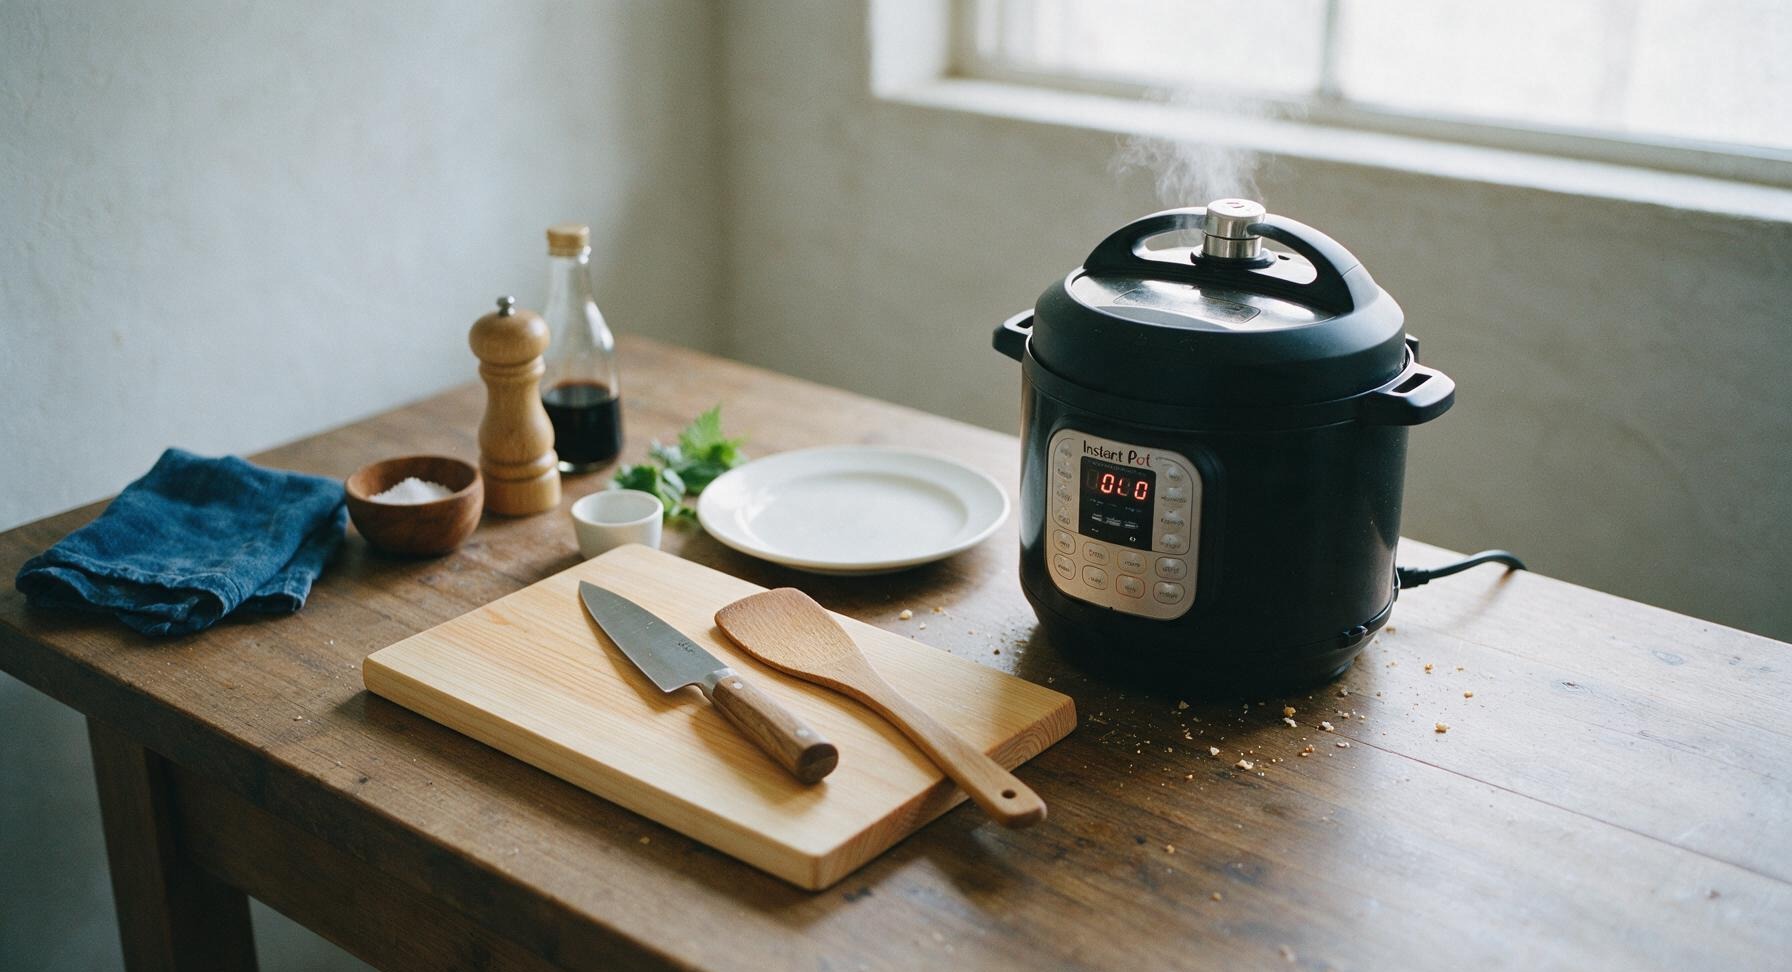
When the 6-minute cook timer ends, do not touch the steam release valve. Let pressure release naturally for 10 minutes—this allows chicken fibers to relax and reabsorb juices for tender results. After 10 minutes, use the end of the wooden spoon to carefully turn the steam release valve to 'Venting' to release any remaining pressure, keeping hands and face clear of hot steam. Wait until the silver float valve drops completely before opening the lid.
Check Internal Temperature
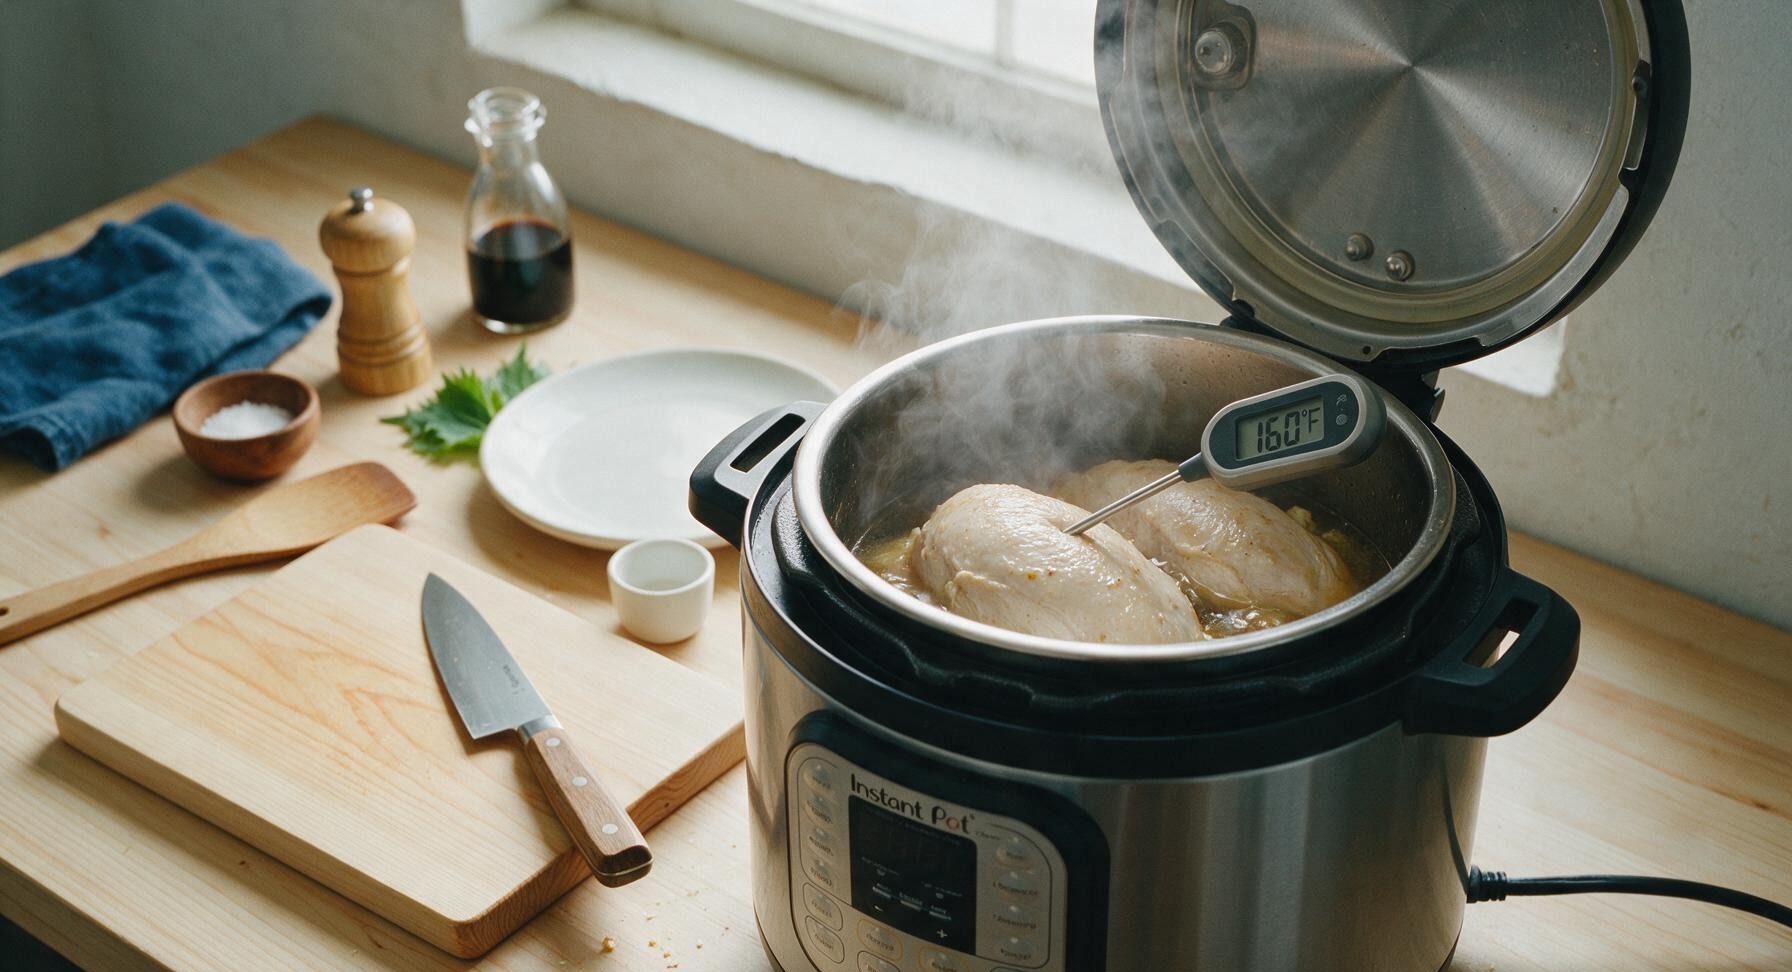
Open the Instant Pot lid tilted away from your face to avoid burns from rising hot steam. Insert the digital instant-read meat thermometer into the thickest part of each chicken breast; the temperature should read 160°F (71°C). Carryover cooking will raise the temperature to the food-safe 165°F (74°C) as the chicken rests. If the temperature reads below 155°F, reseal the lid and cook on high pressure for 1 additional minute.
Rest and Slice Chicken
Use the silicone-tipped tongs to transfer the cooked chicken breasts back to the bamboo cutting board. Let the chicken rest for 5 minutes to let juices redistribute through the meat. Use the 8-inch chef knife to slice the chicken against the grain into uniform 1cm thick slices. Discard the spent thyme sprigs from the cooking liquid, and reserve the broth to drizzle over sliced chicken for extra moisture.
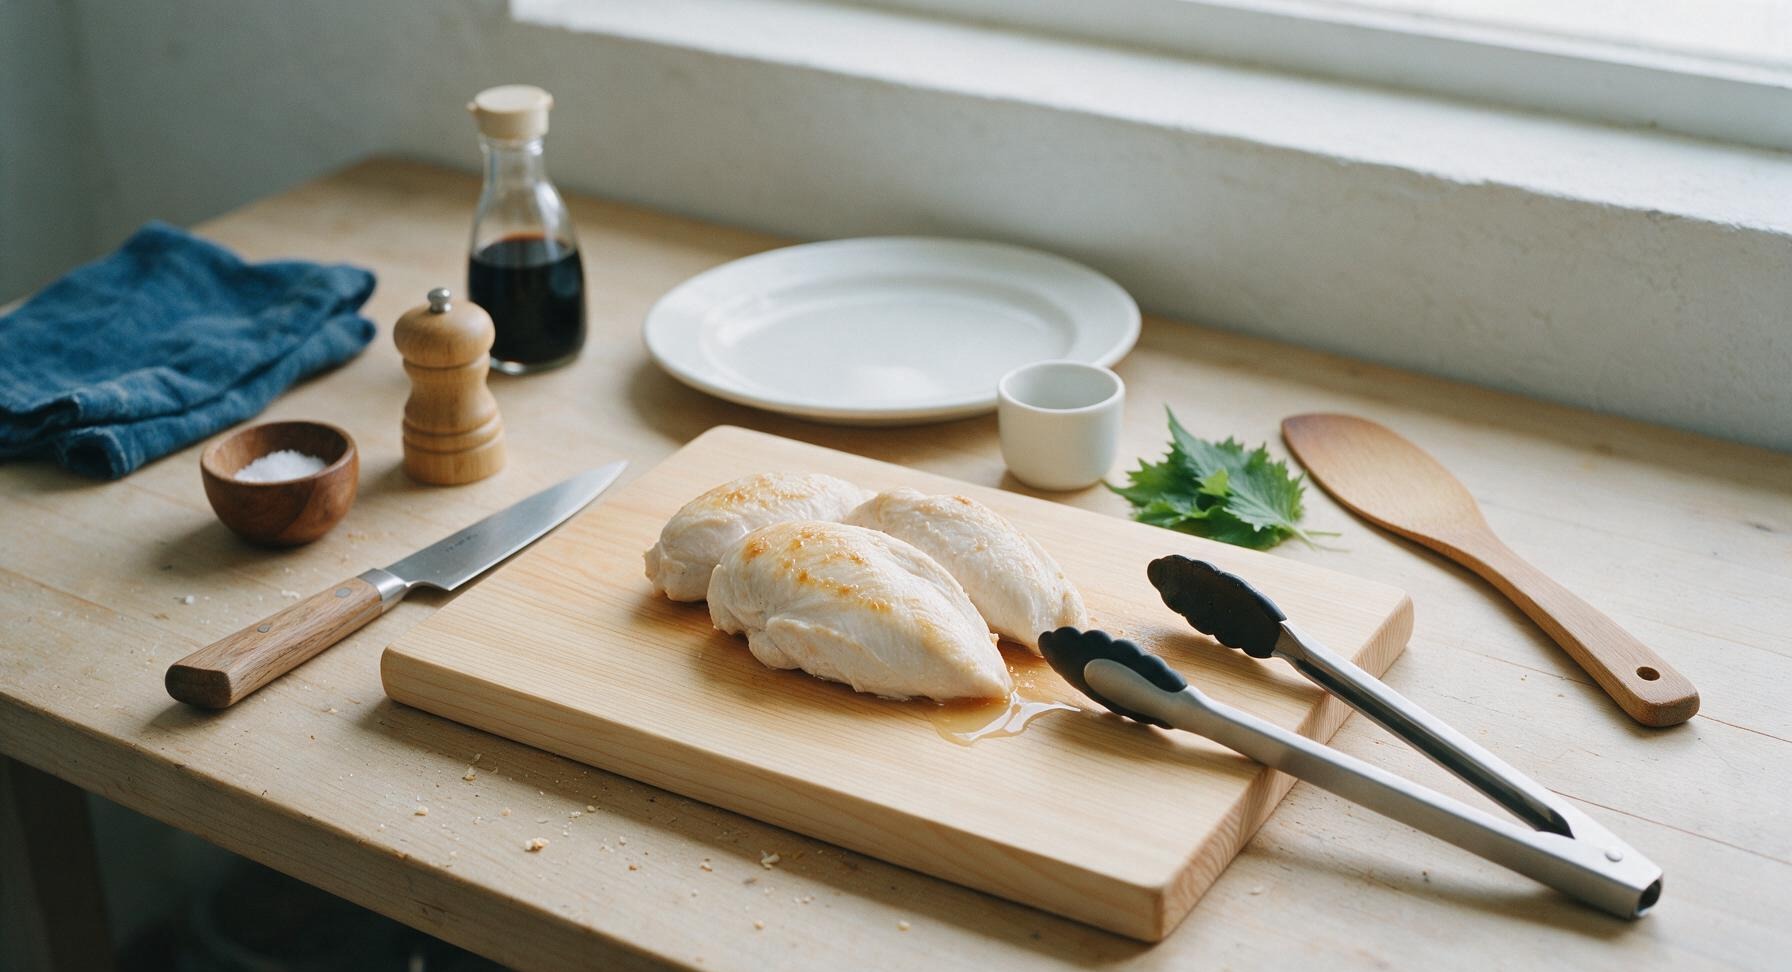
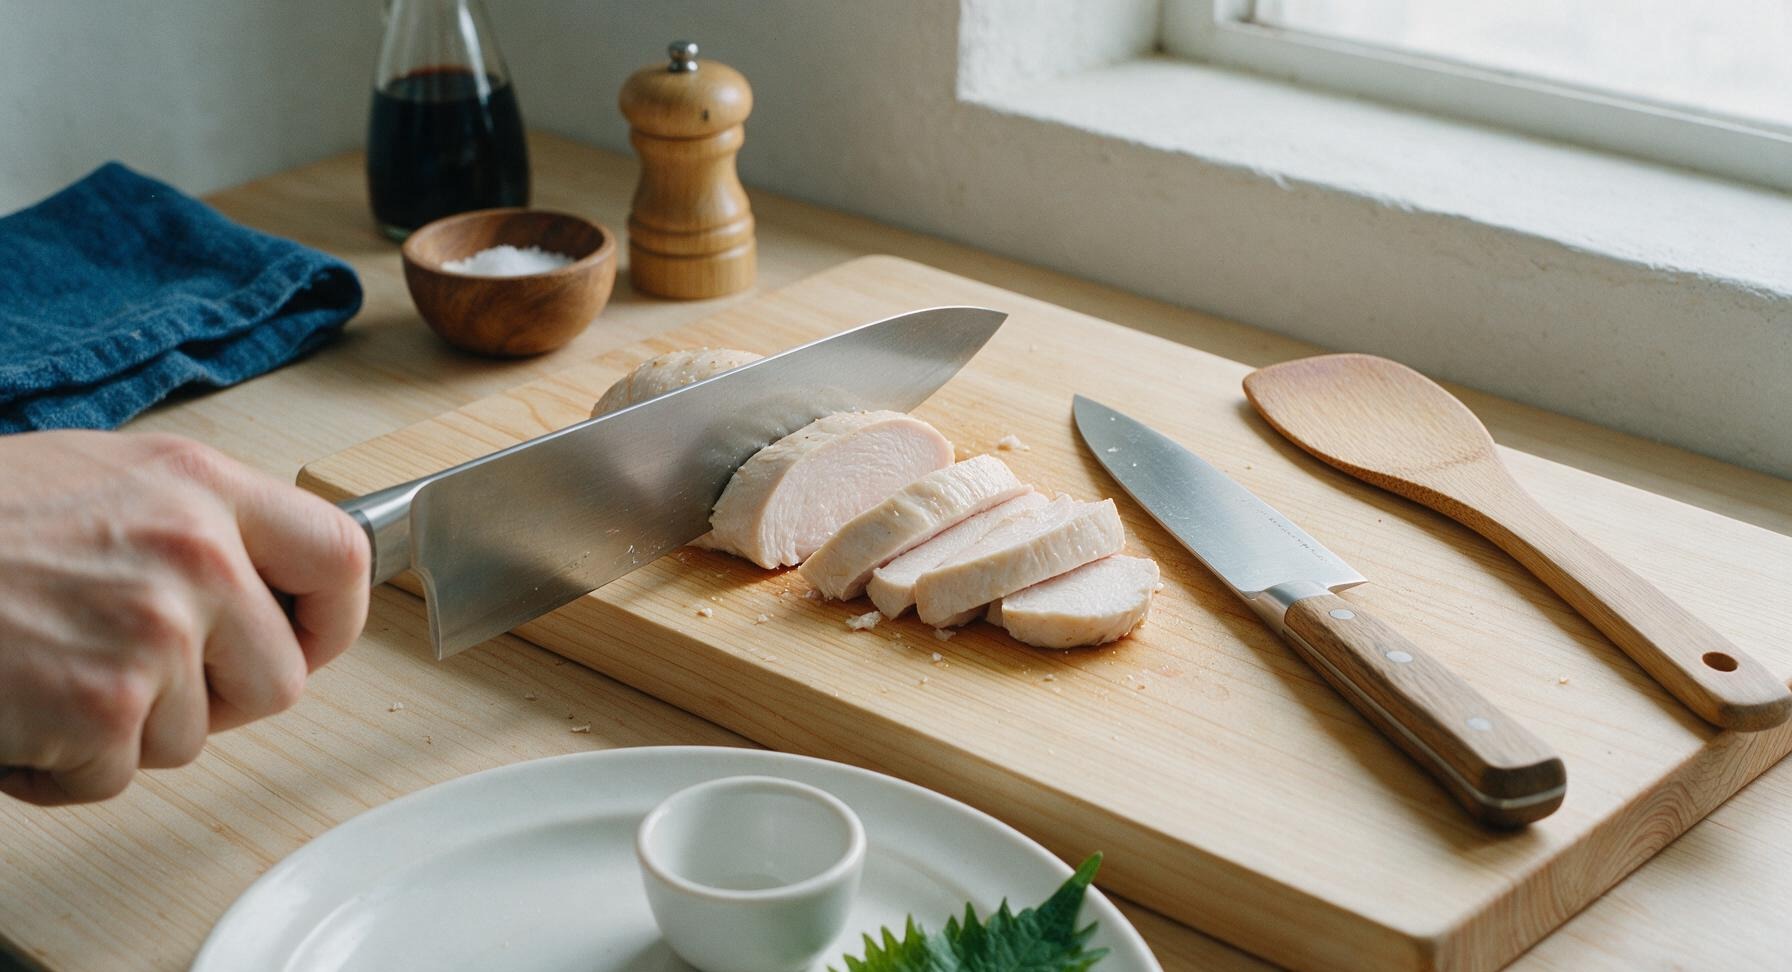
Plate and Garnish
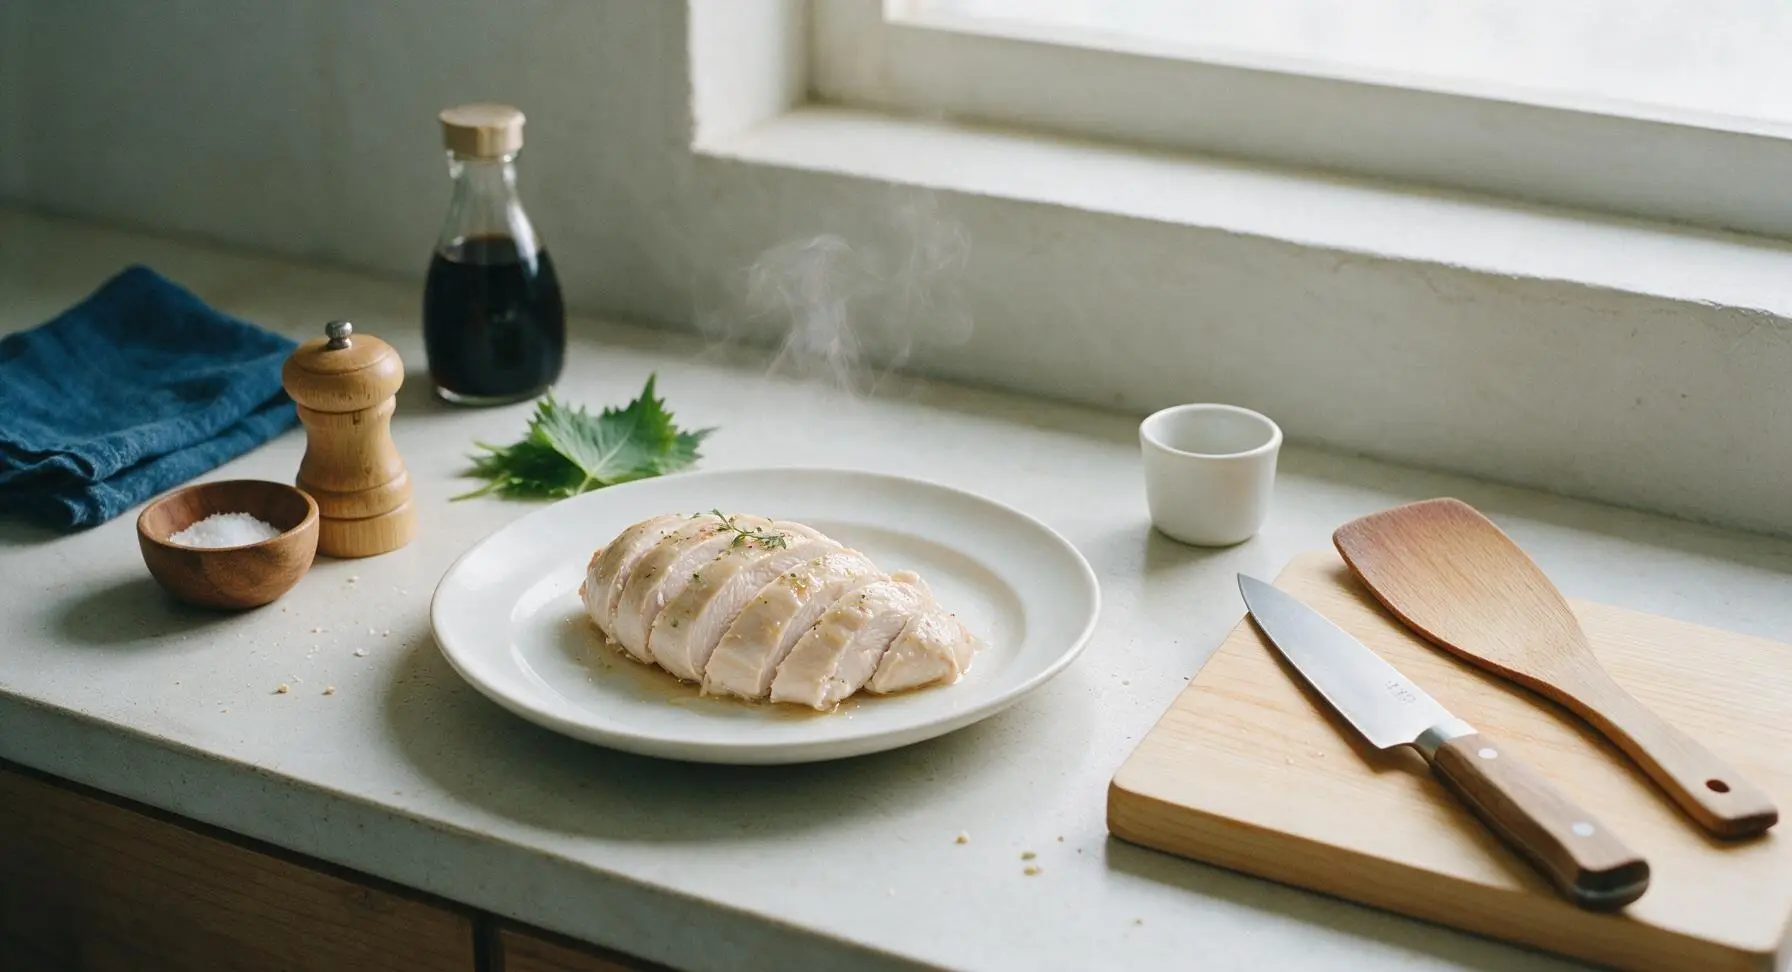
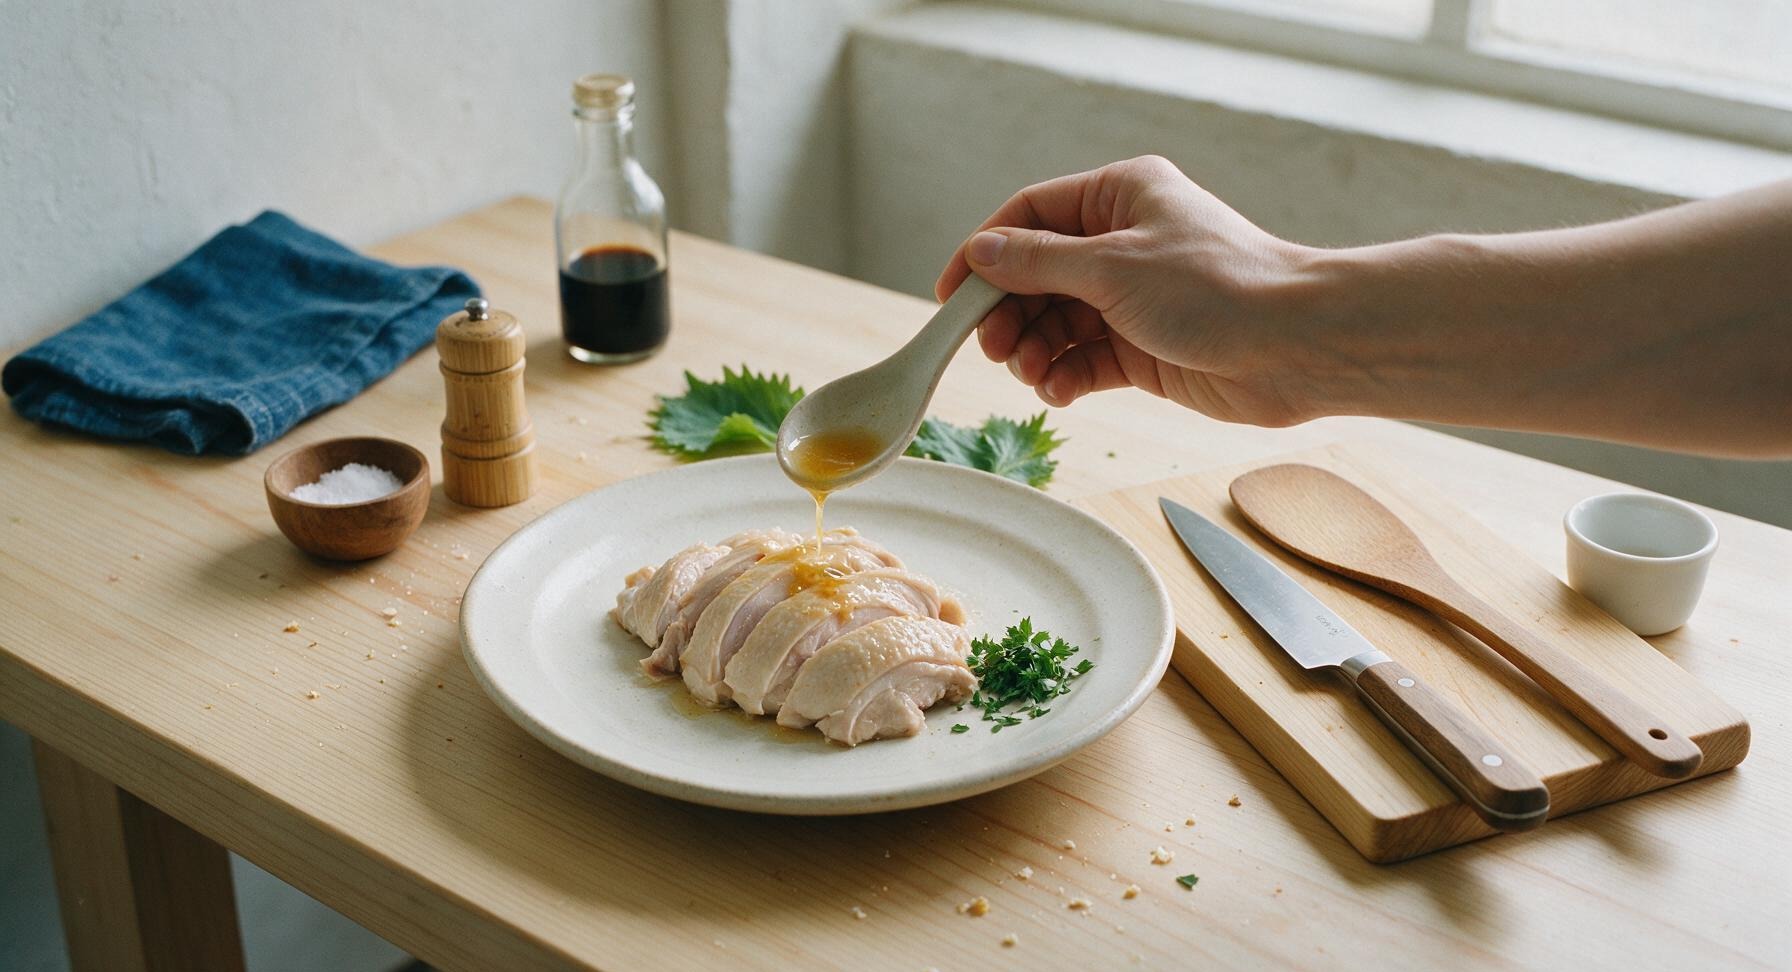
Arrange the sliced chicken in a gentle fan across the center of the matte off-white hand-thrown ceramic dinner plate. Drizzle 1-2 teaspoons of the reserved cooking broth over the top of the slices for extra moisture, then garnish with 1 tablespoon of chopped fresh flat-leaf parsley. Serve immediately, or cool completely and store in airtight containers for up to 4 days for meal prep.
Tips
2.Stick to the 10-minute natural release instead of quick-releasing immediately: This short resting period under pressure lets chicken muscle fibers relax and reabsorb juices, preventing the dry, rubbery texture that gives pressure-cooked chicken a bad name.
3.Remove chicken when it hits 160°F (71°C) at the thickest point: Carryover cooking will raise the internal temperature to the food-safe 165°F (74°C) as it rests, so cooking longer will result in tough, chalky meat.






OMG this is a total game changer for my weekly meal prep! I used to dry out chicken breast in the Instant Pot every single time, but this recipe came out perfectly juicy in every bite. I seasoned it with a little extra garlic powder and paprika like the tip suggested, and it worked so well for salads, wraps, and even my kid’s school lunch roll-ups all week. SO good, will be making this on repeat!
Wait, 24 minutes total cook time? That’s way faster than baking in the oven! I made this last night for a quick weeknight dinner when I got home late from work, and my whole family devoured it. Even my super picky 7 year old who swears chicken is “too dry” asked for seconds. Only swap I made was using low sodium broth because that’s what I had in the pantry. 10/10, no notes.
I brought this chicken to my neighborhood block party potluck over the weekend, sliced it up and set it out with honey mustard and ranch for dipping, and people were asking me for the recipe left and right! It was so tender I didn’t even have to fight with it to slice evenly. My only tiny regret is that I didn’t make a double batch because it was gone in 15 minutes flat!
Super easy recipe even for someone like me who can barely boil pasta without messing up! I didn’t have any chicken broth on hand so I used water + a chicken bouillon cube and it still came out really flavorful. Great for quick meals between classes and late night study sessions, I’ll definitely be adding this to my tiny dorm recipe rotation.
This is exactly what I needed for my high protein meal plan! No more sad, rubbery chicken that I have to douse in hot sauce to choke down after the gym. It’s juicy enough to eat plain right out of the pot, which is perfect for when I’m running out the door to early morning workouts.
I made this last week with thawed chicken and it was incredible, so juicy and flavorful! Quick question though – can I use frozen chicken breast for this recipe instead of thawed? I always forget to pull chicken out of the freezer the night before, so that would make this recipe 100% perfect for my chaotic weeknights.
Made this for Sunday family dinner last night and served it with roasted broccoli and garlic mashed potatoes, and every single plate was clean! My husband kept saying it was the best chicken I’ve ever made, and honestly? He’s right. It’s so flavorful and juicy, no weird chewy bits at all. I don’t think I’ll ever make chicken breast another way again!