
burnt ends sandwich
intro
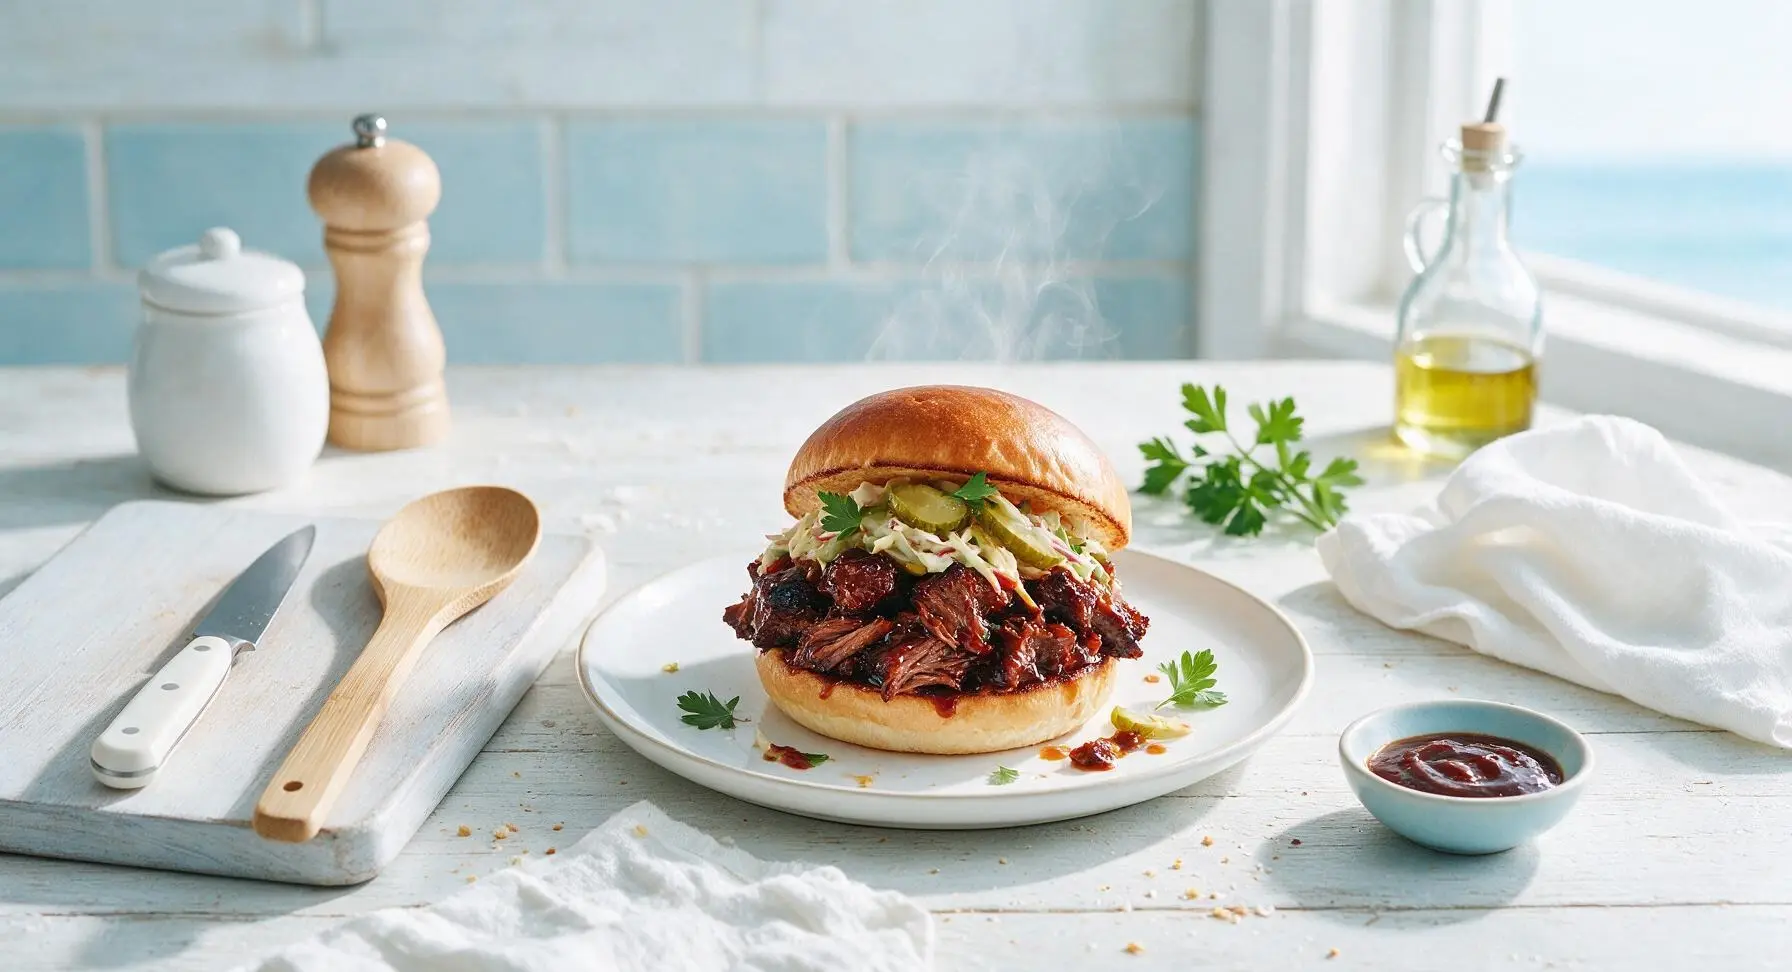
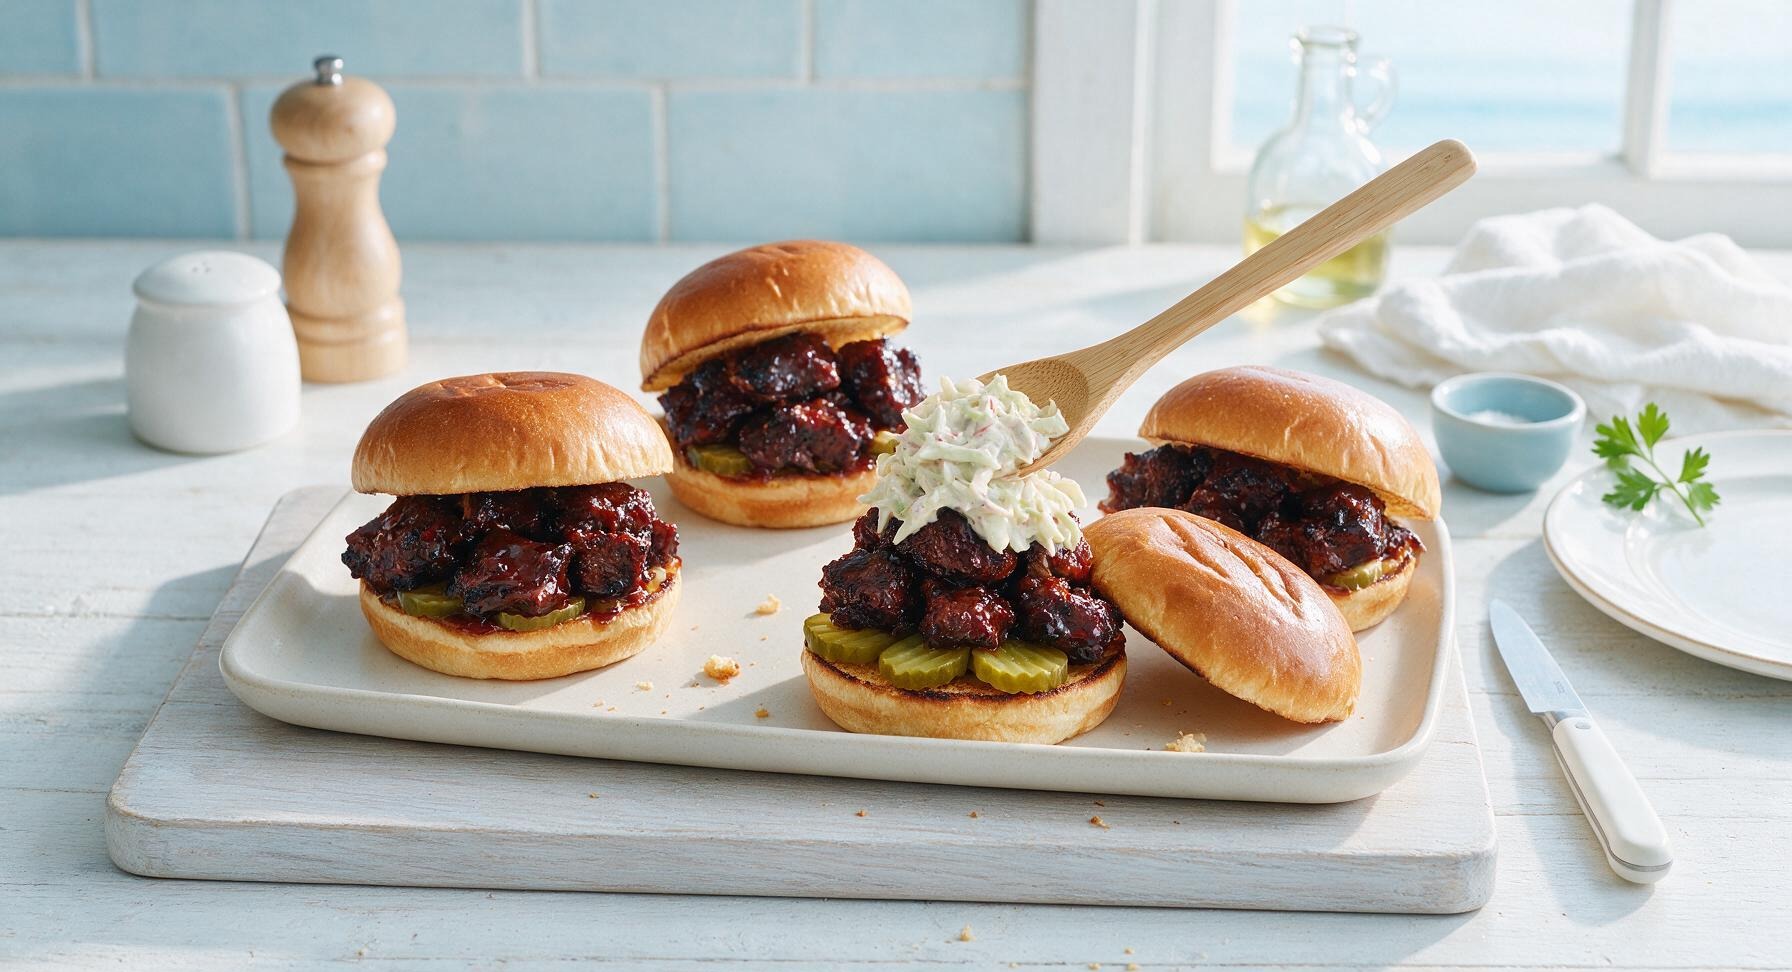
Smoky, fall-apart brisket burnt ends tossed in sticky caramelized BBQ sauce, stacked high on a toasted brioche bun with pickles and slaw: the iconic Kansas City BBQ sandwich built for summer cookouts.
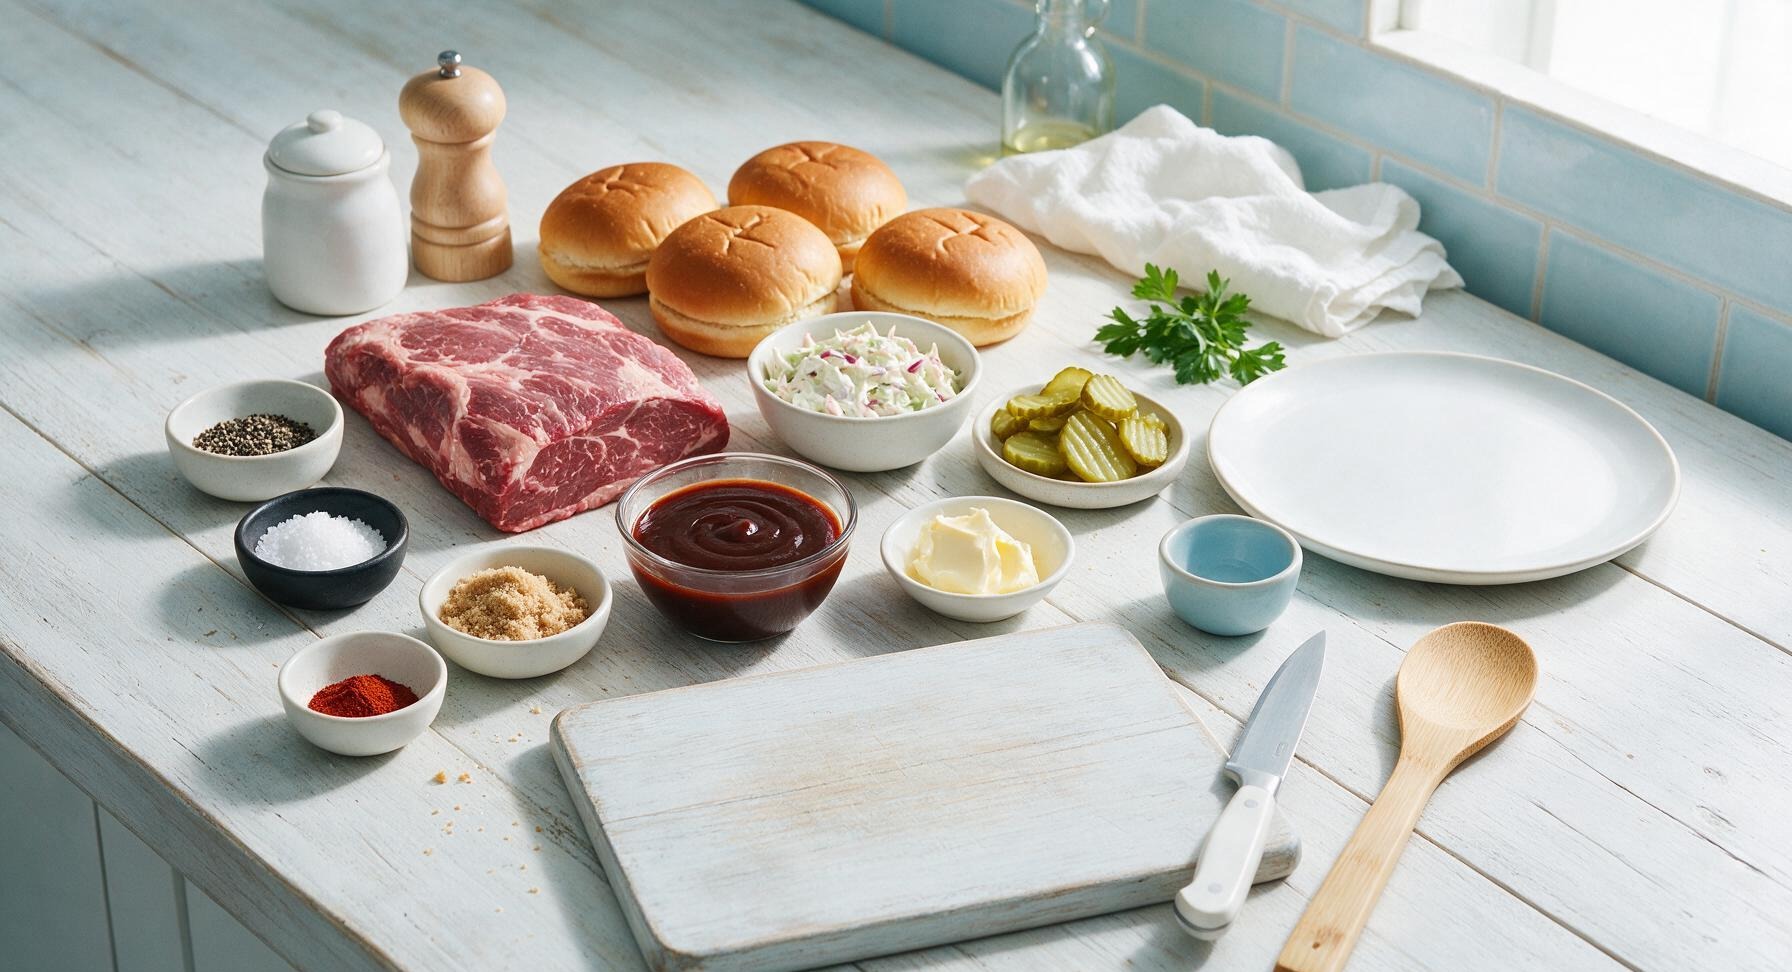
Ingredients
Steps
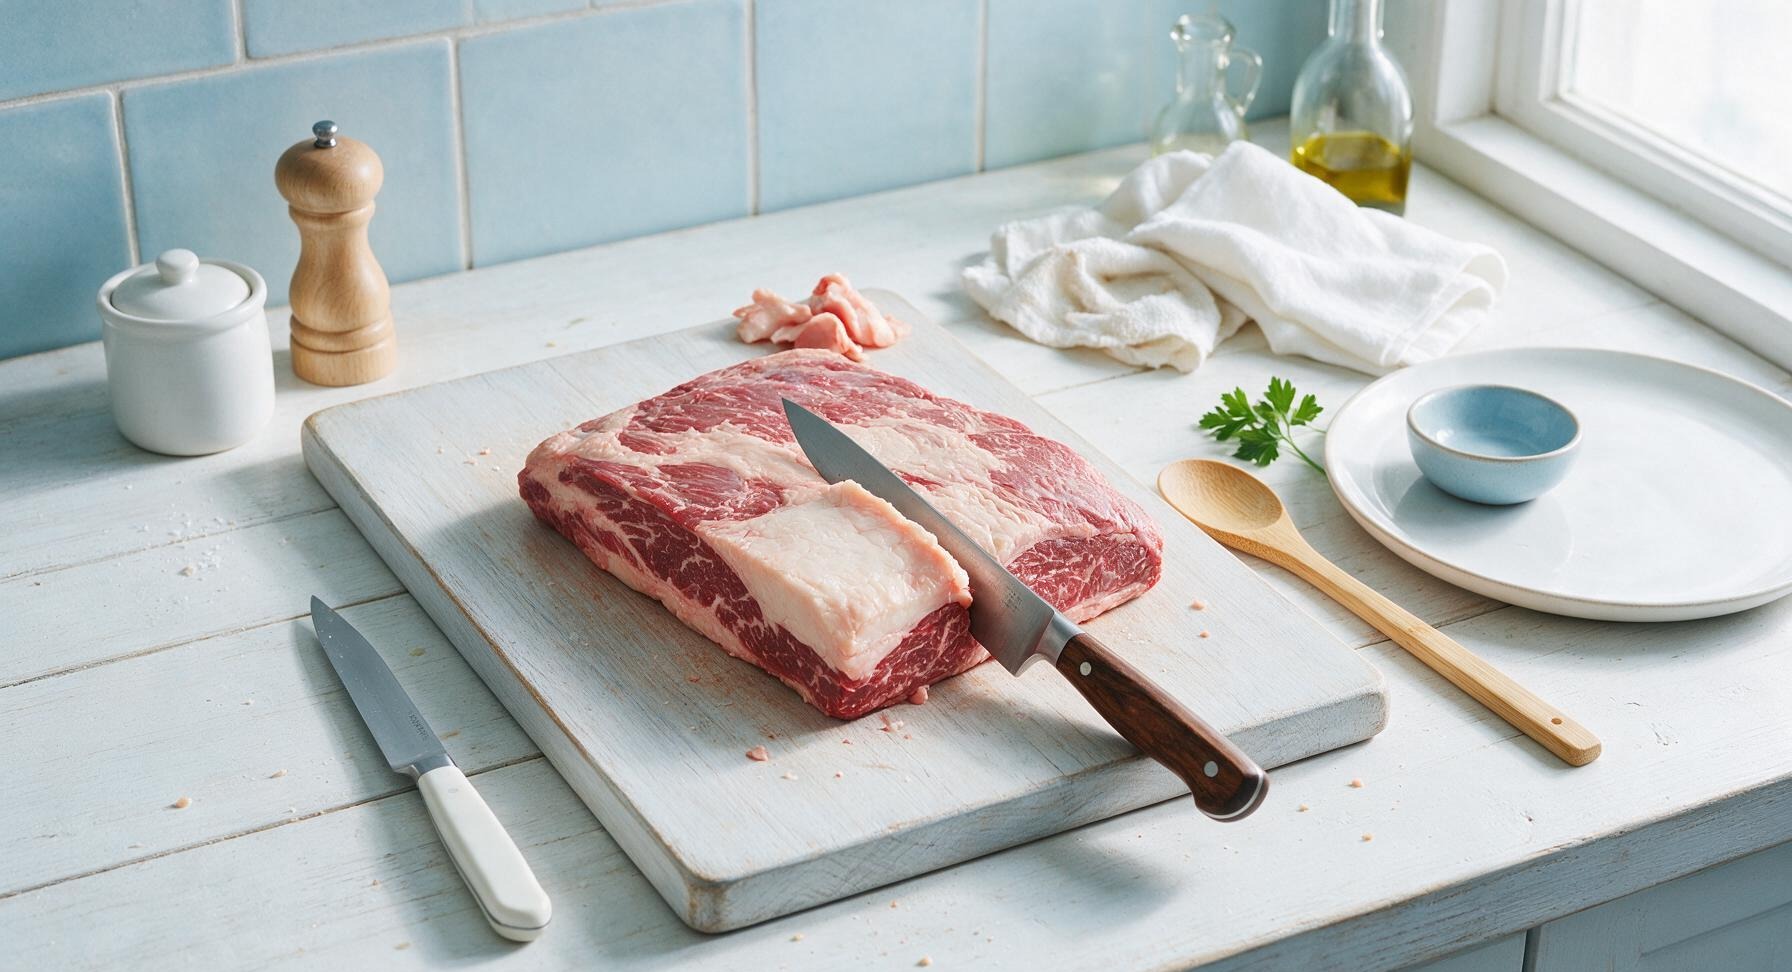
Trim Brisket Point
Place the 1kg beef brisket point on the center of the honey maple cutting board. Use the 8-inch walnut-handled chef knife to trim excess hard fat and silver skin from all surfaces, leaving a uniform 1/4-inch thick fat cap on one side. Pat the entire surface completely dry with paper towels (discard towels after use) to help the rub adhere properly. The trimmed meat should feel firm, with no loose fatty bits hanging from edges.
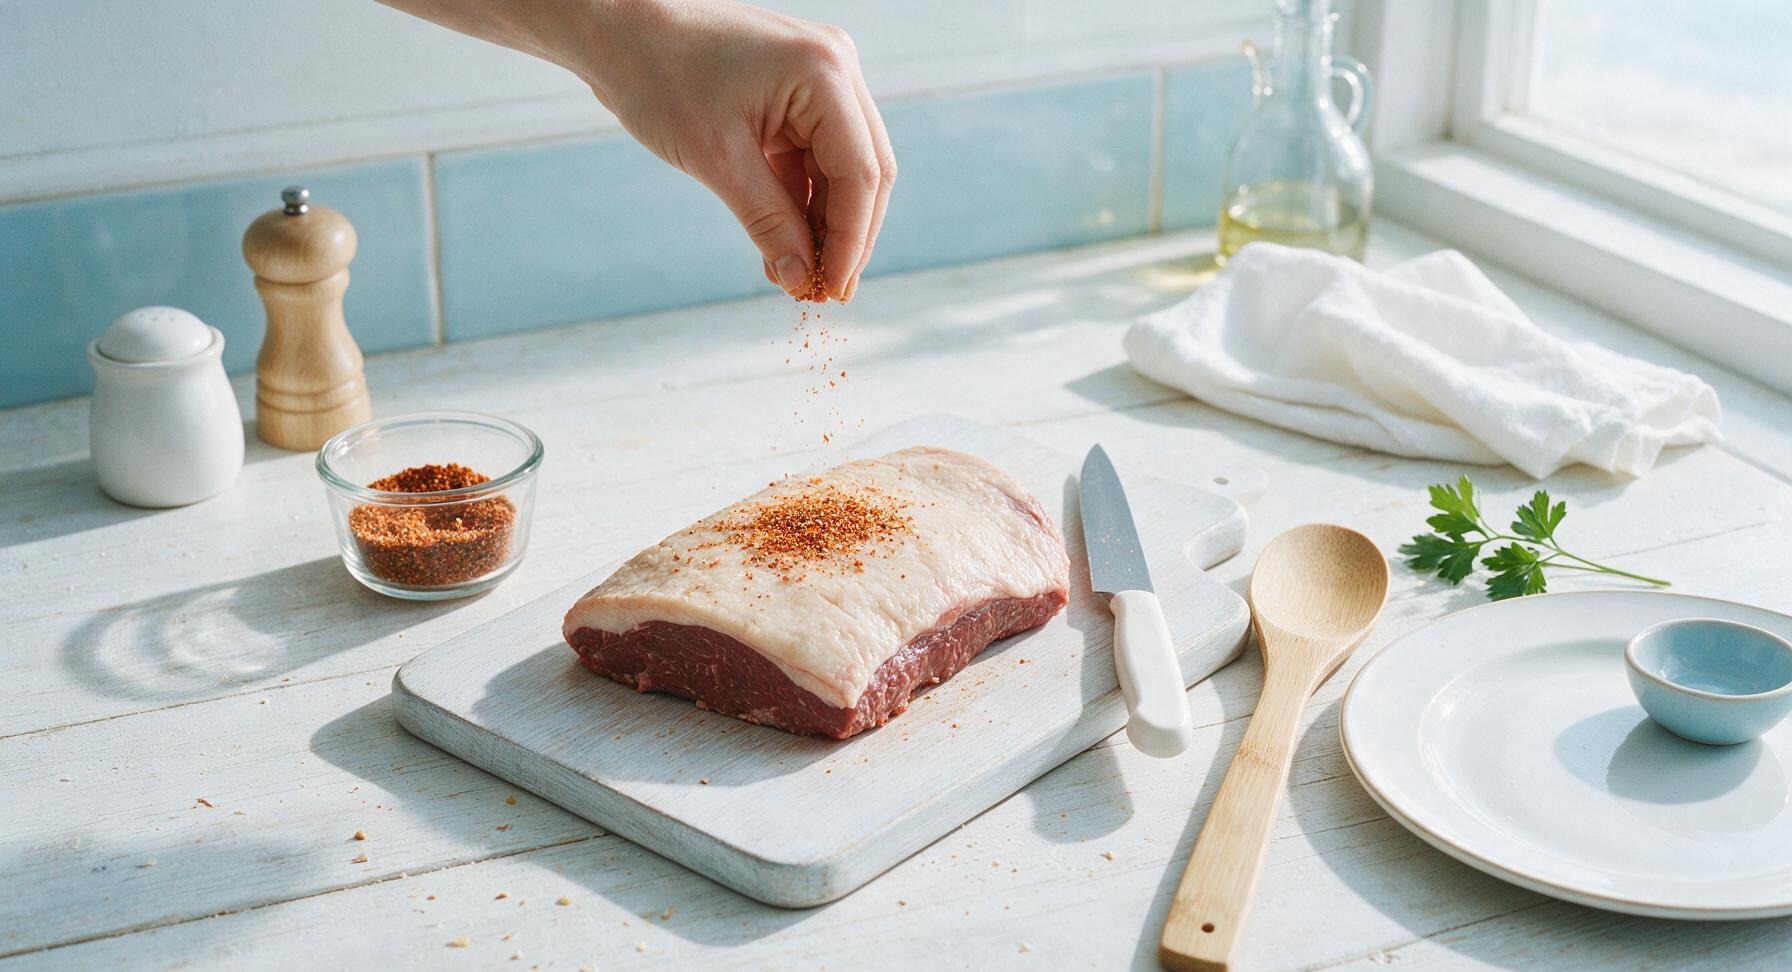
Coat with Dry Rub
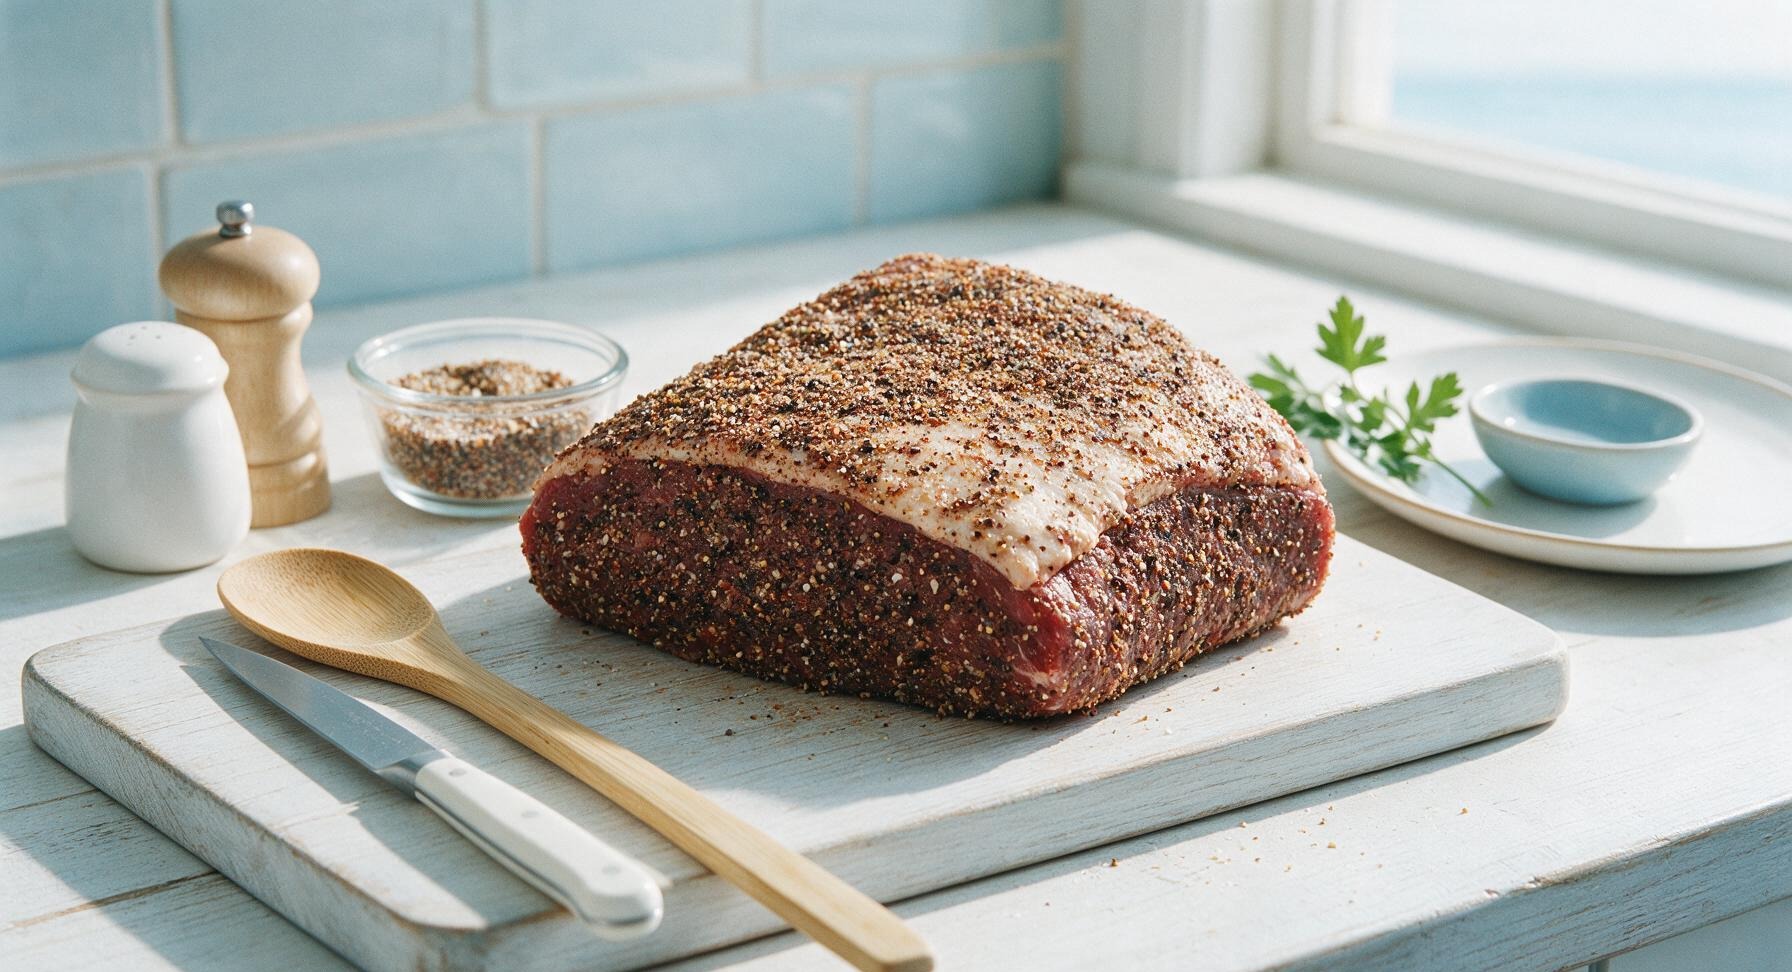
In one clear glass ramekin, mix 2 tbsp coarse kosher salt, 2 tbsp cracked black pepper, 1 tbsp garlic powder, and 1 tsp smoked paprika until evenly combined. Sprinkle the rub generously over every surface of the trimmed brisket point, pressing gently with clean hands to help the spices adhere to the meat. Ensure no bare patches of meat remain, including the sides and fat cap. Let the rubbed meat rest at room temperature for 30 minutes to allow the spices to penetrate.
Smoke Low and Slow
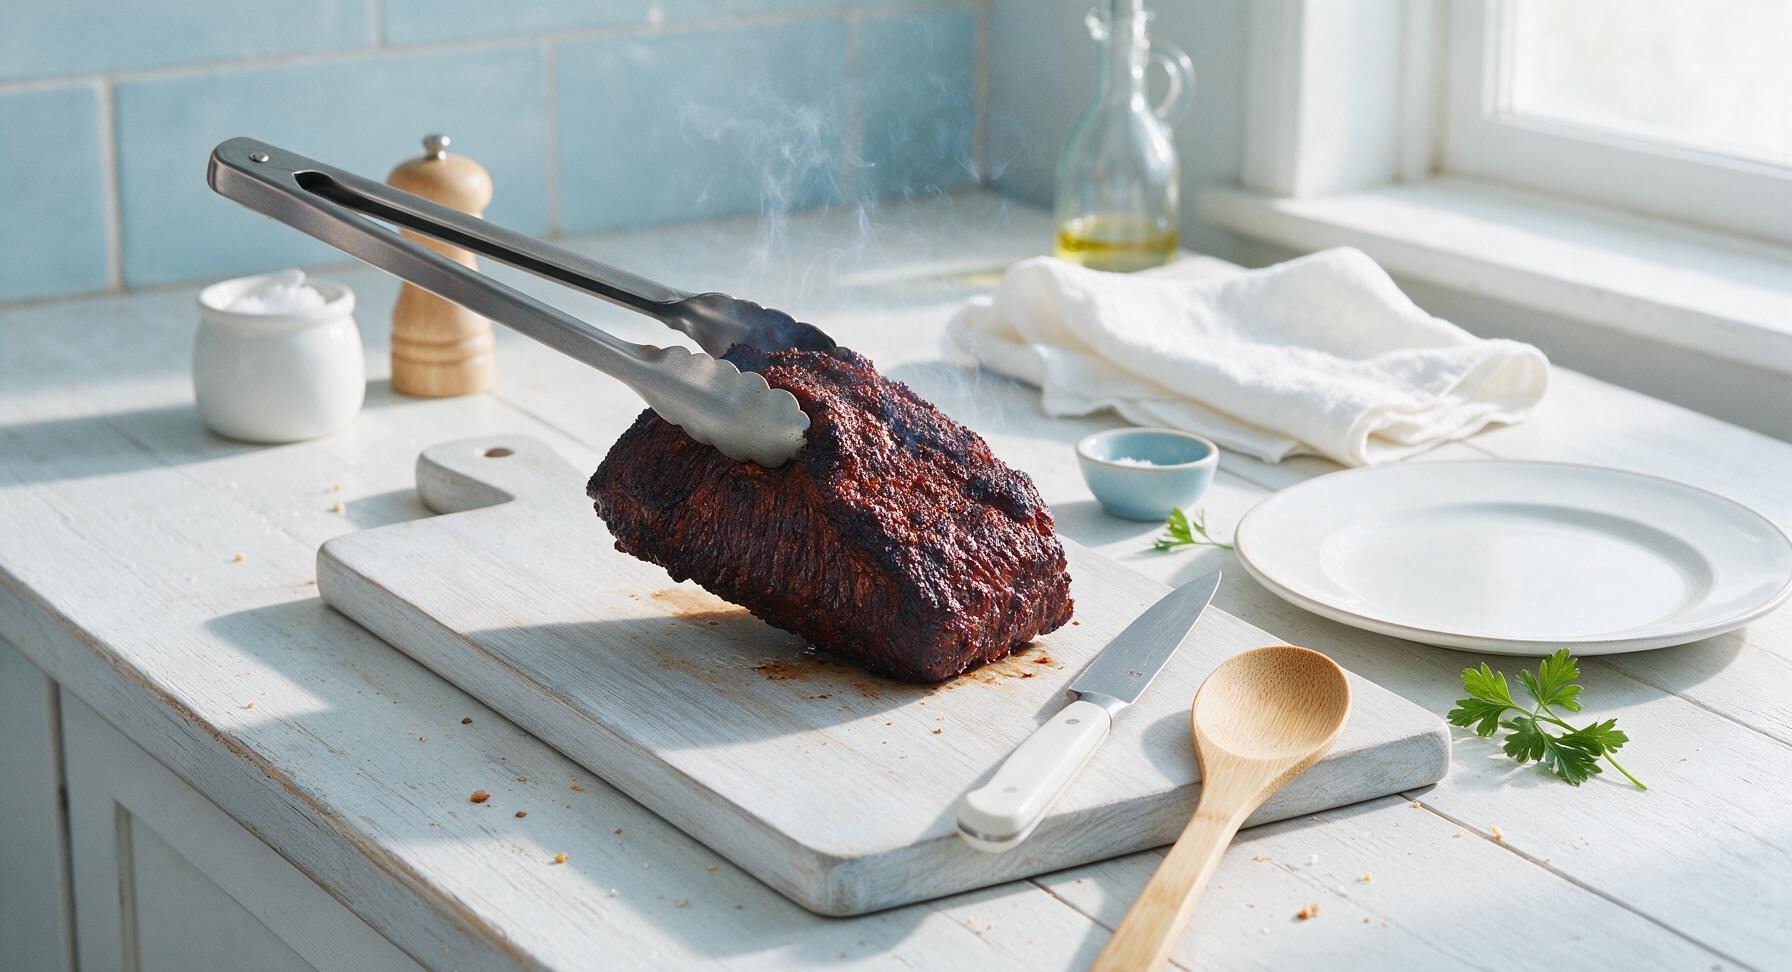
Preheat your smoker to 225°F (107°C) using hickory wood for classic smoky flavor. Place the rubbed brisket point fat-side up on the smoker grates, close the lid, and smoke for 3 hours, until the exterior forms a deep, dark mahogany bark and the internal temperature reaches 165°F (74°C). Avoid opening the smoker lid unnecessarily to maintain consistent cooking temperature.
Cube Smoked Brisket
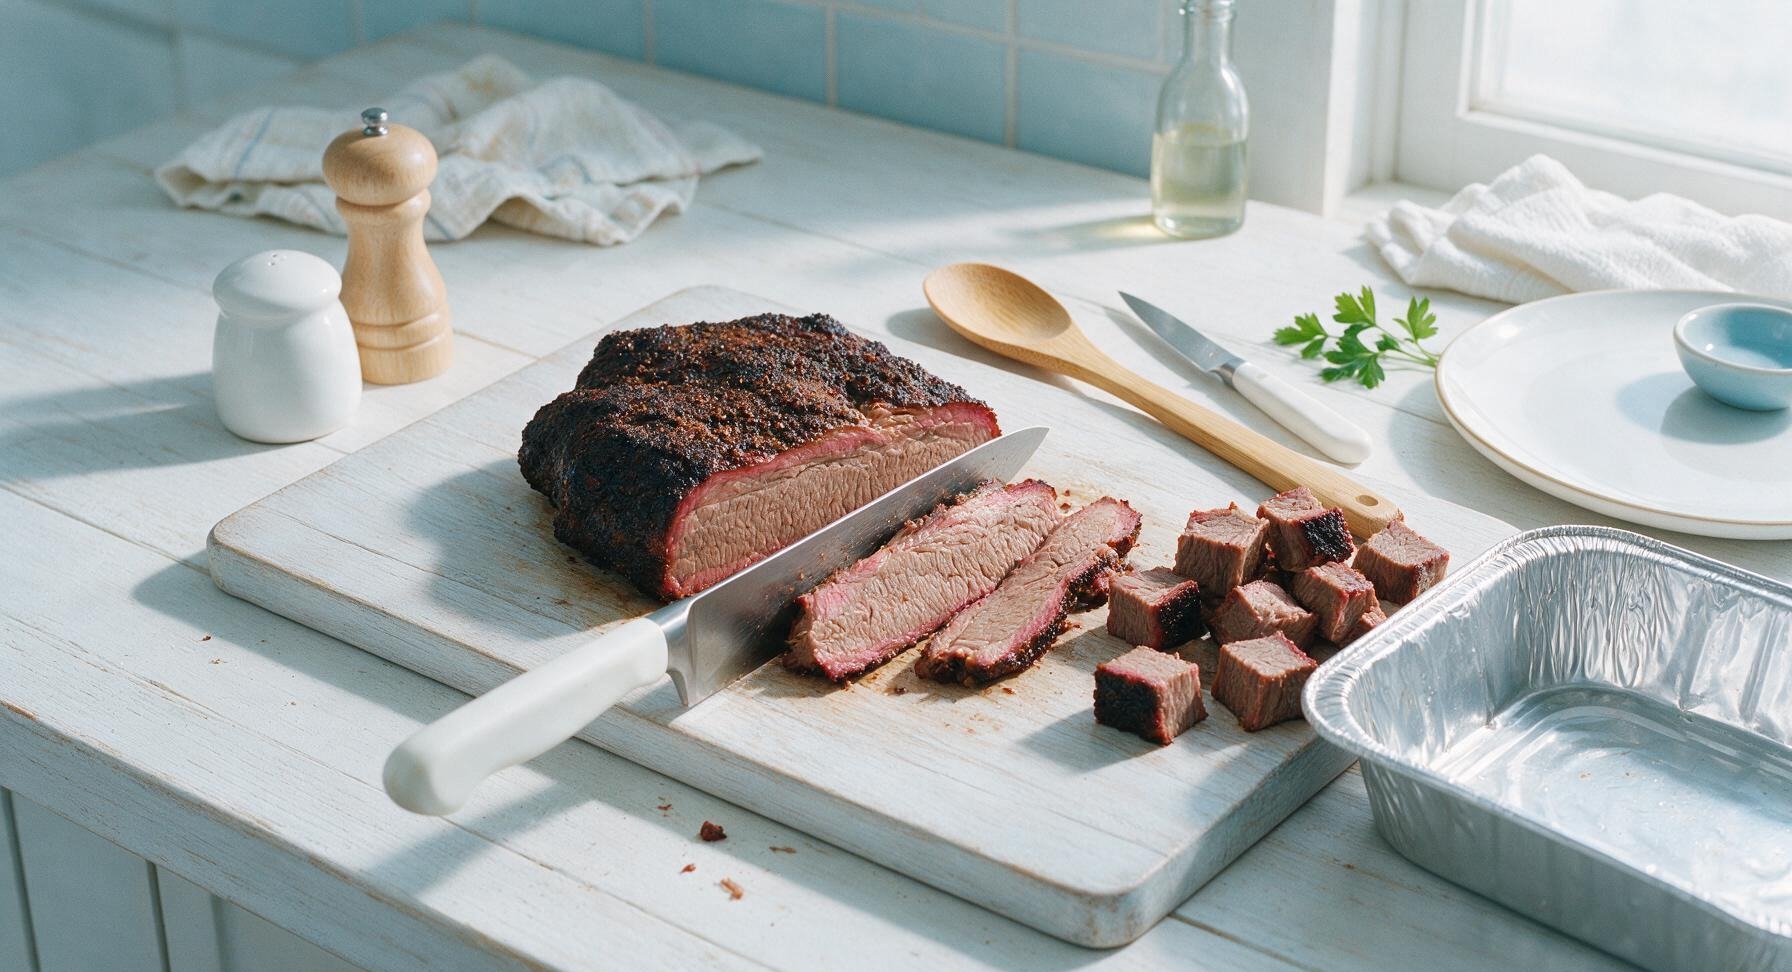
Let the smoked brisket rest for 5 minutes on the cutting board until cool enough to handle. Use the 8-inch chef knife to cut the entire point into uniform 1-inch cubes. Each cube should have a portion of the dark spiced bark on at least one side, with tender pink smoke-ringed meat visible on the cut faces. Retrieve the heavy-duty aluminum foil pan from under the counter and transfer all cubed pieces into the pan.
Toss with Sauce Mix
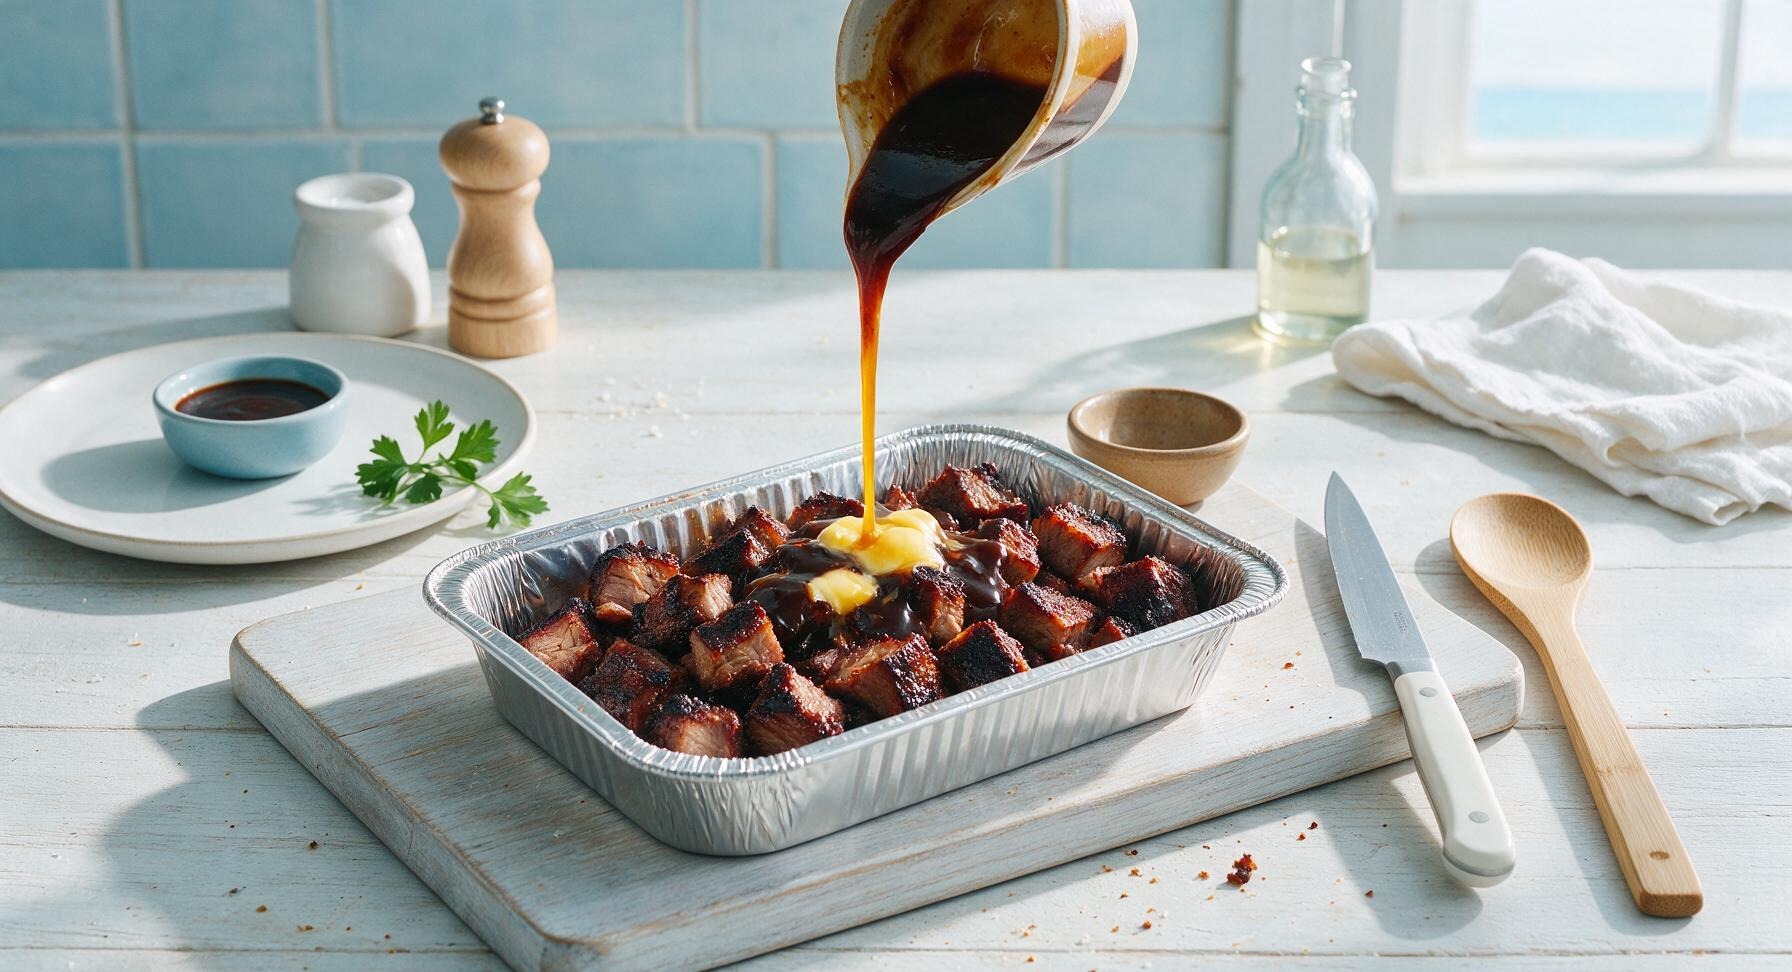
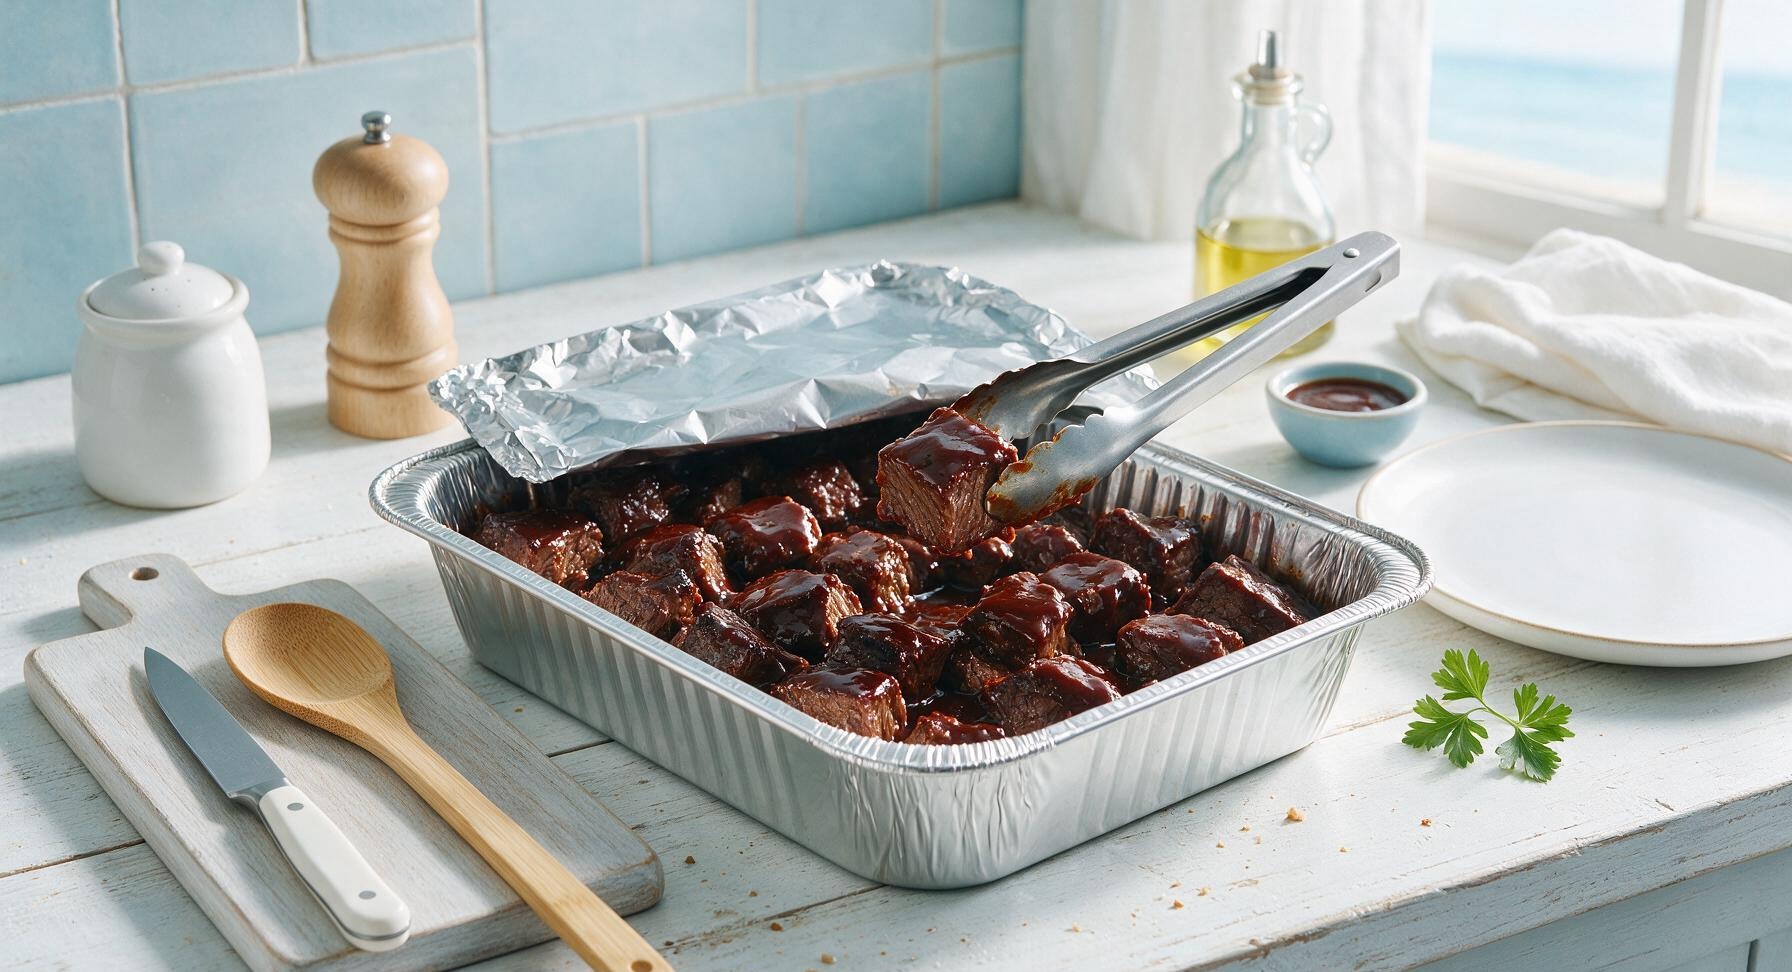
Drizzle 2 tbsp melted unsalted butter, 2 tbsp light brown sugar, and 120ml (1/2 cup) of the Kansas City BBQ sauce over the cubed brisket in the foil pan. Use the stainless steel tongs to toss the cubes until every piece is evenly coated in the sweet, sticky sauce mixture. Cover the pan tightly with a sheet of aluminum foil, crimping the edges to seal completely to trap steam during the final cook.
Render to Tender Perfection
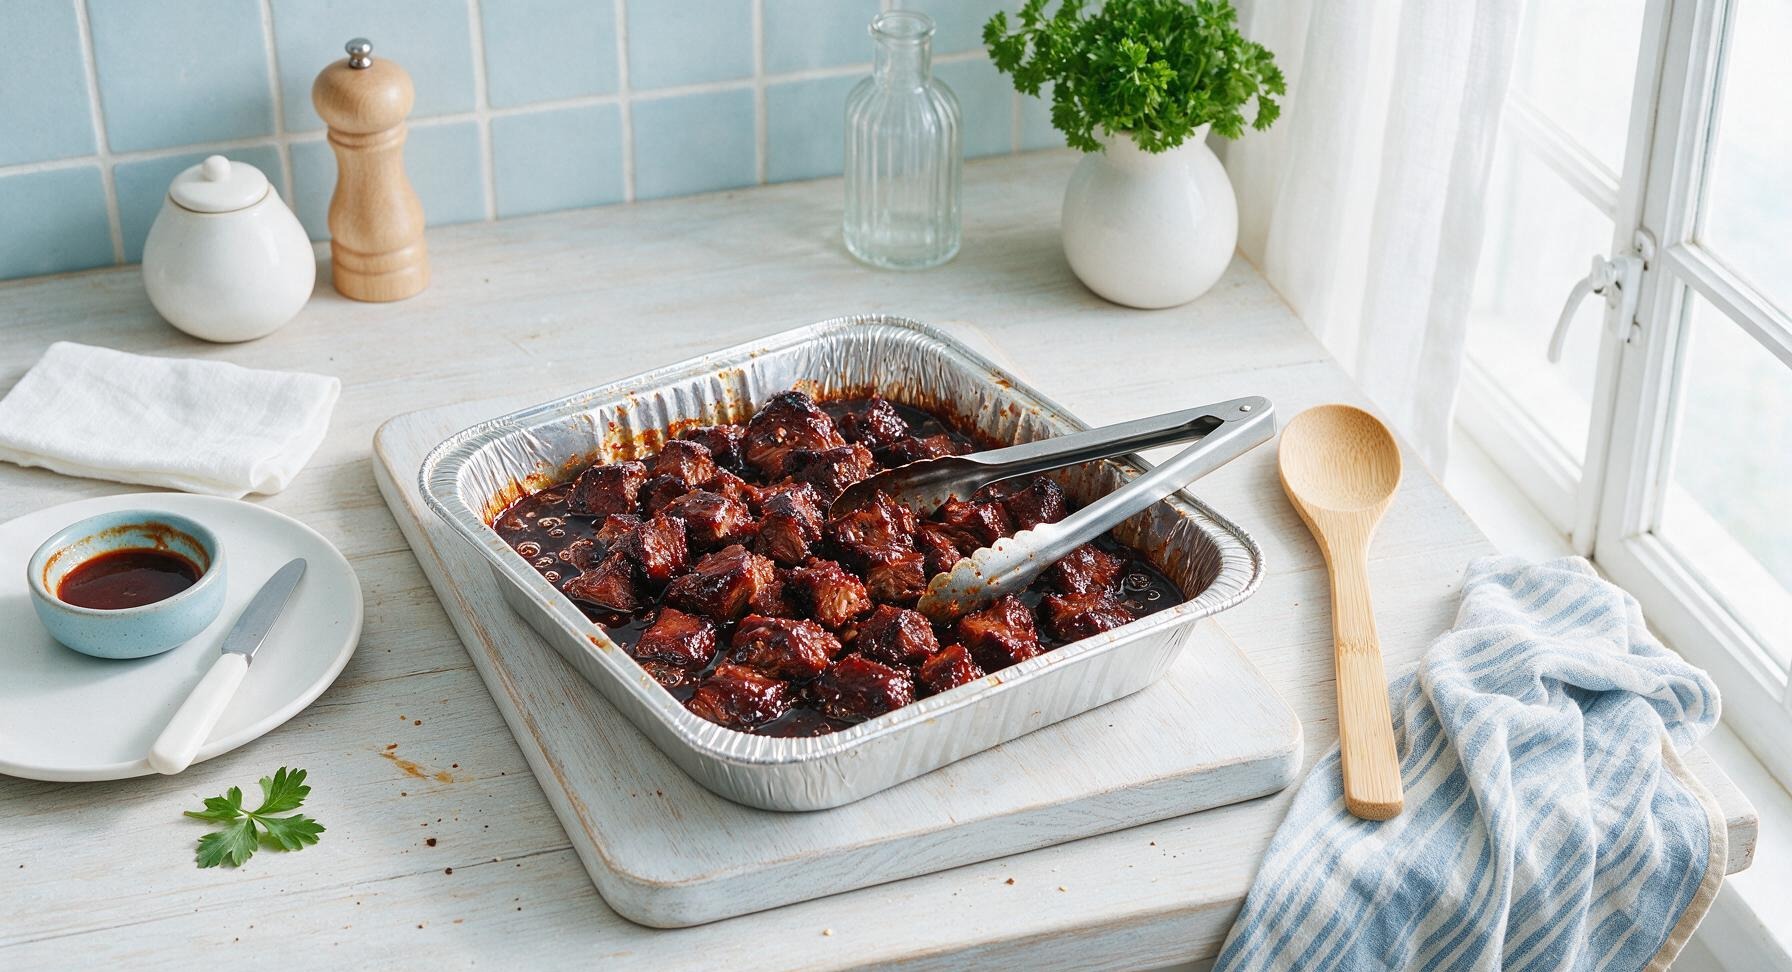
Return the sealed foil pan of sauced cubes to the smoker (or a 275°F / 135°C oven, if no smoker is available) and cook for 1 additional hour, until the cubes are probe-tender (a toothpick slides into the center with no resistance) and the sauce is thick and caramelized. Remove the pan from heat, uncover, and toss the cubes with the remaining 60ml (1/4 cup) BBQ sauce for an extra glossy coating.
Toast Brioche Buns
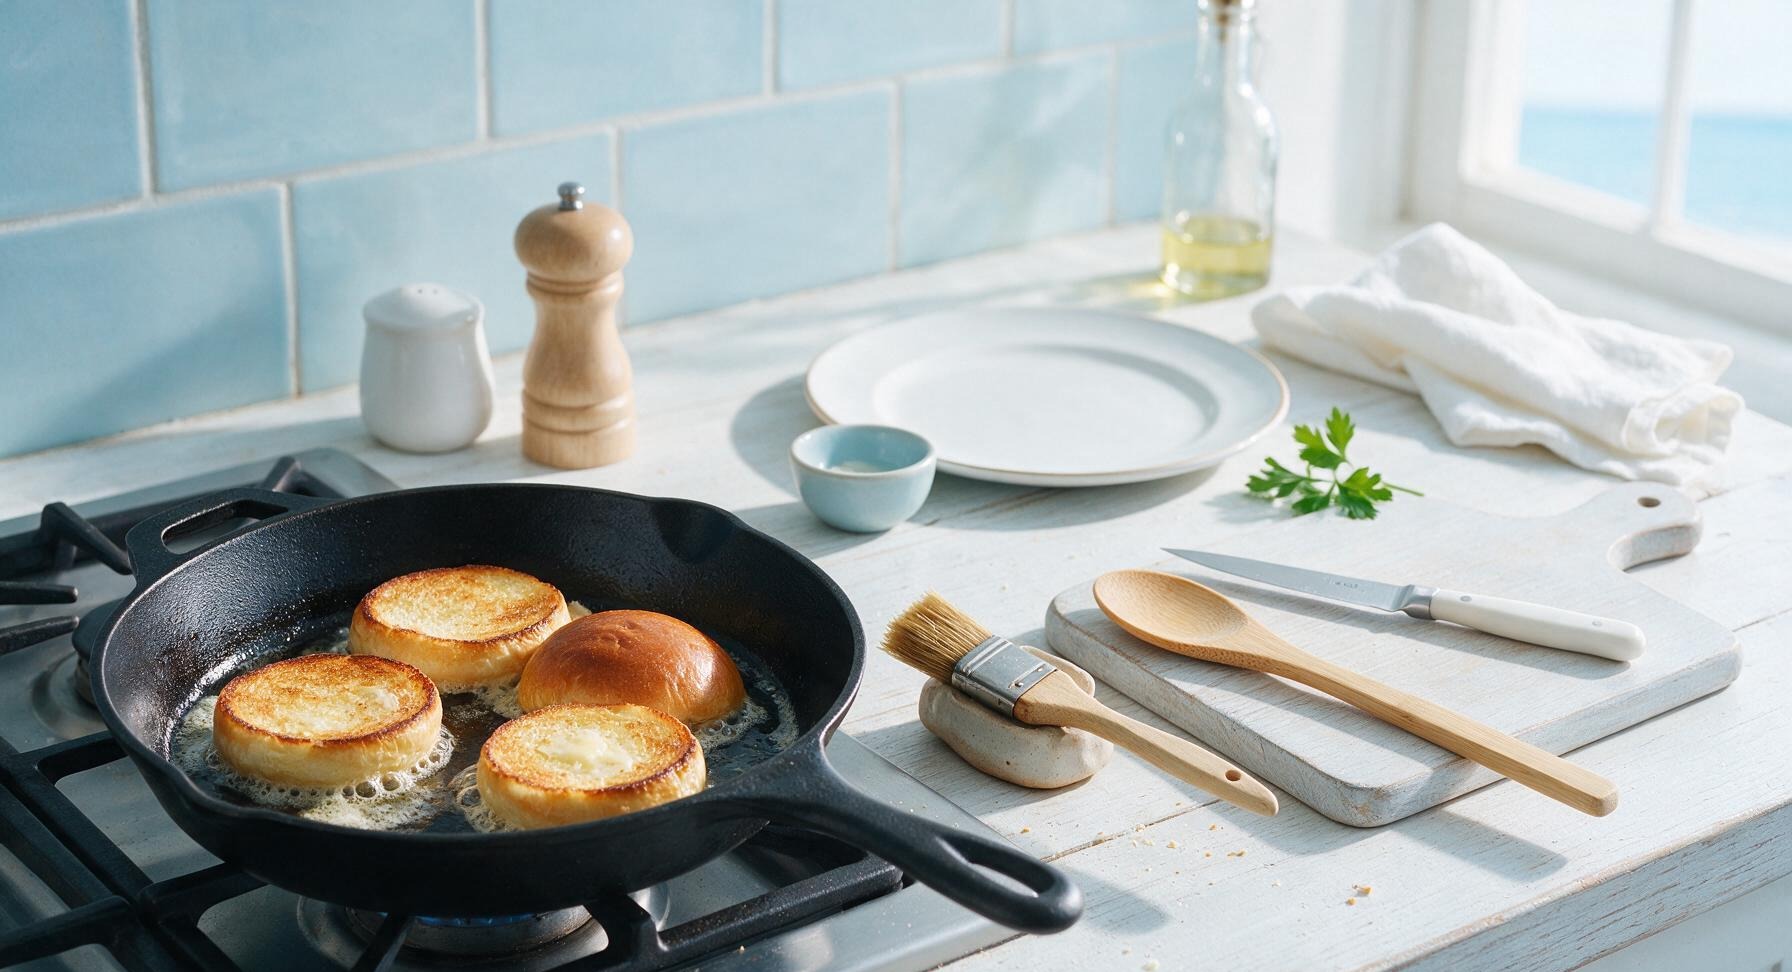
Retrieve the pre-seasoned black cast iron skillet from under the counter and place it on the left gas burner over medium heat. Use the natural bristle pastry brush to spread the remaining 1 tbsp softened butter on the cut sides of each brioche bun. Place buns cut-side down in the hot skillet, toasting for 1-2 minutes until golden brown and slightly crisp around the edges. Remove toasted buns from the skillet and set aside on a clean corner of the counter.
Stack the Sandwiches
Set the bottom half of each toasted brioche bun on the matte off-white rectangular ceramic platter. Layer 3 crinkle-cut dill pickle slices on each bottom bun, then pile 120-150g of sauced burnt ends high over the pickles. Top the burnt ends with a 50g scoop of creamy coleslaw, then place the top toasted bun over the stack. Press down gently on each sandwich to help the ingredients settle without squeezing sauce out the sides.
Tips
2.Leave a uniform 1/4-inch fat cap on the brisket point when trimming: as the fat slowly renders during the smoke, it bastes the meat from within, building a rich, crisp spice bark and keeping the cubed ends moist through the final cooking stage.
3.Toast the cut sides of the brioche buns until crisp: the toasted, buttered surface creates a moisture barrier that prevents sticky BBQ sauce and juicy coleslaw from soaking into the bun, so your sandwich stays intact instead of turning soggy mid-bite.






OMG, these burnt ends sandwiches were an absolute game changer for our Memorial Day cookout! I was a little intimidated by the 4+ hour cook time but the end result was so worth it. The bark was perfectly crispy, the sauce had that classic KC tang, and every single guest asked me for the recipe. My only tiny note is I added a quick pickle slaw on top for crunch, 10/10 would make again.
Made this for Sunday family dinner and my kids devoured it! I was worried the cook time would be too long for a weekend meal but I prepped the rub the night before and it made the day of so much smoother. The meat was fall-apart tender, even my super picky 7 year old asked for seconds. Will absolutely be adding this to our regular rotation!
Solid recipe, though I messed up the first time by not letting the brisket rest long enough before cubing it for the burnt ends. Ended up losing a ton of juice! Second go around I let it rest 20 minutes and it came out perfect. Pro tip for newbies like me: don’t skip the rest step!
First time ever making burnt ends and I was so nervous since this is medium difficulty! The steps were super clear but I’m wondering if I can use a pellet smoker instead of a traditional offset smoker? I only have the pellet one at my apartment complex.
Brought these sandwiches to our neighborhood block party last weekend and they were gone in 15 minutes flat. People were literally coming back to the table asking if there were more even after I packed up! I did double the sauce recipe because I like mine extra saucy, and that worked out perfectly. SO good.
Tried this for my weekly meal prep and it held up great all week! I stored the burnt ends separate from the buns so the bread didn’t get soggy, and just assembled each sandwich when I was ready to eat. Even after 5 days in the fridge the meat was still tender and flavorful. Game changer for work lunches!
Really good base recipe! I added a couple tablespoons of habanero hot sauce to the glaze to give it an extra kick and it was chef’s kiss. My only complaint is the cook time felt a little longer than I expected on my smoker, but that’s probably just my equipment running cool, not the recipe’s fault.
As someone who grew up eating KC burnt ends on road trips with my dad, I can confirm this recipe is the real deal. Tastes exactly like the sandwiches we used to get at that little hole-in-the-wall joint off I-70. I got a little emotional eating it ngl. 10/10, no notes.
Wait, has anyone tried making this with chuck roast instead of brisket? Brisket is a little pricy right now at my local grocery store and I don’t want to splurge if it’s not going to turn out right.
Made these for our watch party for the Chiefs game last Sunday and it was the perfect tailgate food (even though we were watching from my couch). Had all the guys yelling between plays about how good the sandwiches were. Will be making these every game day from now on, no questions asked.
So happy this recipe is easy to adapt for gluten free! I swapped the regular buns for my favorite gluten free brioche buns and made sure my BBQ sauce was GF, and it turned out perfect. I’ve missed having a good burnt ends sandwich since going GF, so this made my whole week.
Full transparency: I have never smoked anything in my life, and I almost gave up halfway through when my temp spiked to 300 for 20 minutes. But I powered through, followed the rest of the steps, and somehow these came out incredible. My wife said they’re better than the ones we got at that fancy BBQ place downtown for our anniversary. Wild.
How long do these burnt ends stay good in the freezer? I want to make a big batch ahead of time for our upcoming camping trip so I don’t have to do a ton of cooking while we’re out at the site.
These were good, but I felt like the rub was a little heavy on the paprika for my taste. Next time I’ll cut the paprika by a teaspoon and add a little more brown sugar for sweetness. Still a really solid base recipe to tweak to your own tastes, though!