
to fry a chicken
intro
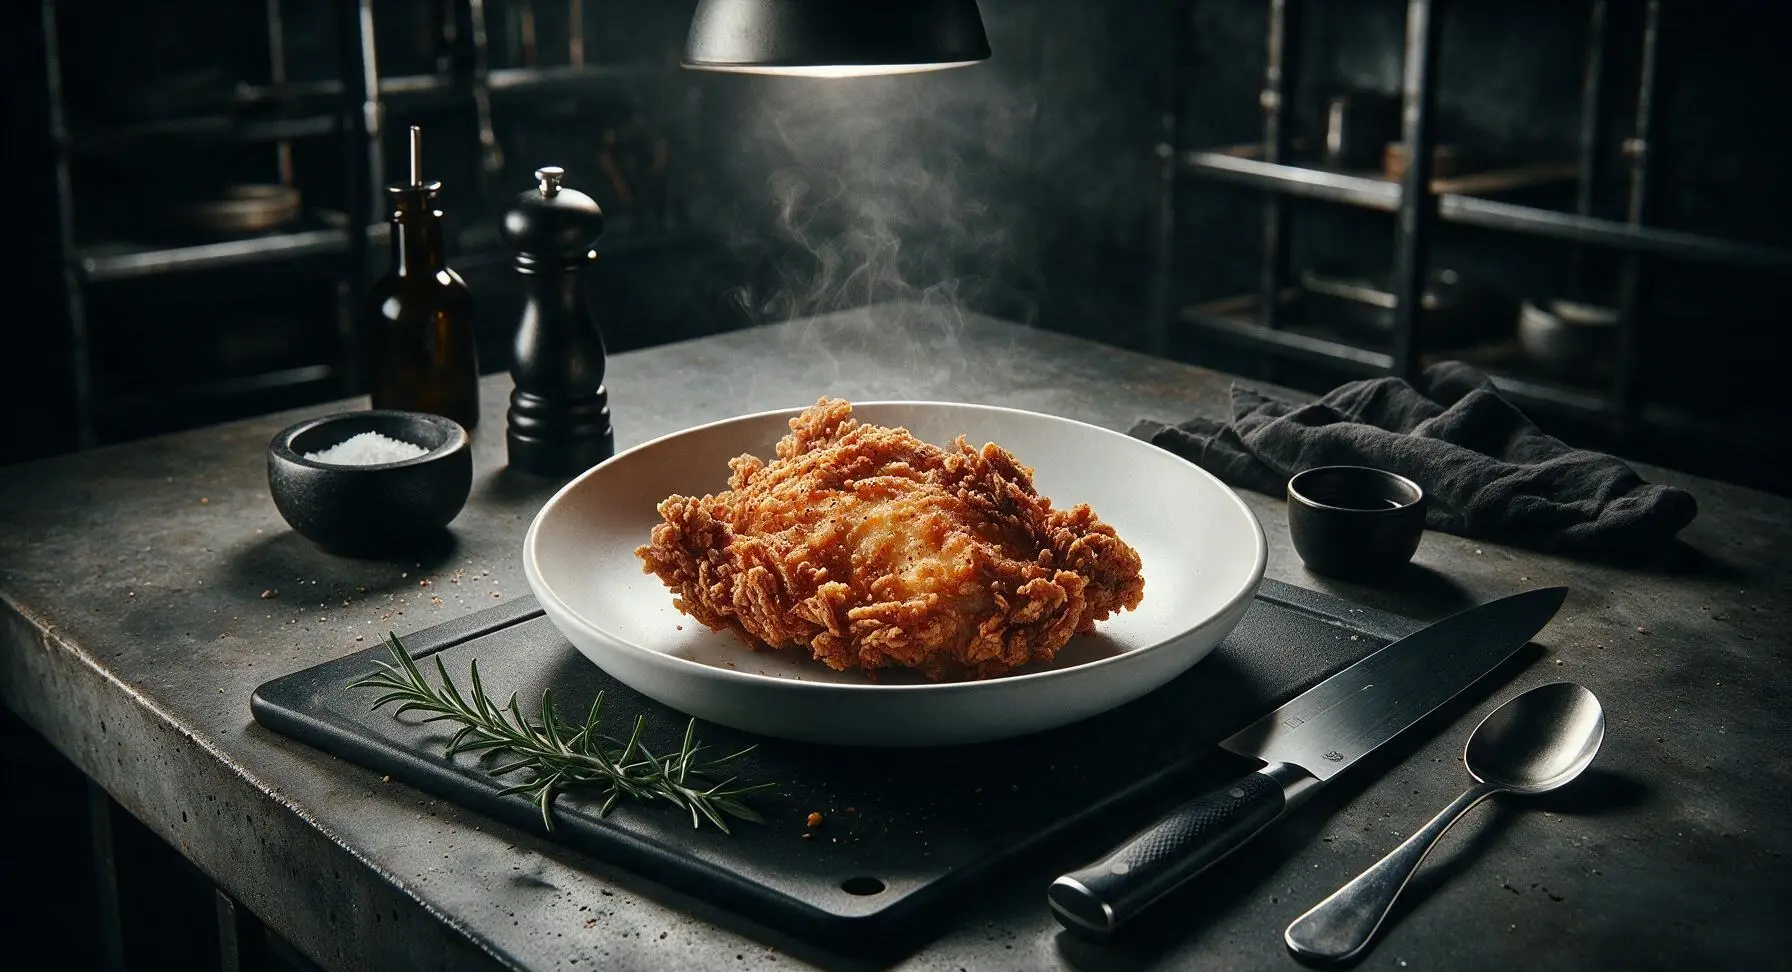
Shatteringly crisp, juicy Southern-style fried chicken, brined in tangy buttermilk, seasoned with peppery flour, and fried to golden perfection for timeless comfort.
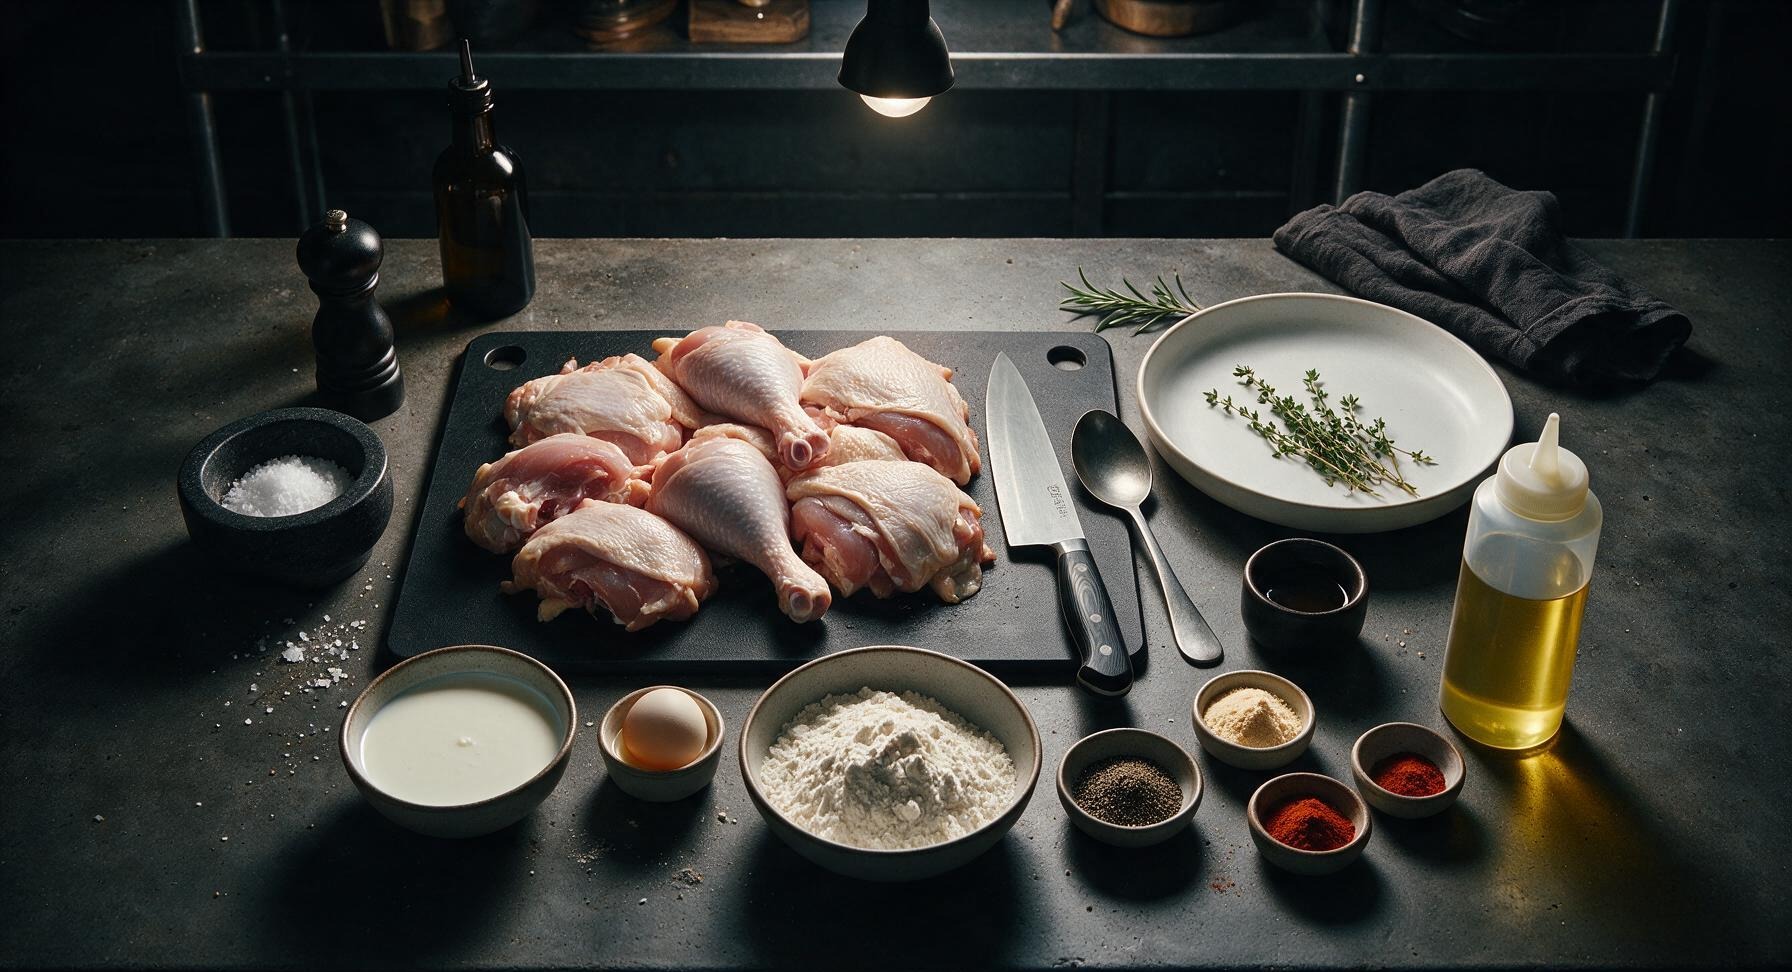
Ingredients
Steps
Brine Chicken in Buttermilk
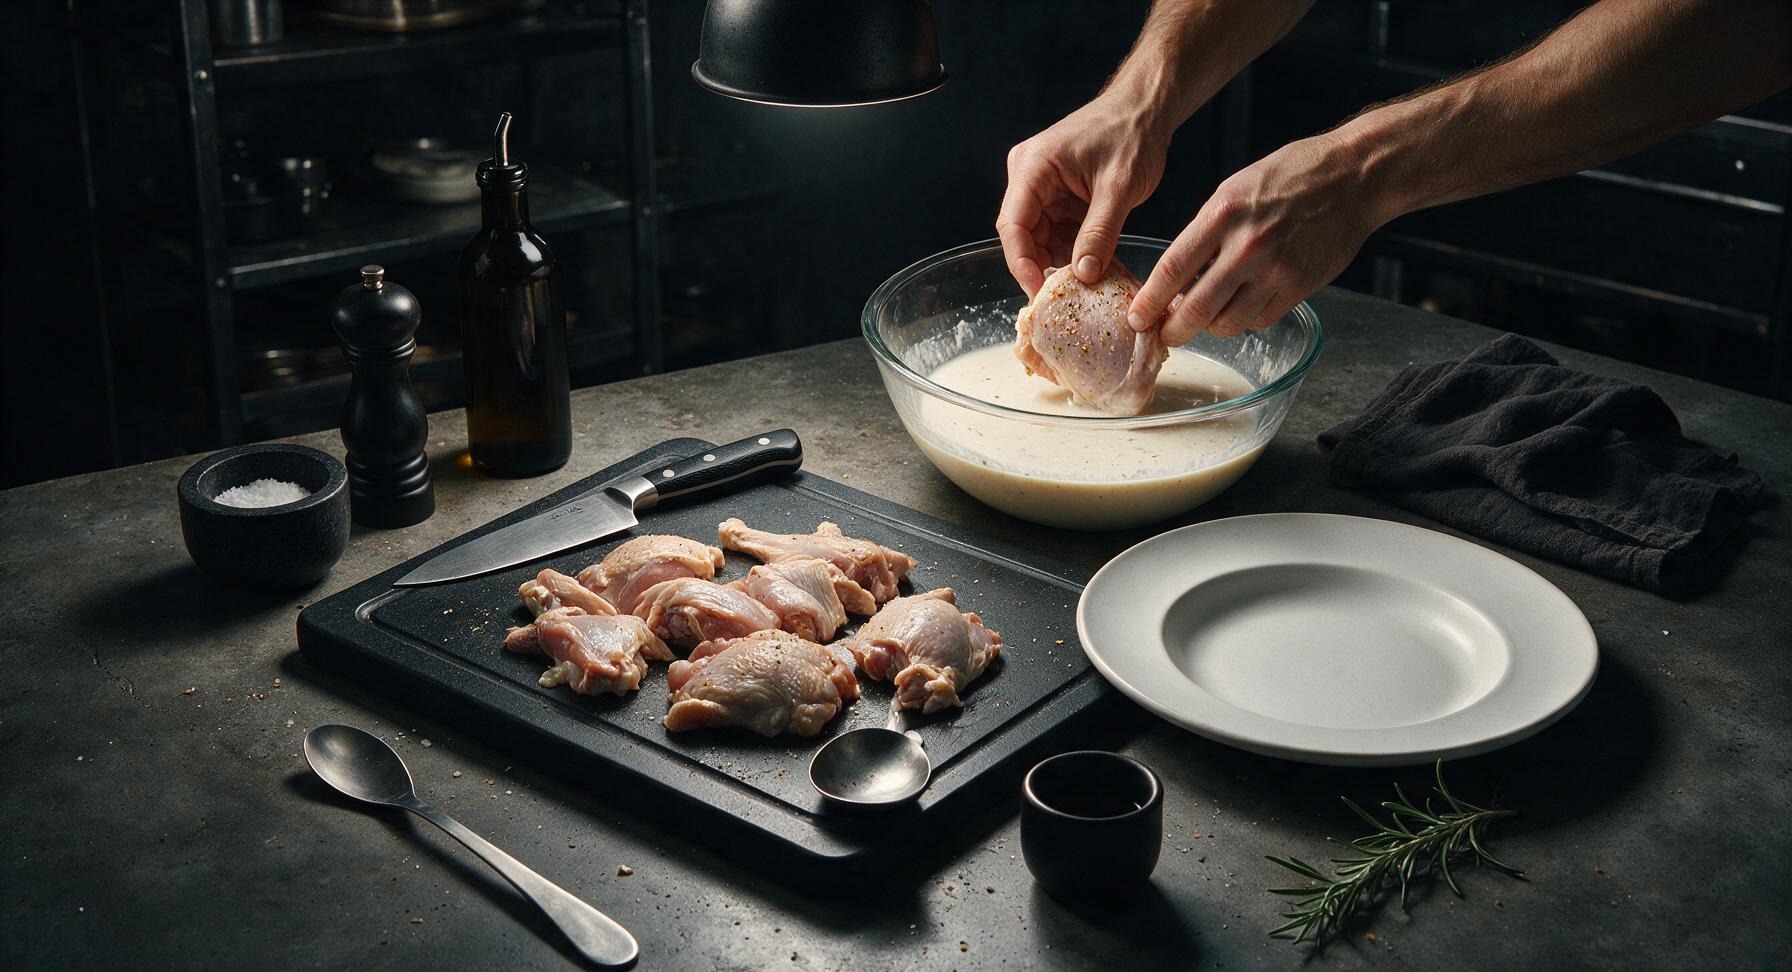
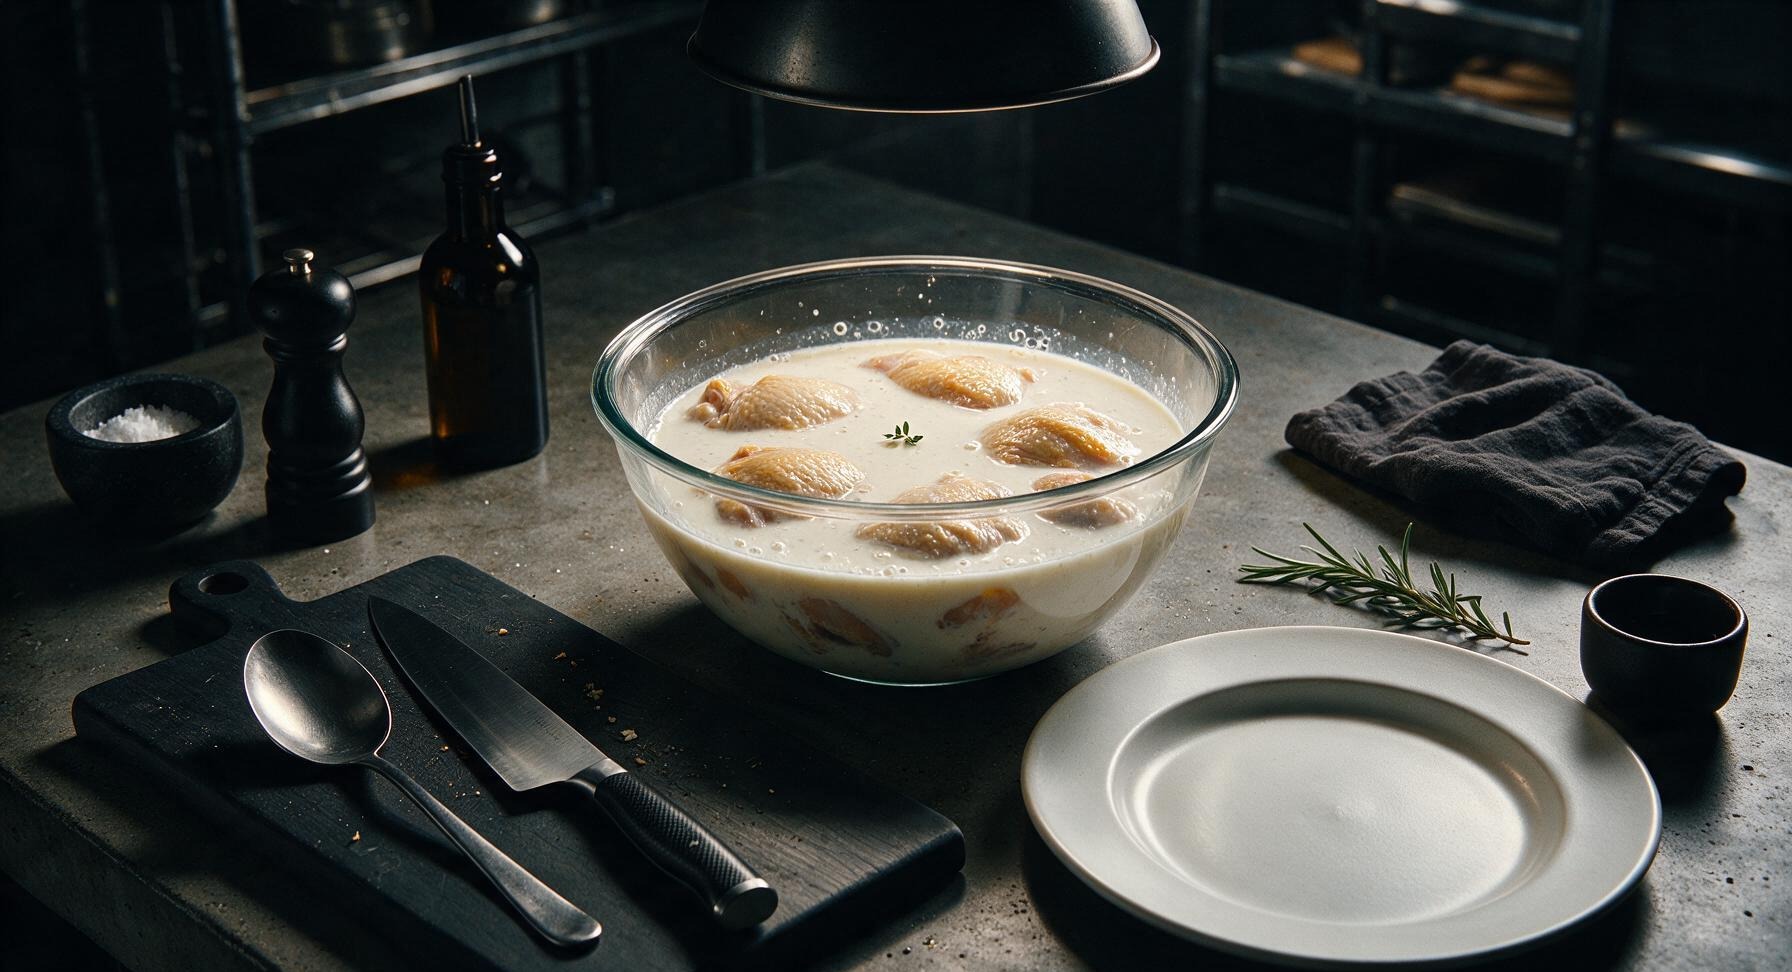
Pat all chicken pieces thoroughly dry with paper towels, then season lightly with 1 teaspoon kosher salt. In the large clear glass mixing bowl, whisk together 500ml full-fat buttermilk, 1 large egg, 1 teaspoon kosher salt, ½ teaspoon freshly ground black pepper, and ¼ teaspoon cayenne until completely smooth. Submerge every chicken piece fully in the buttermilk brine, cover the bowl, and refrigerate for 8–24 hours to tenderize the meat and lock in moisture. Active prep for this step takes 10 minutes.
Mix Seasoned Flour Coating
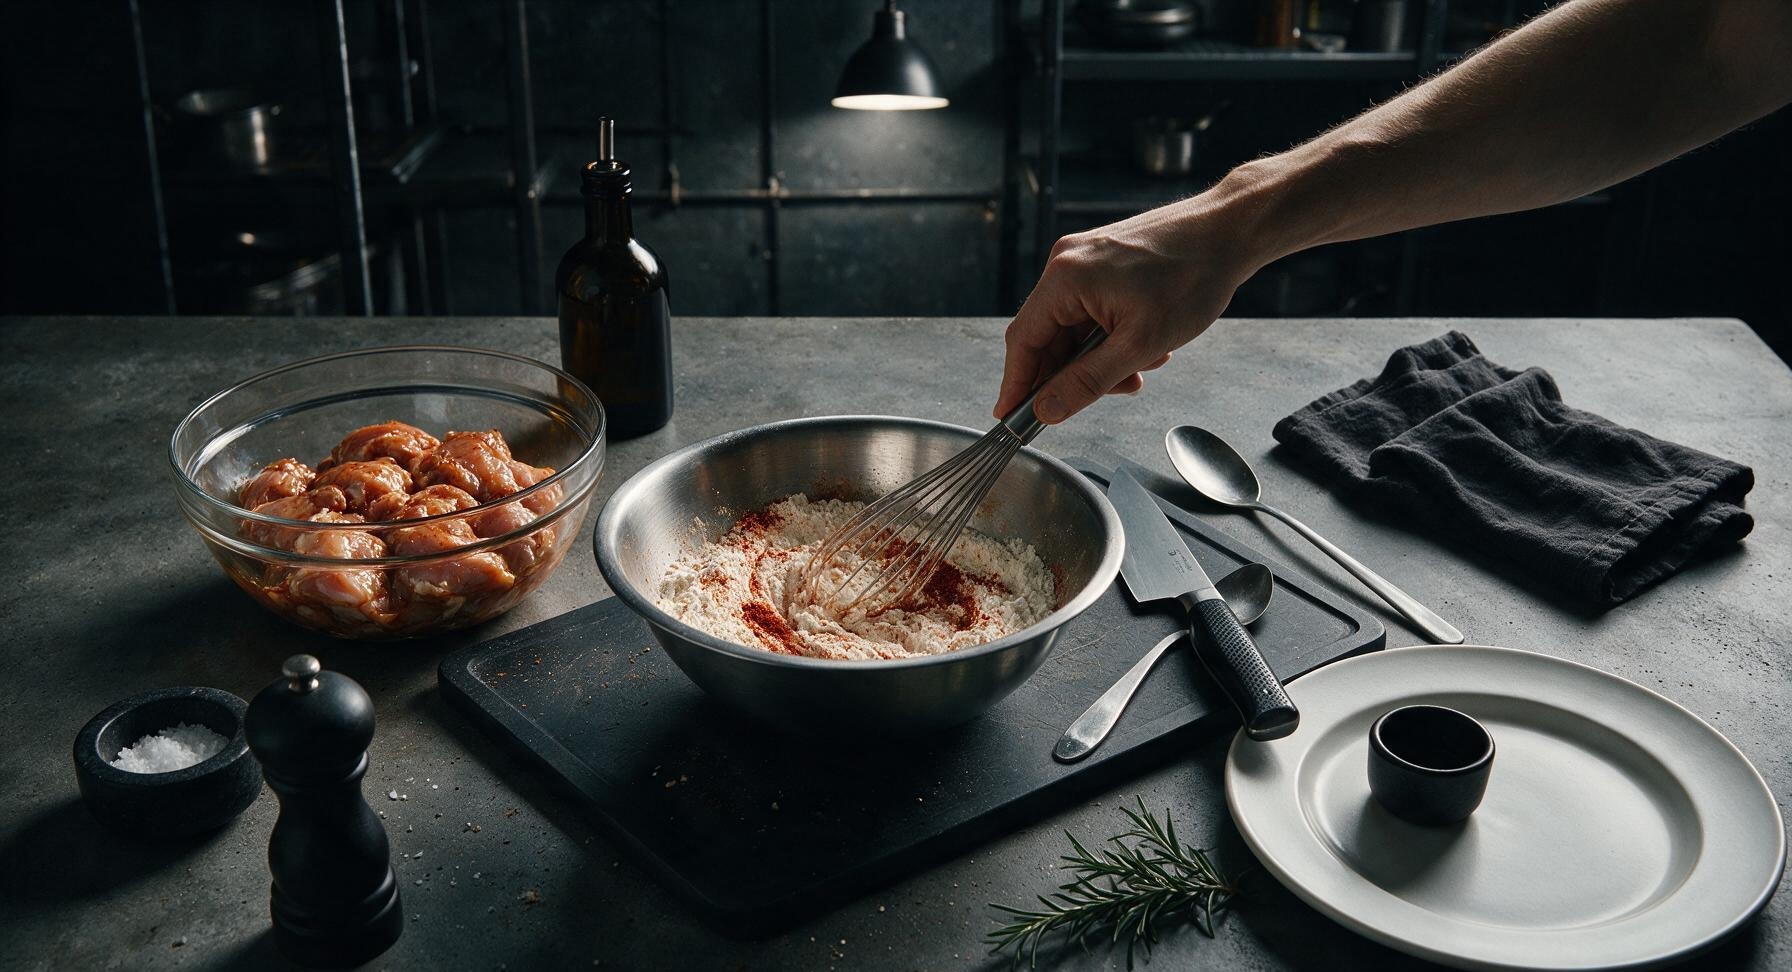
When ready to fry, remove the brined chicken from the refrigerator and let it rest at room temperature for 30 minutes to prevent uneven cooking. In the medium brushed stainless steel mixing bowl, combine 300g all-purpose flour, the remaining 1 tablespoon + 2 teaspoons kosher salt, remaining 2 ½ teaspoons black pepper, 1 tablespoon garlic powder, 1 teaspoon smoked paprika, and remaining ¼ teaspoon cayenne. Whisk thoroughly for 30 seconds to evenly distribute all spices, breaking up any small clumps of paprika or garlic powder.
Heat Oil to Temperature
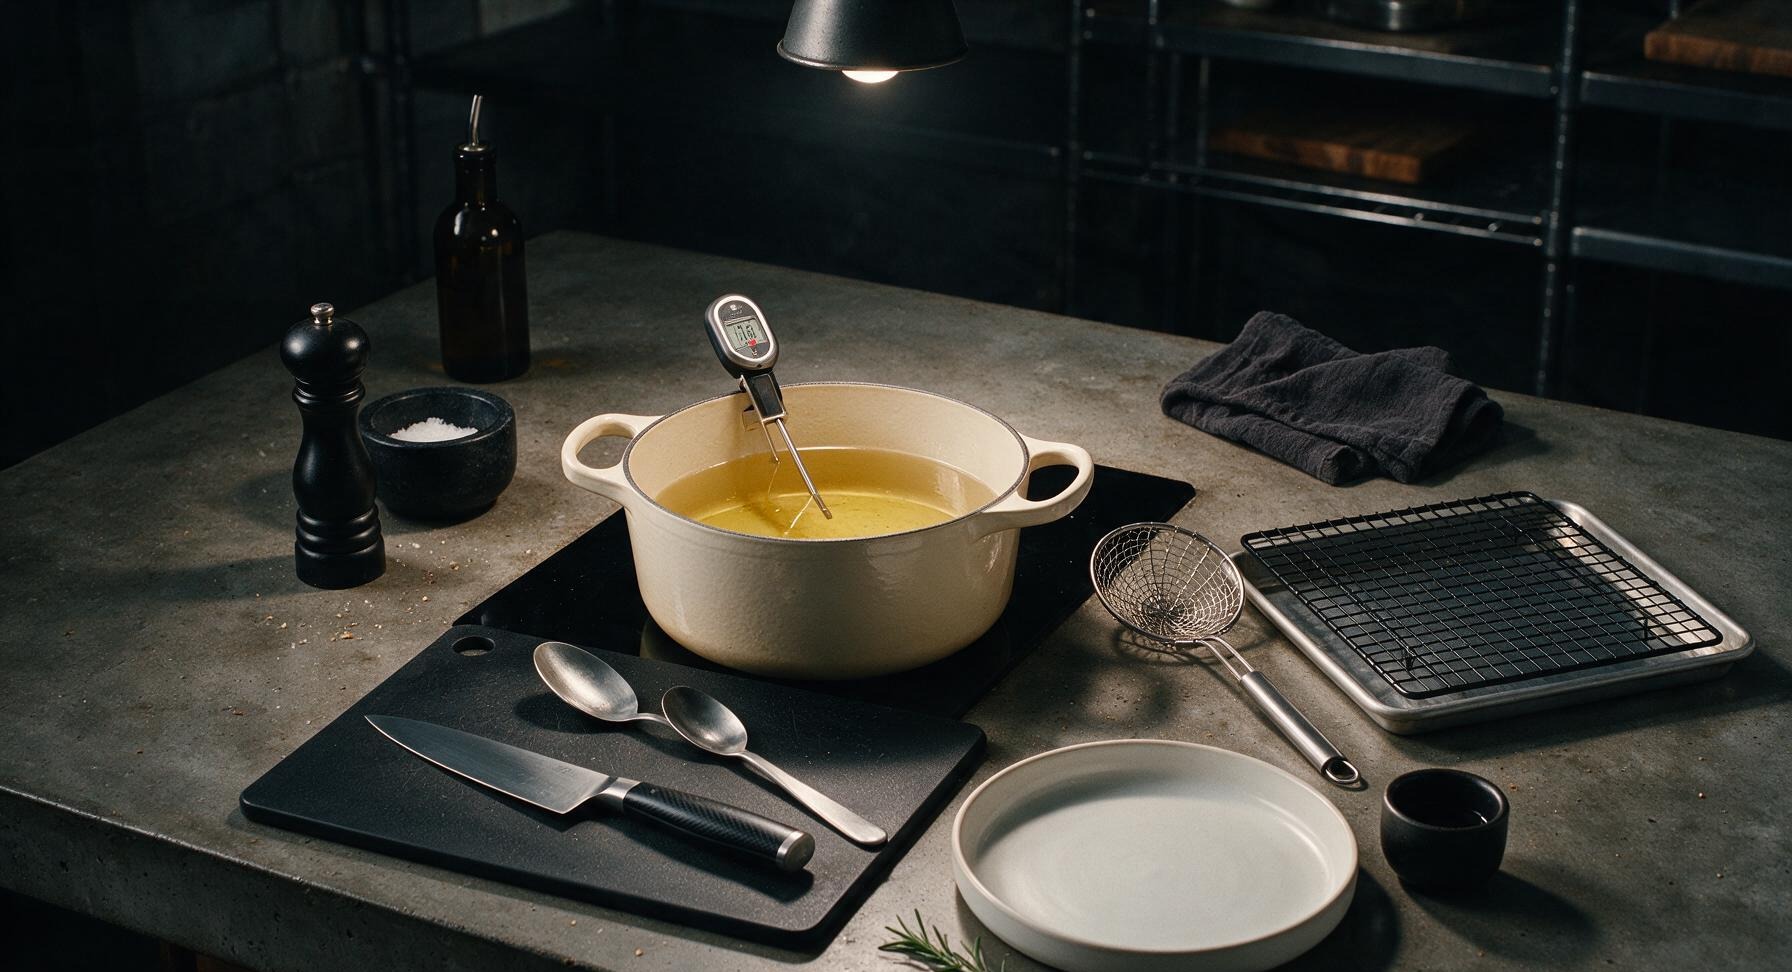
Place the 5.5-quart matte cream enameled Dutch oven on the central cooking zone of the counter, pour in 1.5L canola oil to reach a 3-inch depth up the pot sides. Heat the oil over medium heat until it reaches a steady 175°C (350°F), monitored with the digital instant-read thermometer clipped to the pot rim. Adjust burner heat as needed to hold temperature, and do not let the oil reach smoking point.
Coat Chicken Evenly
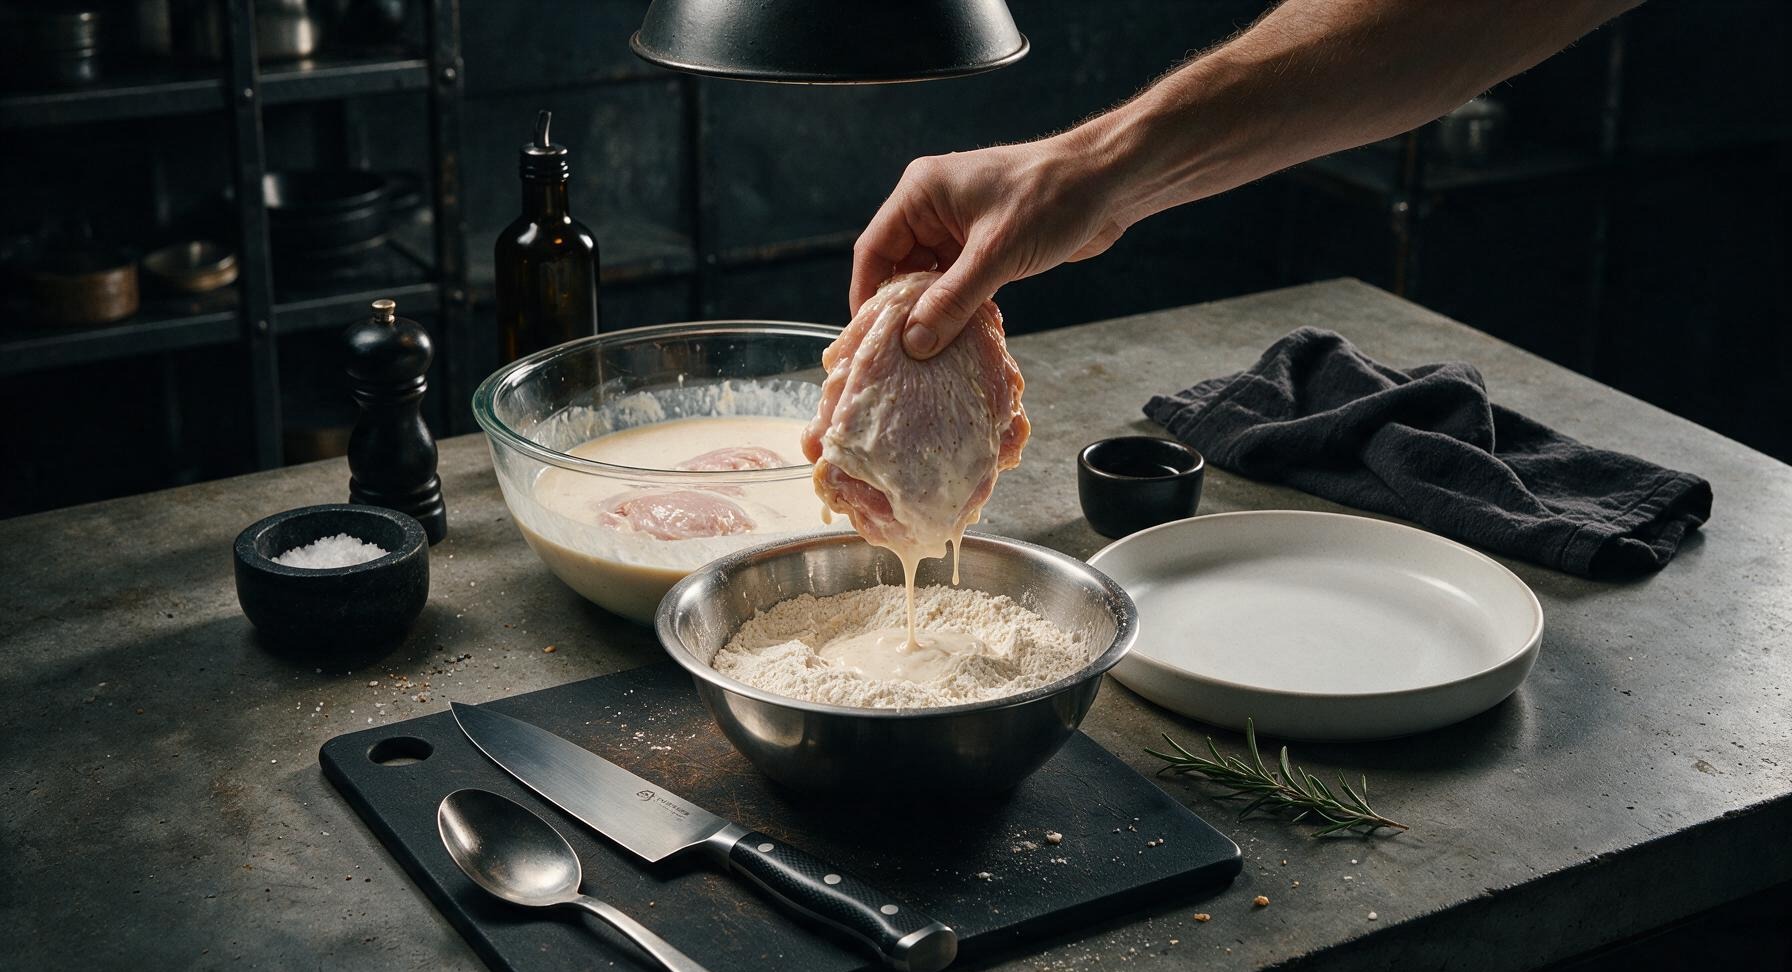
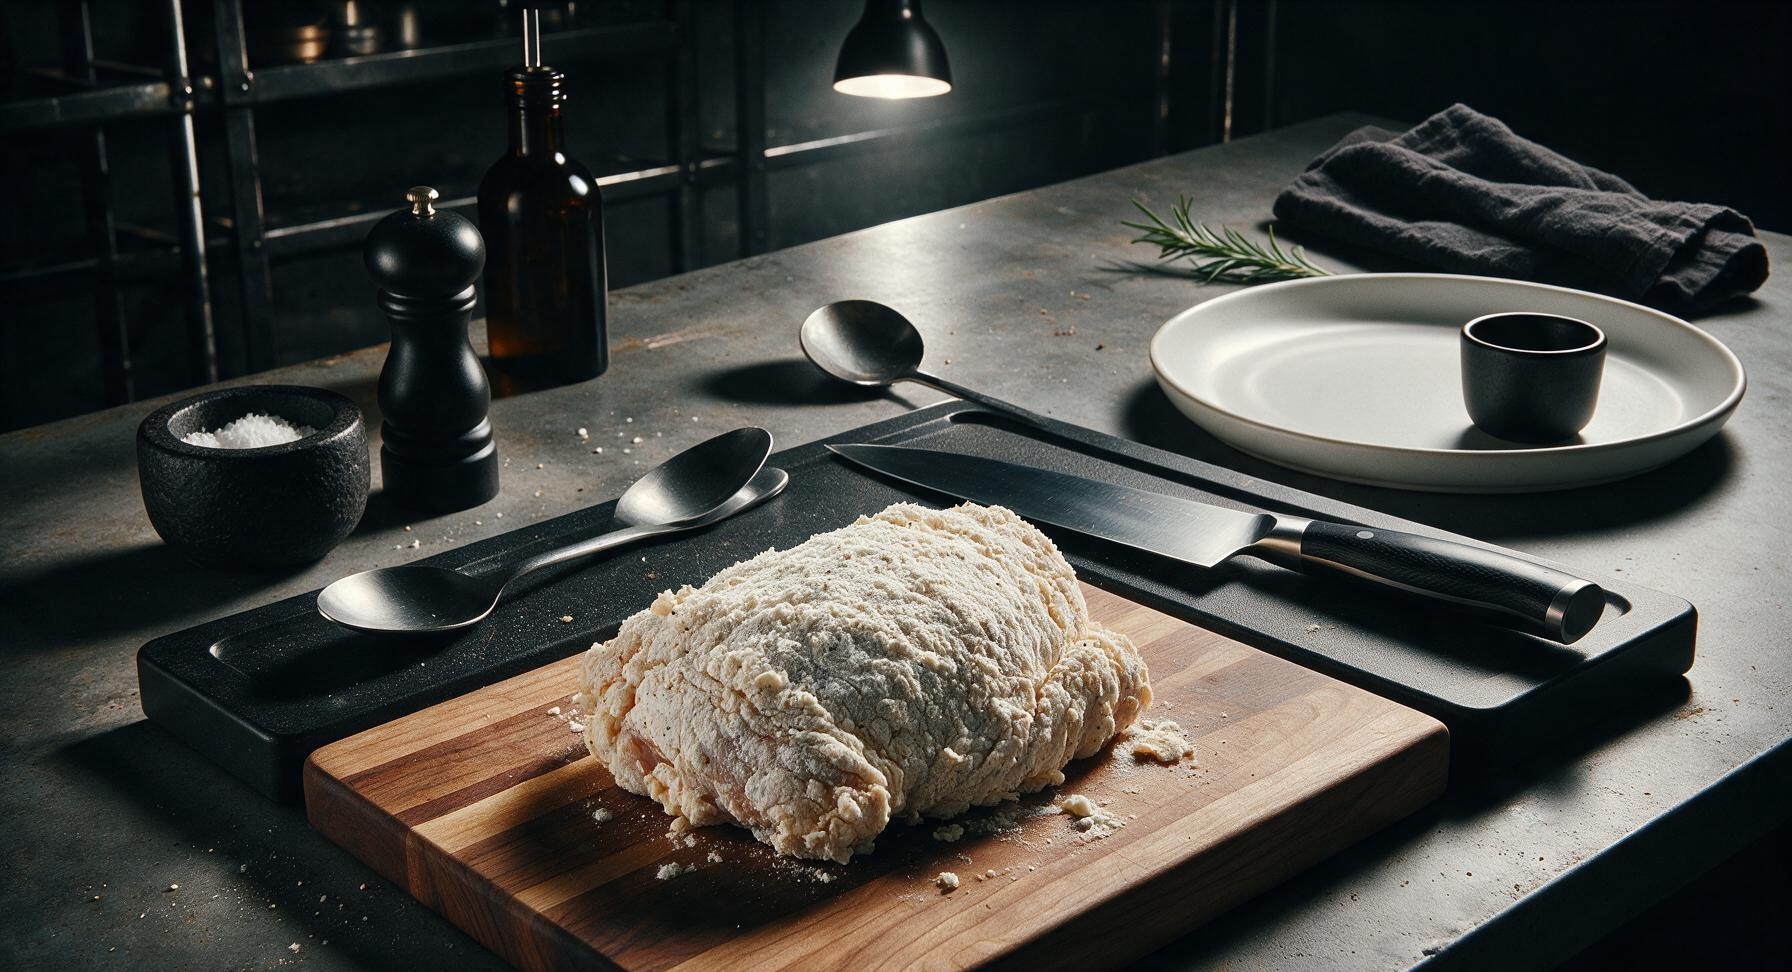
Working one piece at a time, lift chicken from the buttermilk brine, letting excess brine drip off for 2–3 seconds. Drop the piece into the seasoned flour mixture, pressing firmly to coat every surface, including under loose skin flaps and joint crevices. Turn the piece 3–4 times, building a thick, shaggy flour coating, then set coated pieces on the edge of the maple cutting board to rest for 5 minutes before frying. This rest period lets the coating adhere so it does not slide off during cooking.
Fry Chicken in Batches
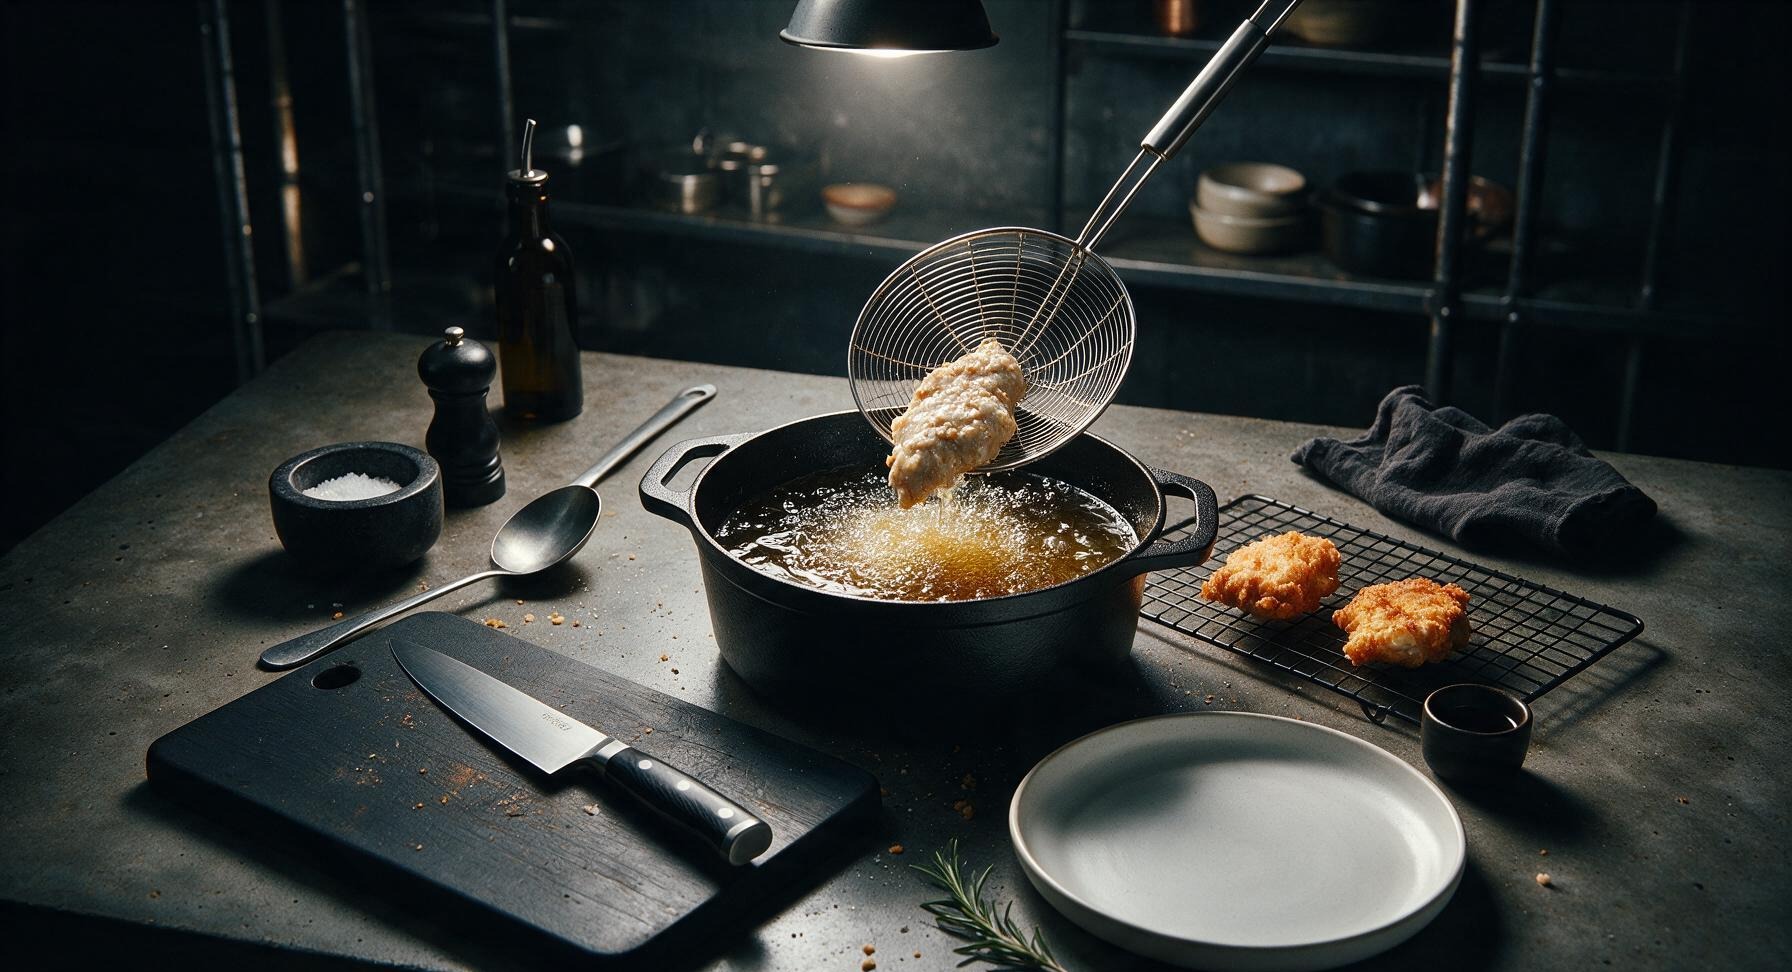
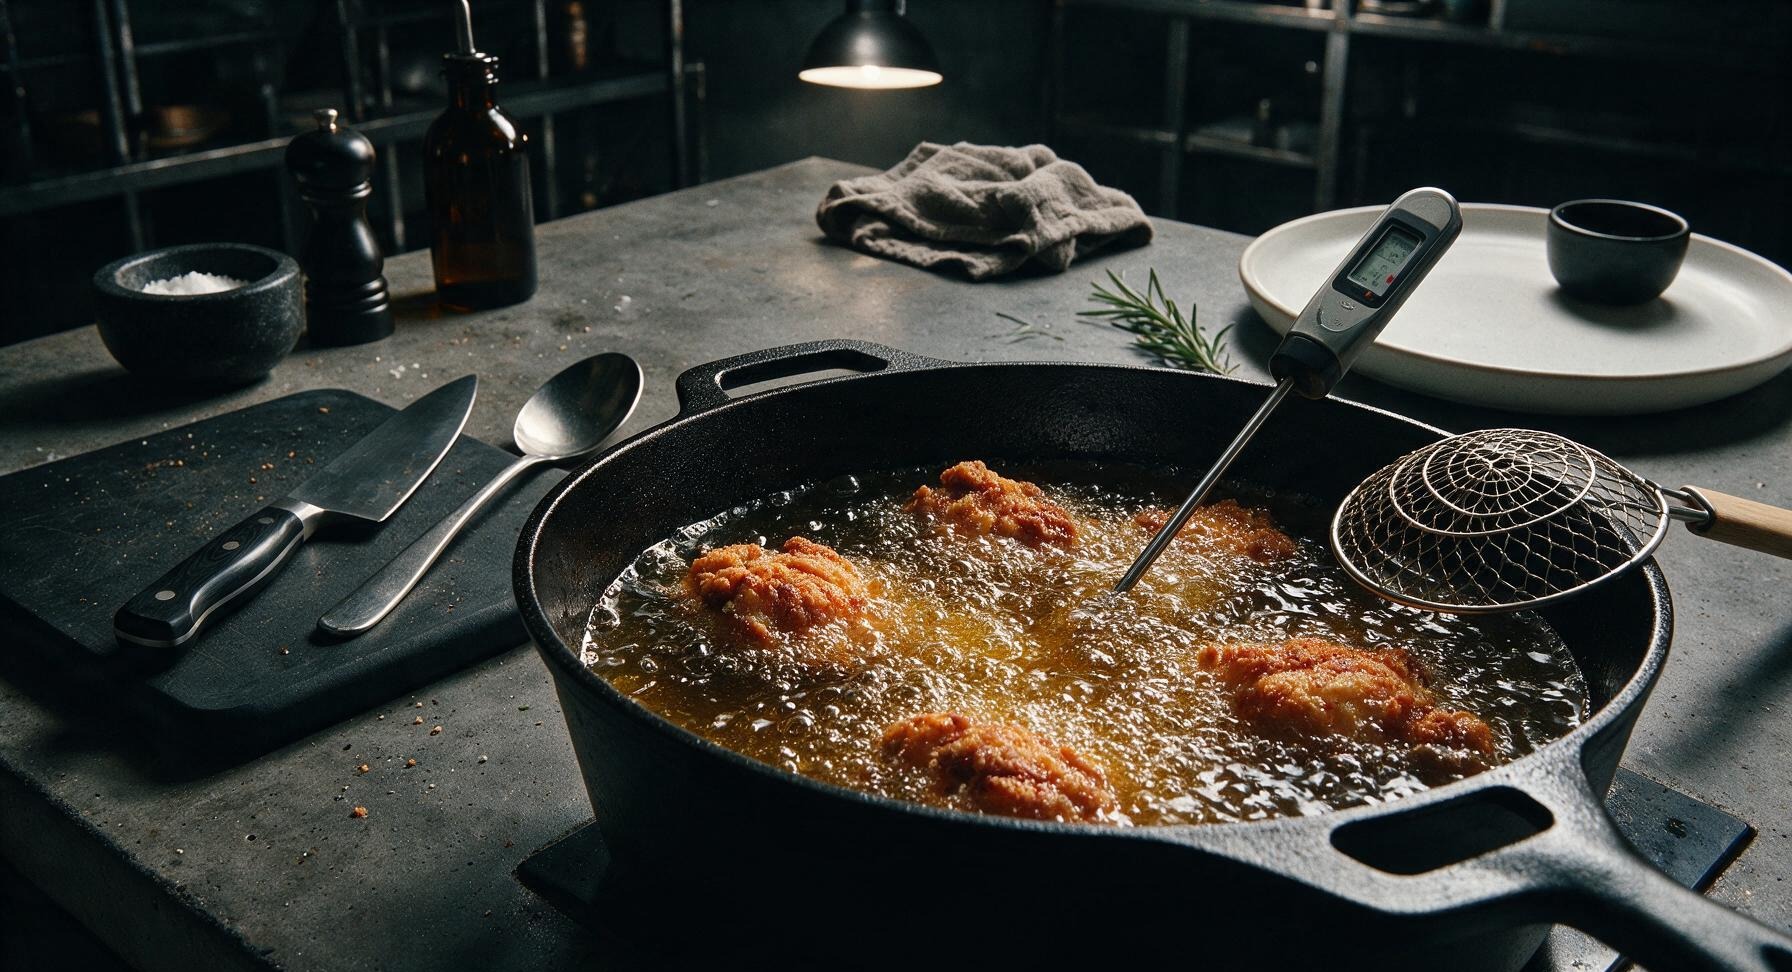
Carefully lower 2–3 coated chicken pieces into the hot oil using the spider skimmer; do not overcrowd the pot, as this drops oil temperature drastically and leads to soggy coating. Maintain oil temperature at a steady 160–165°C (320–330°F) during cooking, adjusting heat as needed. Fry for 12–15 minutes total, turning pieces once halfway through cooking, until the coating is a deep, even golden brown and the internal temperature of the chicken reaches 75°C (165°F) at the thickest part, away from bone.
Drain and Rest Chicken
Once each batch reaches correct temperature and color, use the spider skimmer to lift chicken from the oil, letting excess oil drip back into the pot for 5 seconds. Transfer fried pieces to the black wire rack set over the aluminum baking sheet, and immediately sprinkle with a tiny pinch of flaky kosher salt while the coating is still hot and oil is glistening. Let chicken rest for 8–10 minutes before serving to let juices redistribute, keeping the coating crisp.
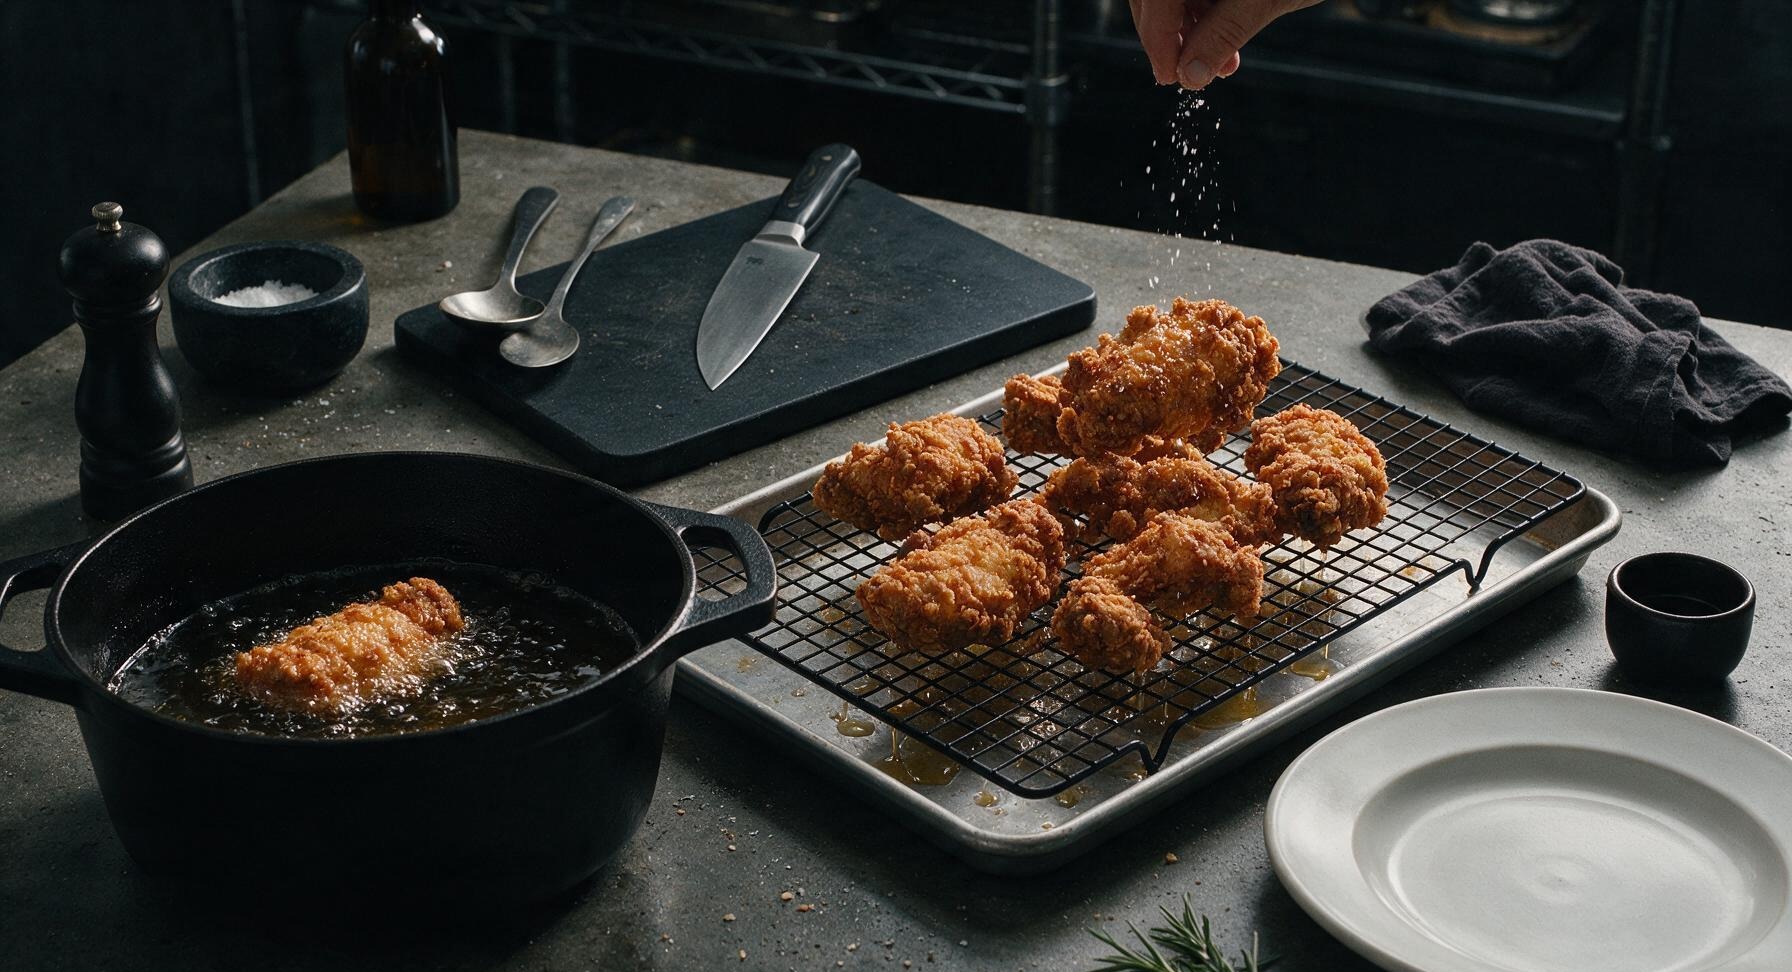
Plate and Garnish
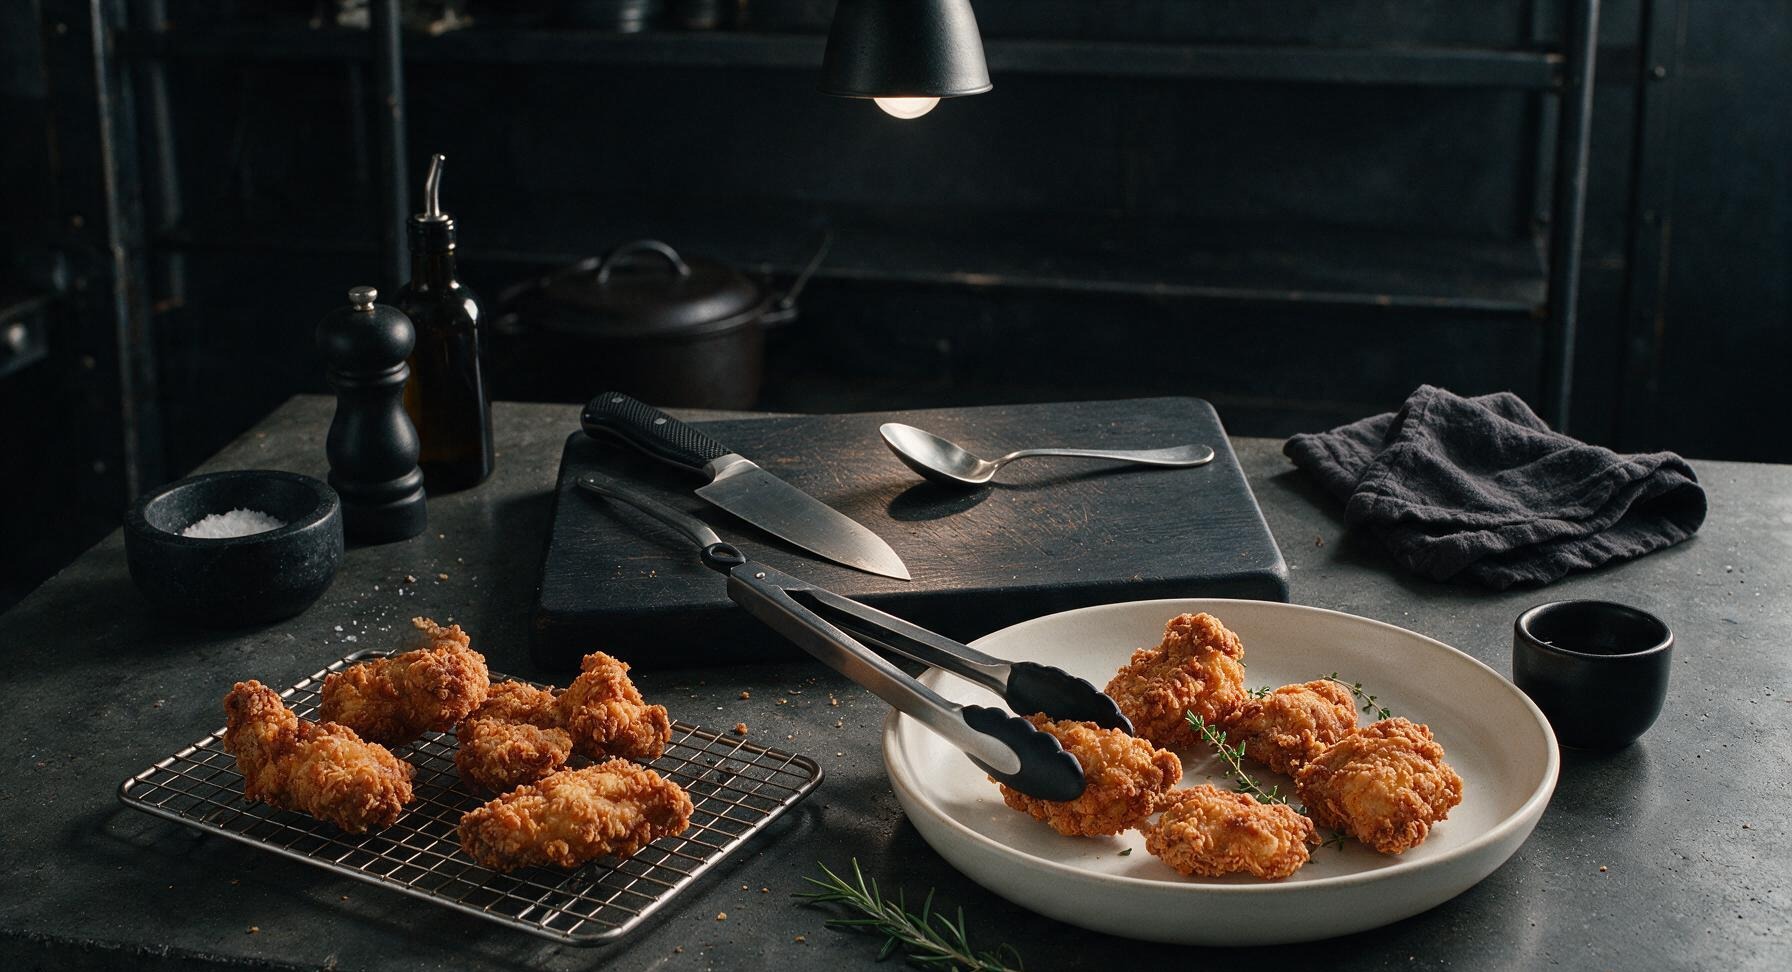
After the chicken has finished resting, use the silicone-tipped tongs to arrange pieces casually on the cream ceramic dinner plate, tucking fresh thyme sprigs between pieces for a bright, fresh garnish. Serve warm, paired with classic sides like coleslaw, potato salad, or buttermilk biscuits if desired.
Tips
2.Let coated chicken rest for 5 minutes before frying: this gives the flour time to absorb the wet buttermilk brine, creating a thick, shaggy coating that adheres to the chicken instead of sliding off into the hot oil.
3.Skip paper towel liners for draining: trapping hot fried chicken against absorbent paper creates trapped steam that softens the crisp crust. A raised wire rack lets air circulate around every piece, keeping the coating shatteringly crisp for 20+ minutes after frying.






OMG I made this for Sunday family dinner last night and my kids loved it so much they literally fought over the last drumstick! The crust was so crispy and stayed crunchy even after we sat down to eat, no soggy mess at all. I did add a little extra paprika because my crew loves a tiny kick, will 100% be making this again for our next potluck!
Okay y’all I’ve never successfully made fried chicken in my LIFE, it always comes out burnt on the outside and raw inside or the crust falls right off. I followed this recipe exactly (even let the chicken sit in buttermilk for 24 hours like the tip said!) and it came out PERFECT. Crispy, juicy, seasoned all the way through. Total game changer.
Has anyone tried making this for meal prep? I’m wondering if the crust stays crispy when you reheat it in the air fryer during the week? Would love to add this to my weekly rotation because fried chicken salads hit DIFFERENT for work lunches.
As someone who grew up eating my grandma’s fried chicken in Georgia, I’m super picky about Southern fried chicken recipes. This one is the real deal! The buttermilk brine makes the chicken so juicy, no dry breast meat here at all. My grandma even asked for the recipe, that’s the highest compliment I can give.
This was SO good, but I wish it had a little more heat! I added a tablespoon of cayenne to the flour mix and it was perfect for me, but my cousin who hates spice thought it was way too hot. Any tips for making a version that’s not too spicy for the wimps but has enough kick for me?
Made this in my tiny apartment kitchen with a cheap dutch oven and it turned out insane! My roommates are still talking about it 3 days later. Way better than the fast food fried chicken we usually get for game nights. 10/10
Wait, has anyone tried this with a gluten free flour blend? My son has celiac and I’ve been searching for a crispy fried chicken recipe that doesn’t turn gummy with GF flour.
Made this for my daughter’s birthday dinner per her request, and she said it’s better than the fried chicken we get at our favorite diner. Win for dad points! I did use a mix of thighs and drumsticks like she prefers, turned out amazing.
Wait, can you make this in an air fryer? I don’t love dealing with a big pot of hot oil on the stove, especially with my dog running around underfoot.
Brought this to my neighborhood block party last weekend and people were lined up for seconds before I even finished setting the platter down. Multiple neighbors asked for the recipe, I sent them all straight here! The crust doesn’t get soggy even when it sits out for a couple hours, which is perfect for potlucks.
I was so nervous to make this because I burn literally everything, but the cook time was spot on! 12 minutes per batch and my chicken was perfectly golden, no burnt bits, no raw inside. Even my husband who teases me about my cooking was impressed. SO good!
Pro tip: leftover cold fried chicken from this recipe is chef’s kiss straight out of the fridge the next day. I ate two pieces for breakfast this morning, no regrets.
Made this for a backyard brunch with mimosas and waffles, it was the star of the whole spread. The buttermilk tang pairs so well with sweet waffles and maple syrup, 10/10 combo.
I used boneless skinless thighs because that’s what I had in the freezer, and it still turned out super juicy and crispy! Cut the cook time down by about 4 minutes per batch so they didn’t dry out, worked like a charm.
I was worried the seasoning blend would be too bland because it doesn’t use a million fancy spices, but it’s perfectly balanced! Tastes exactly like the fried chicken I got at roadside stands when I was a kid growing up in Alabama. Total nostalgia hit.