
joanna gaines mac and cheese

title 1
joanna gaines mac and cheese
⏱️ cook time 35 minutes
🍽️ servings 8
⚡ Difficulty easy

intro

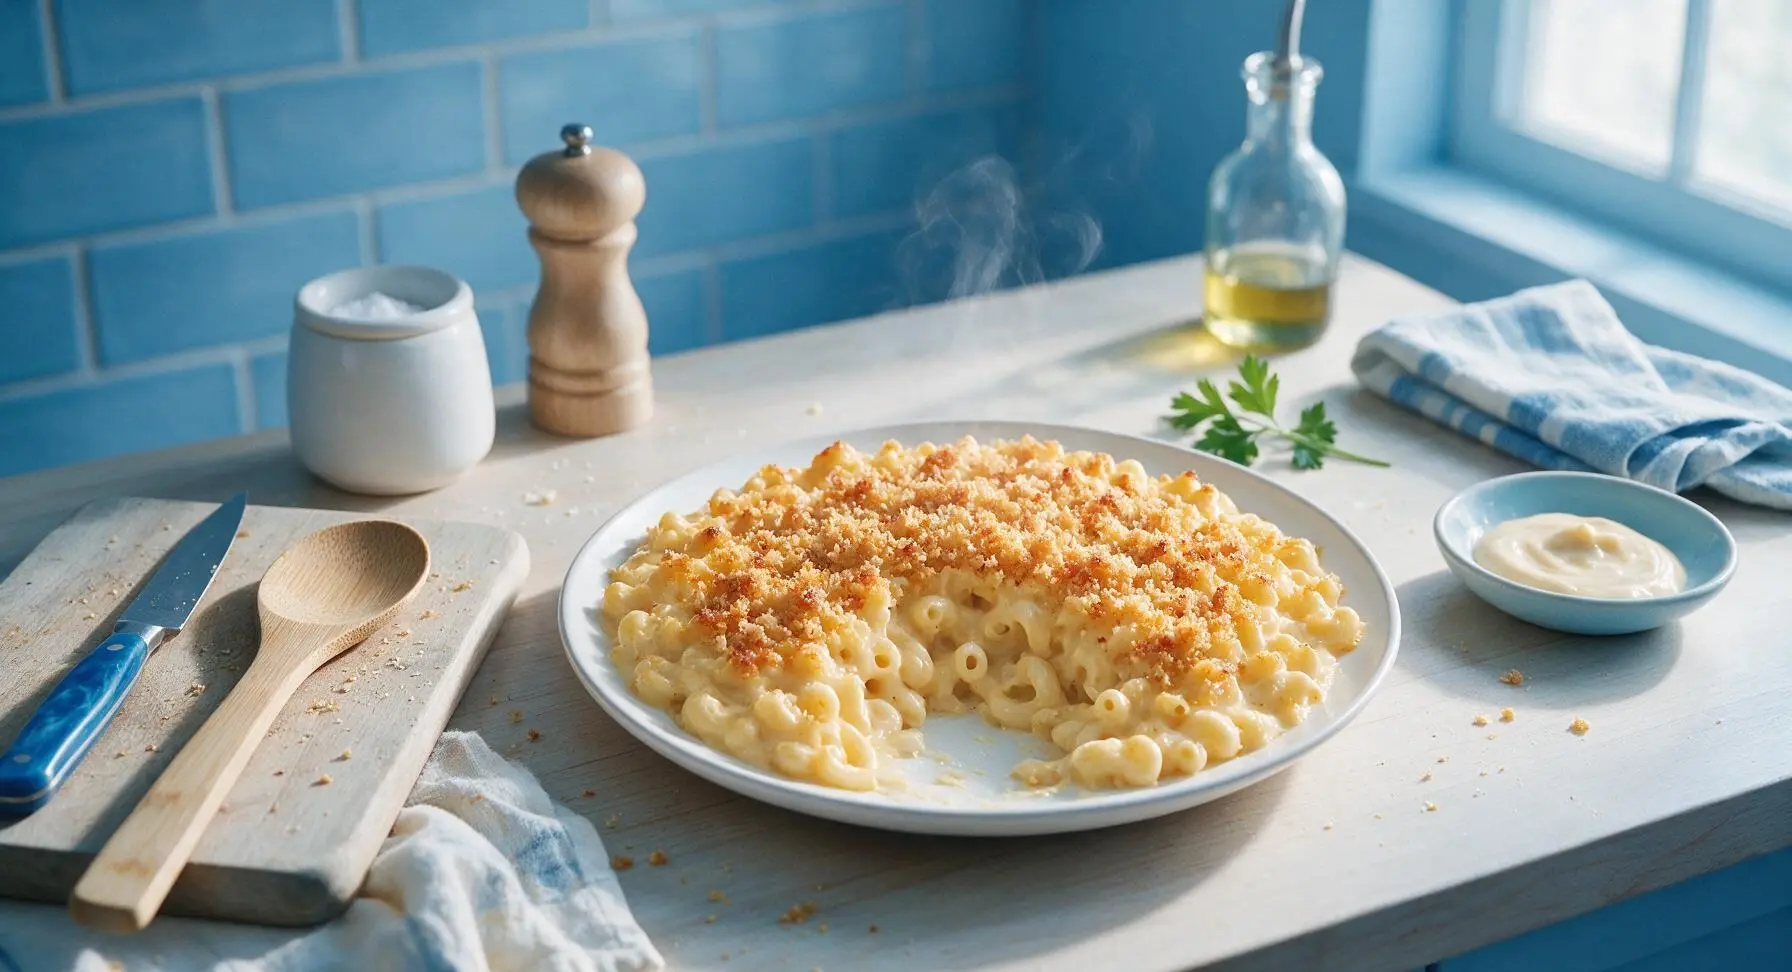
Velvety, rich baked mac and cheese with a crisp buttery breadcrumb top—Joanna Gaines’ beloved family recipe, made for cozy Sunday dinner gatherings.

Ingredients
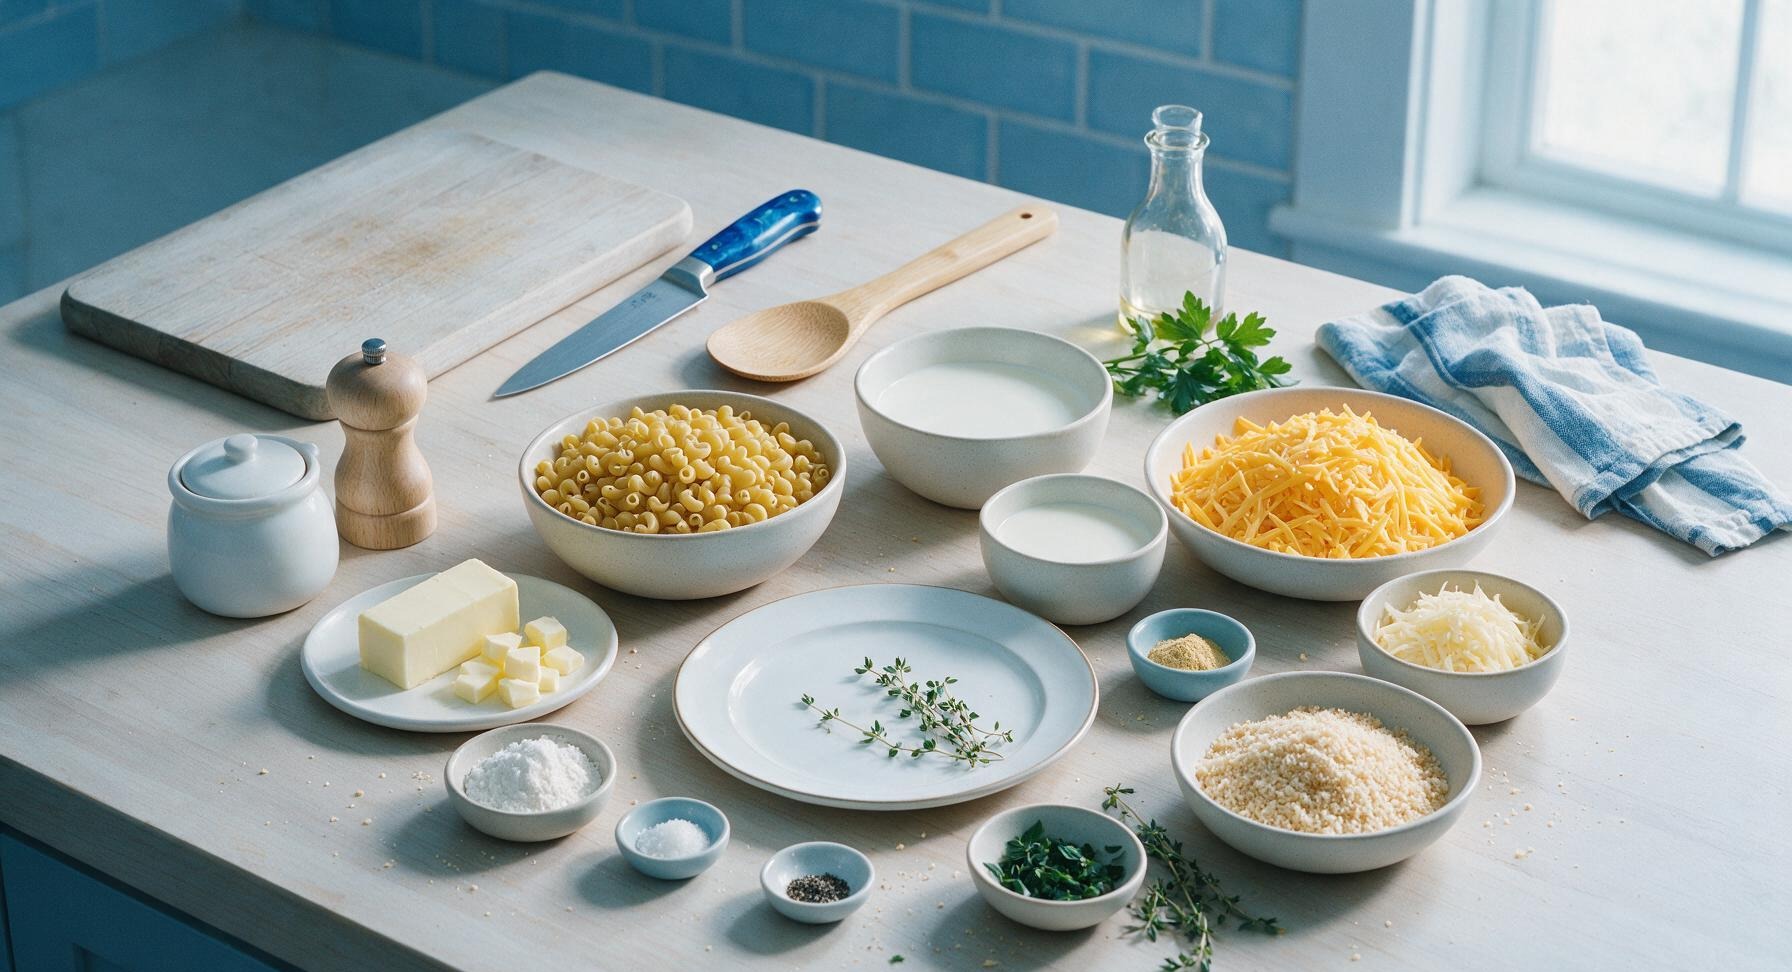
Elbow macaroni 450g (1 lb)
Unsalted butter (divided) 113g (8 tbsp)
All-purpose flour 30g (1/4 cup)
Whole milk 480ml (2 cups)
Heavy cream 240ml (1 cup)
Sharp yellow cheddar cheese 340g (3 cups, freshly grated)
Gruyère cheese 110g (1 cup, freshly grated)
Dry mustard powder 1 tsp
Freshly grated nutmeg 1/4 tsp
Kosher salt 1 tsp
Freshly ground black pepper 1/2 tsp
Panko breadcrumbs 60g (1 cup)
Fresh thyme leaves 1 tbsp (plus extra sprigs for garnish)

Steps

1

Grate Cheese, Preheat Oven

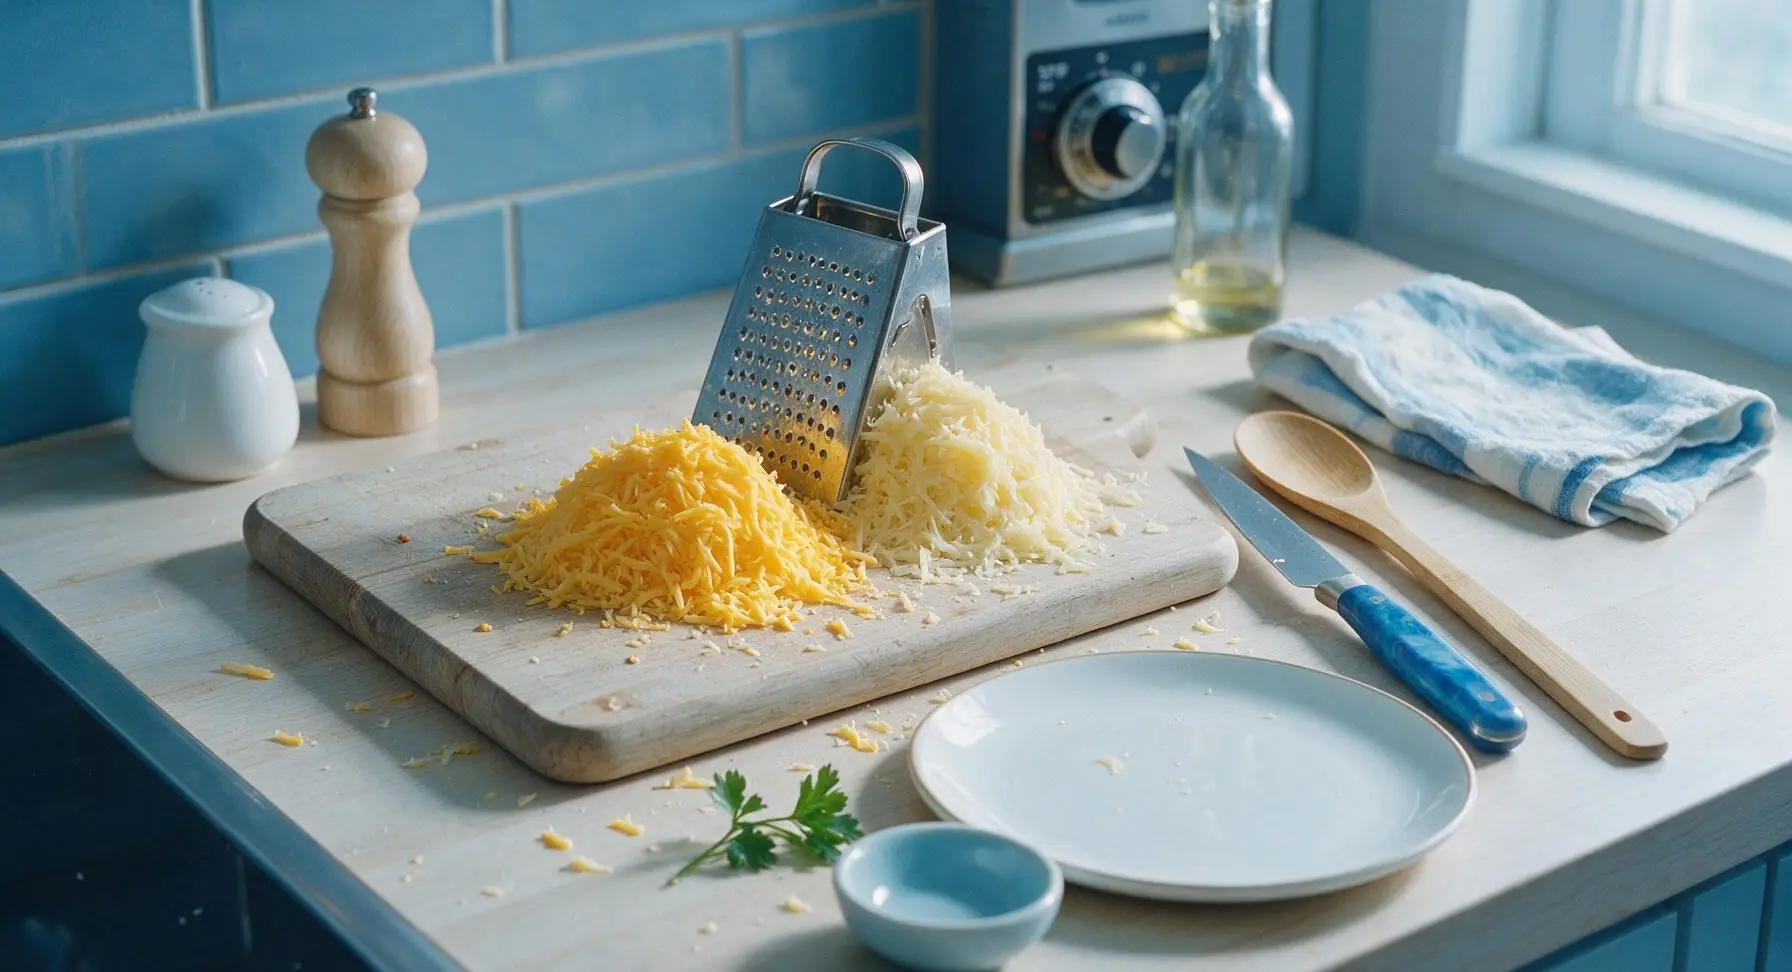
Preheat oven to 375°F (190°C). Place the light oak cutting board on the center of the counter. Using the stainless steel box grater, coarsely grate the sharp cheddar and gruyère cheeses into separate piles on the cutting board; do not use pre-shredded cheese, as it is coated in anti-caking agents that create a grainy sauce. Set aside 1/2 cup of the grated cheddar to mix into the breadcrumb topping.
Step 1
step1:Grate Cheese, Preheat Oven
2

Boil Macaroni Noodles

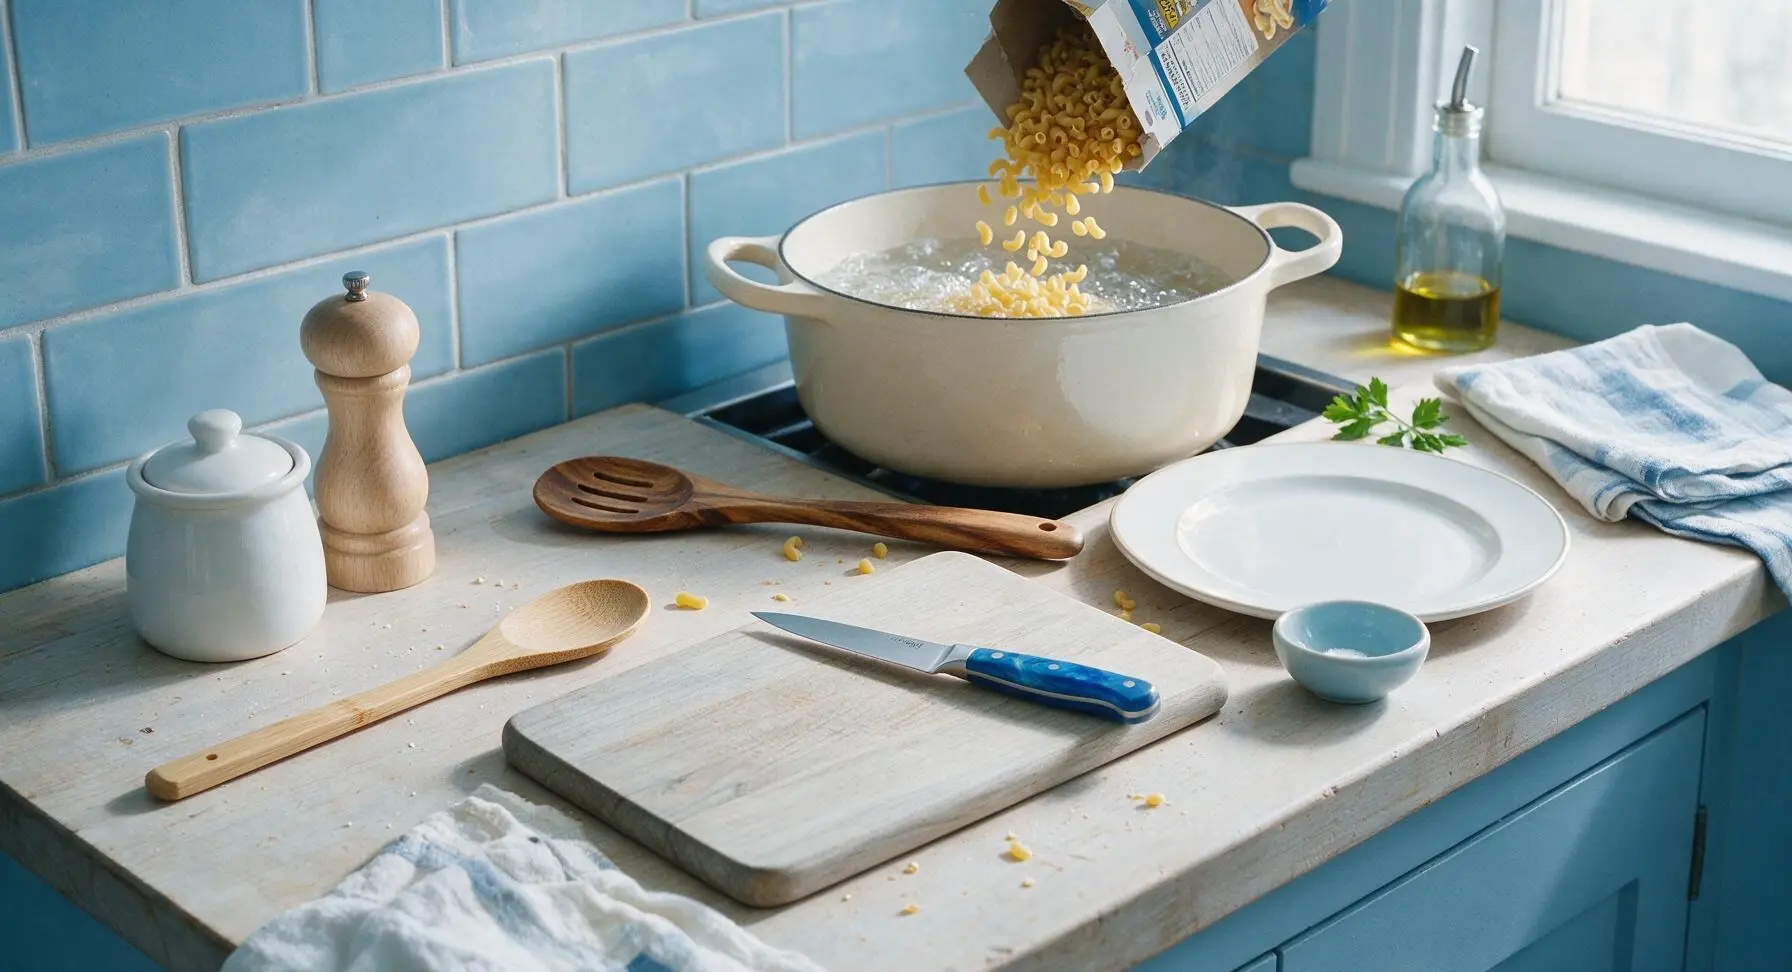
Fill the 5-quart matte cream enameled Dutch oven 3/4 full of heavily salted water (it should taste as salty as seawater) and bring to a rolling boil over medium-high heat. Add the elbow macaroni and cook 2 minutes less than the package directions for al dente, as the pasta will continue cooking in the oven. Reserve 1/2 cup of starchy pasta water, then drain the pasta completely and set aside; do not rinse the pasta, as surface starch helps sauce cling to noodles.
Step 2
step2:Boil Macaroni Noodles
3

Make Butter Roux Base

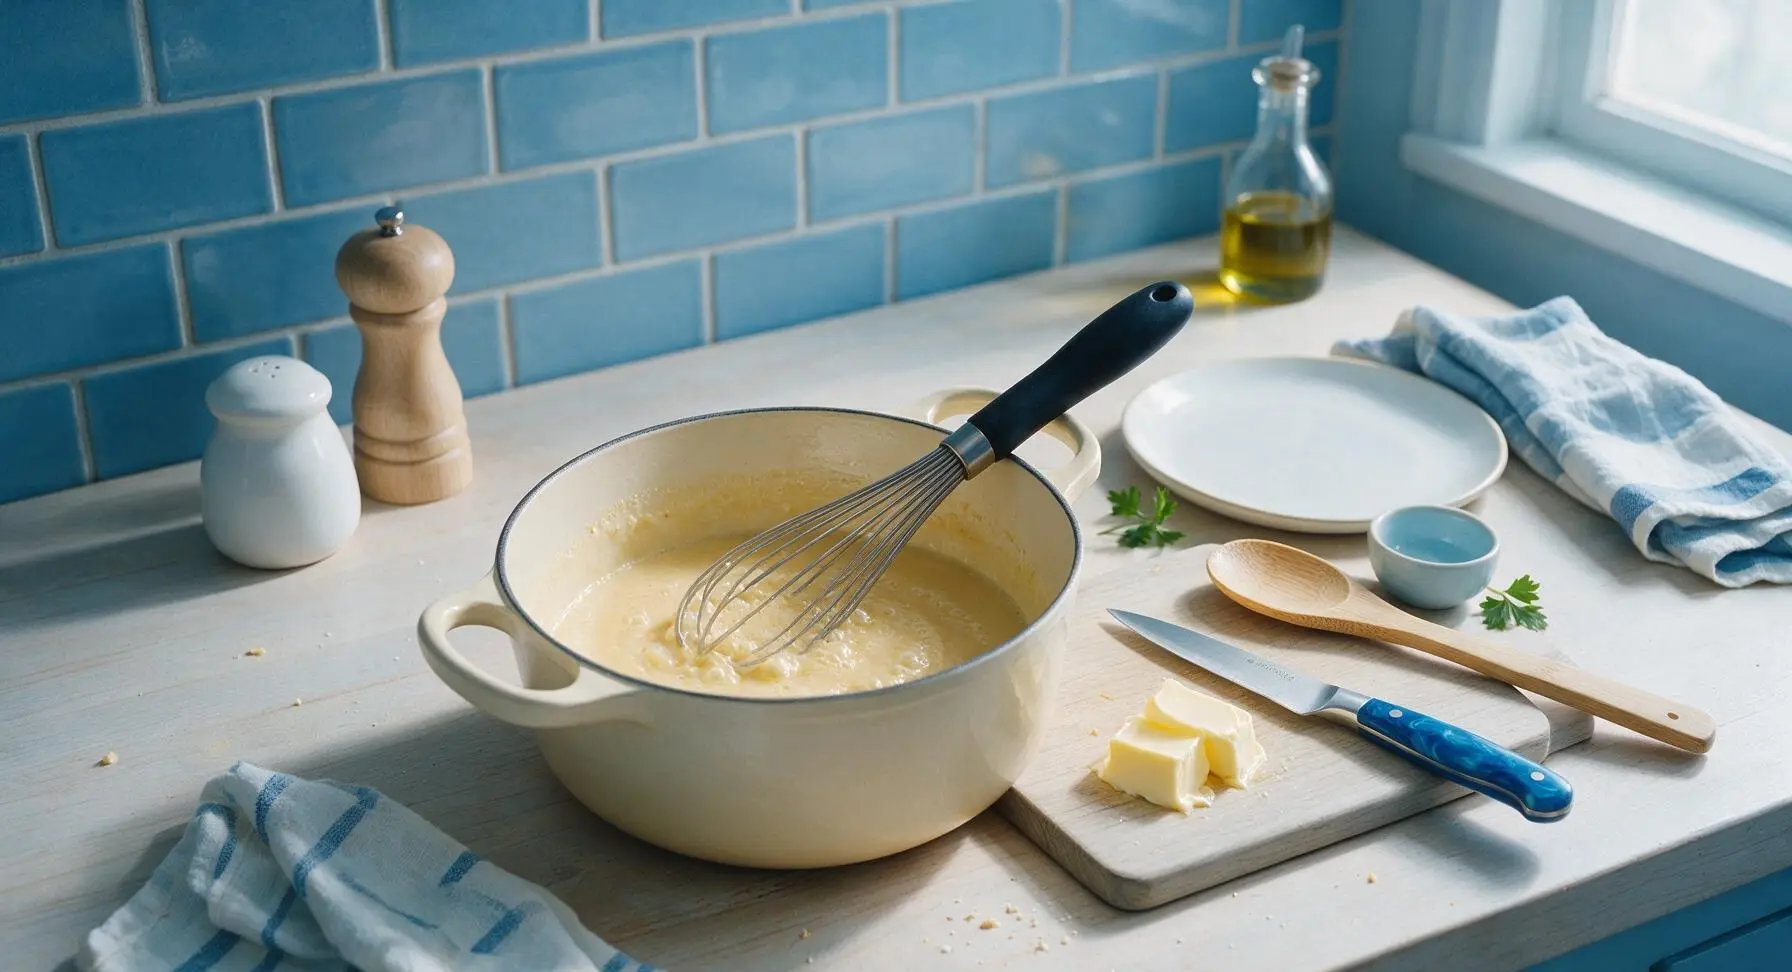
Return the empty Dutch oven to the stovetop over medium heat. Melt 6 tablespoons of the unsalted butter until foamy, then whisk in the all-purpose flour using the stainless steel whisk. Cook the roux for 2 full minutes, whisking constantly, until it smells nutty and turns a pale golden color, with no raw flour taste remaining. Do not let it turn dark brown.
Step 3
step3:Make Butter Roux Base
4

Build Creamy Cheese Sauce

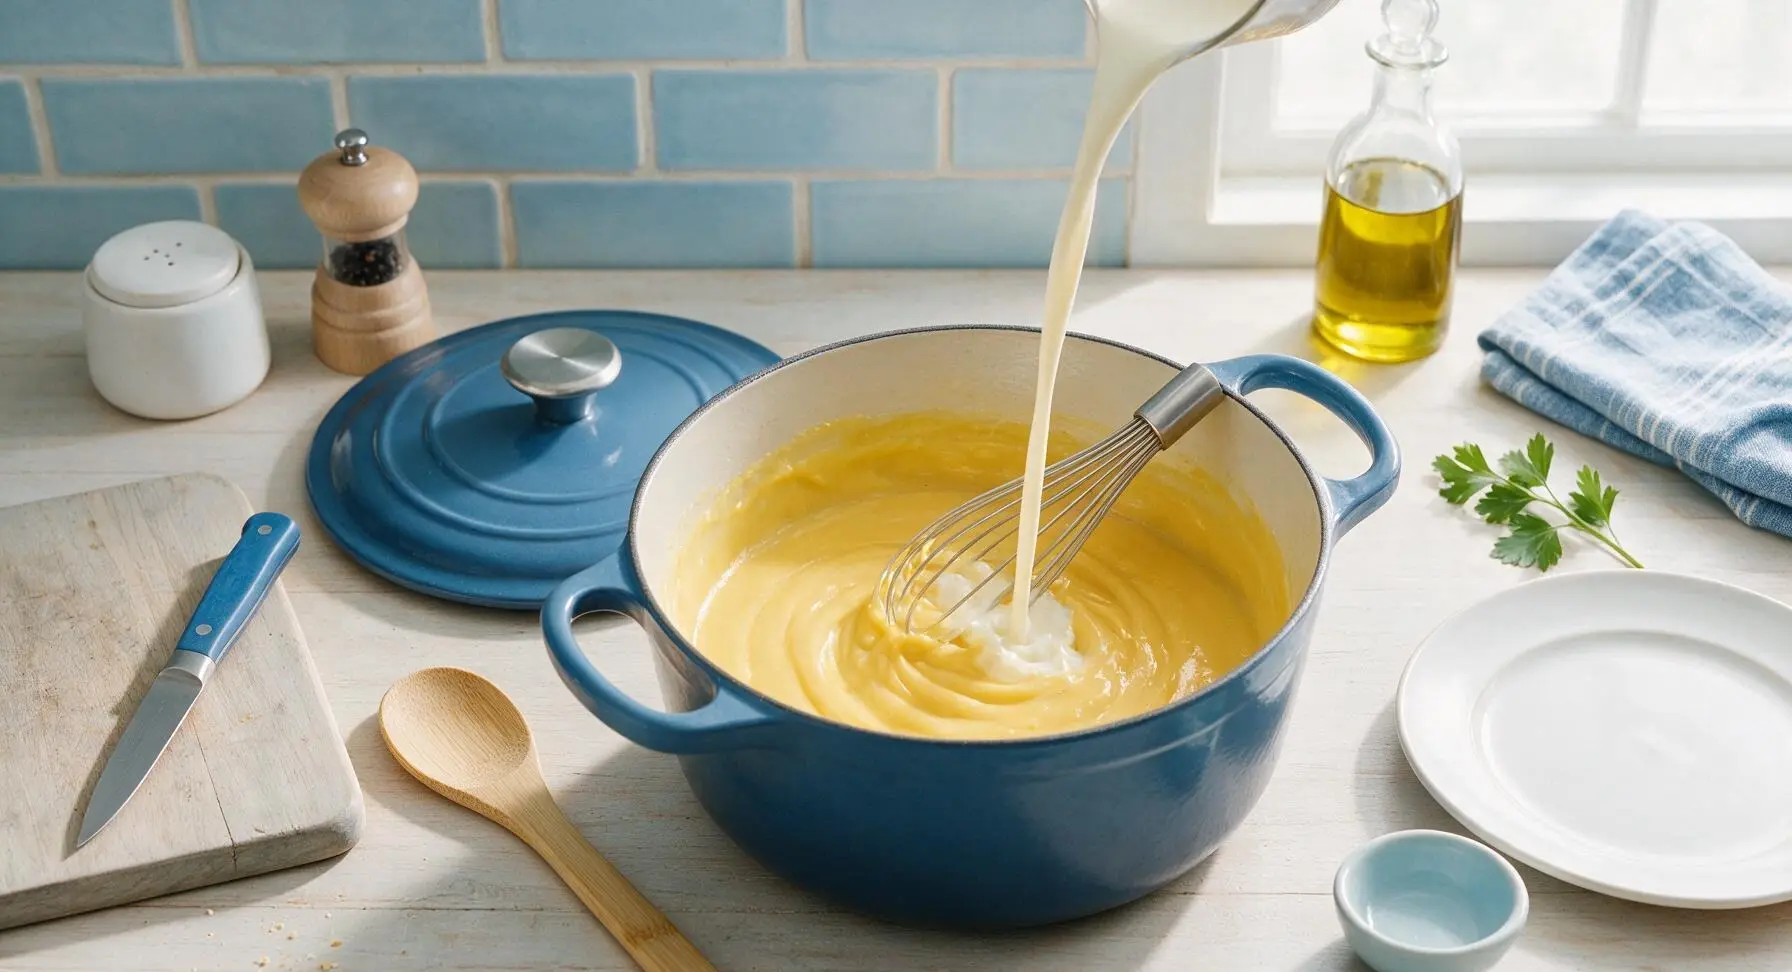
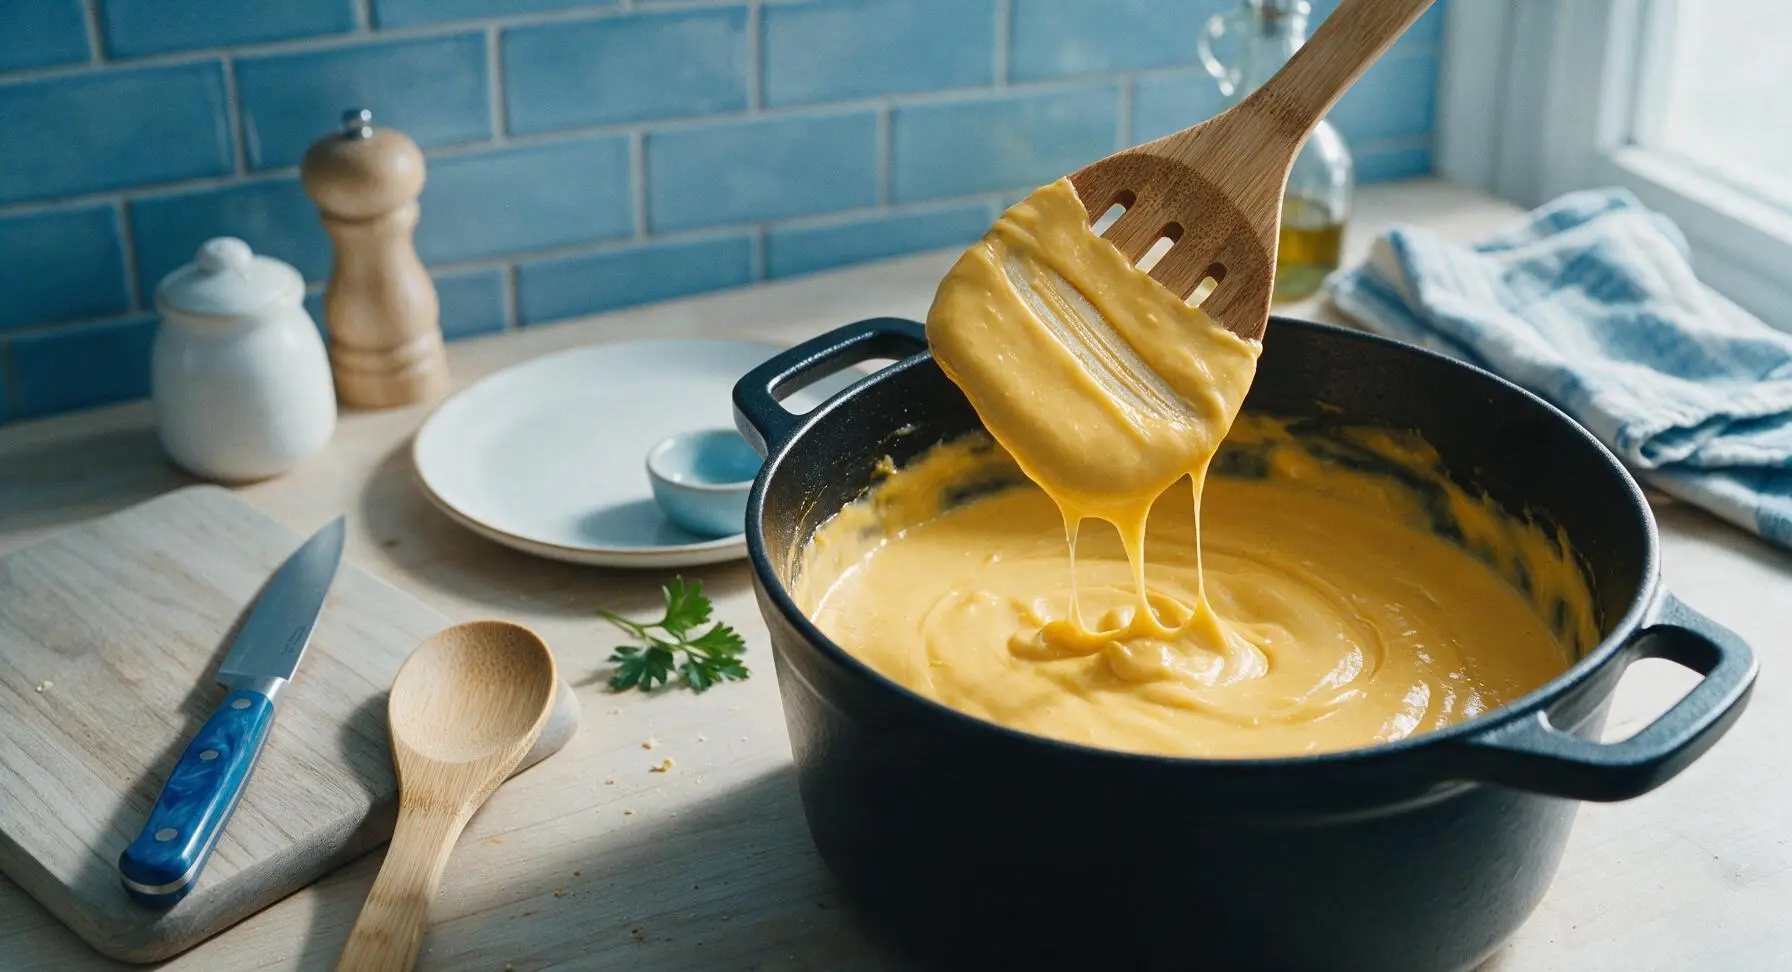
Slowly pour the whole milk and heavy cream into the roux, whisking constantly to avoid lumps, until the mixture is completely smooth. Bring to a gentle simmer, cooking 3-4 minutes until the sauce thickens enough to coat the back of a spoon (when you run your finger across the coated spoon, the line should hold without running). Stir in the dry mustard, nutmeg, kosher salt, and black pepper, then remove the pot from heat. Gradually stir in 2.5 cups of the grated cheddar and all of the gruyère, a handful at a time, stirring until completely melted and smooth. If the sauce feels too thick, stir in 1-2 tablespoons of reserved pasta water to thin to a velvety, pourable consistency.
Step 4
step4:Build Creamy Cheese Sauce
Step 4
step4:Build Creamy Cheese Sauce
5

Combine Pasta and Sauce

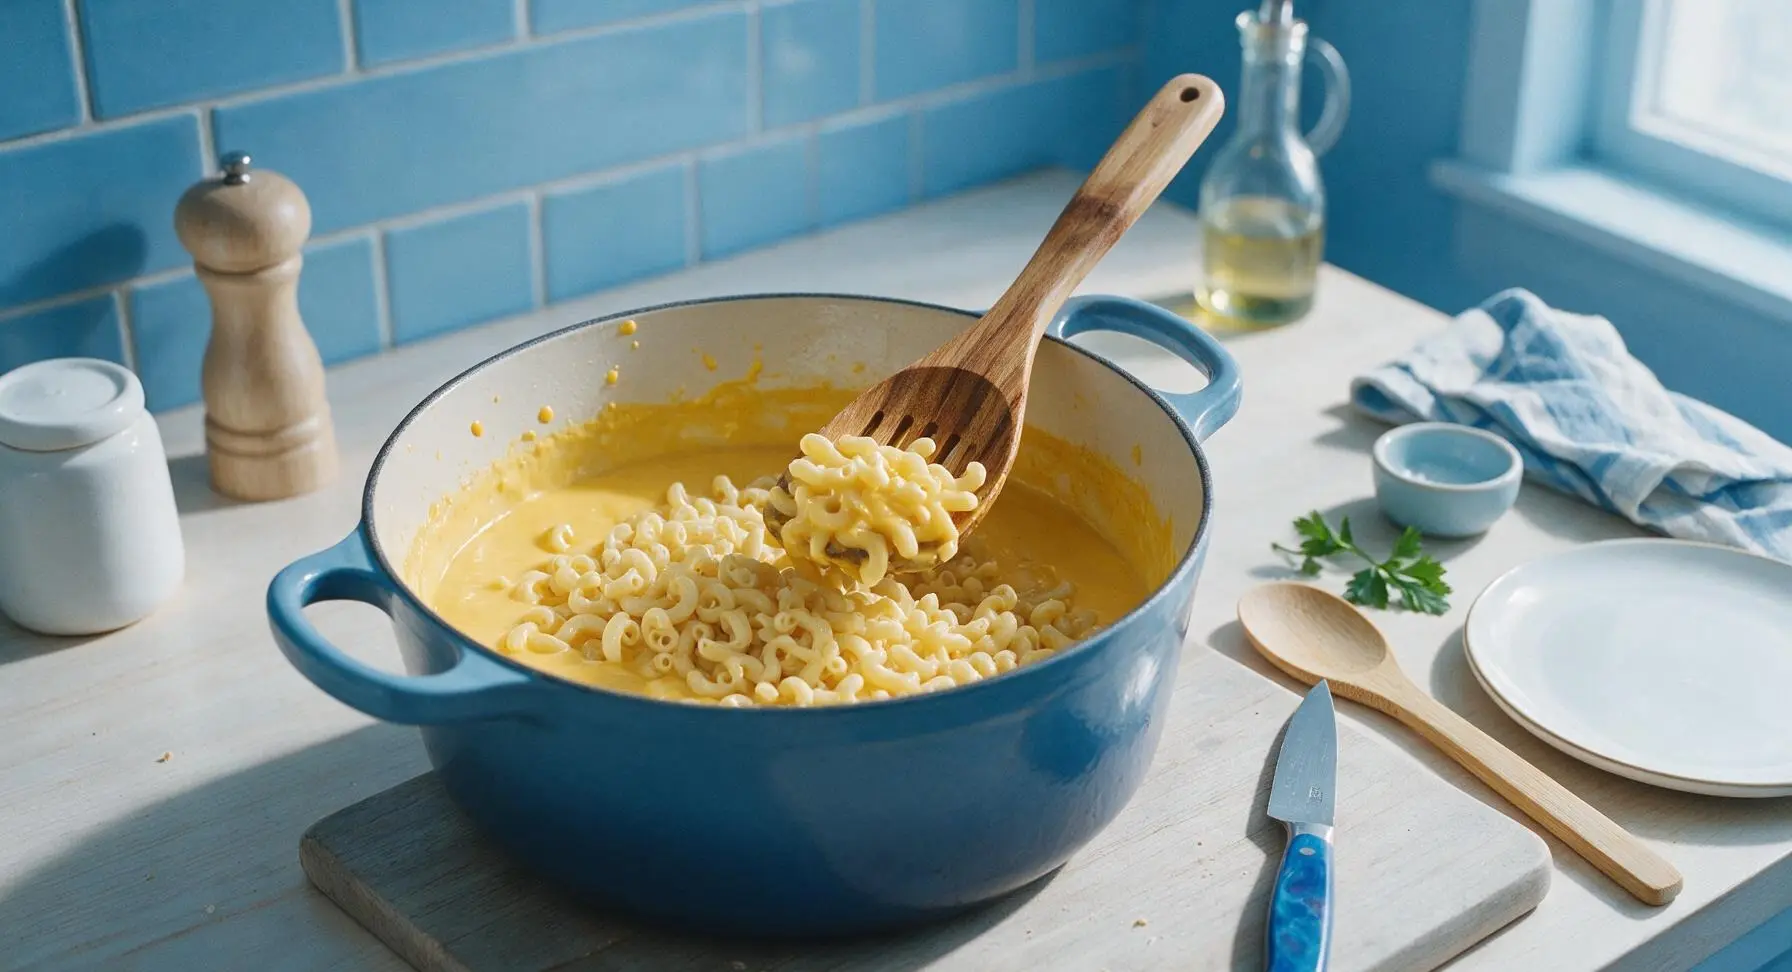
Add the drained, cooked elbow macaroni to the pot of cheese sauce, stirring gently with the acacia wood slotted spoon until every noodle is evenly coated in the thick, creamy sauce. Taste and adjust salt and pepper if needed, ensuring seasoning is bright and not flat.
Step 5
step5:Combine Pasta and Sauce
6

Prep Breadcrumb Topping

In the 15cm clear glass small mixing bowl, melt the remaining 2 tablespoons of unsalted butter. Add the panko breadcrumbs, reserved 1/2 cup grated cheddar, and chopped fresh thyme leaves, stirring until the crumbs are evenly coated in butter and the cheese is distributed throughout. The mixture should look clumpy and moist, not dry and powdery.
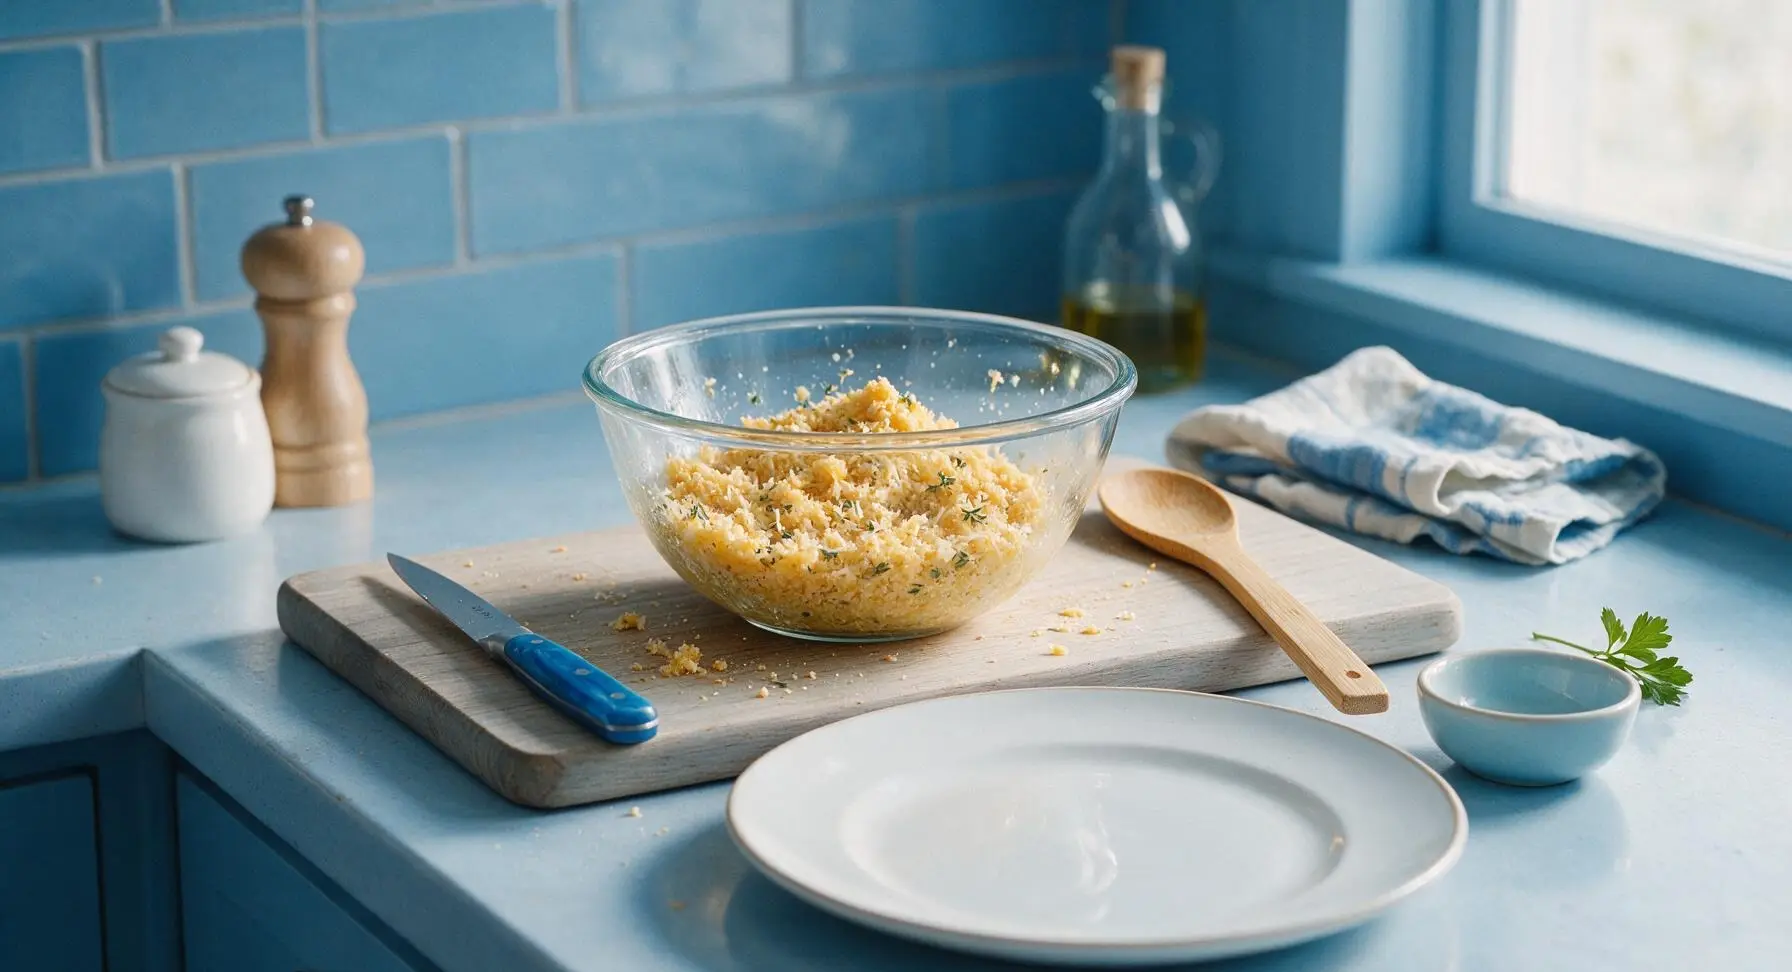
Step 6
step6:Prep Breadcrumb Topping
7

Assemble for Baking

Pour the sauced macaroni mixture evenly into the 9x13 inch matte off-white ceramic baking dish, spreading it into a smooth, even layer with the slotted spoon. Sprinkle the buttered panko and cheese topping evenly over the entire surface of the mac and cheese, making sure no bare spots of pasta show through.
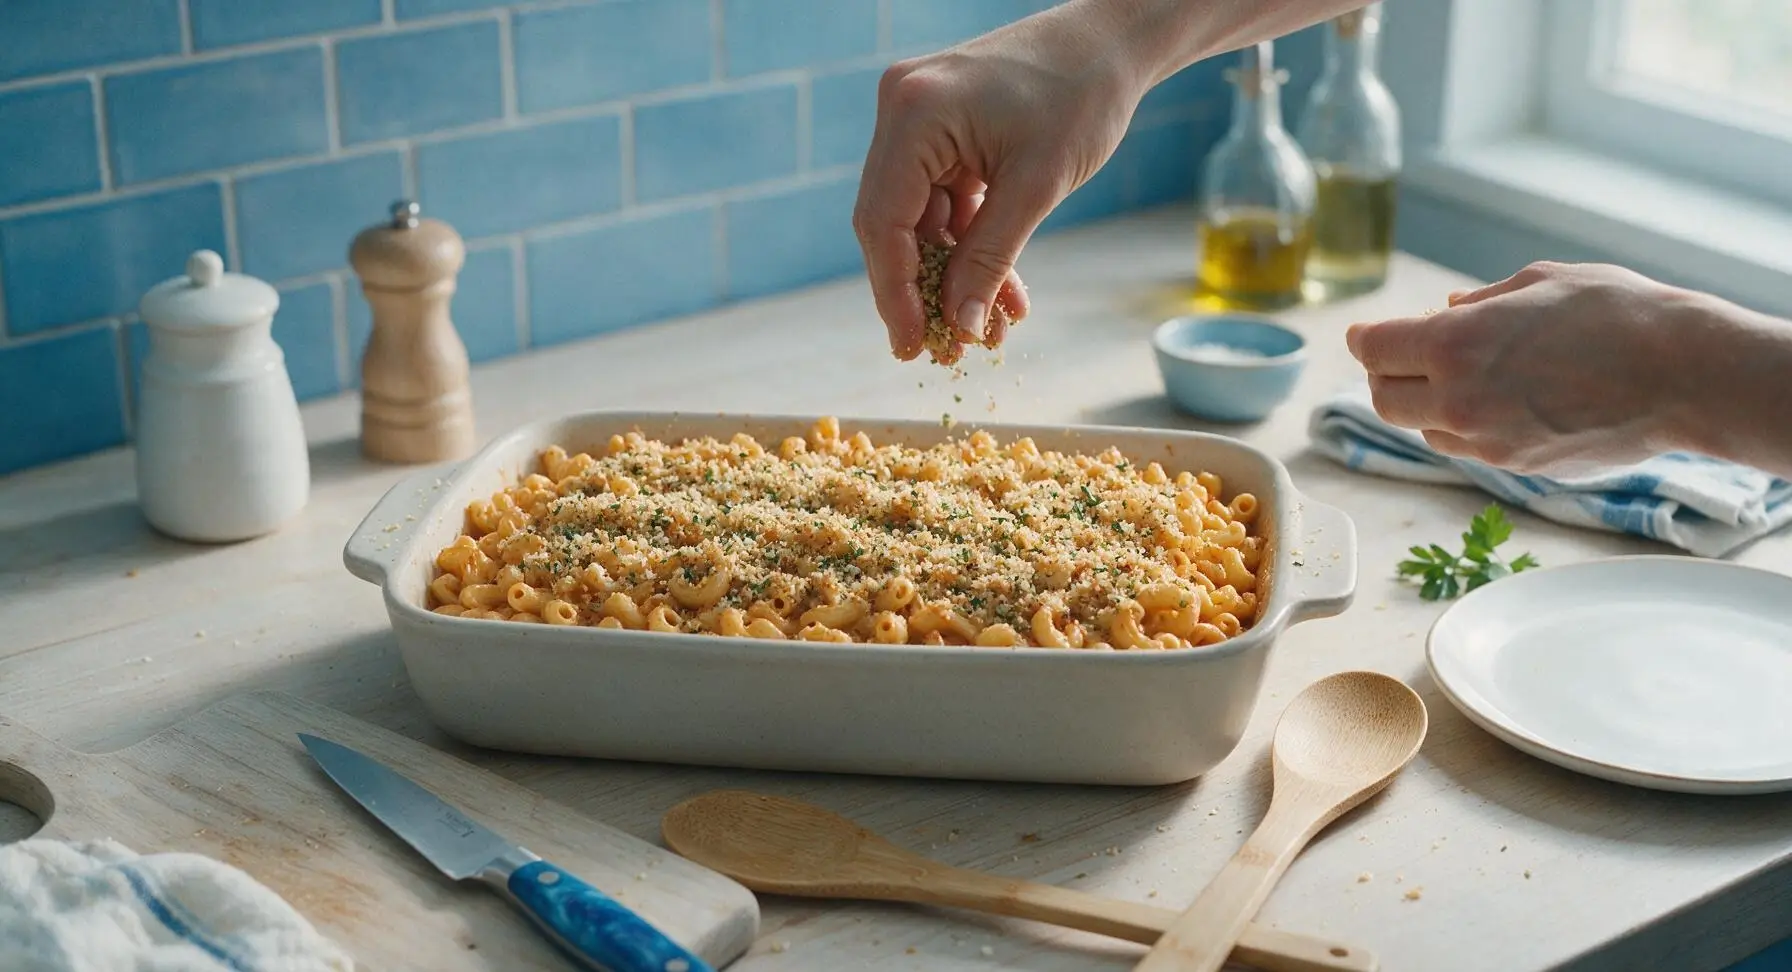
Step 7
step7:Assemble for Baking
8

Bake Until Bubbly

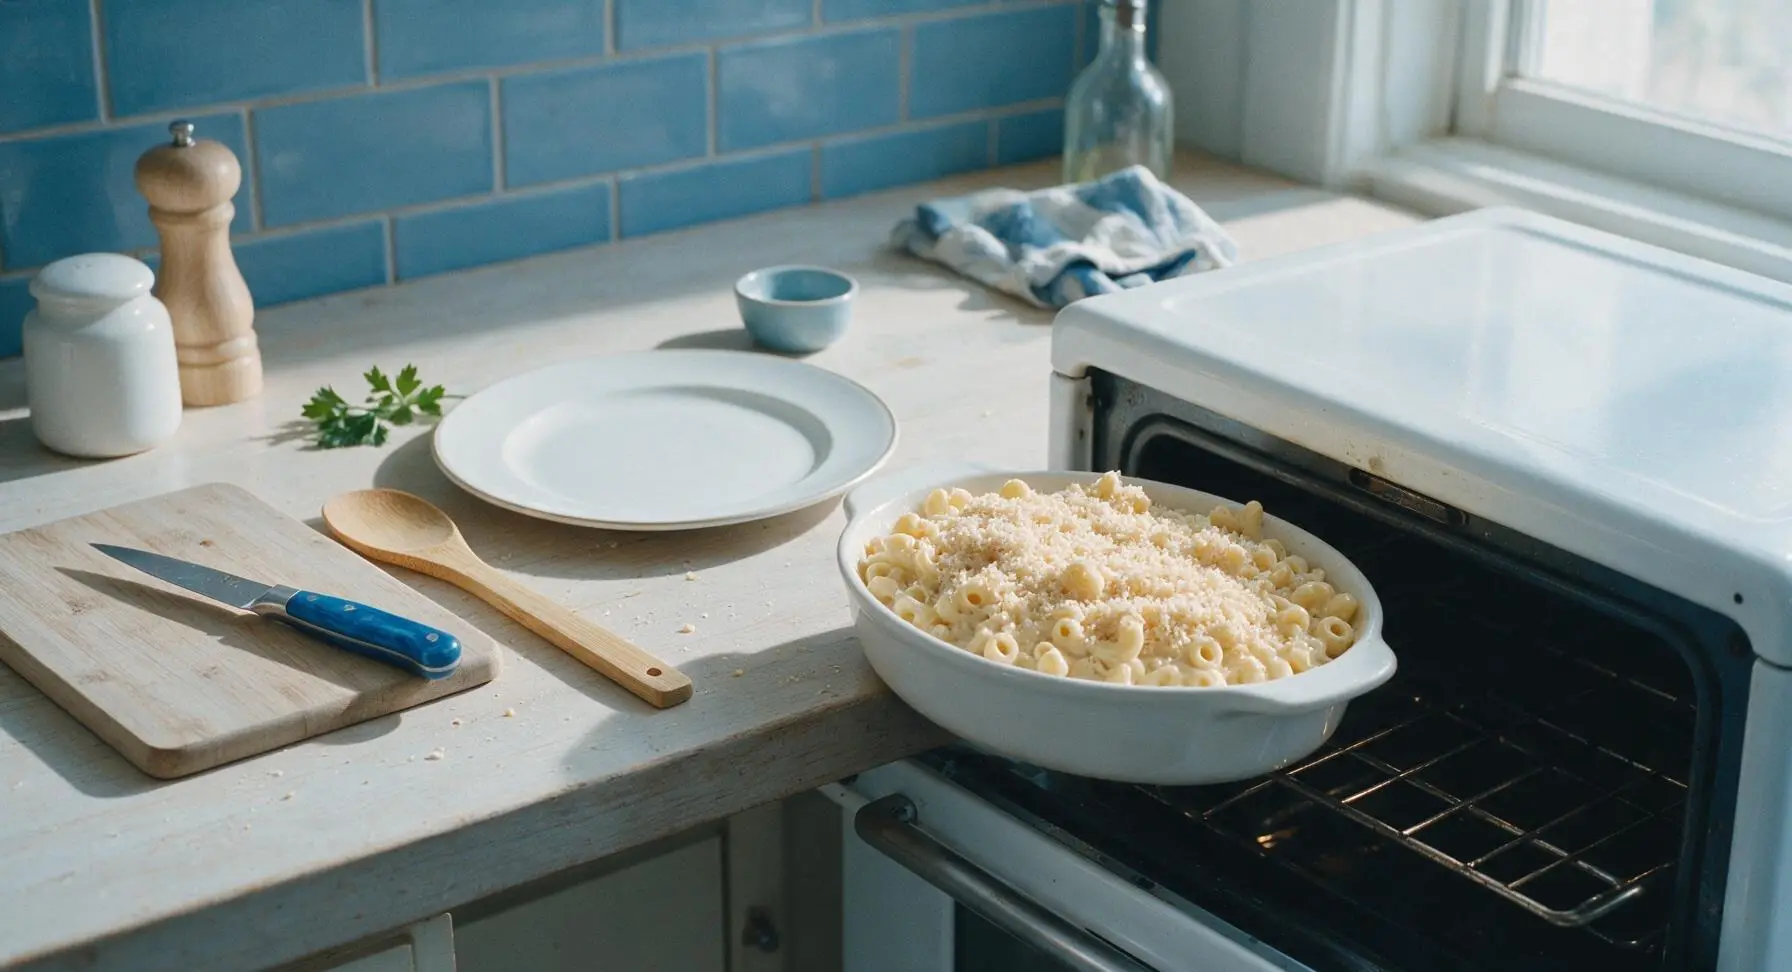
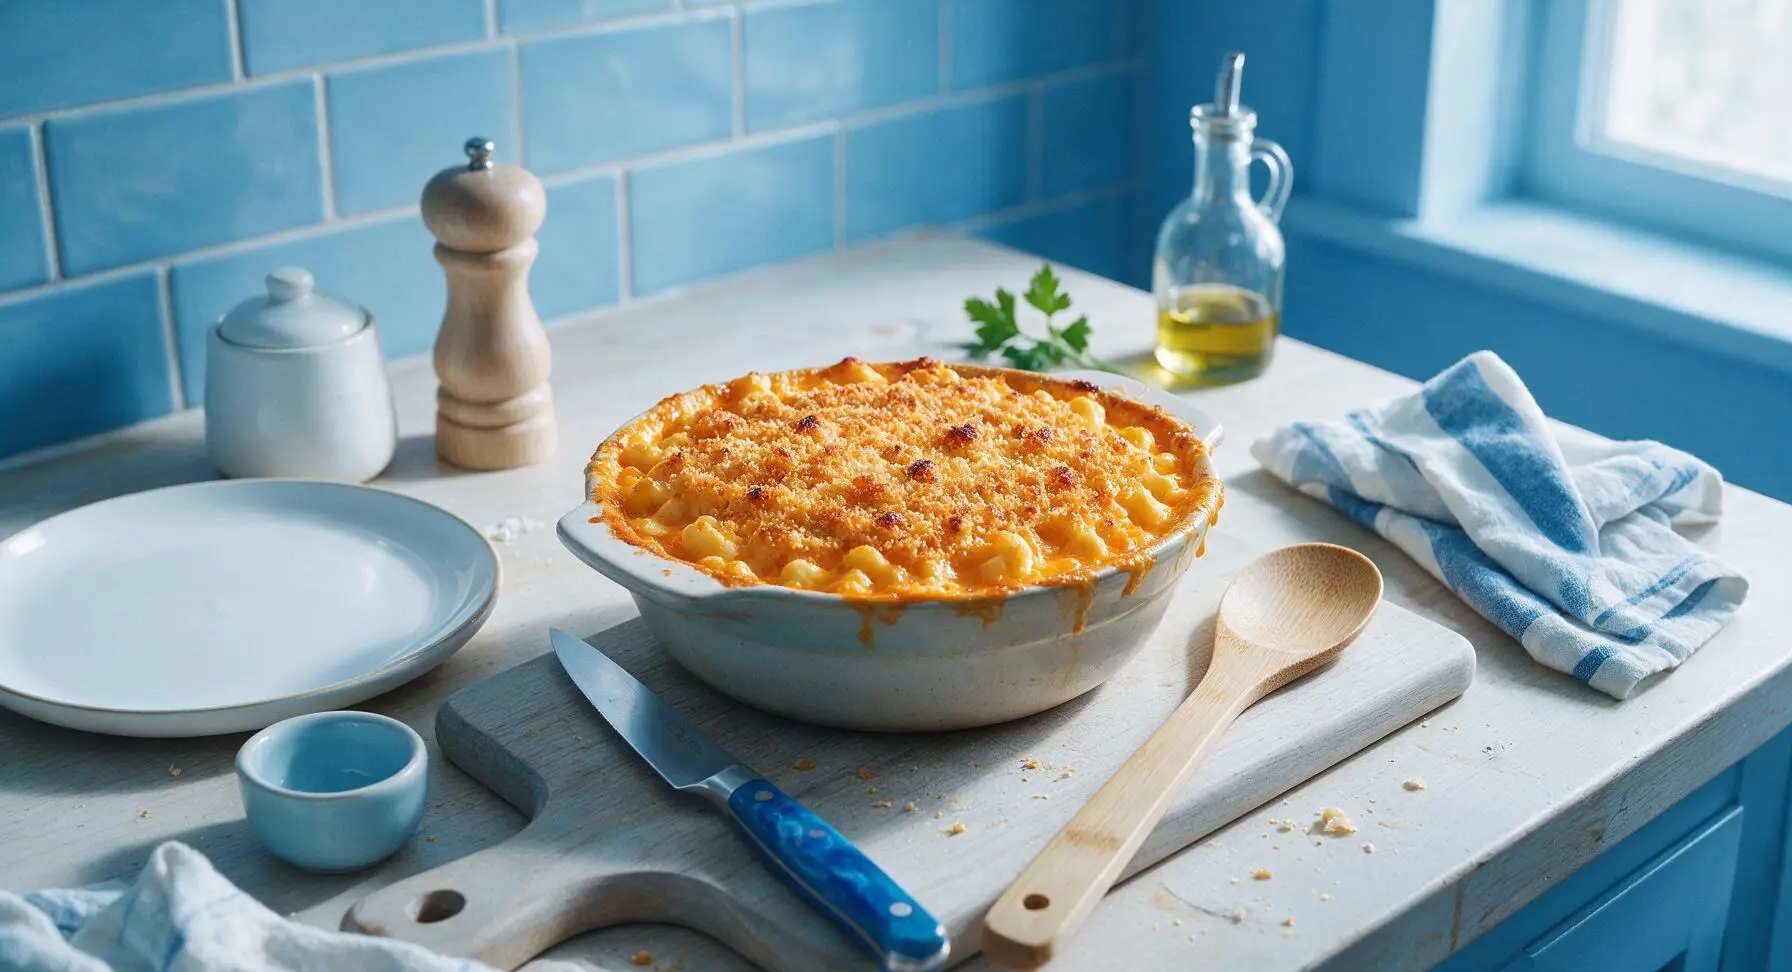
Place the baking dish on the middle rack of the preheated 375°F (190°C) oven. Bake for 25-30 minutes, until the sauce is bubbling vigorously around the edges of the dish, and the breadcrumb topping is deep golden brown and crisp. If the topping starts to brown too quickly before the sauce is bubbly, tent a piece of aluminum foil loosely over the top for the last 10 minutes of baking. Remove from the oven and let rest 5 minutes before serving to allow the sauce to set.
Step 8
step8:Bake Until Bubbly
Step 8
step8:Bake Until Bubbly

Tips

1.Grate cheese fresh at home instead of using pre-shredded store-bought cheese: pre-shredded cheese is coated in potato starch and anti-caking agents that prevent smooth melting, leading to a grainy, lumpy sauce instead of the velvety texture this recipe is known for.
2.Underboil your pasta by 2 full minutes compared to the package’s al dente direction: the noodles will absorb cheese sauce and continue to cook during baking, and this short cook time prevents the final dish from having mushy, oversoft noodles that fall apart when scooped.
3.Let the baked mac and cheese rest for 5 full minutes after removing it from the oven: this short wait allows the hot cheese sauce to thicken and set, so it doesn’t run off the noodles when served, and gives the breadcrumb topping time to crisp fully as it cools slightly.


✨ You May Also Like

Side Dishes
🍜 India

Velvety, aromatic all-purpose curry sauce perfect for tossing with roasted veggies, grilled protein, or rice for fast, cozy, flavorful meals.

⏱️ 25 minuteSide Dishes ★ 4.8
Side Dishes
🍜 Spain

Tender, starchy boiled yuca tossed in bright, garlicky citrus mojo sauce—an iconic, zesty side that pairs beautifully with roasted pork, grilled meats, and rice and beans.

⏱️ 40 minuteSide Dishes ★ 5
Side Dishes
🍜 United States

Tender, paper-thin potato flatbread, a beloved Norwegian-American Minnesota Christmas staple, griddled until softly spotted and served warm with butter.

⏱️ 1 hour 30Side Dishes ★ 4.6
Side Dishes
🍜 United States

Rich, deeply savory cured salt pork, a long-lasting kitchen staple perfect for frying crispy as a side or adding umami to stews, beans, and chowders.

⏱️ 7 days (2Side Dishes ★ 4.9
Side Dishes
🍜 United States

Crispy, tangy classic Southern fried green tomatoes with a crunchy cornmeal crust, served hot for a nostalgic, comforting summery bite.

⏱️ 25 minuteSide Dishes ★ 4.9
Side Dishes
🍜 United States

Moist, golden-crusted savory muffins with sweet corn, zesty jalapeño, and melted cheddar, perfect for pairing with smoky summer grilled fare.

⏱️ 30 minuteSide Dishes ★ 4.9

joanna gaines mac and cheese:Frequently Asked Questions

1.Do I have to use elbow macaroni for this recipe, or can I swap in a different pasta shape? ▾
Elbow macaroni is the classic pick because its curved ridges and hollow center hold thick cheese sauce perfectly, but you can swap in cavatappi, cellentani, or medium shells if that’s what you have on hand. Skip long, thin shapes like spaghetti that won’t catch the sauce, and cook pasta 1 minute shy of al dente so it doesn’t turn mushy while baking.
2.Why does the recipe call for divided unsalted butter, and how should I split it? ▾
Great question! You’ll use roughly two-thirds of the butter to build the roux base for your smooth cheese sauce, and the remaining one-third to melt and toss with breadcrumbs for that signature crisp, buttery top. Using unsalted butter lets you control total sodium levels so the dish doesn’t end up overly salty from cheese and added seasoning.
3.Can I use low-fat or skim milk instead of whole milk to cut calories? ▾
I don’t recommend it for that classic velvety texture Joanna’s recipe is known for. Low-fat or skim milk creates a thinner, watery sauce that is far more prone to curdling during baking. If you need a lighter swap, use 2% milk mixed with a splash of extra heavy cream to make up for missing fat, rather than going fully skim.
4.Do I really need heavy cream, or can I skip it to make the dish lighter? ▾
The heavy cream is key to that rich, luxe, clingy cheese sauce that doesn’t break when baked. If you skip it entirely, you’ll end up with a flat, thin sauce that separates easily. For a slightly lighter take, cut the heavy cream by a third and replace it with extra whole milk, but don’t omit it completely if you want that signature cozy texture.
5.How do I keep my cheese sauce from getting lumpy when I make the roux? ▾
Start by cooking your equal parts butter and flour roux over medium heat for 2 to 3 minutes to eliminate raw flour taste, then whisk constantly as you slowly stream in cold (not warm) milk and cream. Adding dairy gradually instead of dumping it all in at once prevents lumps from forming, and gives you a smooth, glossy sauce every time.
6.Why does my baked mac and cheese always come out dry, and how do I fix that? ▾
Dry mac and cheese usually comes down to two common issues: overcooking your pasta before baking, or using too little sauce. Remember to cook elbows 1 minute under al dente, since they’ll absorb sauce as they bake, and make sure your sauce is a little looser than you think it should be before mixing—thick sauce will turn dry in the oven.
7.What kind of breadcrumbs work best for that signature crispy top? ▾
For that perfect buttery, crunchy top, use plain panko breadcrumbs instead of fine dry store-bought breadcrumbs. Panko has larger, airier crumbs that toast up golden and crisp without getting soggy when tossed with melted butter. Season the buttered crumbs with a tiny pinch of salt before sprinkling them evenly over the top right before baking.
8.Can I make this mac and cheese ahead of time for my Sunday dinner gathering? ▾
Absolutely! Assemble the sauced pasta (hold off on adding the buttered breadcrumb topping) and store it covered in the fridge for up to 24 hours. When you’re ready to bake, top with the buttered crumbs, add 10 to 15 minutes to the standard bake time to account for the cold dish, and cook until bubbly around the edges.
9.What cheese blend works best to nail that classic Joanna Gaines mac and cheese flavor? ▾
Joanna’s classic version uses a blend of sharp cheddar for bright tang and Gruyère for nutty, melty smoothness, but you can adjust the blend to match your family’s taste. Skip pre-shredded cheese, though—it’s coated in anti-caking agents that make sauce grainy instead of velvety. Grate your own fresh cheese for the silkiest texture.
10.Should I cover the mac and cheese with foil while it bakes? ▾
Cover the dish with foil for the first 20 minutes of baking to let the pasta heat through and the sauce get bubbly without the breadcrumbs burning. Remove the foil for the last 10 to 12 minutes of baking to let the crumb topping crisp up and turn deep golden brown. If crumbs brown too fast, tent a small piece of foil over just the top.
11.How do I keep the breadcrumb topping from getting soggy as it bakes? ▾
Soggy breadcrumbs happen when the topping is added too far in advance of baking, or if excess moisture from runny sauce seeps up into the crumbs. Always add the buttered crumbs right before you slide the dish into the oven, and make sure your roux-thickened sauce is the proper coating consistency before mixing with pasta.
12.Can I add mix-ins like bacon, broccoli, or hot sauce to this base recipe? ▾
Of course! This family-style recipe is super customizable. Stir in cooked crumbled bacon, steamed chopped broccoli, diced ham, a dash of hot sauce, or smoked paprika to the cheese sauce before baking if you want to mix up the flavor. Just don’t add more than 1 ½ cups of mix-ins total, or you’ll throw off the ideal pasta-to-sauce ratio.
13.Why does my cheese sauce sometimes curdle or split when it bakes? ▾
Curdling happens when cheese is exposed to excessively high heat, which makes milk proteins separate and turn grainy. Cook your roux and sauce over medium (not high) heat, take the sauce off the burner before stirring in grated cheese, and bake at 350°F instead of a higher temperature to keep the sauce smooth and emulsified.
14.How long should I let the mac and cheese rest after it comes out of the oven? ▾
I know it’s tempting to dig right in when you smell that cheesy, buttery aroma, but let it rest for 10 to 15 minutes after baking before serving. That short rest lets the hot cheese sauce thicken up and set a little, so it doesn’t run all over your plate when you scoop, and every bite has the perfect ratio of pasta, sauce, and crumbs.
15.Can I freeze leftover baked mac and cheese for quick weeknight meals? ▾
Yes! Let the baked mac and cheese cool completely, then portion it into airtight, freezer-safe containers and freeze for up to 3 months. Thaw it in the fridge overnight, then reheat in a 350°F oven covered with foil for 20 to 25 minutes, until heated through. Add a tiny splash of milk if the sauce feels too thick when reheating.
16.What’s the best way to boil elbow macaroni so it doesn’t stick or turn bland? ▾
Use 4 to 6 quarts of heavily salted water for every pound of elbow macaroni, so pasta has room to move and doesn’t stick together as it cooks. Salting the water until it tastes like mild seawater seasons noodles from the inside out, so you don’t end up with bland bites. Skip adding oil to the water—it makes sauce slide right off cooked pasta.
17.Can I adapt this recipe to be gluten-free for family members with restrictions? ▾
You absolutely can! Swap the regular all-purpose flour in the roux for a 1:1 gluten-free all-purpose baking blend, use gluten-free elbow macaroni, and swap regular breadcrumbs for gluten-free panko to get the exact same velvety, crisp-topped result. Just make sure any cheese you use is labeled gluten-free if cross-contamination is a concern.
18.What oven temperature gives the best balance of bubbly sauce and crisp crumbs? ▾
Bake this mac and cheese at 350°F in a conventional oven for the best results. That moderate, even heat lets the sauce warm through gently without curdling, gives the pasta time to absorb just the right amount of creamy sauce, and toasts the buttered breadcrumb topping to perfect golden crispness without burning the dish edges.

Comments (14)

1 week ago

Made this for our neighborhood potluck last weekend after testing it for family dinner earlier in the week, and people were begging for the recipe! It’s so easy to throw together, no fancy ingredients, and that crispy baked top? *Chef’s kiss.* I added a little extra paprika for a tiny kick and it was perfect. Will 100% be making this on repeat all fall.

3 days ago

Tried this as a side for our Sunday football watch party and it was a hit. Super straightforward recipe, didn’t have to run to the store for any weird ingredients, cooked exactly in 35 minutes like the recipe said. Only note is I might use a little less sharp cheddar next time for my taste, but that’s just personal preference. Solid mac and cheese.

5 days ago

SO good! I made a big batch on Sunday for meal prep and it reheated perfectly all week for lunches. Usually baked mac gets all dried out when you reheat it, but this stayed creamy even after a minute in the microwave at work. Total weeknight win, especially with how quick it is to put together.

2 weeks ago

I’ve tried so many copycat Joanna Gaines recipes and this one tastes exactly like what I remember eating at Magnolia Table! The cheese pull is insane, the breadcrumb topping is buttery and crisp, no weird clumps in the sauce. 10/10, this is my new go-to mac and cheese recipe for every family gathering.

2 hours ago

Wait, has anyone tried making this with gluten free pasta? My youngest has celiac so I’m always looking for easy swaps that don’t make the whole dish feel off. The regular version looked so good on here I’m dying to try it for our taco night side this week!

30 minutes ago

I made this last week with brown rice gluten free elbow pasta and it turned out perfect! Just make sure you don’t overcook the pasta before baking, I did 2 minutes less than the package said and it held up great in the cheese sauce.

yesterday

OMG my kids loved it! I was worried the cheese blend would be too strong for my toddlers, but they ate two servings each and asked if we could have it again for breakfast the next day lmao. I skipped the breadcrumb topping since my oldest hates crunchy textures and it was still amazing.

yesterday

So glad your little ones enjoyed it! Skipping the breadcrumb topping is such a smart swap for kids who prefer a smoother, creamier bite — we love that idea for fussy eaters!

30 minutes ago

This was really easy to make, but my sauce came out a little thicker than I expected? Did I maybe cook the roux too long? It still tasted great, just not quite as creamy as the photos look. Flavor was on point though, I’ll definitely be trying again.

5 minutes ago

Great question! If your roux cooks too long it can thicken up faster once you add the milk, and next time you can stir in a splash more warm milk a tablespoon at a time until it hits that creamy consistency you’re looking for. So glad the flavor worked for you!

5 days ago

Made this after a long day hiking with friends and it was the perfect comfort food. We added crumbled bacon on top right before baking and it took it to the next level. 35 minutes from start to table is exactly what I need after being out all day, no complicated steps.

3 days ago

Oh the bacon addition sounds insane! I’m making this for my boyfriend’s birthday dinner next week and I’m definitely stealing that idea, he’s obsessed with all things bacon.

1 week ago

I brought this to my son’s soccer team potluck and every single parent asked for the link to the recipe. I used a mix of colby jack and sharp cheddar because that’s what I had in the fridge and it still turned out chef’s kiss. Easy, fast, crowd-pleasing — what more could you want?

5 days ago

We love the colby jack swap! That cheese melts so smoothly and adds such a nice mild, creamy flavor that pairs perfectly with the sharp cheddar. Thanks for sharing your tip!

2 weeks ago

I’ve been making mac and cheese from scratch for 40 years and I have to say, this recipe is a keeper! It’s simple, no fancy tricks, and the flavor is just like the old fashioned baked mac I grew up eating. My grandkids went back for thirds when I made it last Sunday.

1 week ago

This makes me so excited to try it! I’m a college student living off my dorm kitchen and I’ve been nervous to try homemade mac since it seems complicated, but if it’s grandma-approved I know it’s good!

5 minutes ago

Wait a second, does this really not have any mustard powder or hot sauce in it? All my go-to mac recipes use a little of both to cut the richness, I’m curious how the flavor is so good without it? Don’t get me wrong, the photos look incredible, I’m just used to adding those extras!

just now

I thought the same thing! I made it last weekend and was shocked how much depth the three cheese blend has on its own, you don’t even miss the mustard or hot sauce. That said, I stirred in a tiny dash of hot sauce to my own serving and it was great too!

just now

Great question! Joanna’s original recipe leans into the rich, creamy cheese flavor without add-ins, but you can absolutely add a pinch of mustard powder or a splash of hot sauce if that’s your preference — it’s super customizable!

yesterday

Can I assemble this the night before and bake it the next day? I’m hosting a big friend brunch next weekend and want to get as much prep done ahead of time as possible so I’m not running around the kitchen when people arrive.

yesterday

I did this for Christmas brunch last year! I assembled everything except the breadcrumb topping, covered it tight in the fridge overnight, added the breadcrumbs right before baking, and added 5 extra minutes to the cook time. Turned out perfect!

yesterday

What a great tip! Making it ahead works beautifully — just note that if the dish is cold straight from the fridge, you may need to add 5-10 minutes of bake time until it’s bubbly around the edges and the top is golden brown.

3 days ago

This is SO good but my breadcrumb topping got a little too dark on top before the middle was heated all the way through. Did I do something wrong? I baked it at the temp the recipe said, I was so sad the top was almost burnt when the middle was still a little cold.

2 days ago

I had this happen the first time I made it too! I moved my oven rack up too high so the top was way closer to the heating element. I moved it to the middle rack and tented a little foil over the top for the first 20 minutes of baking, then took the foil off for the last 15, and it was perfect.

2 days ago

We’re sorry to hear the topping browned too fast! Becca’s tip about tenting foil is perfect — every oven runs a little different, so if you notice the top getting dark early, a loose foil cover will keep it from burning while the center cooks through. Give it another try, we know you’ll love it!

just now

Game changer alert!!! I’ve been making boxed mac for years because I thought homemade was too much work, but this was so easy I almost couldn’t believe it. My dog even snuck a bite off my plate when I turned around for a second, so clearly it’s dog-approved too lmao.

just now

LMAO the dog seal of approval is the highest possible rating! I’ve been intimidated by homemade mac too, all the roux stuff sounded scary, but this recipe makes it so simple even I can’t mess it up.

just now

Nothing beats a pet-approved recipe! We’re so glad you gave homemade mac a shot — once you see how easy it is, you’ll never go back to the box 😉



