
Kewpie Mayo Grilled Cheese

title 1
Kewpie Mayo Grilled Cheese
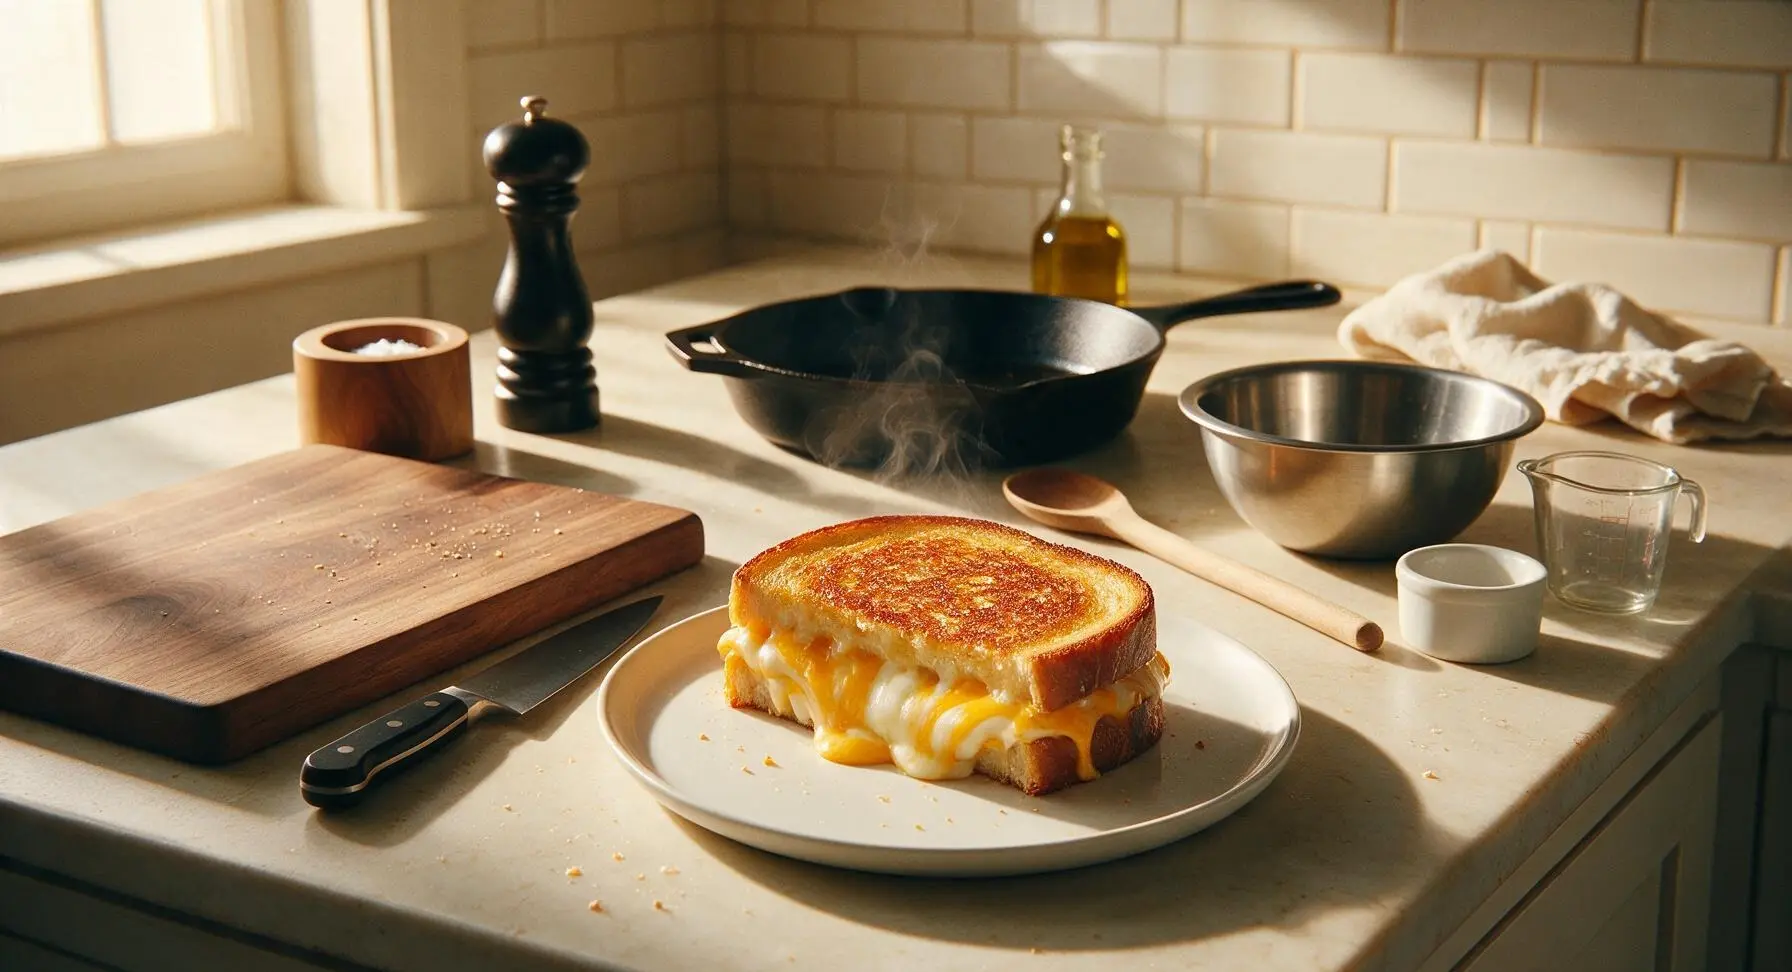
⏱️ cook time 6 minutes
🍽️ servings 2
⚡ Difficulty easy

intro

Crisp, golden-crusted grilled cheese made with umami-rich Kewpie mayo, oozing with melted sharp cheddar and mozzarella—elevated comfort food ready in 10 minutes.

Ingredients
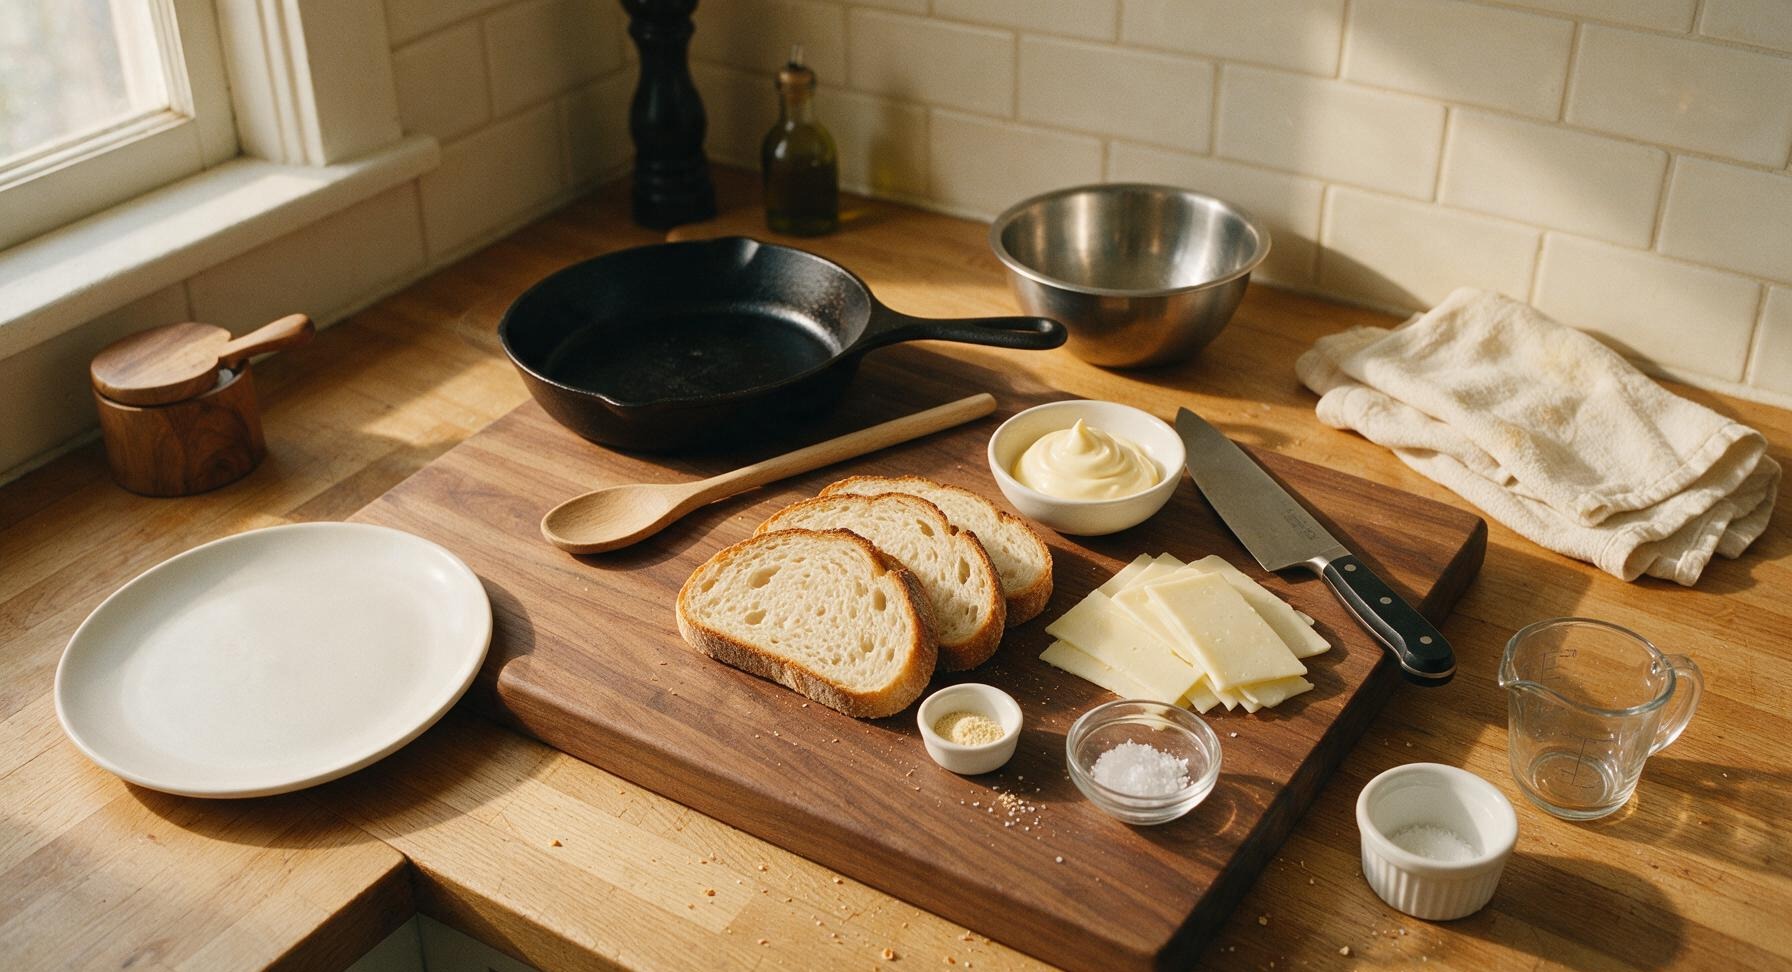
Thick-cut sourdough bread 4 slices (1.5cm thick, ~200g total)
Kewpie Japanese mayonnaise 3 tablespoons
Sharp white cheddar cheese 80g, thinly sliced
Low-moisture mozzarella cheese 60g, thinly sliced
Garlic powder 1/4 teaspoon
Flaky sea salt 1 pinch

Steps

1

Arrange bread and cheese

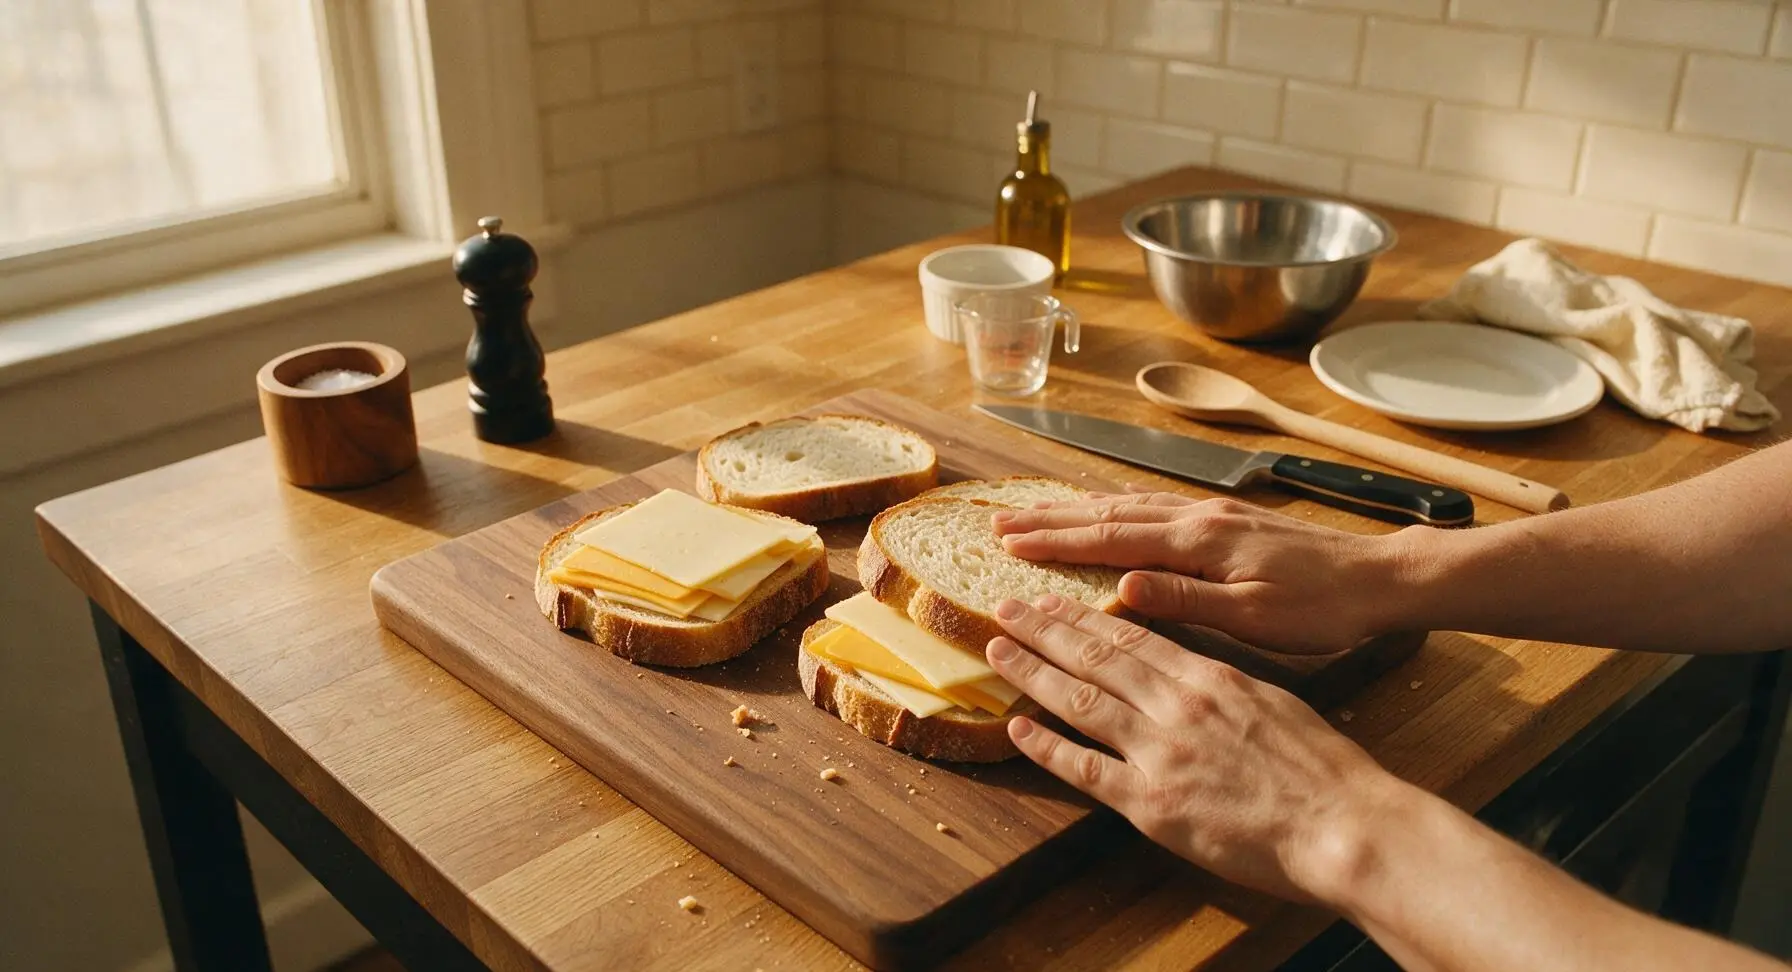
Lay all 4 sourdough slices flat on the bamboo cutting board. Pat cheese slices lightly with a clean corner of the linen towel to remove any surface moisture (this prevents soggy, steamed bread). Divide cheddar and mozzarella evenly between 2 bread slices, layering cheese to cover the entire bread surface without overhanging the crust edges, then top with the remaining 2 bread slices to form 2 closed sandwiches. Press down gently on each sandwich top to adhere the layers.
Step 1
step1:Arrange bread and cheese
2

Season Kewpie spread

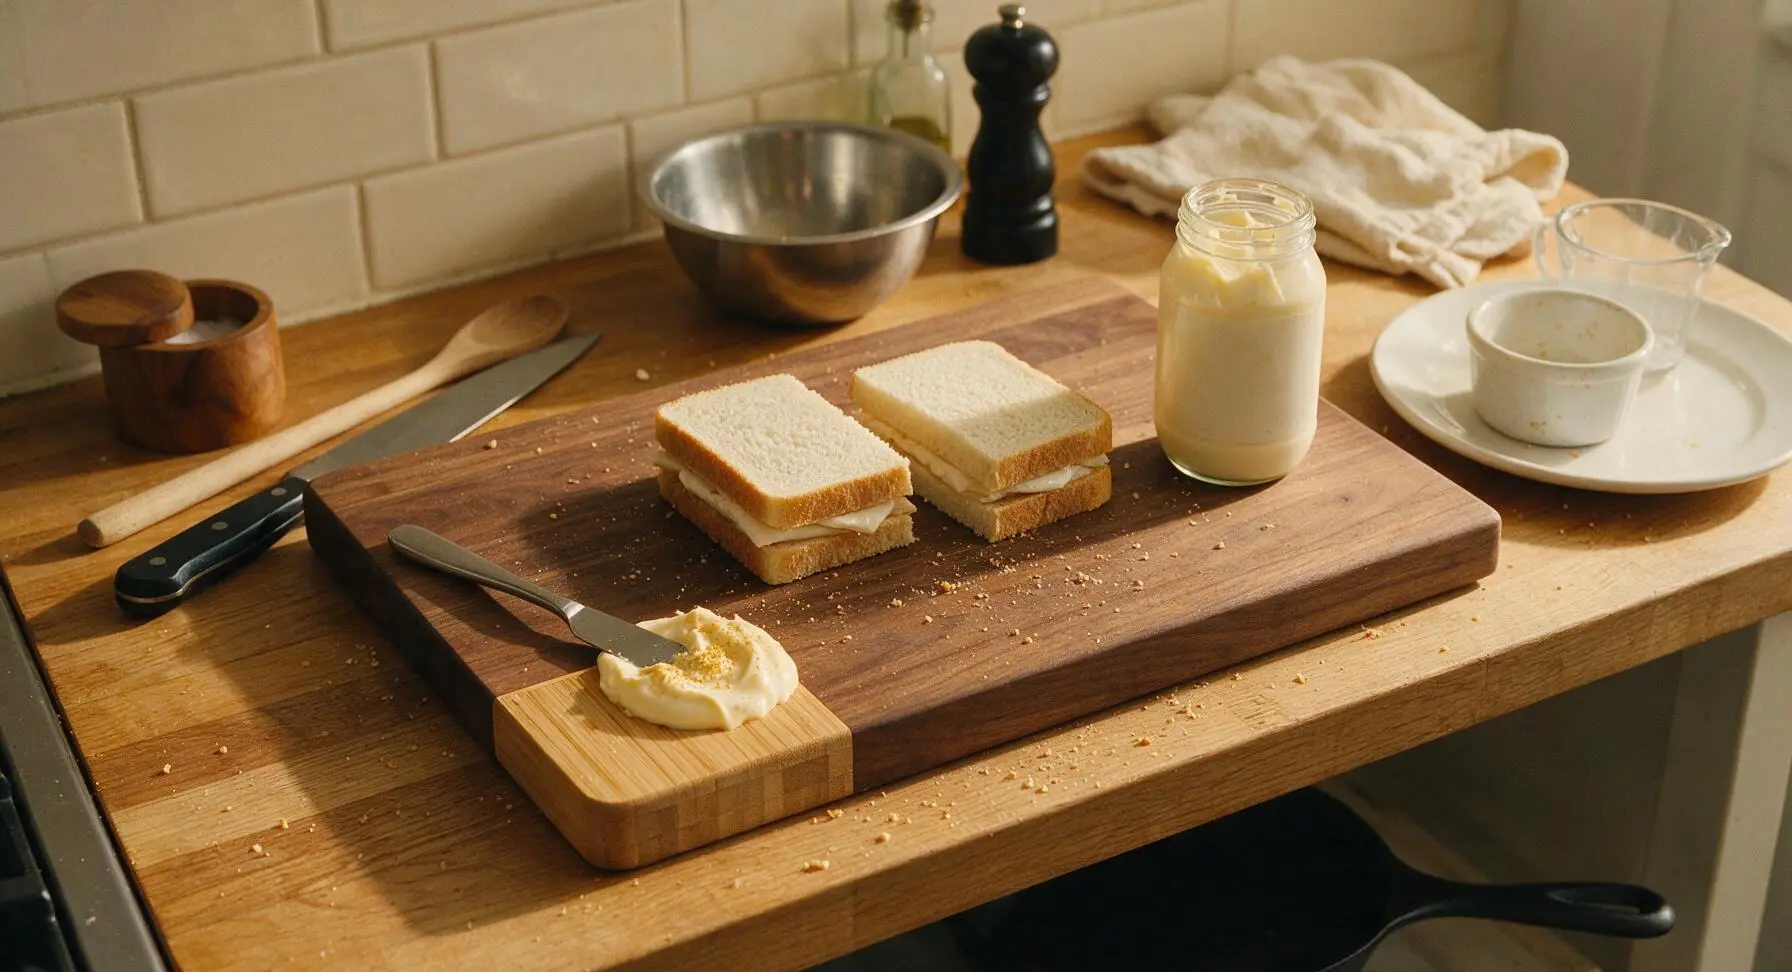
Squeeze 3 tablespoons of Kewpie mayonnaise into a small dollop on the empty corner of the cutting board, then stir in 1/4 teaspoon garlic powder with the tip of the butter spreader until fully combined. This seasoned Kewpie creates an ultra-crisp, umami-rich crust that browns more evenly than plain butter, with no burnt spots.
Step 2
step2:Season Kewpie spread
3

Coat sandwich exteriors

Use the butter spreader to apply a thin, even layer of the seasoned Kewpie mixture across the entire top surface of both sandwiches, spreading all the way to the crust edges. Use approximately half the Kewpie mixture for this first side, ensuring no bare bread spots remain (uncoated bread will burn unevenly during cooking). Flip the sandwiches and spread the remaining Kewpie mixture on the second outer surface, so both sides of every sandwich are fully coated.
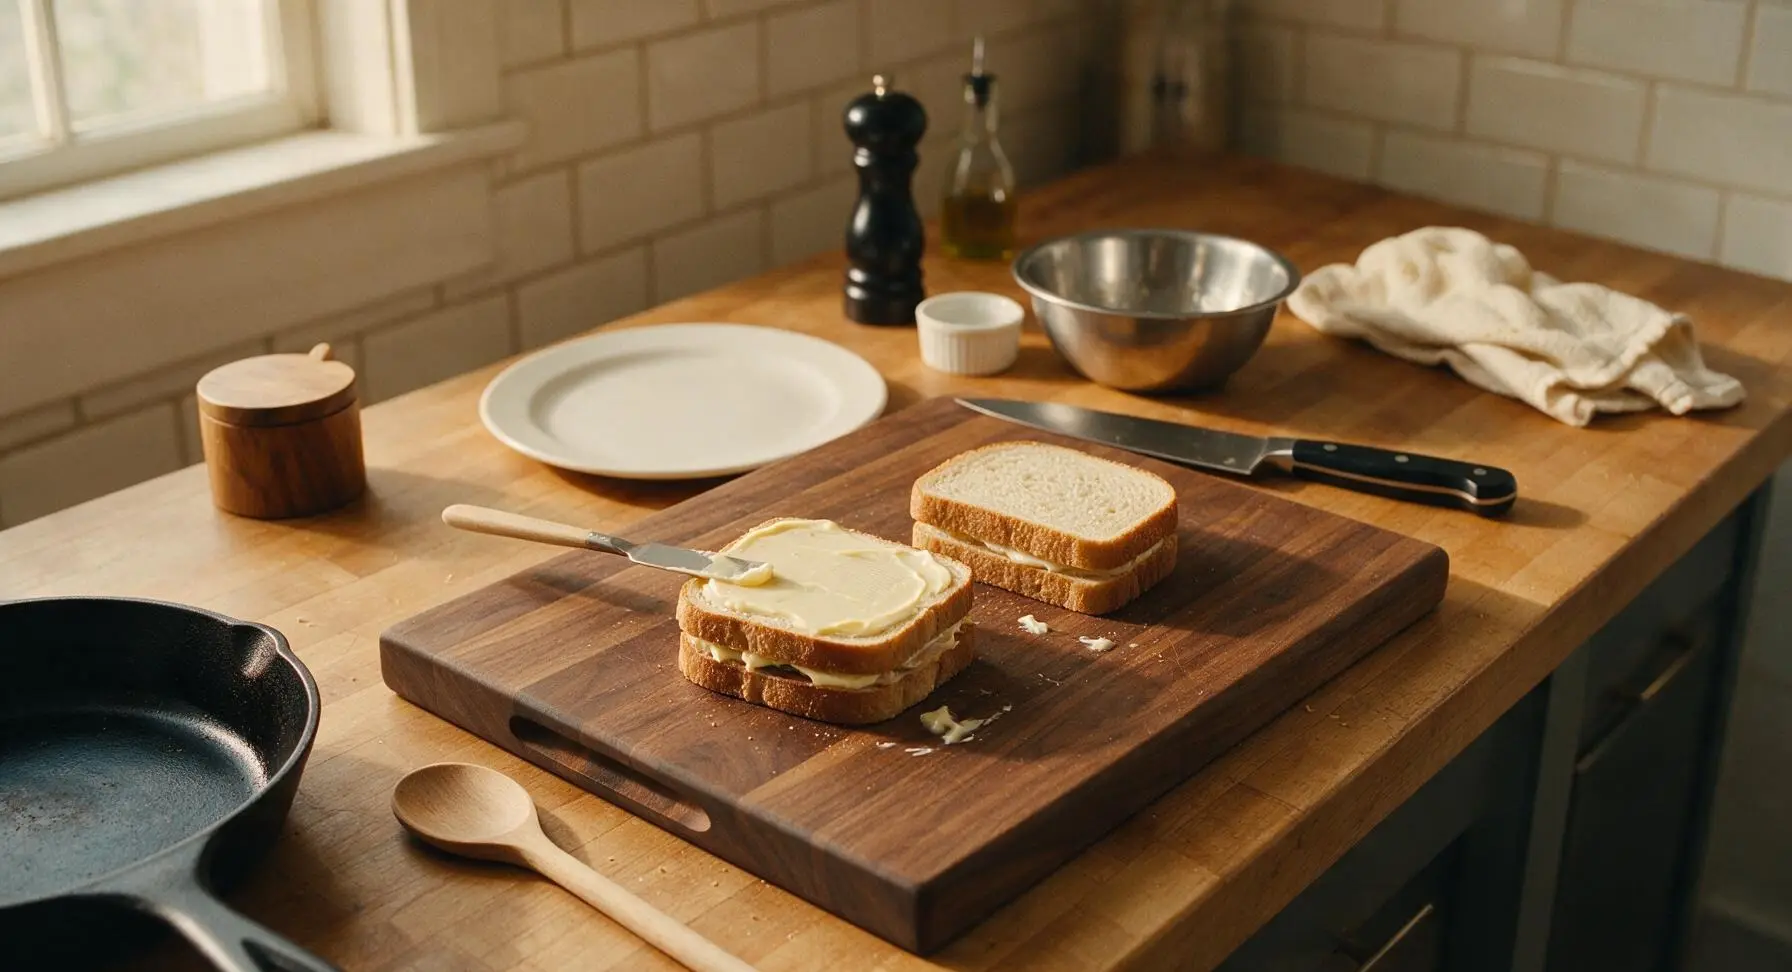
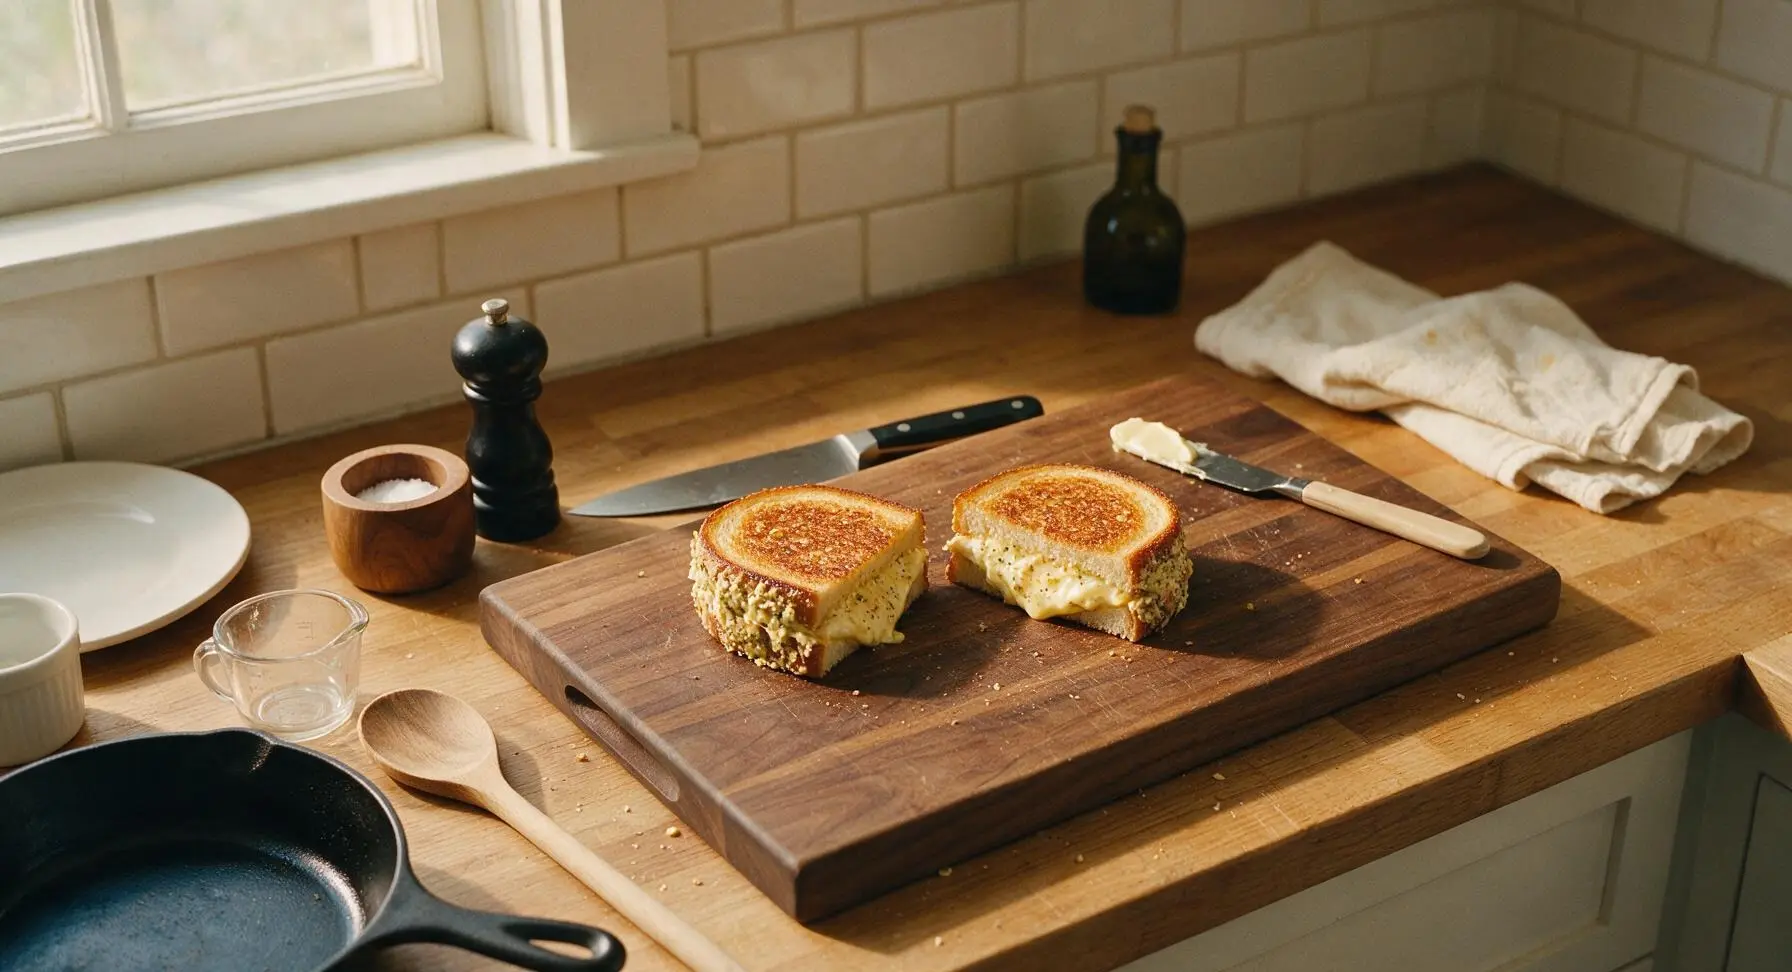
Step 3
step3:Coat sandwich exteriors
Step 3
step3:Coat sandwich exteriors
4

Preheat non-stick skillet

Retrieve the 10-inch non-stick skillet from the lower cabinet and place it centered on the matte black induction burner. Heat over medium-low heat (325°F / 160°C) for 2 minutes, until the surface is evenly warm. Test temperature by sprinkling a single drop of water on the pan: it should sizzle and dance across the surface immediately, not evaporate instantly (too hot) or sit without bubbling (too cold).
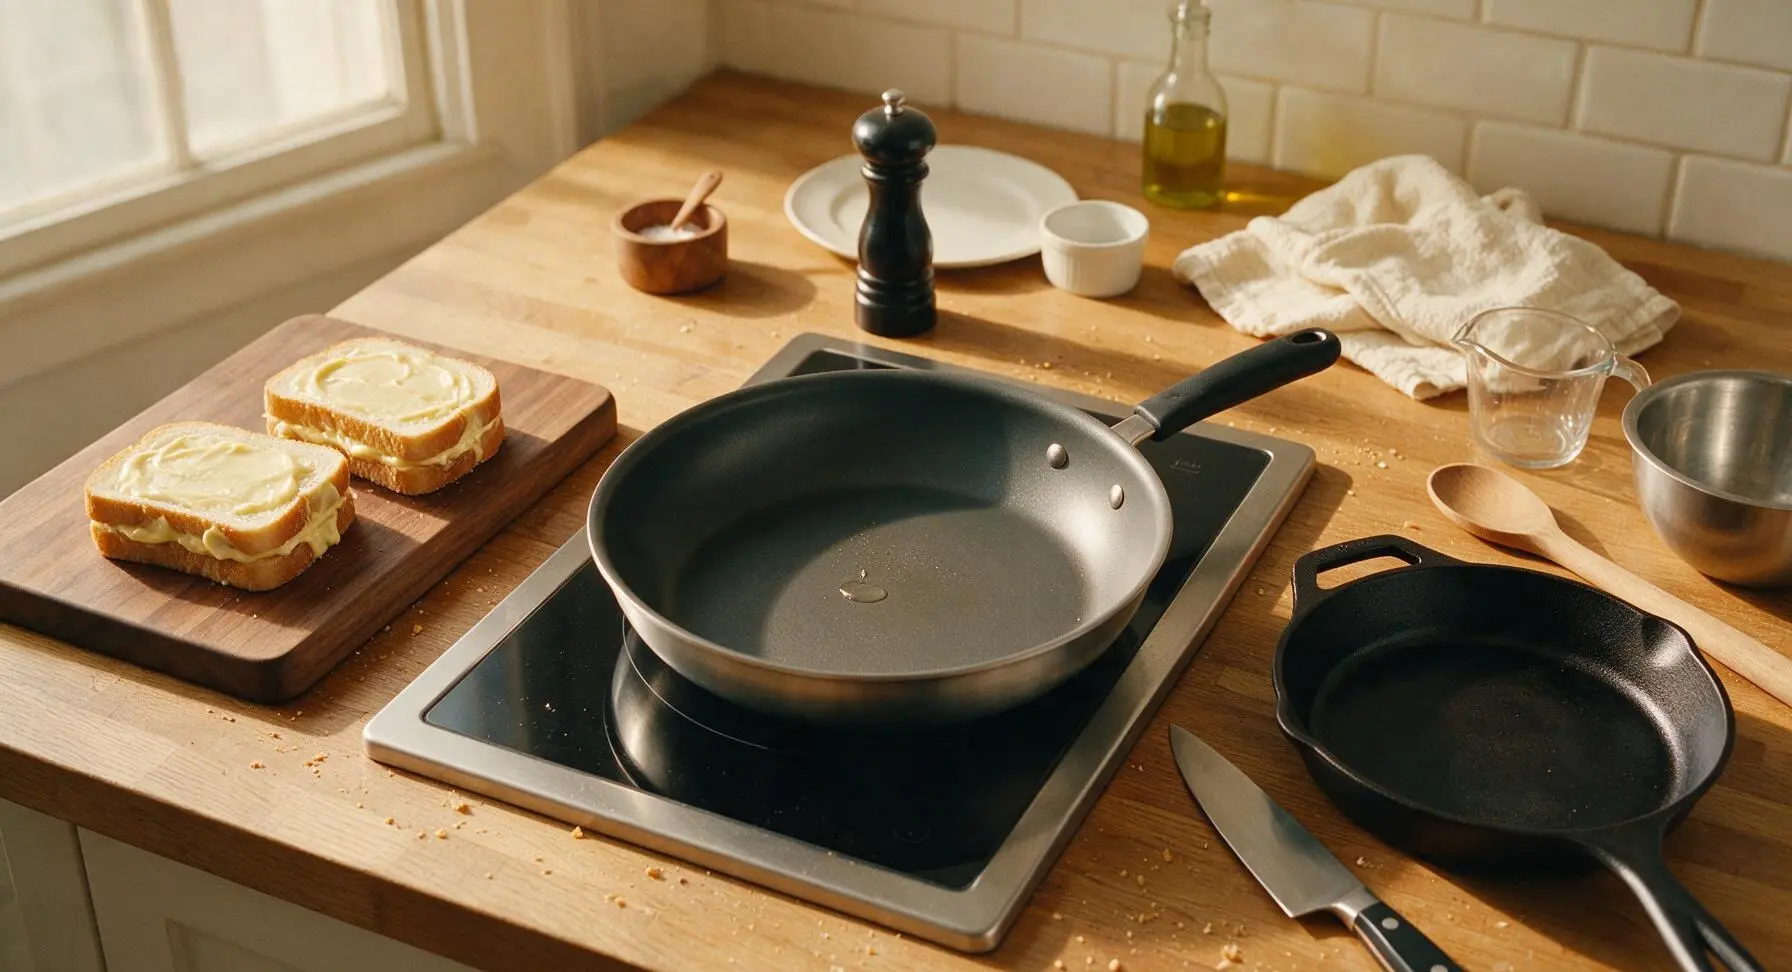
Step 4
step4:Preheat non-stick skillet
5

Grill first side golden

Carefully place one coated sandwich in the preheated skillet using the offset spatula. Cook for 3 full minutes over medium-low heat, resisting the urge to press down on the sandwich (this squeezes out melted cheese and compresses the bread into a greasy, flat texture). The cooked side should be a deep, even golden brown, with crisp texture across the entire surface, no pale soft spots or dark burnt patches.
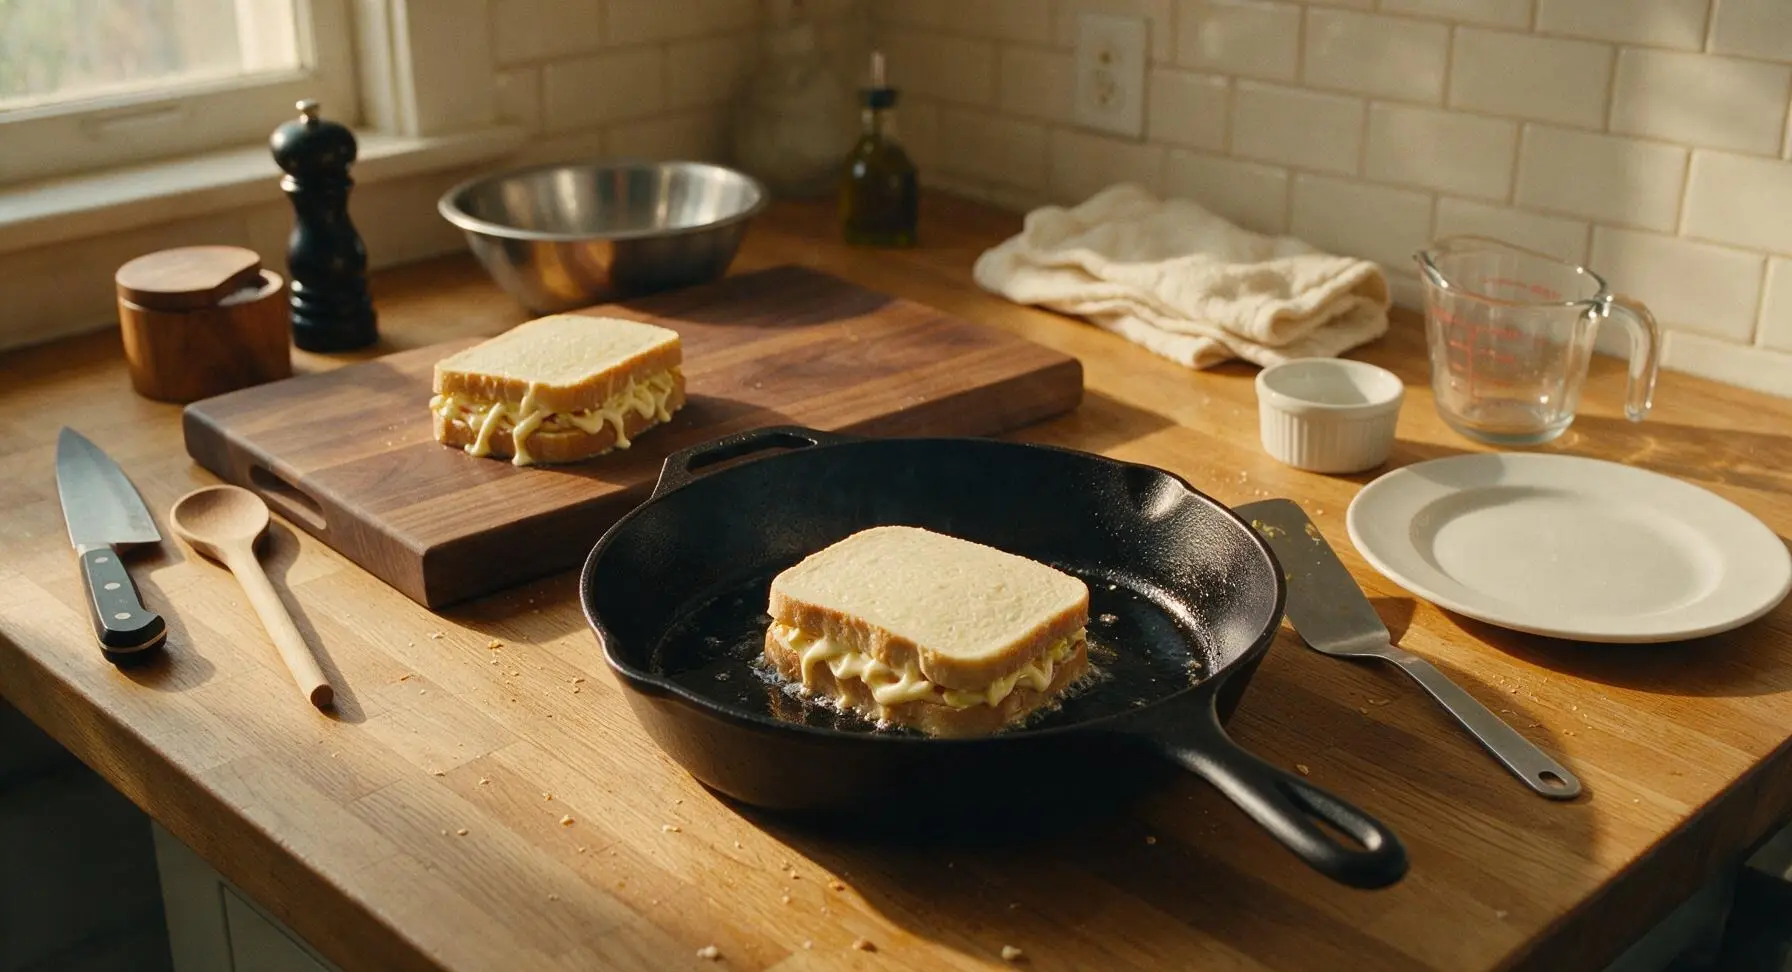
Step 5
step5:Grill first side golden
6

Flip and cook through

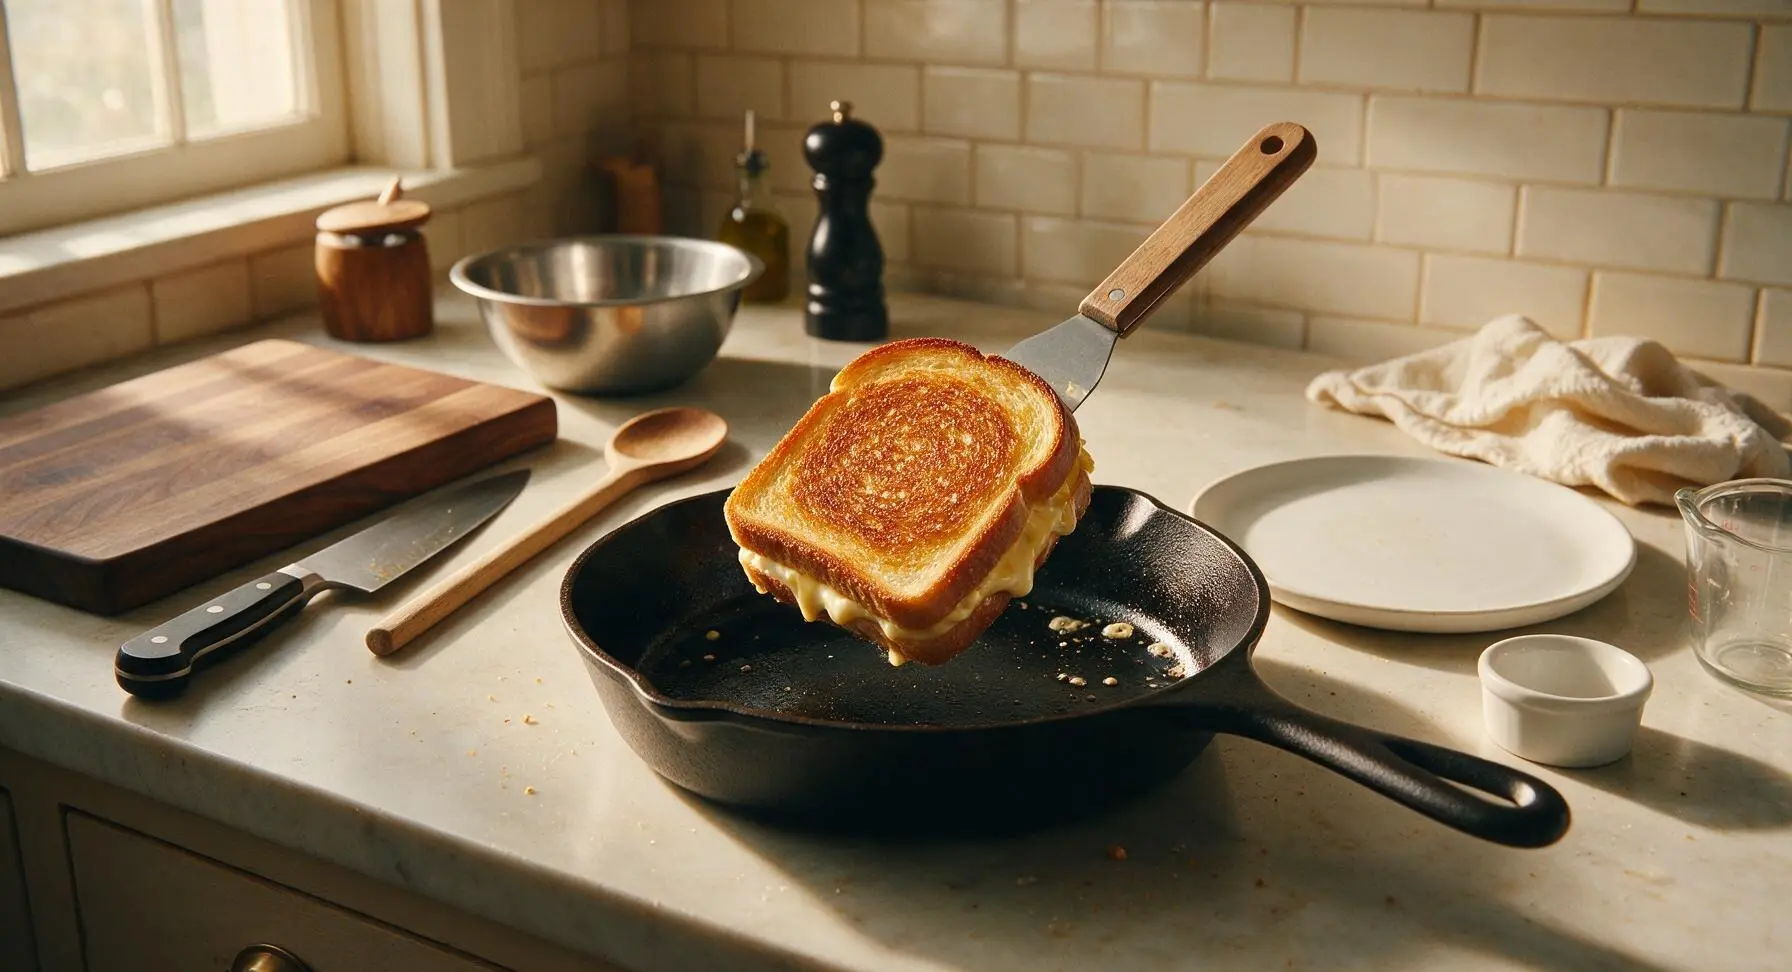
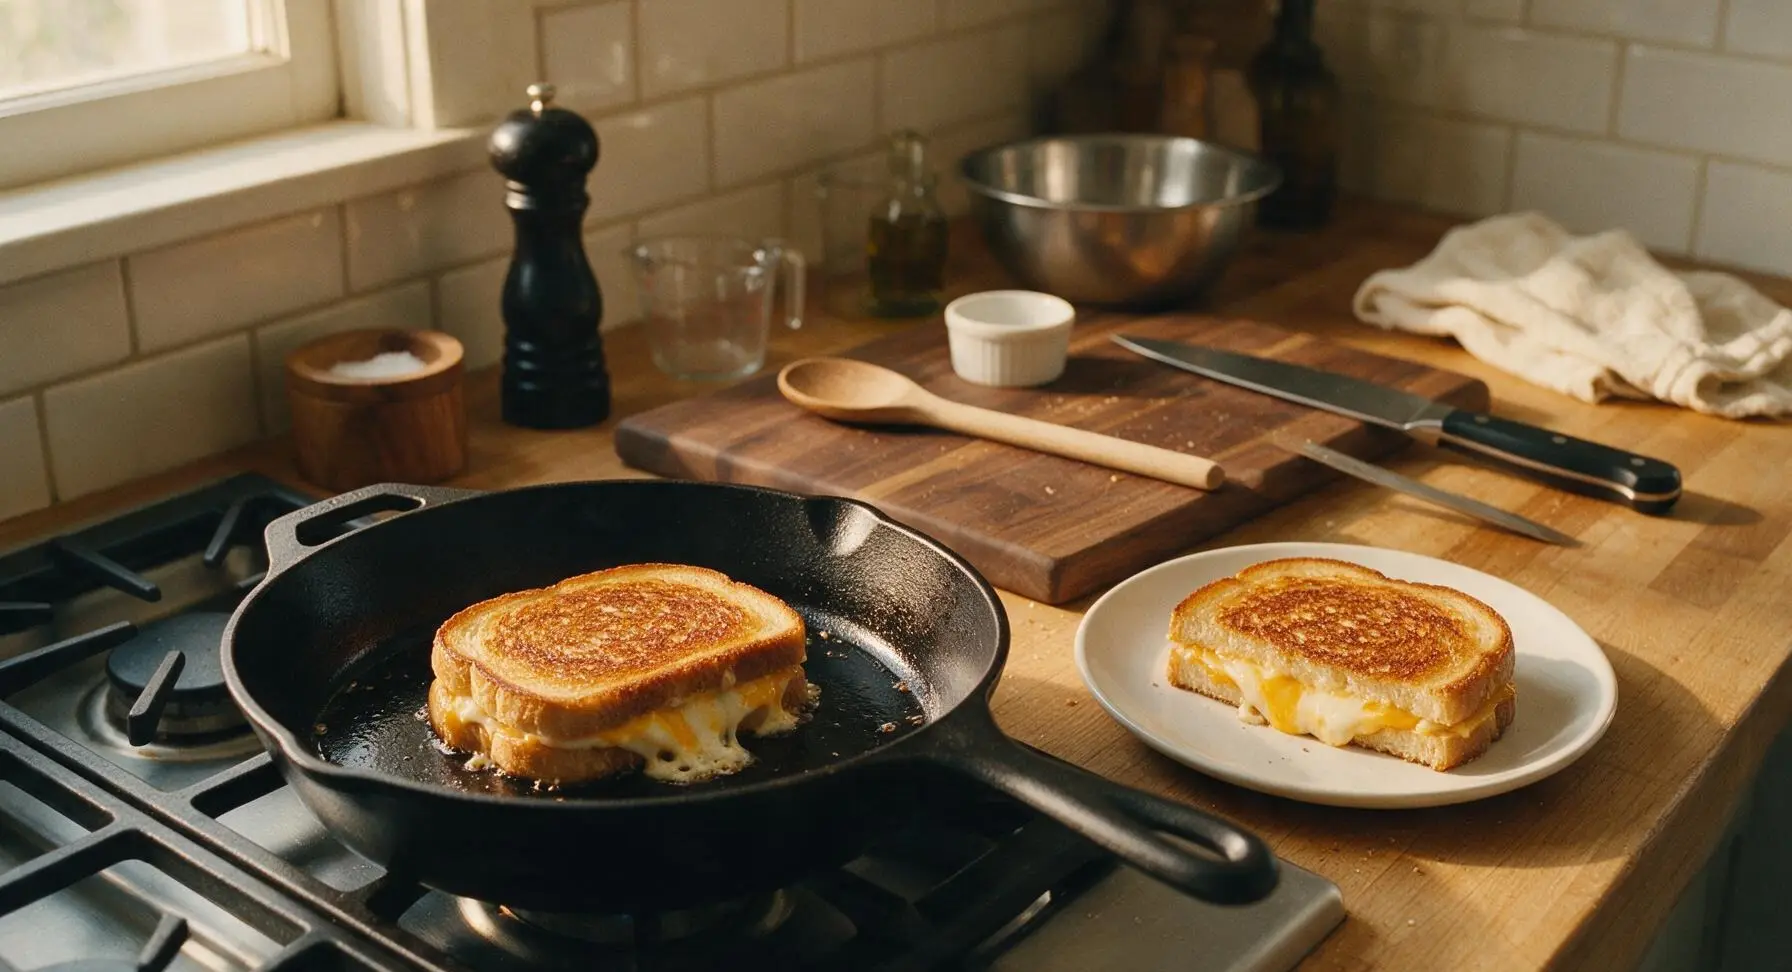
Slide the offset spatula fully under the sandwich and flip it in one smooth, quick motion. Cook for another 2.5 to 3 minutes, until the second side is equally golden and crisp, and the cheese in the center is fully melted (look for small, slow bubbles of oozing cheese seeping out from the sandwich edges as a visual cue). Transfer the finished sandwich to the waiting cream-white ceramic plate, then repeat the cooking process with the second sandwich.
Step 6
step6:Flip and cook through
Step 6
step6:Flip and cook through
7

Season and plate sandwiches

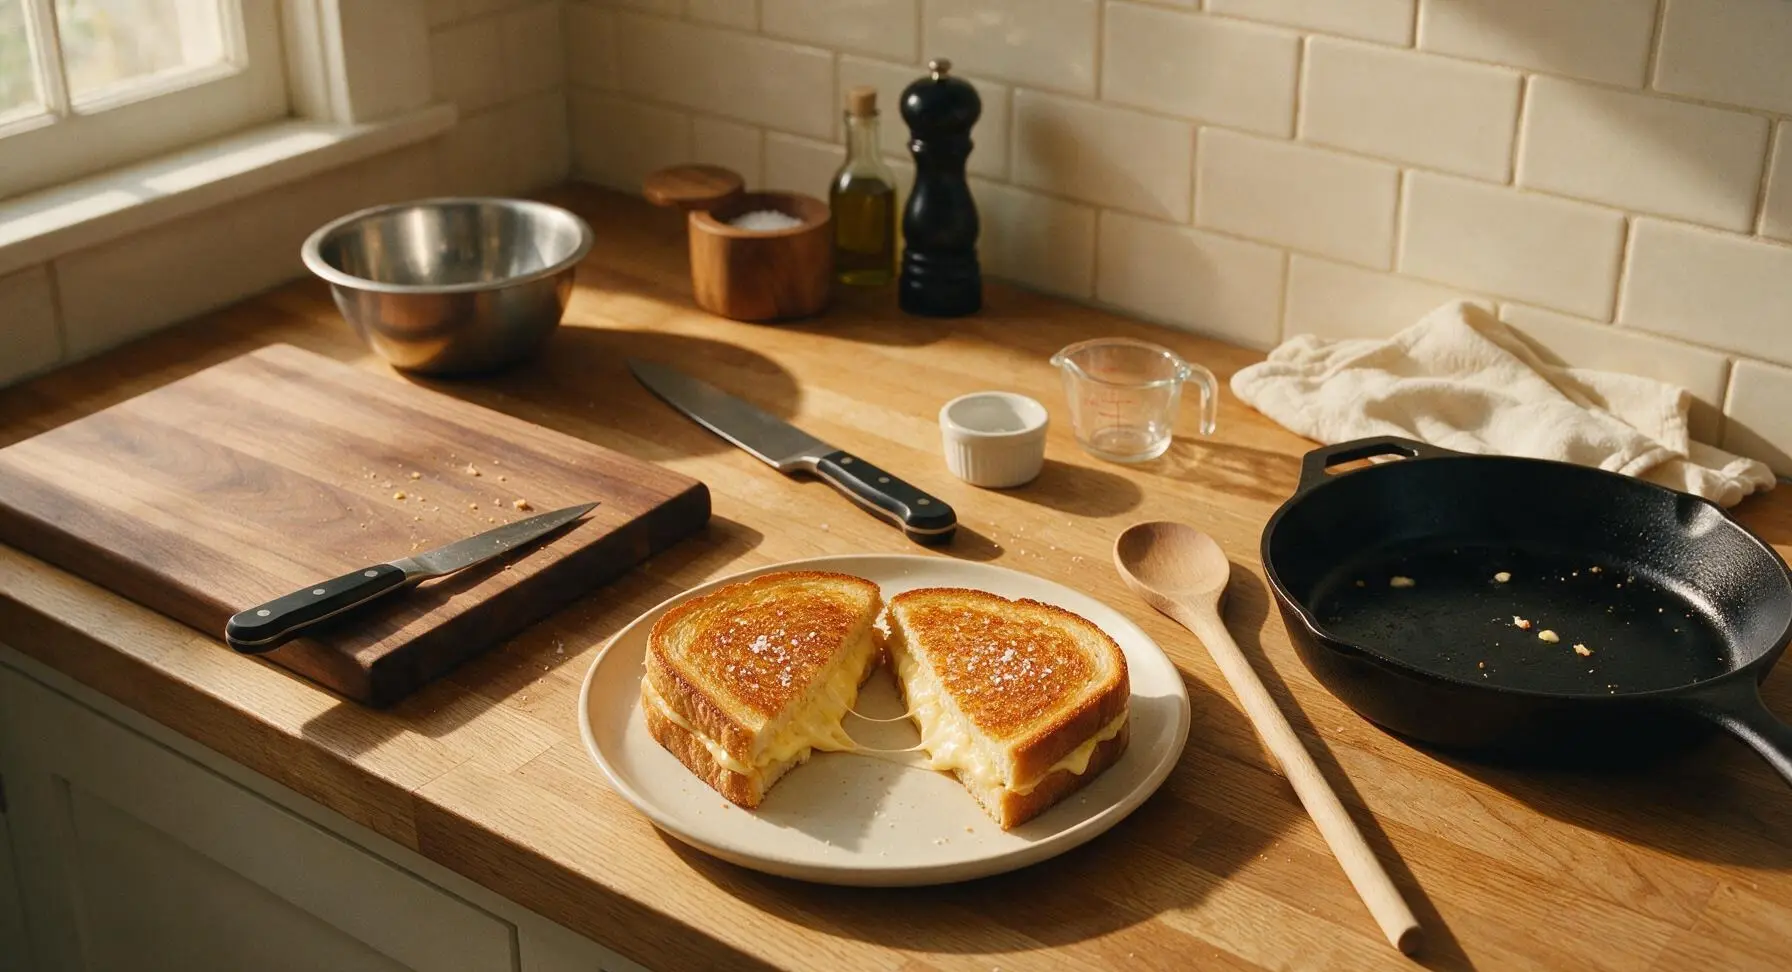
Once both sandwiches are fully cooked, transfer them to the cream-white ceramic plate. Sprinkle a tiny pinch of flaky sea salt over the warm crisp crusts, then cut each sandwich diagonally in half with the paring knife. Let rest for 1 minute before serving—this allows the melted cheese to set slightly so it does not run out completely with the first bite.
Step 7
step7:Season and plate sandwiches

Tips

1.Use low-moisture mozzarella instead of fresh mozzarella for this recipe: fresh mozzarella has a very high water content that will seep into the bread during cooking, creating a soggy sandwich instead of a crisp exterior and smooth, stretchy melted cheese.
2.Keep cooking heat at medium-low (325°F / 160°C): while Kewpie mayonnaise has a higher smoke point than butter, excessively high heat will burn the outer Kewpie crust to a dark brown before the cheese in the center of the sandwich has time to fully melt.
3.Never press down on the sandwich with your spatula while cooking: this forces melted cheese out of the bread seams, compresses the soft bread interior, and leaves you with a greasy, flat sandwich instead of a light, crisp, oozing grilled cheese.


✨ You May Also Like

Lunch
🍜 United States

Creamy, salty, tangy nostalgic Midwestern sandwich pairing rich peanut butter with crisp briny dill pickles for a fast, satisfying no-cook meal.

⏱️ 5 minutesLunch ★ 4.6
Lunch
🍜 United States

Crispy, melty pressed sandwich layered with savory roast pork, ham, Swiss cheese, pickles, and tangy mustard: a beloved Cuban-American comfort classic.

⏱️ 25 minuteLunch ★ 4.9
Lunch
🍜 United States

Hearty, briny New Orleans pressed sandwich stacked with cured Italian meats, provolone, and zesty olive salad, served cold for bold, portable flavor.

⏱️ 1 hour 20Lunch ★ 4.7
Lunch
🍜 United States

A tangy, creamy Southern American staple, this no-cook cheesy sandwich is packed with sharp cheddar and sweet pimentos for a satisfying, portable bite.

⏱️ 1 hour 15Lunch ★ 4.8
Lunch
🍜 United States

Crispy Cajun-spiced fried shrimp piled on crusty French bread with tangy remoulade and fresh toppings, the iconic Louisiana street food sandwich.

⏱️ 35 minuteLunch ★ 4.4
Lunch
🍜 United States

Stacked, savory deli-style corned beef sandwich with melted Swiss, tangy mustard, and crisp griddled rye— a fast, hearty, satisfying classic.

⏱️ 15 minuteLunch ★ 4.9

Kewpie Mayo Grilled Cheese:Frequently Asked Questions

1.Why use Kewpie mayo instead of butter or regular mayonnaise for the grilled cheese crust? ▾
Kewpie is made with extra egg yolks and a hint of umami-boosting MSG, with none of the added water found in most standard American mayos. It spreads smoothly, creates an evenly crisp, deep golden crust without sogginess, and adds a subtle savory tang that plain butter or regular mayo can’t deliver.
2.Can I substitute other cheeses if I don’t have sharp white cheddar and low-moisture mozzarella? ▾
You can absolutely swap cheeses, just stick to a 50/50 balance of bold, flavorful cheese and low-moisture melty cheese to avoid sogginess. Great cheddar swaps include gruyère or pepper jack, and low-moisture mozz can be replaced with provolone. Skip high-moisture picks like fresh mozzarella, as they’ll make your bread soggy mid-cook.
3.Why do you recommend thick-cut sourdough? Can I use regular thin sandwich bread instead? ▾
Thick-cut sourdough holds up to the heavy melted cheese and mayo coating without getting floppy, and its subtle tang cuts through the rich, creamy cheese for a more balanced bite. If you use standard thin sandwich bread, reduce cook time by 1 minute per side and use slightly less cheese to avoid burnt edges before the cheese melts.
4.How do I make sure the cheese is fully melted without burning the crispy mayo crust? ▾
Cook your sandwich over medium-low heat, not high—high heat will burn the mayo crust long before the cheese melts through. Cover the pan with a lid for the first 2 minutes of cooking to trap gentle heat, which melts the cheddar and mozz evenly without over-toasting the bread, then flip once to crisp the second side.
5.What’s the garlic powder for, and should I mix it into the cheese or the mayo? ▾
The garlic powder adds a subtle, warm savoriness that amplifies the umami of the Kewpie mayo without overpowering the cheese. Mix it directly into the Kewpie before spreading it on the outside of the bread slices—this lets the garlic toast gently as the crust crisps, for a mellow, evenly distributed garlicky note with no raw bite.
6.Can I make this grilled cheese ahead for meal prep or packed school/work lunches? ▾
This grilled cheese is best eaten fresh off the pan for maximum crispness and oozing melted cheese, but you can prep components ahead: pre-slice your cheese and mix garlic powder into your Kewpie up to 3 days in advance. If packing for lunch, let the sandwich cool 5 minutes before tucking it into a paper bag-lined container to prevent soggy crust from trapped steam.

Comments (8)

2 days ago

OMG this Kewpie mayo hack for grilled cheese is a total game changer!!! I always used butter before and it would burn so easy, but the mayo gets that perfect crispy golden crust every time? Made it for my kids after school yesterday and they begged for seconds, even my picky 7 year old ate every bite. 10/10 will be making this weekly for quick lunches now!

yesterday

Wait I thought the mayo thing was a myth until I tried this! The Kewpie is way better than regular mayo too, it has that little umami kick regular mayo doesn't. I added a slice of tomato to mine last night, chef's kiss

yesterday

So glad your kids loved it! Adding a slice of ripe tomato is such a great call—pro tip, pat the tomato dry a little first so it doesn't make the bread soggy!

3 days ago

Perfect quick meal for busy weeknights! Cook time is actually 6 minutes like the recipe says, no joke. I made a batch for meal prep this week, paired with tomato soup and it held up great even when I reheated it at the office. Only thing I did different was add a pinch of garlic powder to the Kewpie before spreading, so good.

2 days ago

Love the garlic powder addition! That sounds absolutely delicious. So happy this fits into your busy meal prep routine!

1 week ago

Brought these to our neighborhood block party potluck last weekend and people were hounding me for the recipe all night! Cut them into little bite sized squares, stuck a toothpick in each, and they were gone in 10 minutes flat. Who knew fancy grilled cheese could be this easy?

2 hours ago

Wait hold on, you use Kewpie instead of butter on the outside? I was today years old when I found this out. Tried it last night and holy cow, the crust is so much crispier and it doesn't burn half as fast as butter does. I used a mix of sharp cheddar and mozzarella and it was *chef's kiss*. Only complaint is now I can't go back to regular butter grilled cheese lol

1 hour ago

Right?! I was skeptical too because I hate regular mayo, but Kewpie is totally different—it's richer, a little tangy, you don't even taste it as mayo, just perfect crispy bread. I made mine with pepper jack for a little kick, so good

30 minutes ago

So happy you gave it a try! The cheddar and mozzarella combo is a classic for a reason—perfect melt every time. We feel you, there's no going back after Kewpie grilled cheese!

yesterday

Literally saved me during midterm week. Super easy, barely any cleanup, takes 6 minutes total, tastes way better than the sad dining hall grilled cheese. I didn't even have fancy bread, just used regular white sandwich bread and it still slapped. Only knock is I wish I'd bought extra Kewpie because I ran out halfway through making my second sandwich lmao

12 hours ago

Pro tip: keep a backup bottle of Kewpie in your dorm fridge at all times, trust me. I put that stuff on everything—eggs, sandwiches, even roasted veggies. Worth every penny

2 weeks ago

Made this with gluten free sourdough and dairy free cheddar for my partner who has dietary restrictions, and it worked perfectly! The Kewpie got the GF bread nice and crispy without it getting crumbly like butter usually does. We added a little caramelized onion too, absolute perfection for a cozy Saturday lunch.

5 minutes ago

Wait why is Kewpie so much better for this than regular mayo? I tried it side by side last night, regular mayo left a weird aftertaste but the Kewpie was just perfectly tangy, made the bread so crispy without being greasy. Difficulty level is actually super easy, even my partner who burns toast could make this no problem.

just now

Great question! Kewpie is made with egg yolks only (instead of whole eggs like most American mayo) and has a touch of rice vinegar and MSG, which gives it that rich, umami tang that makes the crust taste so much better! So glad even your toast-burning partner can nail this recipe!

5 days ago

Made this for our family movie night last Friday with a side of tomato basil soup, and everyone raved about it! I used a mix of American and gouda cheese, spread Kewpie on the outside of the sourdough, and it got that perfect crunch without any burnt spots. Even my teenager who turns his nose up at everything I cook asked if we could have it again this week. SO good!

3 days ago

The gouda addition sounds insane! I've only used cheddar so far, I need to grab some gouda on my next grocery run. Does it melt as smoothly as cheddar for this?

2 days ago

Gouda melts like an absolute dream for this! We love using a mix of young gouda and sharp cheddar for the perfect balance of creamy and tangy. So glad your family loved it for movie night!



