
Kimchi Bacon Grilled Cheese
intro
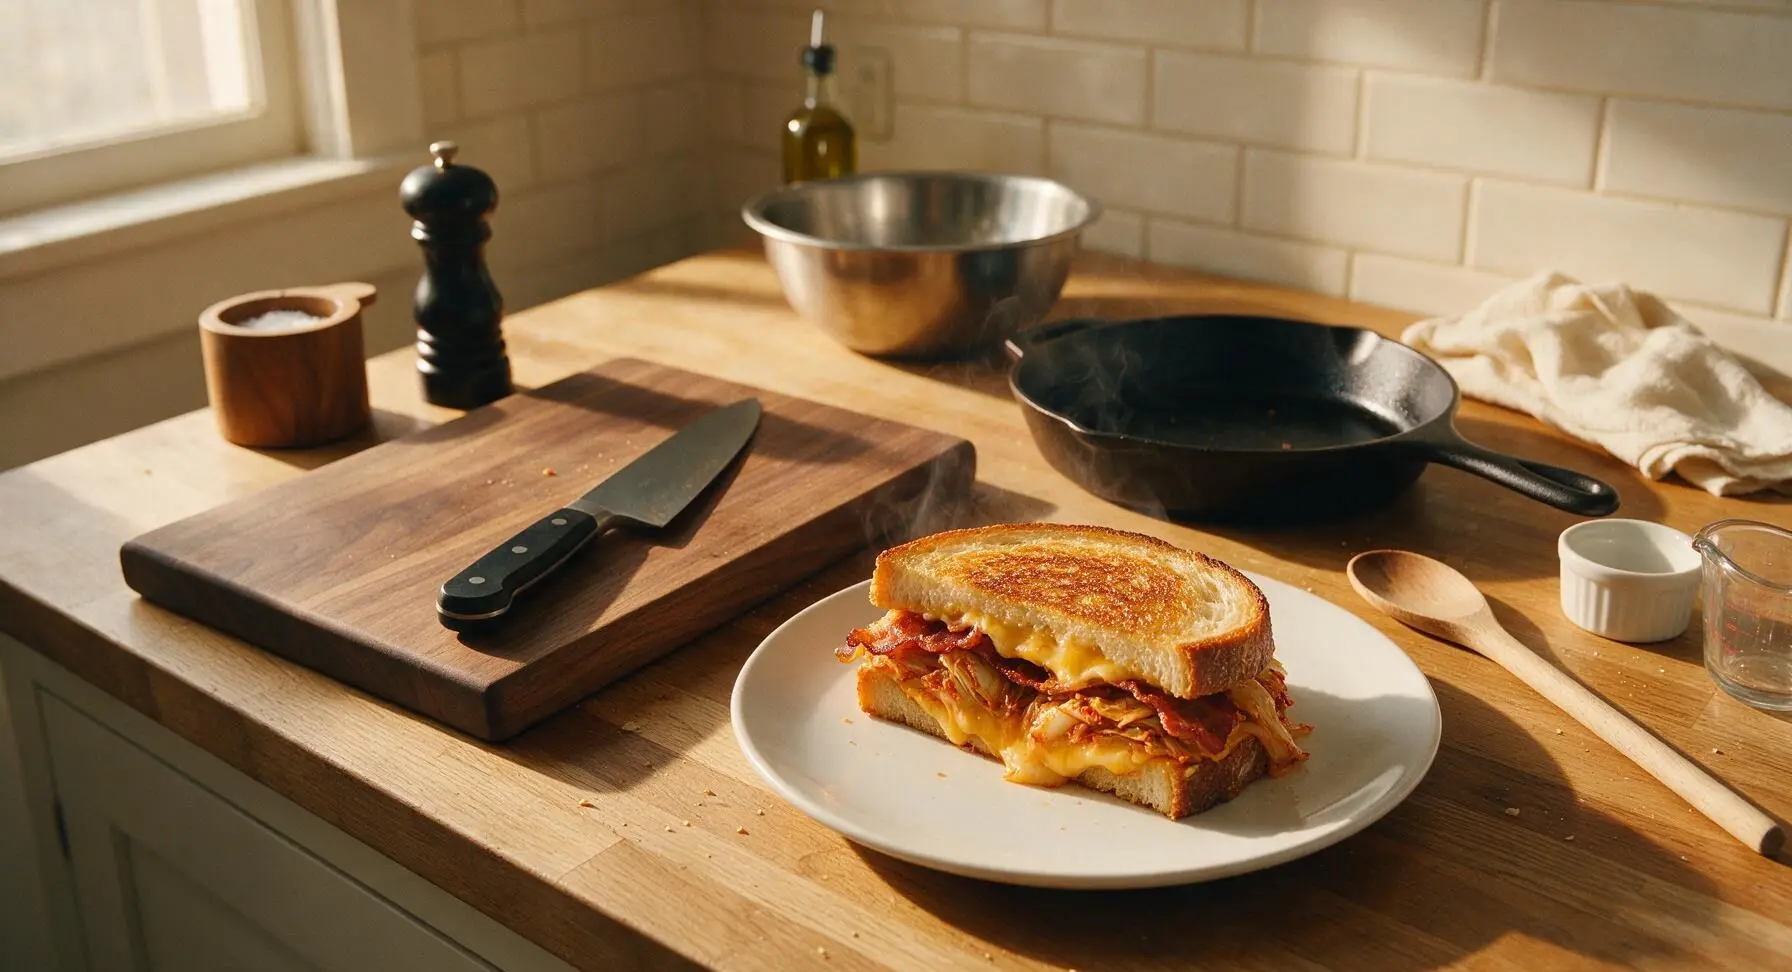
Crispy buttery sourdough, smoky bacon, tangy sautéed kimchi, and gooey melted cheddar collide in this quick, umami-packed twist on a classic comfort food sandwich.
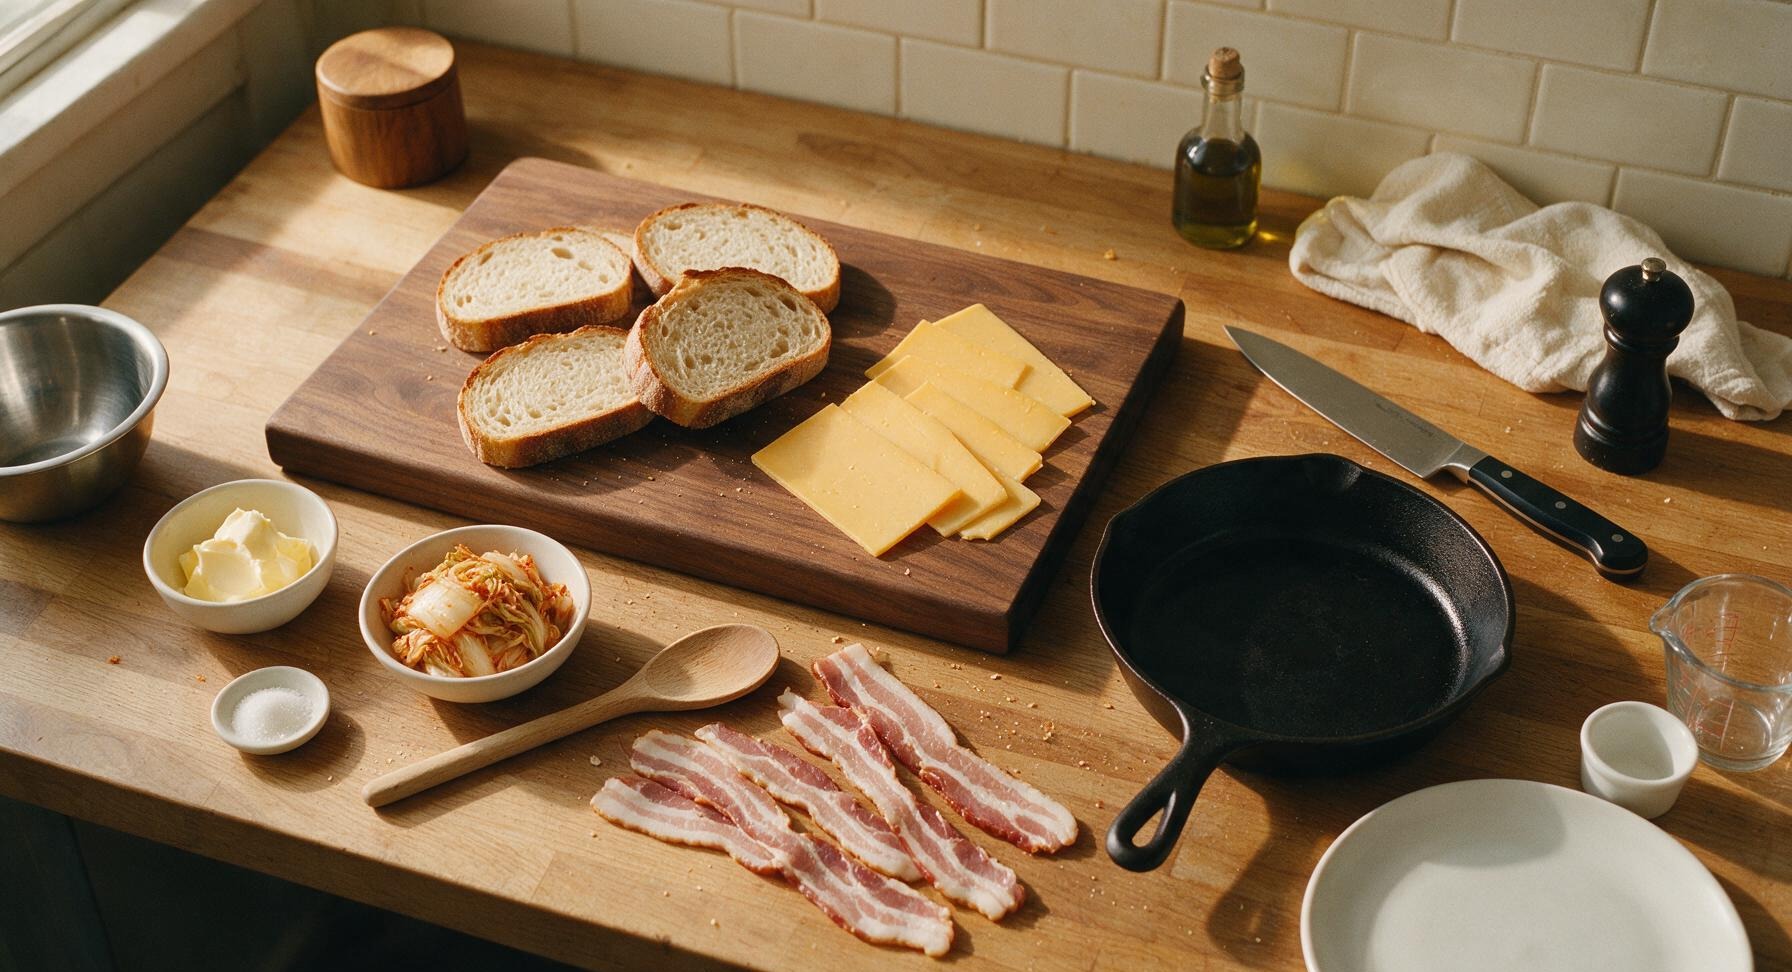
Ingredients
Steps
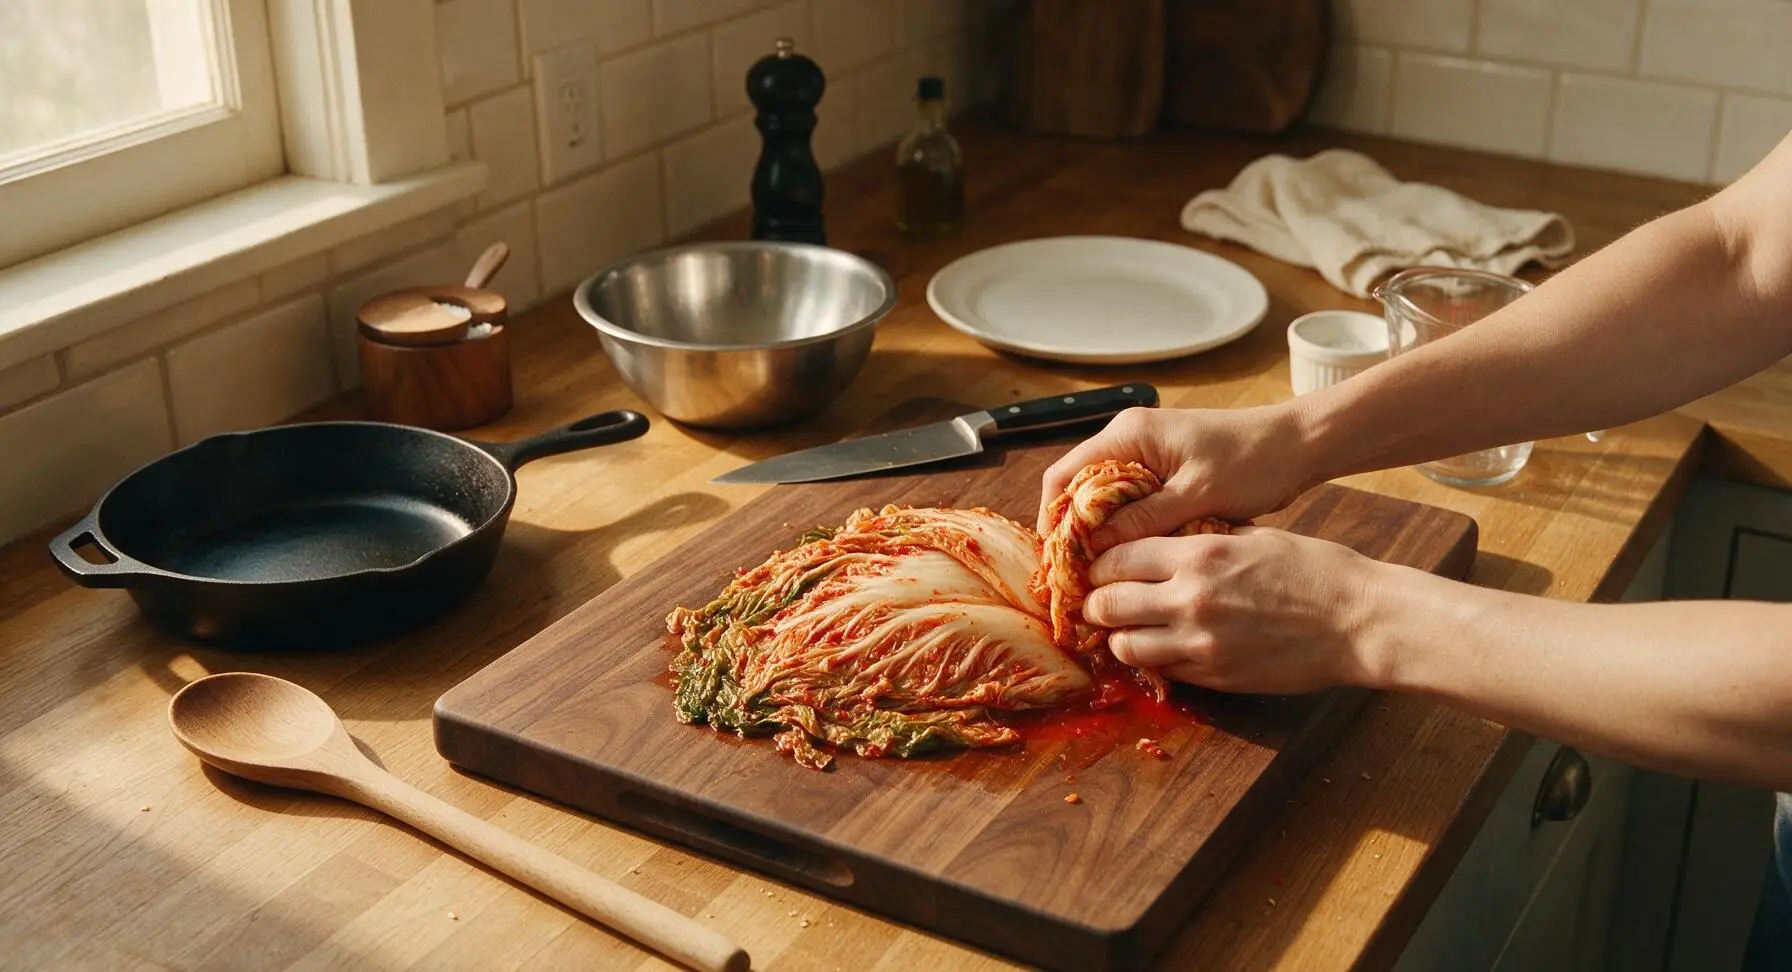
Squeeze and Chop Kimchi
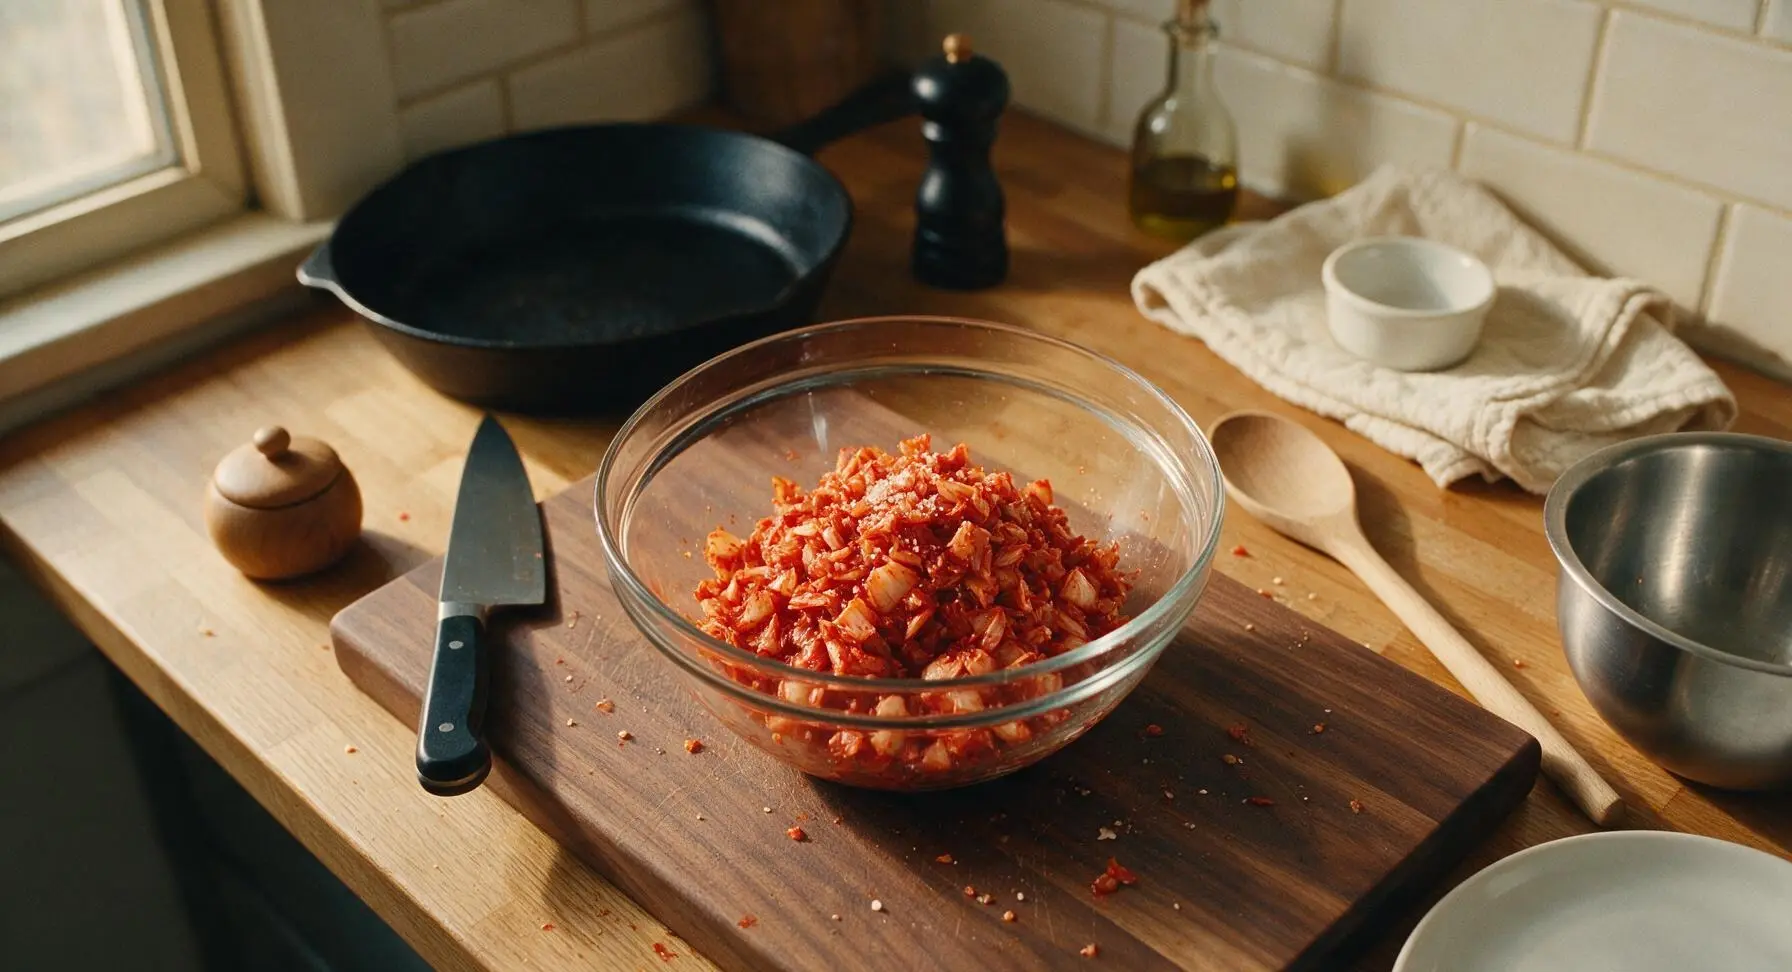
Place well-drained kimchi on the acacia wood cutting board. Firmly squeeze out all excess brine with clean hands to prevent sandwich sogginess, then use the 8-inch chef knife to roughly chop kimchi into 1cm (½-inch) pieces. Toss chopped kimchi with 1 teaspoon granulated sugar to balance its tangy fermented flavor, then transfer to the clear glass prep bowl. Set aside.
Cook Crispy Bacon
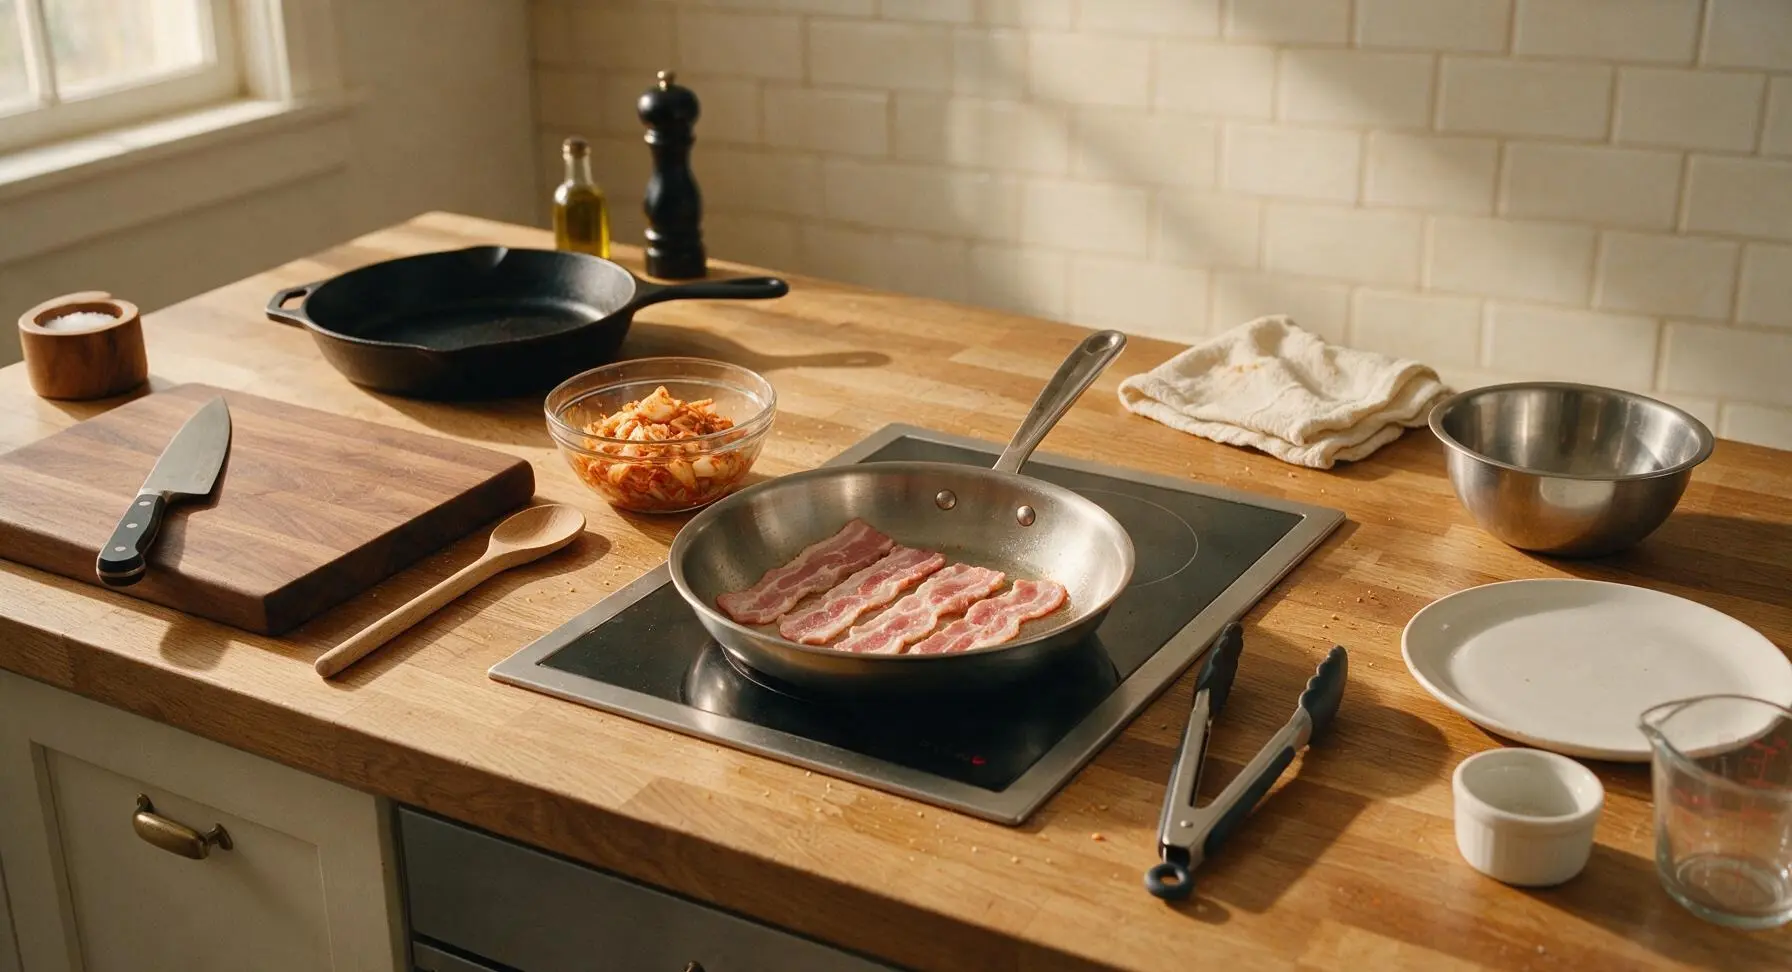
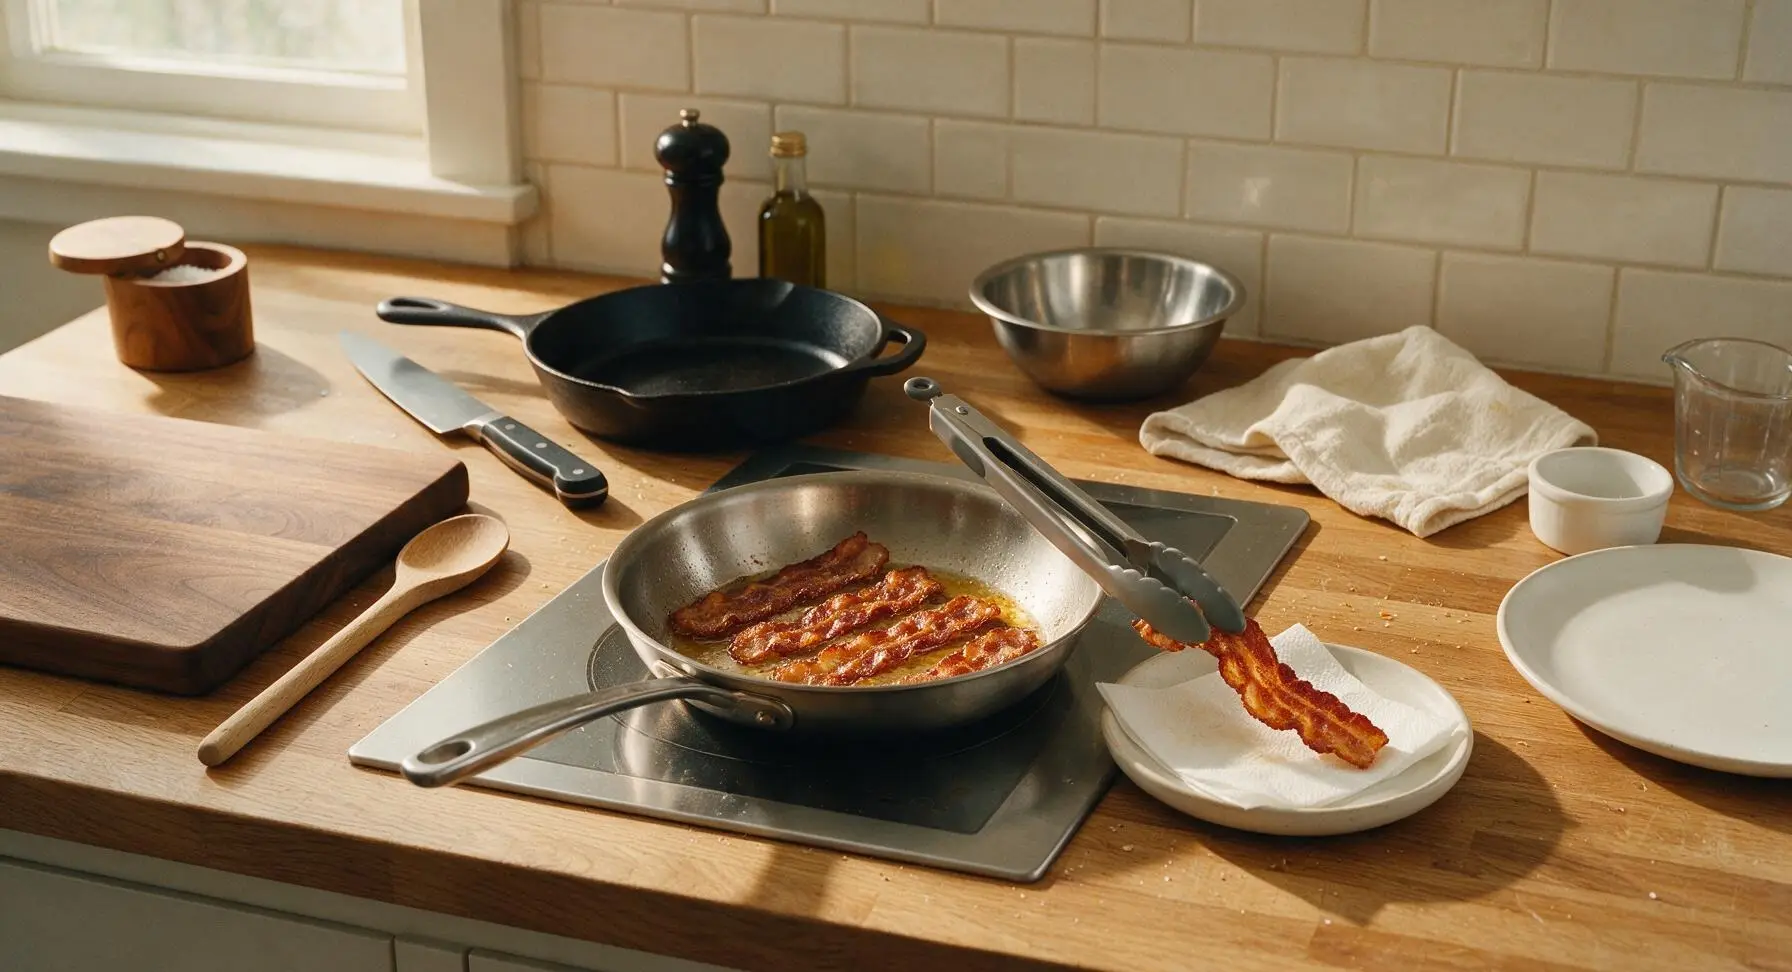
Place the 20cm small stainless steel frying pan on the flush-mounted induction burner (center-back of counter) over medium heat (175C / 350F). Lay 4 strips of raw bacon in a single layer in the cold pan, then cook for 3 minutes per side, turning once with the silicone-tipped tongs, until deep golden and crisp (no soft, translucent fatty spots left). Transfer cooked bacon to the small matte white ceramic side plate lined with paper towel to drain excess fat; do not wipe out the pan, as residual bacon fat will be used to cook the kimchi.
Sauté Seasoned Kimchi
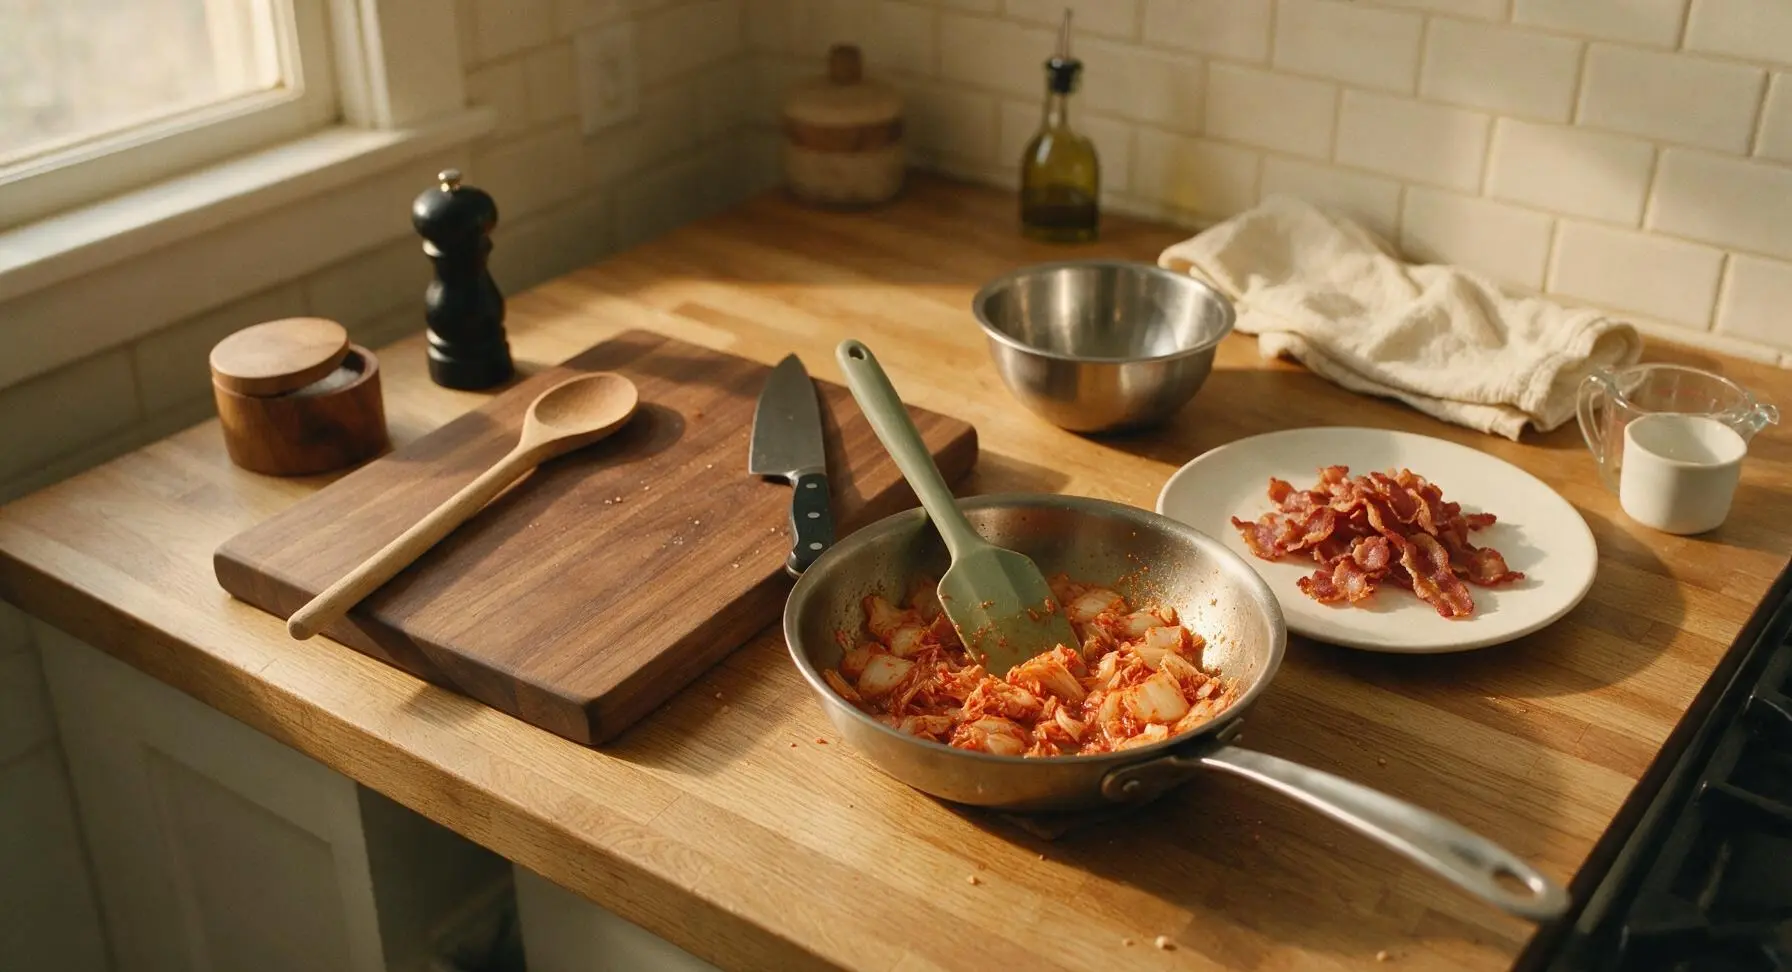
Reduce heat under the small stainless steel pan to medium-low (150C / 300F). Add the chopped sugar-tossed kimchi to the residual bacon fat in the pan, and sauté for 2 minutes, stirring occasionally with the small silicone spatula, until kimchi is slightly softened and fragrant, with a mellow, less sharp tang. Scrape sautéed kimchi back into the clear glass prep bowl, set aside. Wipe out the small pan with a paper towel and store it off the work surface.
Butter Bread Slices
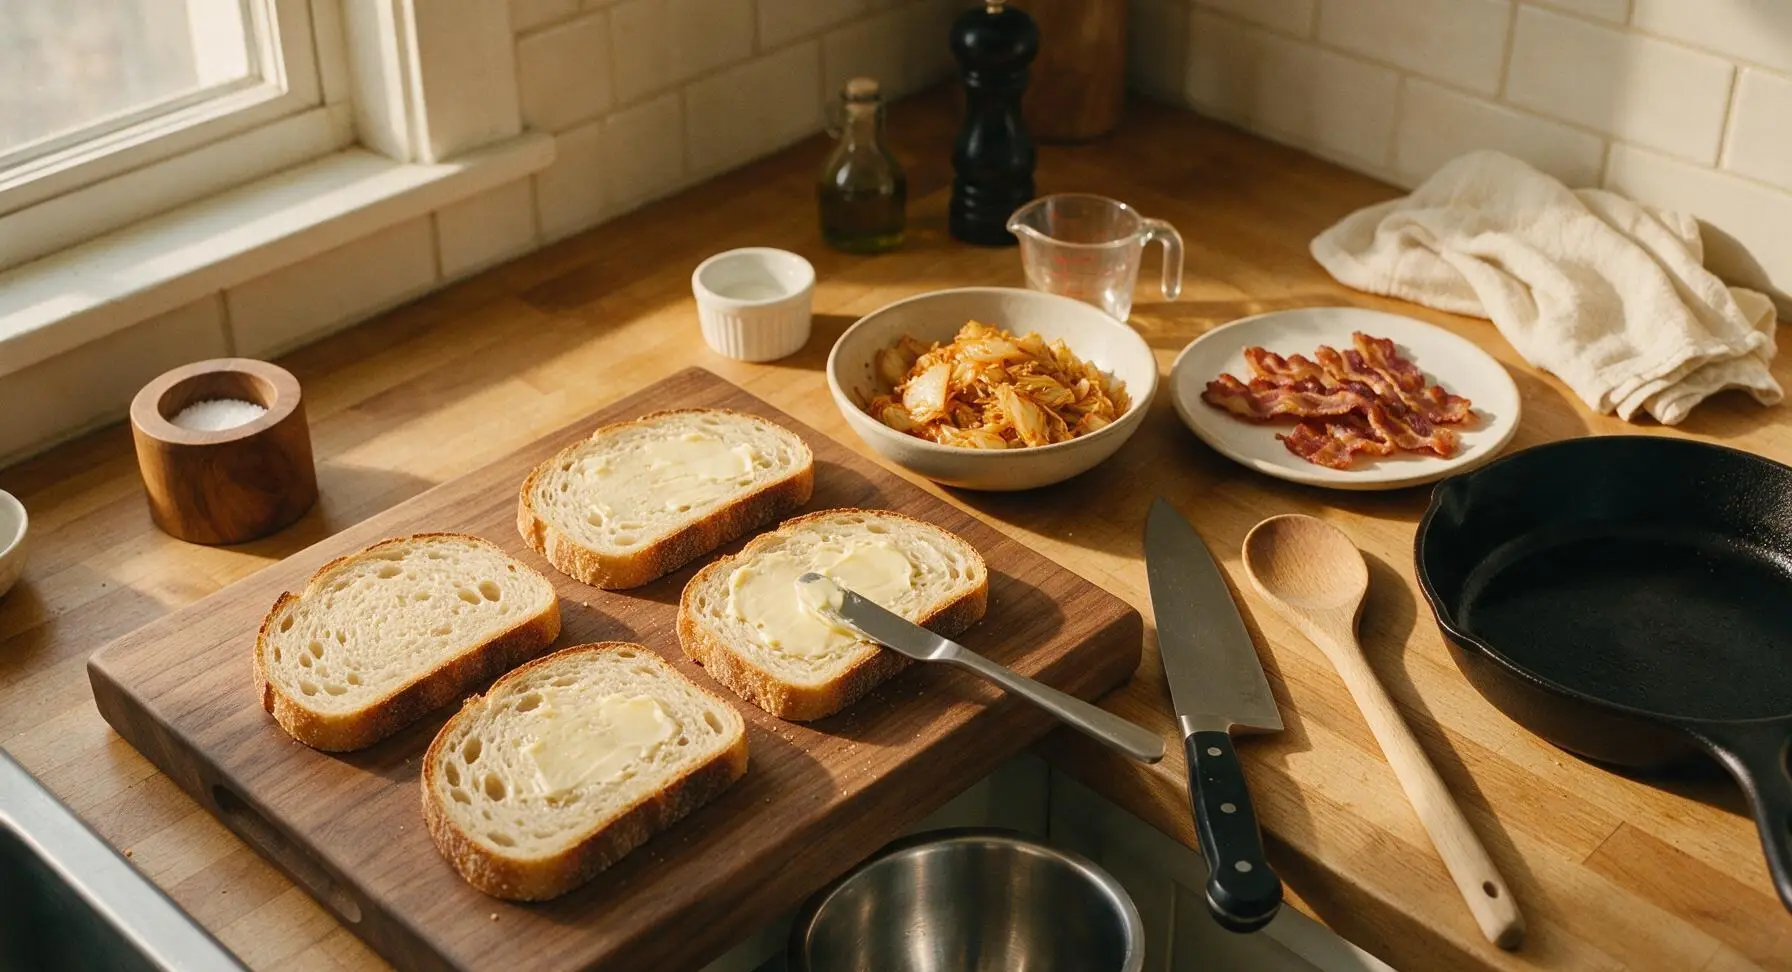
Lay all 4 slices of sourdough bread flat on the acacia wood cutting board. Use the stainless steel butter spreader to spread ½ tablespoon of softened unsalted butter evenly across one entire side of each bread slice, making sure to cover all the way to the crust edges for even, uniform crisping. The buttered sides will face outward, touching the griddle surface as the sandwiches cook.
Layer Sandwich Fillings
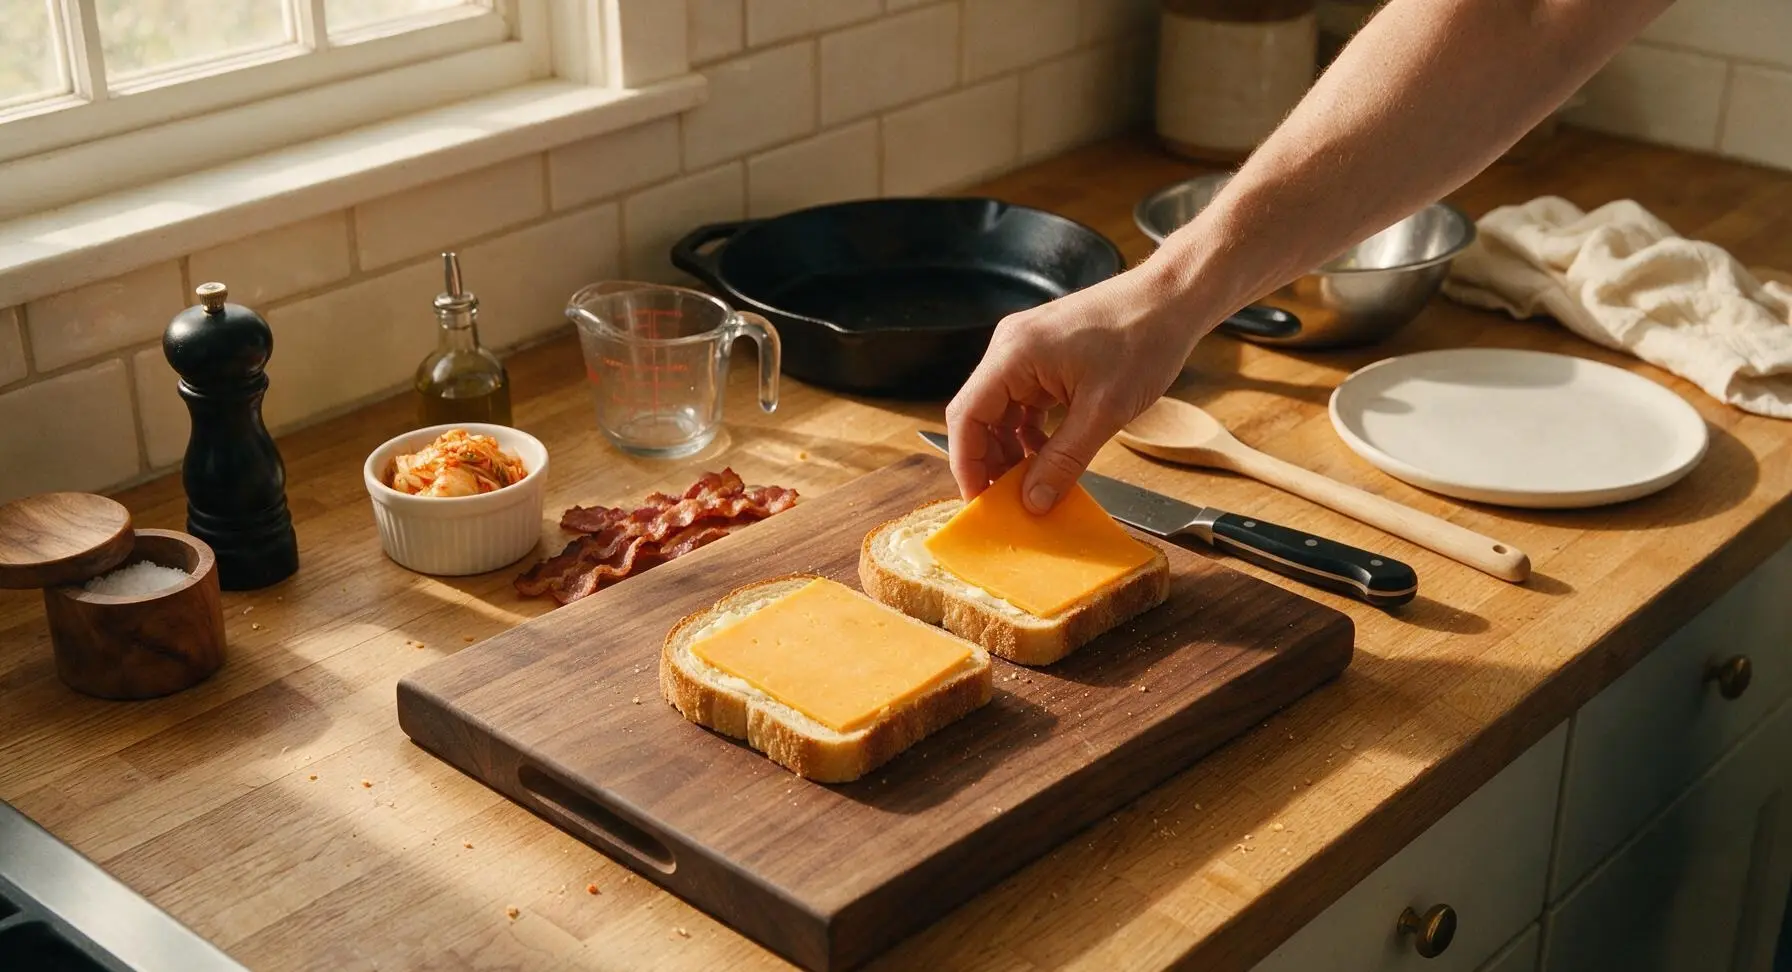
Flip two of the bread slices over so the buttered side faces down on the cutting board. Layer ingredients in this exact order to create a moisture barrier and prevent soggy bread: 1 slice of cheddar (covering the full surface of the bread), 2 strips of crispy bacon (broken in half to fit without hanging over edges), half of the sautéed kimchi spread in a thin, even layer, 1 final slice of cheddar covering the kimchi. Top each stack with the remaining two bread slices, buttered side facing up. Press each sandwich down firmly with the palm of your hand to compact layers slightly so fillings do not slide while cooking.
Grill Until Golden Gooey
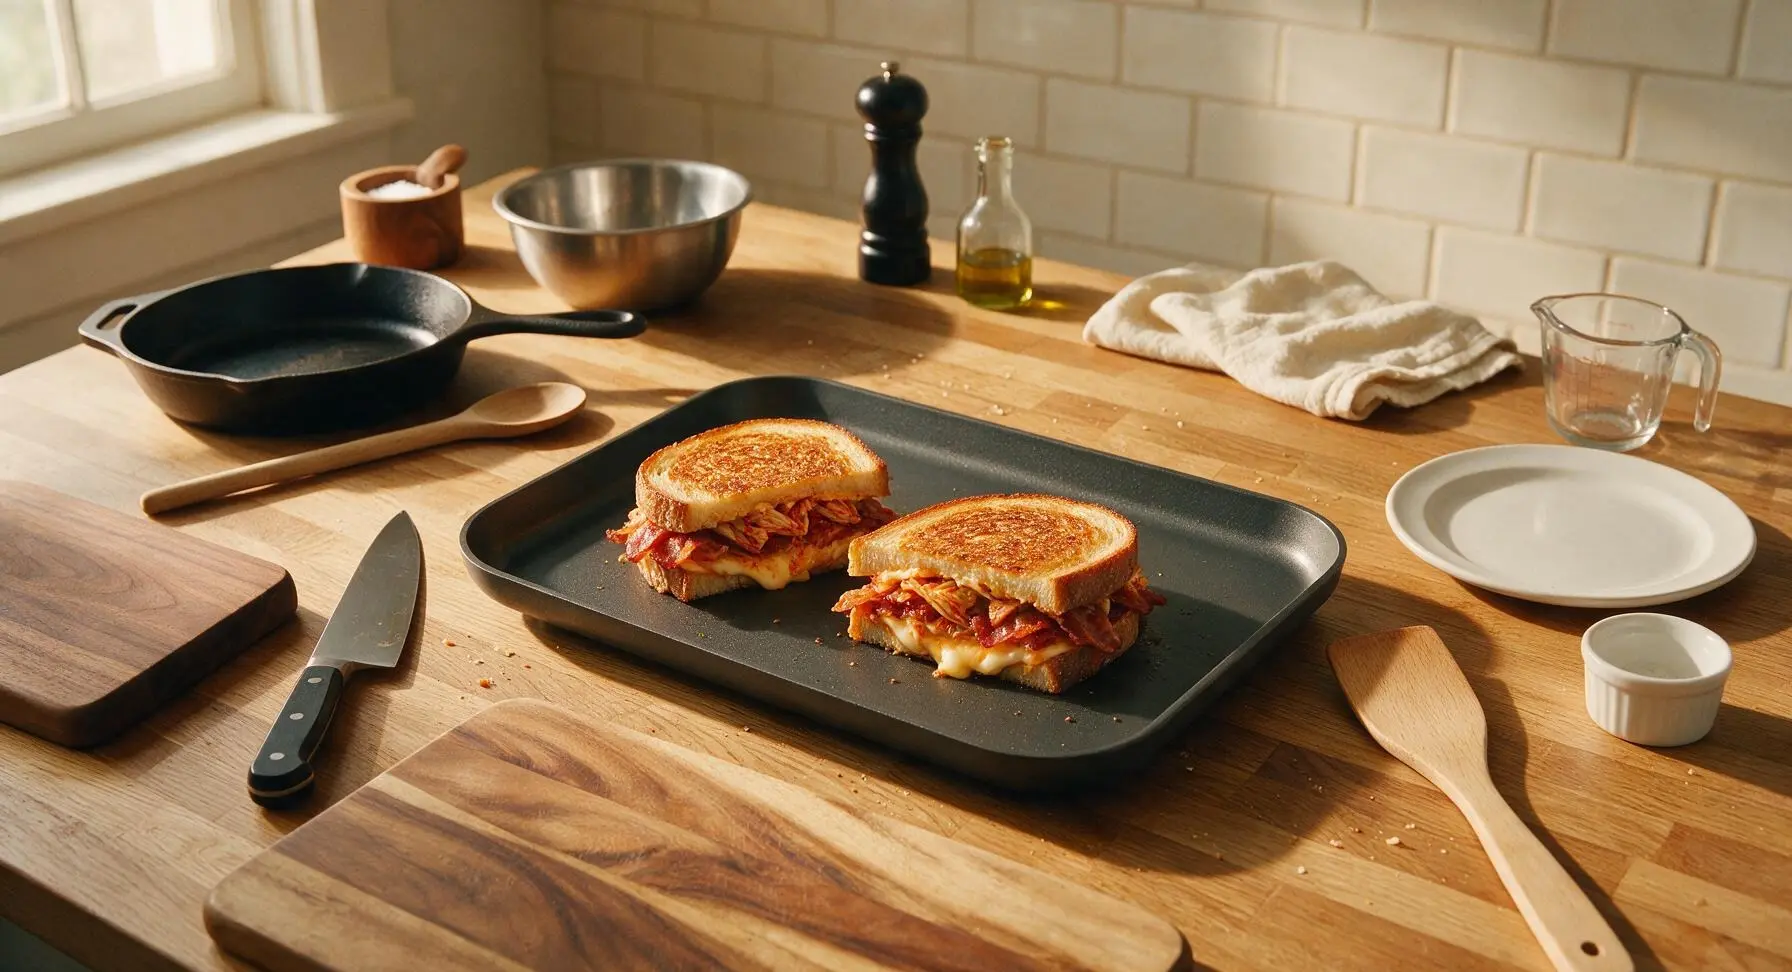
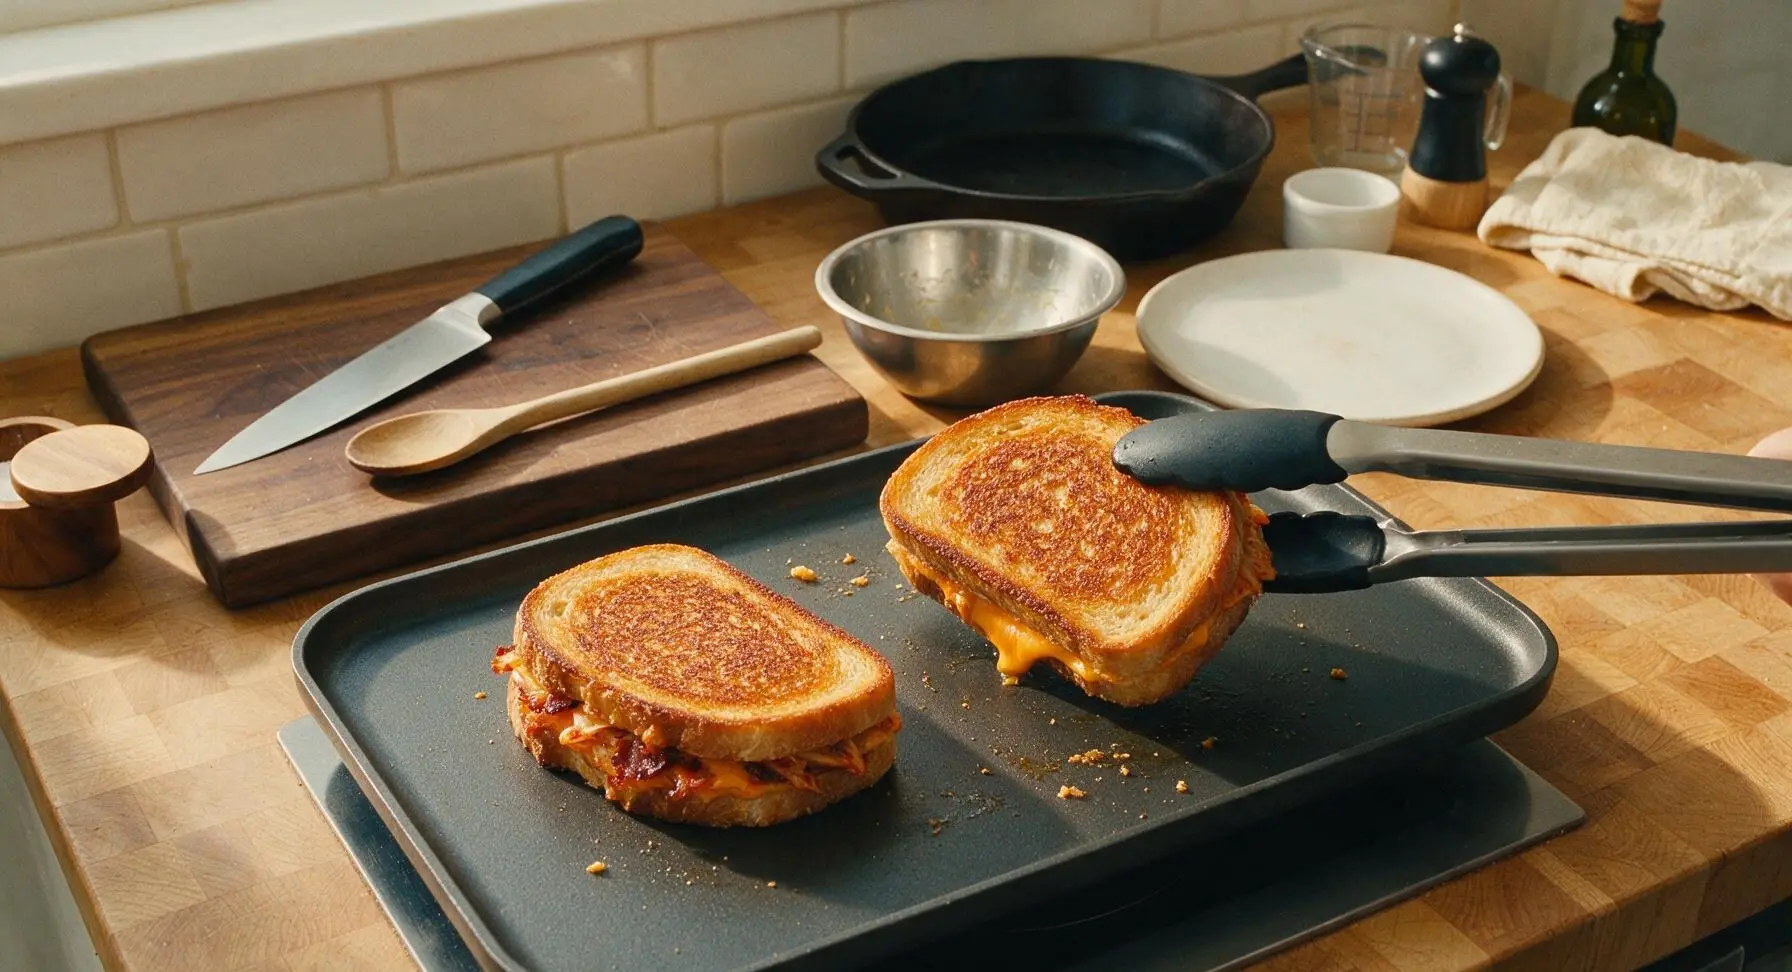
Place the 30cm matte charcoal non-stick griddle pan on the center induction burner over medium-low heat (160C / 320F). Carefully transfer both assembled sandwiches to the dry griddle (no extra butter is needed, as the bread is pre-buttered). Cook for 3-4 minutes on the first side, pressing gently every minute with the silicone spatula, until the bottom bread is deep even golden brown and the bottom cheese layer starts to melt and bubble at the edges. Use the tongs to flip sandwiches carefully, then cook another 3-4 minutes on the second side, until the second side is equally golden and all cheese is fully melted, with small amounts of oozing cheese visible at the sandwich seams. Do not cook on high heat, as this will burn the bread crust before the cheese melts through.
Rest, Slice, and Plate
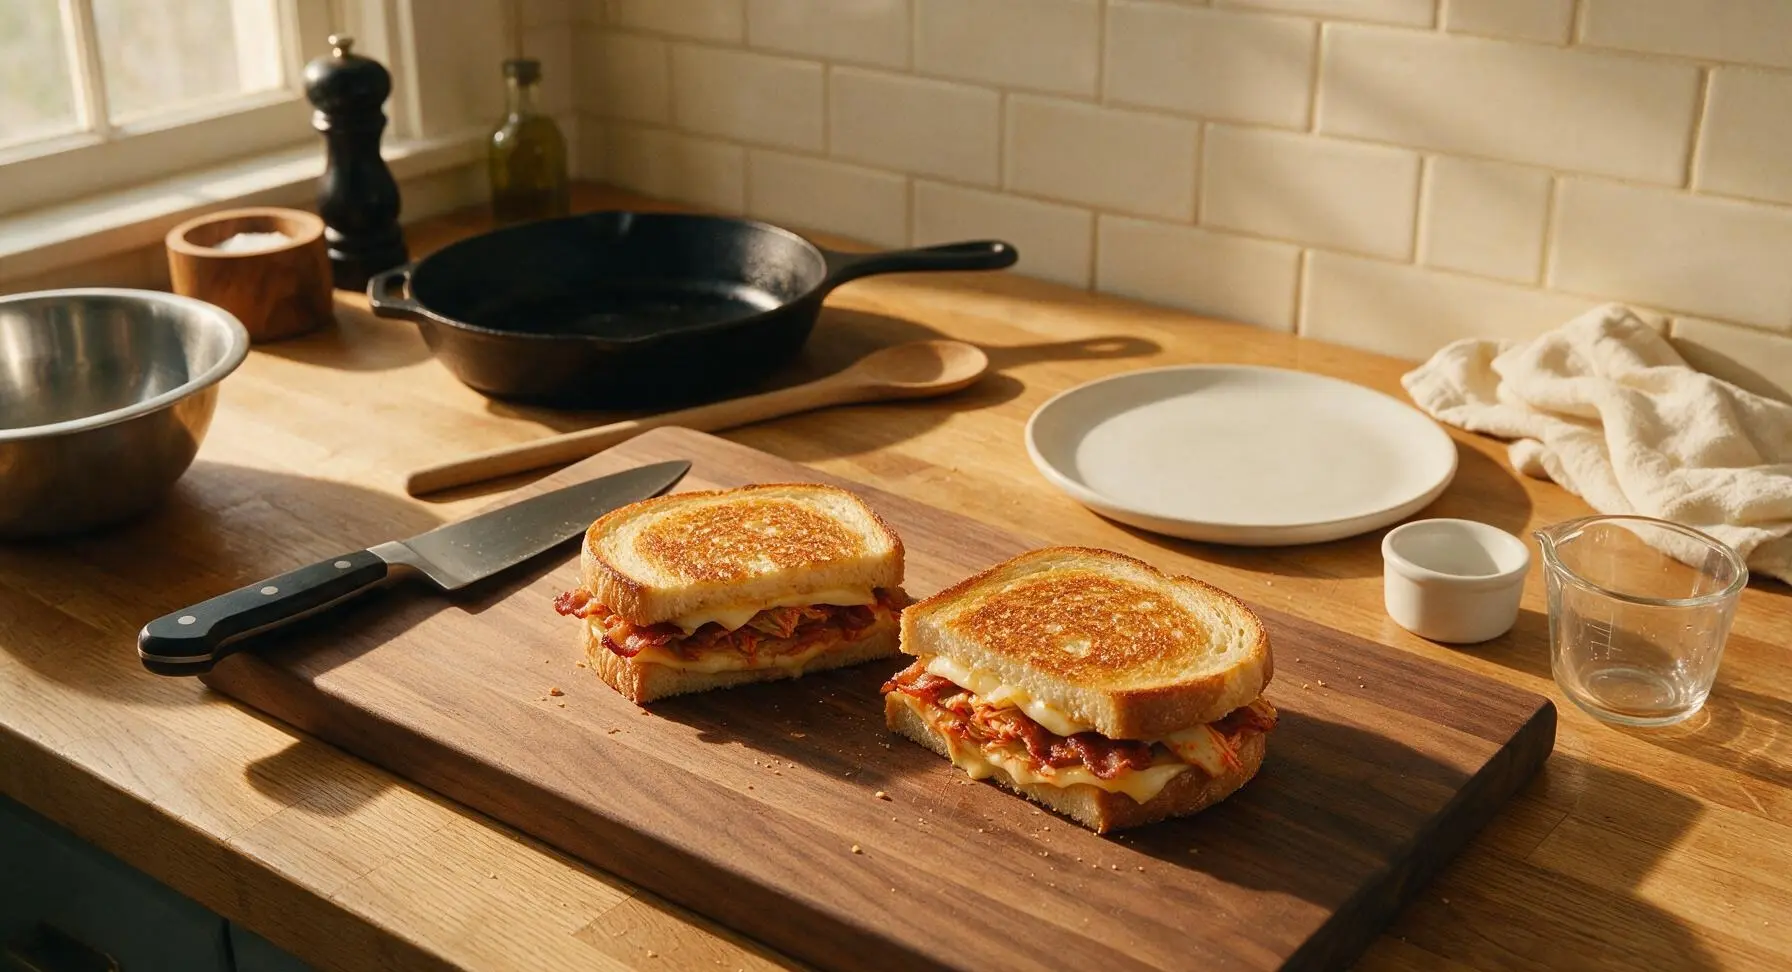
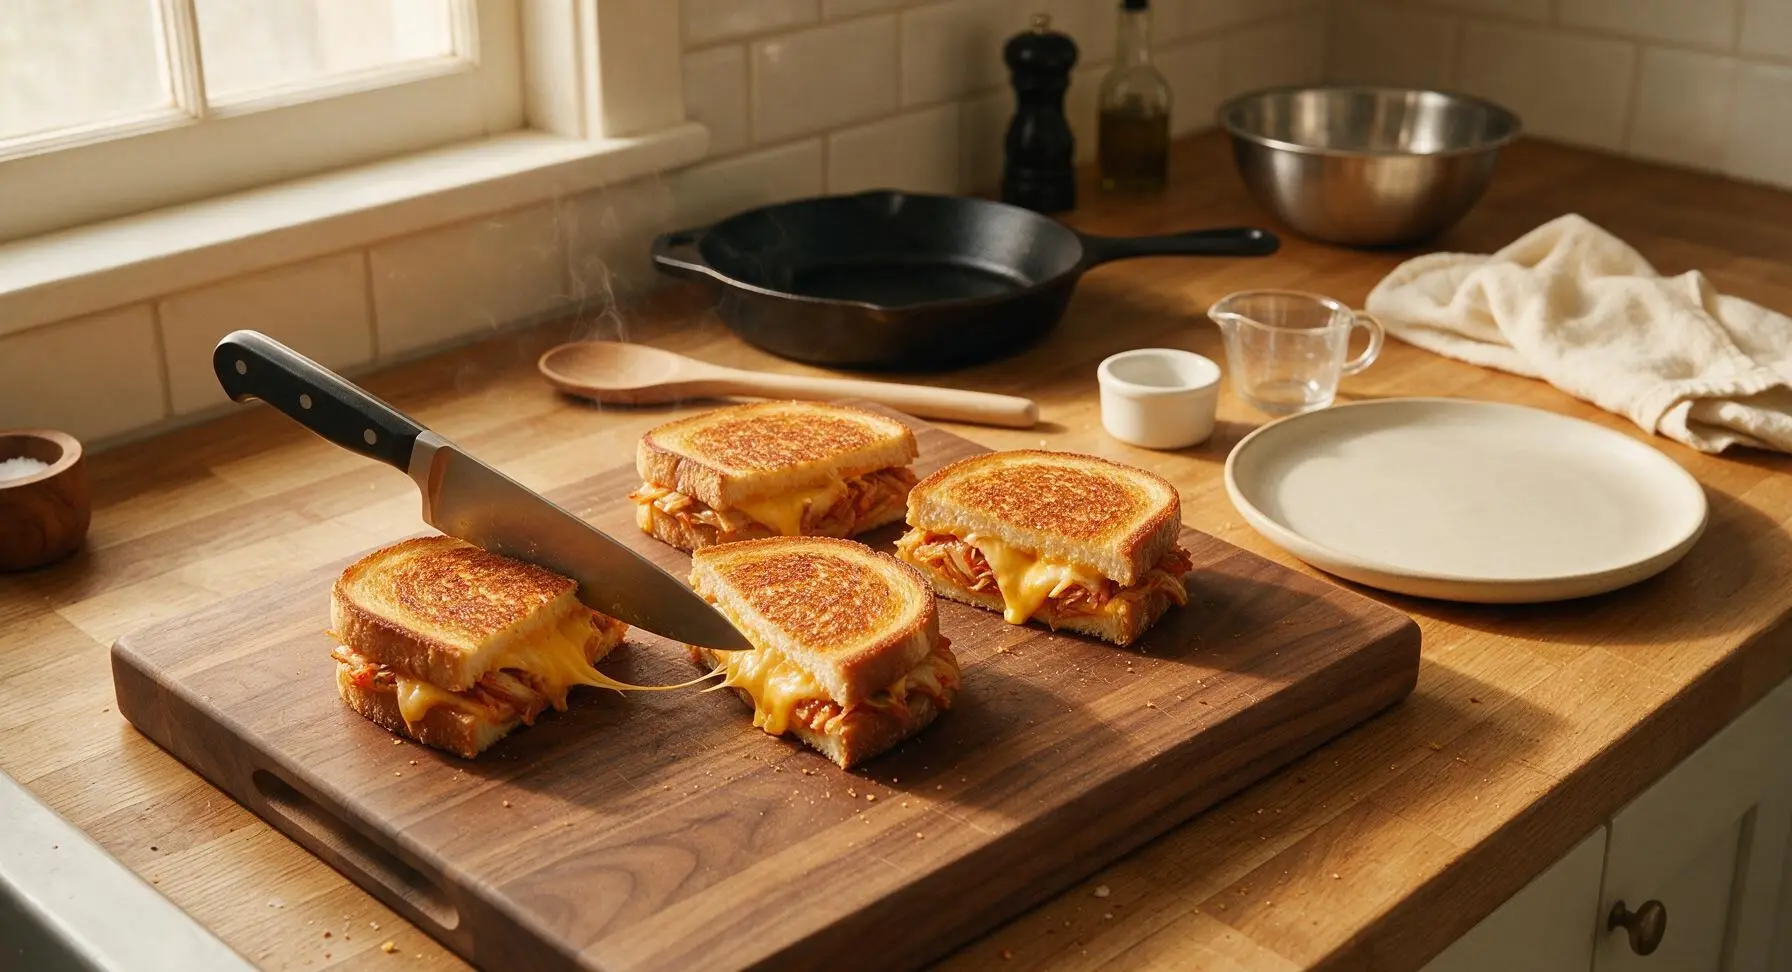
Transfer cooked grilled cheeses from the griddle to the acacia wood cutting board, and let rest for 1 minute to allow cheese to set slightly (this prevents all the cheese from sliding out when you cut). Use the chef knife to cut each sandwich diagonally into two triangular halves, wiping the knife blade between cuts for clean edges. Arrange the cut halves slightly offset on the matte cream ceramic dinner plate, and garnish with a tiny pinch of thinly sliced scallion greens from the bunch on the counter, if desired.
Tips
2.Use room-temperature cheese and don’t rush cooking on high heat: Cold cheese will not fully melt by the time the bread is golden brown, leading to burnt crusts and solid cheese centers; medium-low heat ensures even toasting and smooth, gooey cheese.
3.Let the cooked sandwich rest for 1 full minute before slicing: This short rest allows melted cheese to set slightly, so it doesn’t gush out the sides when you cut, and gives the crust time to crisp up perfectly instead of being soft from trapped steam.






OMG y’all, this kimchi bacon grilled cheese is an absolute GAME CHANGER. I made it for my kids’ after-school snack yesterday and they begged me to make it again for dinner tonight! The tang of the kimchi cuts through the rich cheese and salty bacon so perfectly, I didn’t even change a single thing. 10/10, will be adding this to our weekly rotation.
Bro, this is the easiest late-night meal I’ve ever made. 14 minutes total? I didn’t even have time to finish half my show episode while cooking. Used that cheap pre-shredded mozzarella I had in the fridge and some frozen bacon I defrosted in the microwave, still came out SO good. Perfect for when you don’t feel like dropping $20 on Uber Eats.
Made this on homemade sourdough for my neighborhood potluck last weekend and people were hovering over the platter asking for the recipe before I even set it down! The combination sounds a little weird on paper but trust me, it works. I used extra sharp cheddar instead of American and it was chef’s kiss.
I was so skeptical my 8 year old would turn his nose up at this because of the kimchi, but he ate two whole halves and asked if we could pack the last one for his lunch tomorrow. Win for mom! I did cut the kimchi up extra fine so he wouldn’t notice the big cabbage chunks, worked like a charm.
This slaps. I added extra kimchi (the extra fermented kind that’s super tangy) and a little drizzle of hot honey on the inside, and I think I found my new favorite sandwich. Don’t skip buttering the outside of the bread, that crispy crust is non-negotiable.
Threw these on the flat top at our last tailgate and they went faster than the burgers. Cooked the bacon on the griddle first, then assembled the sandwiches right in the leftover bacon grease — no extra butter needed. Absolute crowd pleaser, will be making these for every game day from now on.
Wait, has anyone tried prepping these ahead for the week? I usually make a batch of grilled cheese on Sunday for quick work lunches but I’m worried the kimchi will make the bread soggy if I store them in the fridge.
10/10 for ease, 10/10 for flavor. I didn’t even have to go to the grocery store — I used the leftover kimchi from my takeout order a couple nights back, the last couple slices of bacon in the pack, and that random block of pepper jack I had in the cheese drawer. No fancy ingredients, zero stress, tasted like a restaurant sandwich.
Made this for brunch today with a side of creamy tomato soup and I’m never going back to regular grilled cheese. The salty, tangy, creamy combo is made for dipping. I used a mix of gouda and sharp cheddar because that’s what I had, and it was so decadent.
As someone who’s spent 40 years in professional kitchens, I’m always a little skeptical of trendy ‘twists’ on classic recipes, but this one is executed perfectly. The balance of flavors is spot on, the cook time is totally accurate, and it’s approachable for even brand new cooks. Great job on this one, team.
Really tasty, but I found that 14 minutes was a little long for my gas stovetop — my first sandwich got a little too dark on the outside after 7 minutes per side. Next time I’ll do medium-low heat for 5 minutes per side and it’ll be perfect.
Made these for our post-soccer practice team dinner last night and even the teenagers were raving! I cut each sandwich into little triangles so they were easy to grab on the go, and paired them with fruit cups and potato chips. Total home run, zero leftovers.
Wait, is it weird that I added a slice of American and a slice of provolone? I couldn’t pick which cheese to use and it came out so melty and perfect. Don’t sleep on the kimchi + bacon combo, people. It sounds weird until you take that first crispy, cheesy bite.
Used gluten free sourdough for this and it turned out just as crispy and delicious as the regular version! I was worried the GF bread would fall apart when I flipped it, but toasting it in a little butter on both sides first helped it hold up perfectly. So happy I can enjoy this fun twist with my gluten allergy.