
Lay's Wavy Chile Queso Hash Brown Casserole
intro
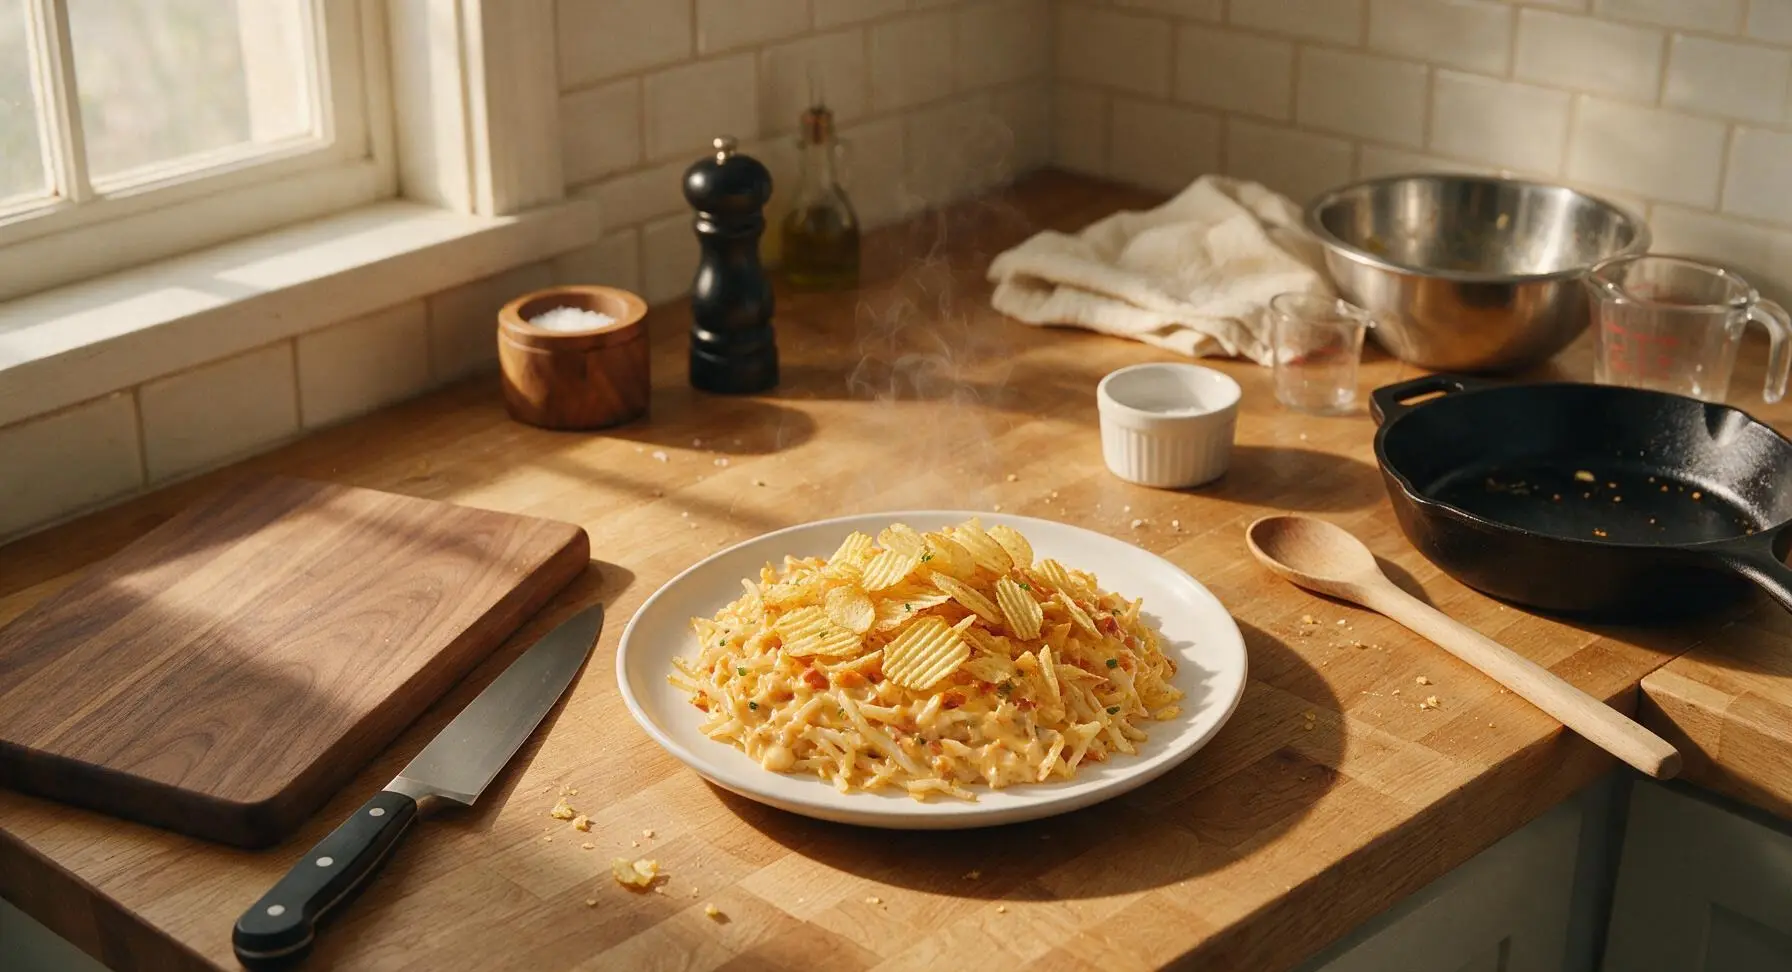
Creamy, zesty chile queso tangled with tender shredded hash browns, topped with crunchy Lay's Wavy chips for a bold, shareable baked casserole that’s equal parts cozy and flavorful.
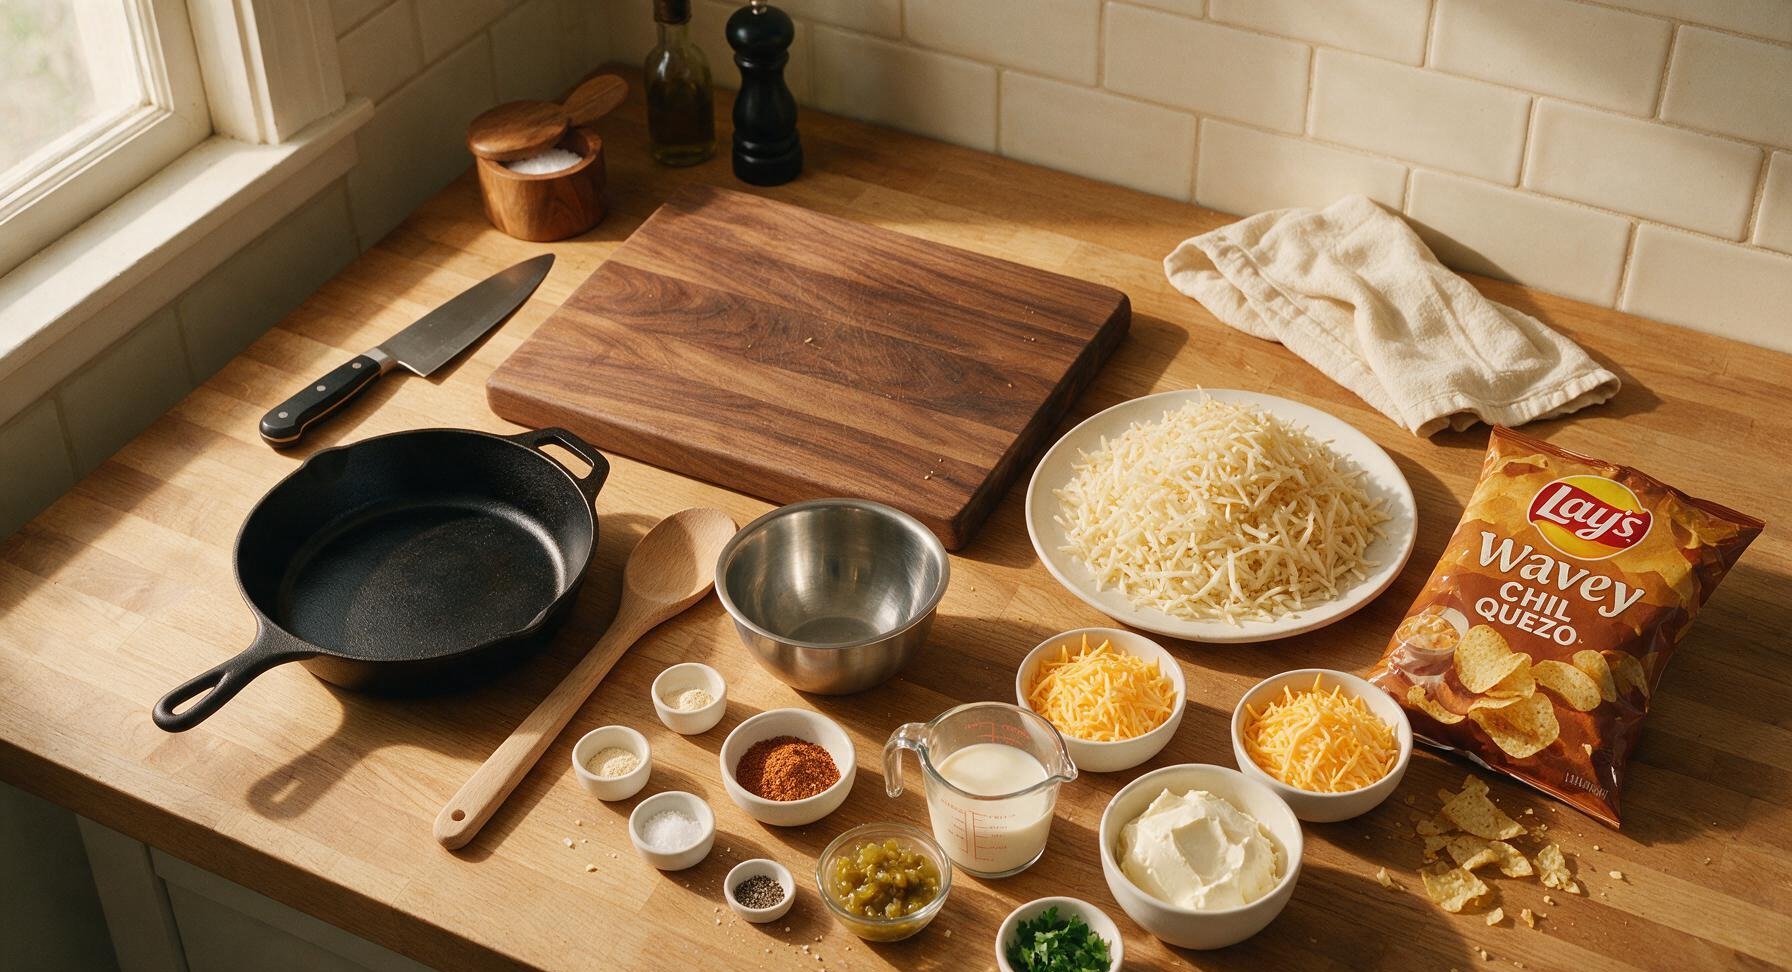
Ingredients
Steps
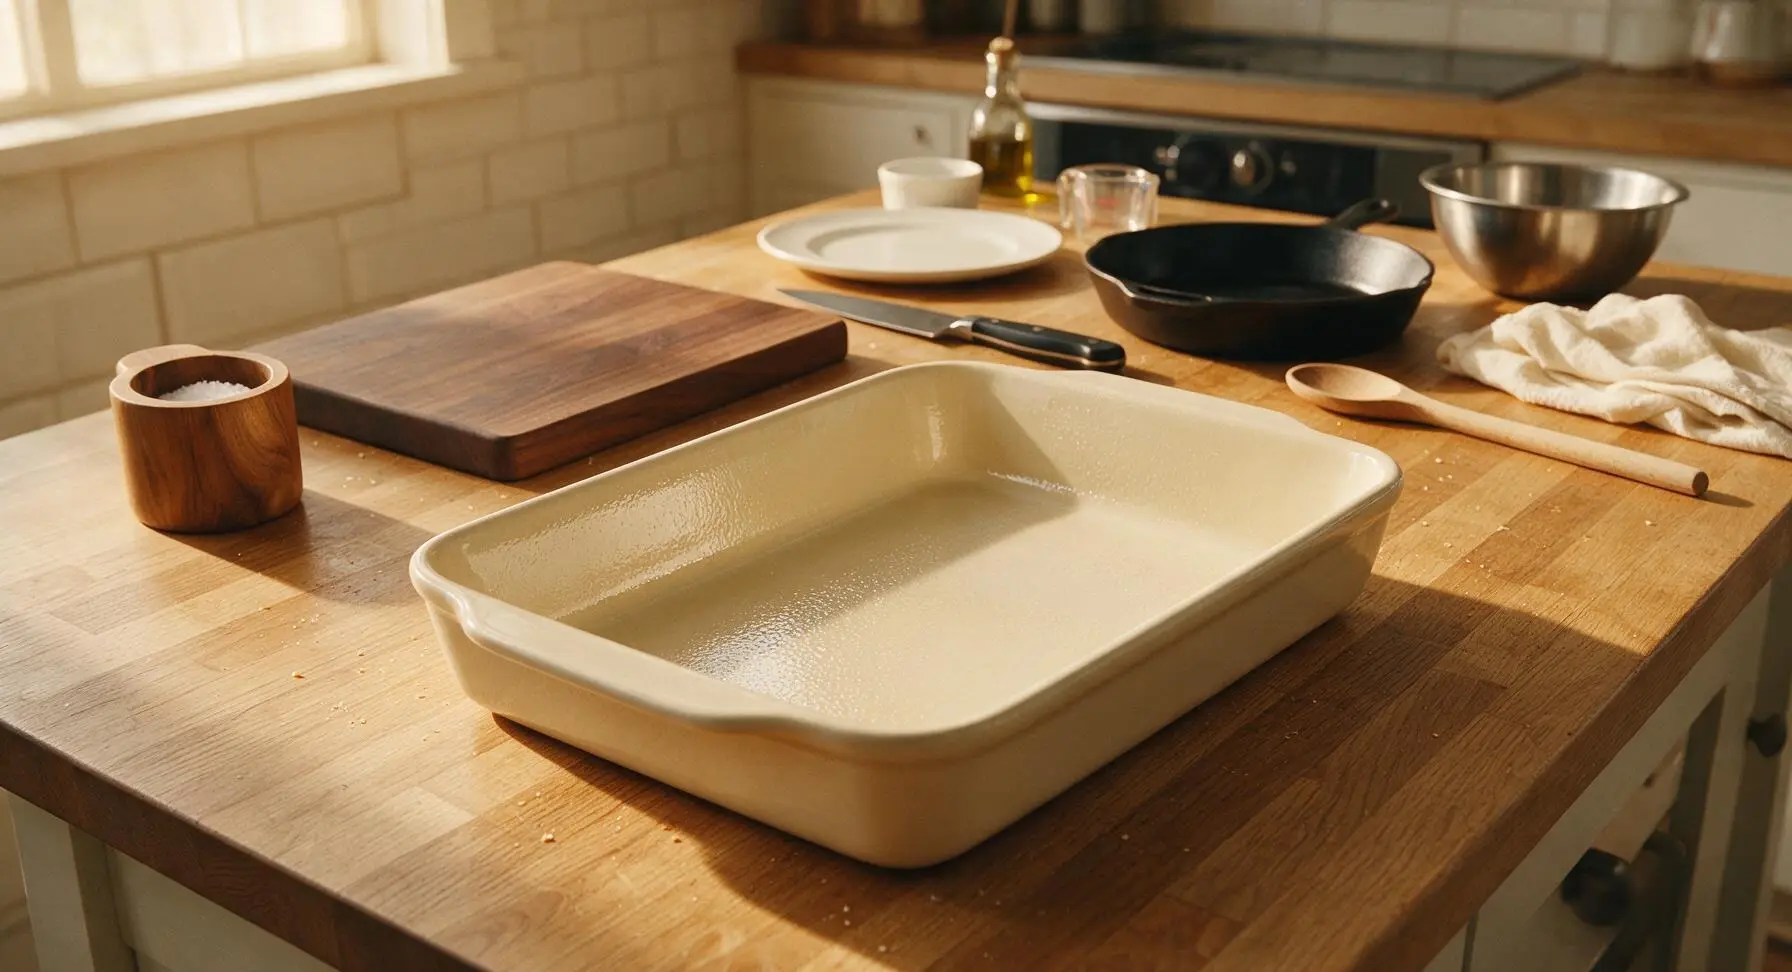
Preheat Oven, Grease Dish
Adjust oven rack to middle position, preheat oven to 190°C (375°F). Use a light coating of non-stick cooking spray or a thin pat of butter to grease the entire interior of the 9x13 inch matte cream ceramic baking dish, making sure to coat the corners and side walls fully to prevent sticking. Set the prepared dish on the counter.
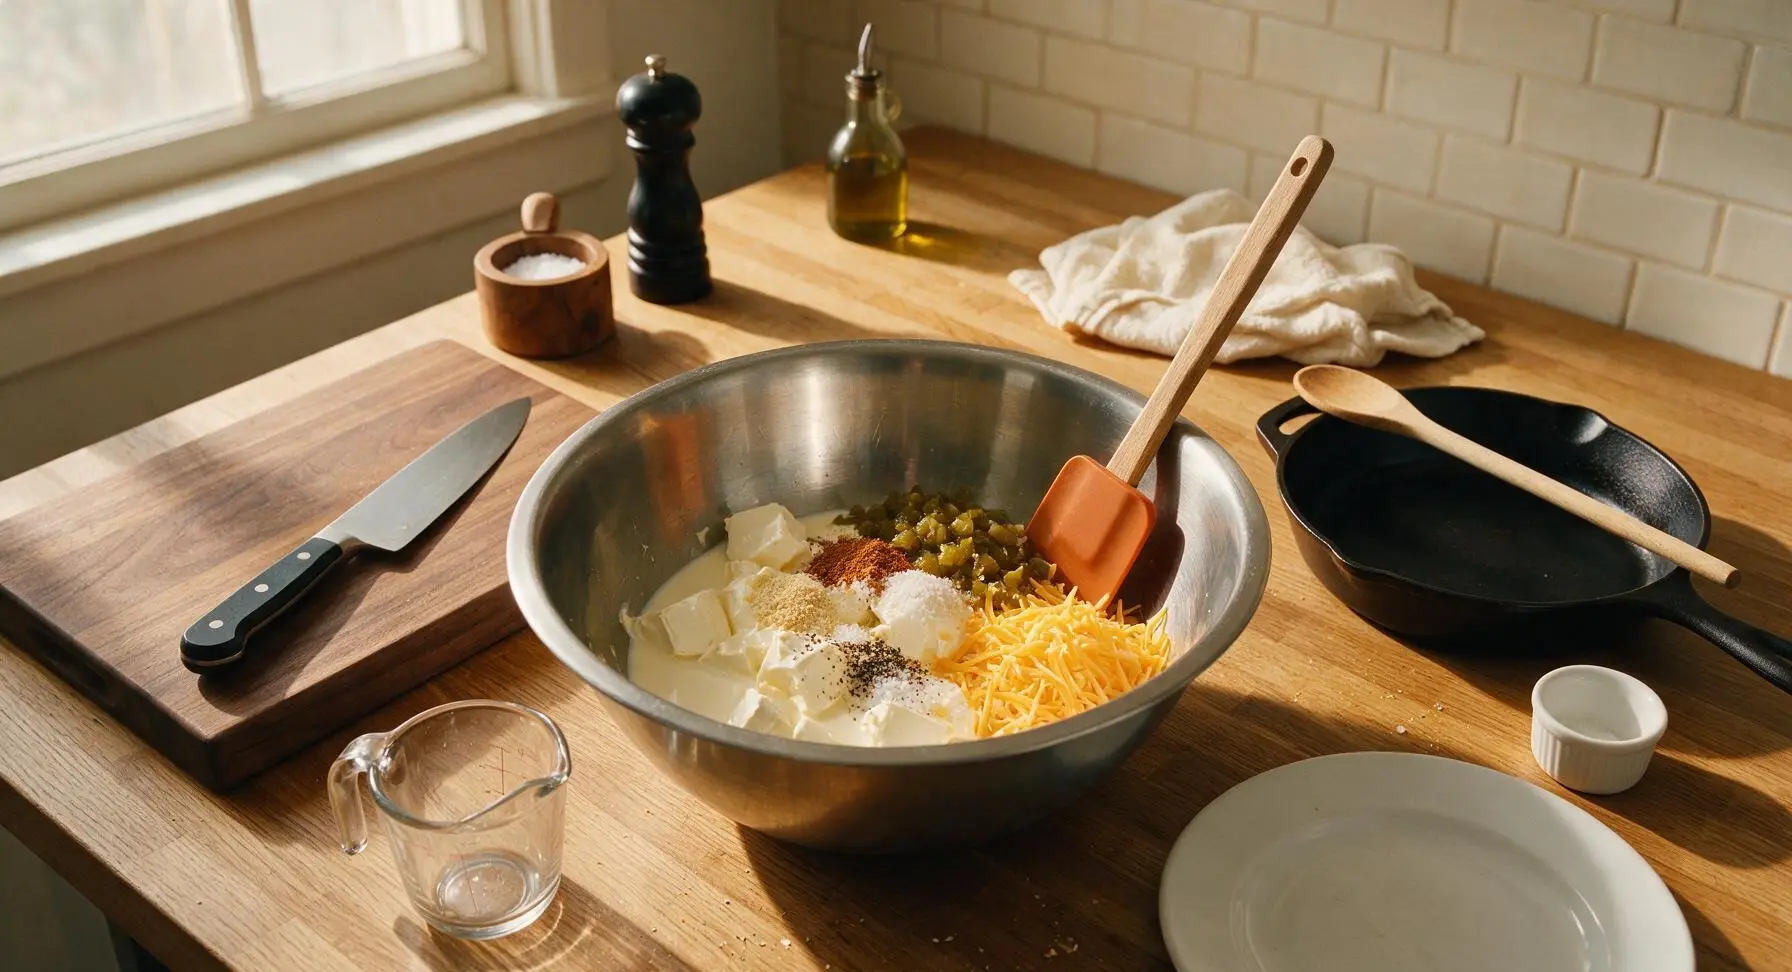
Mix Creamy Queso Base
In the large brushed stainless steel mixing bowl, combine softened cream cheese, evaporated milk, 170g (6oz) of the shredded sharp cheddar, undrained diced green chiles, taco seasoning, garlic powder, onion powder, kosher salt, and black pepper. Use the matte burnt orange silicone spatula to stir the mixture continuously for 2 minutes, until completely smooth with no remaining lumps of cream cheese.
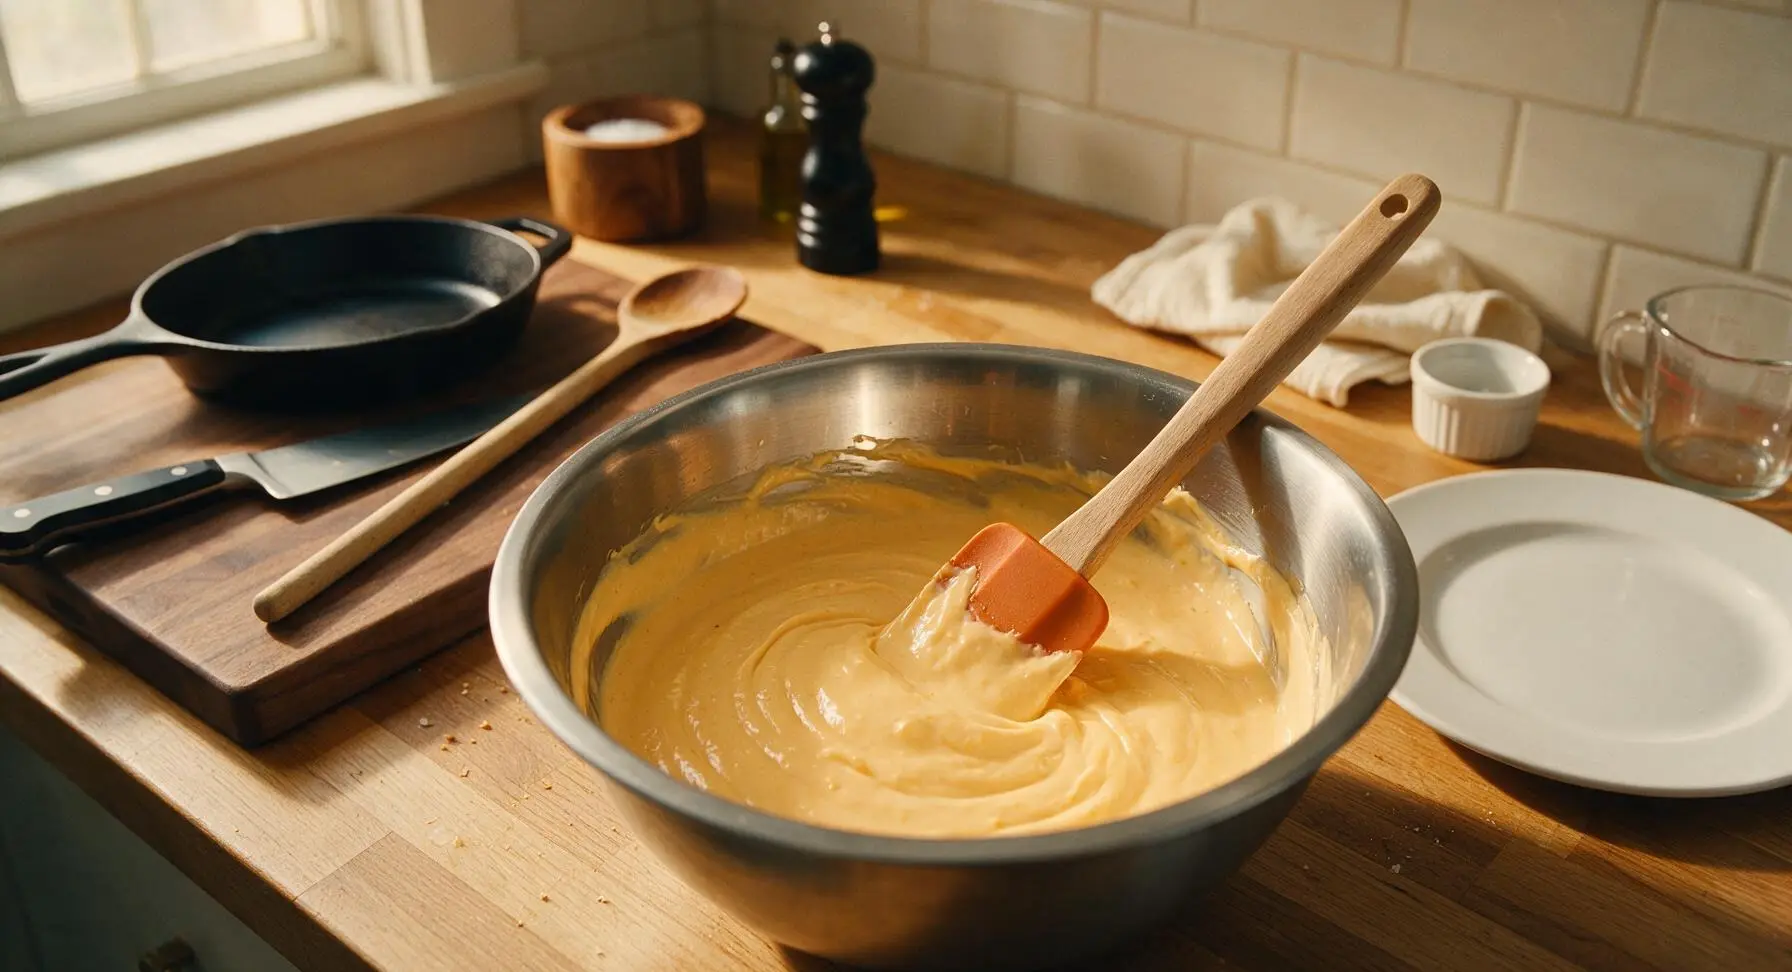
Fold in Shredded Hash Browns
Add the fully thawed, squeezed-dry shredded hash browns to the smooth queso base in the mixing bowl. Use the silicone spatula to gently fold the hash browns into the cheese mixture, lifting from the bottom of the bowl to turn the ingredients over, until every potato shred is evenly coated. Avoid mashing the hash browns to preserve their light, fluffy texture.
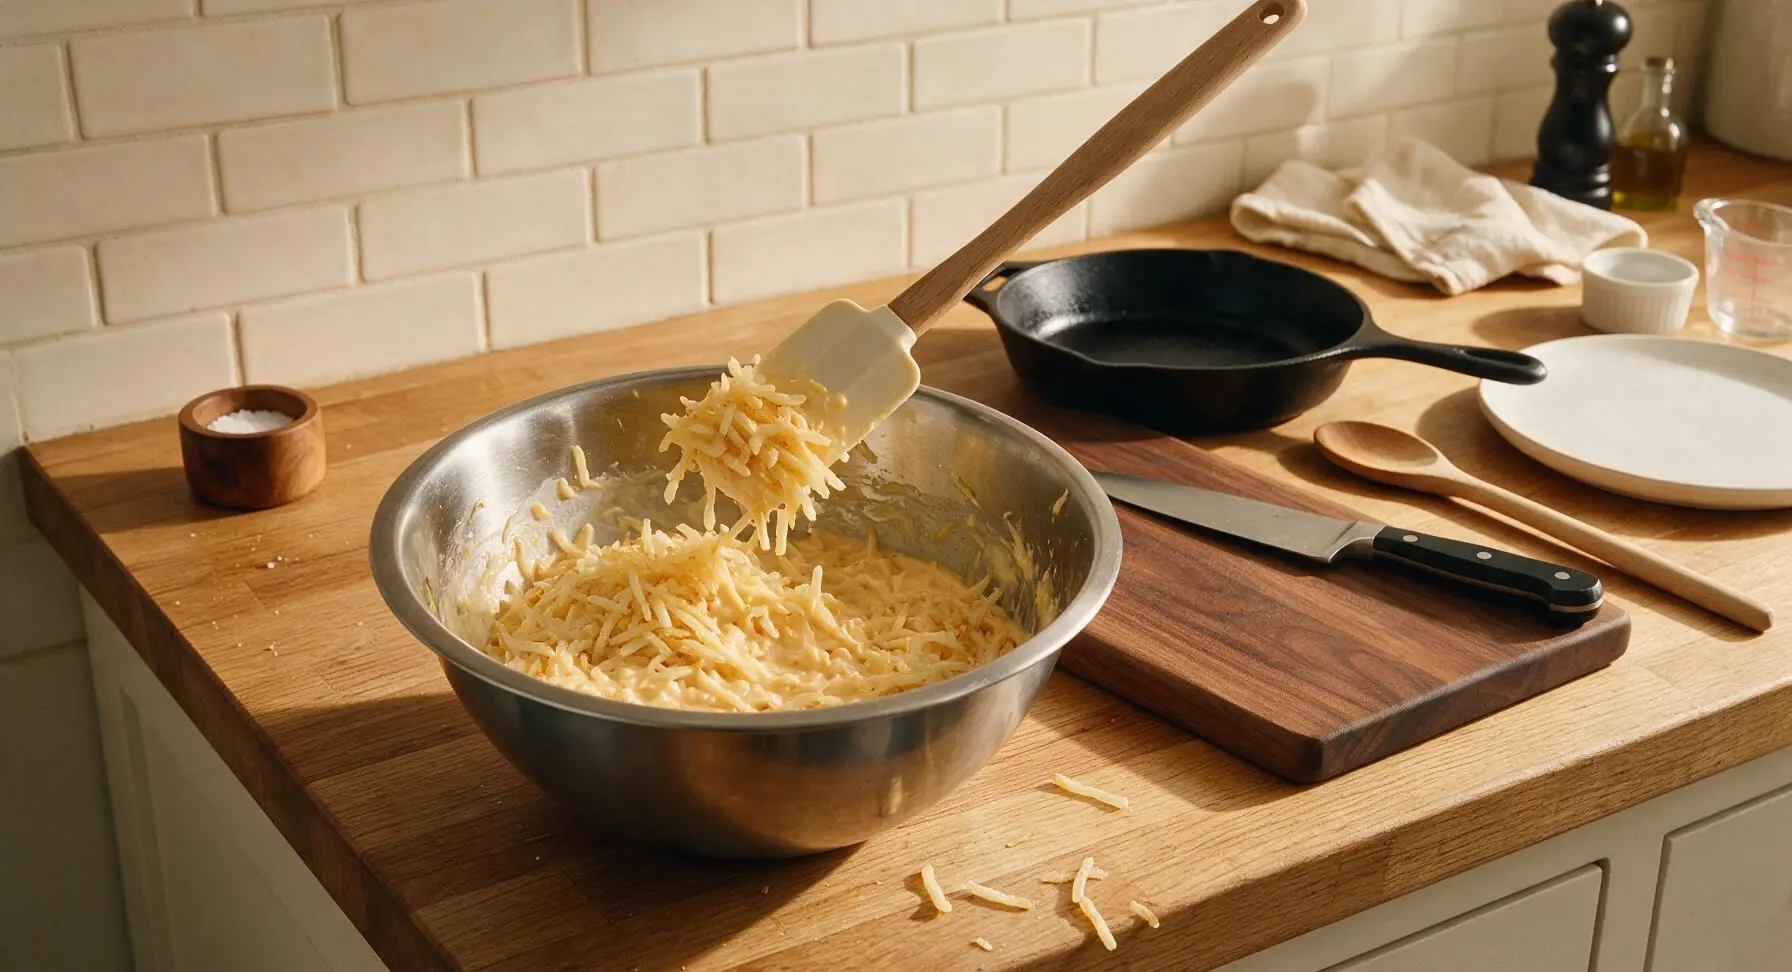
Transfer Casserole to Dish
Scrape the entire hash brown and queso mixture from the mixing bowl into the greased ceramic baking dish. Use the flat edge of the silicone spatula to spread the mixture into a uniform, flat layer across the dish, pressing gently to eliminate air pockets, leaving a 6mm (1/4 inch) gap at the top of the dish to accommodate the topping.
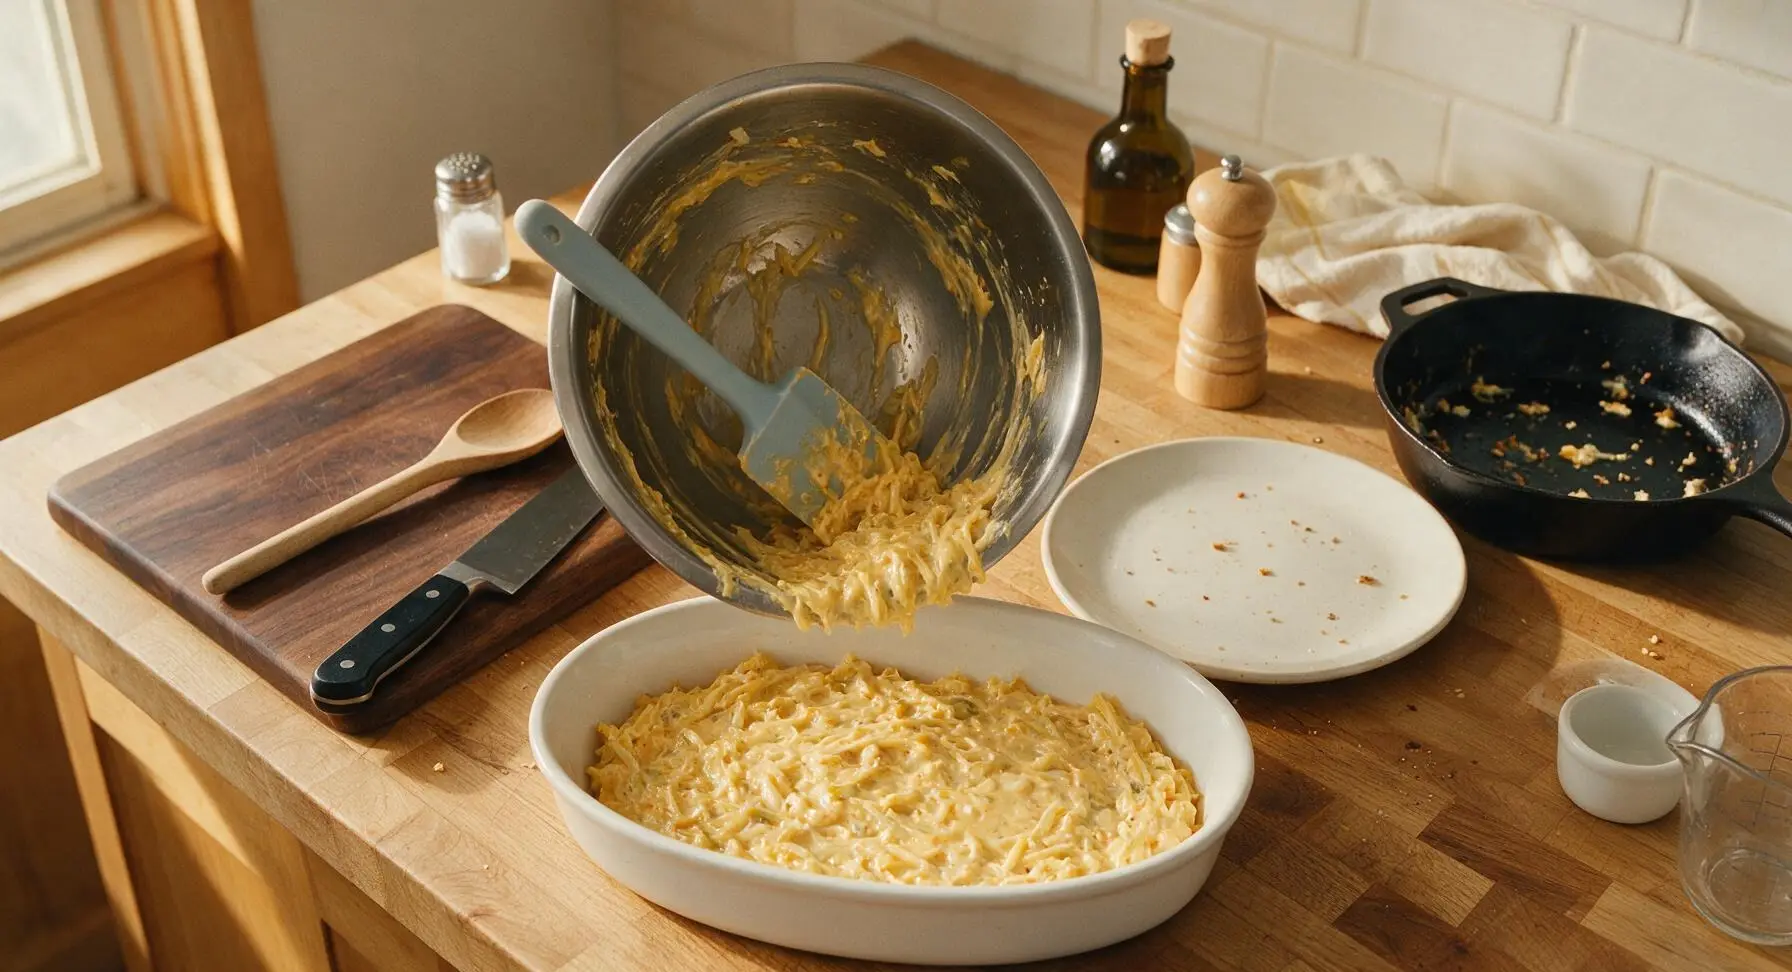
Top with Cheese and Chips
Sprinkle the remaining 55g (2oz) of shredded cheddar evenly across the top of the hash brown layer. Lightly crush 2/3 of the Lay's Wavy Chile Queso chips into 2.5cm (1 inch) pieces by hand, then scatter them evenly over the cheese layer. Tuck the remaining whole wavy chips upright across the top for extra crunch and visual texture.
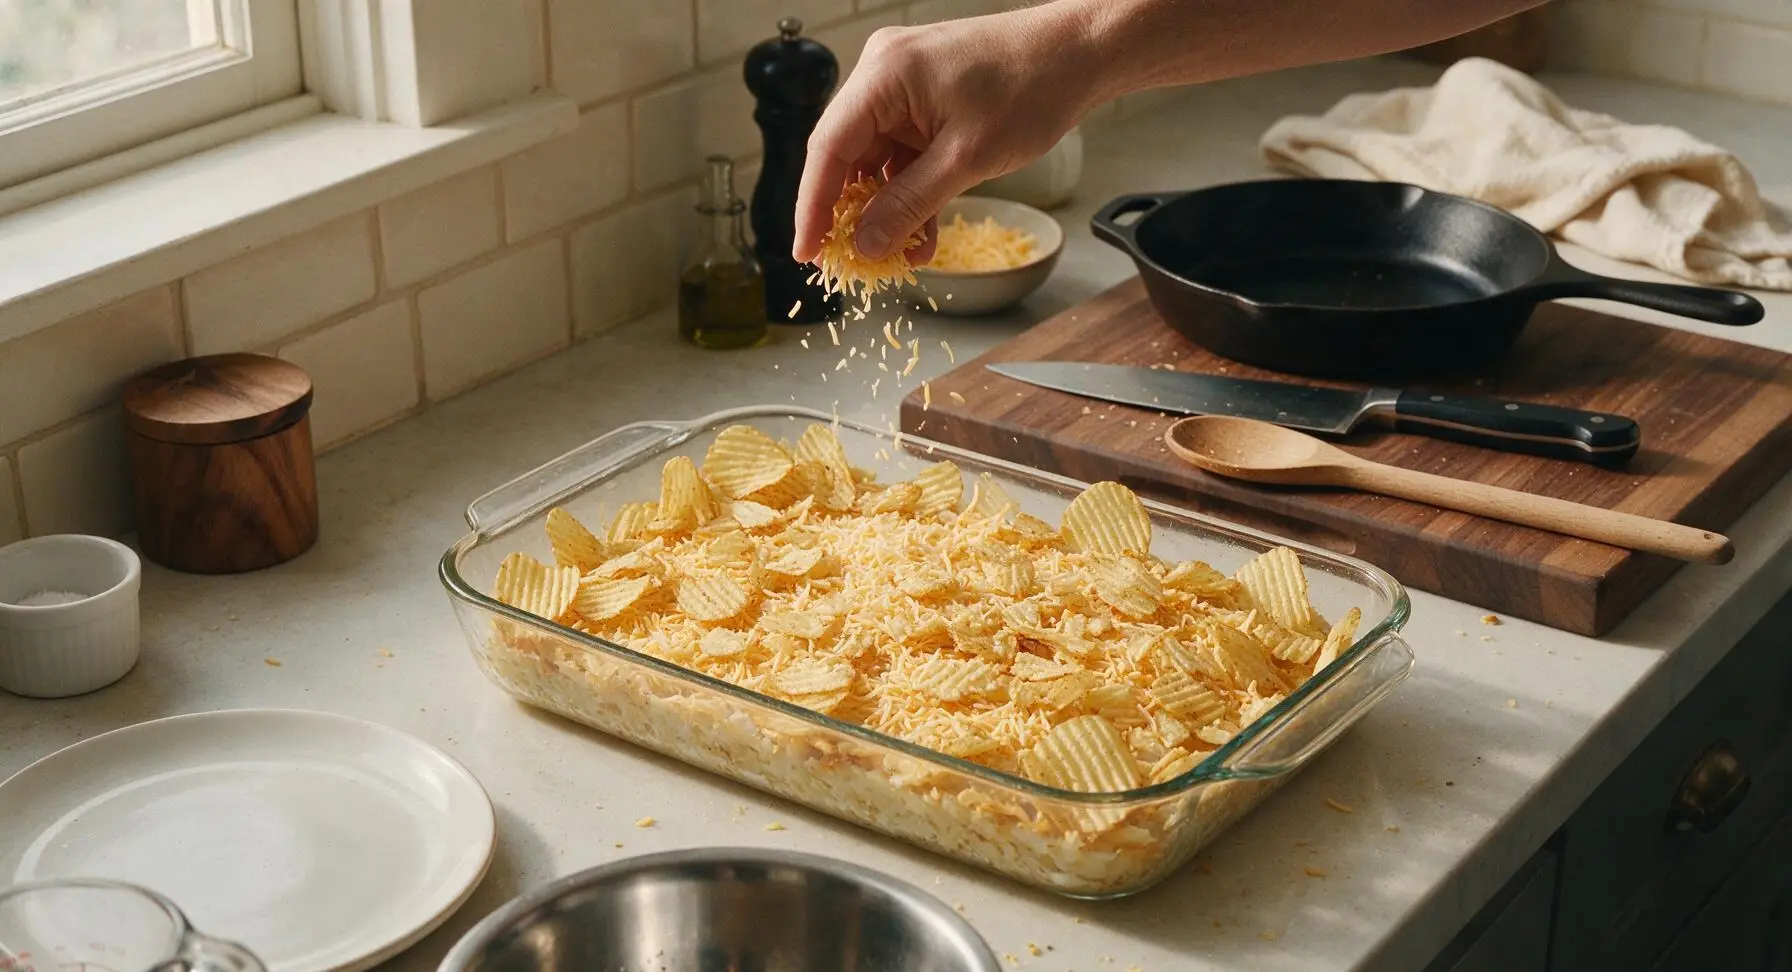
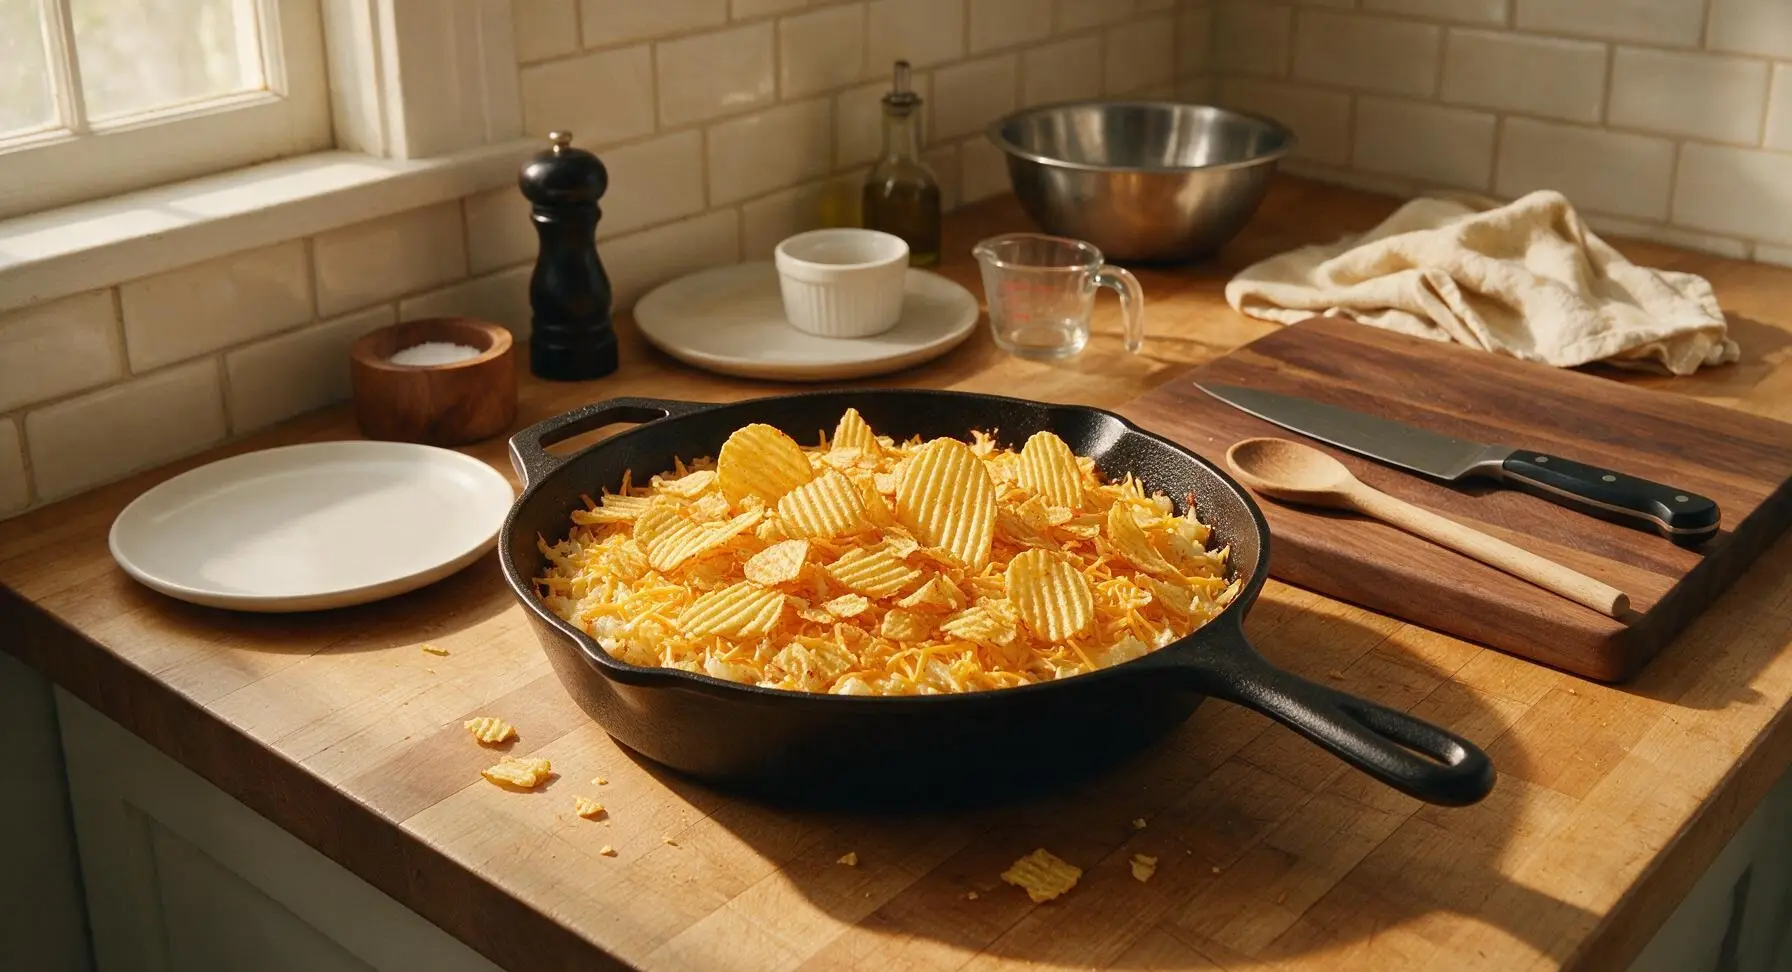
Bake Covered Until Set
Tightly cover the baking dish with a sheet of aluminum foil, crimping the edges around the dish rim to create a tight seal that traps steam. Place the dish on the middle oven rack, and bake for 35 minutes at 190°C (375°F), until the casserole is bubbling gently around the edges and the center is heated through.
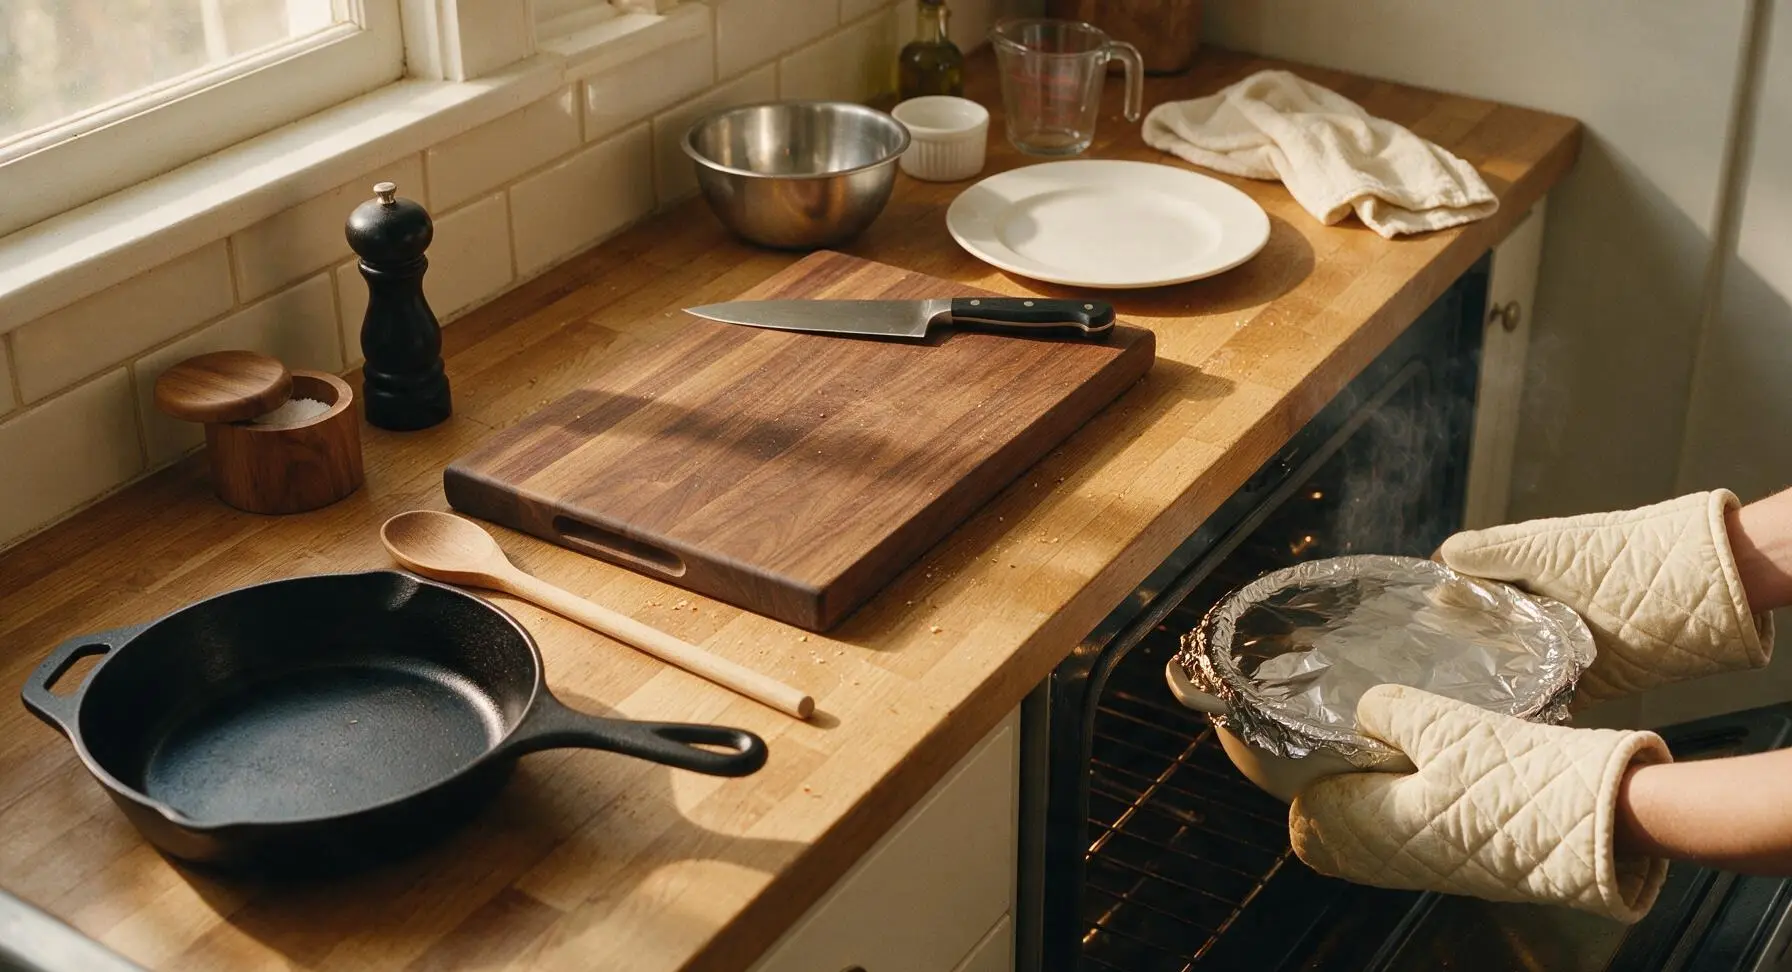
Bake Uncovered for Crisp
Carefully pull the oven rack out, peel the aluminum foil off the dish (watch for hot, escaping steam), and return the uncovered dish to the oven. Bake for an additional 10 minutes, until the cheese on top is fully melted and the chip topping is deep golden and crispy, with no burnt edges.
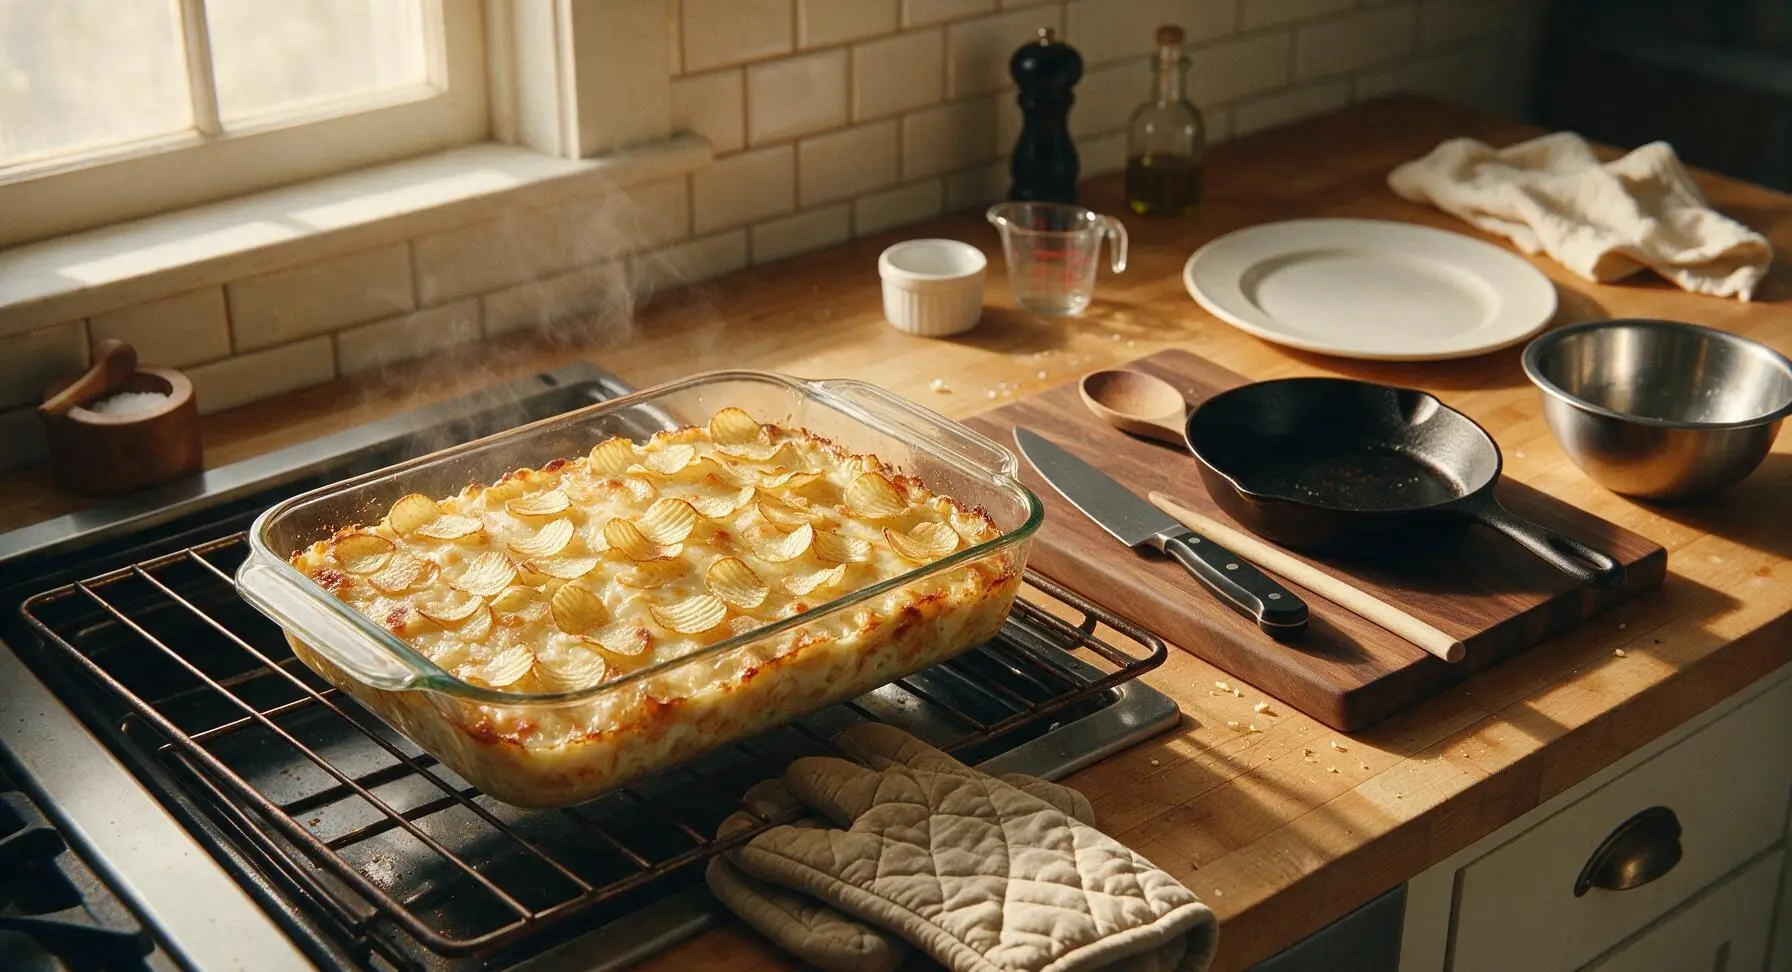
Rest, Garnish, Serve
Remove the finished casserole from the oven using the oven mitts, transfer it to the counter, and let it rest for 10 minutes to set. Sprinkle the top with chopped fresh cilantro for a bright, herby contrast. Serve warm using the slotted stainless steel serving spoon, scooping generous portions onto the matte off-white stoneware plates.
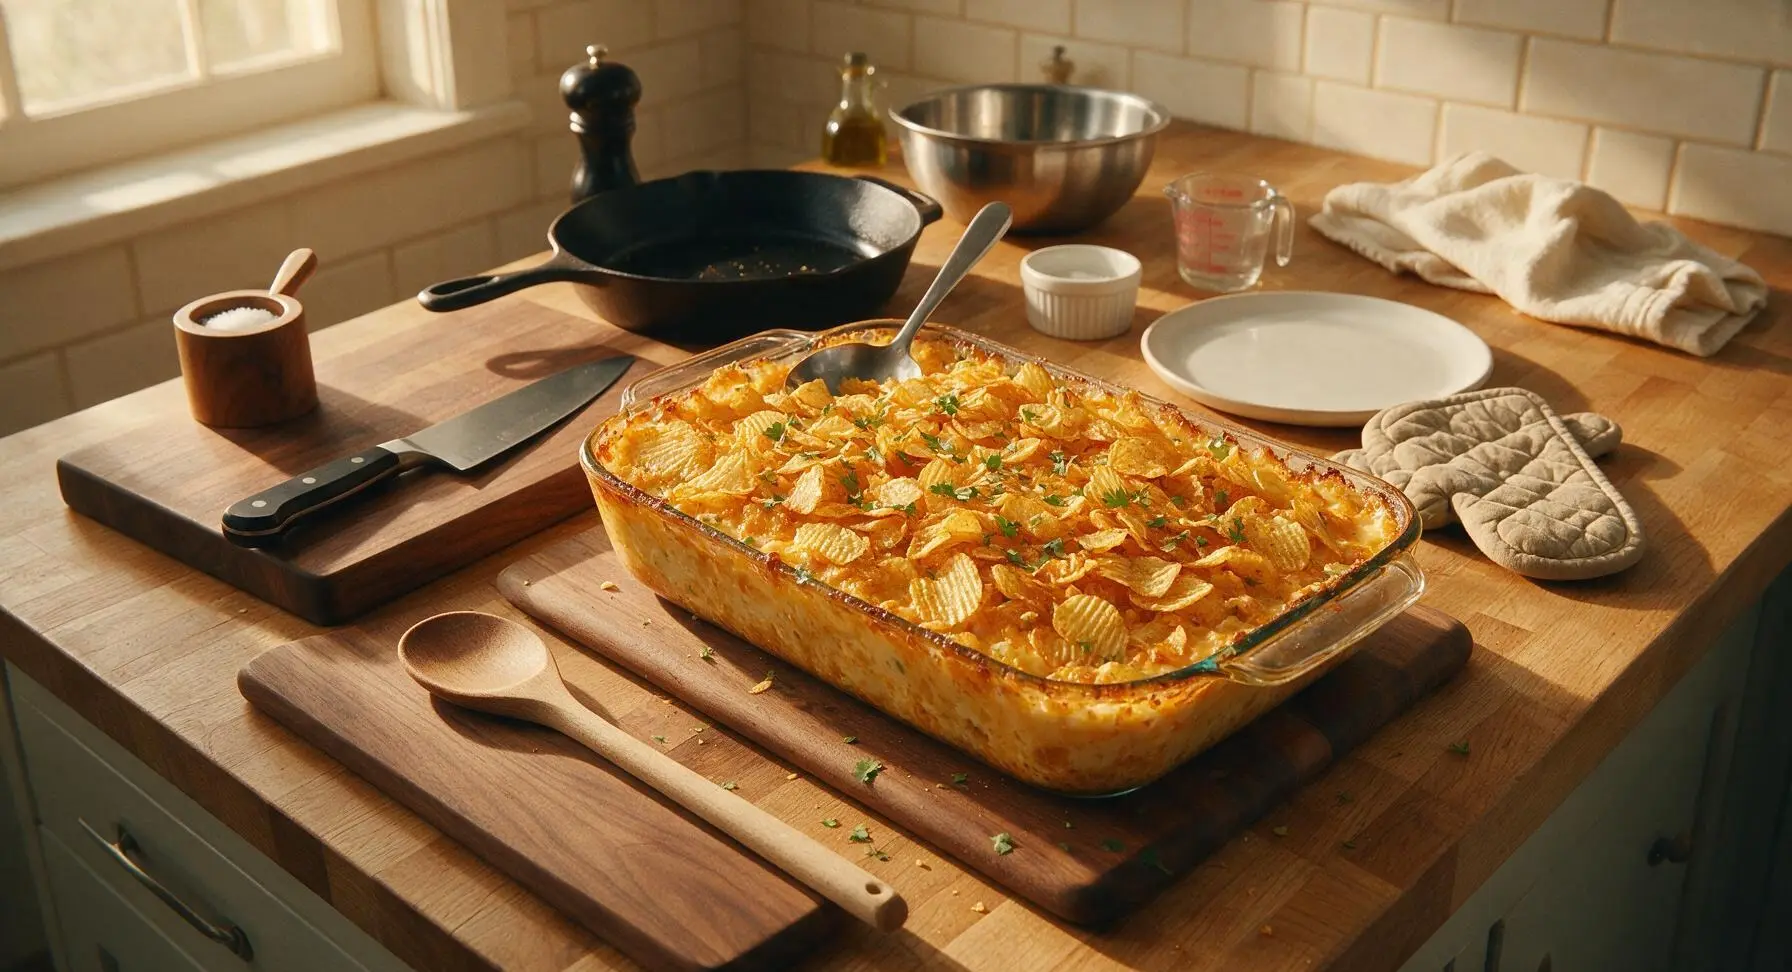
Tips
2.Crush chips lightly into 1-inch pieces instead of grinding them into fine crumbs: larger chip pieces retain their signature crunch during baking, while fine crumbs will turn soggy under the melted cheese. Reserve whole chips for the top for extra texture and visual appeal.
3.Let the casserole rest for the full 10 minutes after baking: this allows the queso base to set so portions hold their shape when scooped, instead of sliding apart into a runny mess. The resting time also lets the chip topping crisp up slightly as it cools.






OMG y’all, I made this for our Sunday football watch party and it was GONE in 10 minutes flat. The crunchy Lay’s Wavy chips on top mixed with the creamy chile queso hash brown base? *Chef’s kiss* I added a handful of pickled jalapeños for extra zing and everyone asked for the recipe. Total game changer for easy potluck dishes!
This was so easy to throw together on a weeknight when I forgot to meal prep! 45 minutes total, zero fancy ingredients, and all three of my kids asked for seconds. I was worried the chips would get soggy but they stayed perfectly crunchy on top. Will absolutely be adding this to our regular dinner rotation.
Wait, has anyone tried making this with plant-based queso and vegan hash browns? I’m dairy free but this looks so good I need to test a swap. The chip topping sounds chef’s kiss even with vegan substitutes.
Brought this to our neighborhood block party last weekend and I cannot tell you how many people came up to ask where I got the recipe. It’s creamy, salty, has just the right little kick from the chile queso chips, and it’s so simple to scale for a big crowd. 10/10, will make again for every summer cookout from now on.
SO good. I mixed in a can of green chiles and a sprinkle of cotija cheese on top before baking and it tasted just like the queso from my favorite local taco spot. The wavy chips hold up so much better than regular breadcrumbs for a casserole topping, who knew?!
Made this in my dorm oven last night and it was literally the best thing I’ve cooked all semester. Super minimal prep, cheap ingredients, and my roommates all stole bites off my plate before I could even get a full serving. 10/10 no notes.
I was so happy to realize this is naturally gluten free as long as you use the right chips and hash browns! I’ve been looking for a new gluten free side to bring to family dinner and this checked every box. No one even realized it was GF, they all just went back for more.
I made a big pan of this on Sunday to portion out for weekday lunches and it reheats like a DREAM. I was worried the chips would get mushy in the microwave but they still have a little crunch even after 3 days in the fridge. Perfect easy meal prep win for people who hate boring lunch options.
My 7 year old who turns his nose up at literally every vegetable ate two full servings of this. I think the chip topping tricked him into thinking it was a snack instead of dinner. Win for mom, 10/10, will be making this at least twice a month from now on.
I added extra shredded pepper jack to the queso layer because I believe there’s no such thing as too much cheese, and let me tell you — that was the right call. It’s so rich and gooey, perfect with a burger off the grill for a summer dinner.
Okay I’m literally the worst at cooking, I burn toast 50% of the time, and this came out perfect on the first try. The instructions are so straightforward, no weird steps, and it looked and tasted like something I spent hours on. My roommate thought I ordered takeout lmao.
Wait why has no one mentioned this works as a brunch side too?! I made this for a girls’ brunch last weekend alongside scrambled eggs and mimosas and it was the perfect savory addition. Way more fun than regular hash browns.
I was skeptical because I usually hate leftover casseroles, but this somehow tastes even better the next day? The flavors meld together so much, and if you broil the top for a minute after reheating the chips get all toasty again. 10/10, no complaints.
This reminded me so much of the hash brown casserole my grandma used to make for church potlucks, but the chile queso chip twist makes it feel new and fun. I added a little sour cream on top when I served it and it was absolute perfection. Comfort food at its finest.
I was looking for a high carb side to make for my post-cheat meal meal prep and this hit the spot. I added a little ground turkey to make it a full meal instead of a side and it was so filling, kept me full for hours after my workout. Way better than plain rice and chicken.
As someone who can barely handle mild salsa, I was worried the chile queso chips would be too spicy, but they’re totally mild! Just a nice little smoky flavor, no burn at all. So glad I didn’t skip making this because I was scared of heat.
Testing side dishes for our upcoming Thanksgiving spread and this is 100% making the menu. It’s unique enough that it stands out from all the usual green bean casseroles and mashed potatoes, but it’s still familiar enough that even my picky grandpa will eat it. Score!
Total cost to make this was like $12 even with buying name brand chips and hash browns, and it feeds 6 people? That’s cheaper than getting fast food for the family, and tastes way better. Perfect for weeks when the grocery budget is tight.
I’m not even gonna lie, I ate half the pan straight out of the baking dish while standing over the kitchen counter last night. It’s just that good. The salty chips, the creamy cheesy potatoes, that tiny little chile kick? I would eat this every single day if I could.