
light soy sauce

title 1
light soy sauce
⏱️ cook time 3 months (2 hours active stovetop cooking, 90 days slow ambient fermentation)
🍽️ servings 32
⚡ Difficulty medium

intro

Bright, umami-dense homemade light soy sauce, brewed for balanced saltiness and subtle sweet depth, perfect for stir-fries, dips, and everyday cooking.

Ingredients
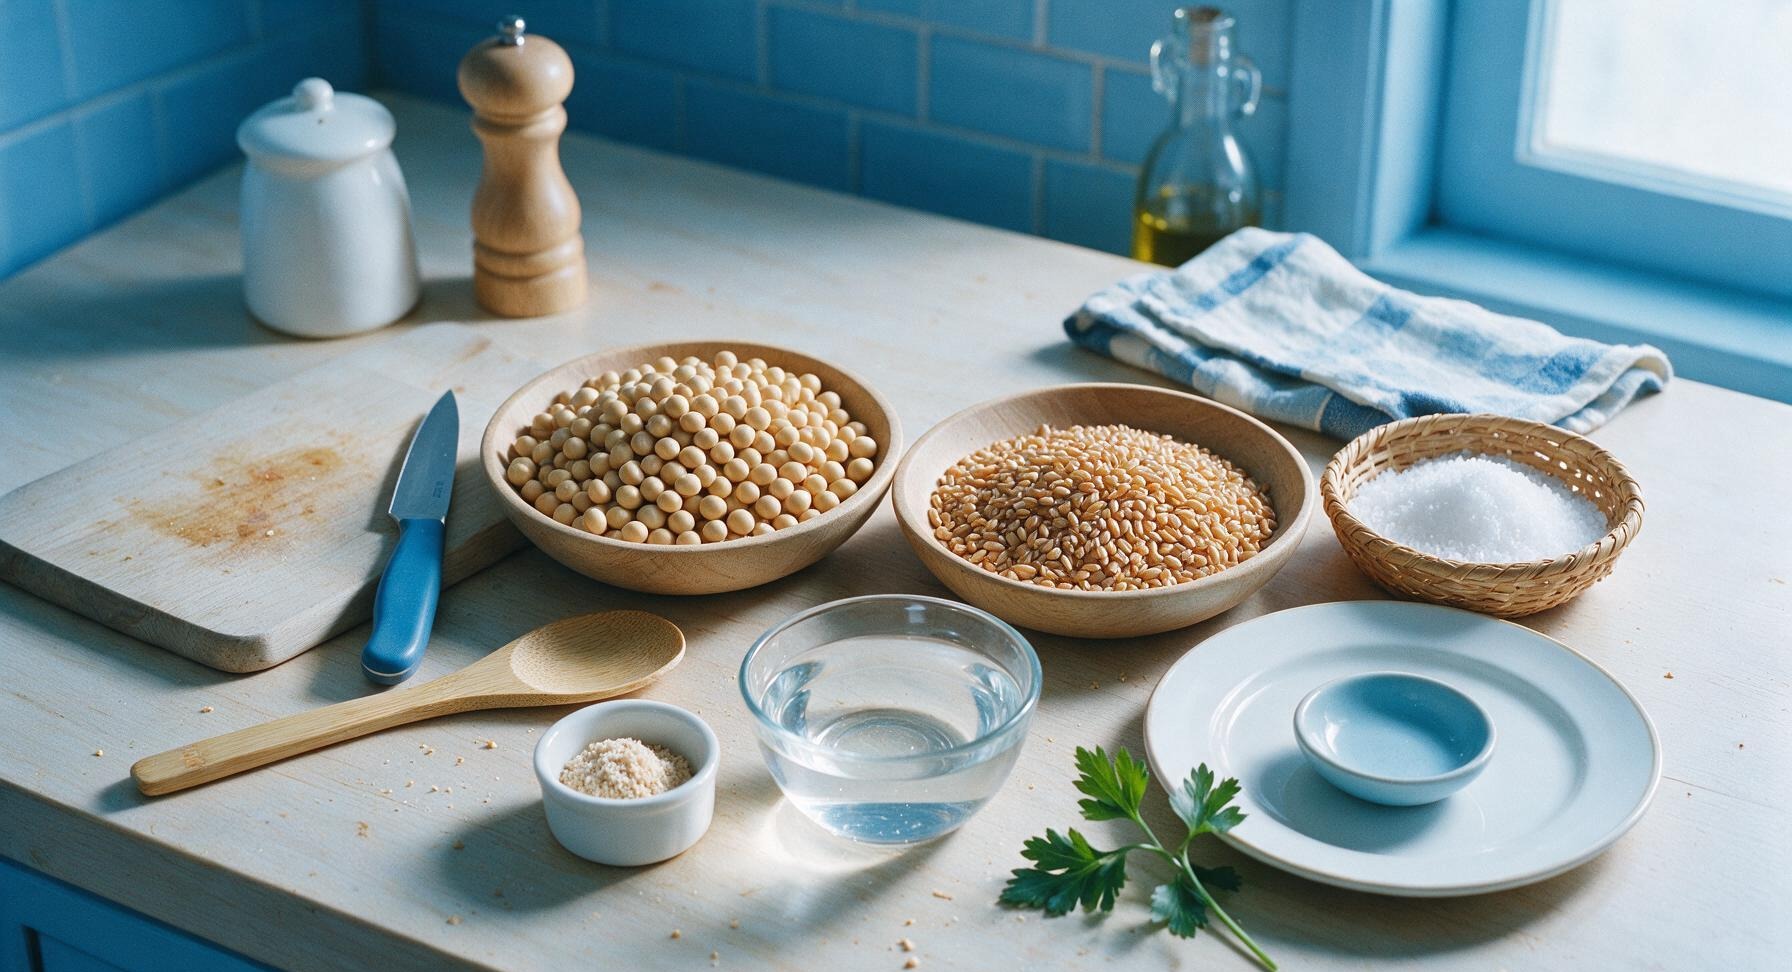
Dried organic soybeans 200g
Unroasted wheat berries 100g
Soy sauce koji (Aspergillus oryzae starter) 1g
Fine sea salt 150g
Filtered water 1.2L

Steps

1

Sanitize Brewing Equipment

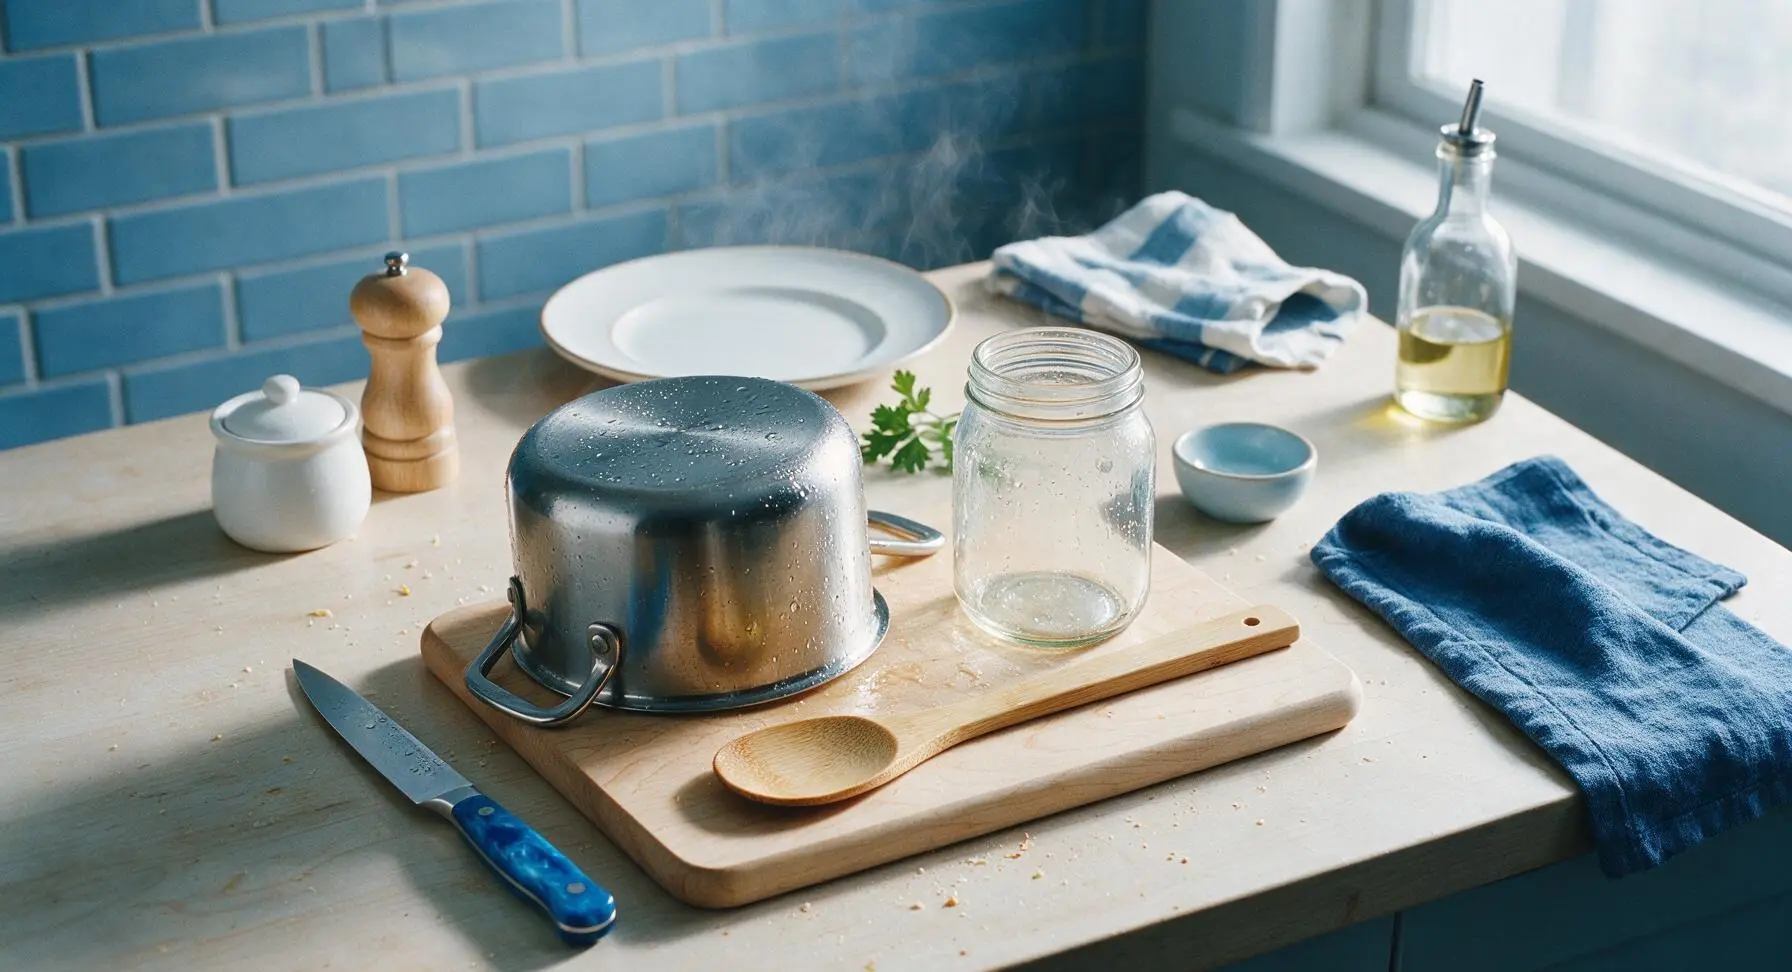
First, wash the stainless steel stock pot, glass fermentation jar, bamboo stirring spoon, fine-mesh strainer, and stainless steel funnel in hot soapy water, then rinse all surfaces with boiling water to eliminate unwanted bacteria that can spoil fermentation. Dry tools completely with a clean lint-free cloth; residual soap or unfiltered tap water can introduce off-flavors. This active prep step takes approximately 10 minutes.
Step 1
step1:Sanitize Brewing Equipment
2

Cook Tender Soybeans

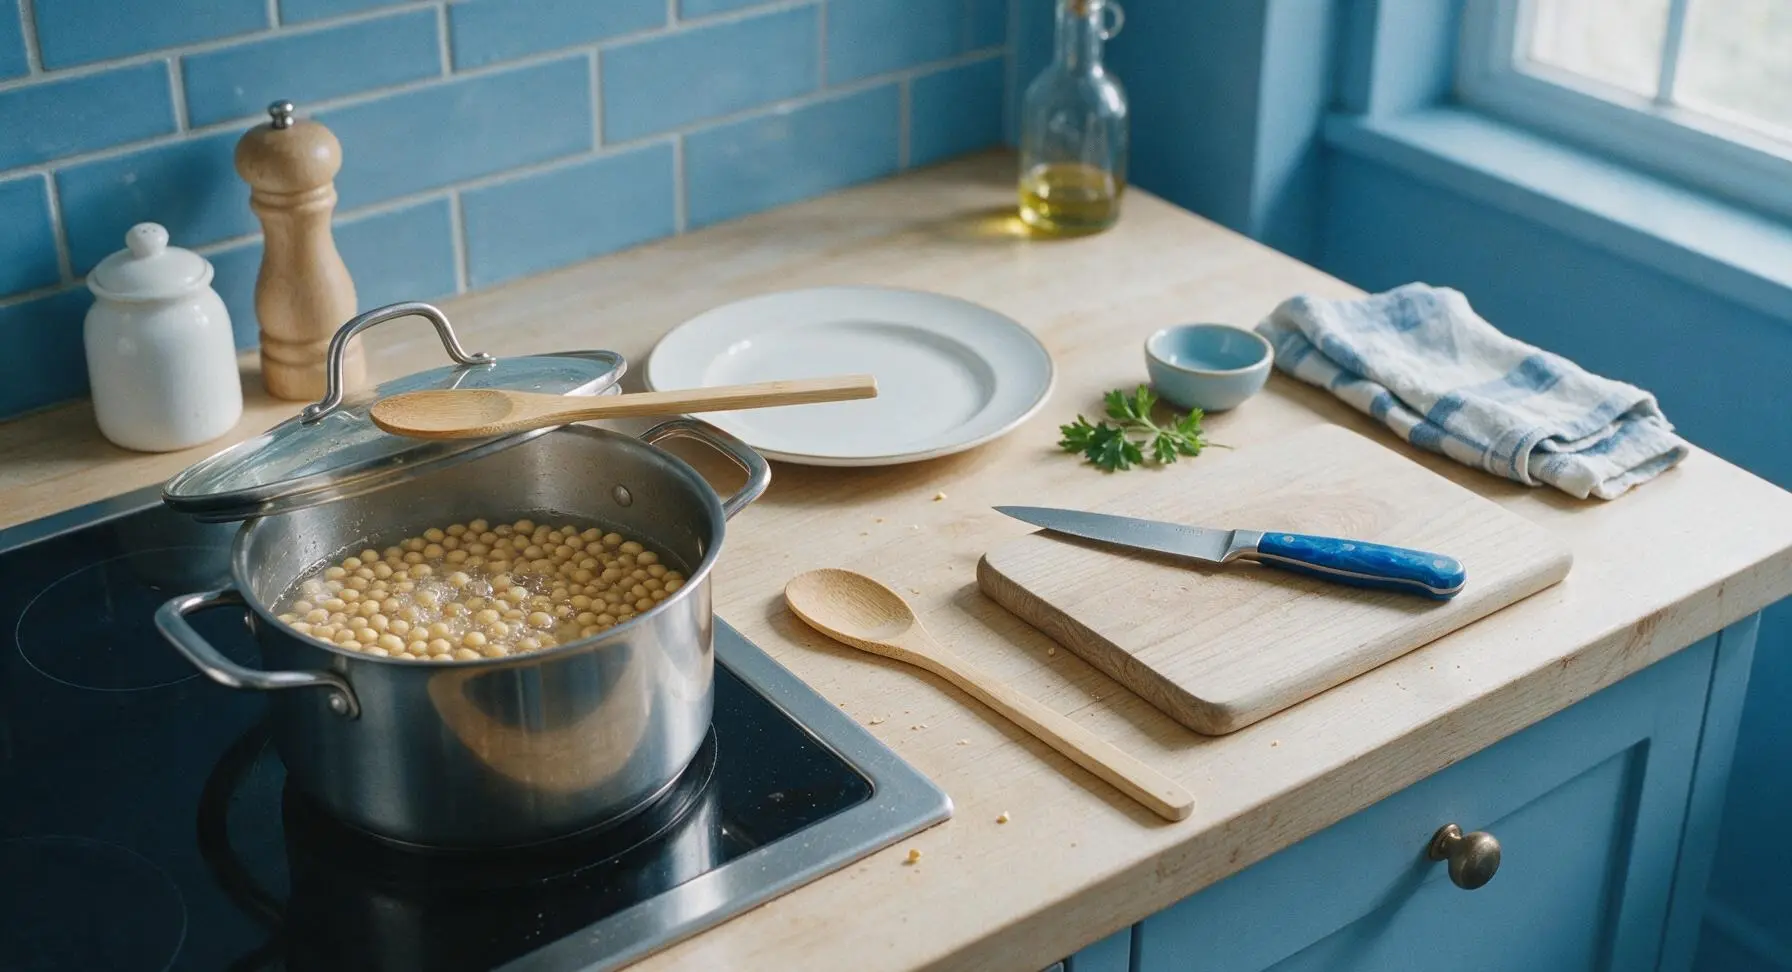
Rinse 200g dried soybeans under cool running water, then place in the stainless steel stock pot with 800ml filtered water. Set on the left induction burner, bring to a rolling boil over medium-high heat (induction setting 7), then reduce heat to low (setting 3), cover with the glass lid, and simmer for 1.5 hours. Soybeans are done when they crush easily between thumb and forefinger with no hard core. Drain excess water, then set aside to cool to 35°C (95°F), about 20 minutes.
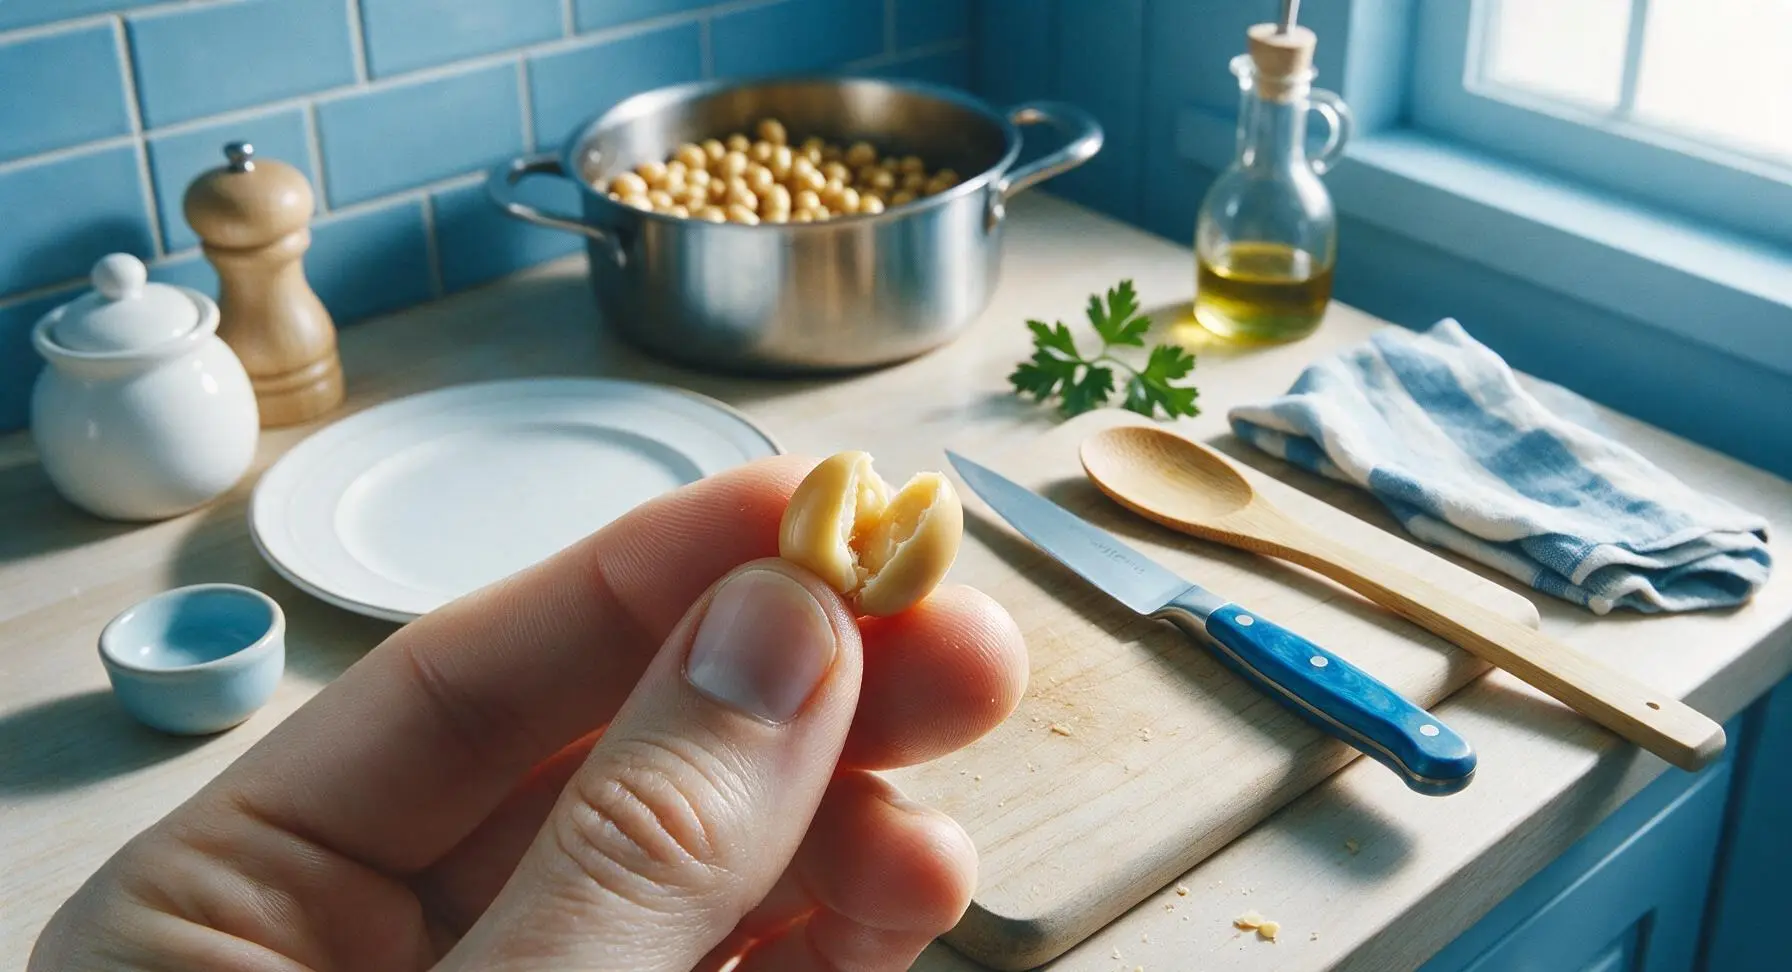
Step 2
step2:Cook Tender Soybeans
Step 2
step2:Cook Tender Soybeans
3

Roast and Crush Wheat

While soybeans cool, wipe the stock pot dry, then add 100g wheat berries. Toast over medium heat (induction setting 5) for 5 minutes, stirring constantly with the bamboo spoon, until wheat is fragrant and pale golden brown with no dark burnt spots. Let cool 10 minutes, then place on the maple cutting board and crush lightly with the flat side of the chef knife to crack berries open, exposing the starchy interior—do not grind into fine flour, as coarse cracks support better mold growth for fermentation.
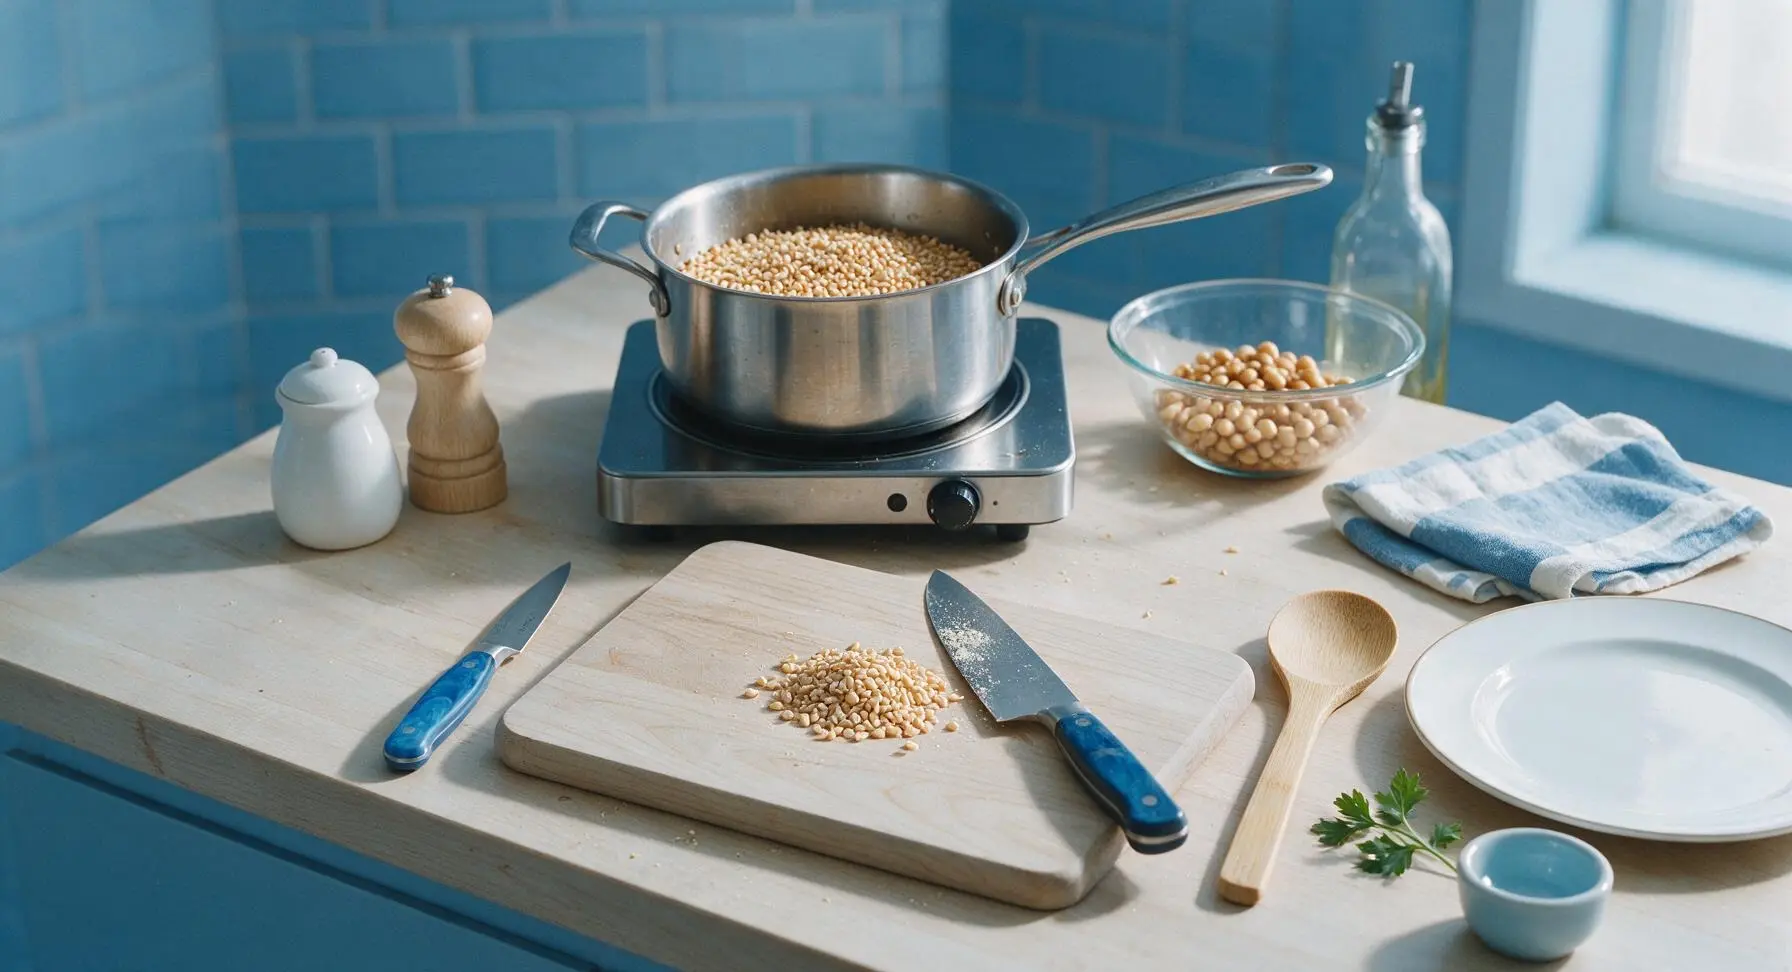
Step 3
step3:Roast and Crush Wheat
4

Mix Koji Starter Blend

Combine cooled cooked soybeans and cracked roasted wheat in the stainless steel mixing bowl. Sprinkle 1g soy koji powder evenly over the surface, then toss thoroughly with the bamboo spoon to coat every soybean and wheat piece evenly. Verify the mixture temperature is between 30-35°C (86-95°F) before proceeding; higher temperatures will kill the beneficial koji culture.
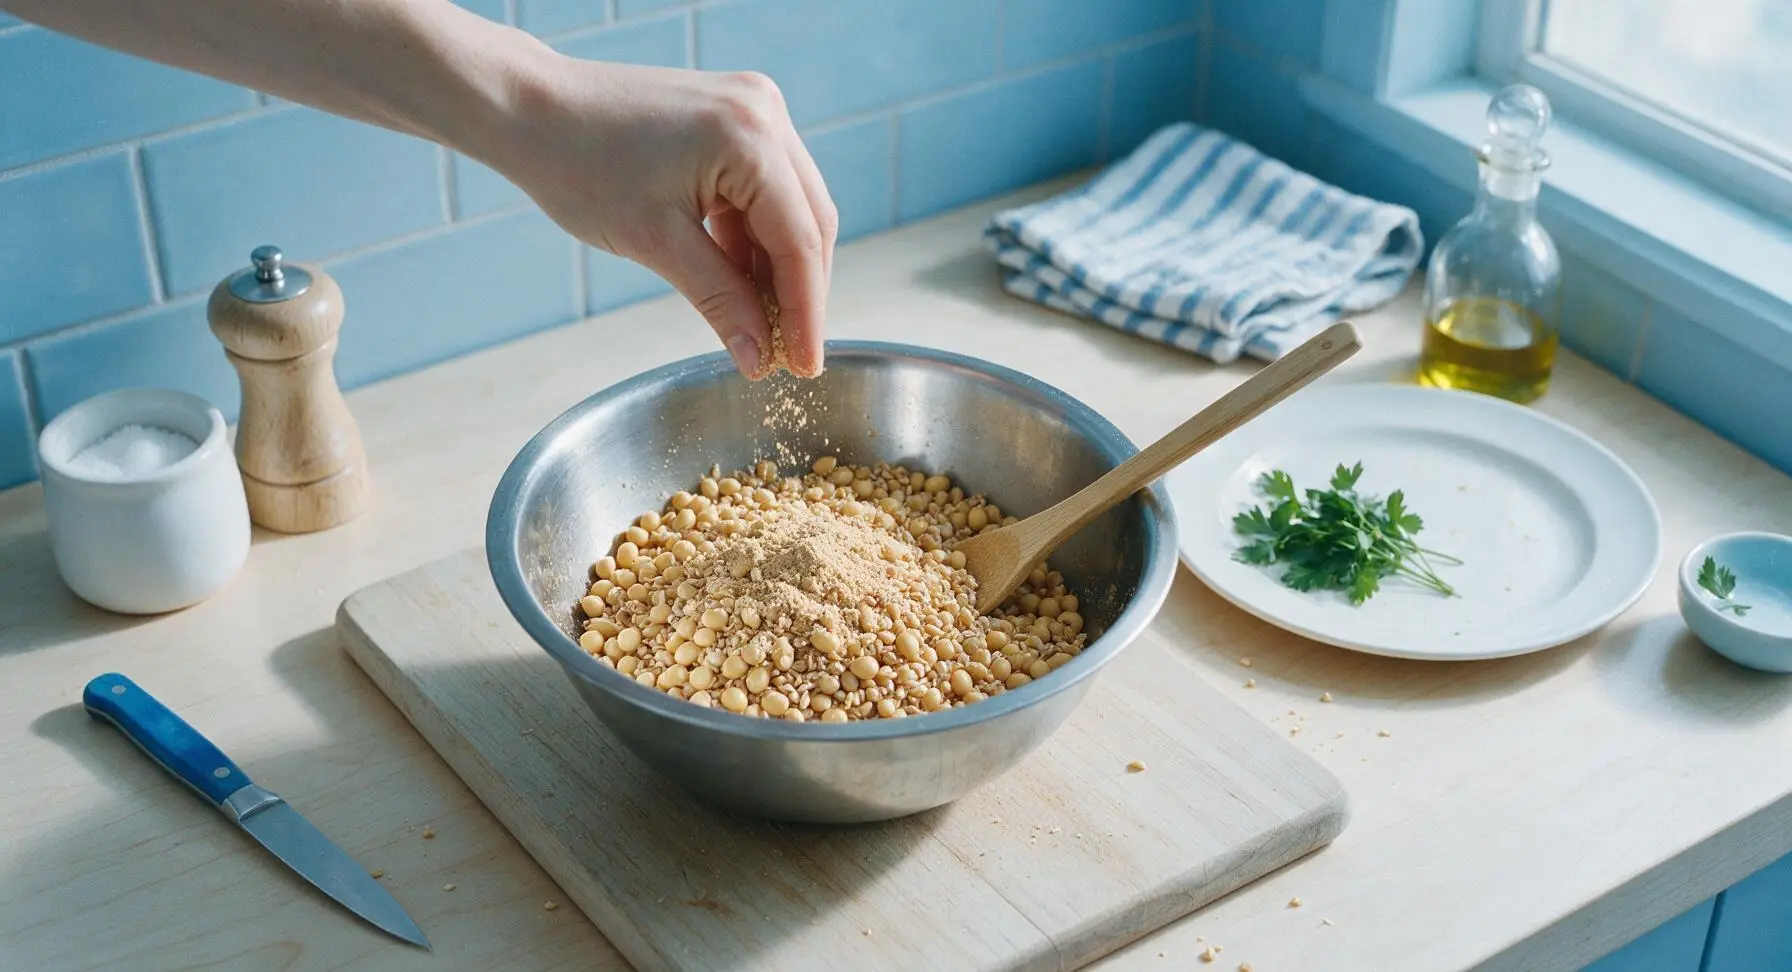
Step 4
step4:Mix Koji Starter Blend
5

Pack for Initial Ferment

Transfer the koji-coated soybean and wheat mixture into the clear glass fermentation jar, pressing down firmly with the bamboo spoon to eliminate trapped air pockets. Do not fill the jar more than 2/3 full, as the mixture will expand as mold grows. Seal the jar with the airlock lid, adding a small amount of filtered water to the airlock to create a one-way gas seal. Place the jar in its fixed back-right counter position, away from direct sun, and rest 7 days at a steady 20-22°C (68-72°F). Soft white fuzzy koji mold across the surface is normal and desired.
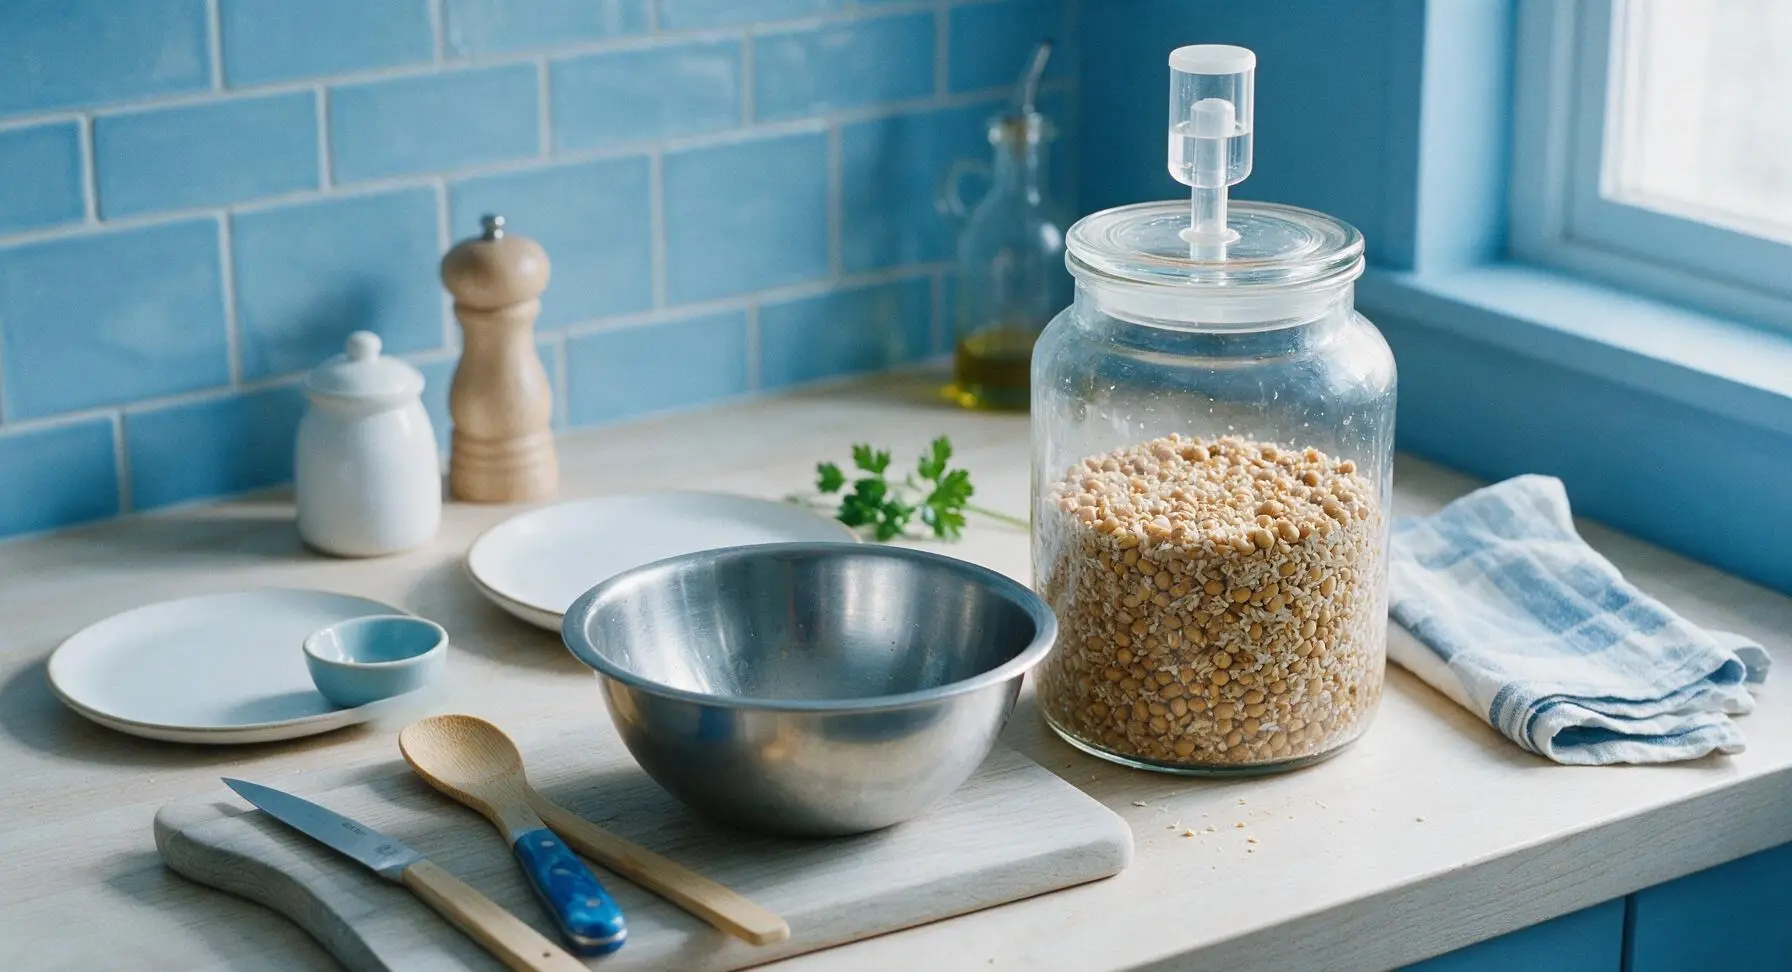
Step 5
step5:Pack for Initial Ferment
6

Add Salt Brine Solution

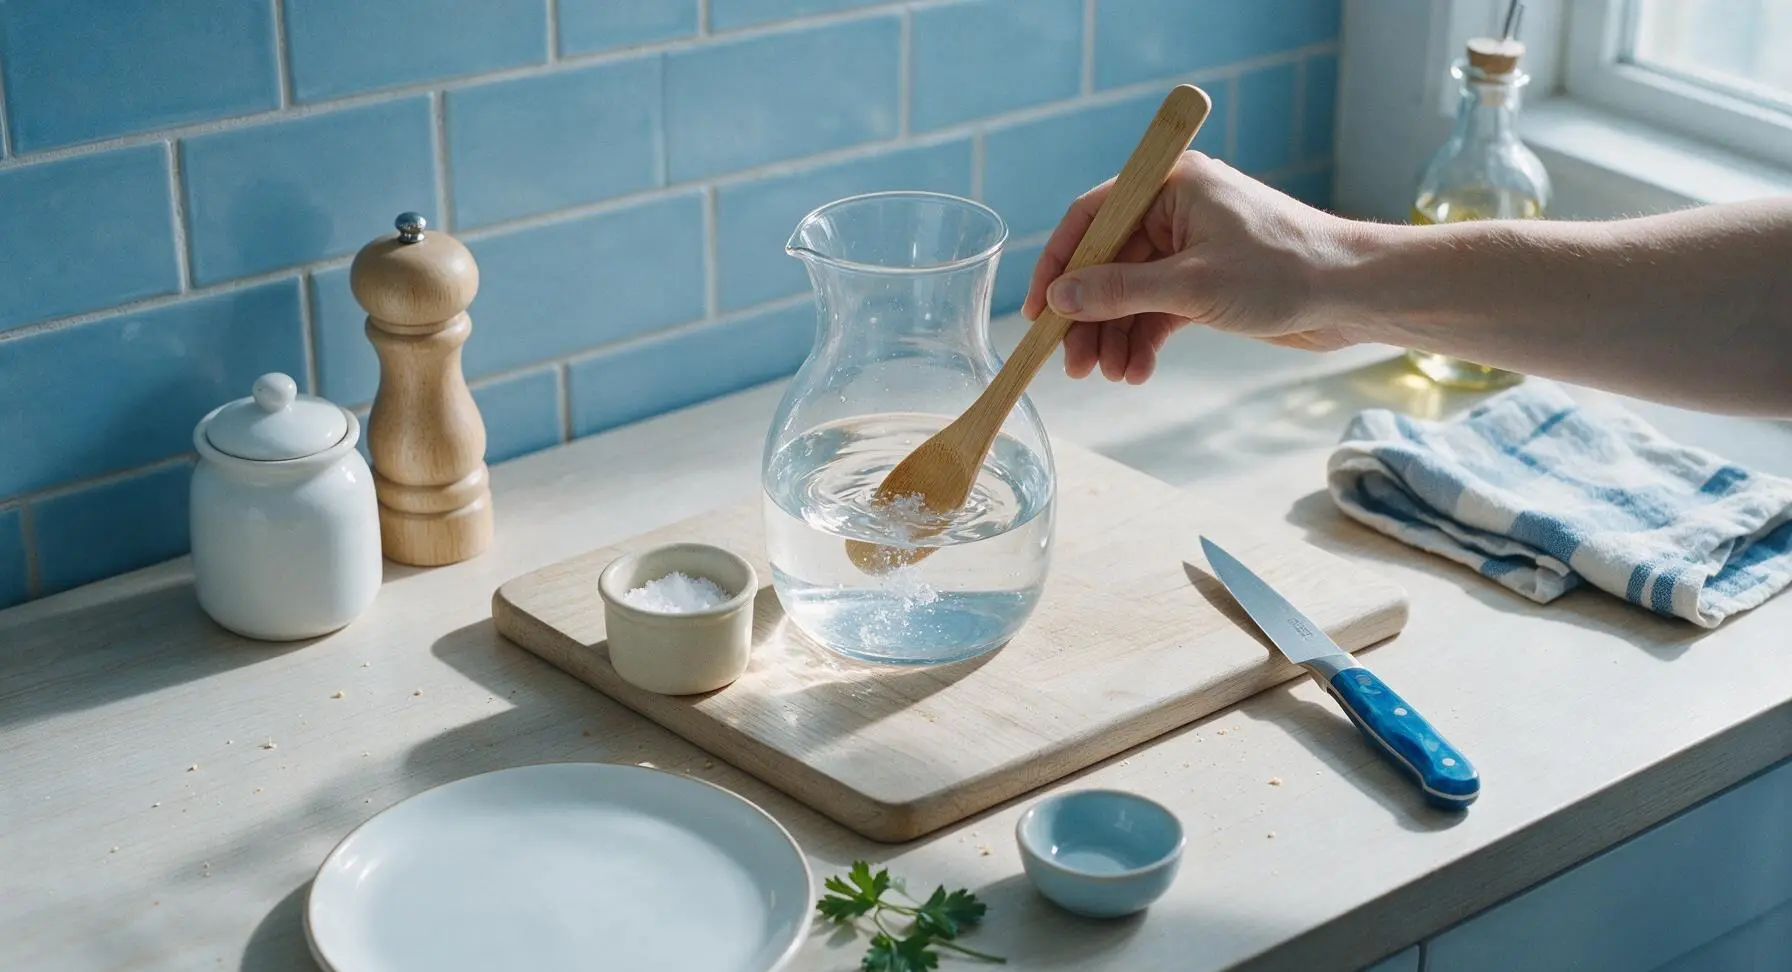
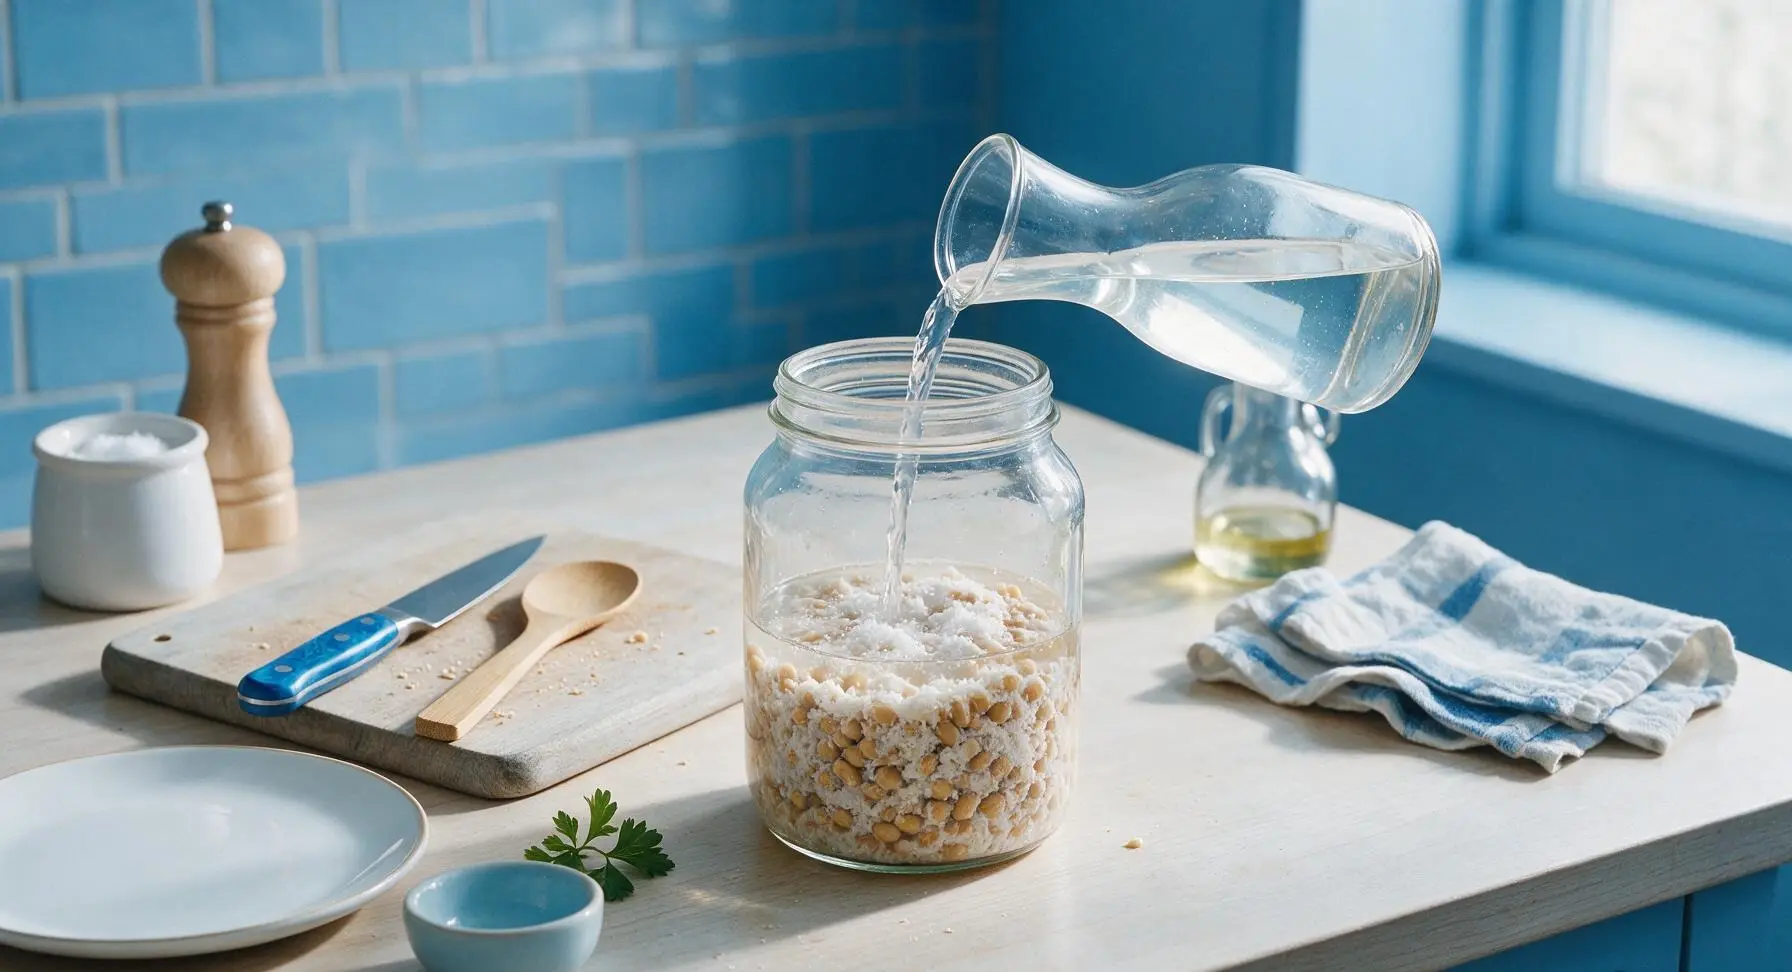
After 7 days of initial koji fermentation, stir 150g fine sea salt into 1.2L filtered water until fully dissolved to create a saturated brine. Pour brine over the fermented soybean mixture in the jar, ensuring all solid ingredients are fully submerged (weigh down with a small clean glass weight if pieces float). Reseal the airlock lid.
Step 6
step6:Add Salt Brine Solution
Step 6
step6:Add Salt Brine Solution
7

Monitor Slow Fermentation

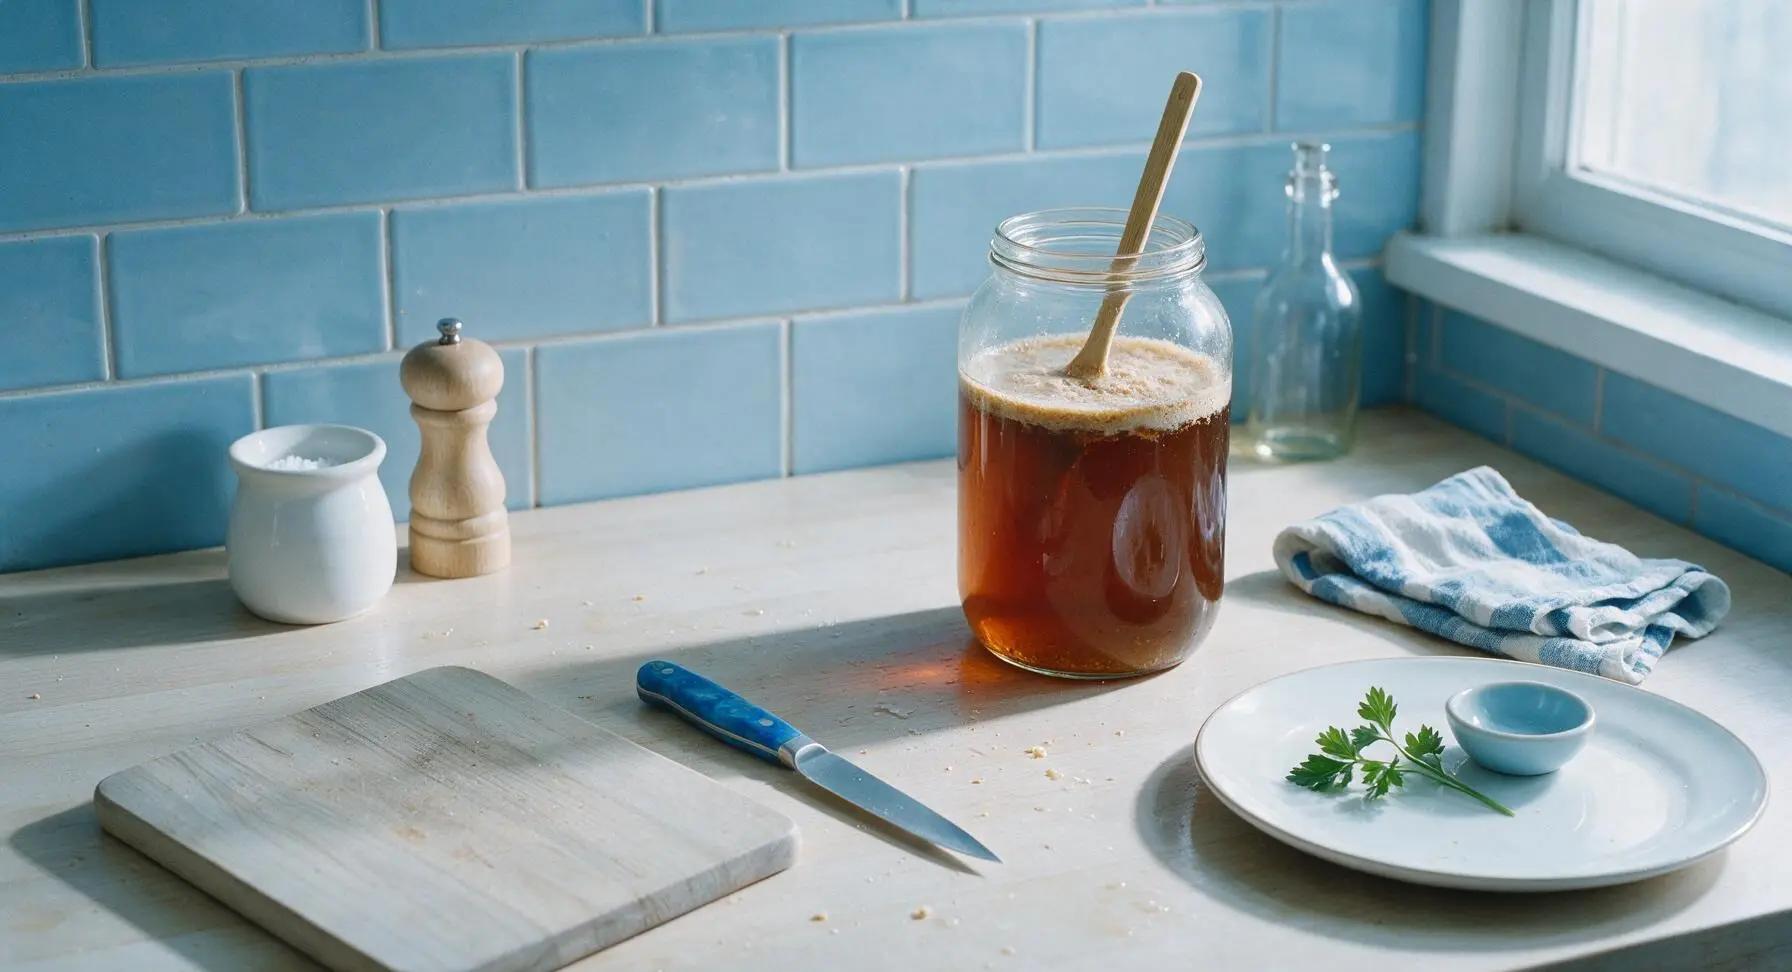
Return the sealed jar to its fixed back-right position, and let ferment undisturbed for 90 days at a steady 20-22°C (68-72°F). Check the airlock weekly to ensure it retains water for a proper seal, and gently stir the mixture with the clean bamboo spoon every 2 weeks to re-submerge floating solids. Over 3 months, the liquid will darken from pale yellow to deep amber, developing a rich savory, slightly sweet aroma with no sour or rotten off-notes.
Step 7
step7:Monitor Slow Fermentation
8

Strain Fermented Solids

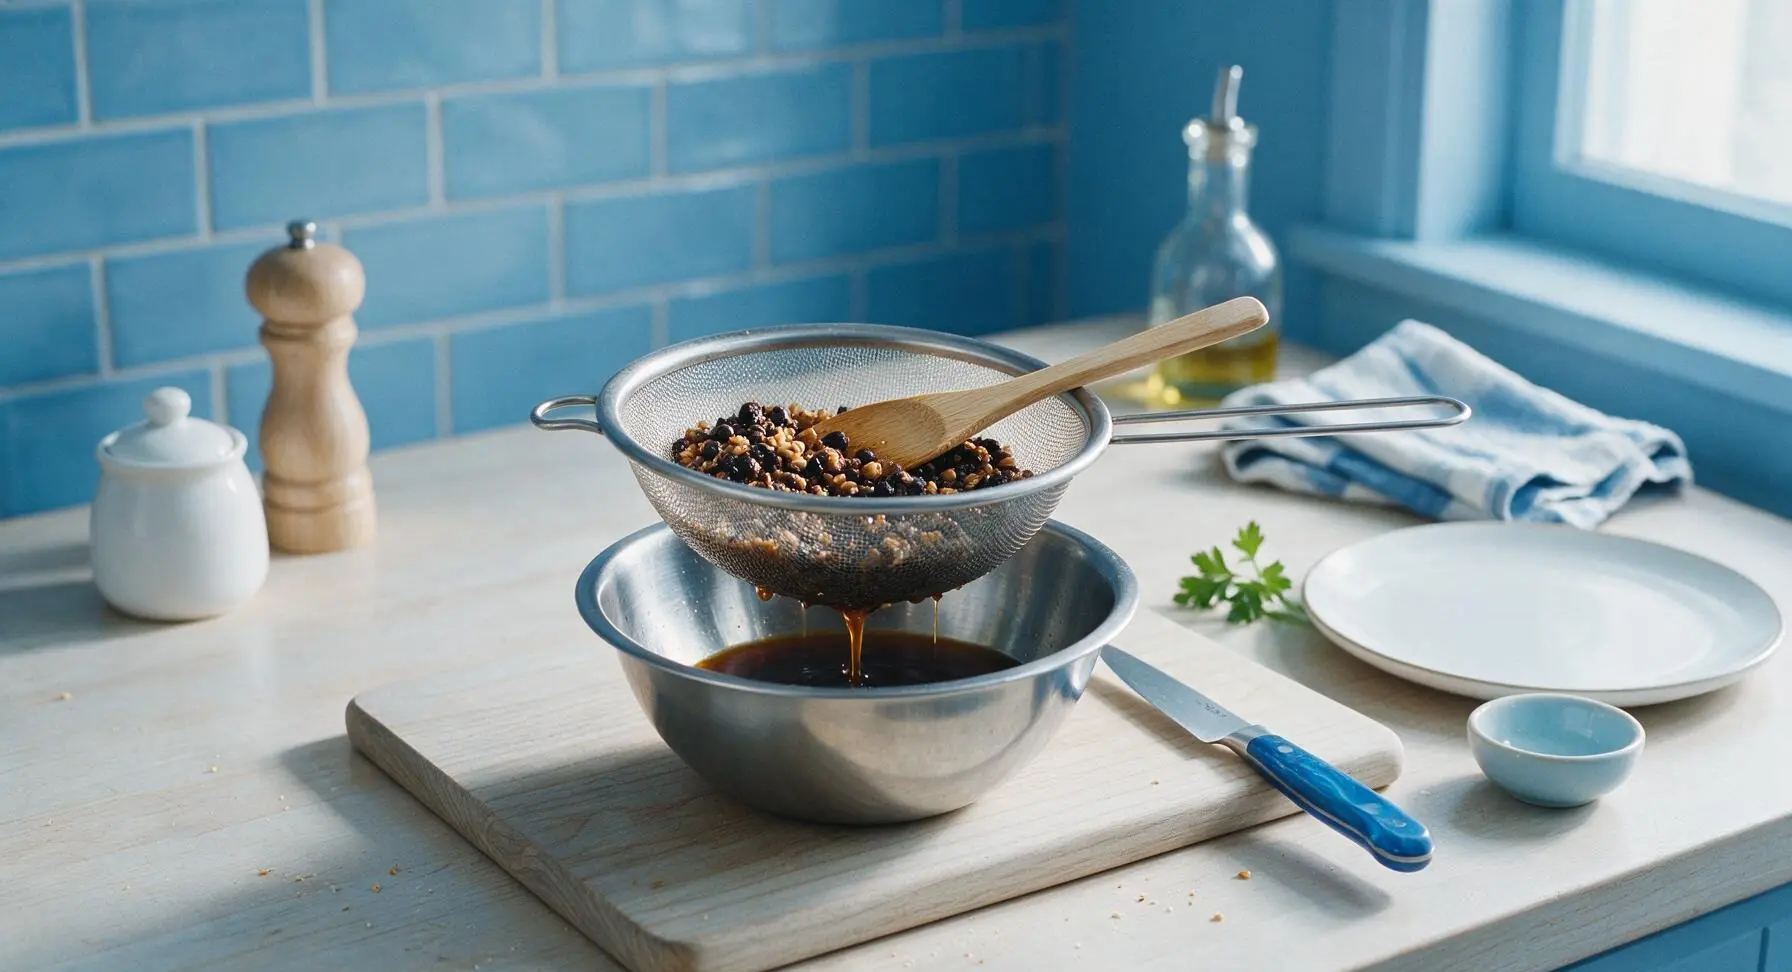
After 90 days of fermentation, place the fine-mesh stainless steel strainer over the clean stainless steel mixing bowl, then pour the entire fermented mixture into the strainer. Let drain undisturbed for 2 hours, then press gently on the solids with the back of the bamboo spoon to extract all remaining liquid—do not squeeze hard, as this will make the finished soy sauce cloudy. Reserve leftover fermented soybean solids for making fermented black bean paste, if desired.
Step 8
step8:Strain Fermented Solids
9

Pasteurize and Bottle

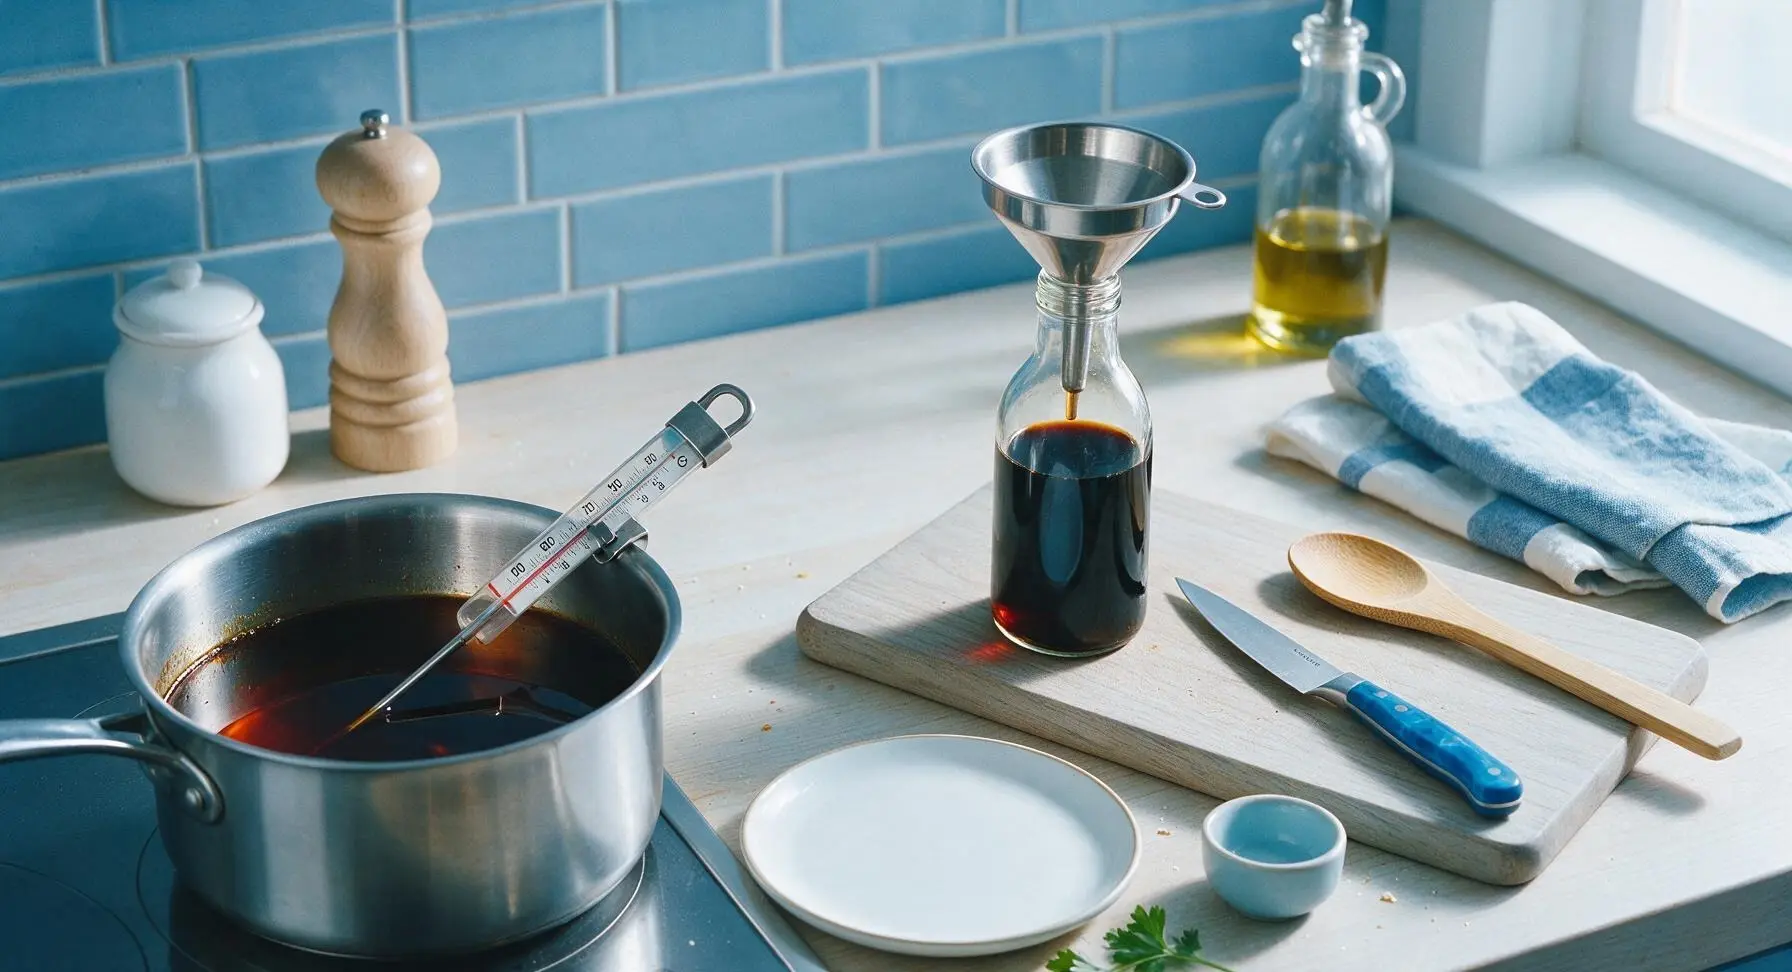
Pour strained raw soy sauce back into the clean stock pot, and heat gently over low heat (induction setting 2) to 75°C (167°F), holding that temperature for 10 minutes to pasteurize and halt active fermentation. Do not boil, as high heat destroys delicate umami flavors. Let cool fully to room temperature, then use the stainless steel funnel to pour finished soy into the clear glass soy sauce bottle for storage. Seal tightly, and refrigerate for up to 1 year.
Step 9
step9:Pasteurize and Bottle

Tips

1.Always fully sanitize and dry all brewing equipment before use: even trace amounts of soap, cooking oil, or unwanted bacteria can cause harmful mold growth, leading to sour, bitter off-flavors that ruin the entire batch.
2.Check the temperature of the soybean-wheat mixture before adding koji: temperatures above 40°C (104°F) will kill the beneficial Aspergillus oryzae culture, preventing proper fermentation and resulting in flat, overly salty liquid instead of umami-rich soy sauce.
3.Discard the batch immediately if you see bright green, black, or fuzzy pink mold on the fermentation surface: these are harmful spoilage molds. Soft white/cream koji growth and thin pale tan yeast bloom are normal, safe, and expected during brewing.


✨ You May Also Like

Side Dishes
🍜 India

Velvety, aromatic all-purpose curry sauce perfect for tossing with roasted veggies, grilled protein, or rice for fast, cozy, flavorful meals.

⏱️ 25 minuteSide Dishes ★ 4.8
Side Dishes
🍜 Spain

Tender, starchy boiled yuca tossed in bright, garlicky citrus mojo sauce—an iconic, zesty side that pairs beautifully with roasted pork, grilled meats, and rice and beans.

⏱️ 40 minuteSide Dishes ★ 5
Side Dishes
🍜 United States

Tender, paper-thin potato flatbread, a beloved Norwegian-American Minnesota Christmas staple, griddled until softly spotted and served warm with butter.

⏱️ 1 hour 30Side Dishes ★ 4.6
Side Dishes
🍜 United States

Rich, deeply savory cured salt pork, a long-lasting kitchen staple perfect for frying crispy as a side or adding umami to stews, beans, and chowders.

⏱️ 7 days (2Side Dishes ★ 4.9
Side Dishes
🍜 United States

Crispy, tangy classic Southern fried green tomatoes with a crunchy cornmeal crust, served hot for a nostalgic, comforting summery bite.

⏱️ 25 minuteSide Dishes ★ 4.9
Side Dishes
🍜 United States

Moist, golden-crusted savory muffins with sweet corn, zesty jalapeño, and melted cheddar, perfect for pairing with smoky summer grilled fare.

⏱️ 30 minuteSide Dishes ★ 4.9

light soy sauce:Frequently Asked Questions

1.How long does the full brewing process take for this homemade light soy sauce? ▾
The full traditional brew takes 3–6 months to develop that bright, balanced umami and mild, rounded saltiness. The first 3 days are dedicated to growing active koji on the cooked soy and wheat, followed by slow brine fermentation. Plan to stir the fermenting moromi mash once a week for the first month to support even, healthy microbial activity.
2.Can I substitute roasted wheat berries if I can’t find unroasted ones? ▾
I don’t recommend roasted wheat for this light soy recipe—it adds deep, nutty, dark notes better suited for thick, rich dark soy sauce. If unroasted wheat berries are hard to source, use plain, untoasted wheat flour rolled into thin, baked, dried flatbread pieces as a 1:1 swap to keep the final flavor light and bright.
3.Is there a safe substitute for commercial soy sauce koji starter? ▾
Never try to wild-ferment this base without a tested Aspergillus oryzae starter—wild ambient spores can introduce harmful bacteria or harsh off-flavors that ruin the batch and pose food safety risks. You can source high-quality soy sauce koji starter online from homebrewing or specialty Asian pantry suppliers for consistent, safe results.
4.What type of container is best for fermenting the soy sauce mash? ▾
Use a food-grade glass, ceramic, or food-safe BPA-free plastic crock with a loose-fitting lid to let small amounts of fermentation gas escape. Avoid reactive metal containers, as the high-salt brine will corrode them over months of brewing and leach metallic, bitter off-flavors into your finished soy sauce.
5.How do I know if my fermenting soy sauce has gone bad? ▾
Toss the batch immediately if you see fuzzy green, black, or bright pink mold on the surface, smell rancid or putrid odors (distinct from the sharp, yeasty, savory fermentation smell), or notice slimy texture in the mash. A thin layer of white, briny yeast bloom is normal and harmless—just skim it off before stirring.
6.Can I use regular table salt instead of fine sea salt for this recipe? ▾
Skip iodized table salt for brewing—its added anti-caking agents and iodine can inhibit the good koji and yeast activity needed for proper fermentation, leading to flat, dull off-flavors. Fine non-iodized sea salt dissolves evenly in the brine and supports a clean, balanced salty profile without disrupting microbial growth.
7.Do I need to keep the fermenting mash in complete darkness while it brews? ▾
You don’t need total darkness, but keep the crock in a cool, low-light spot held between 65–75°F (18–24°C) for best results. Direct sunlight can heat the mash unevenly, kill beneficial microbes, and darken the final sauce beyond the pale amber color you want for a classic light soy sauce.
8.How do I strain the finished soy sauce after fermentation is complete? ▾
First, ladle the clear liquid off the top of the settled mash, then pour the remaining mash through multiple layers of cheesecloth or a fine-mesh nut milk bag set over a large bowl. Gently squeeze the solids to extract every drop, then let the strained liquid settle for 24 hours in the fridge before decanting to let fine sediment drop.
9.Do I need to pasteurize the finished soy sauce to make it shelf-stable? ▾
For long-term pantry storage, yes—gently heat the strained soy sauce to 175°F (80°C) for 10 minutes, skimming any foam that rises, then let it cool before bottling. This stops active fermentation without cooking off delicate umami notes, and prevents excess pressure buildup in sealed bottles from ongoing fermentation.
10.How long will the finished homemade light soy sauce stay good once bottled? ▾
Pasteurized, tightly sealed bottles stored in a cool, dark pantry will stay fresh for up to 1 year. Once opened, keep the bottle in the fridge, where it will hold its bright, balanced flavor for 6 months. Unpasteurized sauce must always be refrigerated and used within 3 months for best quality.
11.Can I speed up the brewing process to make soy sauce faster than 3 months? ▾
You can do a shortened 6-week brew if you hold fermentation at a steady 75°F (24°C) and stir the mash twice a week, but the flavor will be less complex, with sharper saltiness and less of the subtle sweet umami depth that comes from slow, cool fermentation. Never brew for less than 6 weeks for food safety.
12.Is this homemade light soy sauce gluten-free? ▾
No, this traditional recipe uses wheat berries as a core ingredient, so it is not gluten-free. If you need a gluten-free version, swap the wheat berries for an equal weight of additional dried soybeans, and confirm your koji starter is cultured on a gluten-free grain (like rice) to avoid cross-contamination.
13.What’s the difference between this homemade light soy and store-bought light soy? ▾
This homemade brewed light soy has no added preservatives, caramel color, or corn syrup, so its flavor is brighter, with a cleaner umami kick and softer salt level than most mass-produced options. It won’t be as dark or thick as grocery store light soy, but it works perfectly for stir-fries, dips, and all your everyday cooking.
14.Can I reuse the leftover soy mash after straining out the finished sauce? ▾
Absolutely! The pressed, fermented soy and wheat mash (called moromi kasu) makes a fantastic savory seasoning base: mix it into meat marinades, stir it into miso soup for extra depth, or dry it and grind it into a salty umami powder to sprinkle on roasted veggies or popcorn. It’s packed with flavor, so don’t toss it.
15.Why did my finished soy sauce turn out much saltier than expected? ▾
Overly salty soy usually happens when fermentation is cut too short, so microbes haven’t had time to break down the brine and balance salt with sweet, umami compounds. If your sauce is too salty, dilute it with small amounts of filtered, boiled water 1 tablespoon at a time, then re-pasteurize to adjust the salt level to your taste.
16.Do I need to cook the soybeans before mixing them with koji to start fermentation? ▾
Yes—you must soak dried organic soybeans for 12 hours, then steam them for 90 minutes until fully tender but not mushy before mixing with cracked unroasted wheat berries and koji starter. Undercooked soybeans won’t break down properly during fermentation, leading to gritty sauce and weak, underdeveloped umami flavor.
17.Can I cut back on salt in the brine to make a lower-sodium version of this soy sauce? ▾
I don’t recommend reducing the salt below the recipe’s tested ratio—salt acts as a critical preservative that prevents harmful bacteria from growing during the long fermentation process. If you want lower-sodium soy sauce, dilute the finished pasteurized sauce with small amounts of filtered water to taste, and store the diluted batch in the fridge.

Comments (18)

2 days ago

OMG, I just bottled my first batch yesterday and it is SO good! Way better than the grocery store stuff I’ve been buying for years. I used it in my stir fry for family dinner last night and my kids loved it — they kept asking what I did different to make the veggies taste so good. Total game changer, even with the 3 month wait!

yesterday

That makes me so happy to hear, Sarah! So glad your family loved the final product — that 3 month wait always pays off, right? Pro tip: save a little bit of the old batch to kickstart your next ferment to cut down a tiny bit on wait time next go around!

3 days ago

Wait, hold up — 3 months total time? I’m super new to fermenting stuff, is there any way to rush this a little? I want to make this for an upcoming potluck but it’s only 6 weeks out. Don’t want to show up with half-fermented soy sauce lmao

2 days ago

Dude don’t rush it! I tried speeding up a batch last year by keeping it near my space heater and it got all moldy and gross, total waste of ingredients. Just make it for the next potluck, trust me it’s worth the wait.

yesterday

Great call out from FermentNerd99 — rushing fermentation can lead to off flavors or even mold growth, which we definitely want to avoid. If your potluck is 6 weeks out, you could pick up a good quality store-bought light soy for that event, and start this batch now to have ready for all your summer cookouts!

2 weeks ago

I started a batch 2 weeks ago! The first 2 hours of stovetop work was way less intimidating than I thought it would be, even as someone who burns toast half the time. I checked on it yesterday and it already smells so rich and savory, can’t wait to taste it when it’s done. Already planning to make a double batch next time so I never run out for my weekly meal prep stir fries

5 days ago

Tried making this last month and I think I messed up the salt ratio? It tastes way saltier than I remember regular light soy being. Did I do something wrong? I measured everything out exactly like the recipe said, I swear

3 days ago

Sorry to hear the salt level is off! A couple things can cause this: if your fermentation spot is warmer than the recommended 65-75°F, water can evaporate faster than expected, concentrating the salt. Next time, you can top the jar off with a little boiled, cooled water if you notice the level dropping below the solids during fermentation, and taste as you go to adjust! You can also dilute your current batch with a tiny bit of filtered water to mellow it out for now.

1 week ago

I brought my finished batch to our neighborhood block party last weekend and people were literally asking me to bottle little samples for them to take home! Who knew homemade soy sauce would be the hit of the potluck? I served it alongside my grilled chicken skewers and it was chef’s kiss

5 days ago

Wait that’s such a good idea! I’ve been making this for 2 months now, almost ready to bottle, I’m totally stealing the skewer idea for my next cookout. Did you use it as a marinade or a dipping sauce?

3 days ago

Both! Marinated the chicken for 4 hours in half soy/half pineapple juice, then reduced a little extra with some garlic and ginger for a dipping sauce. People went crazy for it!

30 minutes ago

Quick question — can I use regular table salt for this, or do I have to track down that non-iodized stuff the recipe mentions? I already have a giant thing of table salt at home and don’t want to buy a whole new container if I don’t have to

5 minutes ago

Don’t use table salt! The iodine will mess with the fermentation and give it a weird metallic aftertaste. I tried that on my first soy sauce attempt years ago and it was undrinkable. Grab a cheap box of kosher or pickling salt, it’s like $2 at the grocery store, totally worth it.

yesterday

I’ve been buying fancy artisanal light soy for my homemade ramen for years and this recipe is dead on for the flavor I was paying $12 a bottle for. Are you kidding me? I spent like $4 total on ingredients for 3 bottles worth. Game. Changer. I’ll never go back to store bought again, even the fancy stuff

2 hours ago

Quick sanity check — does this smell really strong while it’s fermenting? I live in a tiny studio apartment and I don’t want my whole place to smell like soy for 3 months, or worse, have my neighbors complain about a weird smell lmao

30 minutes ago

I make this in my 500 sq ft NYC apartment and it’s totally fine! It smells a little savory when you burp the jar, but if you keep it sealed tight like the recipe says it doesn’t stink up the place at all. I keep mine on the top shelf of my closet and my roommate hasn’t even noticed it’s there.

5 minutes ago

Carl is exactly right! As long as you keep the airlock sealed (or burp the jar quickly once a week if you’re using a regular lid), there shouldn’t be any strong, pervasive odor. It won’t leave your whole place smelling like soy sauce, promise!

3 days ago

Is there a way to make this gluten free? I have celiac so regular wheat-based soy sauce is a no-go for me, but I miss that real brewed flavor so bad. The GF stuff at the store tastes like salty water half the time

2 days ago

Great question! You can absolutely make a gluten free version — just swap the regular wheat for roasted buckwheat in the same quantity, and make sure you’re using a gluten free koji starter. The fermentation time stays exactly the same, and you’ll get that same deep, umami brewed flavor without the gluten!

5 minutes ago

Wait how long does this keep once it’s bottled and done fermenting? I don’t go through soy sauce super fast, so I don’t want to make a whole batch and have it go bad before I can use it all

just now

I bottled my first batch 8 months ago and kept it in the fridge, it still tastes exactly the same as the day I bottled it! Since it’s high salt, it lasts forever basically, just like store bought soy sauce.

just now

Pete is spot on! Once you strain and bottle it, it will keep for up to a year in the fridge, or 6 months in a cool, dark pantry. The high salt content acts as a natural preservative, so you don’t have to worry about it spoiling quickly!

1 week ago

Just tried a little sip of my batch that finished yesterday and I’m blown away. It’s so much lighter and more complex than the cheap grocery store soy I’ve been using my whole adult life. Drizzled a little on my steamed rice last night and I almost ate the whole pot by myself. SO good, 10/10 worth the 3 month wait

just now

Help! I checked my batch this morning (day 12 of fermenting) and there’s a little white fuzzy patch on top. Is that mold? Do I have to throw the whole batch out? I’m so sad, I was so excited for this

just now

Don’t panic! If it’s white and fuzzy/creamy that’s kahm yeast, it’s totally harmless! Just skim it off the top with a clean spoon, make sure all your equipment is sanitized when you put the lid back on, and it’ll be fine. If it’s green, black, or pink, that’s bad mold and you have to toss it, but white is totally normal for ferments.

2 days ago

Can I use this the exact same way I use regular store bought light soy sauce? I don’t want to mess up my go-to fried rice recipe by subbing something that tastes way different

yesterday

I sub it 1:1 in all my recipes! It’s a little less harsh than store bought, so if anything it makes my fried rice and stir fries taste better. I haven’t noticed any difference in how it cooks at all.

yesterday

Exactly! This is a 1:1 replacement for any recipe that calls for light soy sauce. It has a cleaner, smoother umami flavor than most mass-produced options, so you might find you want to use a tiny bit extra, but it will work perfectly in all your go-to dishes.

2 weeks ago

I was worried the 2 hours active time would be too much to fit in between school drop off and my work meetings, but I split it up over two nights and it was totally manageable! My batch is almost done fermenting, I can’t wait to use it in my soy sauce chicken for our Sunday family dinner. The kids have been asking about it every week when I check the jar

yesterday

I don’t need 3 quarts of soy sauce, that’s way too much for just me and my partner. Can I cut the recipe in half without messing up the fermentation process?

2 hours ago

Absolutely! You can halve (or even quarter) all the ingredients with no issues, just make sure you keep the ratios exactly the same, and use a smaller jar so the solids stay fully submerged under the brine the whole fermentation time. It’ll still take the full 90 days to ferment, but you won’t end up with more soy sauce than you can use!

1 week ago

Wait, what’s the difference between this homemade light soy and the dark soy sauce I have in my pantry? I thought all soy sauce was basically the same, tbh

5 days ago

Light soy is lighter in color, saltier, and used for seasoning while cooking, dark soy is thicker, sweeter, darker, and used for color in braises and stir fries. You can’t really swap them 1:1! This homemade light stuff is perfect for everyday cooking.

5 days ago

I bottled a batch right before our last camping trip and brought it along to season our campfire fried rice and grilled veggies. Even my picky brother in law who hates “fancy homemade stuff” was raving about how good the food tasted. Next time I’m making a double batch to bring on all our trips, it’s so portable and lasts forever even without a fridge

3 days ago

I love that this doesn’t have any weird preservatives or random additives in it! I’ve been trying to cut down on processed foods and make more of my own pantry staples, and this was way easier than I thought it would be. I just bottled my first batch and I already have jars of starter going for homemade oyster sauce next. 10/10, will be a staple in my kitchen from now on



