
Mac and Cheese Muffin

intro
Portable, crispy-edged, creamy-centered baked mac and cheese muffins are handheld, mess-free comfort food perfect for casual sharing and quick snacking.
Ingredients
Steps
Preheat the Oven, Boil Water
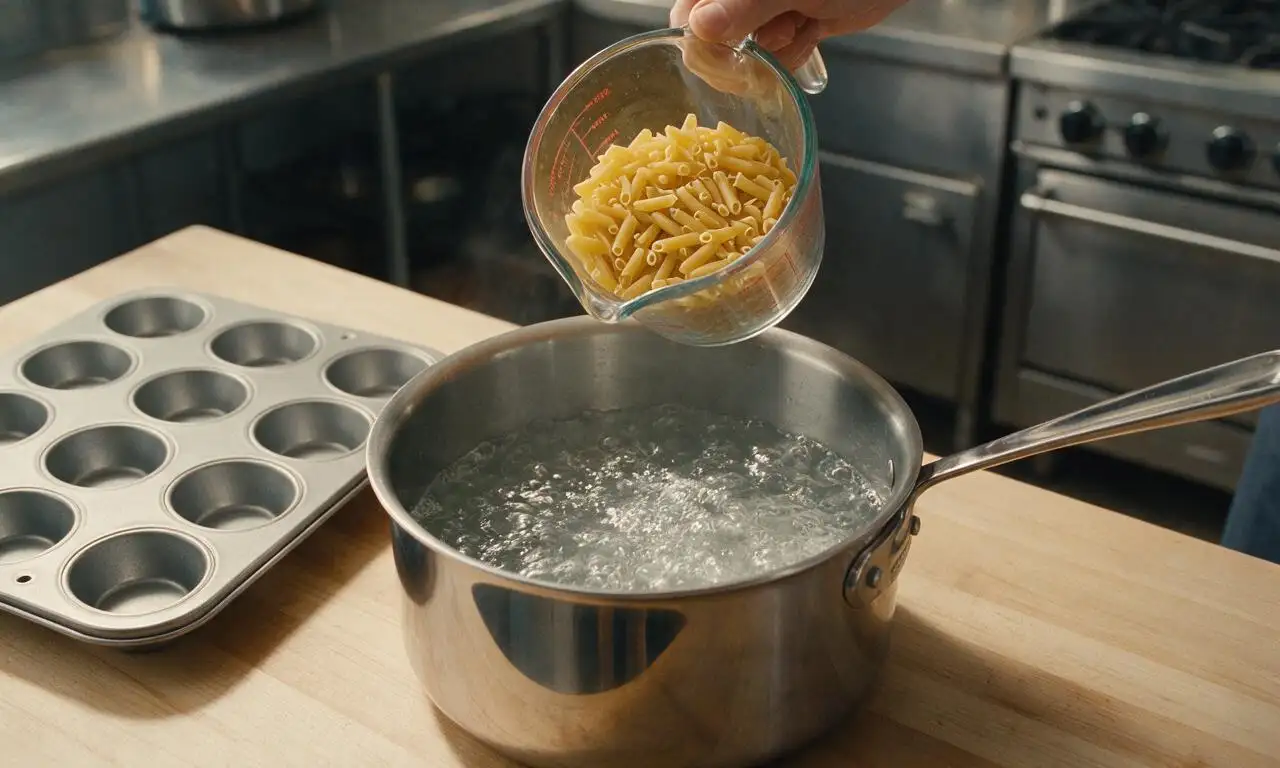
Preheat your oven to 200°C (400°F), and generously spray a 12-cup standard muffin tin with non-stick cooking spray. Bring 2 liters of water mixed with ½ teaspoon of the kosher salt to a rolling boil over high heat, then add 200g dry elbow macaroni. Cook for 8 minutes until al dente, then drain fully and set aside—do not rinse the pasta, as its starchy coating helps the cheese sauce bind to the noodles.
Prepare the Roux
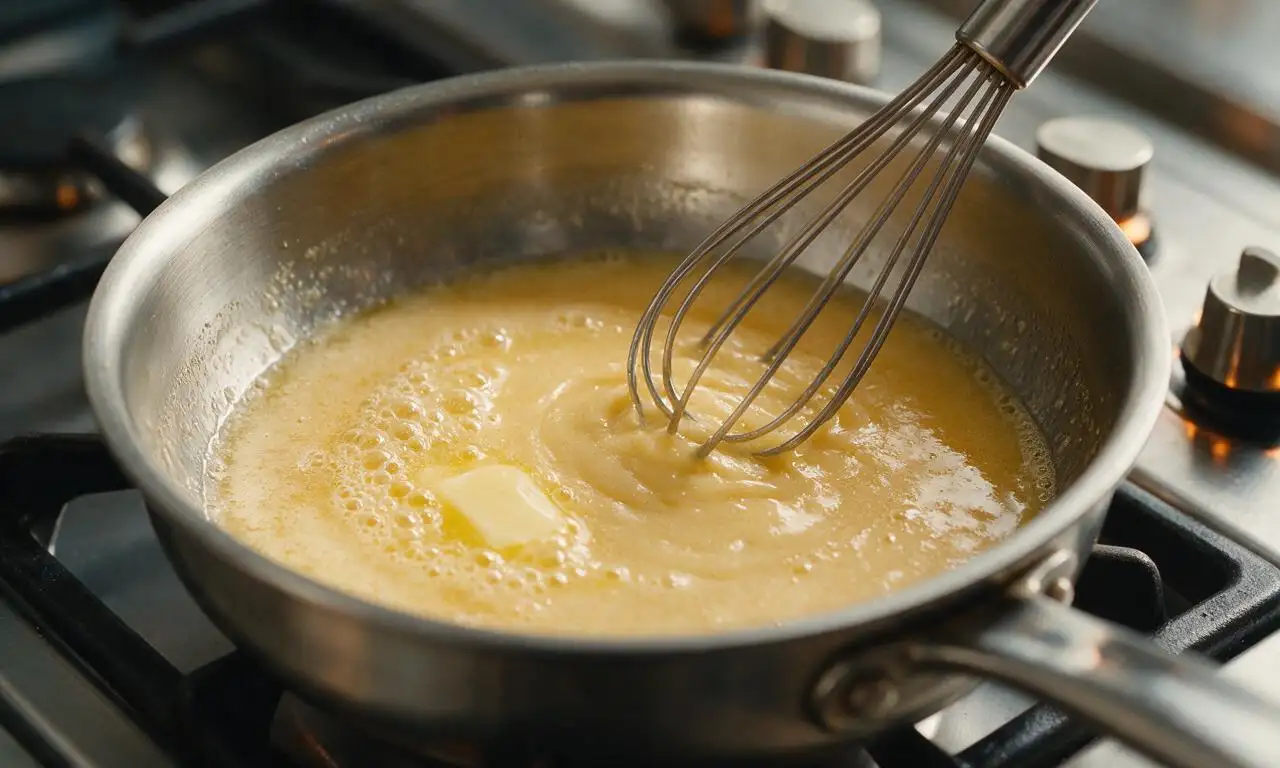
While the pasta cooks, melt 30g unsalted butter in a small saucepan over medium-low heat. Once fully melted, whisk in 2 tablespoons (16g) all-purpose flour to form a roux, and cook for 2 minutes, stirring constantly, until the roux is pale golden and smells faintly nutty. Do not let the roux turn dark brown, as this will create a bitter, burnt flavor.
Thicken the Cheese Sauce
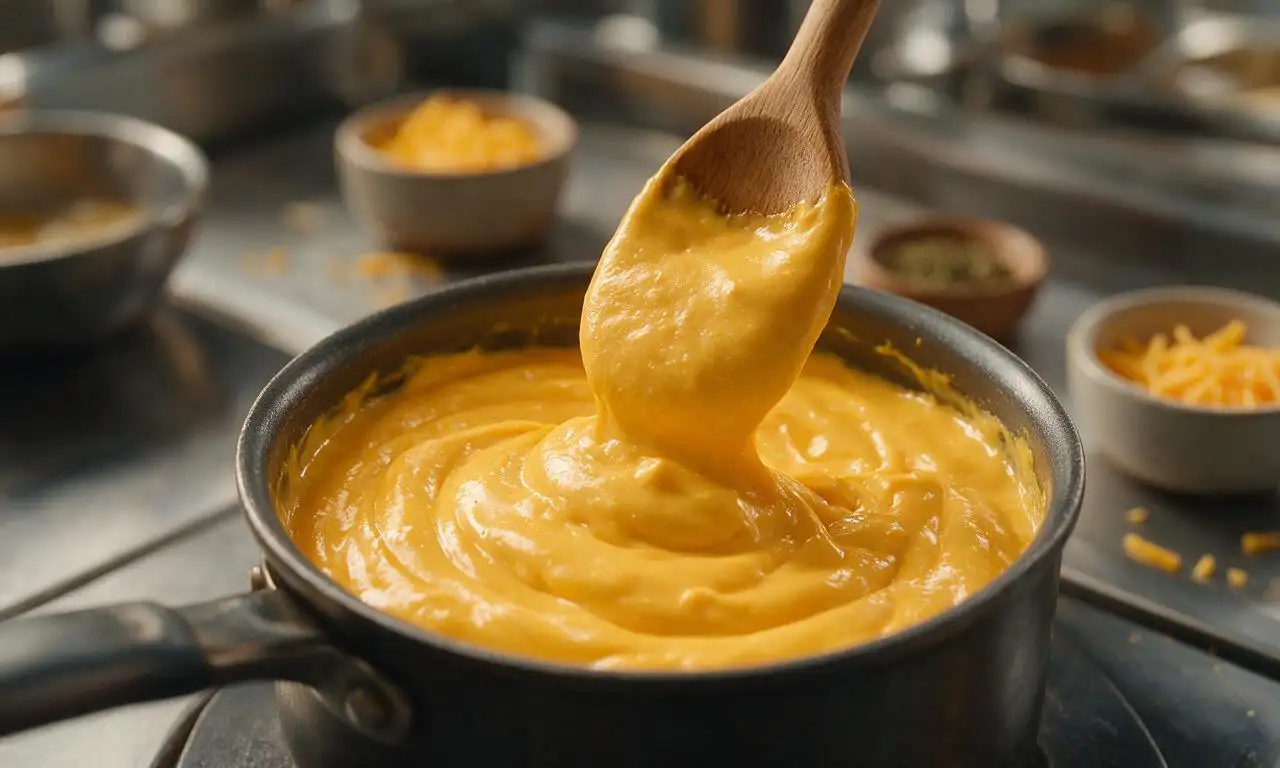
Slowly pour 180ml whole milk into the roux, whisking constantly to prevent lumps, then increase heat to medium. Bring the sauce to a gentle simmer, and cook for 3 minutes until it thickens enough to coat the back of a spoon. Remove the pan from heat, then stir in 200g of the shredded sharp cheddar, 1 teaspoon garlic powder, ½ teaspoon smoked paprika, remaining ½ teaspoon kosher salt, and ¼ teaspoon ground black pepper, stirring until the cheese is fully melted and the sauce is smooth.
Stir in Egg and Pasta
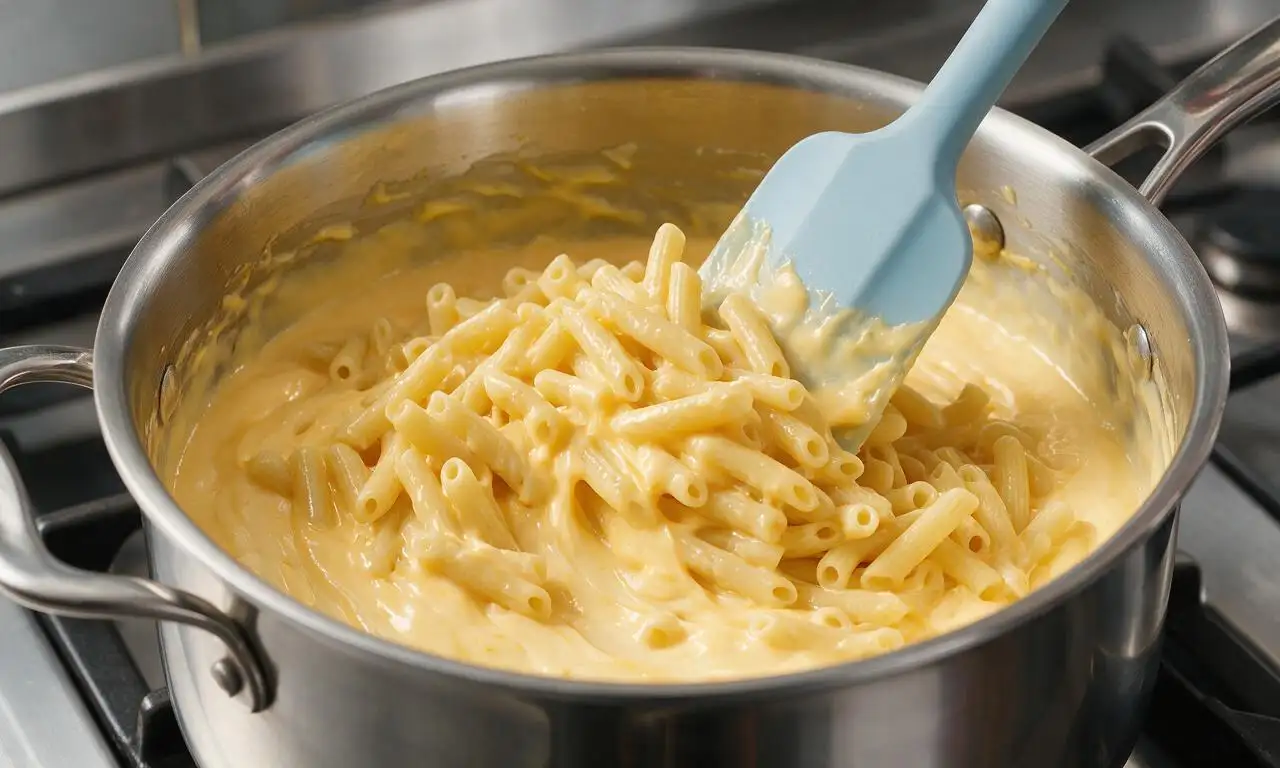
Let the cheese sauce cool for 2 minutes off the heat, then stir in the beaten large egg, mixing quickly and thoroughly to prevent the egg from curdling from excess heat. Add the fully drained cooked elbow macaroni to the sauce pot, and stir until every pasta piece is evenly coated in the creamy cheese mixture.
Fill and Top the Muffins
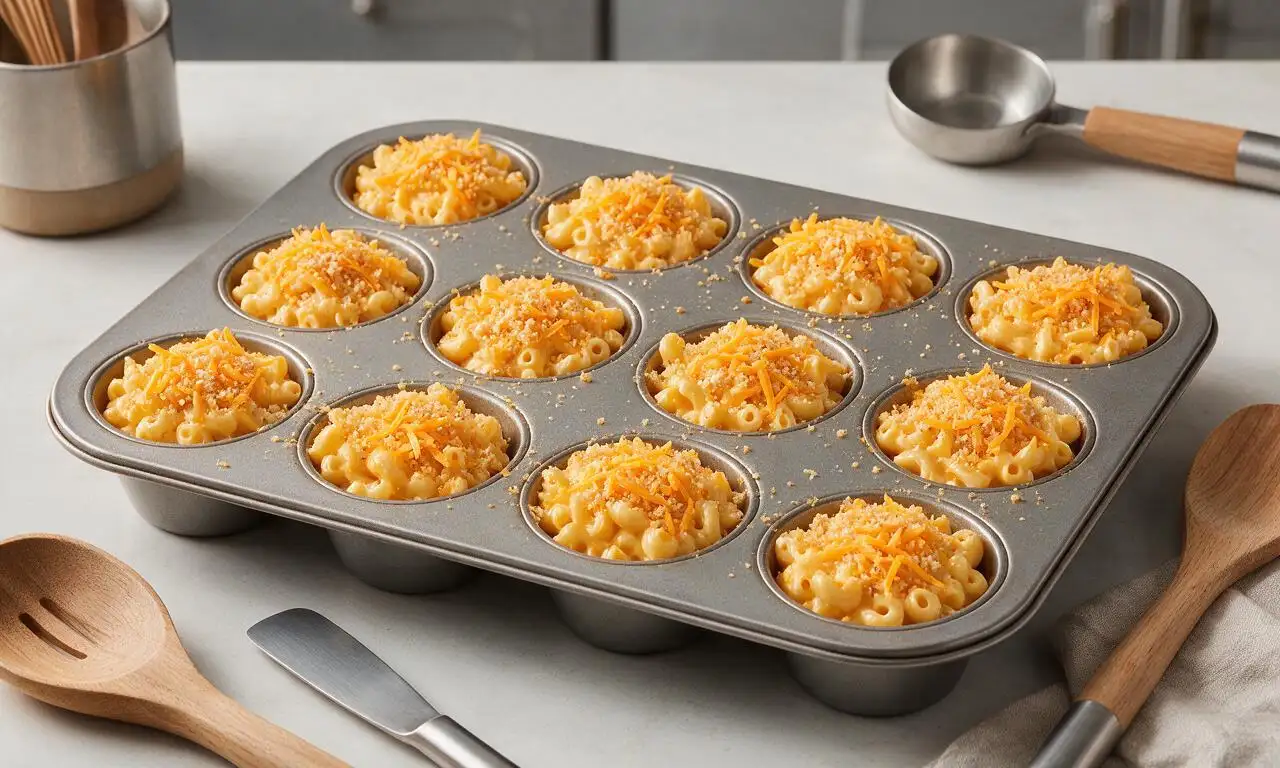
Scoop ¼ cup of the mac and cheese mixture into each prepared muffin tin cup, pressing down gently with the back of a spoon to pack the mixture tightly so it holds its shape after baking. Top each muffin evenly with the reserved 50g shredded sharp cheddar and 30g panko breadcrumbs to create a crispy, crunchy top layer.
Bake and Rest the Muffins
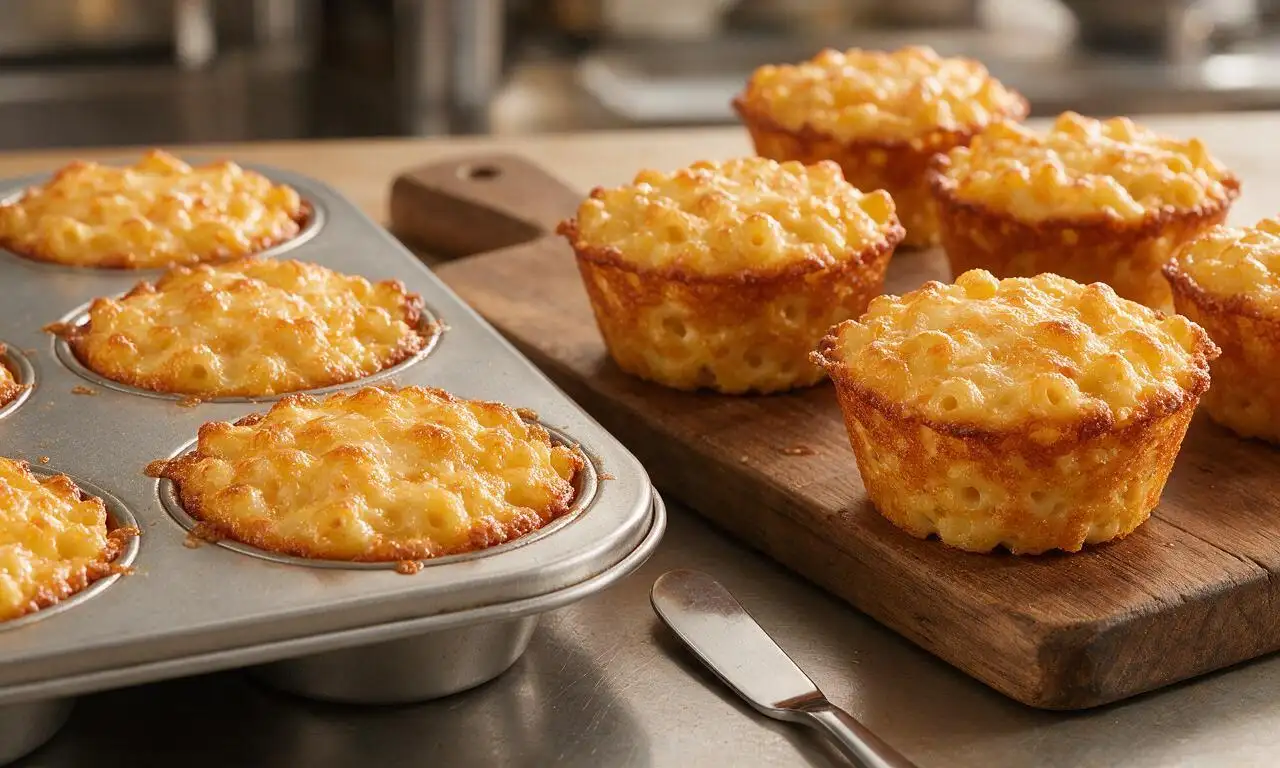
Bake in the preheated 200°C (400°F) oven for 18-20 minutes, until the muffin edges are deep golden and crispy, and the cheese topping is fully melted and bubbling. Let the muffins rest in the tin for 5 minutes after removing from the oven, then run a small butter knife around the edge of each cup to lift the muffins out cleanly. Serve warm.
Tips
2.Stir the beaten egg into slightly cooled (not boiling hot) cheese sauce quickly to avoid curdling, which would create lumpy, uneven texture in the finished muffins.
3.Let muffins rest the full 5 minutes in the tin after baking: this allows the cheese and egg binder to set, so muffins lift out cleanly without breaking apart.






OMG these mac and cheese muffins are such a game changer for busy school mornings! I baked a batch on Sunday, popped them in the fridge, and my kids grab two each on their way out the door all week. No messy bowls, no rushed breakfast fights, SO good. Even my picky 7 year old asked for seconds at dinner last night!
Took these to my neighborhood potluck last weekend and people were begging for the recipe! I added a little crumbled bacon on top before baking for extra savoriness, and the crispy edges? Chef’s kiss. Only note is I wish I made a double batch, they were gone in 10 minutes flat.
Super easy recipe, perfect for my tiny dorm oven! I used pre-shredded cheddar to save time and they still turned out creamy inside. Only issue is mine stuck a little to the muffin tin even with cooking spray — anyone have tips for that?
I’ve been making baked mac and cheese for my grandbabies for 40 years, and I was skeptical about the muffin format, but let me tell you — these are adorable! Perfect little portions for little hands, and the crusty top is just how we like it. I added a tiny dash of nutmeg to the cheese sauce like my mom taught me, and it was chef’s kiss.
Added these to my regular potluck rotation! They’re portable, don’t need to be kept super hot to taste good, and even the gluten free folks at my last book club could eat them when I swapped in GF pasta. 10/10, no notes.
These are perfect for my weekly meal prep! I make a batch every Sunday, portion them into containers with a side of roasted broccoli, and I’ve got lunch for 4 days straight. Way better than spending $12 on takeout mac and cheese every day at work. The 35 minute cook time is so short too, it doesn’t eat into my weekend plans at all.
My son has texture issues and refuses regular mac and cheese because it’s “too slimy” but he ate THREE of these muffins last night for dinner. I could cry. I didn’t change a single thing in the recipe, followed it exactly, and they came out perfect first try. It’s so easy even someone who burns toast can make these.
I mixed in a little smoked gouda with the sharp cheddar for a smoky, creamy twist and WOW. These taste like the fancy appetizer they charge $12 for at the gastropub down the street, but I made them at home for like $3 total. Will be making these for my next game night for sure.
These were so easy to throw together even for my terrible cooking skills! Quick question — can I freeze these? I’m terrible at remembering to cook during the week and I’d love to stock a bunch in the freezer for quick dinners when I don’t feel like putting effort in. They turned out creamy and delicious first try, just wish I’d made a double batch!
Made these for my daughter’s soccer team snack after practice last week and the kids went wild. Even the coaches asked for the recipe! I put a little sprinkle of panko breadcrumbs on top for crunch, and they held up perfectly in the cooler on the way to the field. No messy spoons needed, perfect for on-the-go.
Tried these for the first time last night and they were solid. I think next time I’ll add a little hot sauce to the cheese sauce for a kick, but the base recipe is totally foolproof. Super easy, short cook time, great for a weeknight dinner when you don’t want to spend an hour in the kitchen.
These are my new go-to after school snack for my kids. They’re filling, not loaded with a ton of weird processed stuff, and my kids think they’re a fun treat even though they’re just baked mac and cheese. I was worried they’d be dry, but they’re perfectly creamy in the middle. 10/10.
These tasted really good, but I followed the listed cook time exactly and the edges got a little too burnt for my taste. I think my oven might run hotter than average? The cheese flavor was perfect, love the individual portion size, I just had to pick off the charred parts for my toddler. Would definitely make again, just need to adjust the cook time for my oven.
Bro these are SO good. I’m a grad student living off microwave ramen and frozen pizza, and I managed to make these without burning down my apartment. Total game changer. Used the cheap block cheddar from the campus grocery store and they still tasted fancy. Will be making these every week until further notice.
Made these for my weekend brunch spread last weekend and they were the star of the show! I served them with a little side of spicy honey for dipping and people were raving. Who knew mac and cheese muffins would be such a hit at brunch? Pair them with mimosas and you’ve got the perfect party food.