
mac and cheese burrito
intro
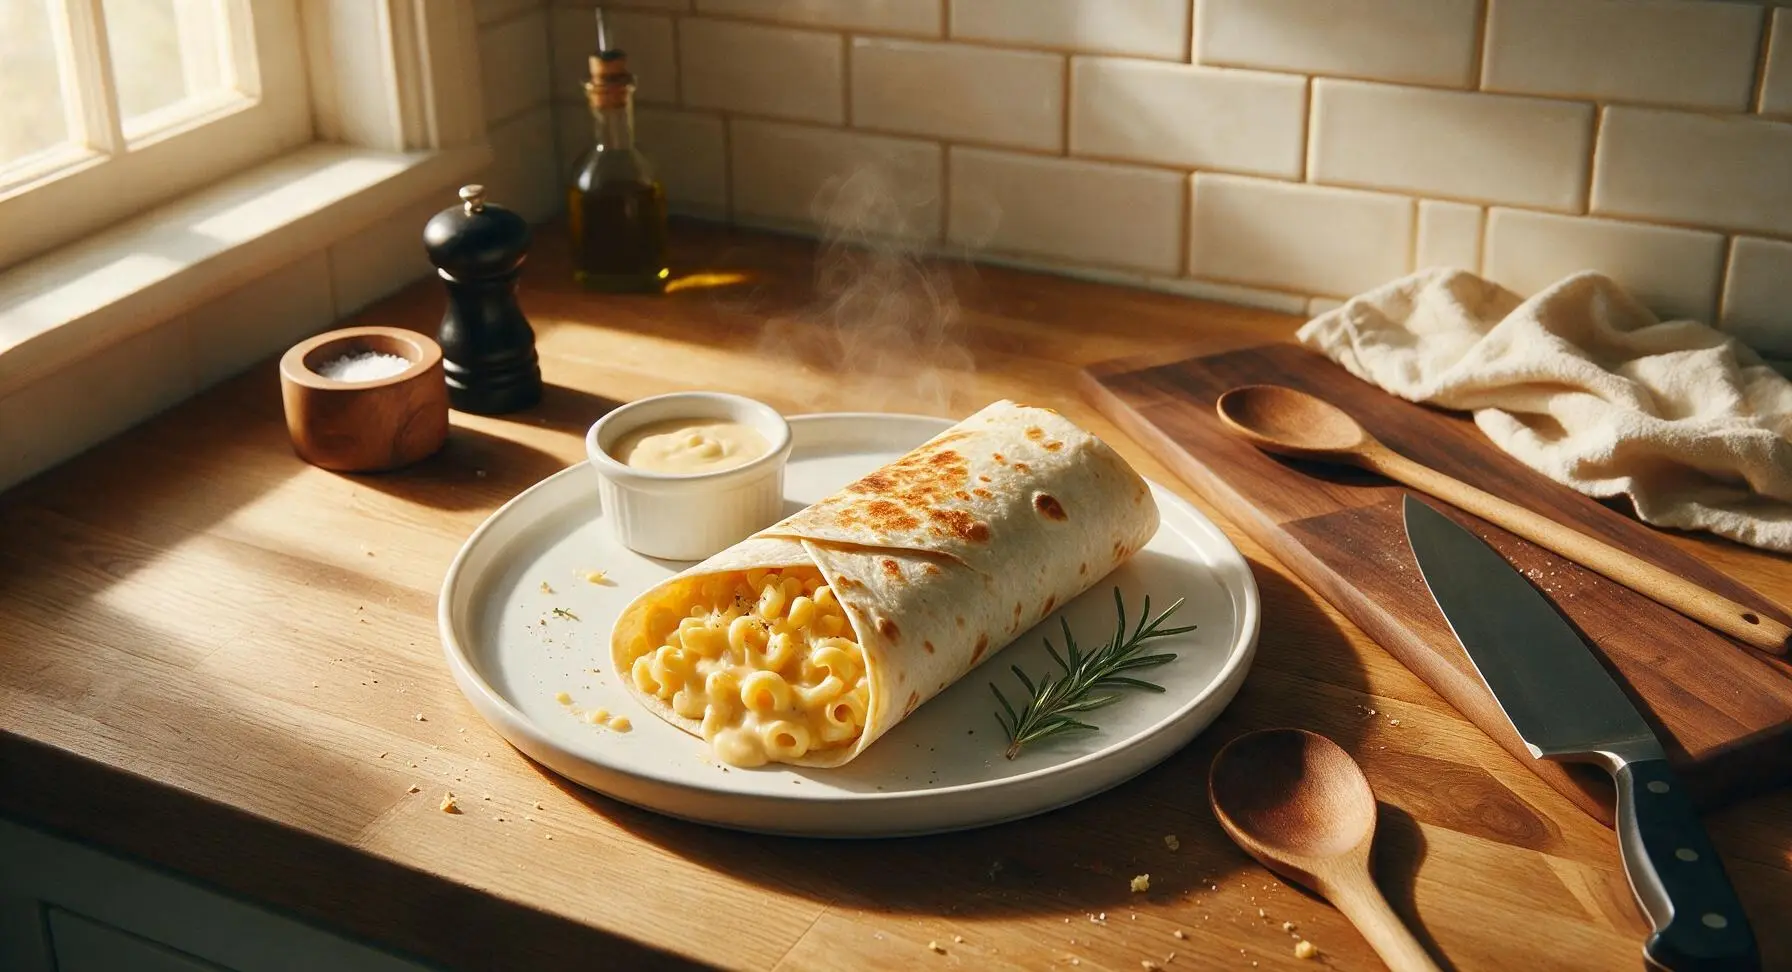
Gooey, creamy stovetop mac and cheese tucked into a warm, crisp-seared flour tortilla, this handheld comfort food mashup is quick, satisfying, and packed with rich cheesy flavor.
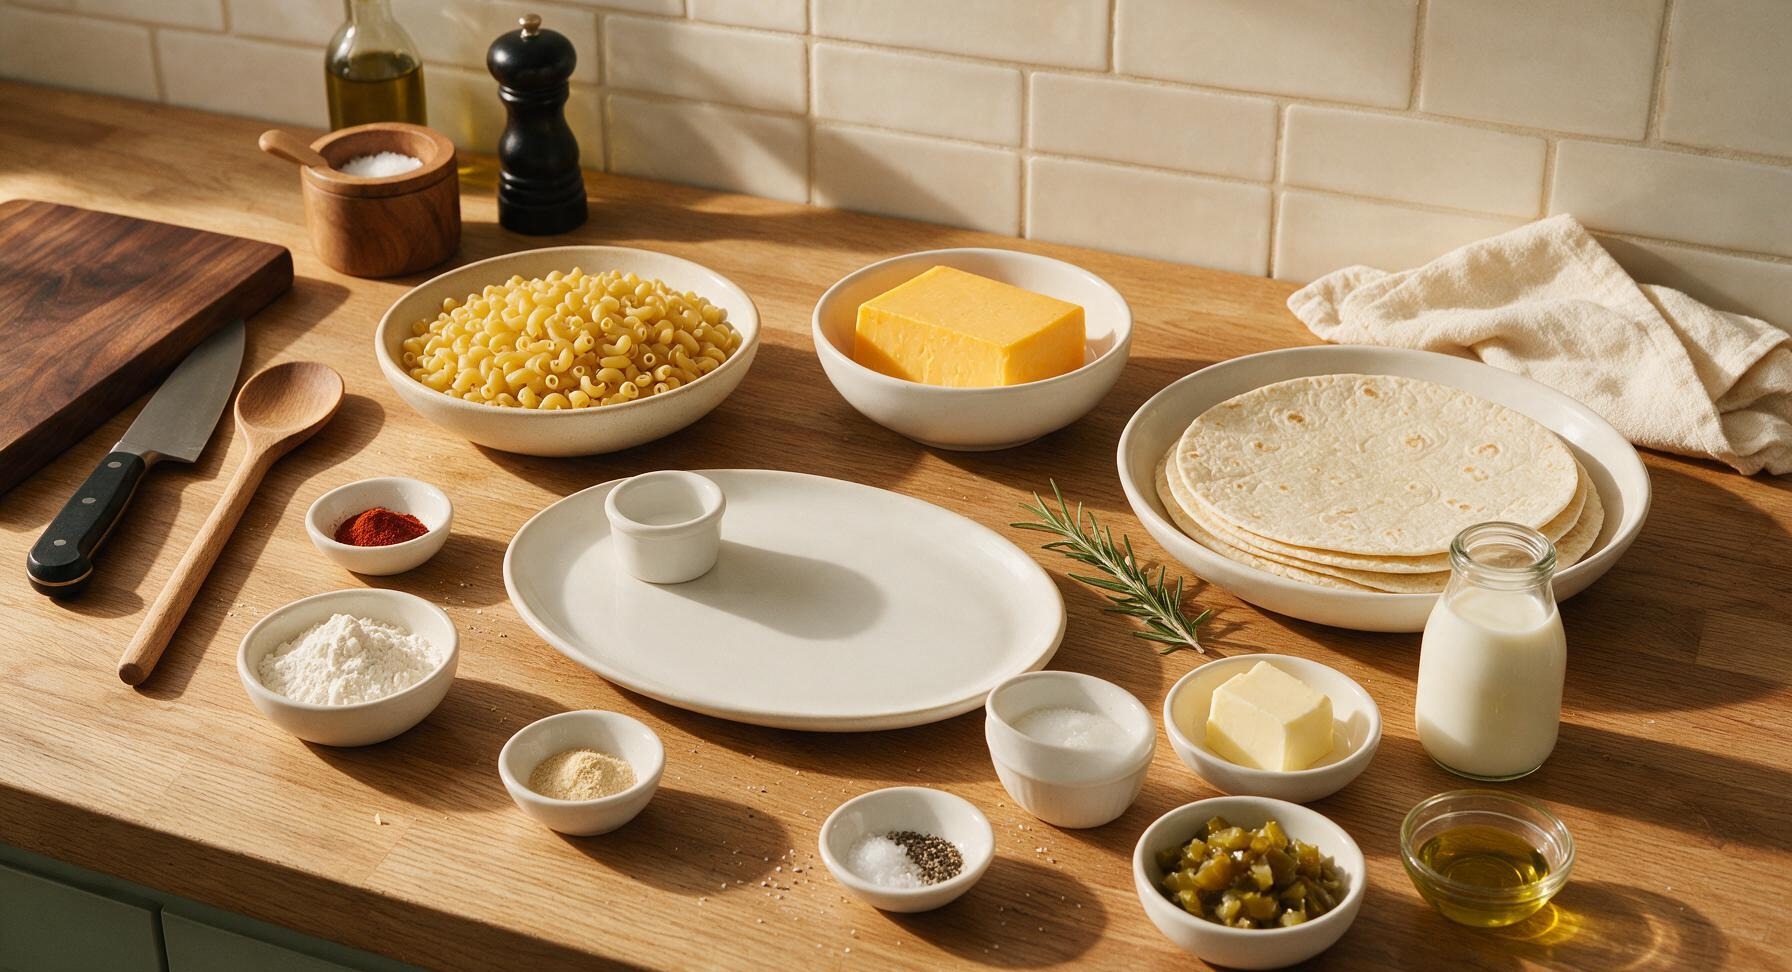
Ingredients
Steps
Cook Elbow Macaroni
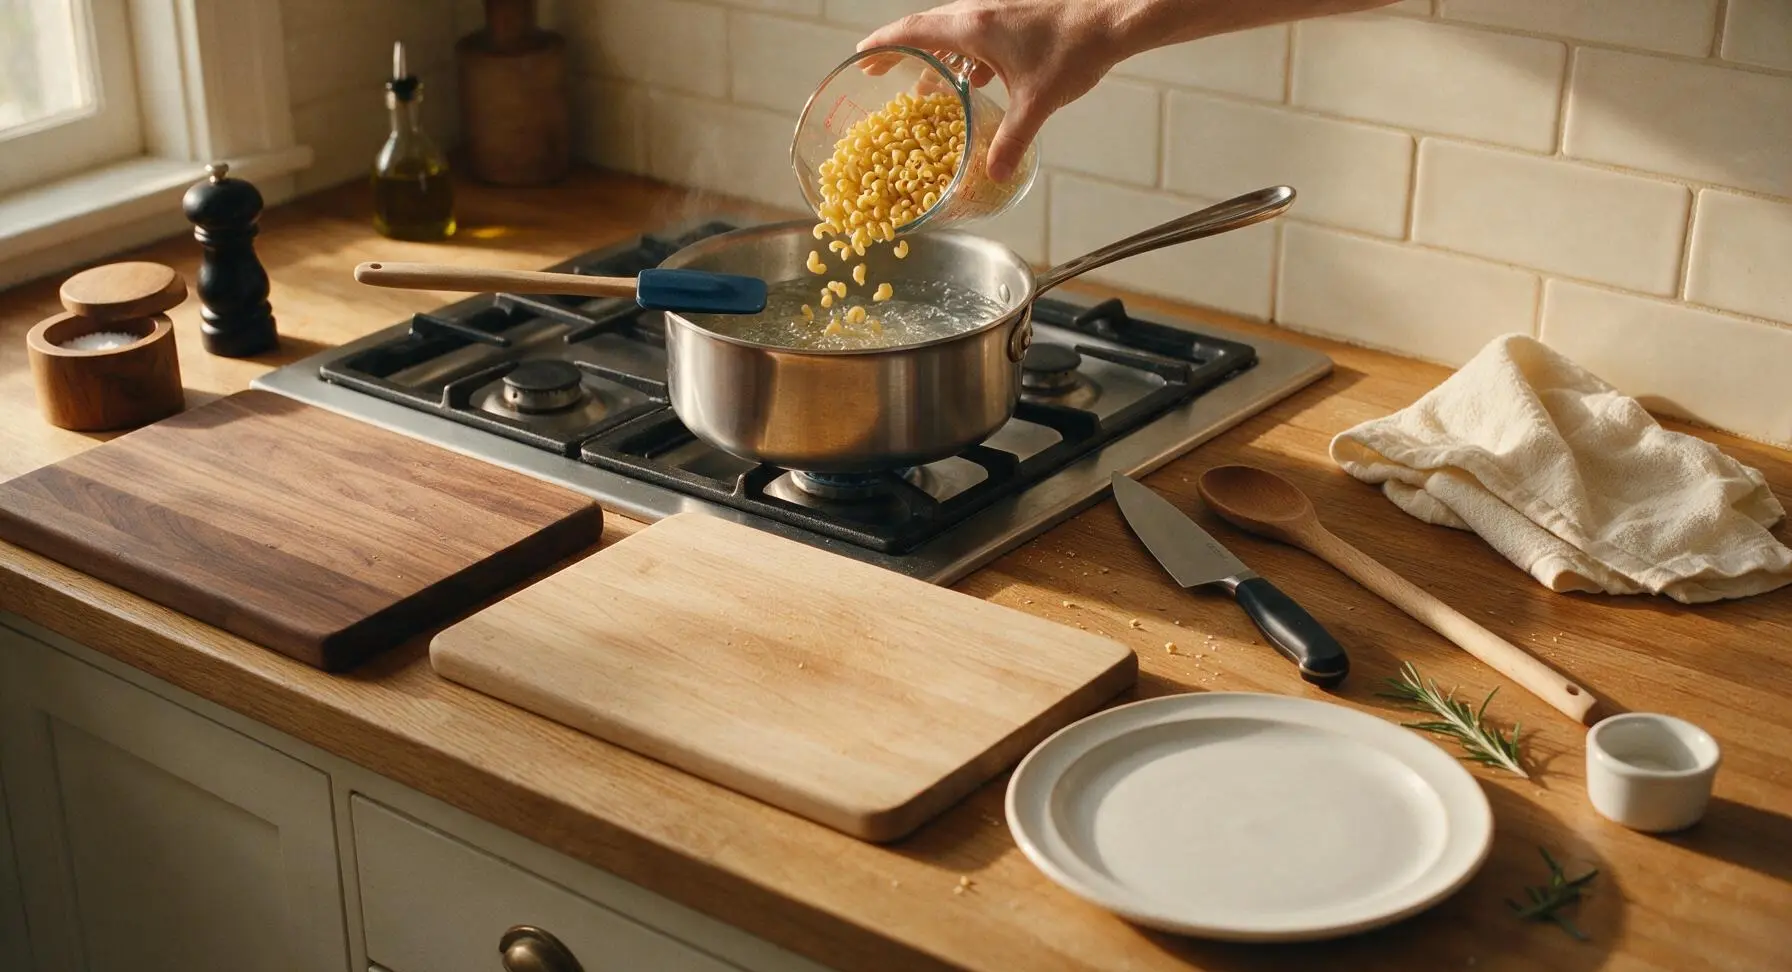
Bring 2 liters of heavily salted water to a rolling boil in the 3-quart stainless steel saucepan over medium-high heat. Add 200g dry elbow macaroni, stir once with the navy silicone spatula to prevent sticking, and cook for 7 minutes until al dente (firm to the bite, not mushy). Drain fully and set aside; do not rinse the pasta, as residual starch helps the cheese sauce cling evenly to noodles.
Grate Sharp Cheddar
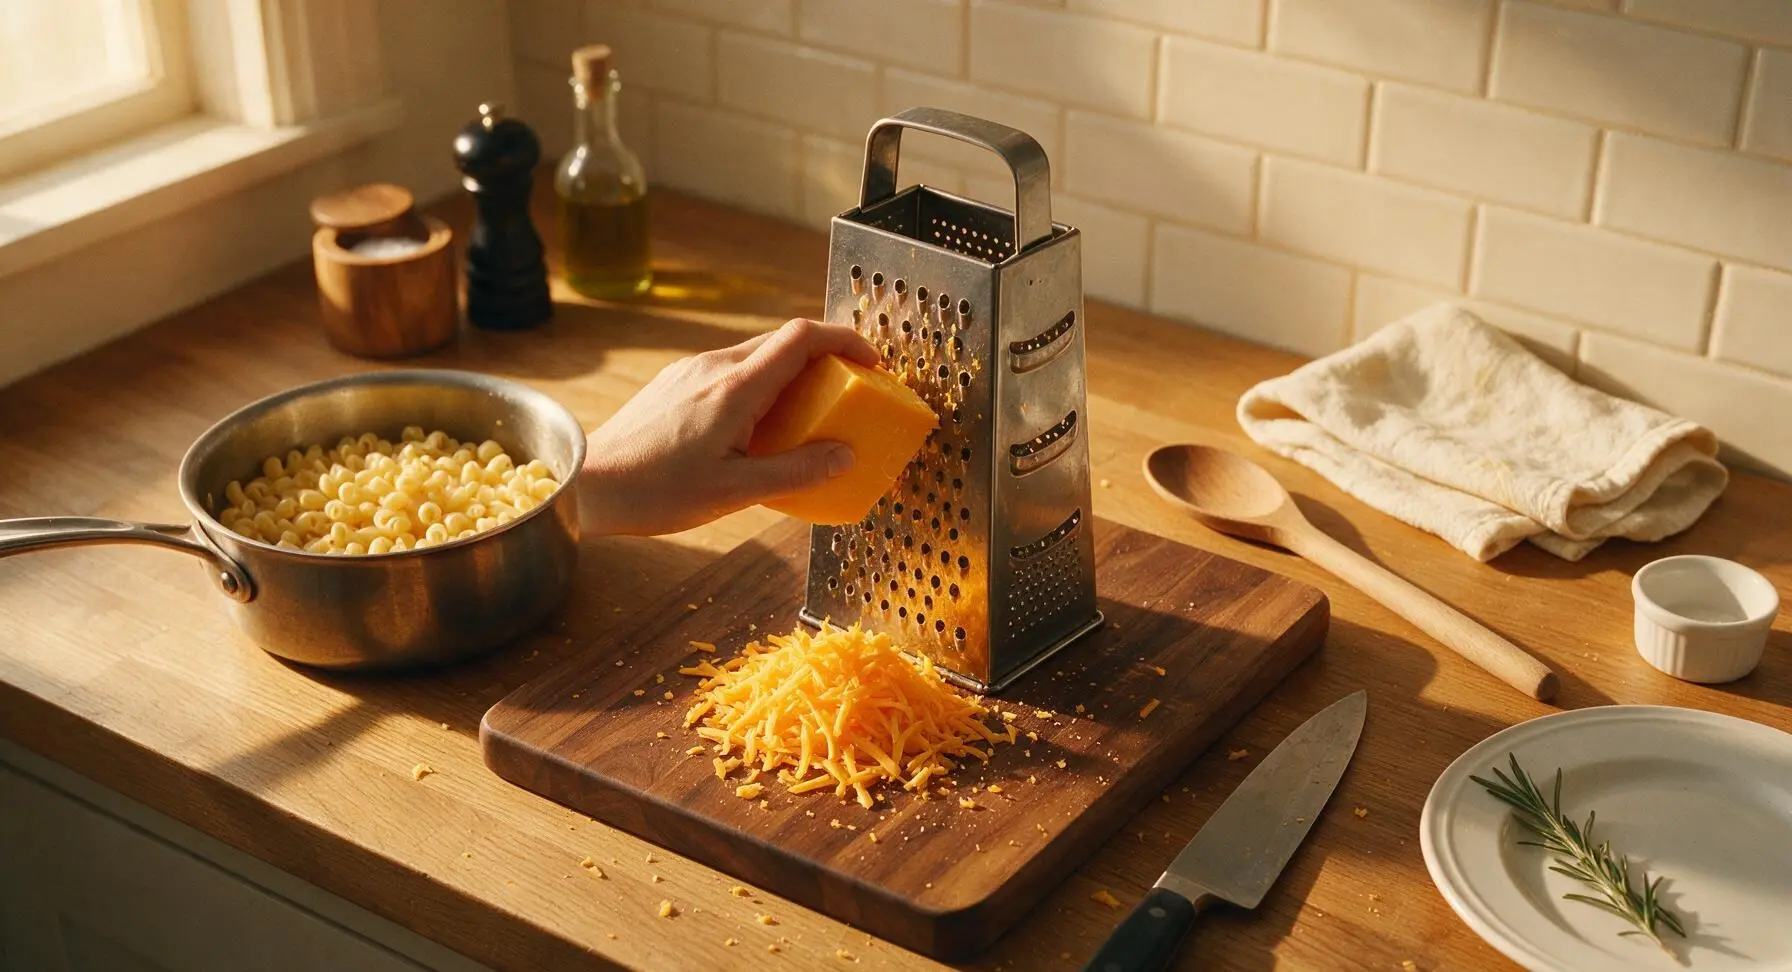
While the macaroni cooks, retrieve the stainless steel box grater and place it on the light oak cutting board. Grate 220g of sharp yellow cheddar cheese using the largest grating holes, until you have 2 cups of loosely packed shredded cheese. Set aside 2 tablespoons of shredded cheese for optional garnish. Avoid pre-shredded cheese for this recipe, as anti-caking coatings create a grainy sauce texture.
Build Sauce Roux
Return the empty 3-quart saucepan to medium-low heat, add 30g unsalted butter, and melt until foamy. Whisk in 2 tablespoons all-purpose flour, stirring constantly with the navy silicone spatula for 2 minutes, until the mixture turns pale golden and smells faintly nutty, with no raw flour lumps remaining. Do not let the roux darken to a deep brown, as this will create a bitter, off-flavor in the finished sauce.
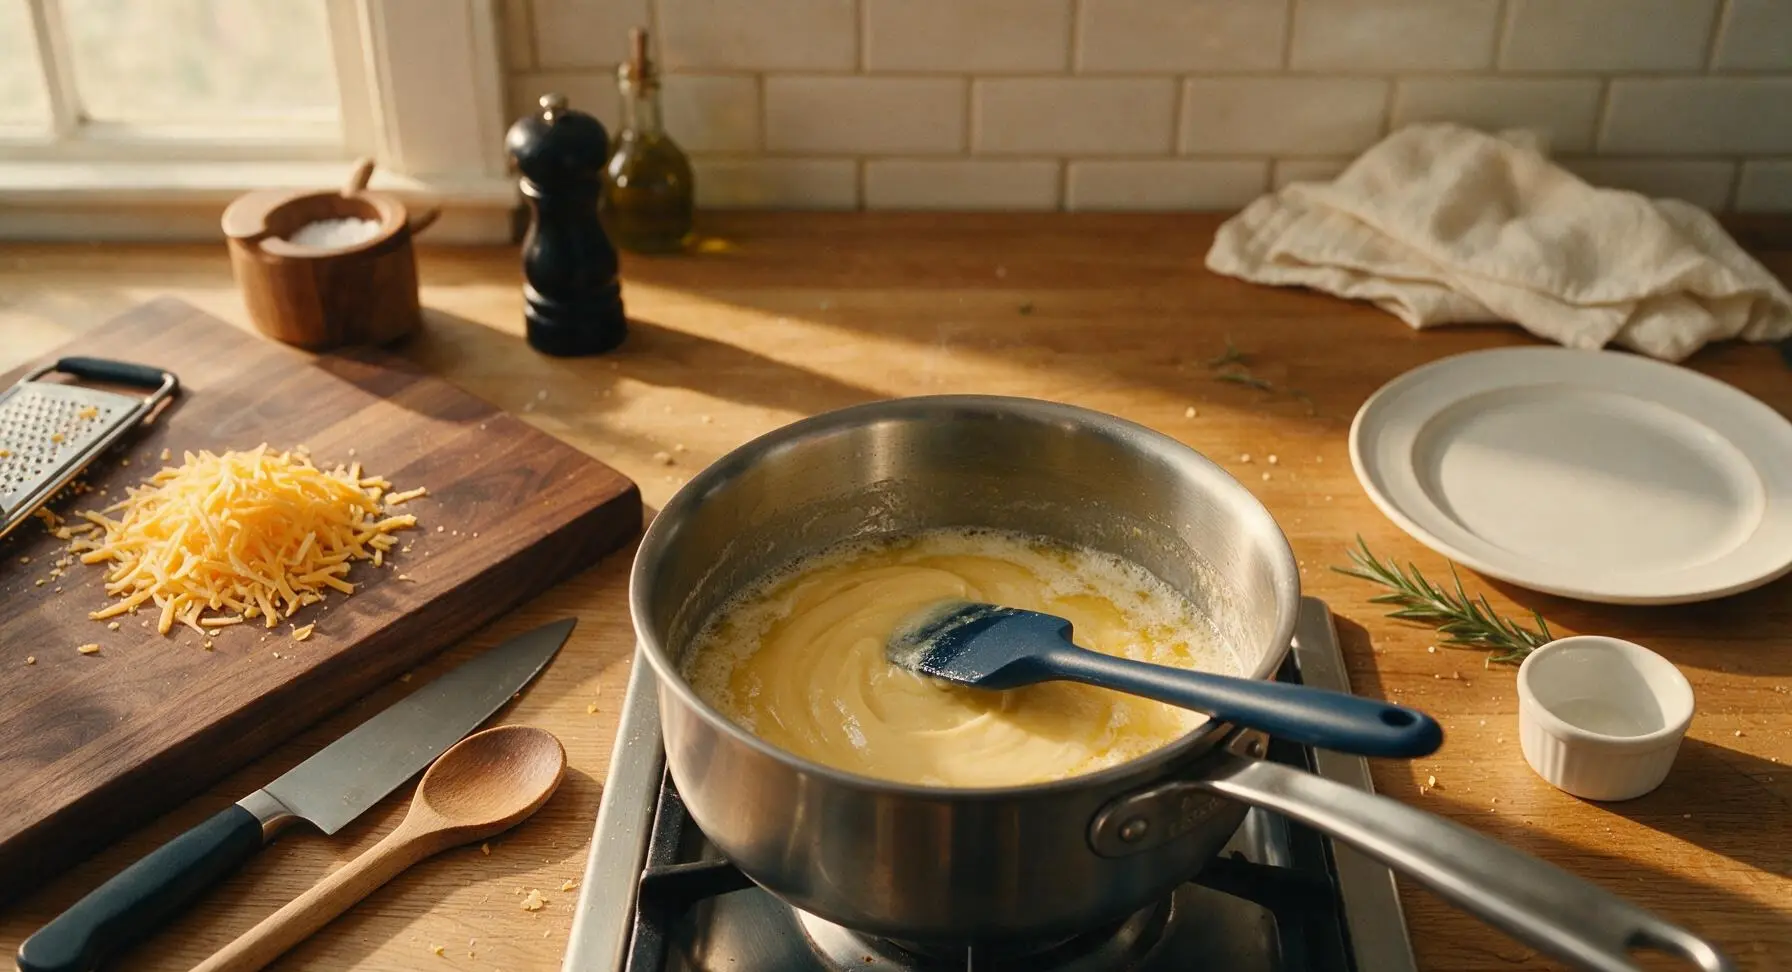
Finish Mac and Cheese
Slowly pour 180ml whole milk into the roux, whisking constantly to avoid lumps, until the mixture thickens to a smooth consistency that coats the back of a spoon (about 3 minutes). Remove the pan from heat, stir in 1 tsp garlic powder, ½ tsp smoked paprika, ½ tsp kosher salt, ¼ tsp black pepper, and the shredded cheddar cheese, stirring until fully melted and smooth. Fold in the drained cooked macaroni and 30g diced, thoroughly patted-dry pickled jalapeños, stirring until every noodle is evenly coated in glossy cheese sauce.
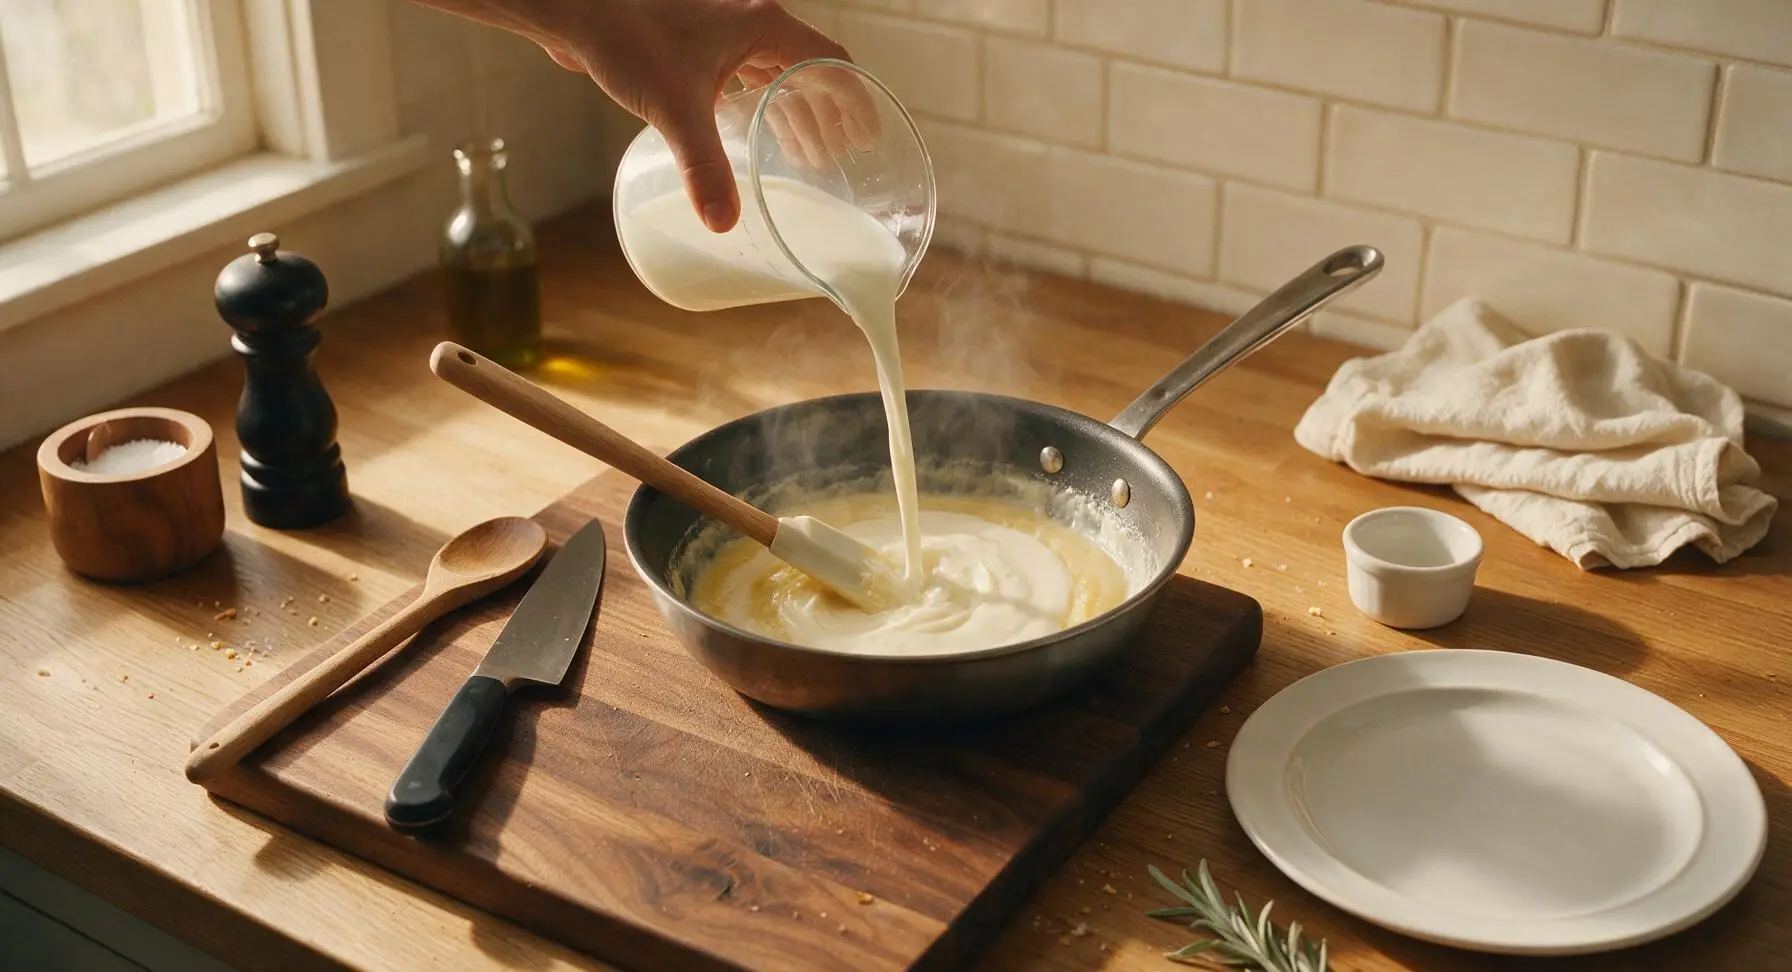
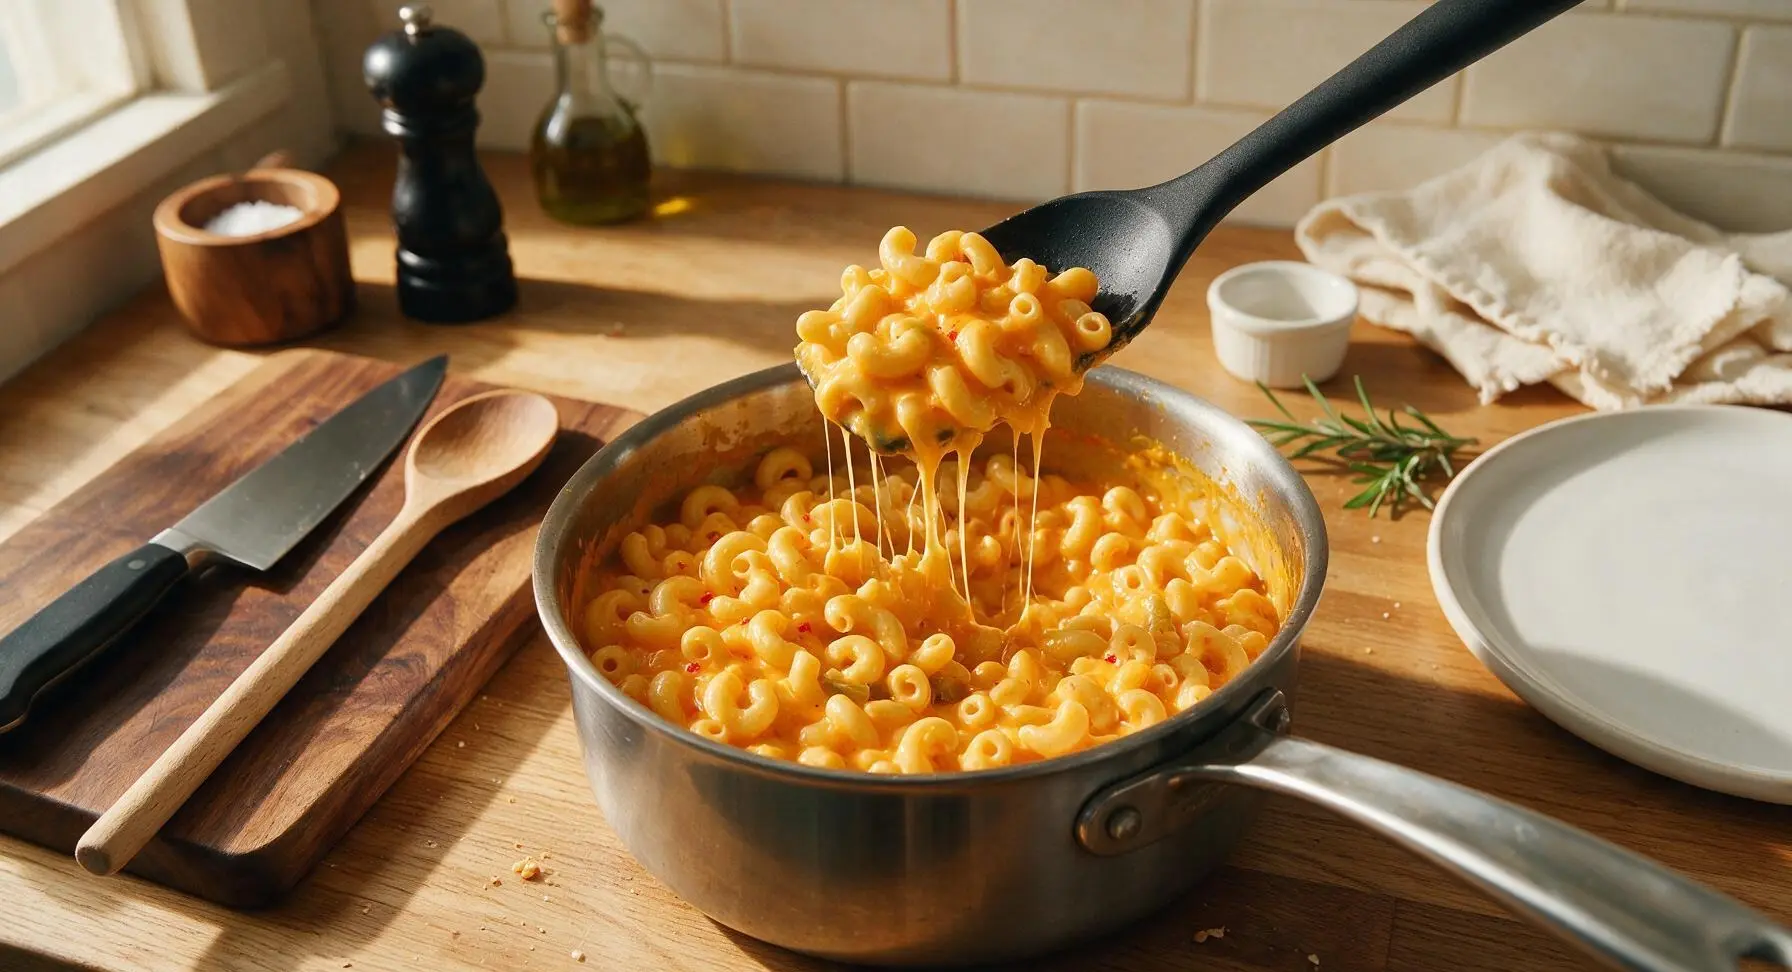
Warm Flour Tortillas
Retrieve the 10-inch seasoned cast iron skillet and place it on the second stovetop burner over medium heat. Add 1 tsp olive oil, then warm each 10-inch flour tortilla for 15 seconds per side, until soft and pliable with faint light golden spots. Transfer warmed tortillas to a small stack on a spare stoneware plate and cover loosely with a paper towel to retain heat and flexibility. Do not over-toast tortillas at this stage, as they will crack when rolled.
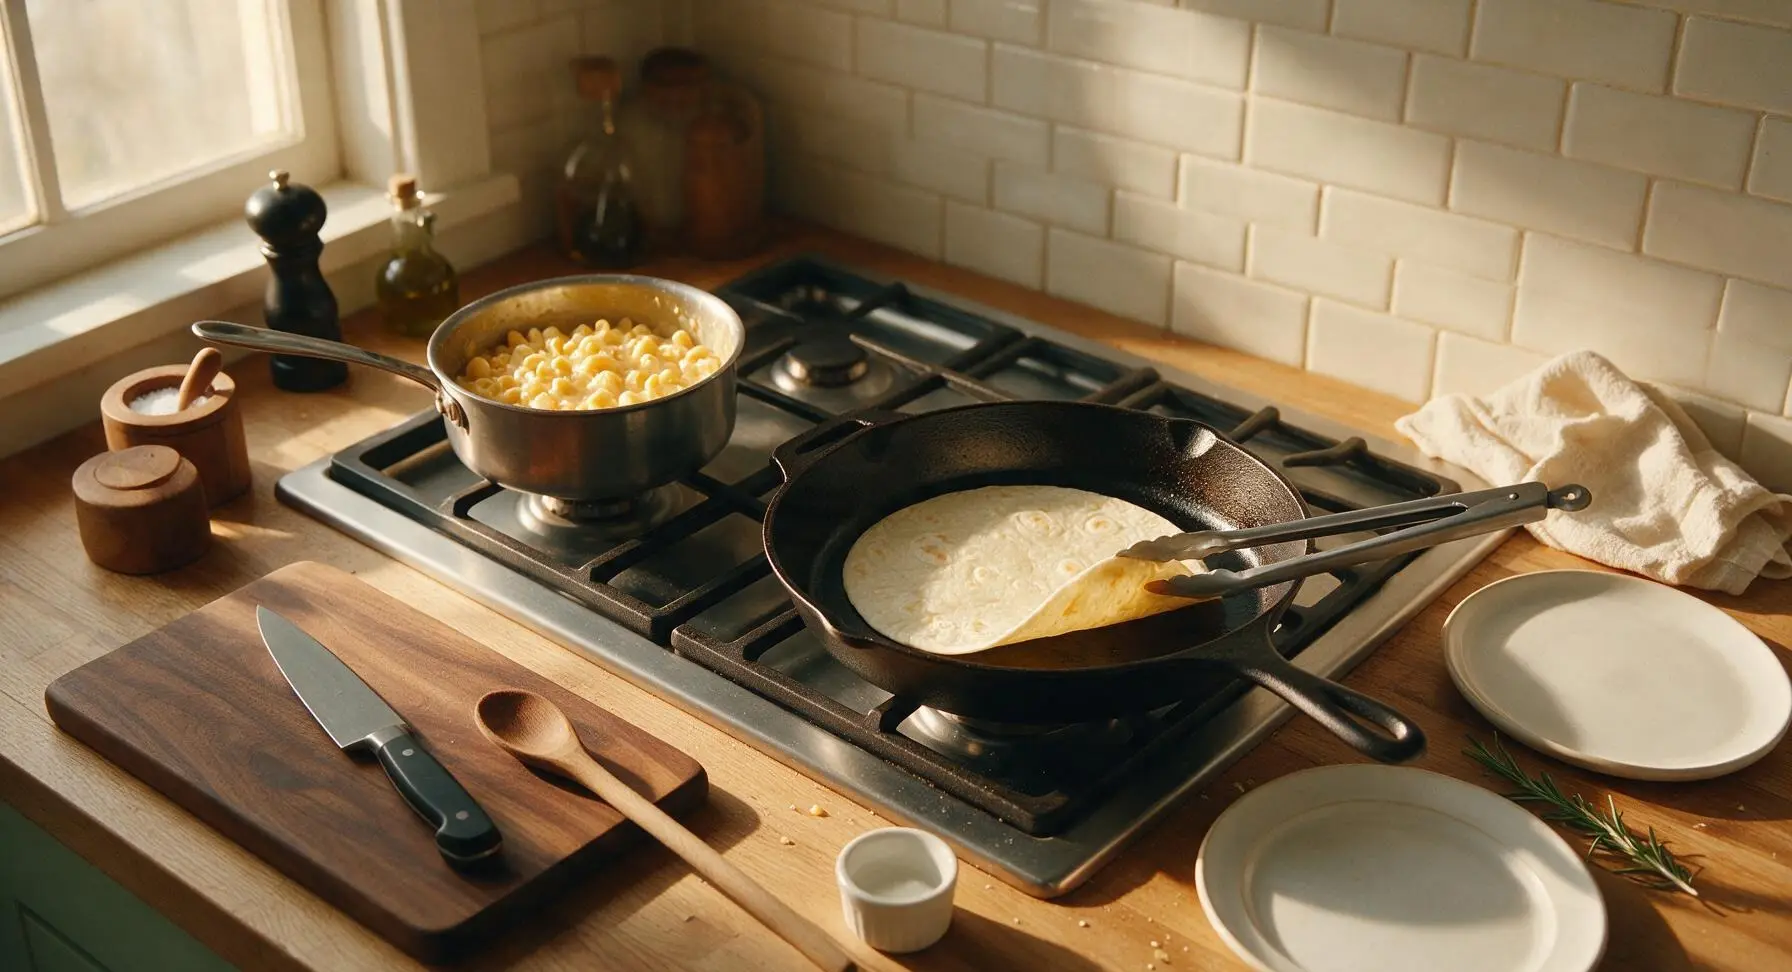
Fill and Roll Burritos
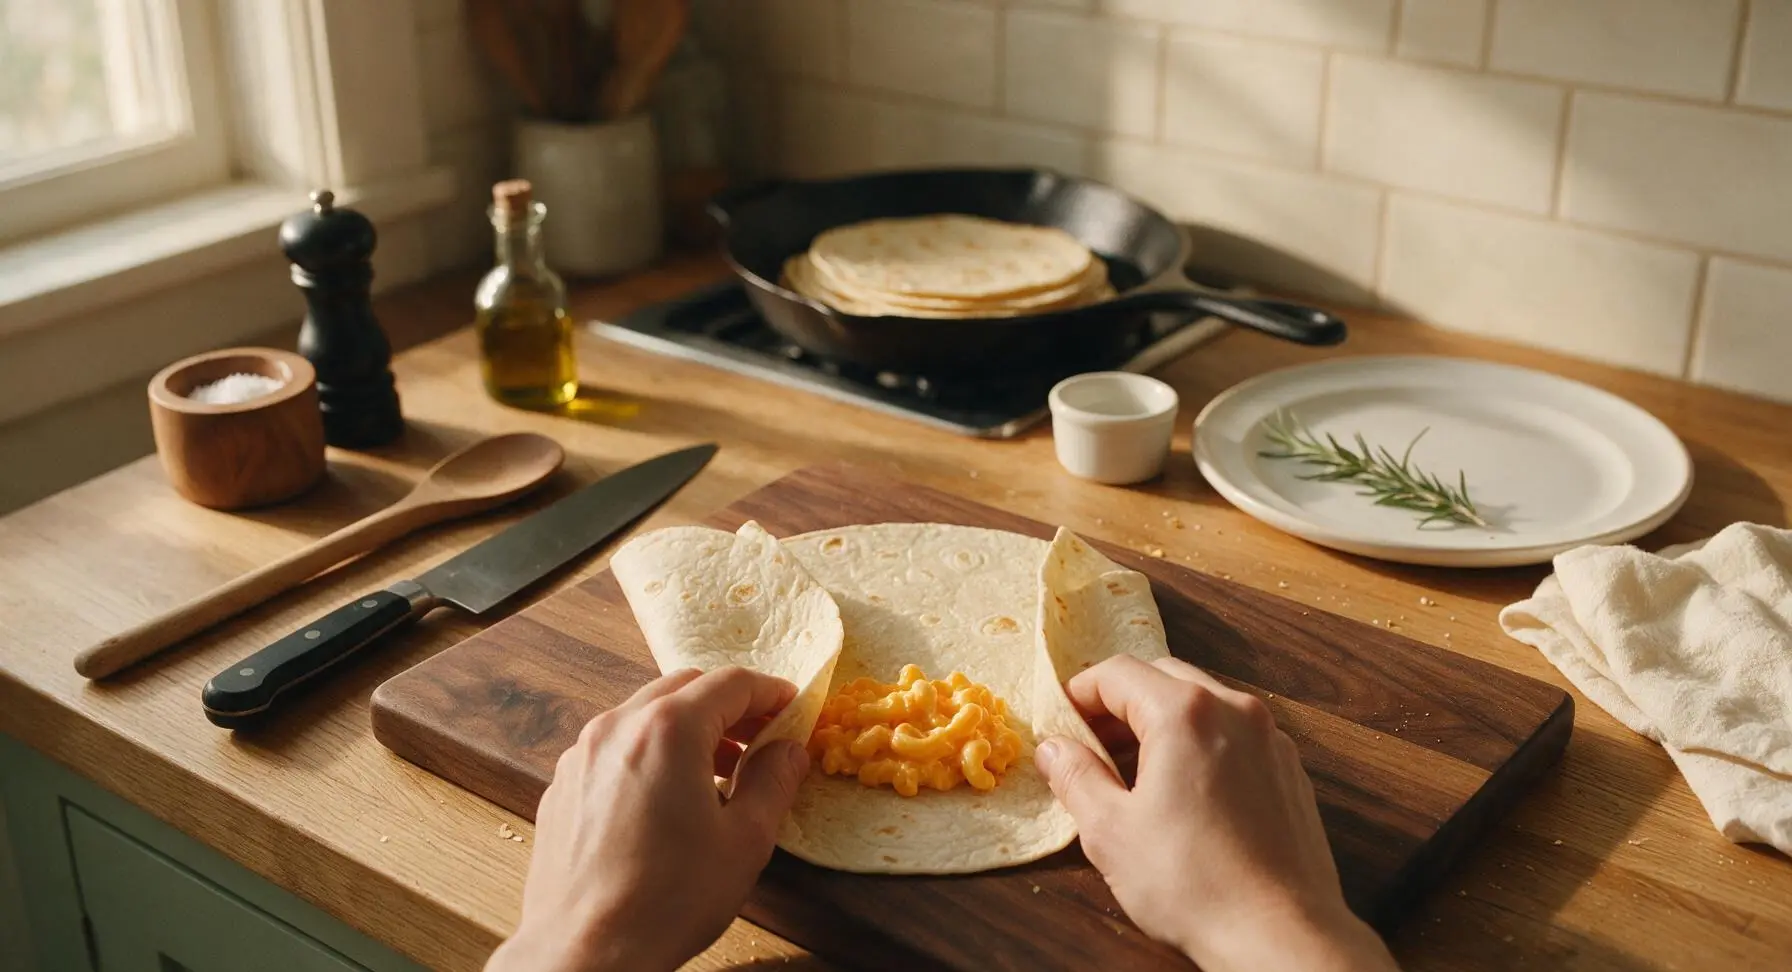
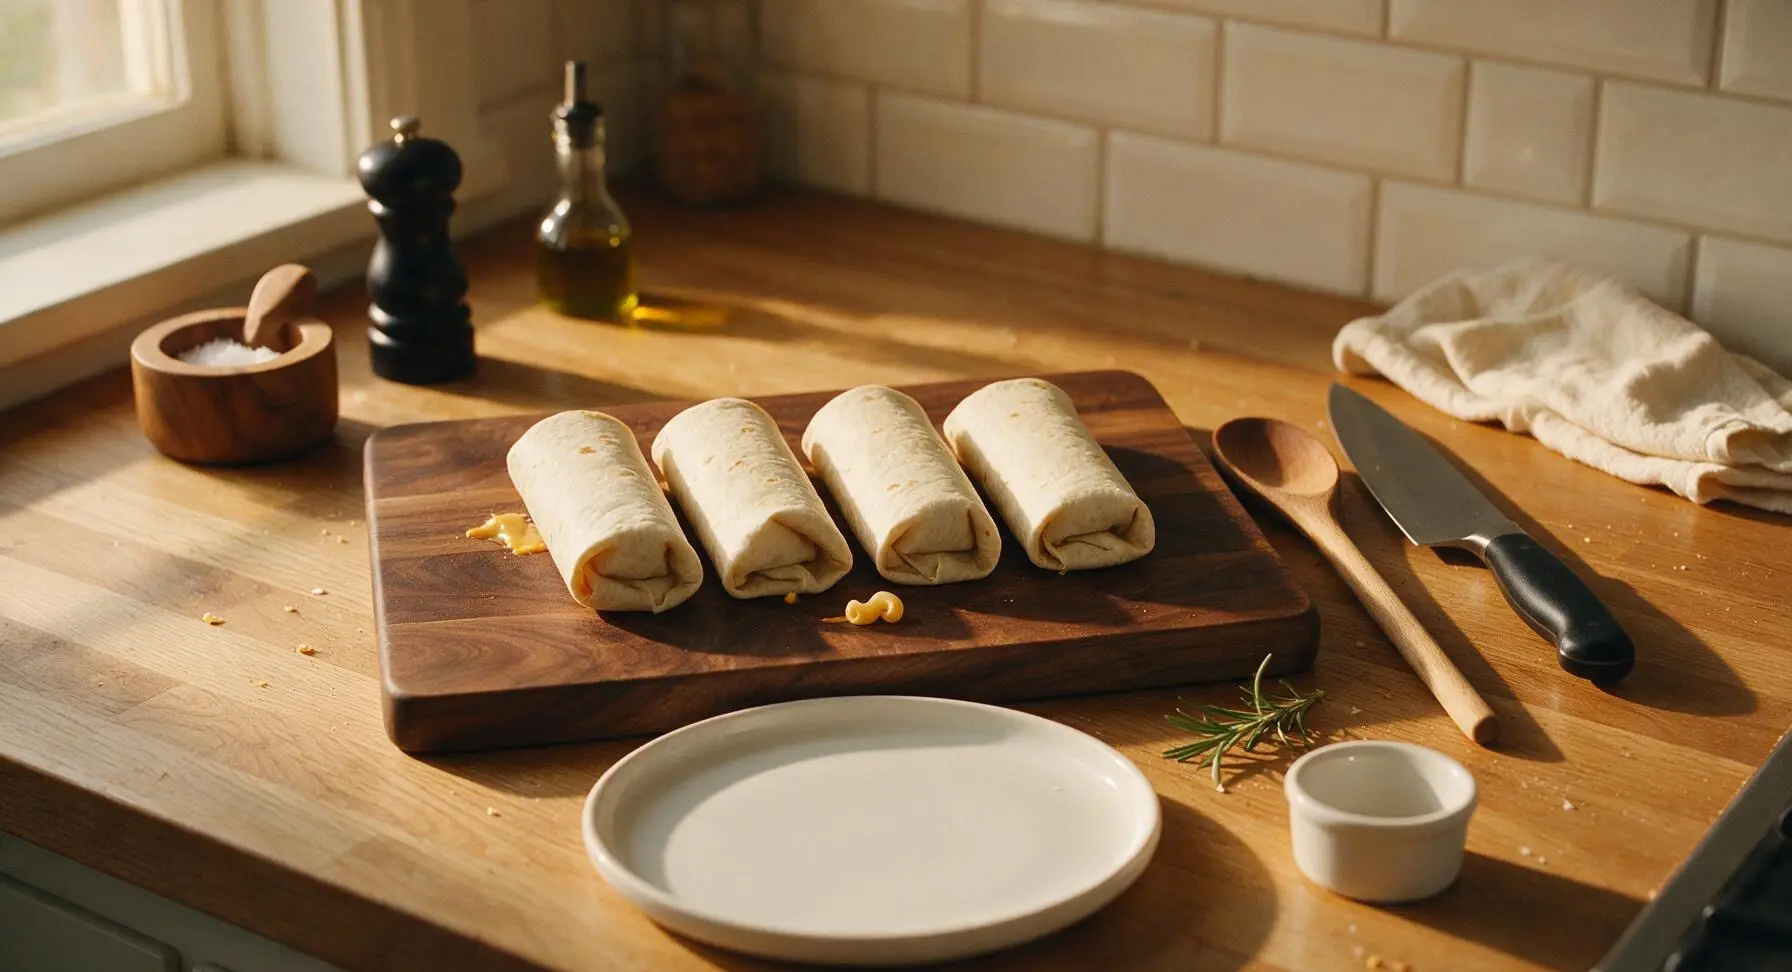
Lay one warm tortilla flat on the light oak cutting board. Scoop ¼ of the warm mac and cheese (about 1 heaping cup) in a horizontal line across the lower third of the tortilla, leaving 1-inch borders on the left and right edges. Fold the left and right edges inward over the filling, then roll the tortilla tightly from the bottom up to form a sealed, compact burrito, tucking edges as you roll to prevent filling leaks. Repeat with remaining tortillas and mac and cheese.
Sear Burrito Exteriors
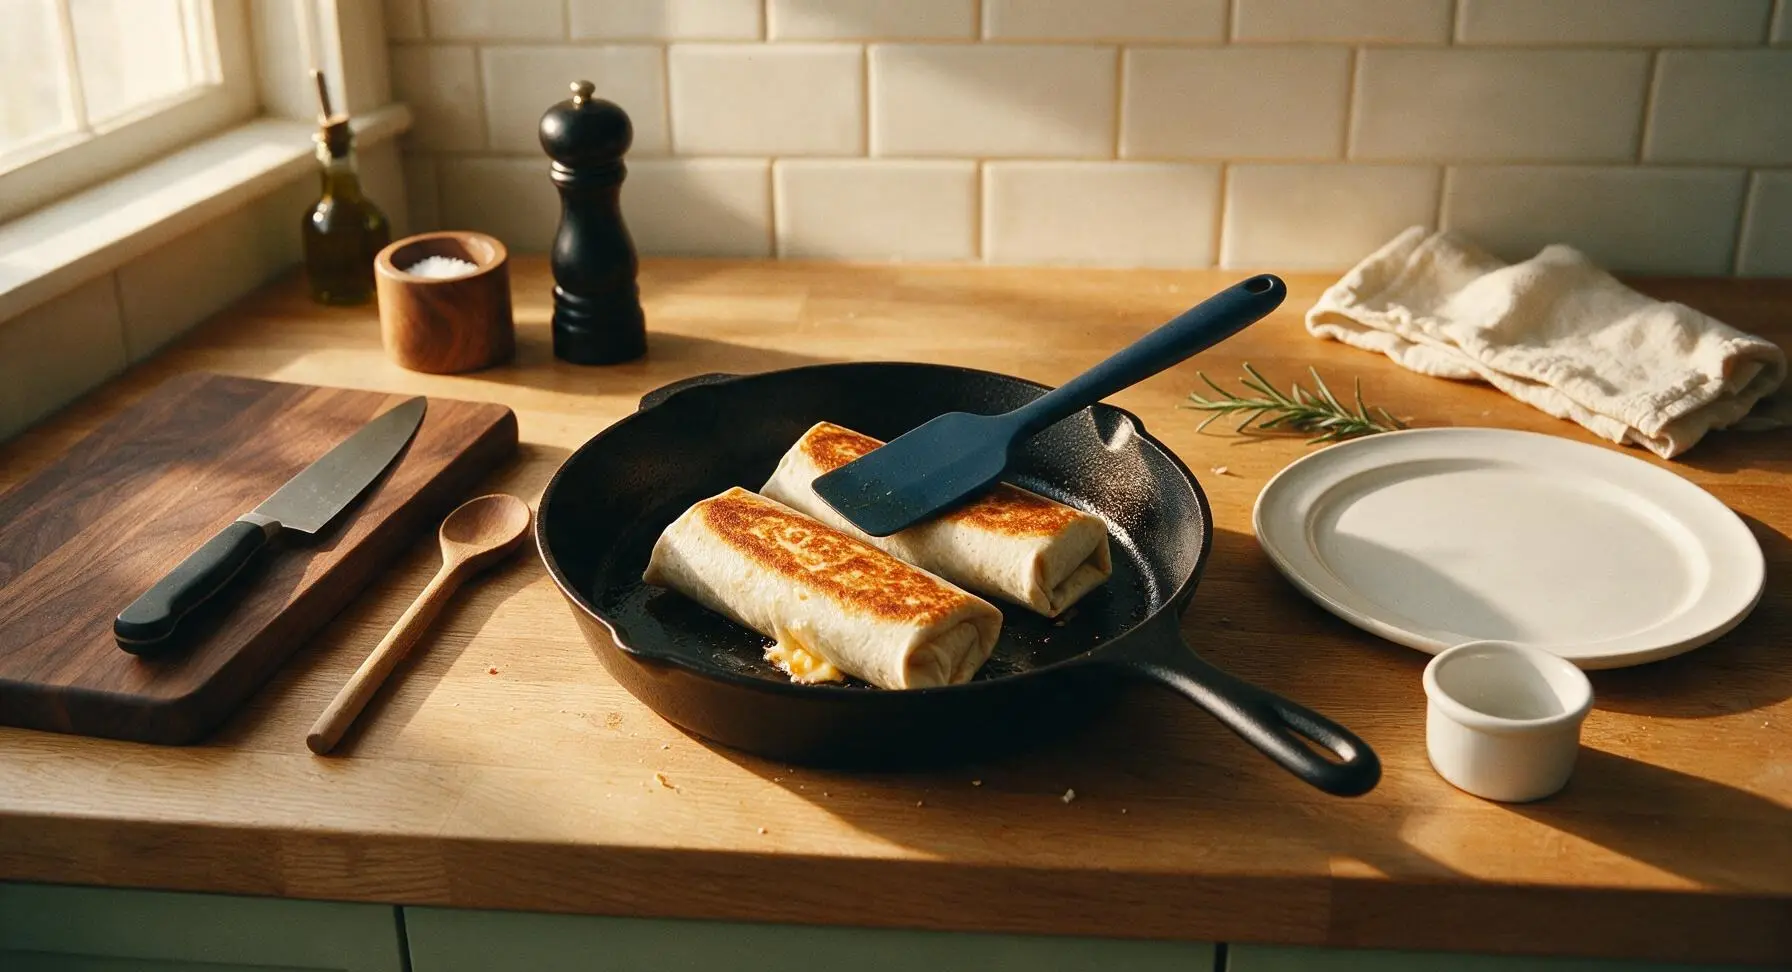
Keep the cast iron skillet over medium heat. Place assembled burritos seam-side down in the skillet, working in batches of two if needed, and sear for 1 minute per side, until the tortilla is deep golden and slightly crispy all over, and the seam is fully sealed. Press gently with the silicone spatula as you sear to ensure even contact with the pan surface. Remove from heat once seared.
Tips
2.Pat diced pickled jalapeños completely dry with a paper towel before stirring them into the mac and cheese: excess pickling brine will thin the cheese sauce and make tortillas soggy, leading to filling leaks while rolling and eating.
3.Always warm tortillas before adding filling: cold, room-temperature tortillas are stiff and prone to cracking or splitting when rolled, leading to messy leaks. A quick 15-second sear per side makes tortillas soft and pliable enough to roll tightly without breaking.






OMG this is such a game changer for busy weeknight family dinners! I threw this together in 20 minutes flat after soccer practice, and my kids loved it — all three of my boys devoured it without complaining once. I added a little crumbled bacon on top before wrapping, *chef’s kiss*. Will absolutely be adding this to our regular dinner rotation!
Meal prep win! I made a batch of these on Sunday to bring to work and classes all week, and they held up way better than I thought they would. Super creamy, not dry at all even after reheating in the microwave for a minute. 10/10, way better than the sad cafeteria burritos I usually waste money on.
Brought these to my neighborhood block party potluck last weekend and people were literally asking me for the recipe before they even finished eating! I cut them in half diagonally so they were easy to grab as finger food, and they were gone in 10 minutes flat. Only note: I used a little extra sharp cheddar for extra tang, would 100% recommend.
Pretty good, super easy to make. I tossed in some pickled jalapeños and a drizzle of hot sauce inside the burrito to give it a little kick, cut through the richness of the mac and cheese really nicely. Only reason I’m not giving 5 stars is that I wish the recipe noted you can toast the burrito on the pan after wrapping for a crispy outside — that took it from good to great for me.
Wait a mac and cheese burrito? I was so skeptical at first but my partner begged me to make it, and wow — SO good. It’s like the perfect comfort food mashup, I can’t believe I never thought to put mac and cheese in a burrito before. We had it for our lazy Sunday movie night and it hit every spot.
Is there a way to make this dairy free? My daughter is lactose intolerant but she’s obsessed with mac and cheese, and I’d love to make these for her after school! The recipe looks so easy and tasty, I can’t wait to try it once I figure out the swaps.