
make breadcrumbs from toast

title 1
make breadcrumbs from toast
⏱️ cook time 3 minutes
🍽️ servings 8
⚡ Difficulty easy

intro

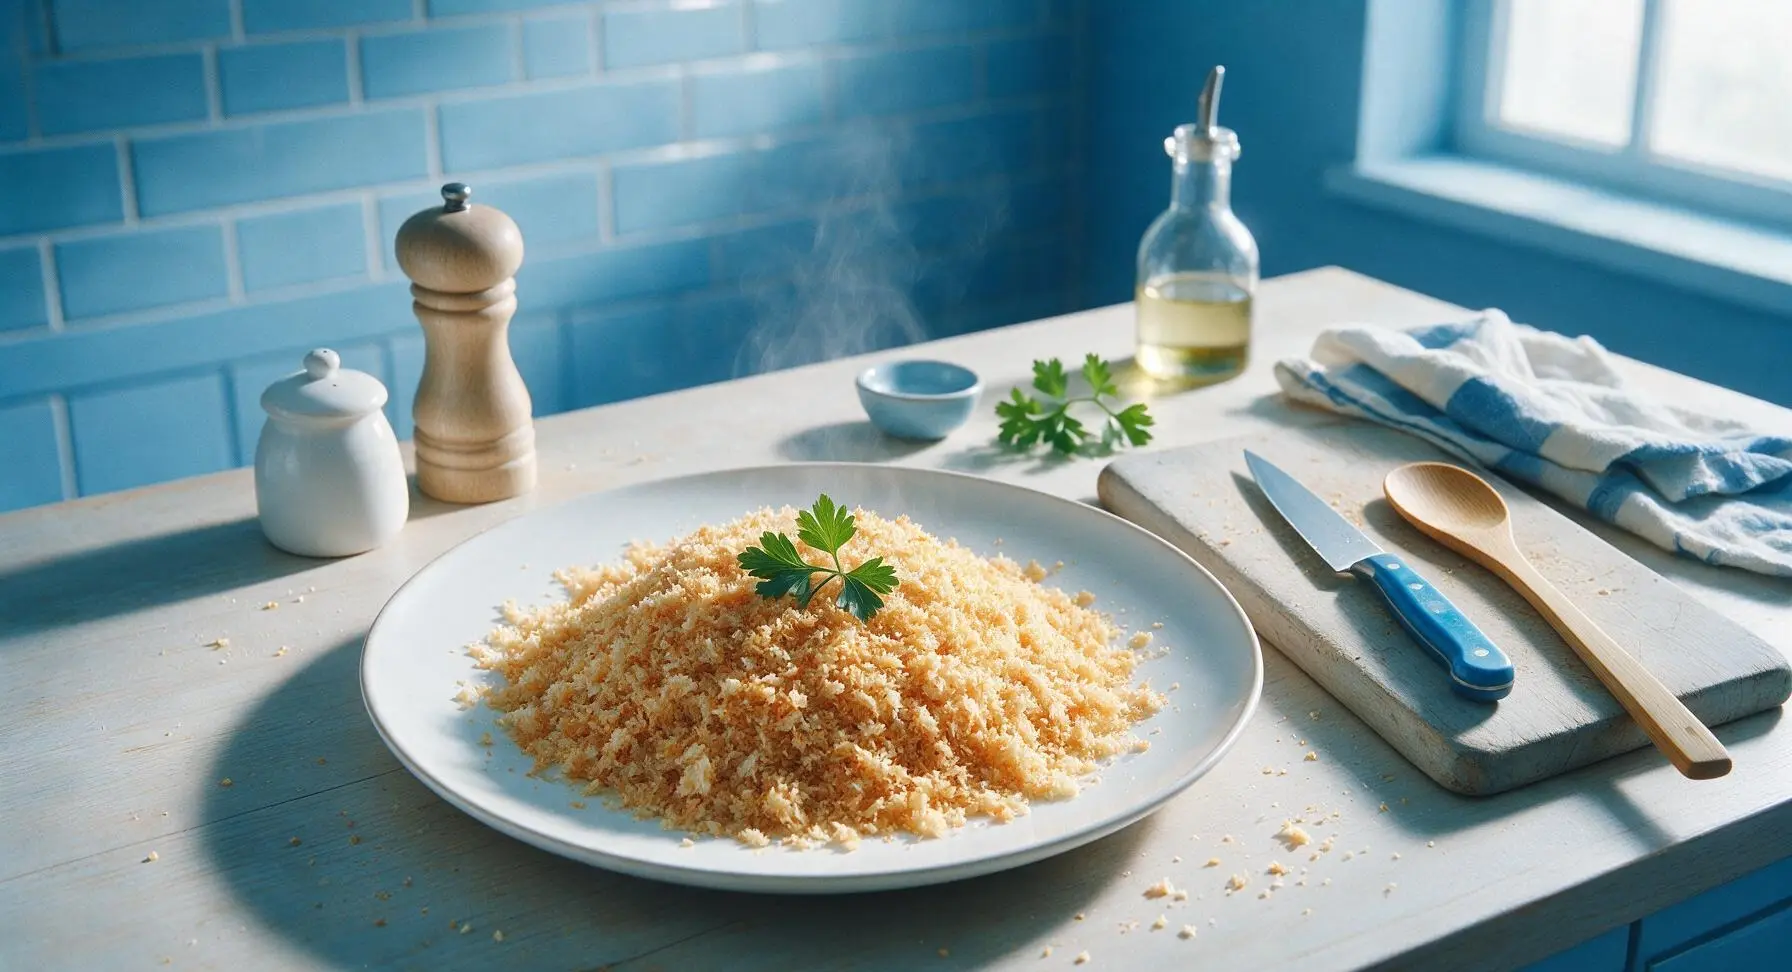
Crisp, golden homemade breadcrumbs made from everyday toast are fresher, cheaper, and more flavorful than store-bought, perfect for breading cutlets, topping casseroles, or finishing pasta dishes.

Ingredients
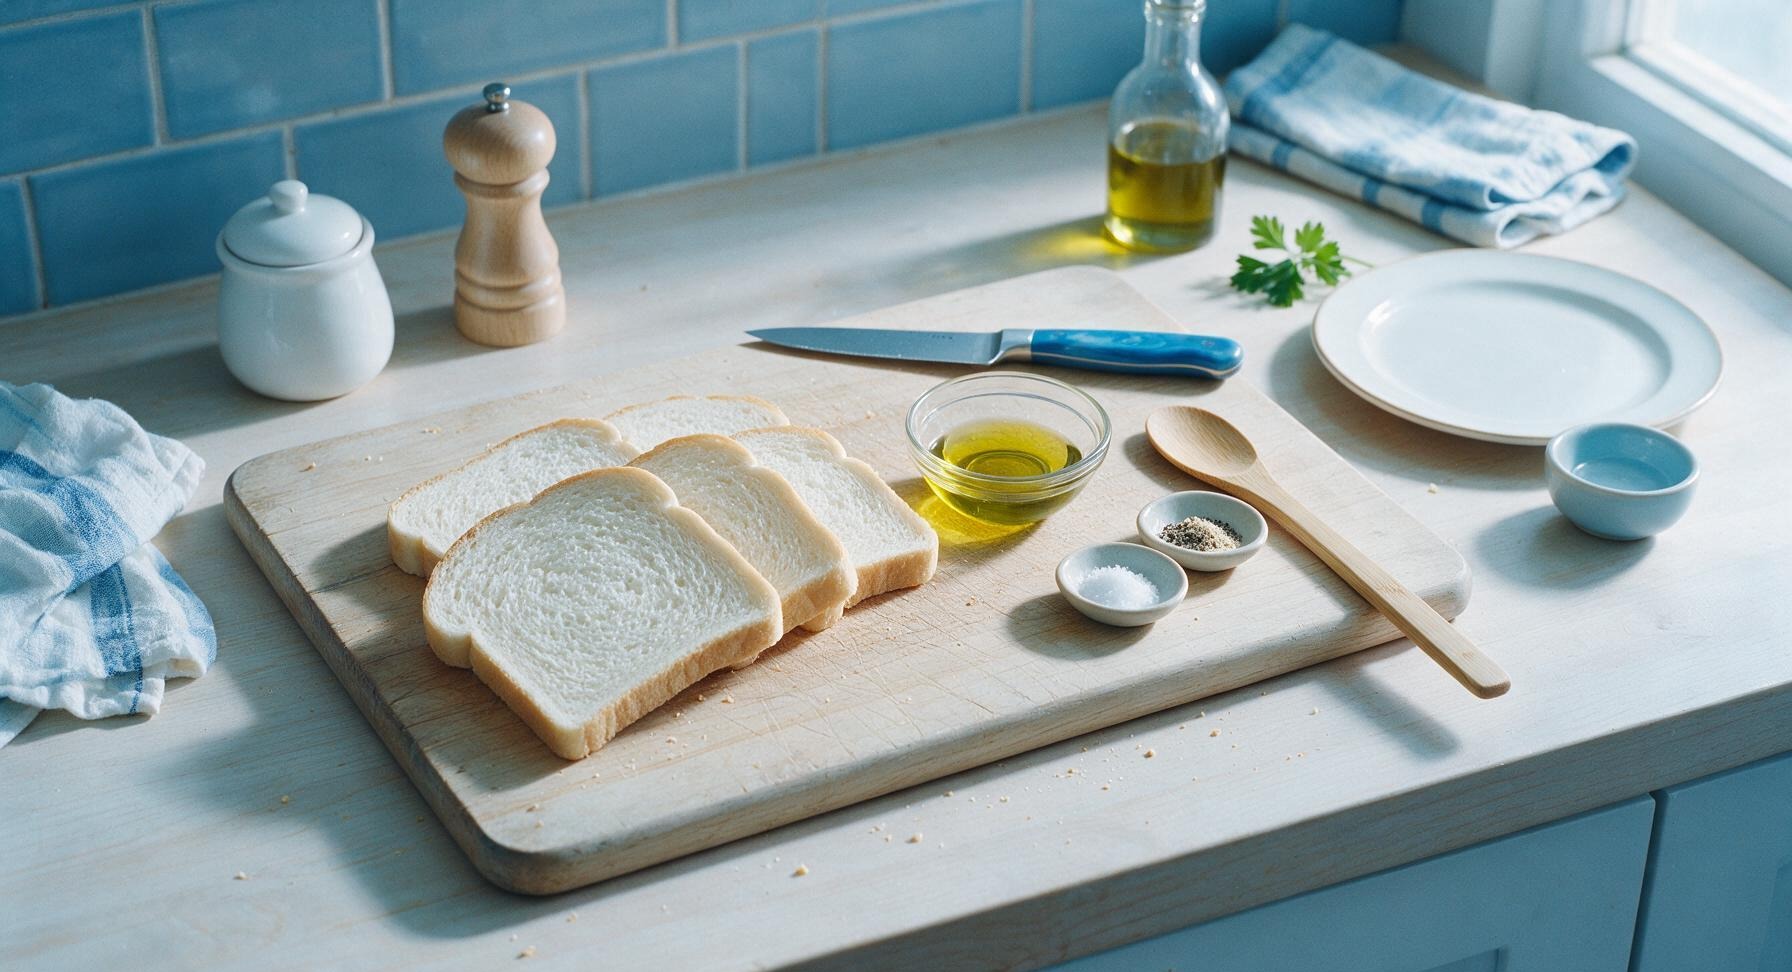
Sliced white sandwich bread 4 slices (120g)
Extra-virgin olive oil 1 teaspoon
Kosher salt 1/4 teaspoon
Freshly ground black pepper 1/8 teaspoon
Garlic powder (optional) 1/8 teaspoon

Steps

1

Prep bread slices

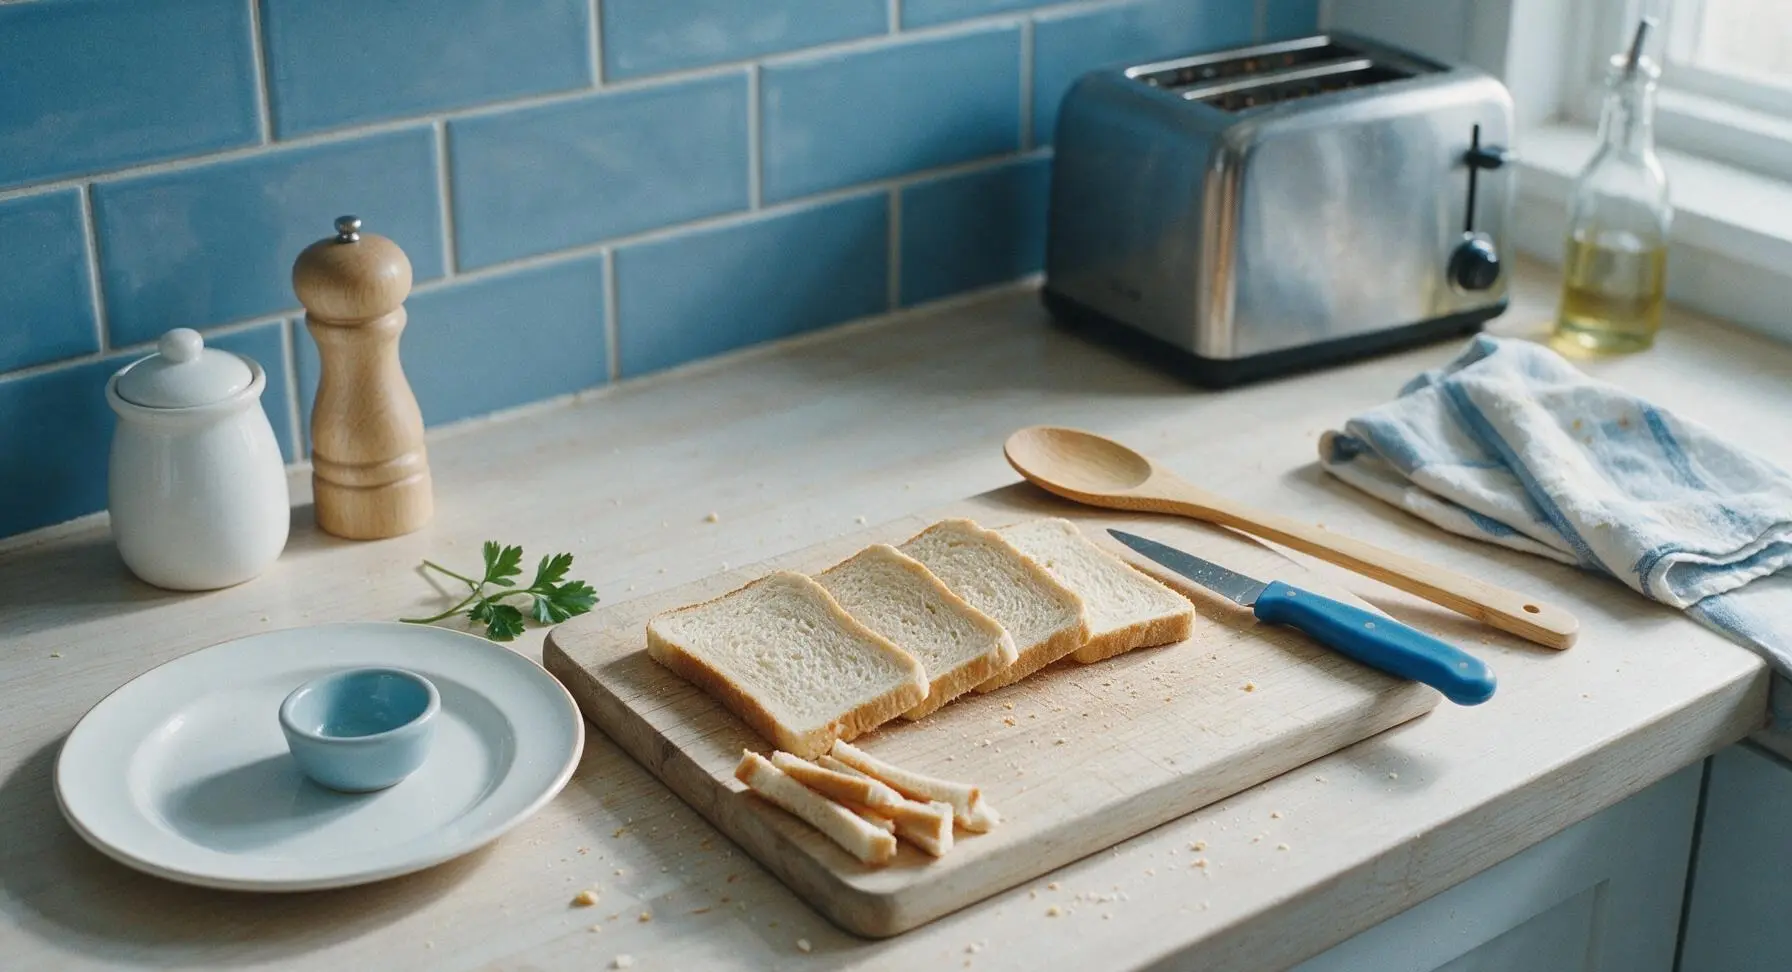
Remove 4 slices of plain white sandwich bread (slightly stale, 1-2 day old bread works best) from its packaging. If you prefer extra-fine, uniform crumbs, use the 3.5-inch paring knife to trim away all dark crust edges from the slices; leave crusts intact for more rustic, textured crumbs. Arrange trimmed or untrimmed slices in a single layer on the light beech wood cutting board.
Step 1
step1:Prep bread slices
2

Toast bread until golden

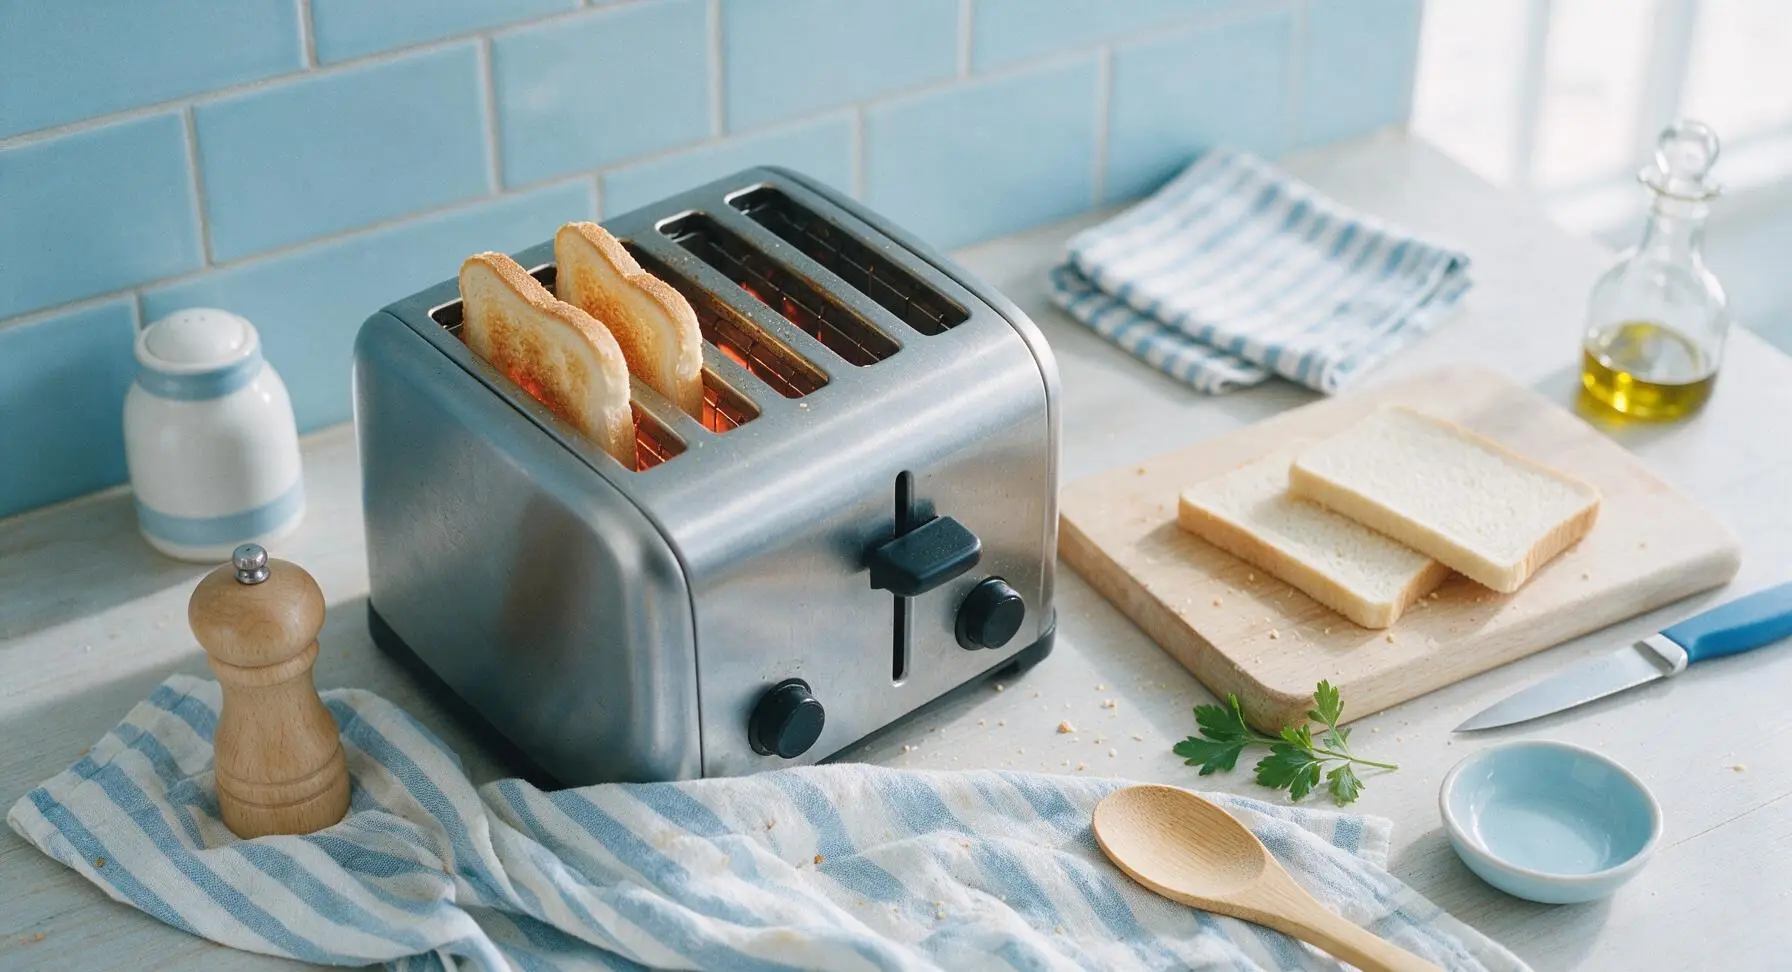
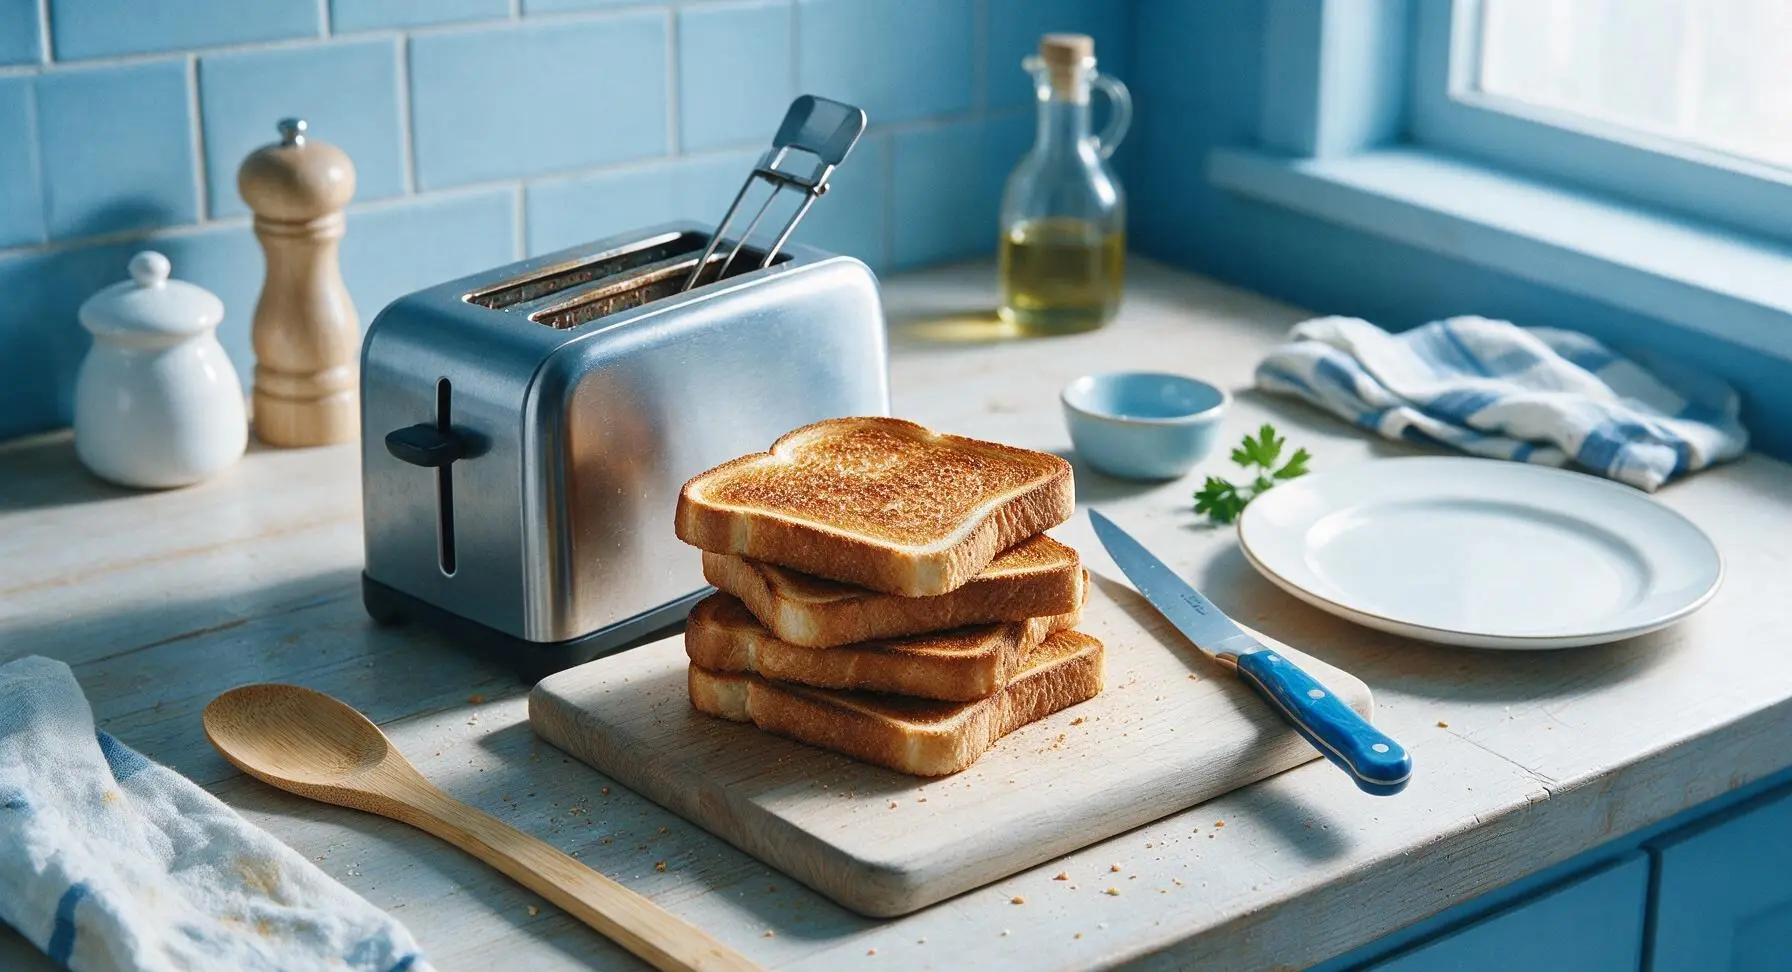
Place the prepared bread slices into the slots of the matte silver stainless steel toaster. Set the toaster to medium-high heat, and toast for 2-3 total cycles (2-3 minutes total), flipping slices between cycles if needed, until bread is evenly deep golden brown on both sides, with no soft pale patches remaining. Watch closely during the final cycle to avoid burning, as burnt bread will create bitter, unpleasant crumbs.
Step 2
step2:Toast bread until golden
Step 2
step2:Toast bread until golden
3

Cool toast completely

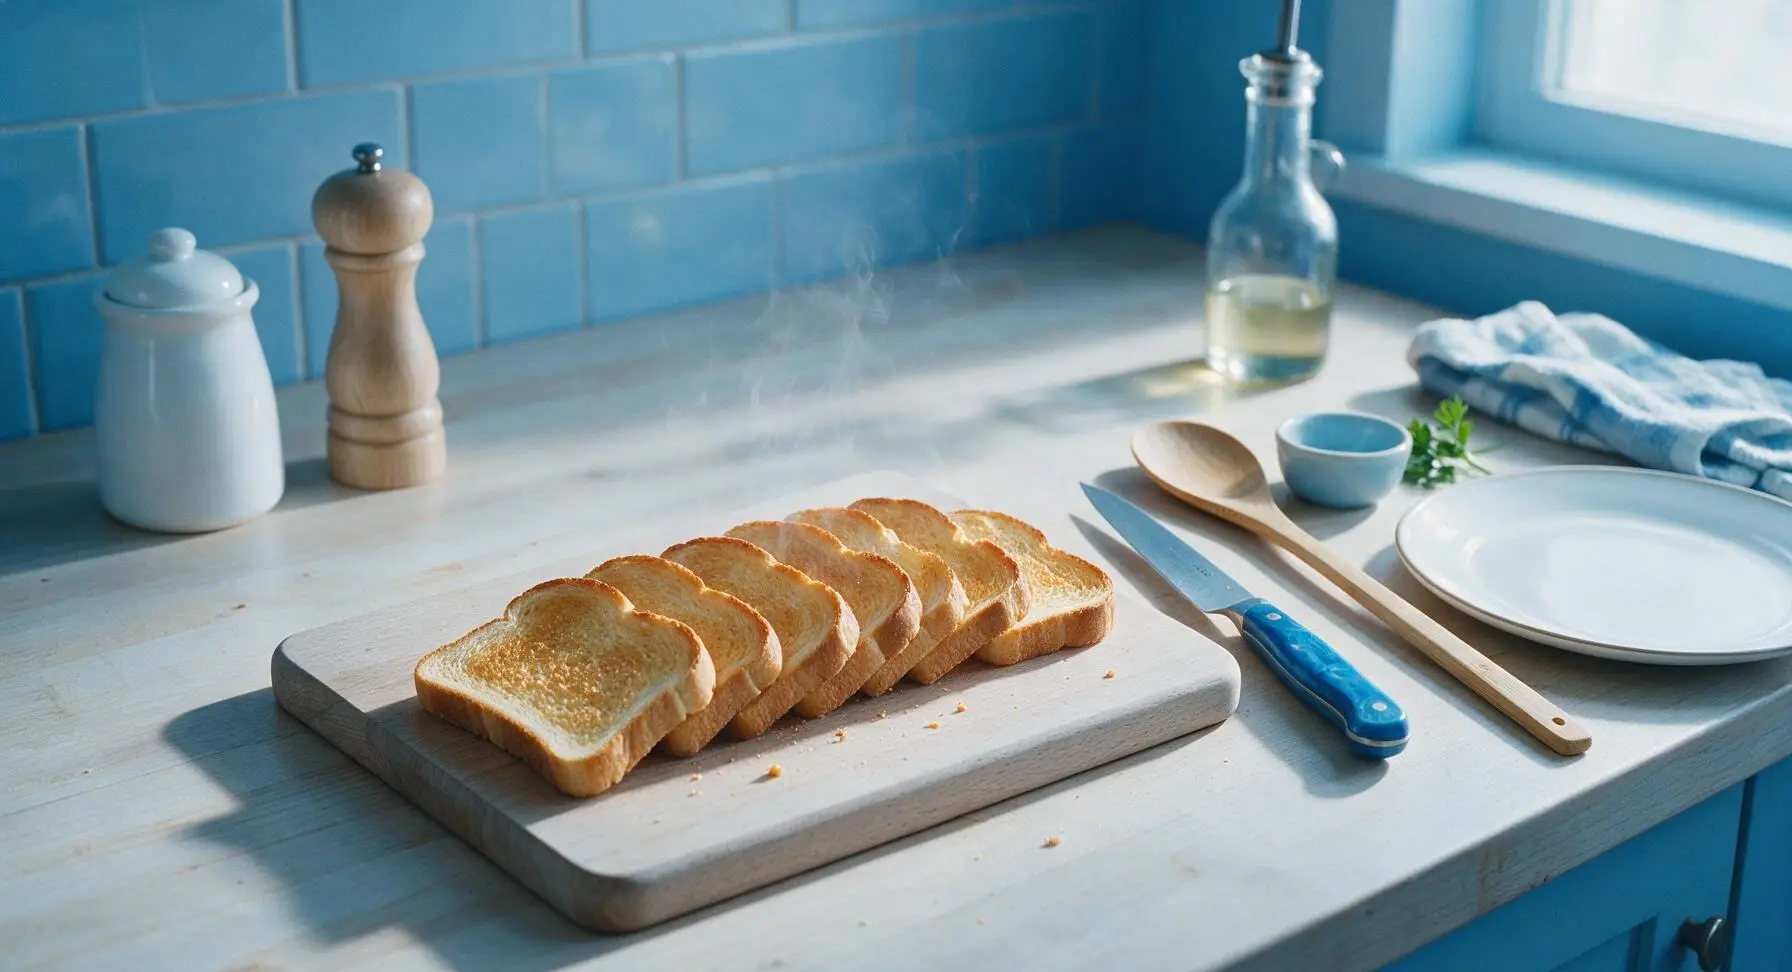
Transfer the hot toasted slices from the toaster to the light beech wood cutting board, spreading them out in a single layer so air circulates around each slice. Let cool for 3 full minutes at room temperature, until slices are completely crisp and cool to the touch, with no residual warmth. Do not skip this step: warm toast holds trapped steam that will create gummy, soggy crumbs.
Step 3
step3:Cool toast completely
4

Tear toast into chunks

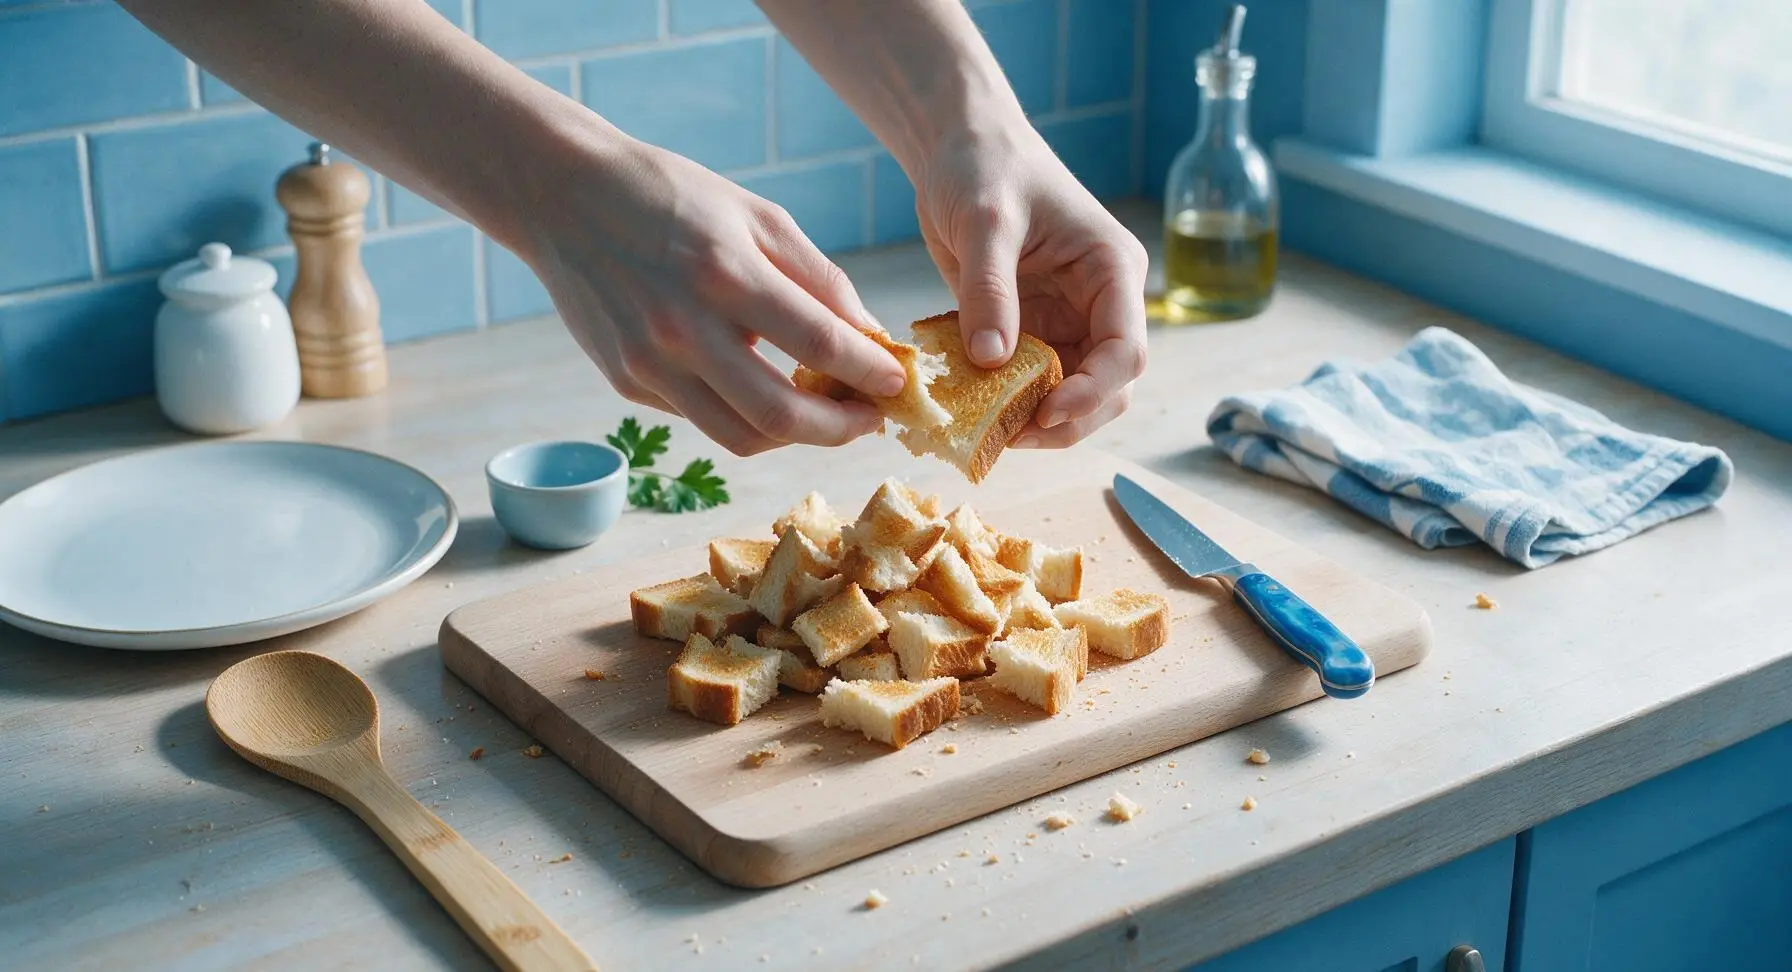
Once toast is fully cool, use clean hands to tear each slice into rough 2-3 inch chunks, piling the chunks in the center of the light beech wood cutting board. Breaking the toast into small, evenly sized chunks ensures faster, more consistent crushing in the next step.
Step 4
step4:Tear toast into chunks
5

Crush to desired texture

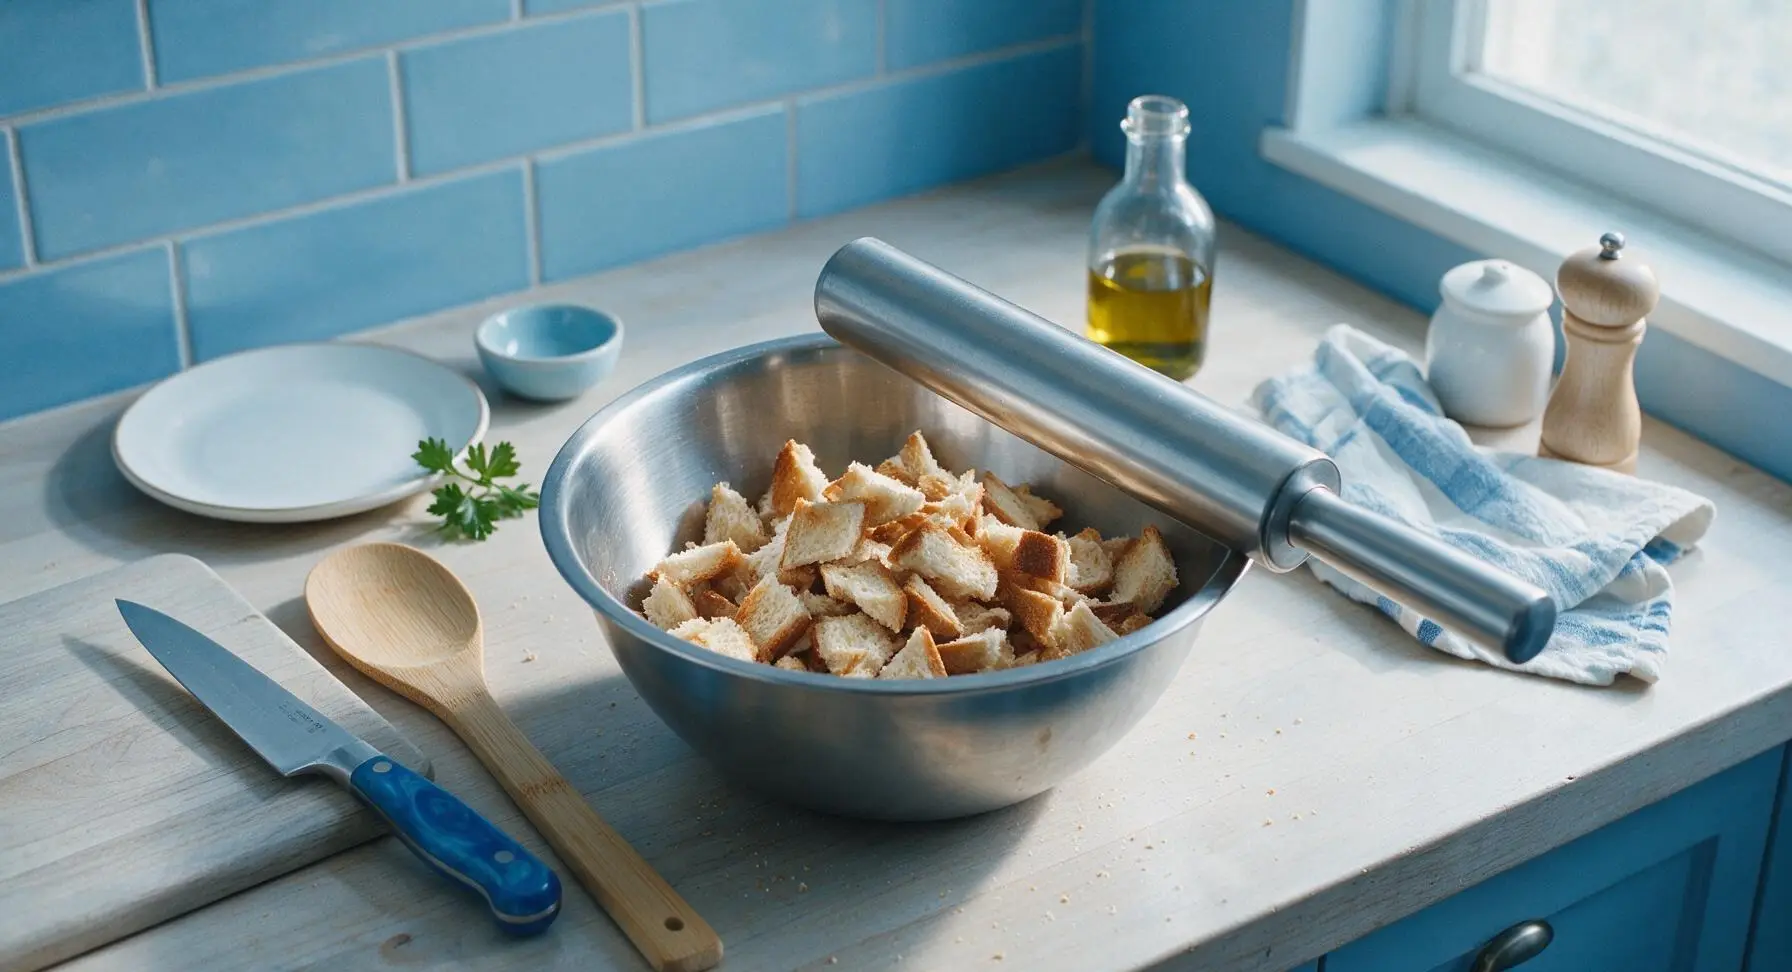
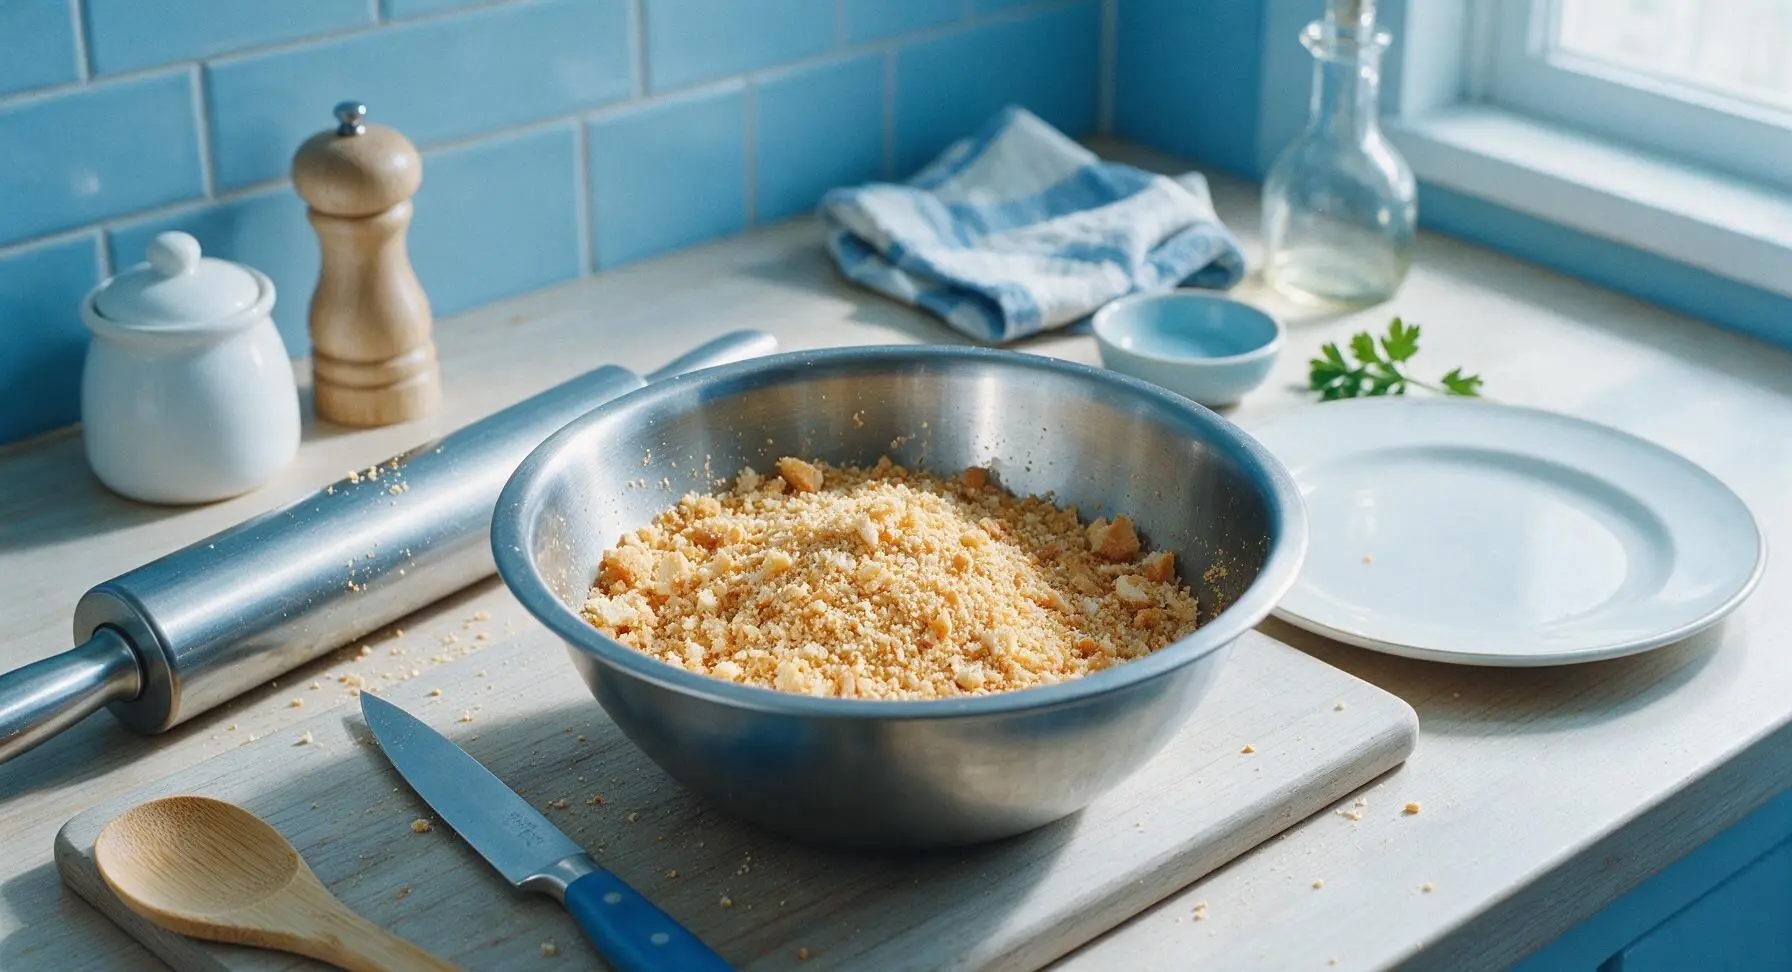
Transfer all torn toast chunks into the brushed stainless steel mixing bowl. Use the polished stainless steel rolling pin to press firmly down and roll back and forth over the chunks, crushing them into crumbs. Roll for 1-2 minutes for extra-fine, uniform crumbs ideal for breading or casserole toppings; stop earlier for coarser, pea-sized crumbs perfect for pasta garnishes or meatloaf binders. For even faster results, pulse chunks in a food processor 5-7 times instead of rolling.
Step 5
step5:Crush to desired texture
Step 5
step5:Crush to desired texture
6

Season crumbs evenly

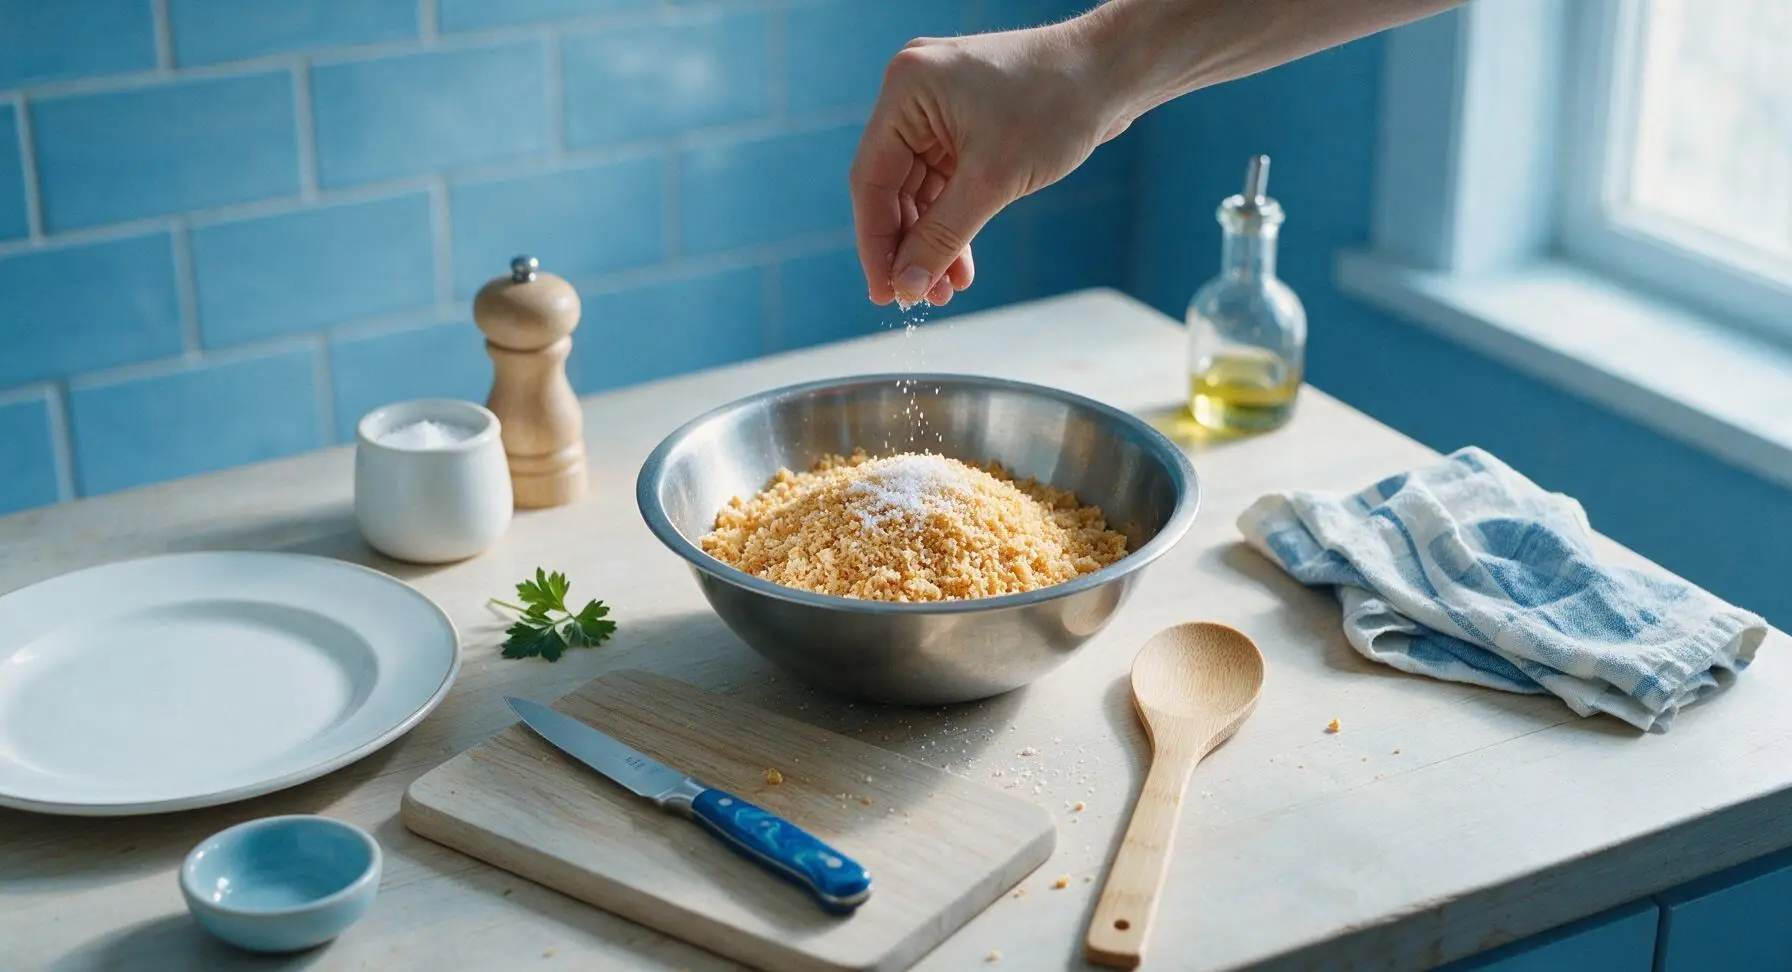
Drizzle 1 teaspoon of extra-virgin olive oil over the crushed crumbs in the mixing bowl. Sprinkle with 1/4 teaspoon kosher salt, 1/8 teaspoon freshly ground black pepper, and 1/8 teaspoon garlic powder (if using). Toss the crumbs thoroughly with clean hands for 30 seconds to ensure oil and seasonings are evenly distributed across every crumb, so no clumps form.
Step 6
step6:Season crumbs evenly
7

Dry crumbs for storage

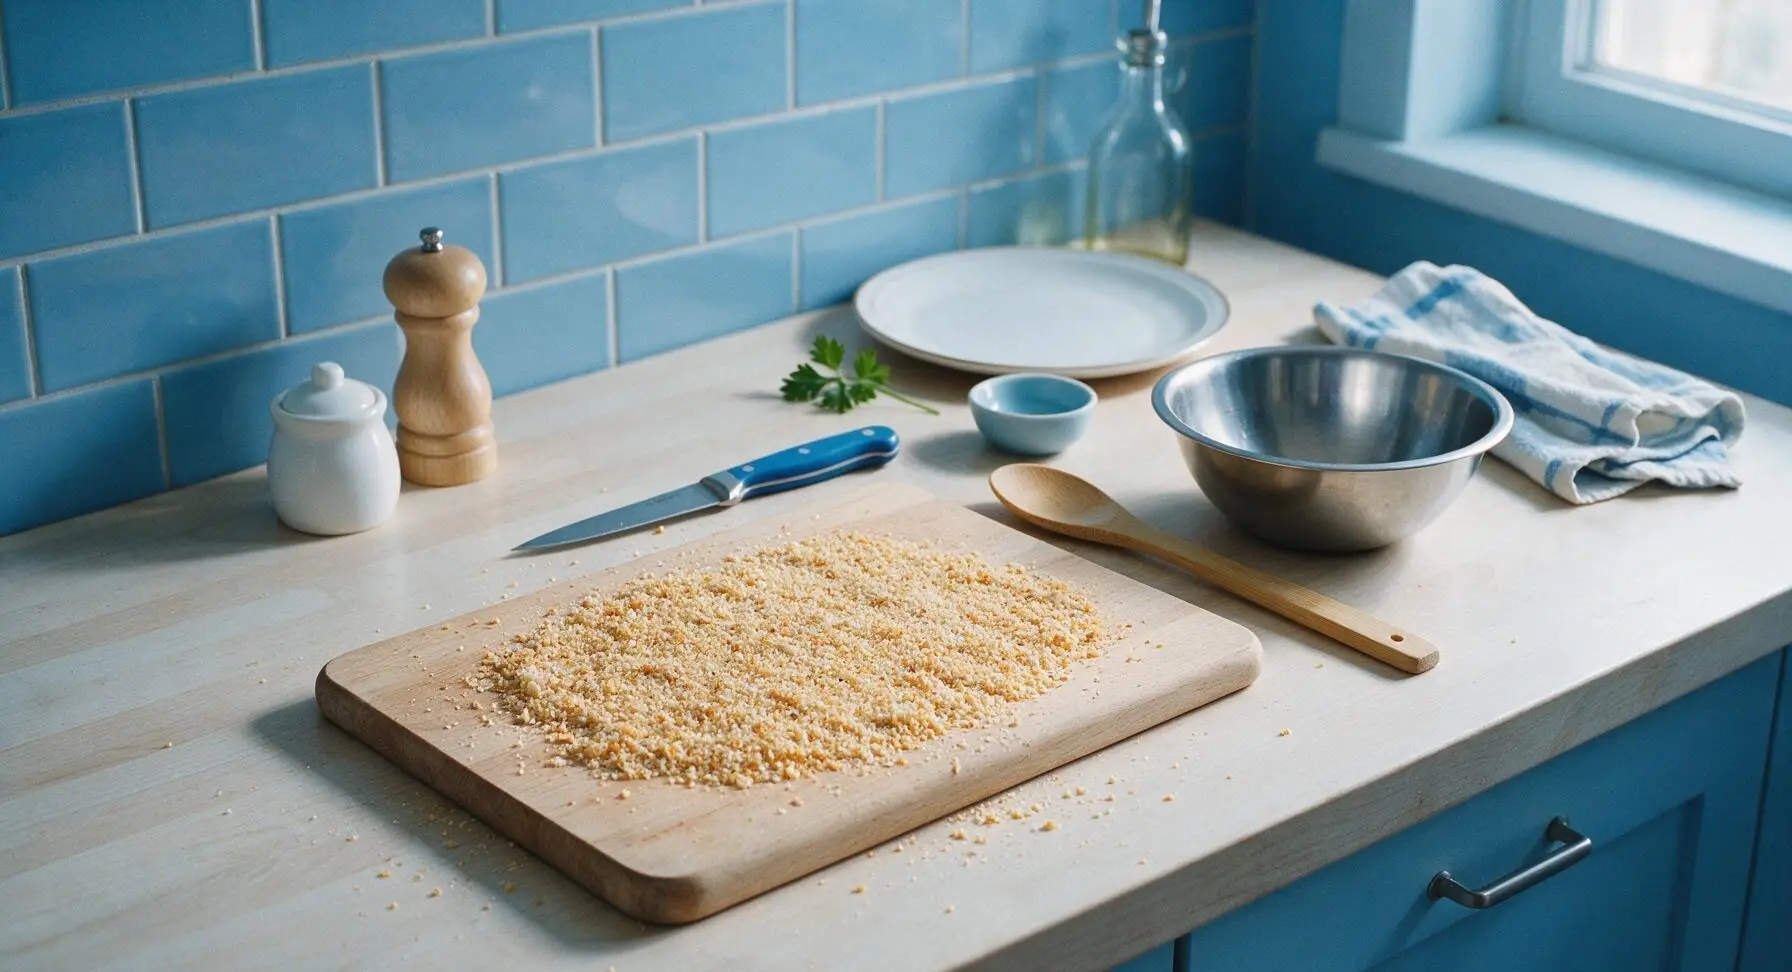
Spread the seasoned crumbs out in a thin, even layer across the surface of the light beech wood cutting board. Let them air dry at room temperature for 10 minutes, stirring once halfway through, to evaporate any residual moisture from the olive oil. This step prevents clumping and mold growth, extending the crumbs' shelf life.
Step 7
step7:Dry crumbs for storage
8

Store or serve crumbs

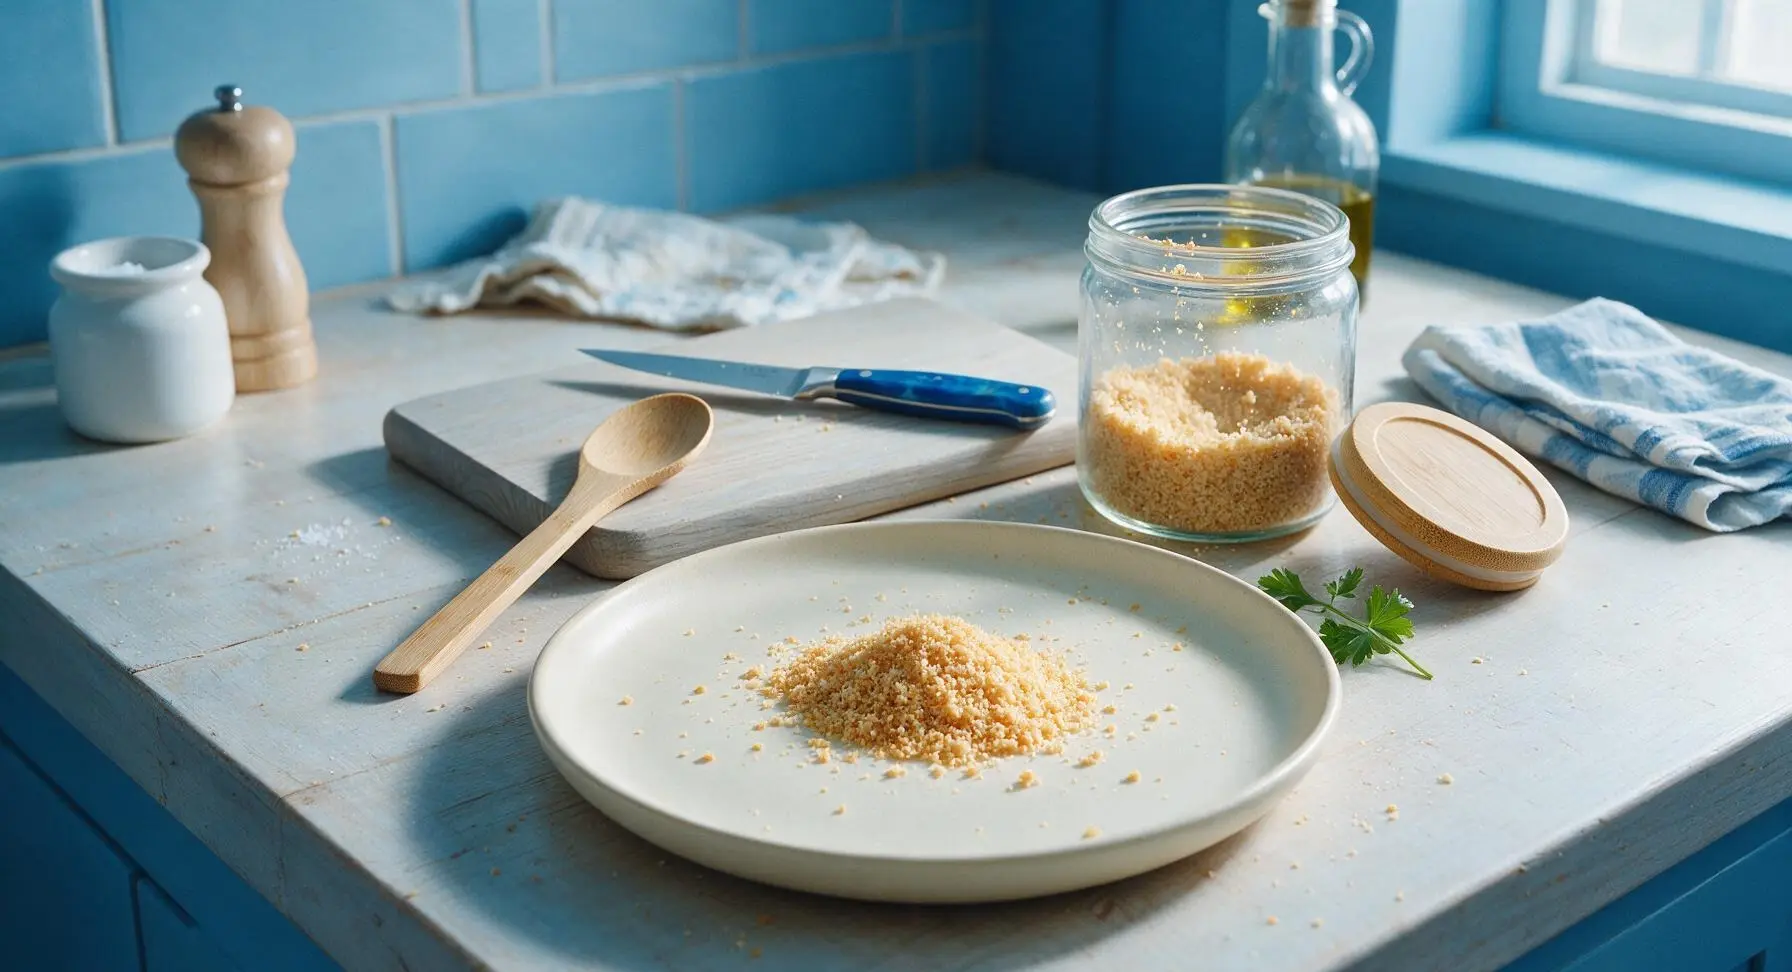
Once crumbs are fully dry, scoop a small portion into a loose mound on the matte cream ceramic shallow serving plate for immediate use. Funnel the remaining crumbs into the clear glass storage jar with the bamboo lid, seal tightly, and store in a cool, dry pantry for up to 2 weeks. Crumbs can also be frozen for up to 3 months for long-term storage.
Step 8
step8:Store or serve crumbs

Tips

1.Use slightly stale (1-2 day old) bread for the best results: stale bread has lower moisture content than fresh bread, so it toasts more evenly and creates lighter, crispier crumbs without gummy spots. This is also a perfect zero-waste way to use up bread that is too dry for sandwiches.
2.Adjust crumb texture to match your recipe: leave crusts on and crush lightly for coarse, rustic crumbs to top roasted vegetables or pasta; trim crusts and crush until fine for smooth, uniform crumbs ideal for breading fried cutlets or mixing into meatball and meatloaf blends.
3.Make sure toast is completely cool and crumbs are fully dry before storing: trapped moisture from warm toast or oil will cause crumbs to clump and grow mold quickly. For extra shelf life, toast crumbs for 5 minutes at 300°F (150°C) in the oven after crushing to remove every trace of moisture.


✨ You May Also Like

Side Dishes
🍜 India

Velvety, aromatic all-purpose curry sauce perfect for tossing with roasted veggies, grilled protein, or rice for fast, cozy, flavorful meals.

⏱️ 25 minuteSide Dishes ★ 4.8
Side Dishes
🍜 Spain

Tender, starchy boiled yuca tossed in bright, garlicky citrus mojo sauce—an iconic, zesty side that pairs beautifully with roasted pork, grilled meats, and rice and beans.

⏱️ 40 minuteSide Dishes ★ 5
Side Dishes
🍜 United States

Tender, paper-thin potato flatbread, a beloved Norwegian-American Minnesota Christmas staple, griddled until softly spotted and served warm with butter.

⏱️ 1 hour 30Side Dishes ★ 4.6
Side Dishes
🍜 United States

Rich, deeply savory cured salt pork, a long-lasting kitchen staple perfect for frying crispy as a side or adding umami to stews, beans, and chowders.

⏱️ 7 days (2Side Dishes ★ 4.9
Side Dishes
🍜 United States

Crispy, tangy classic Southern fried green tomatoes with a crunchy cornmeal crust, served hot for a nostalgic, comforting summery bite.

⏱️ 25 minuteSide Dishes ★ 4.9
Side Dishes
🍜 United States

Moist, golden-crusted savory muffins with sweet corn, zesty jalapeño, and melted cheddar, perfect for pairing with smoky summer grilled fare.

⏱️ 30 minuteSide Dishes ★ 4.9

make breadcrumbs from toast:Frequently Asked Questions

1.Can I use bread other than white sandwich bread to make these toast-based breadcrumbs? ▾
Absolutely! While white sandwich bread gives a light, classic, neutral crumb, whole wheat, rye, or sourdough sandwich slices work beautifully for deeper, nuttier flavor. Just skip overly sweet breads like Hawaiian rolls or loaves loaded with large seeds or dried fruit, which create uneven, oddly textured crumbs that don’t crisp evenly.
2.Do I need to remove the crusts from the bread before toasting it for breadcrumbs? ▾
You don’t have to! Leaving crusts on adds subtle toasty, deeper flavor and gives your final crumbs a pretty golden, flecked appearance. If you want ultra-fine, uniformly pale breadcrumbs for delicate uses like binding tender meatballs or stuffing, you can trim crusts before toasting, but it’s totally optional for most everyday applications.
3.How dark should I toast the bread before turning it into crumbs? ▾
Aim for a light, even golden brown with no pale, soft raw spots and no dark charred edges. Toast that’s too pale yields soft, soggy crumbs that won’t hold their crisp texture, while burnt toast will give your whole batch a bitter, ashy flavor that throws off any dish. Always let toast cool fully before processing to avoid steamed, soggy crumbs.
4.What’s the easiest way to turn cooled toast into crumbs if I don’t have a food processor? ▾
No food processor? No problem! Pop fully cooled toast slices into a sealed heavy-duty zip-top bag, press out all the air, and crush them with a rolling pin, heavy skillet, or even the bottom of a sturdy drinking glass. For extra-fine crumbs, run crushed bits through a box grater on the smallest holes, or sift out larger chunks to re-crush.
5.When should I add the olive oil, salt, pepper, and optional garlic powder to the crumbs? ▾
Toss fully cooled, processed crumbs with olive oil and seasonings right after crushing, then spread them on a baking sheet for a quick 5-minute bake at 300°F if you want extra-crunchy, ready-to-use crumbs. If you’re making plain crumbs to store long-term, skip oil and seasonings until right before use to extend shelf life.
6.How should I store these homemade breadcrumbs, and how long will they stay fresh? ▾
If you made plain, unseasoned crumbs without olive oil, store them in an airtight container in a cool, dark pantry for up to 2 weeks, or in the freezer for up to 3 months. If you tossed them with oil and seasonings, keep them in the fridge for up to 1 week, as oil can turn rancid quickly at room temperature.
7.Can I make these breadcrumbs gluten-free for friends with gluten sensitivities? ▾
Definitely! Just swap regular white sandwich bread for your favorite certified gluten-free sliced sandwich bread, toast it to the same light golden brown, and process it exactly as you would regular bread. Stick to plain gluten-free bread without added sweeteners or mix-ins for the closest texture and flavor to traditional crumbs.
8.What’s the difference between these toast breadcrumbs and panko, and can I use them interchangeably? ▾
These homemade toast crumbs are denser and more finely textured than light, flaky panko, which is made from crustless white bread baked with an electric current. They work as a 1:1 swap in most recipes, though panko gives an airier crunch for fried foods, while these crumbs create a more cohesive, evenly browned breading or casserole topping.
9.My crumbs turned out soft instead of crisp—what did I do wrong, and how can I fix it? ▾
The most common culprit is processing toast that wasn’t fully dried out, either because it was under-toasted or still warm when crushed, which traps steam and softens crumbs. To fix soft crumbs, spread them in a thin layer on a baking sheet and toast at 275°F for 5 to 7 minutes, stirring once, until fully dry, then cool completely before storing.
10.What are the best ways to use these seasoned homemade breadcrumbs? ▾
These crisp, flavorful crumbs are endlessly versatile! Use them to bread chicken cutlets or fried mozzarella, sprinkle them over mac and cheese or roasted vegetable casseroles for a crunchy top, toss them with hot pasta and parmesan for a quick texture boost, or mix them into meatloaf or meatballs to bind the mixture and add toasty depth.
11.Can I add other seasonings besides garlic powder to customize my crumbs? ▾
Of course! Garlic powder is just a starting point. Try adding dried oregano and grated parmesan for Italian-style crumbs, smoked paprika and cumin for a Southwest twist, lemon zest and dried thyme for a bright, herby blend, or a pinch of red pepper flakes for gentle heat. Stick to dried seasonings only, as fresh herbs add moisture that makes crumbs soggy during storage.

Comments (9)

yesterday

Wait why did I never think of this before?? I’ve been buying overpriced panko and regular breadcrumbs for years when I can just toast up the random heels of bread I always have left over and blitz them? Used these on top of my mac and cheese for a potluck last night and everyone asked for the recipe for the topping! Total game changer.

yesterday

Right?! I started saving all my bread ends in a bag in the freezer so I always have some on hand to make these, works like a charm!

2 hours ago

So glad you loved it! Freezing the bread heels first is such a smart hack, it makes the toasting step even faster if you pull them straight from the freezer. Great tip!

2 days ago

Super easy, just made a batch in literally 3 minutes like the recipe says. I added a little garlic powder and Italian seasoning while toasting for extra flavor, perfect for coating chicken parm tonight. Only thing is I burned my first toast slice oops, definitely keep an eye on it the last 30 seconds!

yesterday

Thanks for the great feedback! Love the seasoned breadcrumb idea, that’s such a tasty upgrade. You’re totally right about keeping an eye on the toast—ovens and toasters vary so much, it can go from perfect to burnt quick!

3 days ago

This is perfect for my Sunday meal prep routine! I make a big batch once a week, portion it into little containers, and toss it on roasted veggies, salads, casseroles all week. Saves me so much money and no weird preservatives like the store bought ones. 10/10.

1 week ago

My kids loved the crispy chicken tenders I make with these breadcrumbs! They used to turn their noses up when I made them with store bought crumbs, said they tasted “cardboardy” but these? They ask for seconds every single time. Worth every second of the 3 minutes it takes to make.

5 days ago

Same here! My son has sensory issues with weird textures and these are the perfect crumb size, not too fine not too chunky. He eats them no problem!

5 minutes ago

OMG I’m literally the worst at cooking, like I burn toast regularly. But this was so easy even I couldn’t mess it up! I just toasted the bread until it was super crispy, threw it in my blender, and bam, perfect breadcrumbs for my first ever meatball sub night. So proud of myself lol

just now

Yay congrats on the win! Once you get the hang of these you’ll find a million uses for them, I promise. I’ve been making them for years and still get excited how easy they are.

30 minutes ago

Used these to bread my crispy tofu bites tonight and they were SO good, *chef’s kiss*. I used whole wheat sourdough toast so the crumbs had that little tangy flavor, paired so well with the sweet chili dipping sauce I made. Will be making this every time I make tofu from now on!

2 weeks ago

I brought a green bean casserole to our family Easter dinner last weekend and used these homemade breadcrumbs for the topping instead of those fried onions people usually use. Everyone RAVED about it, said the crunch was way better than the usual recipe. My sister in law even asked for the crumb recipe specifically!

1 week ago

Wait that’s such a good swap! I always think the fried onions are too greasy, I’m definitely trying this for our next holiday dinner.

5 days ago

We love that swap! Homemade breadcrumbs add such a perfect, light crunch without the extra grease from pre-fried toppings. So happy your family loved the casserole!

5 days ago

Dude this is so much cheaper than buying breadcrumbs at the grocery store! I’m a broke college student, I already have cheap white bread for toast, so making my own crumbs for pasta bakes and chicken nuggets saves me like $3 a week which adds up when you’re on a meal plan budget. So easy, no fancy equipment needed either, I just crushed the crispy toast in a Ziploc bag with a can since I don’t have a food processor. Worked perfectly!

2 hours ago

Quick question—has anyone tried this with gluten free bread? I’ve been searching for a cheap, easy GF breadcrumb option forever since the store bought ones are like $6 a box and taste like cardboard. Fingers crossed this works with my favorite GF sandwich toast!

30 minutes ago

I did this last week with my GF sourdough toast and it worked perfectly! Just make sure you toast it a little crispier than you would regular bread because GF bread can be a little more moist, otherwise you’ll get soggy crumbs. It tastes way better than the store bought GF crumbs!



