
making burger patties
intro
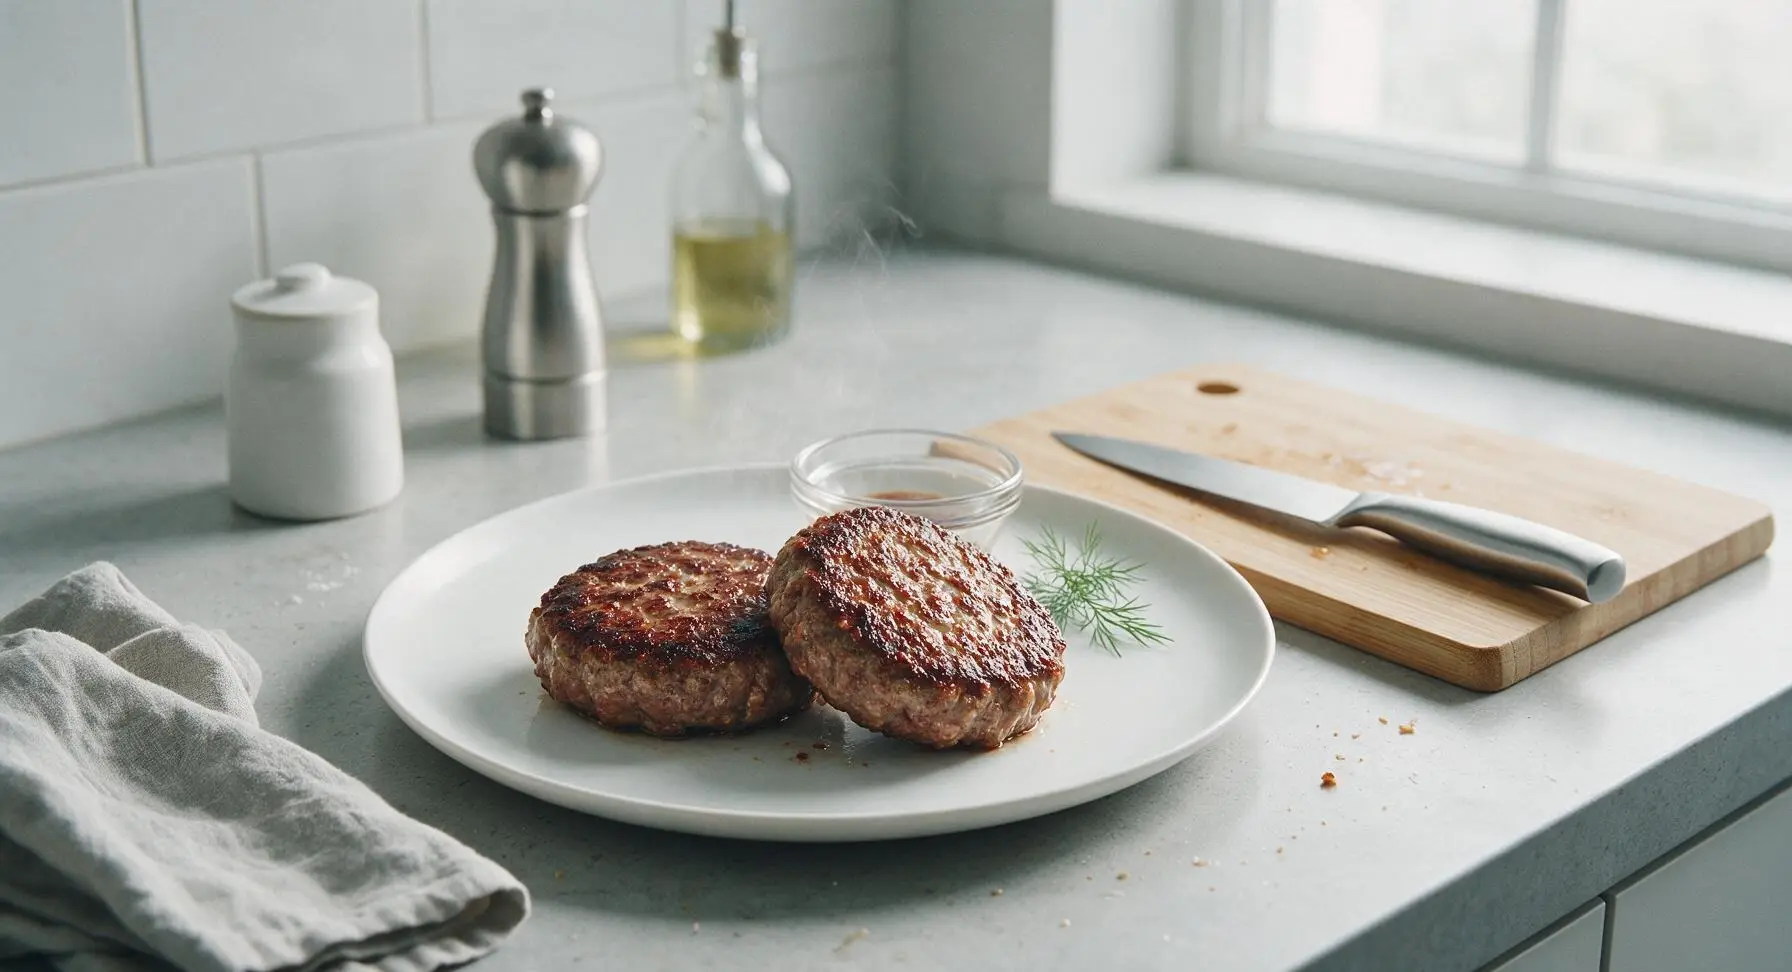
Juicy, deeply seared homemade burger patties with a crisp, caramelized crust and tender center—perfect for piling high with favorite toppings at summer cookouts.
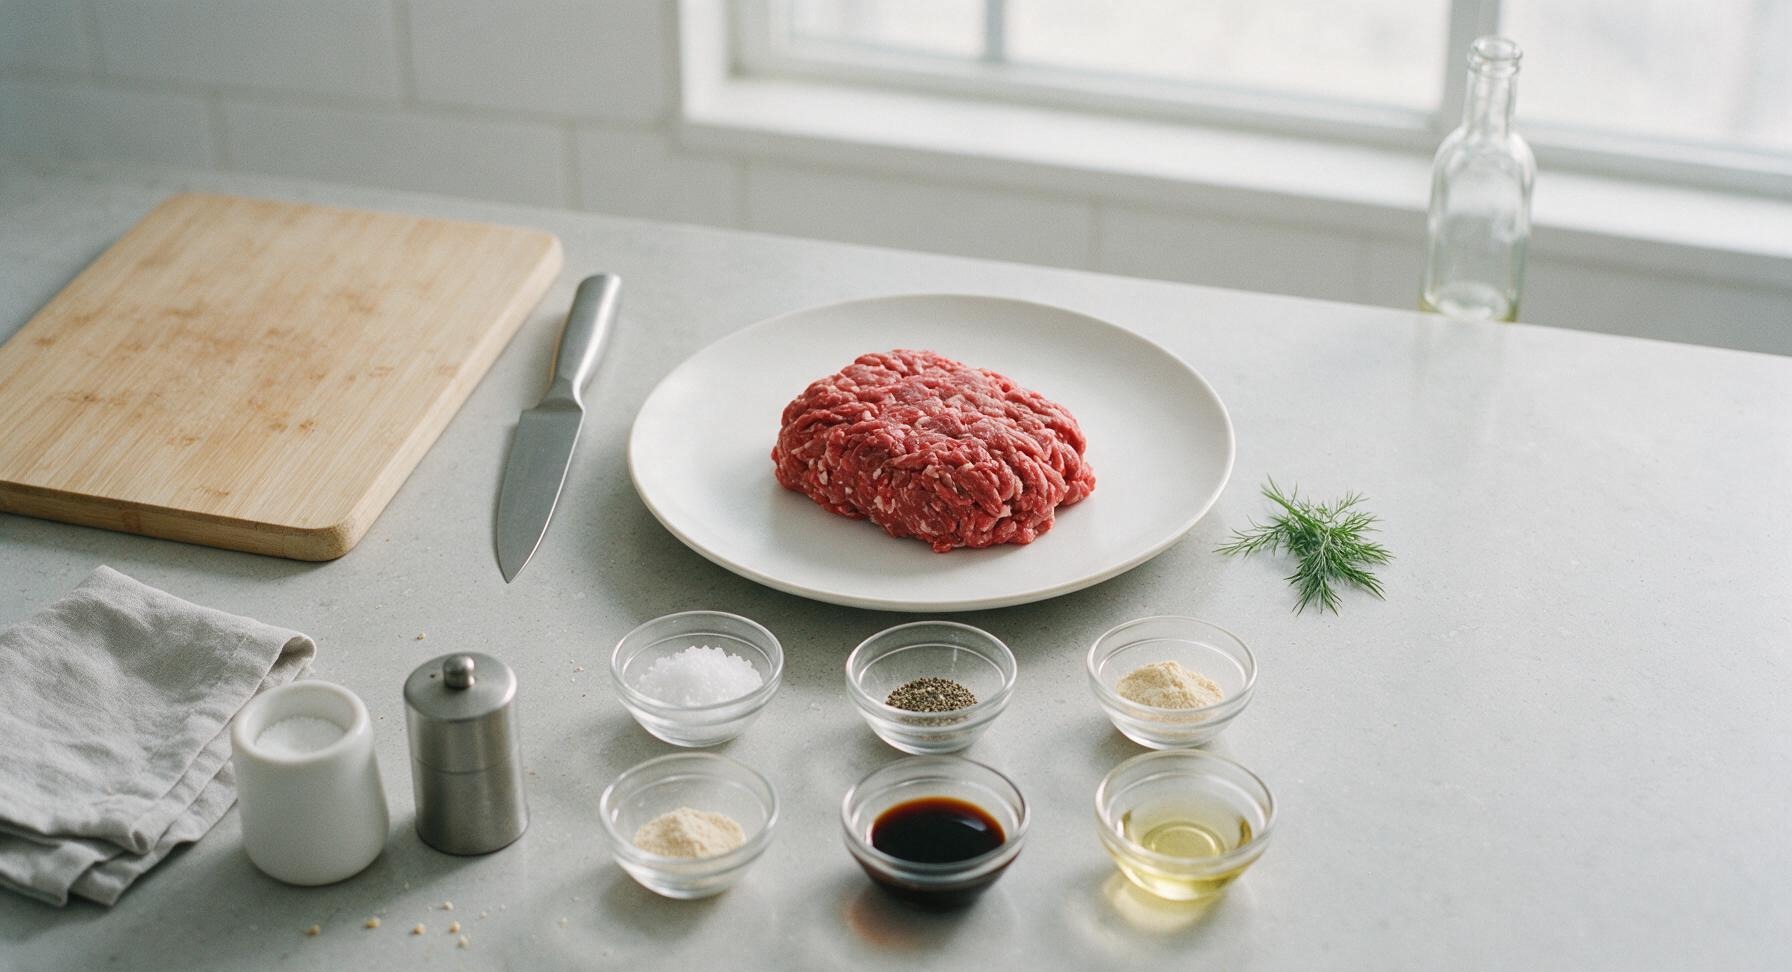
Ingredients
Steps
Mix Seasoning Blend
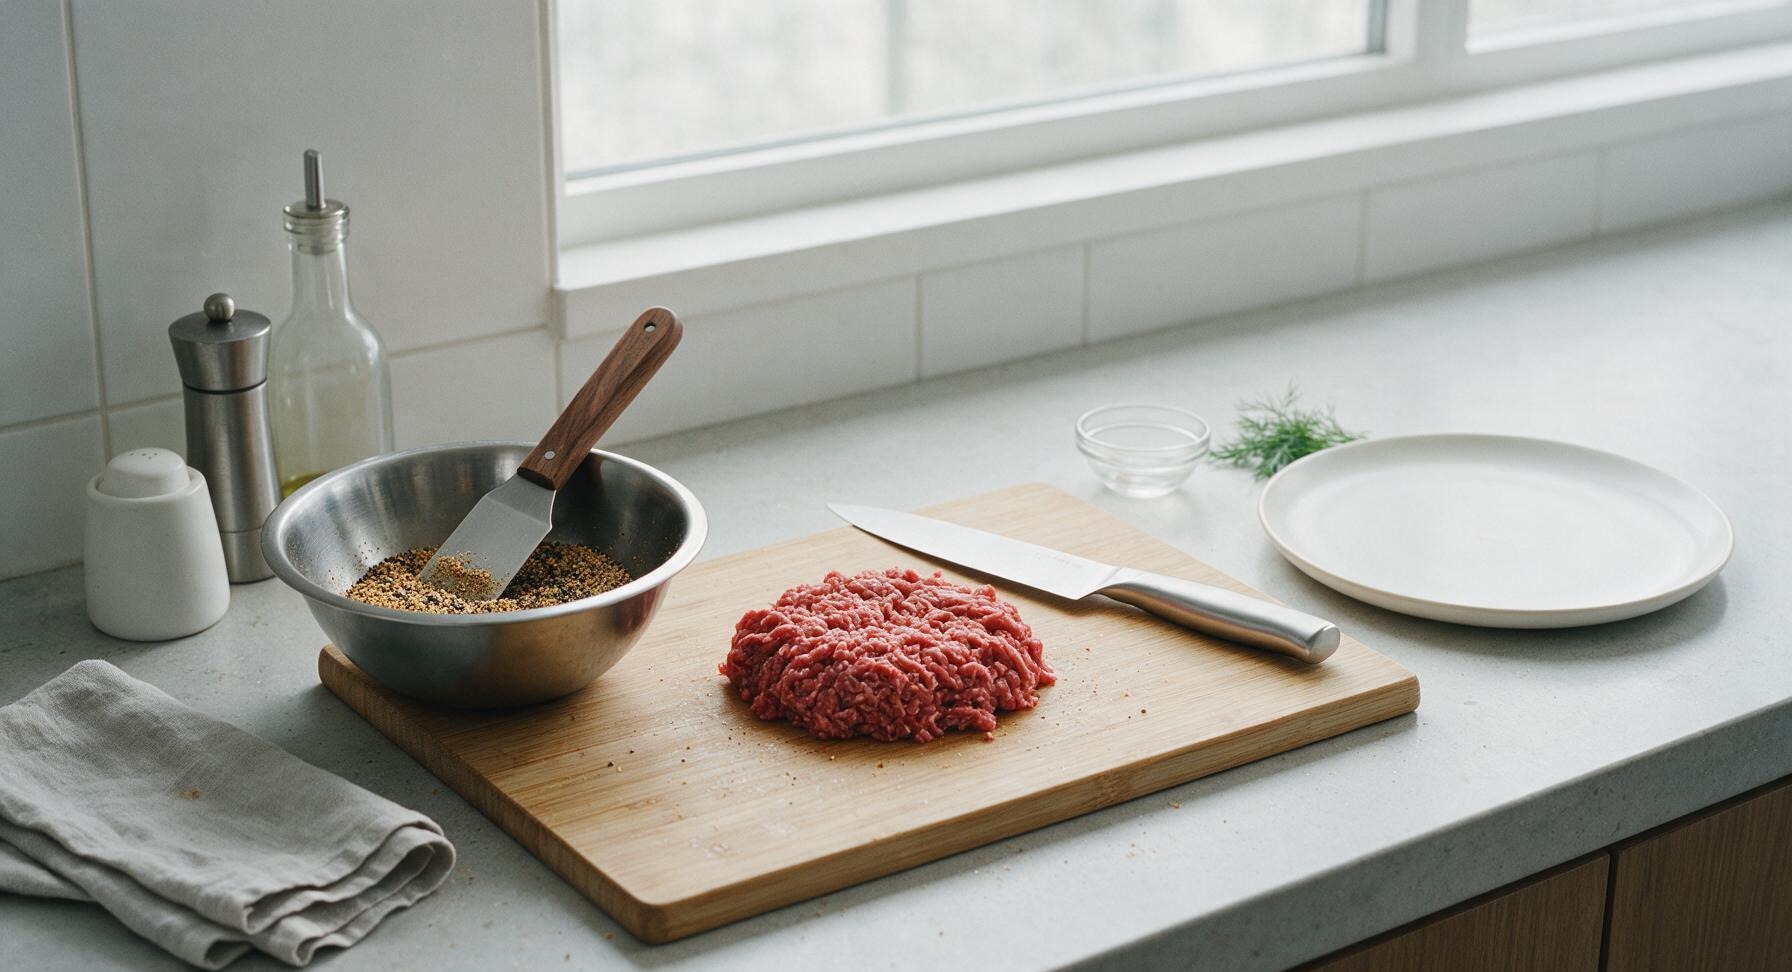
In the 18cm stainless steel mixing bowl, combine 1 tablespoon kosher salt, 1 teaspoon freshly ground black pepper, 1 teaspoon garlic powder, and 1 teaspoon onion powder. Stir with the tip of the walnut-handled burger spatula to evenly combine, breaking up any small clumps of garlic or onion powder. Set aside 1 teaspoon of the blend for finishing the cooked patties, if desired.
Combine Beef and Seasonings
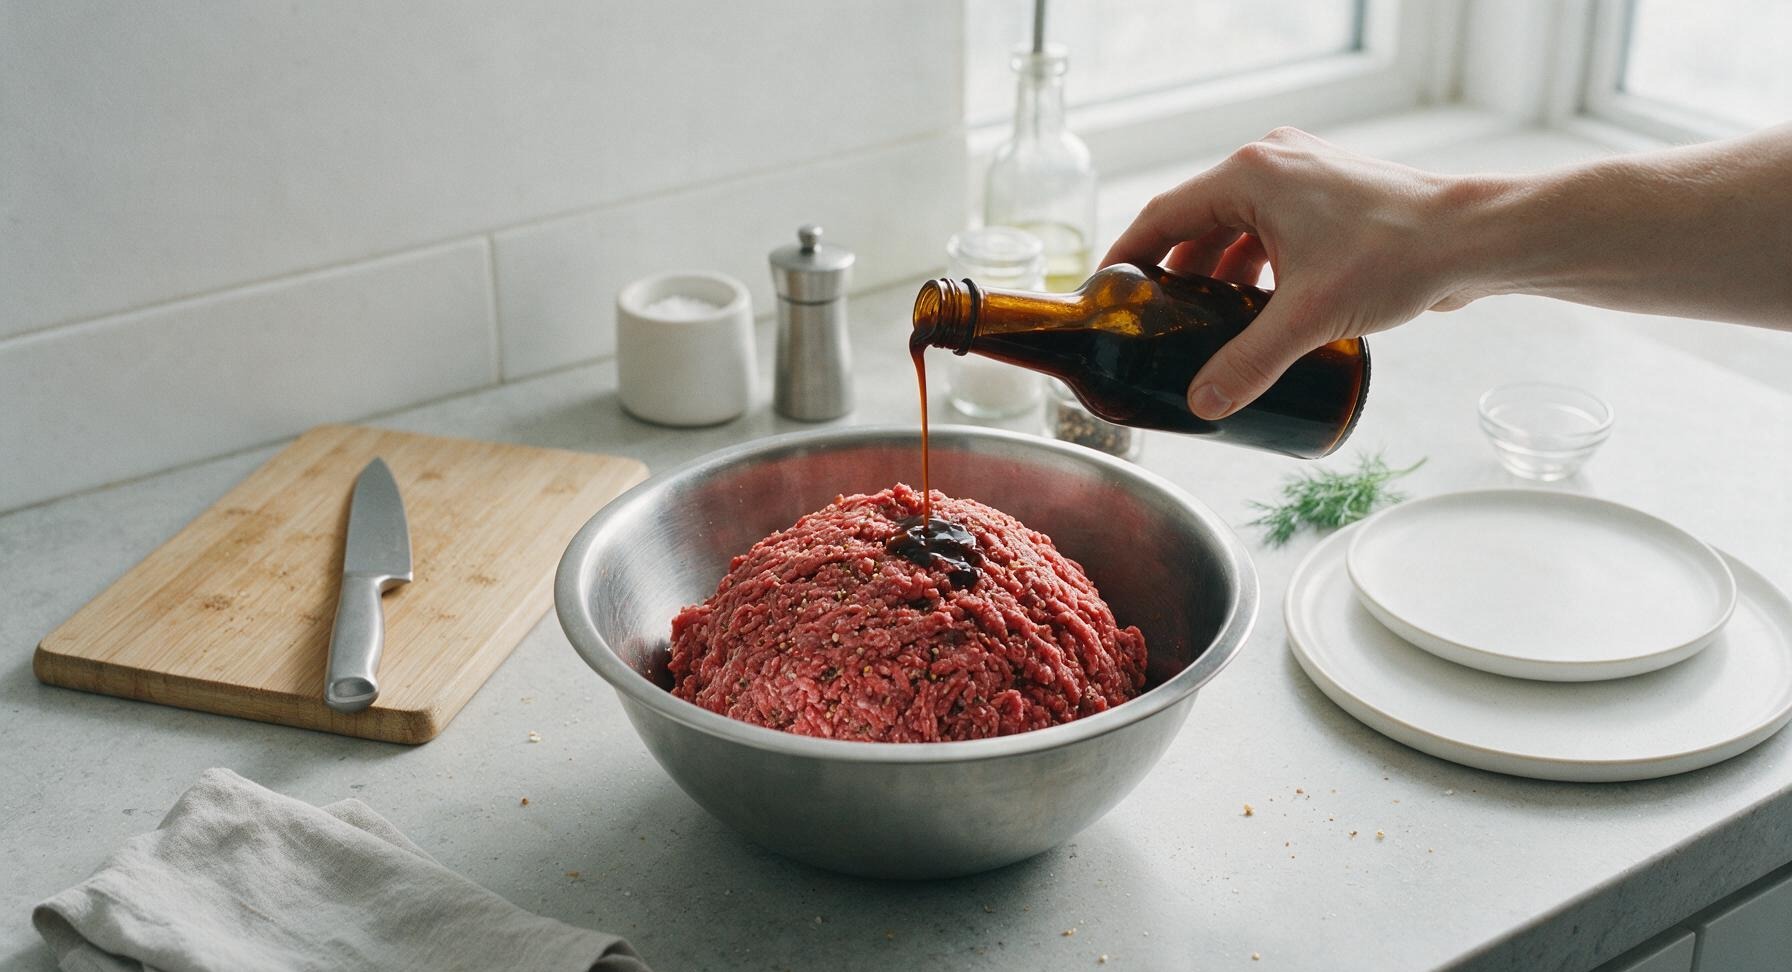
Place the 680g 80/20 ground chuck into the mixing bowl with the spice blend. Drizzle 2 tablespoons of Worcestershire sauce over the top of the beef. Use clean, cold hands to very gently toss the beef and seasonings together, stopping as soon as the spices are evenly distributed. Do not squeeze, knead, or overwork the meat, as this compacts muscle fibers and creates tough, dense patties. The finished mixture should remain loose, not packed into a solid mass.
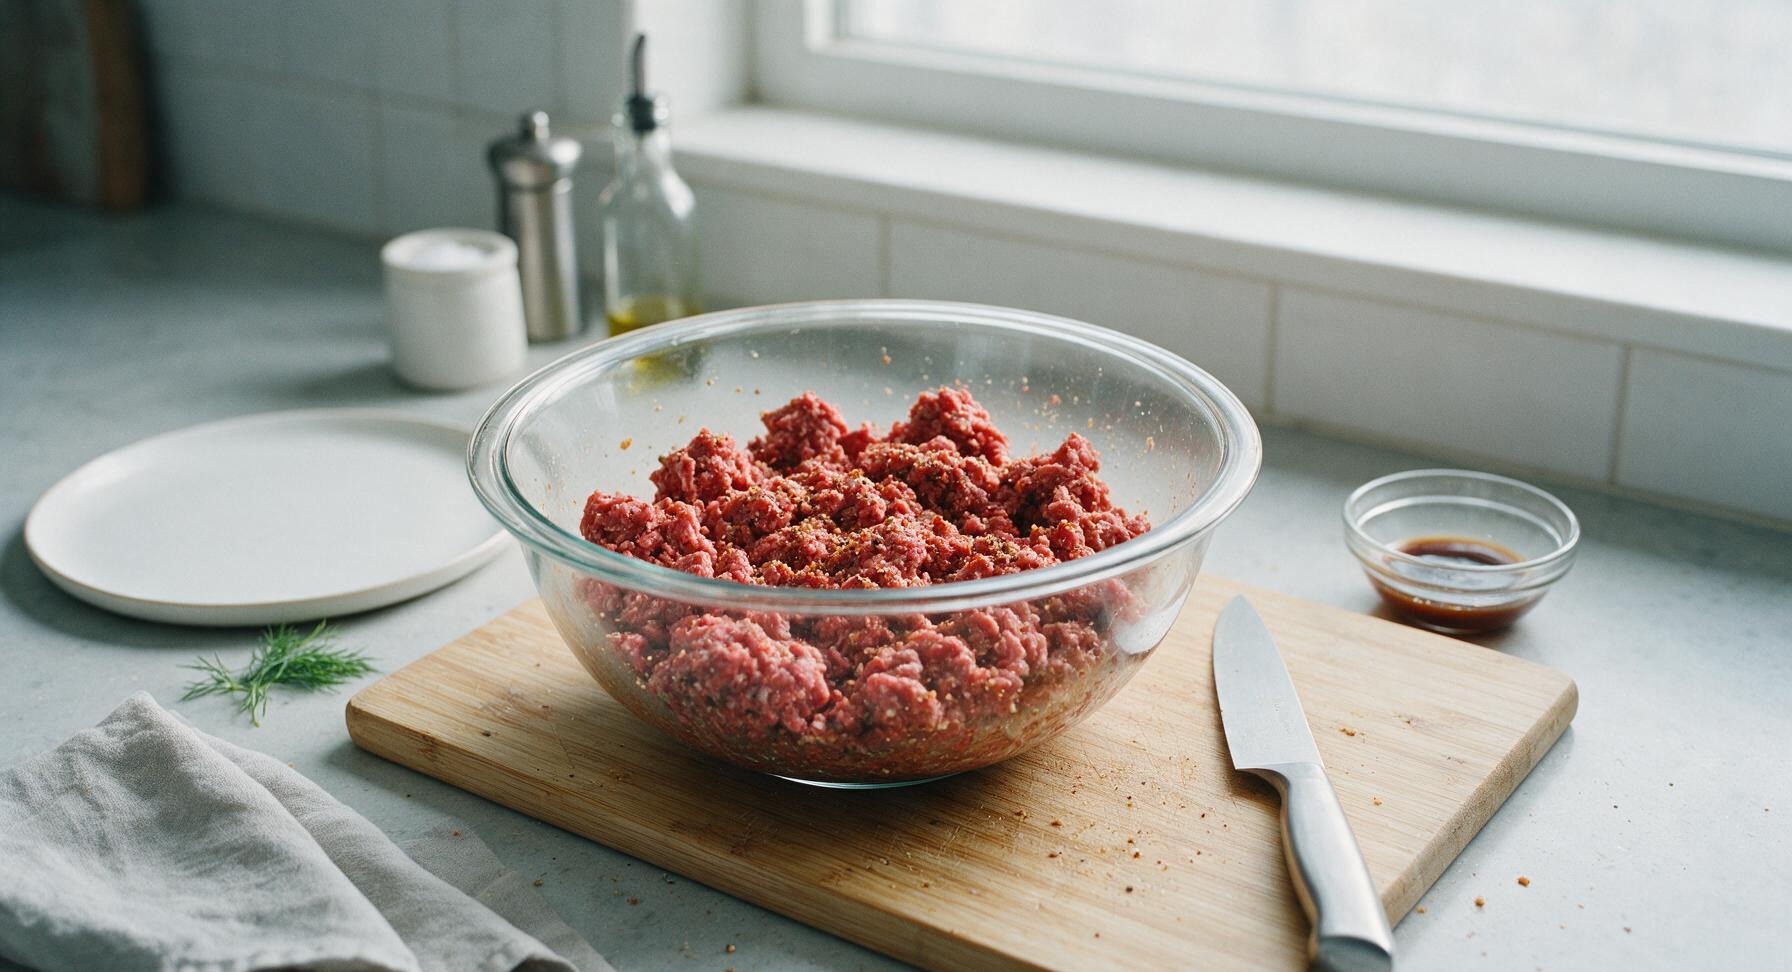
Divide Equal Portions
Lightly coat your fingertips with a tiny amount of canola oil to prevent sticking. Gently divide the seasoned beef mixture into 4 equal portions, each approximately 170g (6oz). Do not squeeze the portions into tight balls; simply gather them into rough, loose mounds spaced evenly across the maple cutting board.
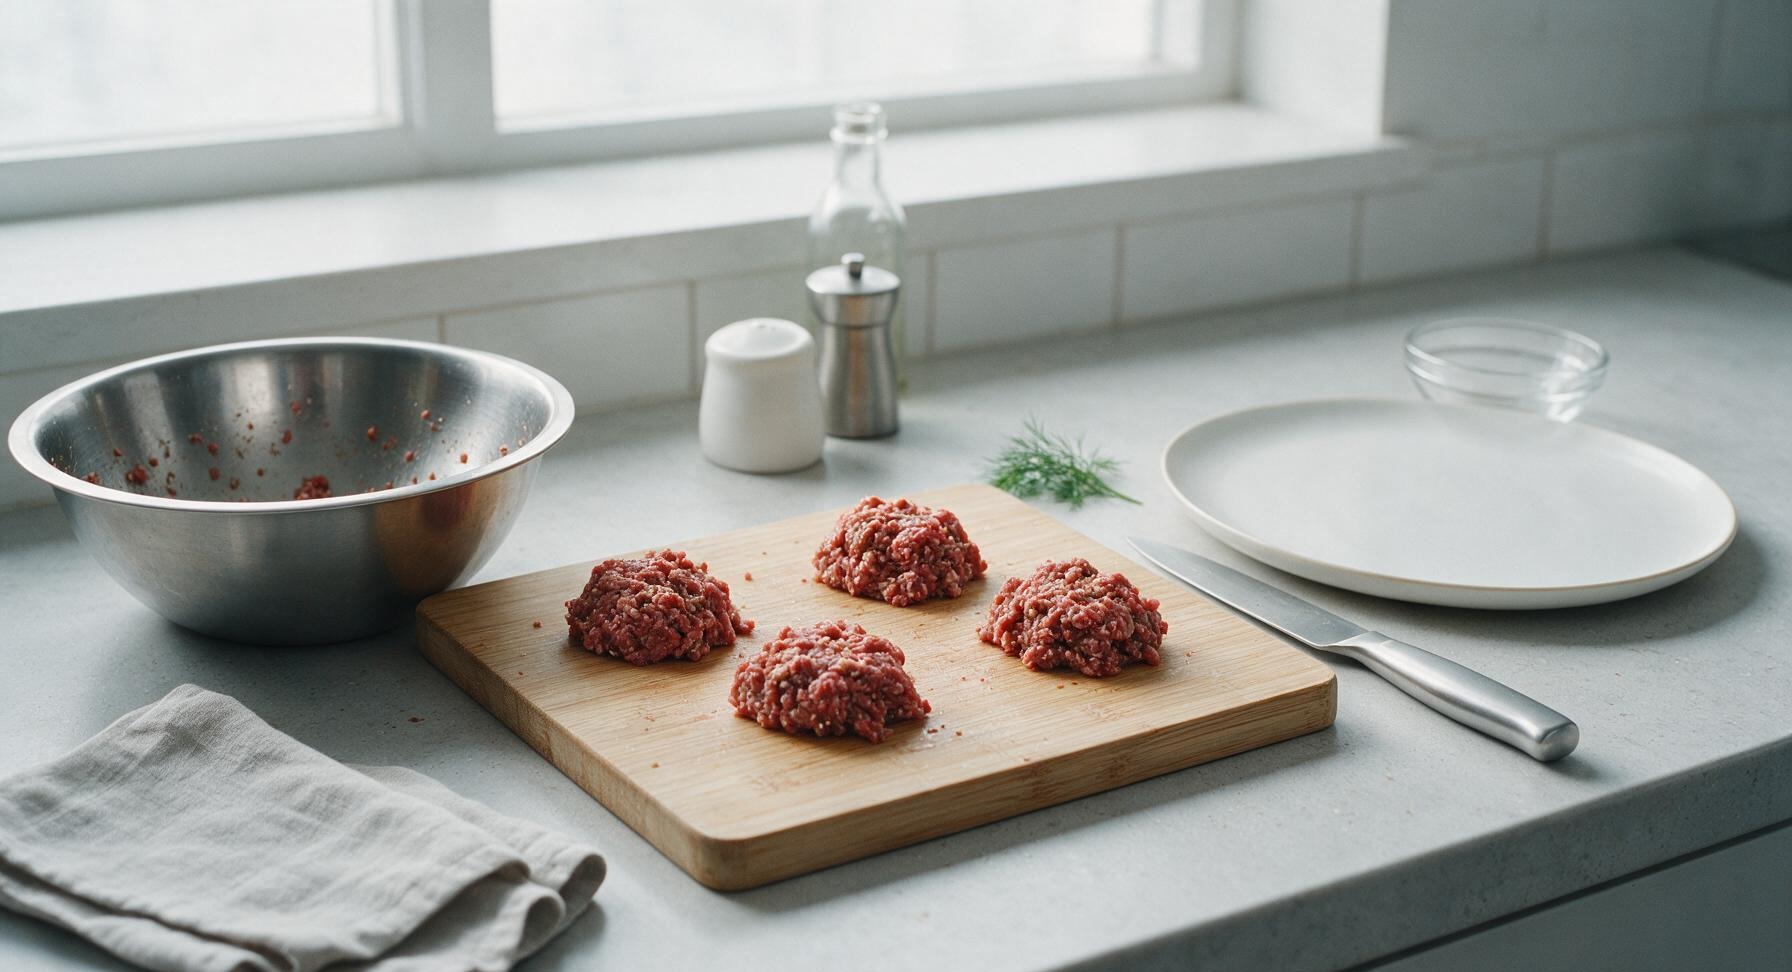
Shape Patties Gently
Take one loose meat mound at a time and gently press it into a flat patty that is 1cm (1/2 inch) wider than your standard burger bun, as patties will shrink slightly during cooking. Press a 1cm (1/2 inch) deep thumb dimple into the center of each patty to prevent doming as the meat cooks. Leave patty edges slightly ragged rather than pressing them smooth, as ragged edges crisp up better during searing.
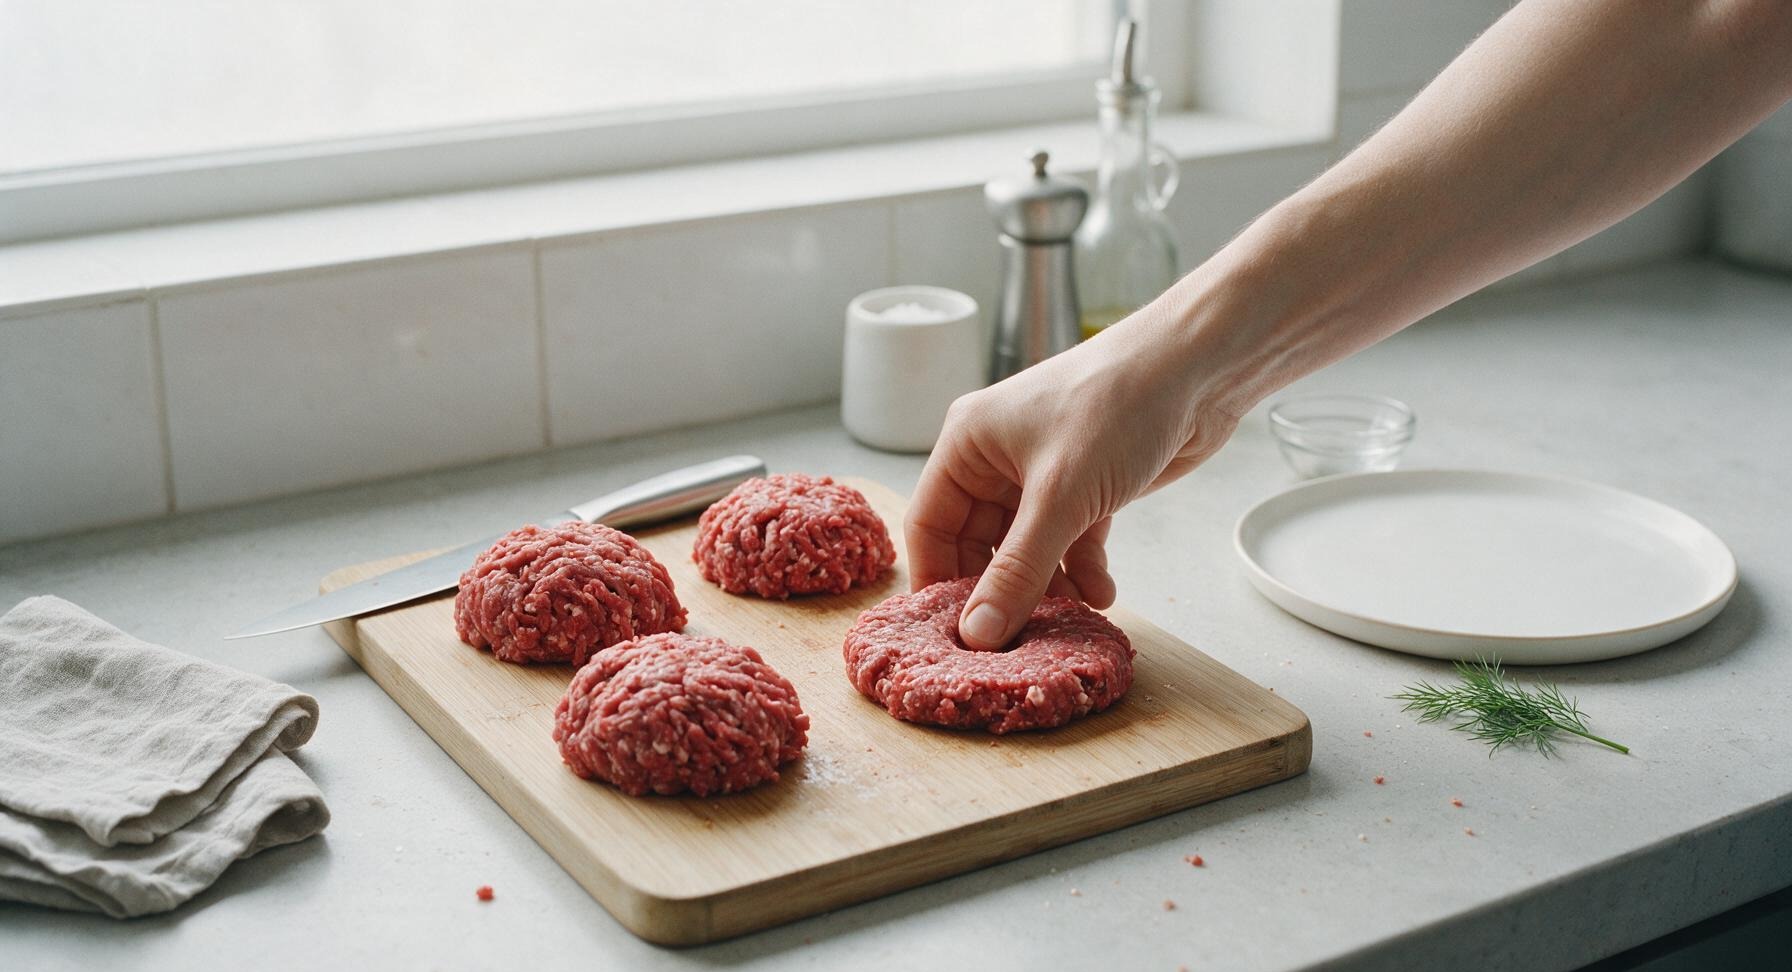
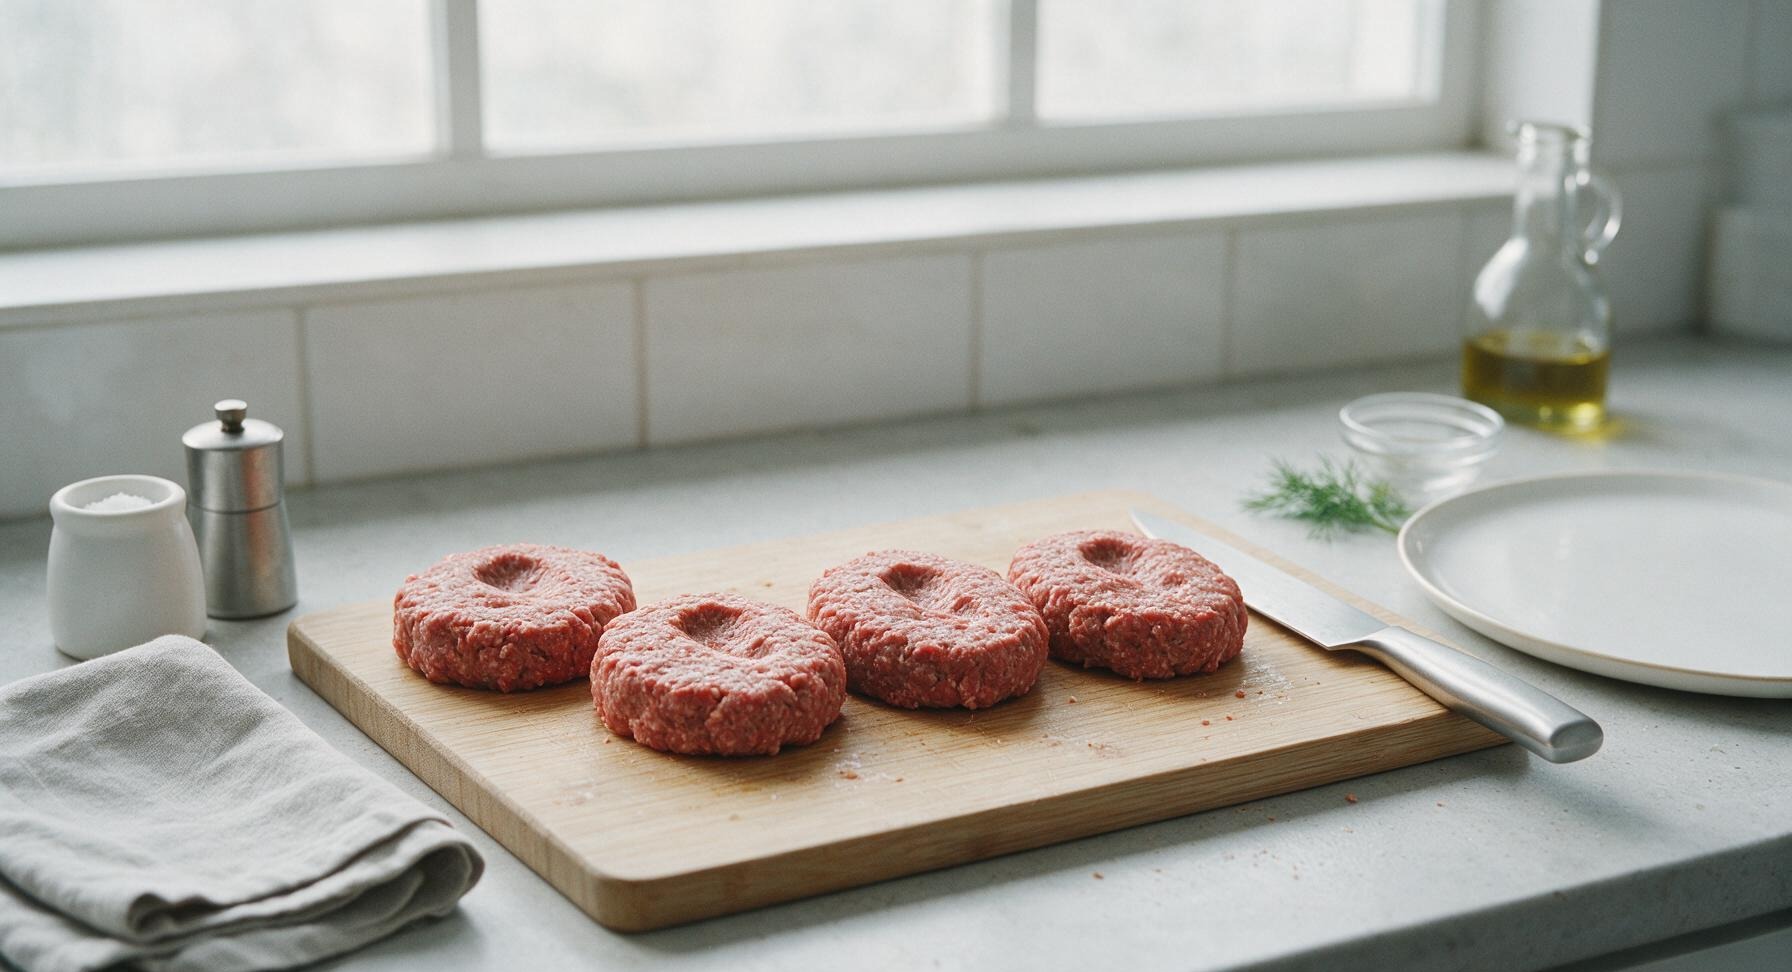
Preheat Grill Pan
Move the pre-seasoned cast iron grill pan from its resting spot on the far back edge of the counter to the built-in counter burner set to medium-high heat. Let the pan preheat for 5 minutes, until it is very hot and just starting to release a faint wisp of smoke. Lightly coat the pan ridges with 1 teaspoon of canola oil using the stainless steel oil mister to prevent sticking.
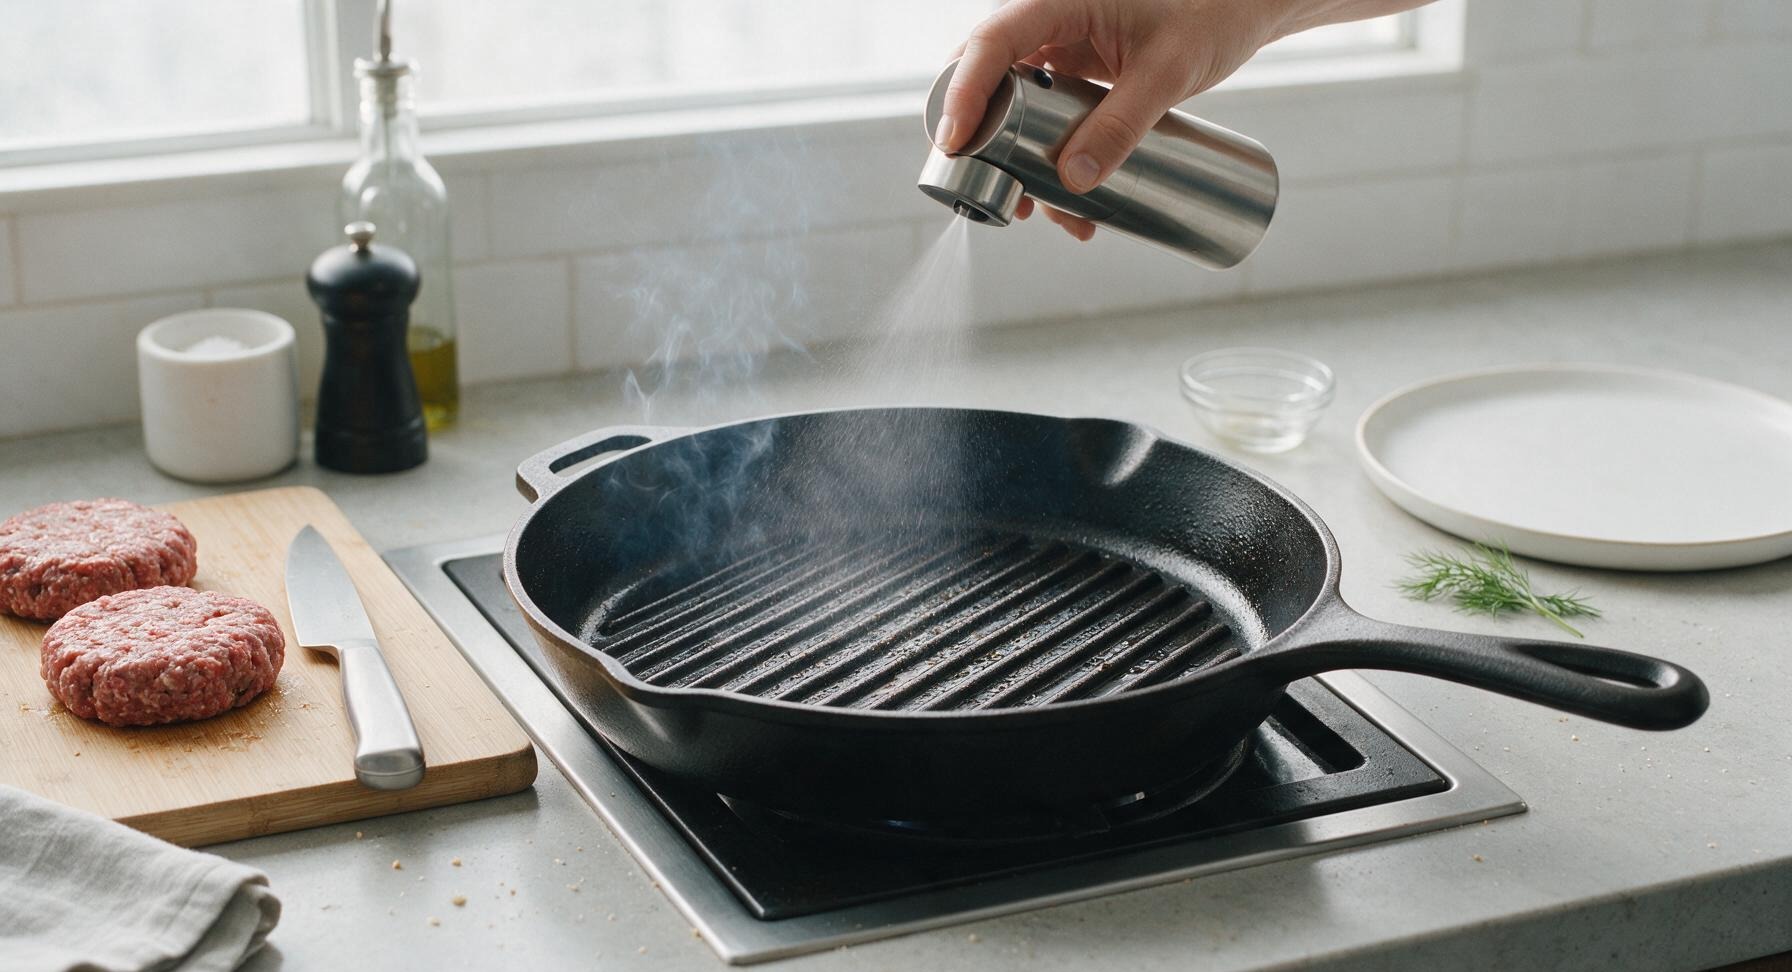
Sear First Patty Side
Carefully transfer each patty to the hot grill pan, placing the dimpled side down first. Do not overcrowd the pan; cook in two batches if your pan is too small to fit all four patties with space between them. Let the patties cook undisturbed for 3 full minutes, without pressing down on them with the spatula—pressing squeezes out flavorful fat and juice, leading to dry patties. The bottom surface will develop deep, dark grill marks and a crisp seared crust.
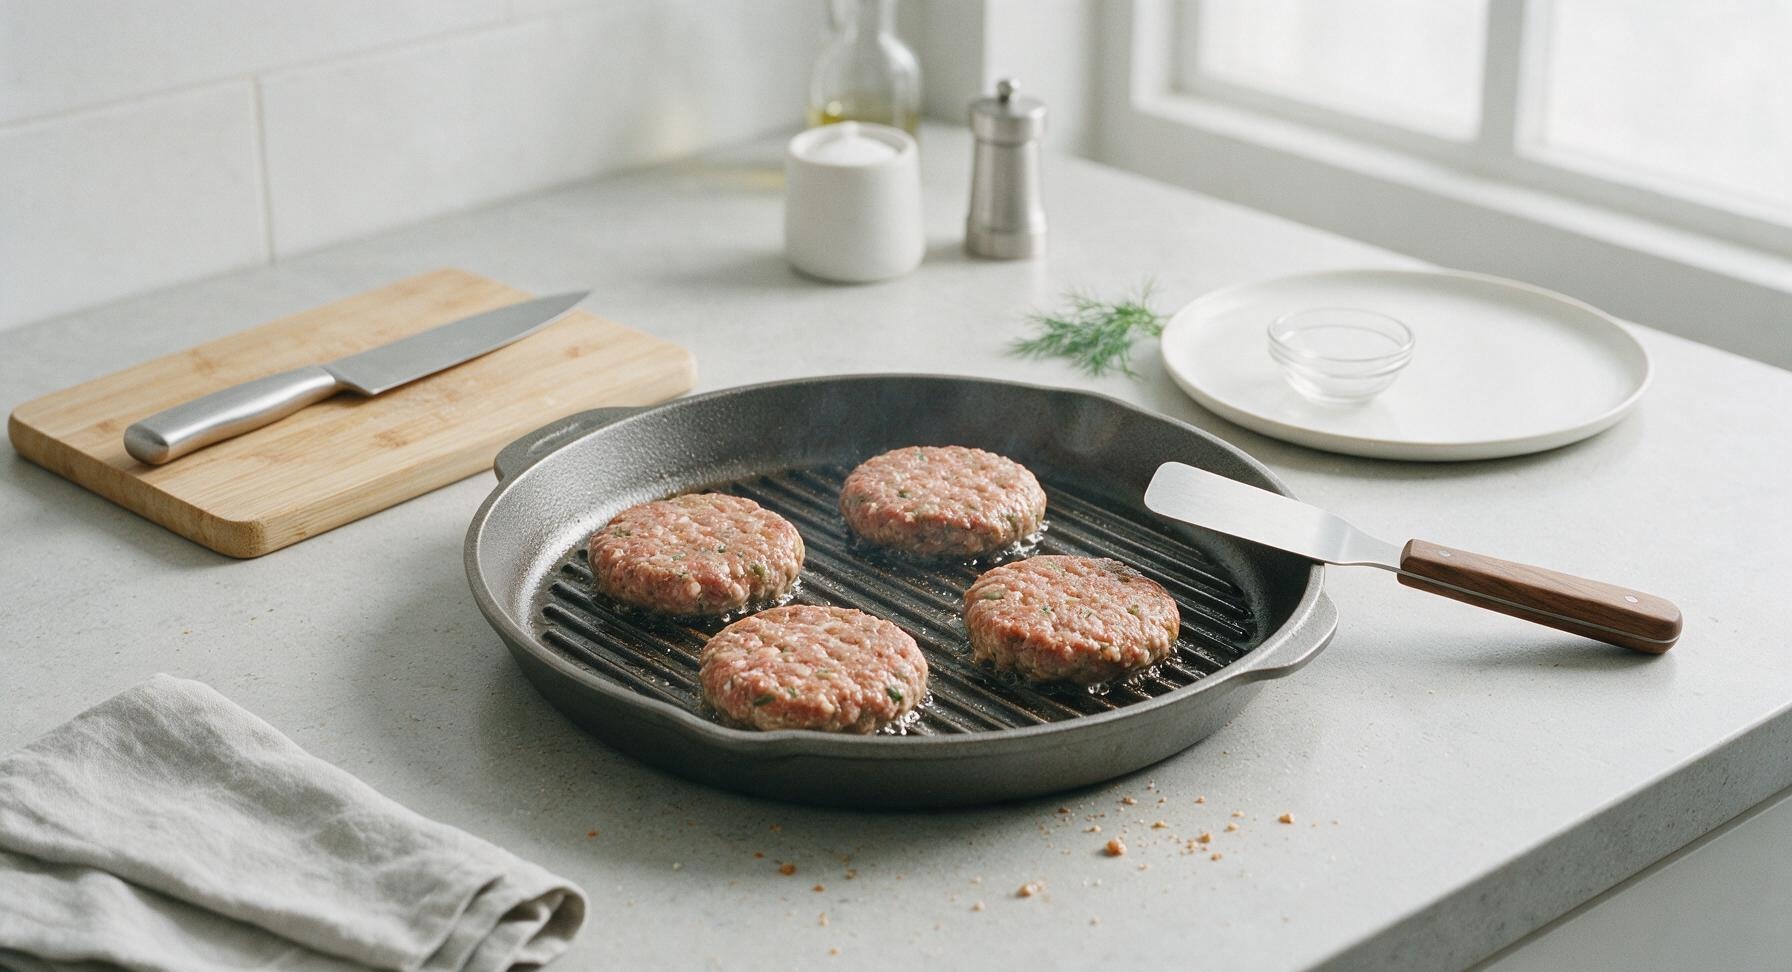
Flip and Cook Through
Use the thin edge of the burger spatula to gently slide under each patty and flip it, taking care not to tear the delicate seared crust. Cook for an additional 2-4 minutes to reach your desired doneness: 2 minutes for medium-rare (internal temperature 57C/135F), 3 minutes for medium (63C/145F, FDA recommended safe minimum for ground beef when rested), 4 minutes for medium-well (71C/160F). Continue to avoid pressing the patties as they cook on the second side.
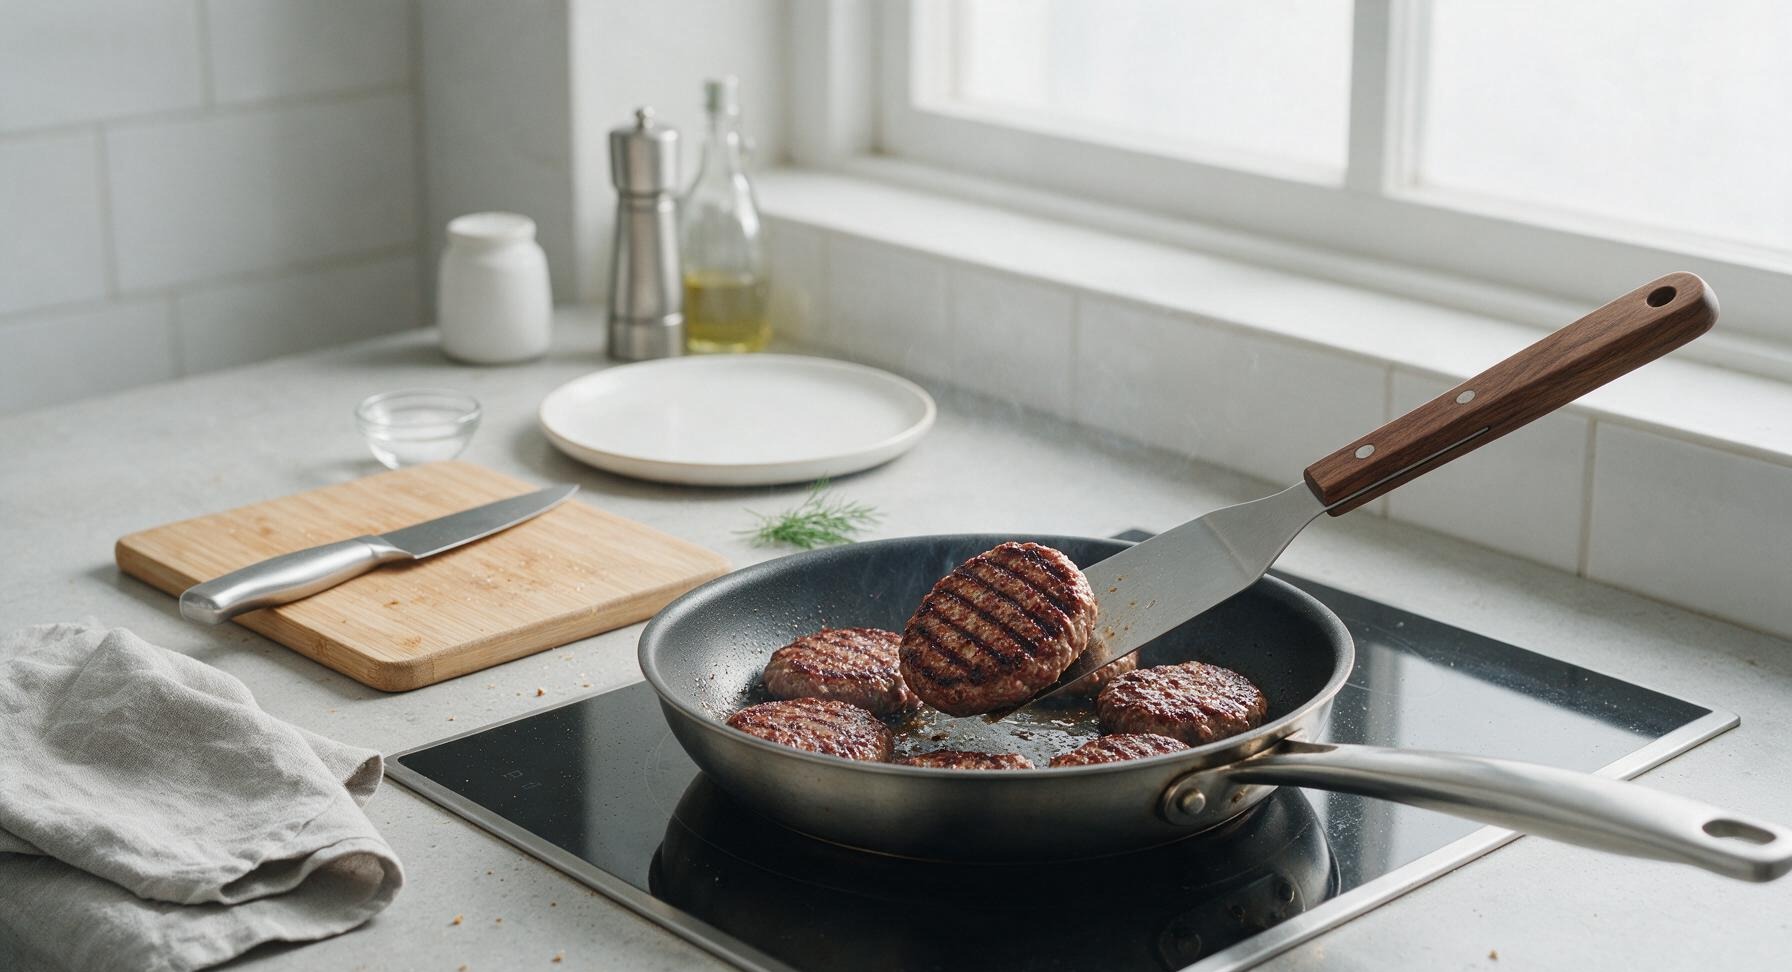
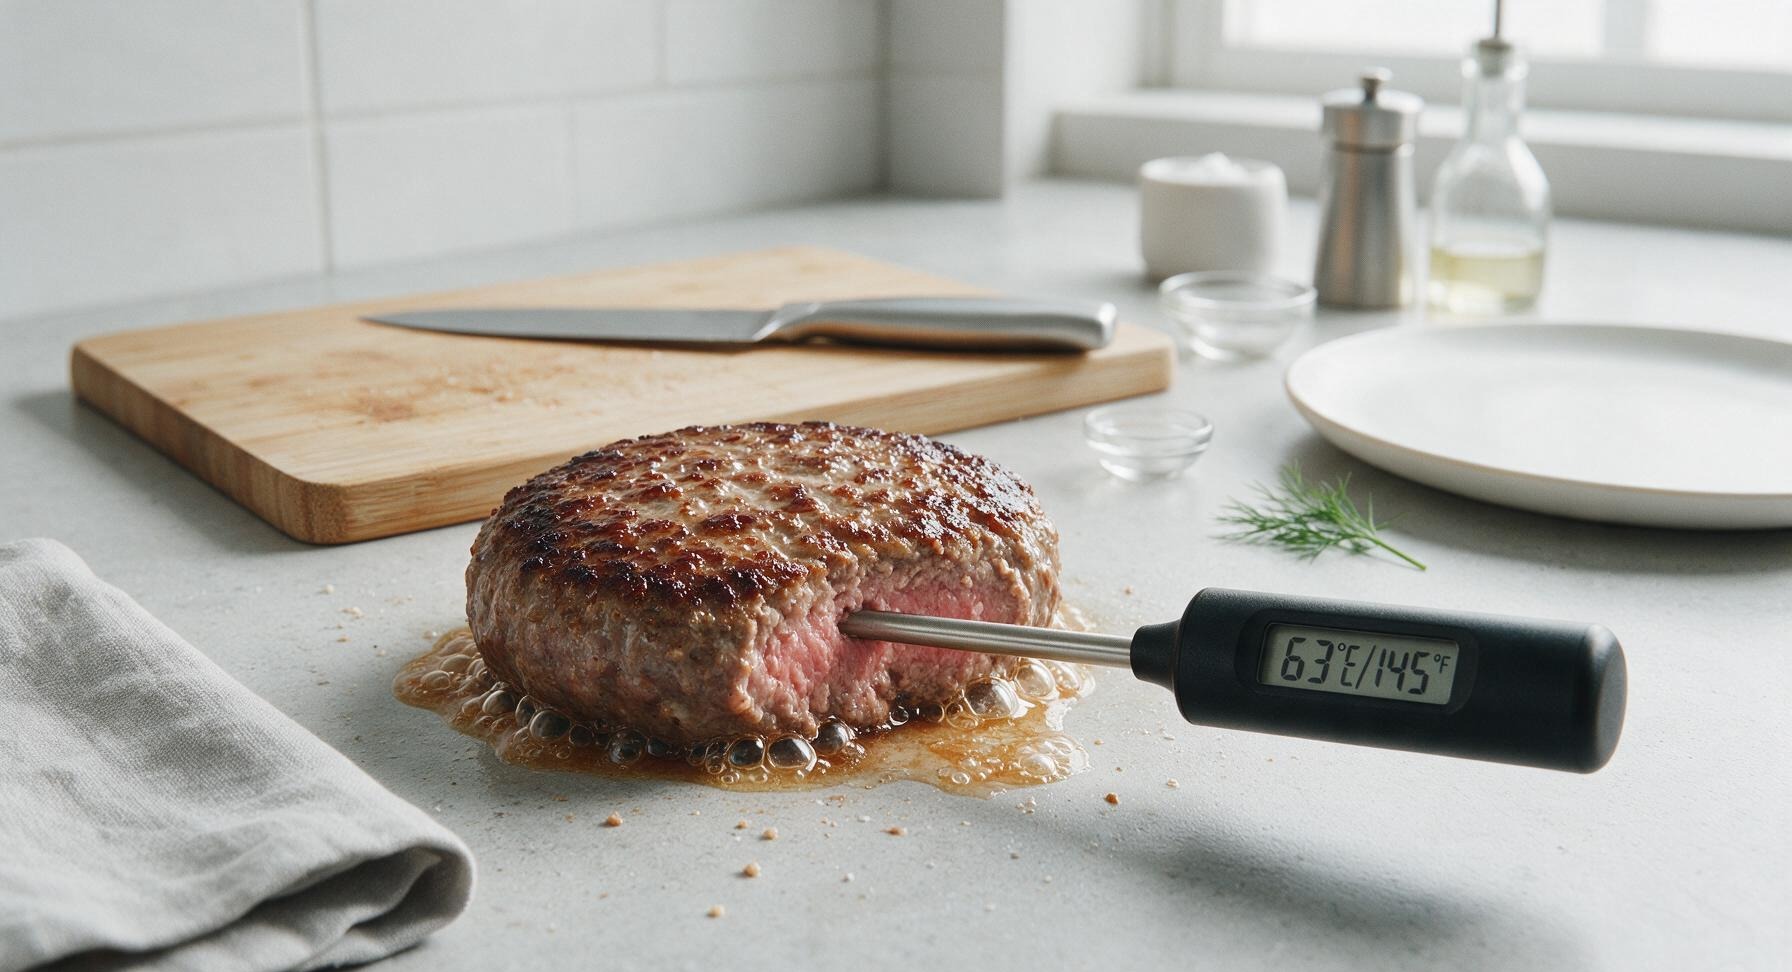
Rest Patties Briefly
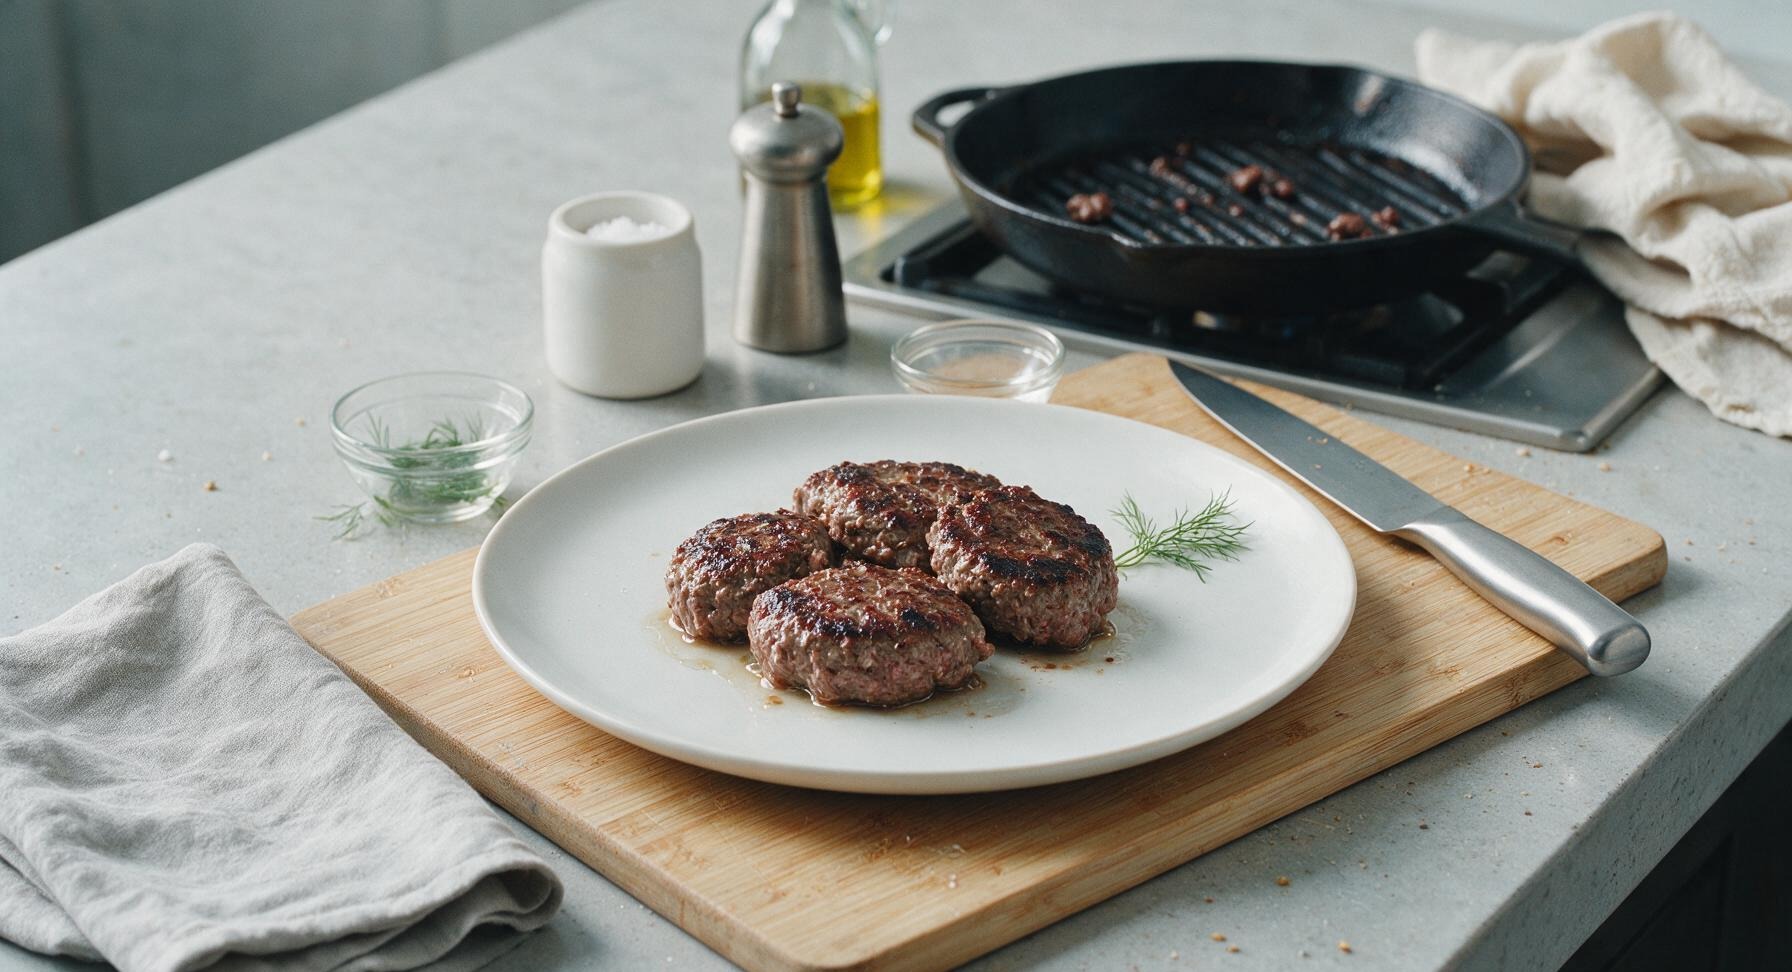
Transfer the cooked patties to the matte off-white ceramic serving platter. Let them rest for 3 full minutes to allow muscle fibers to relax and juices to redistribute through the meat, rather than running out onto your plate when you take the first bite. Sprinkle with a pinch of the reserved seasoning blend if desired, before assembling into full burgers with your favorite toppings.
Tips
2.Keep the meat as cold as possible before cooking: warm fat sticks to your hands and melts too quickly in the pan, leading to patties that shrink excessively and lose moisture. Pop the ground beef back in the fridge for 10 minutes after shaping if your kitchen is warm.
3.Never press patties with a spatula while cooking: this common mistake forces all the melted, flavorful fat and juices out of the patty into the pan, leaving you with dry, bland meat and causing dangerous grease flare-ups on the grill.
4.The thumb dimple is non-negotiable: as ground beef cooks, proteins contract and pull the patty into a rounded dome shape; the shallow indent in the center keeps patties flat and even, so cheese and toppings stay in place instead of sliding off.






OMG these were SO good! I made these for our family cookout earlier today and everyone was raving. I always struggled with dry, crumbly patties before but these stayed juicy the whole time, even after my husband loaded them up with cheese, pickles, onions, and two kinds of sauce. My kids begged for seconds before they even finished their first! Total game changer for our summer grilling rotation. Already planning to make a big batch next weekend for our neighborhood potluck.
Super easy to whip up for meal prep! I made a double batch last Sunday, cooked them up in 10 minutes flat like the recipe says, and they stayed juicy even when I reheated them for lunches all week. Way better than the frozen pre-made patties I used to buy, saves me so much money too. I added a little extra garlic powder and smoked paprika to my mix because I love bold flavor, and it worked perfectly without making the patties dry at all.
Y'all, this is my first time ever making burgers from scratch and I was so nervous they'd turn out a dried out, crumbly mess, but they came out perfect!!! I was worried I'd undercook or overcook them but the 10 minute cook time was spot on for my cast iron pan on the stovetop. My roommate said they're better than the burgers we get at our favorite local dive bar, I feel like a real chef now lol. Quick question: do you think I could mix in some chopped pickled jalapeños to the patty mix for a little spicy kick?
Made these for our block party over the weekend and they were the first thing gone off the grill! I was worried because I was making 20 patties for a crowd, but the recipe was so easy to scale up. Everyone kept saying how juicy they were, even the people who usually load their burgers with a ton of sauce said the patty itself had so much flavor they barely needed toppings. Already sent the recipe to three of my neighbors who asked for it!
Tried these for dinner last night and holy cow, they were incredible. I've been messing around with burger recipes for 20 years and always thought I had a solid patty recipe, but this one blows mine out of the water. Who knew not squishing the patties down with the spatula while they cook made that big of a difference? I used to do that every single time to 'get a good sear' and had no idea I was pressing out all the juice. My wife said these are straight up restaurant quality, so that's a massive win in my book.
These patties are perfect for our gluten free household! No weird breadcrumb fillers, just simple, easy to find ingredients, and they hold together so well even without any binders. I served them on butter lettuce wraps with baked sweet potato fries and my whole family devoured them, even my super picky 7 year old. Quick question: can I freeze the formed raw patties to cook later for busy weeknights?