
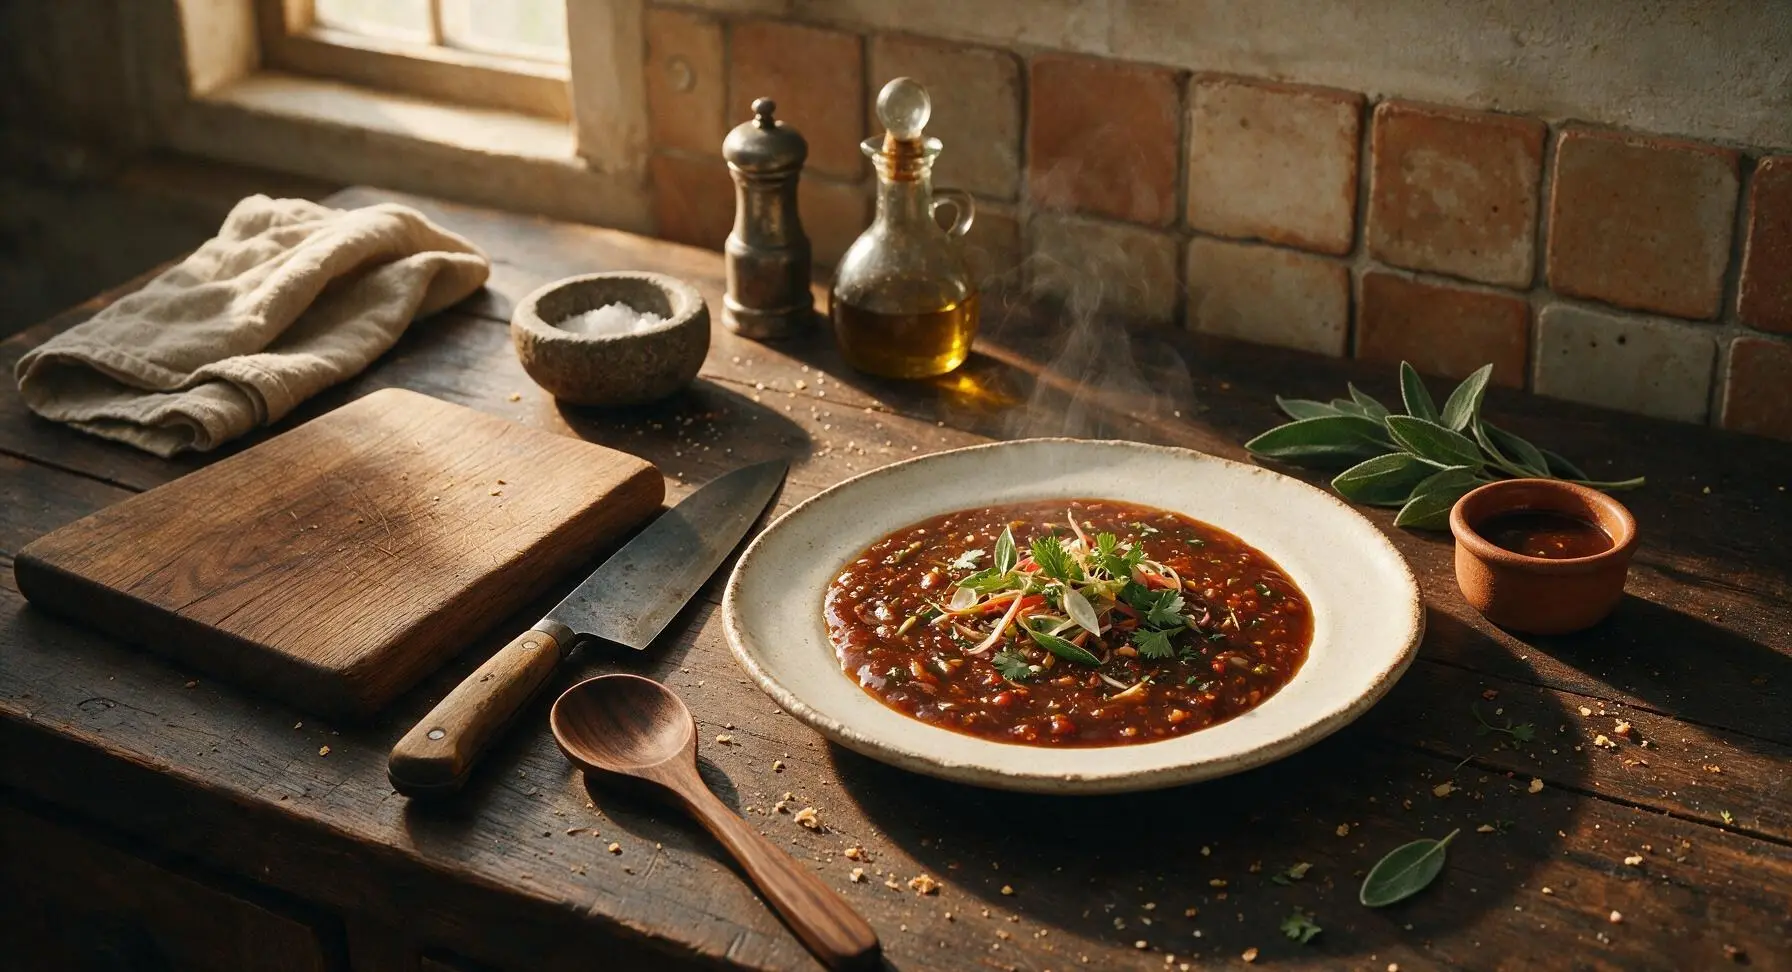
manchurian sauce

title 1
manchurian sauce
⏱️ cook time 8 minutes
🍽️ servings 4
⚡ Difficulty easy

intro

Tangy, umami-rich, slightly spicy Manchurian sauce: the glossy, addictive coating for crispy veggies, paneer, or chicken, ready in under 20 minutes.

Ingredients
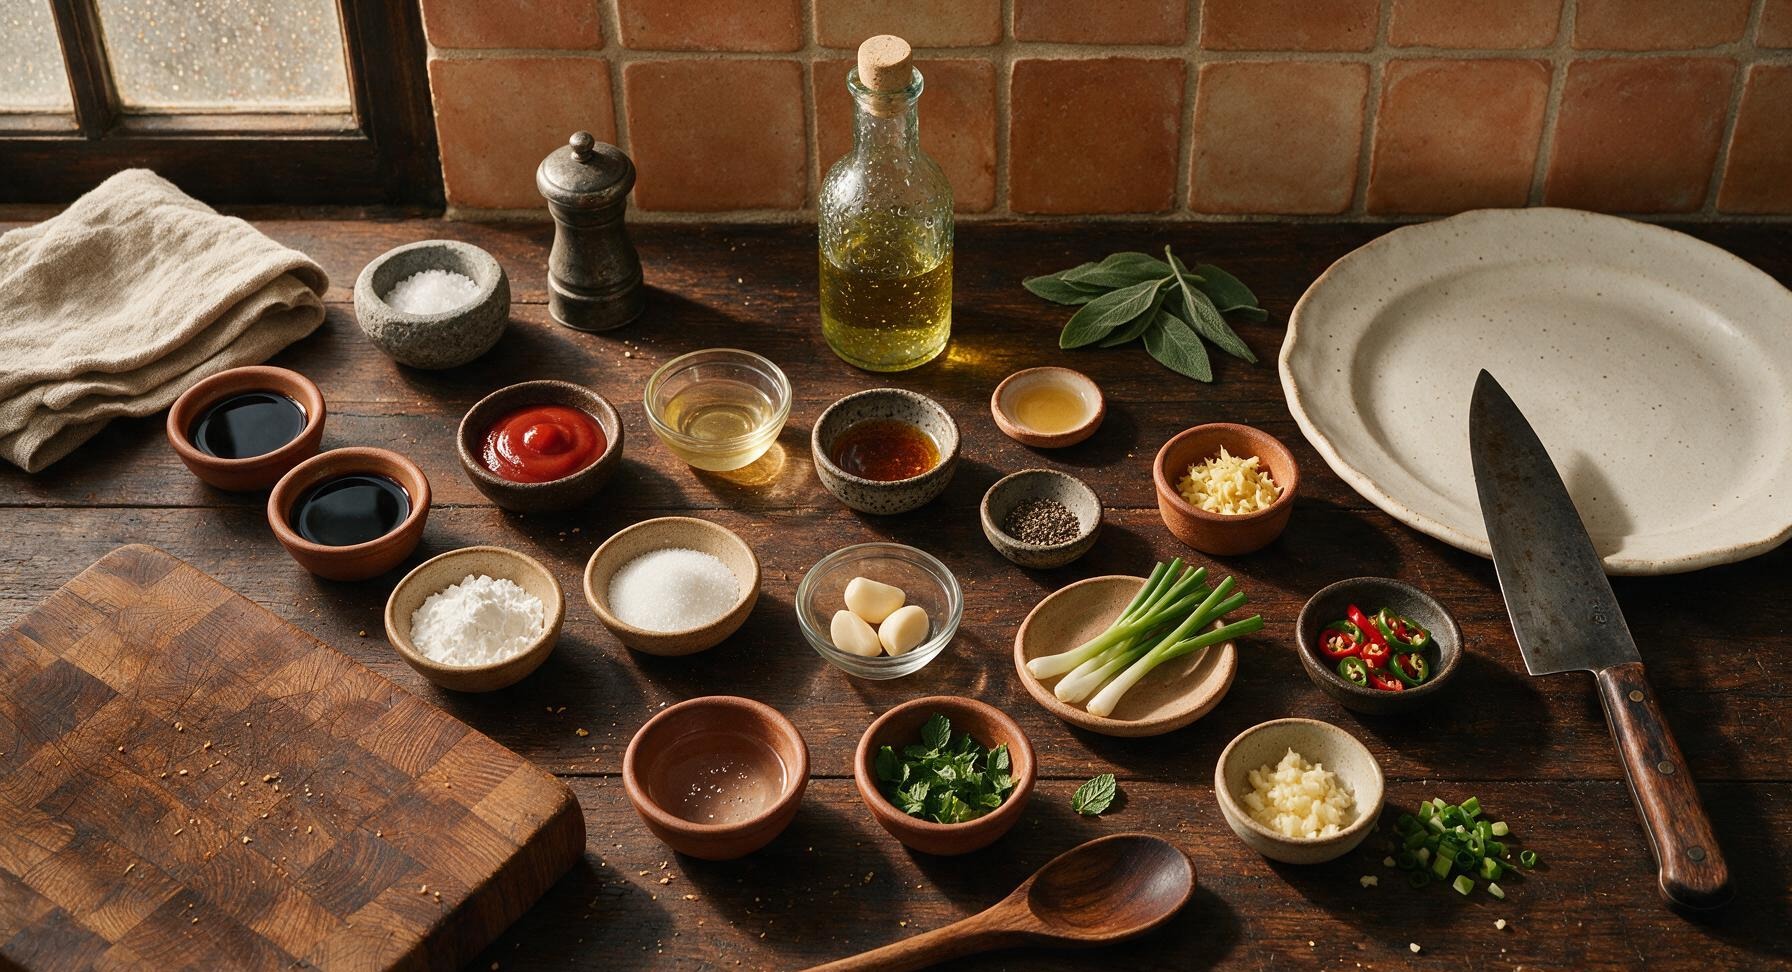
Light soy sauce 3 tbsp
Dark soy sauce 1 tsp
Tomato ketchup 4 tbsp
Unseasoned rice vinegar 1.5 tbsp
Cornstarch 1.5 tbsp
Granulated white sugar 1 tbsp
Toasted sesame oil 1 tsp
Freshly ground black pepper 1/4 tsp
Neutral cooking oil (canola/vegetable/avocado) 1 tbsp
Fresh ginger 1 tbsp, finely minced
Garlic cloves 3 large (≈1 tbsp, finely minced)
Fresh green chili 1, seeded and minced
Spring onions 2, white/green parts separated
Cold water 3/4 cup
Fresh mint 1 small leaf, for garnish

Steps

1

Mince Aromatic Ingredients

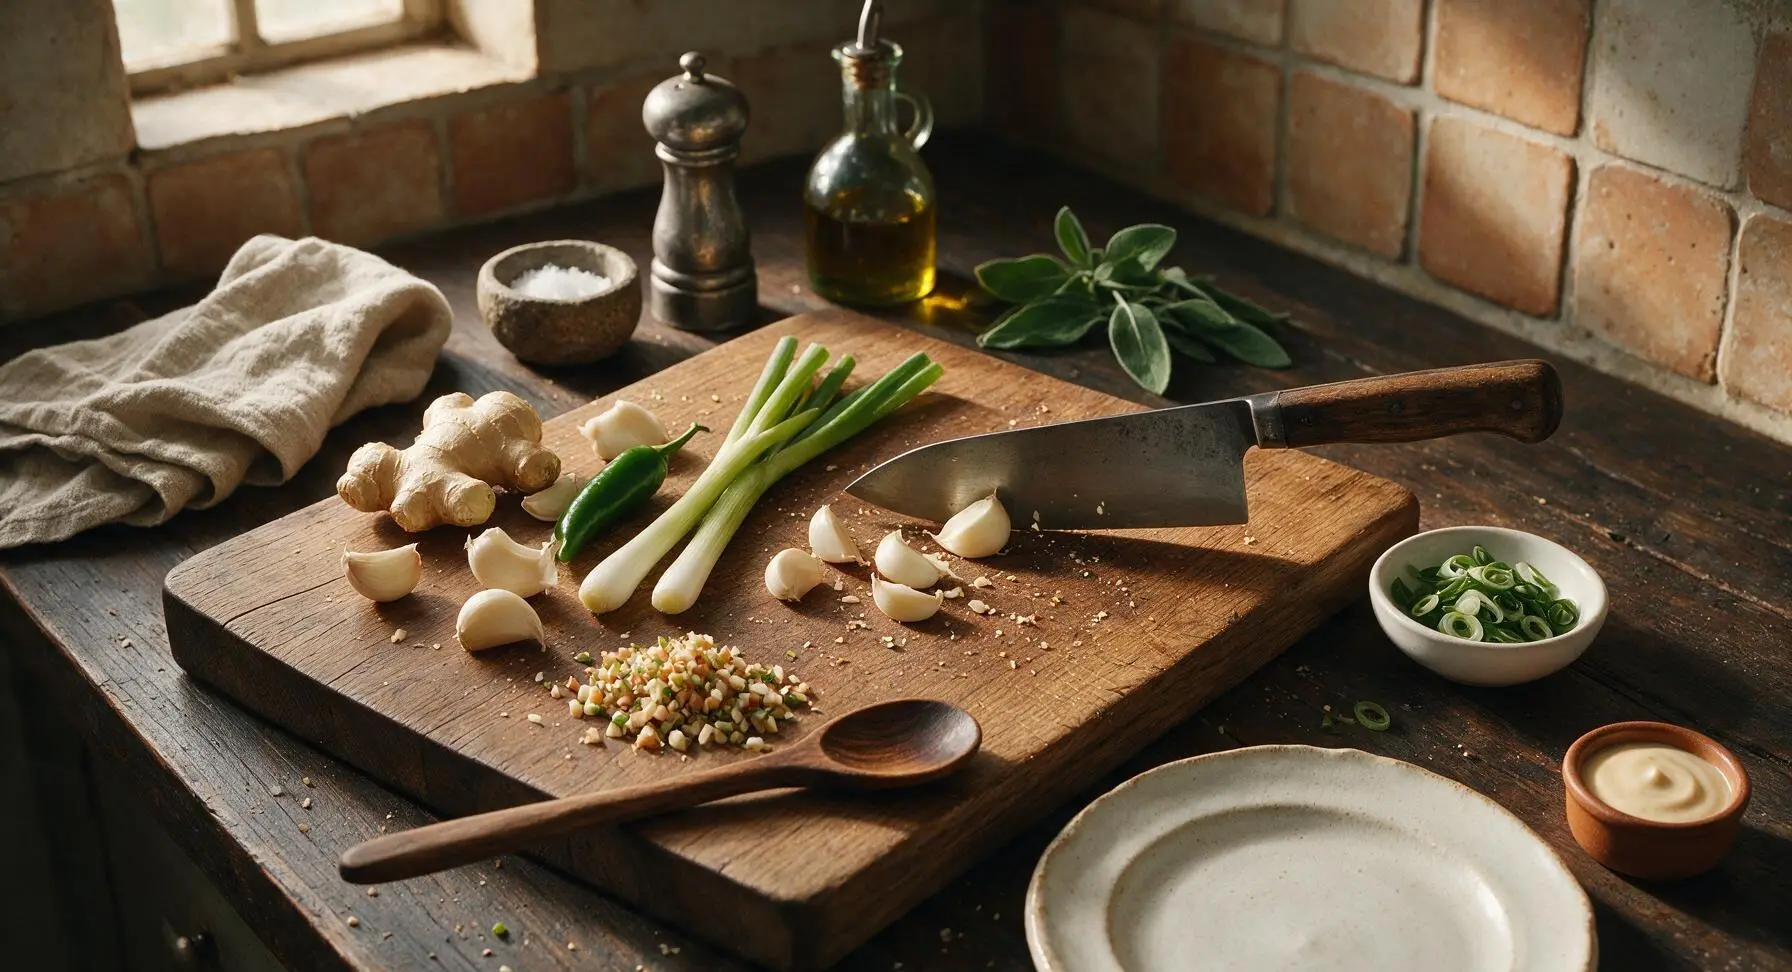
Place the ginger knob, garlic cloves, green chili, and white/light green parts of the spring onions on the acacia wood cutting board. Using the 8-inch chef knife, finely mince all aromatics to a uniform 2mm dice, setting the thin-sliced dark green spring onion tops aside in one of the small white pinch bowls for garnish. Scrape out and discard any tough ginger fibers, and remove chili seeds for a milder sauce if preferred.
Step 1
step1:Mince Aromatic Ingredients
2

Whisk Sauce Base

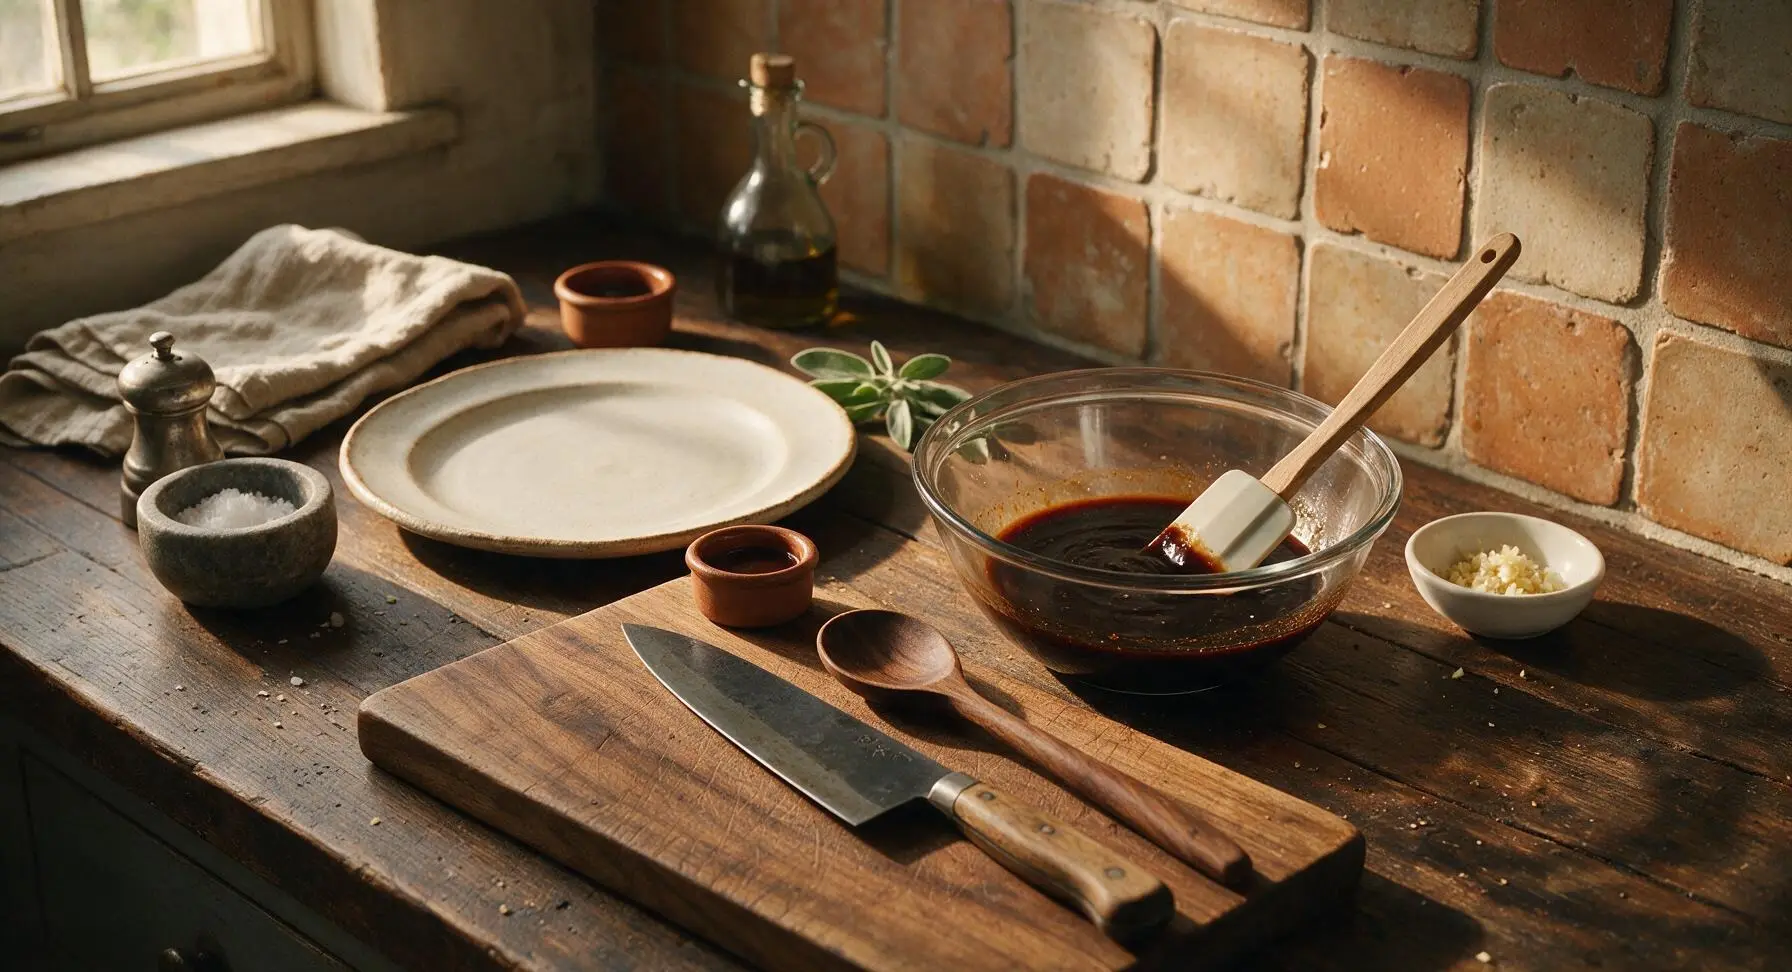
In the clear glass mixing bowl, combine 3 tbsp light soy sauce, 1 tsp dark soy sauce, 4 tbsp tomato ketchup, 1.5 tbsp rice vinegar, 1 tbsp granulated sugar, and 1/8 tsp of the measured black pepper. Stir with the tip of the silicone spatula for 30 seconds until the sugar fully dissolves, with no grainy residue left at the bottom of the bowl. Set the mixed sauce base within arm’s reach of the cooktop.
Step 2
step2:Whisk Sauce Base
3

Prepare Cornstarch Slurry

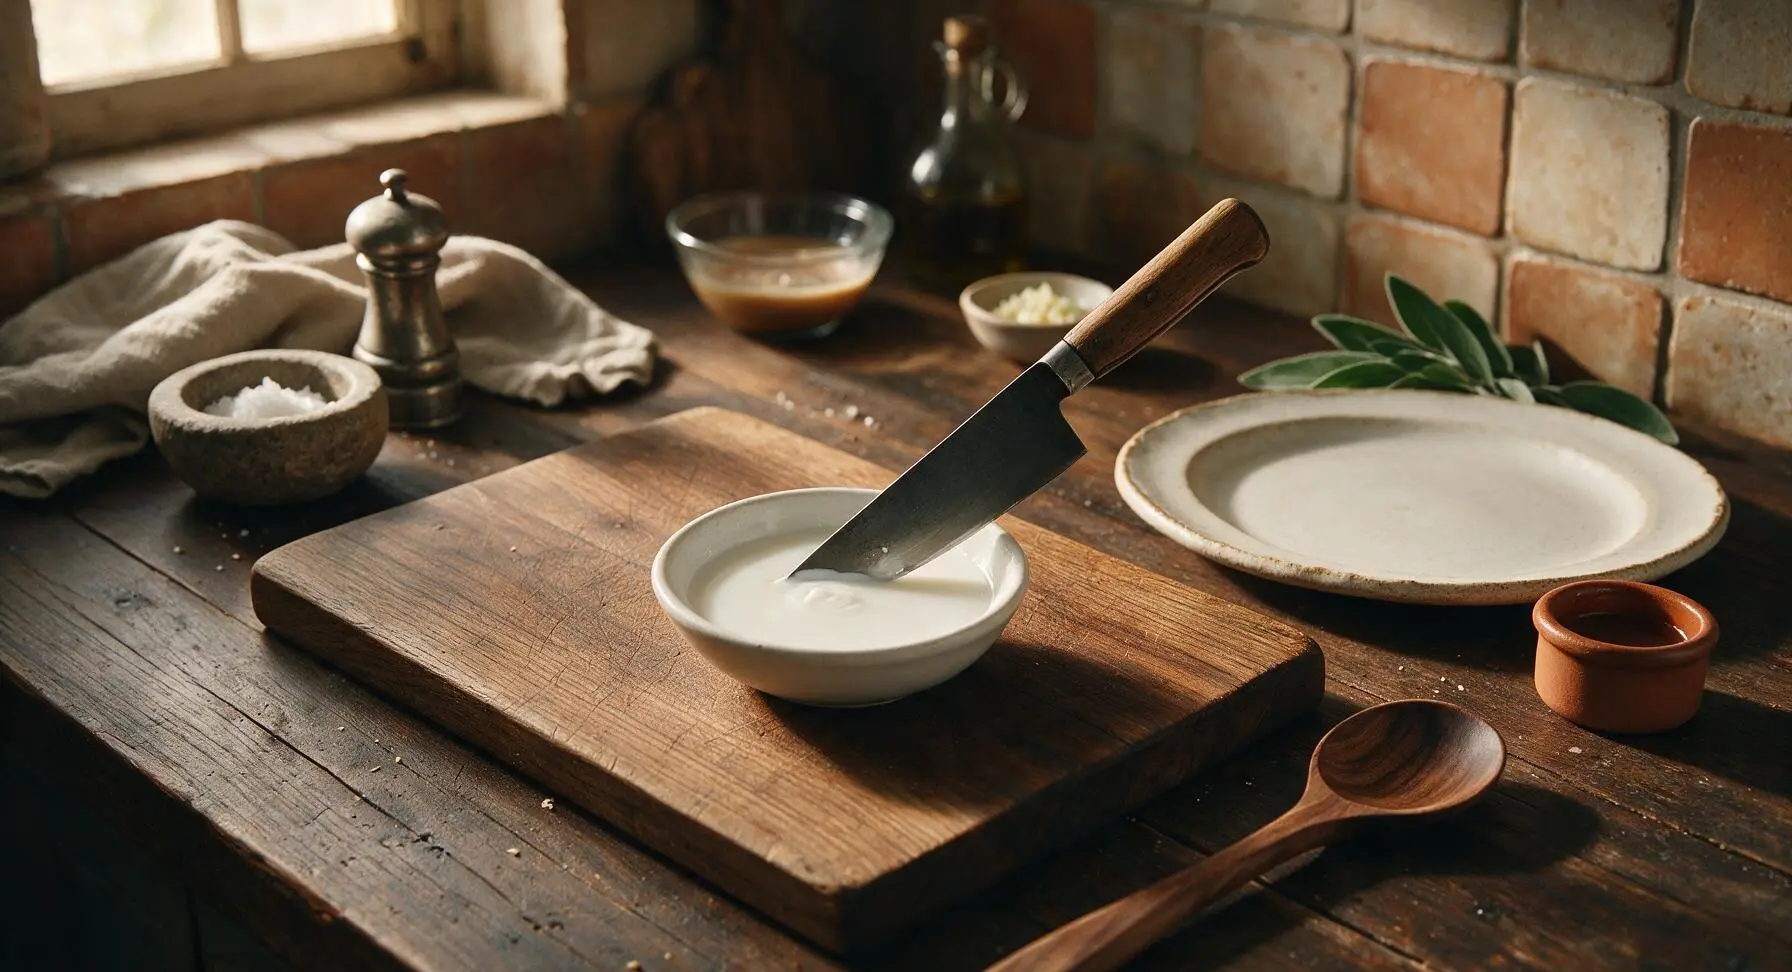
In a third small white pinch bowl, combine 1.5 tbsp cornstarch with 2 tbsp of the measured cold water. Stir thoroughly with the tip of the chef knife until no dry lumps remain, creating a smooth, opaque, milky-white liquid. Make this slurry no more than 5 minutes before using, as cornstarch will settle into a hard layer at the bottom of the bowl if left to sit too long.
Step 3
step3:Prepare Cornstarch Slurry
4

Sauté Fragrant Aromatics

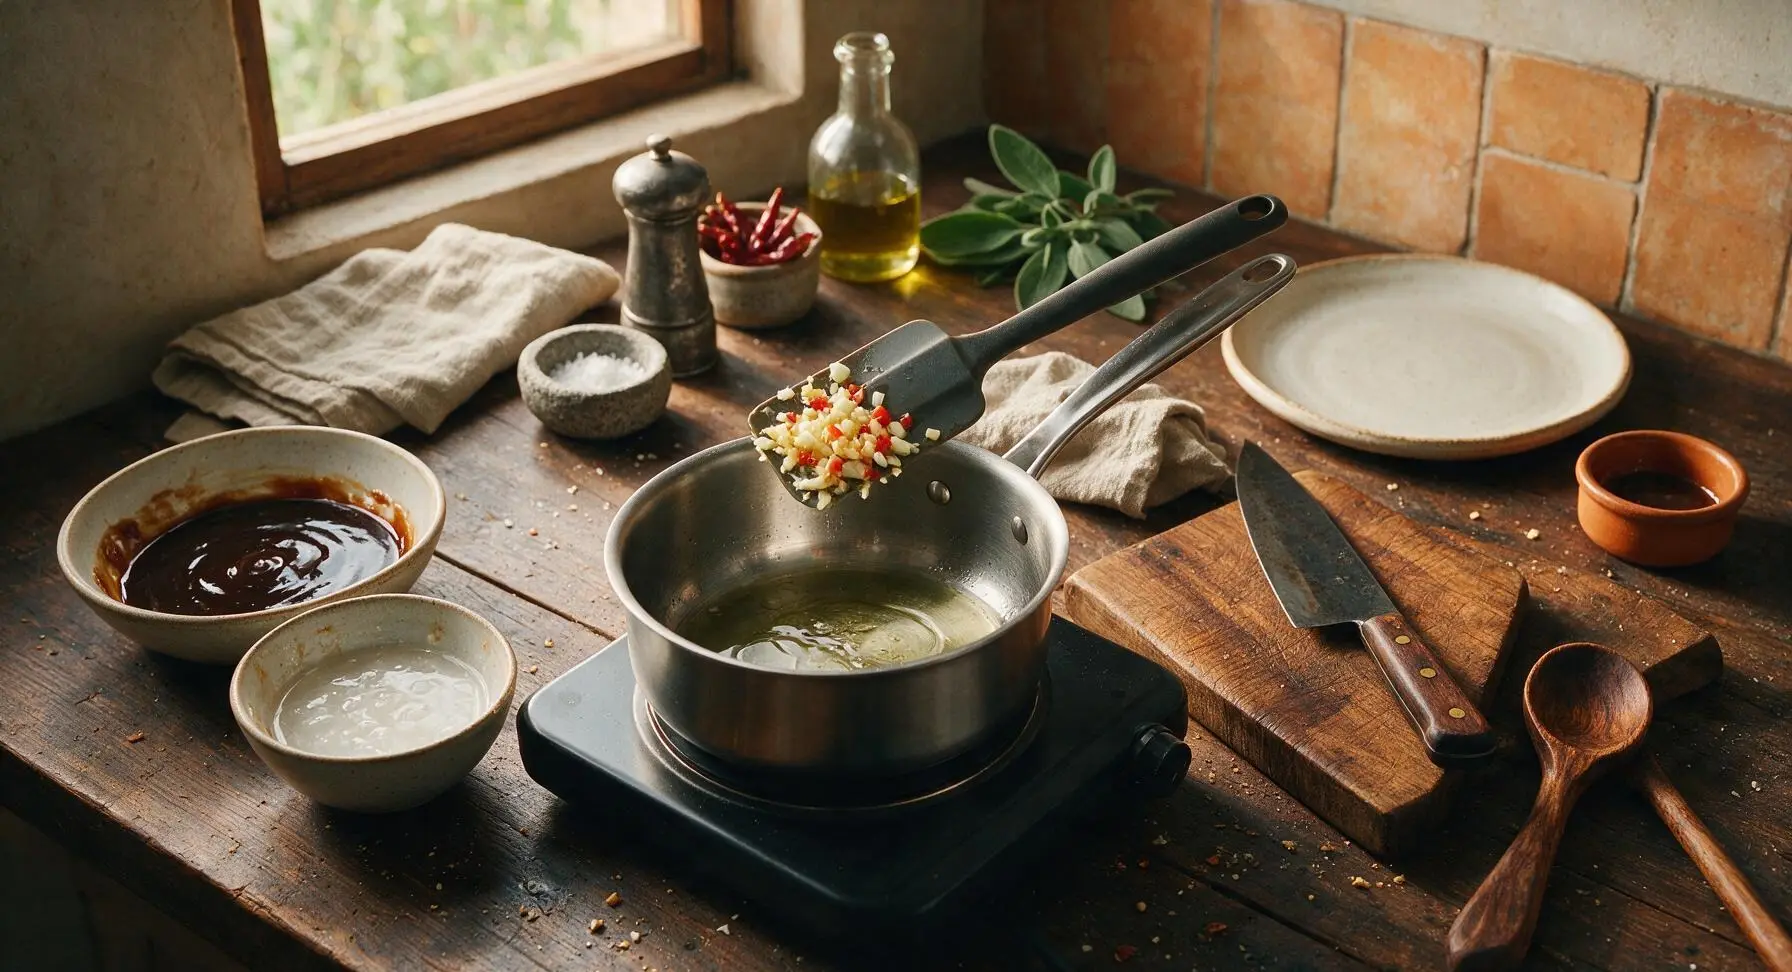
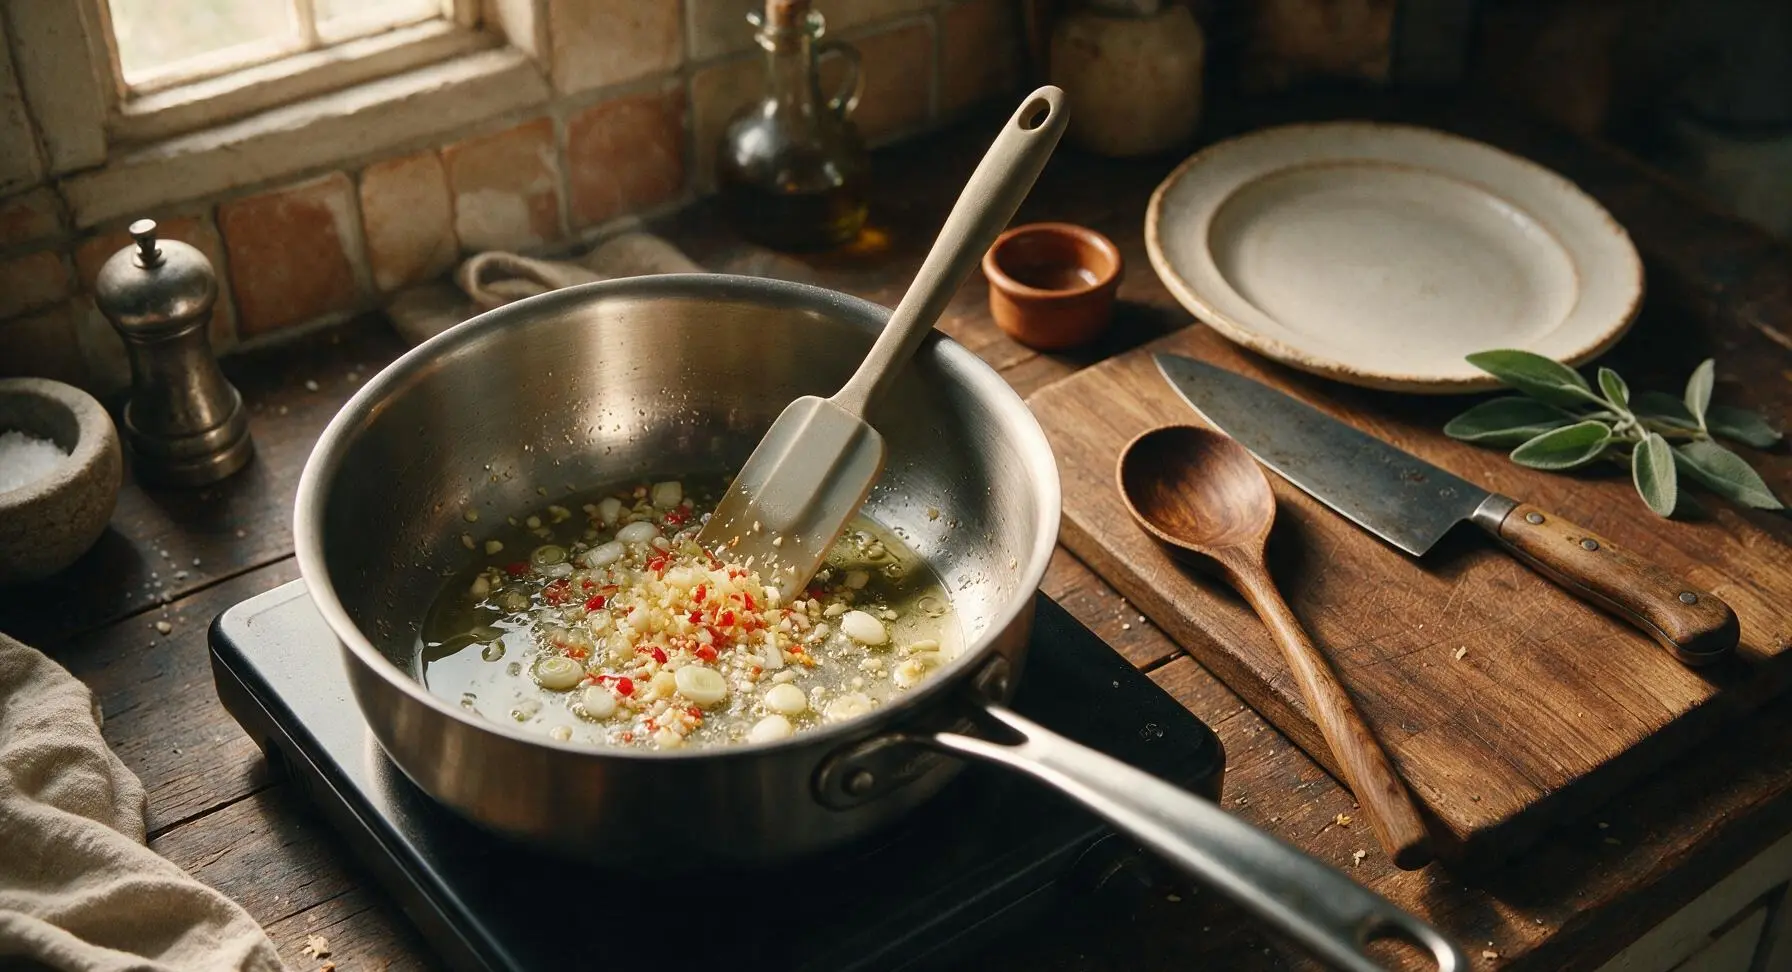
Place the 18cm stainless steel saucepan on the matte black portable cooktop set to medium heat (350°F / 175°C). Add 1 tbsp neutral cooking oil, and heat for 1 minute until the oil shimmers and moves easily across the pan bottom. Add the minced ginger, garlic, chili, and white spring onion parts, and sauté for exactly 30 seconds, stirring constantly with the silicone spatula, until the aromatics smell bright and fragrant but have not turned golden brown (browned or burnt garlic will make the sauce unpleasantly bitter).
Step 4
step4:Sauté Fragrant Aromatics
Step 4
step4:Sauté Fragrant Aromatics
5

Simmer Combined Sauce

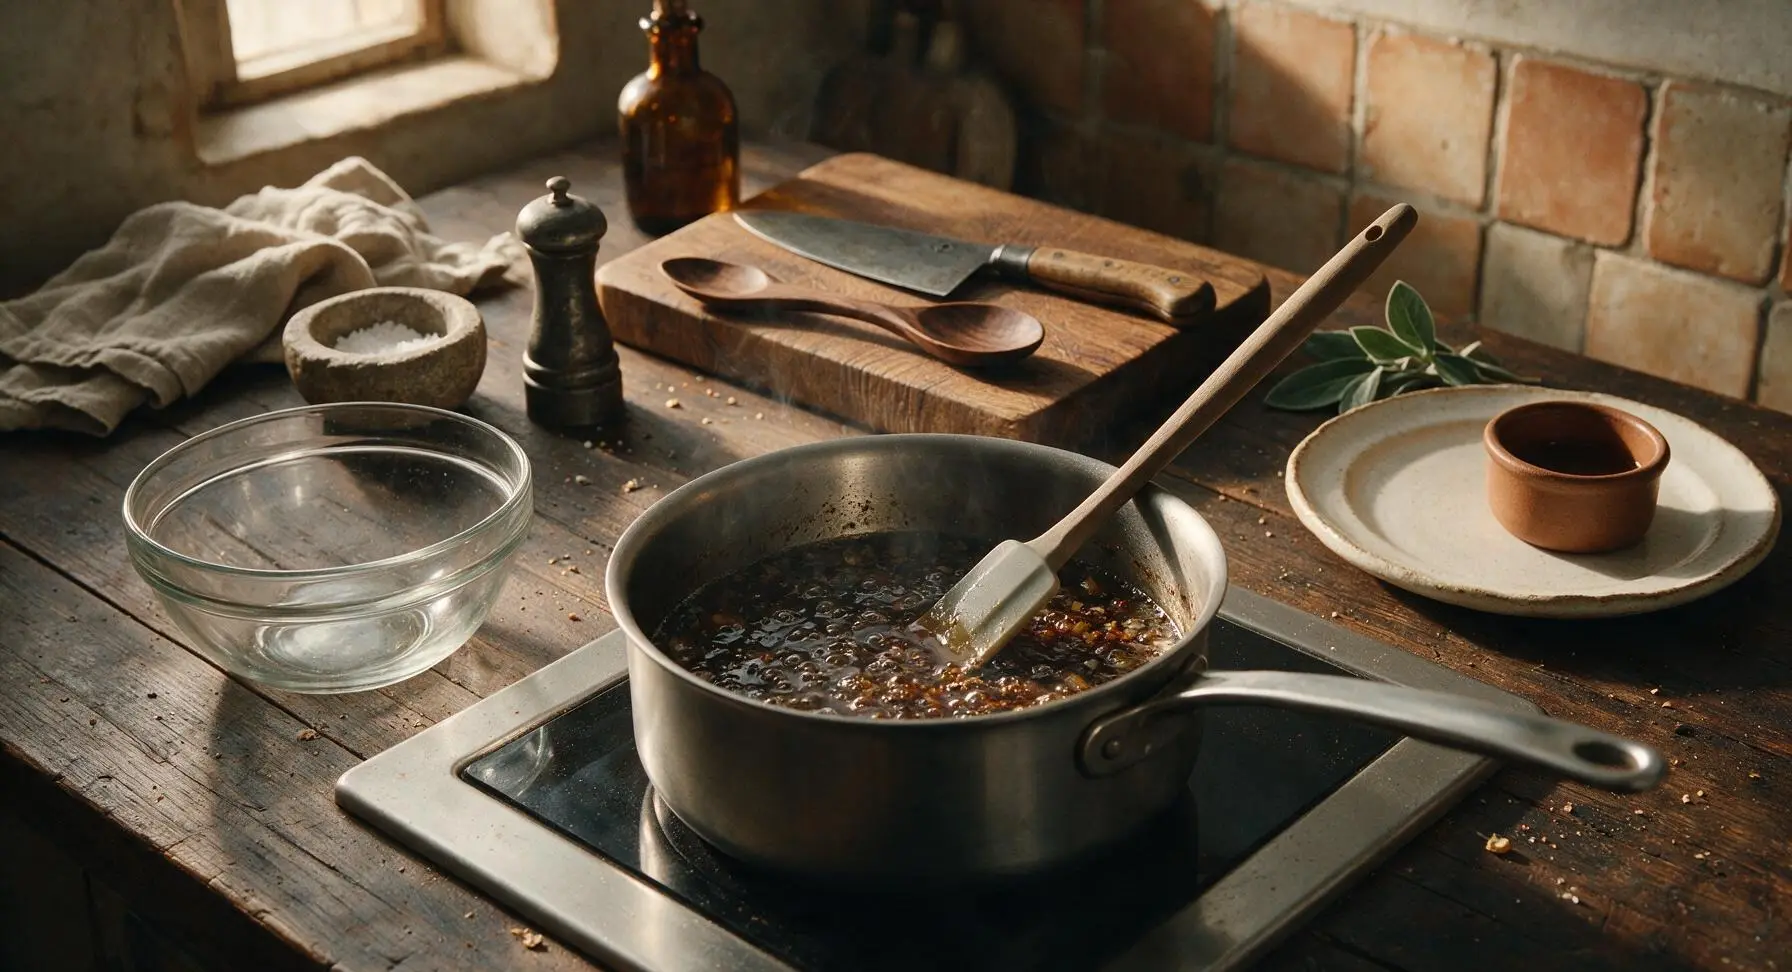
Pour the pre-mixed sauce base from the glass bowl into the saucepan with the sautéed aromatics, then add the remaining 1/2 cup plus 2 tbsp cold water. Stir to fully combine, then bring the mixture to a gentle rolling simmer (small consistent bubbles breaking across the surface) over medium heat, about 2 minutes. Stir once every 30 seconds to prevent the sauce from sticking to the pan bottom.
Step 5
step5:Simmer Combined Sauce
6

Thicken Sauce to Gloss

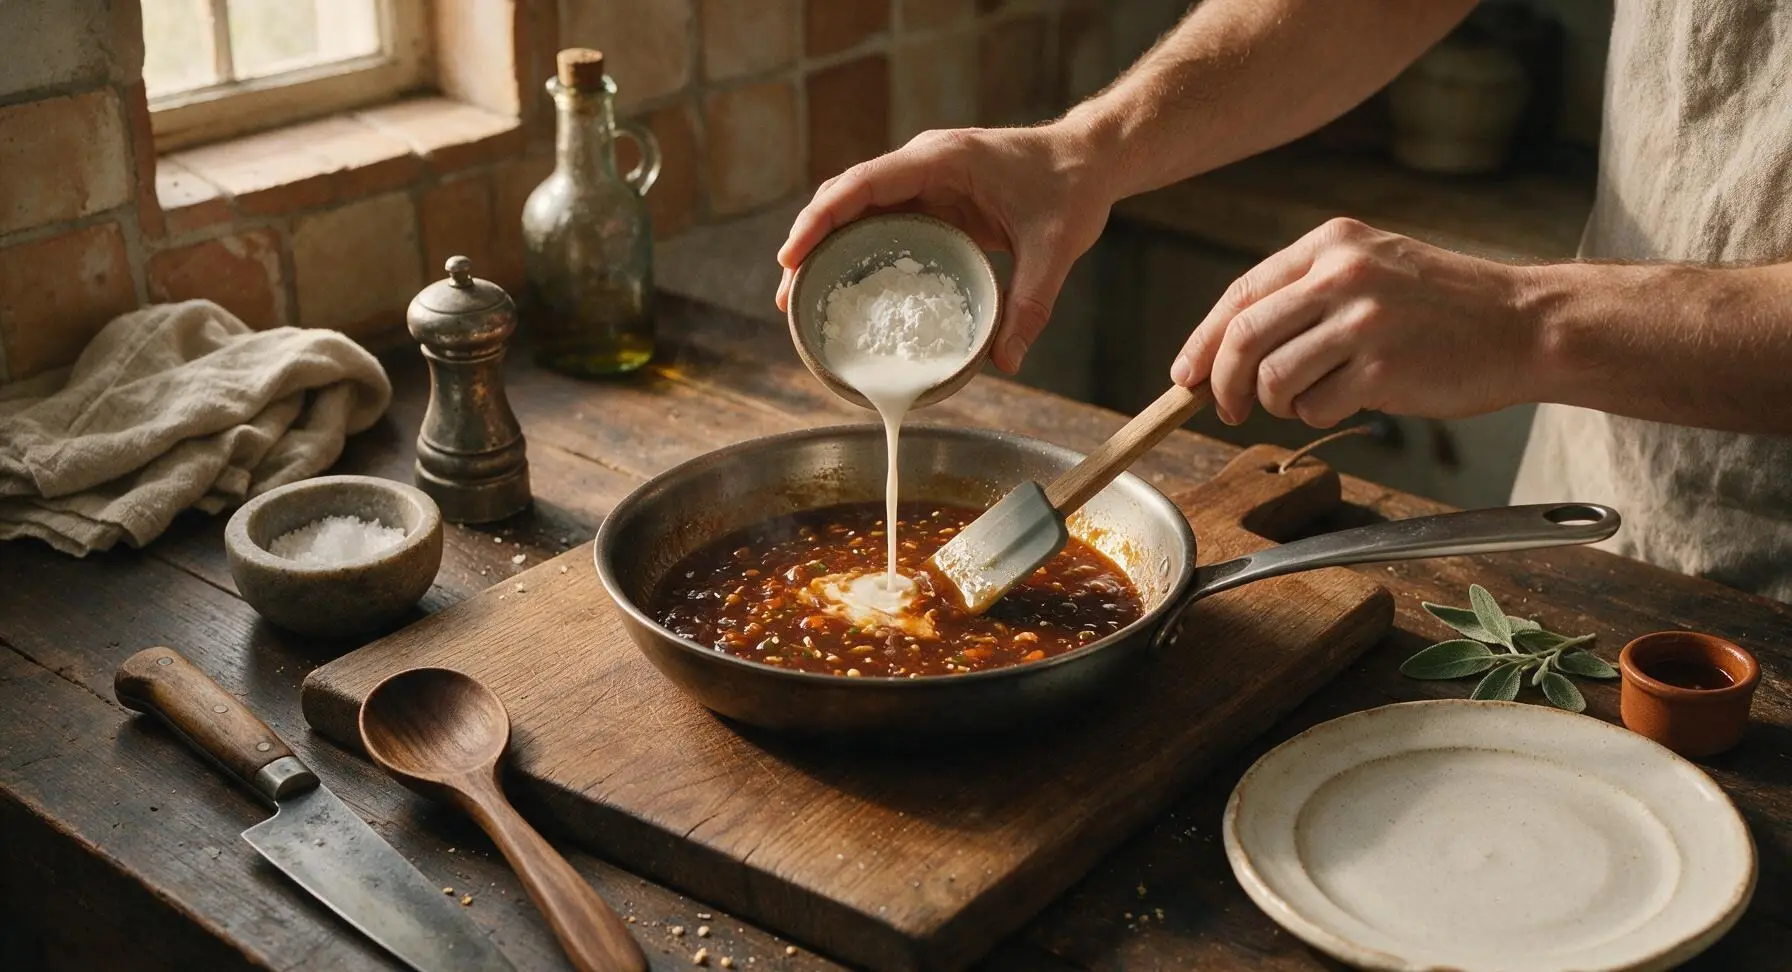
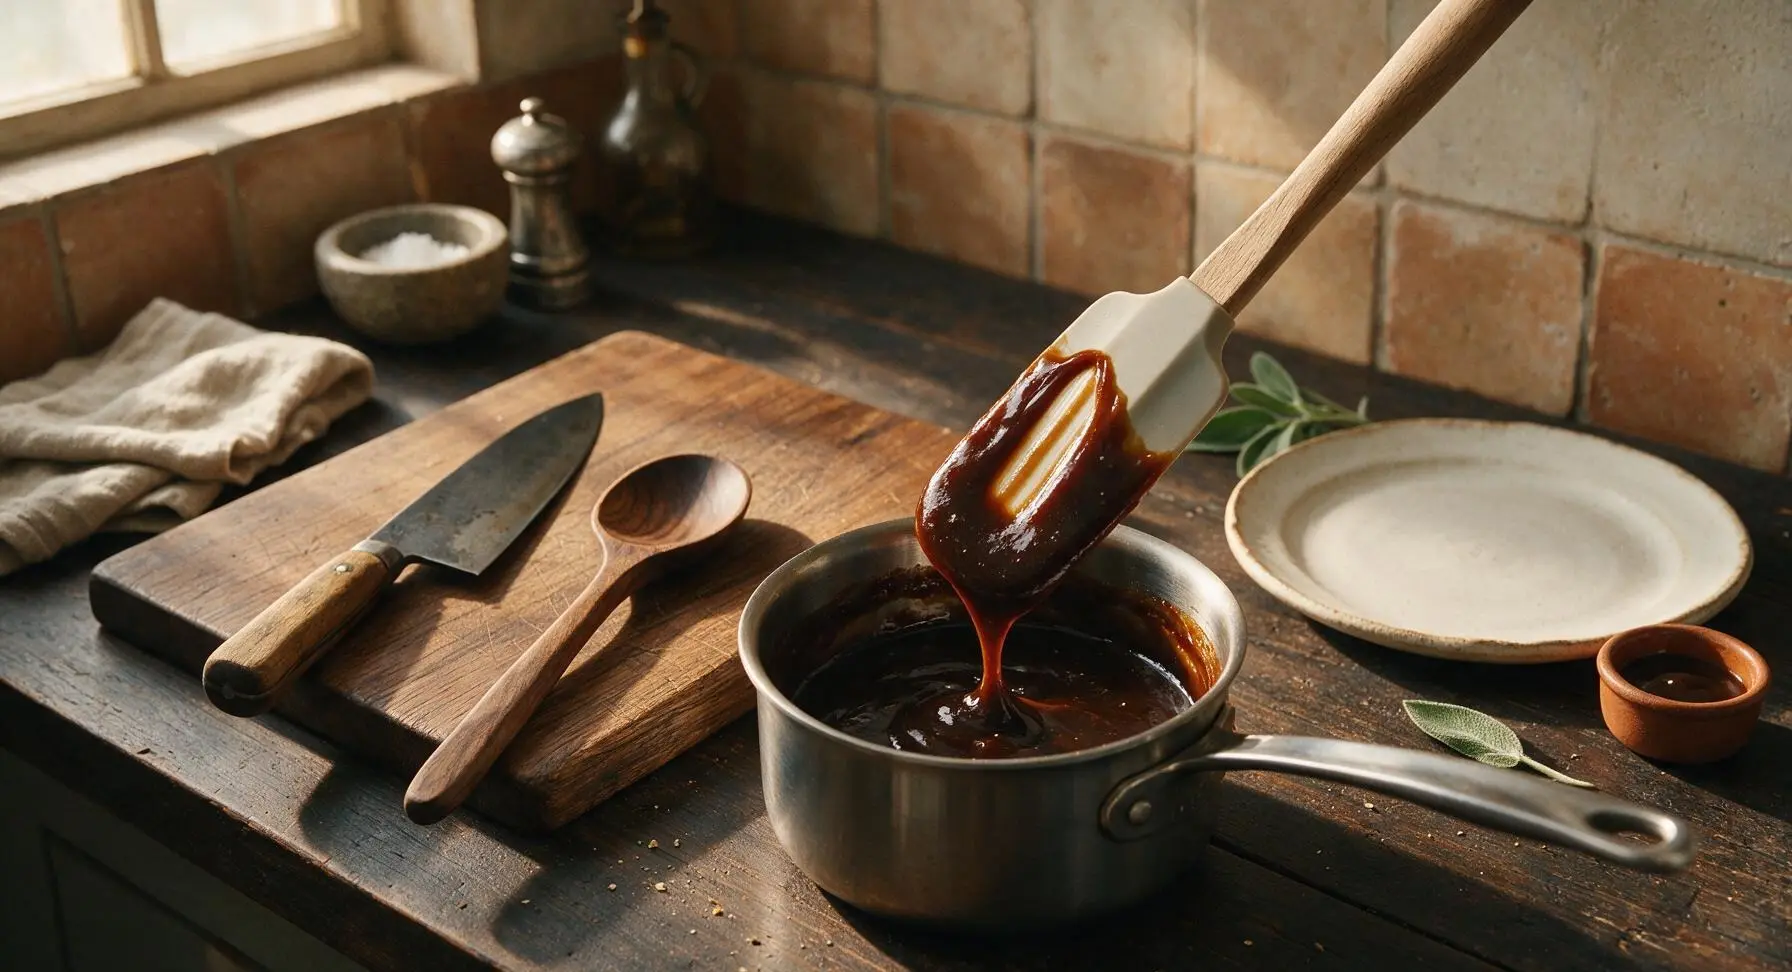
Give the cornstarch slurry a quick 2-second stir to re-mix any starch that has settled to the bowl bottom, then pour it slowly into the simmering sauce while stirring constantly in slow circles with the silicone spatula. Continue cooking and stirring for 1 to 1.5 minutes, until the sauce thickens to a glossy nappe consistency: it should coat the back of the spatula thickly enough that a line drawn with a clean finger through the coating holds its shape without running.
Step 6
step6:Thicken Sauce to Gloss
Step 6
step6:Thicken Sauce to Gloss
7

Finish with Aromatic Oil

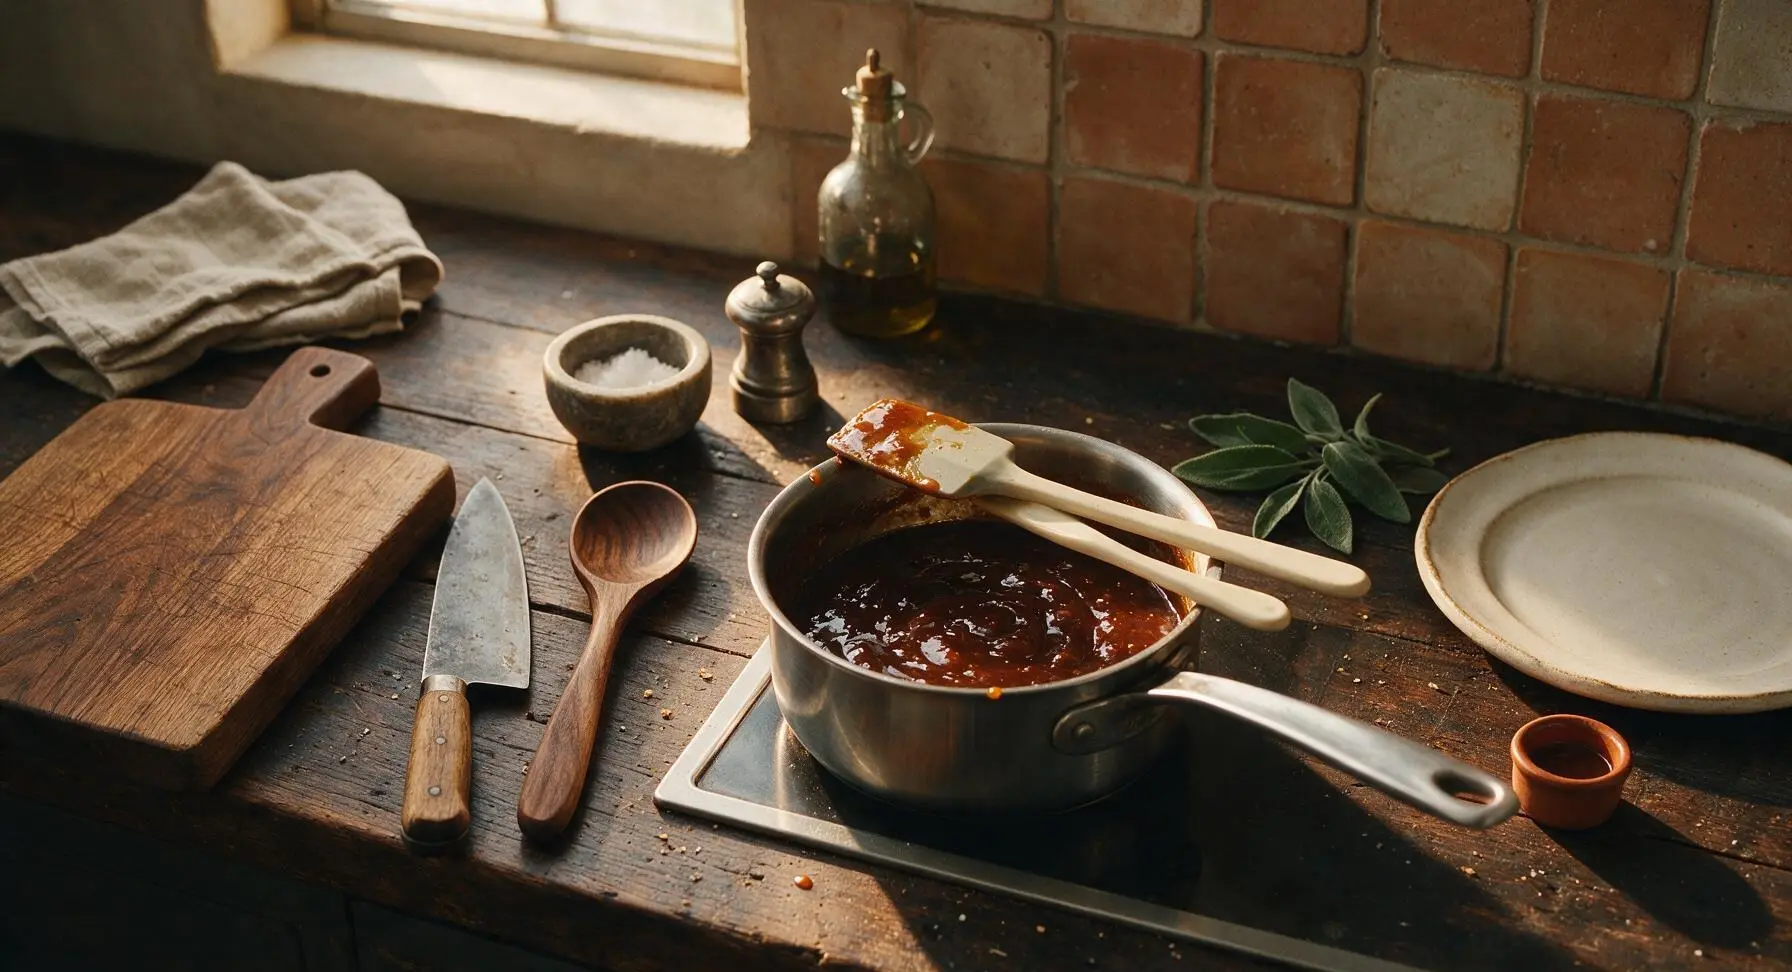
Turn off the heat under the cooktop. Stir 1 tsp toasted sesame oil and the remaining 1/8 tsp black pepper into the thickened sauce, mixing thoroughly to distribute the nutty sesame aroma. Taste a small drop of sauce from the spatula, and adjust flavor as needed: add 1/2 tsp extra sugar if too tangy, or 1/4 tsp extra rice vinegar if too sweet, to reach a balanced tangy-savory-sweet profile.
Step 7
step7:Finish with Aromatic Oil
8

Plate and Garnish Sauce

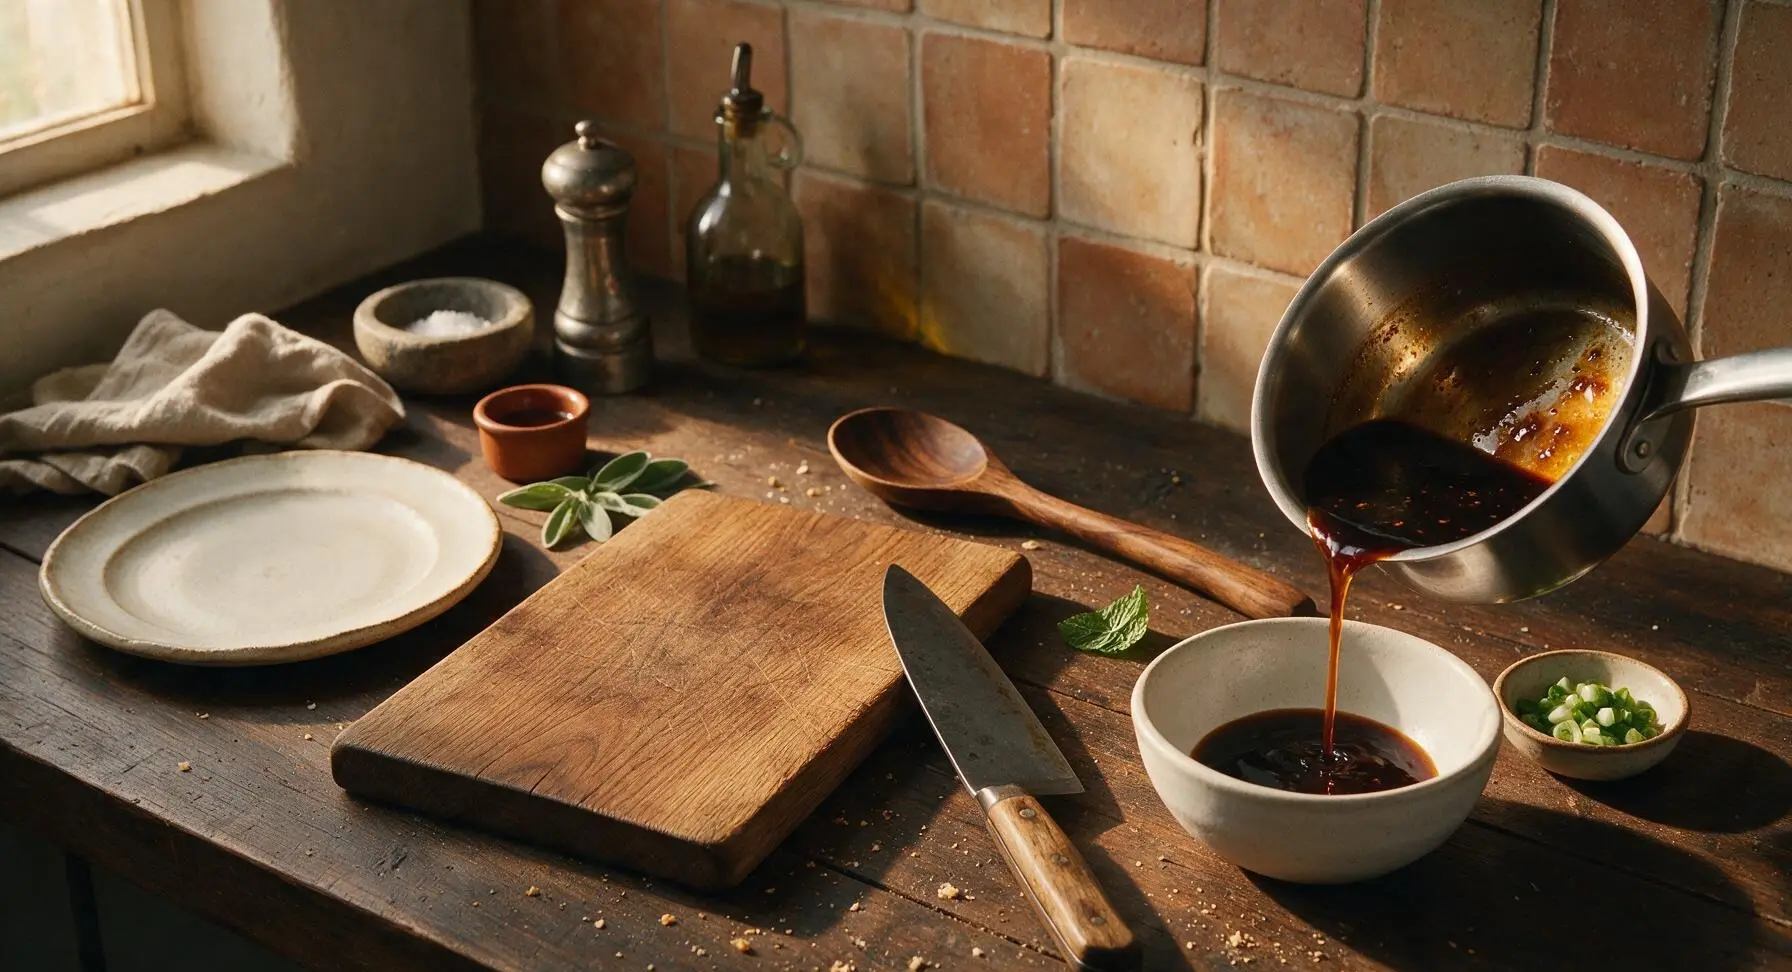
Carefully pour the finished hot Manchurian sauce from the saucepan into the shallow matte white ceramic serving bowl. Sprinkle the reserved sliced dark green spring onion tops lightly across the center of the sauce, and top with one small fresh mint leaf plucked from the back-right potted plant. Serve immediately tossed with crispy fried veggies, paneer, chicken, or noodles, or let cool completely and store in an airtight glass jar in the refrigerator for up to 1 week.
Step 8
step8:Plate and Garnish Sauce

Tips

1.Avoid boiling the sauce rapidly after adding the cornstarch slurry: high heat breaks down starch molecules quickly, leading to a thin, watery sauce that won’t cling to ingredients instead of the desired thick, glossy coating.
2.Prep all ingredients before turning on the cooktop (mise en place): this sauce comes together in under 10 minutes of cooking time, and there is no downtime to chop aromatics or mix slurry once the pan is hot, which can lead to burnt garlic or lumpy sauce.
3.For a spicy, restaurant-style kick, add 1/2 tsp of chili sauce (like sriracha or schezwan sauce) along with the sauce base; skip the green chili seeds entirely if serving to kids or anyone who prefers mild, non-spicy food.


✨ You May Also Like

Snacks & Appetizers
🍜 Mexico

Crispy thick-cut tortilla chips piled high with seasoned beef, melted cheese, and bright fresh toppings for a shareable, crowd-favorite bite.

⏱️ 25 minuteSnacks & Appetizers ★ 4.8
Snacks & Appetizers
🍜 United States

Crisp, sweet-tangy spiced pickled watermelon rind is a zero-waste summer staple, perfect with grilled meats, charcuterie, or eaten straight from the jar as a bright snack.

⏱️ 30 minuteSnacks & Appetizers ★ 4.6
Snacks & Appetizers
🍜 Germany

A tangy, jellied pork cold cut slow-simmered with aromatic spices, set into a firm sliceable loaf, served cold with mustard and crusty bread.

⏱️ 3 hours 4Snacks & Appetizers ★ 4.8
Snacks & Appetizers
🍜 United States

Creamy, tangy, perfectly seasoned hard-boiled egg halves filled with a rich, smooth yolk mixture, a timeless, crowd-pleasing bite for holiday and casual gatherings alike.

⏱️ 40 minuteSnacks & Appetizers ★ 4.8
Snacks & Appetizers
🍜 Russia

Silky, dill-forward no-smoke cured salmon, a Scandinavian classic with bright salty-sweet flavor, ideal for holiday starter platters and open-faced rye sandwiches.

⏱️ 48 hours Snacks & Appetizers ★ 4.7
Snacks & Appetizers
🍜 Japan

Crisp golden bottoms, juicy savory pork and vegetable filling, and tangy dipping sauce make these pan-fried gyoza a beloved shareable bite.

⏱️ 45 minuteSnacks & Appetizers ★ 4.8

manchurian sauce:Frequently Asked Questions

1.What dishes can I use this Manchurian sauce for? ▾
This glossy, clingy sauce is classically used to toss with crispy fried cauliflower (gobi manchurian), paneer cubes, chicken bites, or mixed veggie fritters. You can also drizzle it over fried rice, toss with hakka noodles, or serve it as a tangy dipping sauce for fried appetizers like wontons or crispy spring rolls.
2.Why does the recipe call for both light and dark soy sauce? ▾
The two soy sauces serve distinct roles! Light soy sauce brings the salty, deep umami base without adding too much dark color, while dark soy sauce adds that signature rich, deep brown hue and a subtle, mellow caramelized note that gives the sauce its classic restaurant-style look and rounded flavor. Don’t swap one entirely for the other if you want authentic results.
3.Can I make this sauce gluten-free? ▾
Absolutely! The only gluten-containing ingredients in the base recipe are the soy sauces, so simply swap both light and dark soy sauce for certified gluten-free tamari, matched to the same measurements. Double-check that your tomato ketchup and rice vinegar don’t have hidden gluten additives; most standard U.S. grocery store versions are gluten-free, but a quick label scan never hurts.
4.Why is my sauce coming out lumpy? ▾
Lumps almost always happen when you add cornstarch directly to hot liquid without making a smooth slurry first. Fix this by mixing your cornstarch with an equal amount of cool water until completely smooth before stirring it into the simmering sauce base. If lumps still form, pour the sauce through a fine-mesh sieve to catch clumps for a perfectly smooth finish.
5.How do I get that signature glossy, restaurant-style sheen? ▾
That iconic gloss comes from two key steps: first, using the right ratio of dark soy sauce for deep, warm color, and second, cooking the cornstarch slurry just long enough for it to fully gelatinize into a clear, thick coating. Avoid overcooking the sauce once it thickens, as that can break down the starch and leave it dull and watery instead of shiny.
6.What if I don’t have unseasoned rice vinegar? ▾
If you don’t have unseasoned rice vinegar, you can swap it for an equal amount of plain white vinegar cut with ¼ teaspoon of sugar per tablespoon of vinegar to mellow its sharp bite. Avoid using seasoned rice vinegar, which has added salt and sugar that will throw off the sauce’s balanced tangy, salty, sweet flavor profile.
7.How spicy is this base Manchurian sauce supposed to be? ▾
The base recipe as written is only slightly spicy, leaning more into tangy, umami, and sweet notes to appeal to a wide range of palates. If you want more heat, stir in 1-2 teaspoons of chili garlic sauce, a pinch of red chili flakes, or a finely minced fresh green chili while the sauce simmers to match your preferred spice level.
8.Can I skip the cornstarch entirely? ▾
You can, but you won’t get that classic thick, clingy texture that makes Manchurian sauce work so well for coating crispy fried ingredients. Without cornstarch, the sauce will be thin and runny, sliding right off of paneer, chicken, or veggies instead of sticking in that addictive, glossy coating. If you need a substitute, use arrowroot starch at a 1:1 ratio for cornstarch.
9.How long does this sauce take to make from start to finish? ▾
As the recipe notes, it comes together in under 20 minutes total, most of which is hands-off simmering. You’ll spend about 5 minutes measuring and mixing your slurry and sauce base, then 8-10 minutes simmering everything on the stovetop until it thickens to that perfect coating consistency. It’s a great quick weeknight sauce to prep ahead.
10.Can I make this sauce ahead of time? ▾
Definitely! Let the finished sauce cool completely to room temperature, then transfer it to an airtight glass jar or container and store it in the fridge for up to 1 week. When you’re ready to use it, gently reheat it on the stovetop over low heat, adding a splash of water if it’s thickened up too much in the fridge.
11.Can I freeze leftover Manchurian sauce? ▾
You can freeze it for up to 3 months, though the cornstarch may separate slightly when thawed. Store it in a freezer-safe airtight container, leaving ½ inch of headspace for expansion. When you’re ready to use it, thaw it in the fridge overnight, then whisk it vigorously over low heat while reheating to bring it back to its smooth, glossy texture.
12.Why does the recipe use tomato ketchup? That doesn’t seem like an authentic ingredient. ▾
Ketchup is actually a core ingredient in Indo-Chinese Manchurian sauce, developed by Chinese immigrant communities in Kolkata to match local preferences for bright, sweet-tangy flavors. It adds that familiar balanced tomato sweetness and subtle tang that sets Indo-Chinese Manchurian apart from mainland Chinese savory brown sauces, so don’t skip it!
13.How do I adjust the sauce if it’s too thick? ▾
If your sauce turns out thicker than the light, coating consistency you want, simply stir in small splashes of water or low-sodium chicken/vegetable broth 1 teaspoon at a time while it’s still warm, until it flows slowly off the back of a spoon. Don’t add too much at once, as it’s easy to thin it out but harder to thicken it back up without making it starchy.
14.How do I fix a sauce that’s too thin? ▾
If your sauce is runny and won’t coat your ingredients, mix up an extra small batch of cornstarch slurry (1 part cornstarch to 1 part cool water) and stir it in a teaspoon at a time while the sauce simmers. Let it cook for 1 full minute after each addition to let the starch activate, until it reaches that perfect clingy, glossy thickness.
15.Is this sauce the same as the brown sauce used in American Chinese takeout? ▾
No, there’s a key flavor difference! American Chinese brown sauce is usually more savory, less tangy, and often seasoned with oyster sauce or ginger, while this Manchurian sauce leans brighter, with more tang from rice vinegar and sweet-tomato notes from ketchup, plus that subtle spicy kick that defines Indo-Chinese cuisine.
16.Can I use this sauce as a dipping sauce instead of a coating? ▾
Absolutely! For dipping, just adjust the thickness to your preference: keep it a little thinner for dunking fried appetizers like potstickers or fried chicken bites, or leave it at the standard coating thickness for dipping crispy fries or veggie pakoras. It’s especially good with a little extra chili garlic sauce stirred in for a spicy dip.
17.Do I need to add garlic or ginger to the base sauce? ▾
The core 5-ingredient recipe works beautifully on its own, but most restaurant versions do sauté 1 teaspoon each of finely minced garlic and ginger in a tiny bit of oil for 30 seconds before adding the rest of the sauce ingredients for extra aromatic depth. It’s an optional add-in that adds barely any prep time and elevates the flavor significantly.
18.What’s the best way to toss this sauce with fried ingredients without making them soggy? ▾
Wait until right before you’re ready to serve to toss your crispy fried veggies, paneer, or chicken in the warm sauce. Don’t let the coated ingredients sit for more than 2-3 minutes before serving, as the moisture from the sauce will soften the crispy fried exterior over time. Keep the sauce warm, not boiling hot, when tossing to slow down sogginess.
19.Can I make a low-sodium version of this sauce? ▾
Definitely! Swap regular light soy sauce for low-sodium light soy sauce, cut the dark soy sauce by half (it’s usually higher in sodium), and use no-salt-added tomato ketchup to cut overall sodium by nearly 50% without losing that classic umami flavor. Taste as you go, and add a tiny pinch of sugar or extra vinegar if the flavor feels flat after reducing salt.
20.Why did my sauce turn dull and watery after I added my fried ingredients? ▾
That almost always happens because either your sauce was overcooked, which breaks down the cornstarch’s thickening power, or your fried ingredients were still dripping with excess oil when you tossed them. Make sure to drain fried items well on paper towels before tossing, and don’t simmer the sauce for more than 2-3 minutes after it reaches full thickness to keep the starch stable.

Comments (5)

2 days ago

OMG this Manchurian sauce is a total game changer! I whipped it up last night for our family dinner to go with crispy cauliflower bites, and even my super picky 7-year-old asked for seconds. It’s perfectly balanced — not too vinegary, just the right amount of umami kick, and it only took 8 minutes like the recipe says? Are you kidding? So easy I didn’t even mess it up on a busy weeknight. 10/10 will be making this for our next potluck too!

yesterday

Wait did you use it for cauliflower? I was gonna make it for chicken Manchurian this weekend, wondering if it works for both veggies and protein?

yesterday

So glad your family loved it, Mia! This sauce works beautifully for both veggie and protein Manchurian — I’ve used it for cauliflower, chicken, paneer, and even tossed it with fried tofu for meal prep. Pro tip: add a tiny pinch of extra red chili flakes if you like a little more heat!

1 week ago

SO good! I’ve been buying jarred Manchurian sauce from the Asian market for ages and it never tastes as good as takeout. This recipe was so easy, I already made a double batch to keep in the fridge for meal prep this week. Tossed it with some fried rice and broccoli for lunch today and my coworker begged for the recipe. Only thing I changed was adding a tiny splash of sesame oil at the end, chef’s kiss.

5 days ago

Love the sesame oil addition! That’s such a great call to add a nutty depth of flavor. So stoked this replaced your go-to jarred version, it keeps really well in the fridge for up to a week so the double batch is perfect for quick meals.

3 days ago

Tried this last night and it was just okay for me? I was rushing to get dinner on the table after my kid’s soccer practice so I totally eyeballed the soy sauce instead of measuring, and it came out way saltier than I expected, oops. Definitely gonna be more careful with the ratios next time because the flavor base was really good, I just messed up the execution. For how fast it comes together (seriously 8 minutes flat even with my messy counters), it’s totally worth a second try.

2 hours ago

Y’all this is so easy I made it while my rice was cooking last night! My partner has been craving Indo-Chinese takeout for weeks, and this sauce came together in literally 8 minutes like the recipe says — no fancy ingredients, just stuff I already had in my pantry: soy sauce, ketchup, vinegar, garlic, ginger, a little cornstarch slurry. Saved me like $20 on delivery fees and it tasted better than the restaurant 15 minutes down the street. Absolute keeper.

30 minutes ago

Wait does this work with low-sodium soy sauce? I’m watching my salt intake so I don’t keep regular soy sauce in the house, curious if it’ll still taste good!

2 weeks ago

Made this for my neighborhood block party potluck last weekend and people were literally lining up to drizzle it over everything — I served it with crispy fried chicken bites and veggie skewers, and I swear someone even put it on their grilled hot dog lmao. It’s that good! I was worried it would be too complicated to make a big batch for a crowd but it scales so easily, no weird steps or hard-to-find ingredients. 10/10, already added this to my regular recipe rotation for family dinners and get-togethers.

1 week ago

Wait putting it on a hot dog sounds insane but now I need to try that this weekend. Is it sweet at all? I hate overly sweet savory sauces.

1 week ago

That potluck win makes me so happy to hear, Shonda! The sauce has a tiny bit of sweetness to balance the tang and savoriness, but it’s not cloying at all — if you prefer less sweet, you can cut the sugar by half and it’ll still taste fantastic, perfect for that hot dog test run!



