
marshmallow sandwich
intro
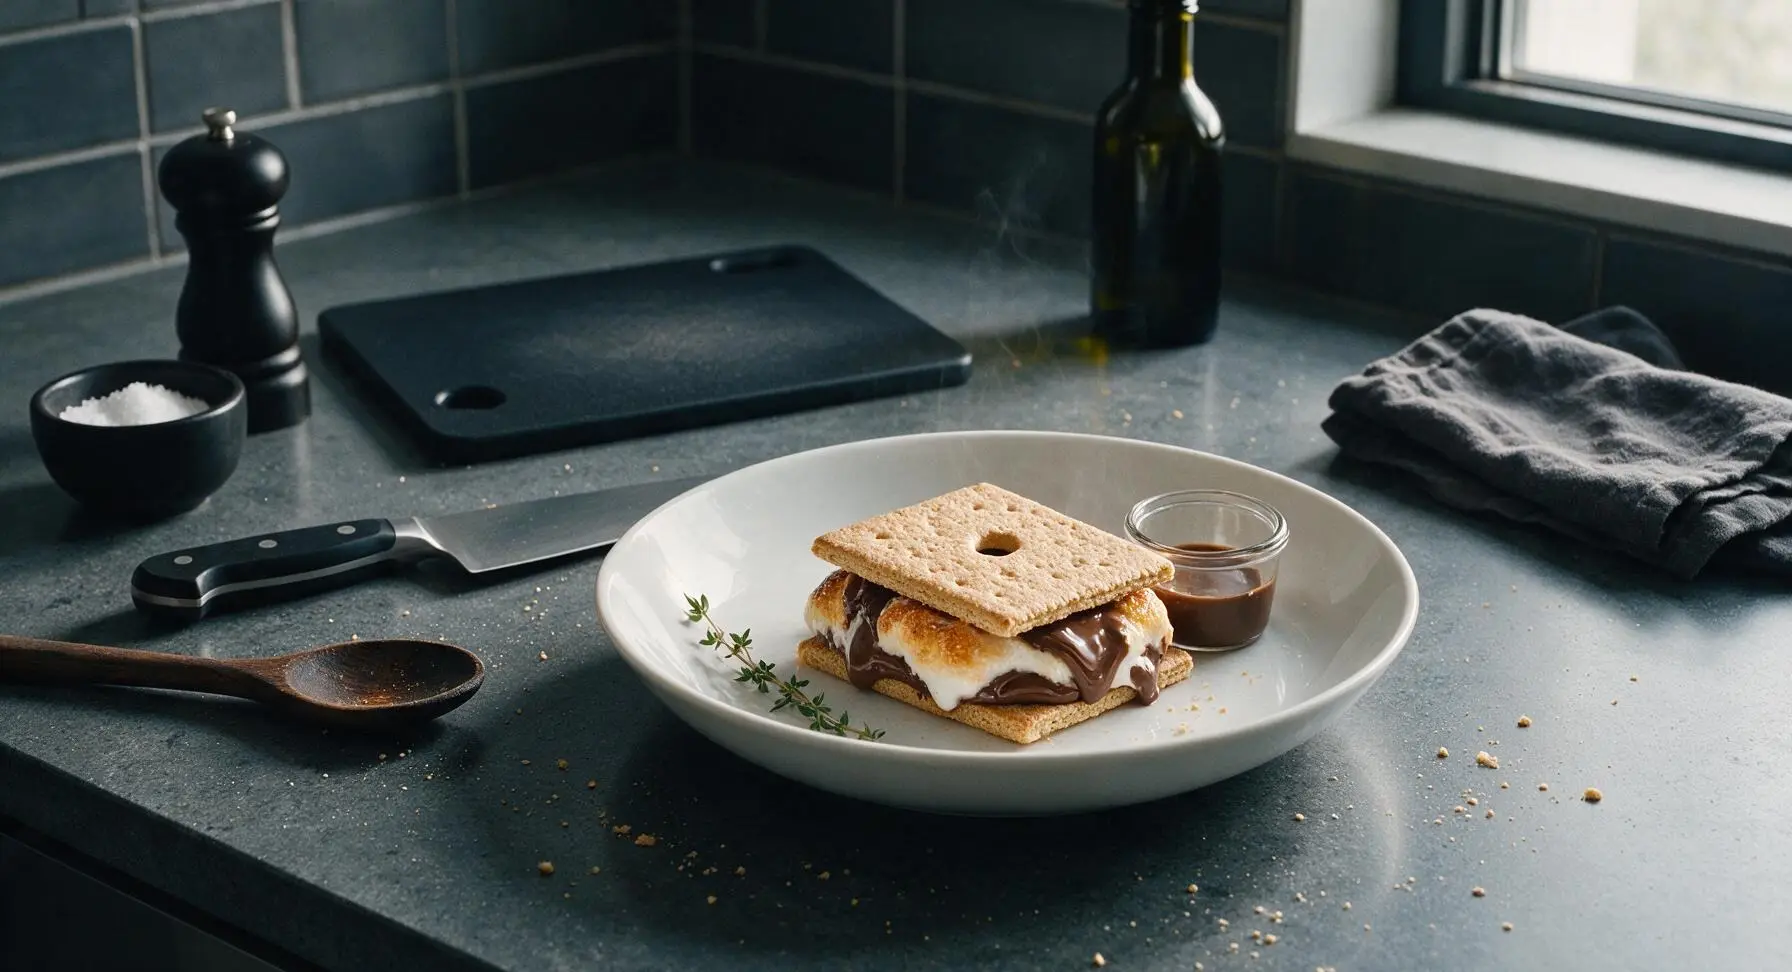
Gooey golden toasted marshmallow, melted milk chocolate, and crisp graham crackers come together in this nostalgic, sticky-sweet treat, perfect for casual summer gatherings.
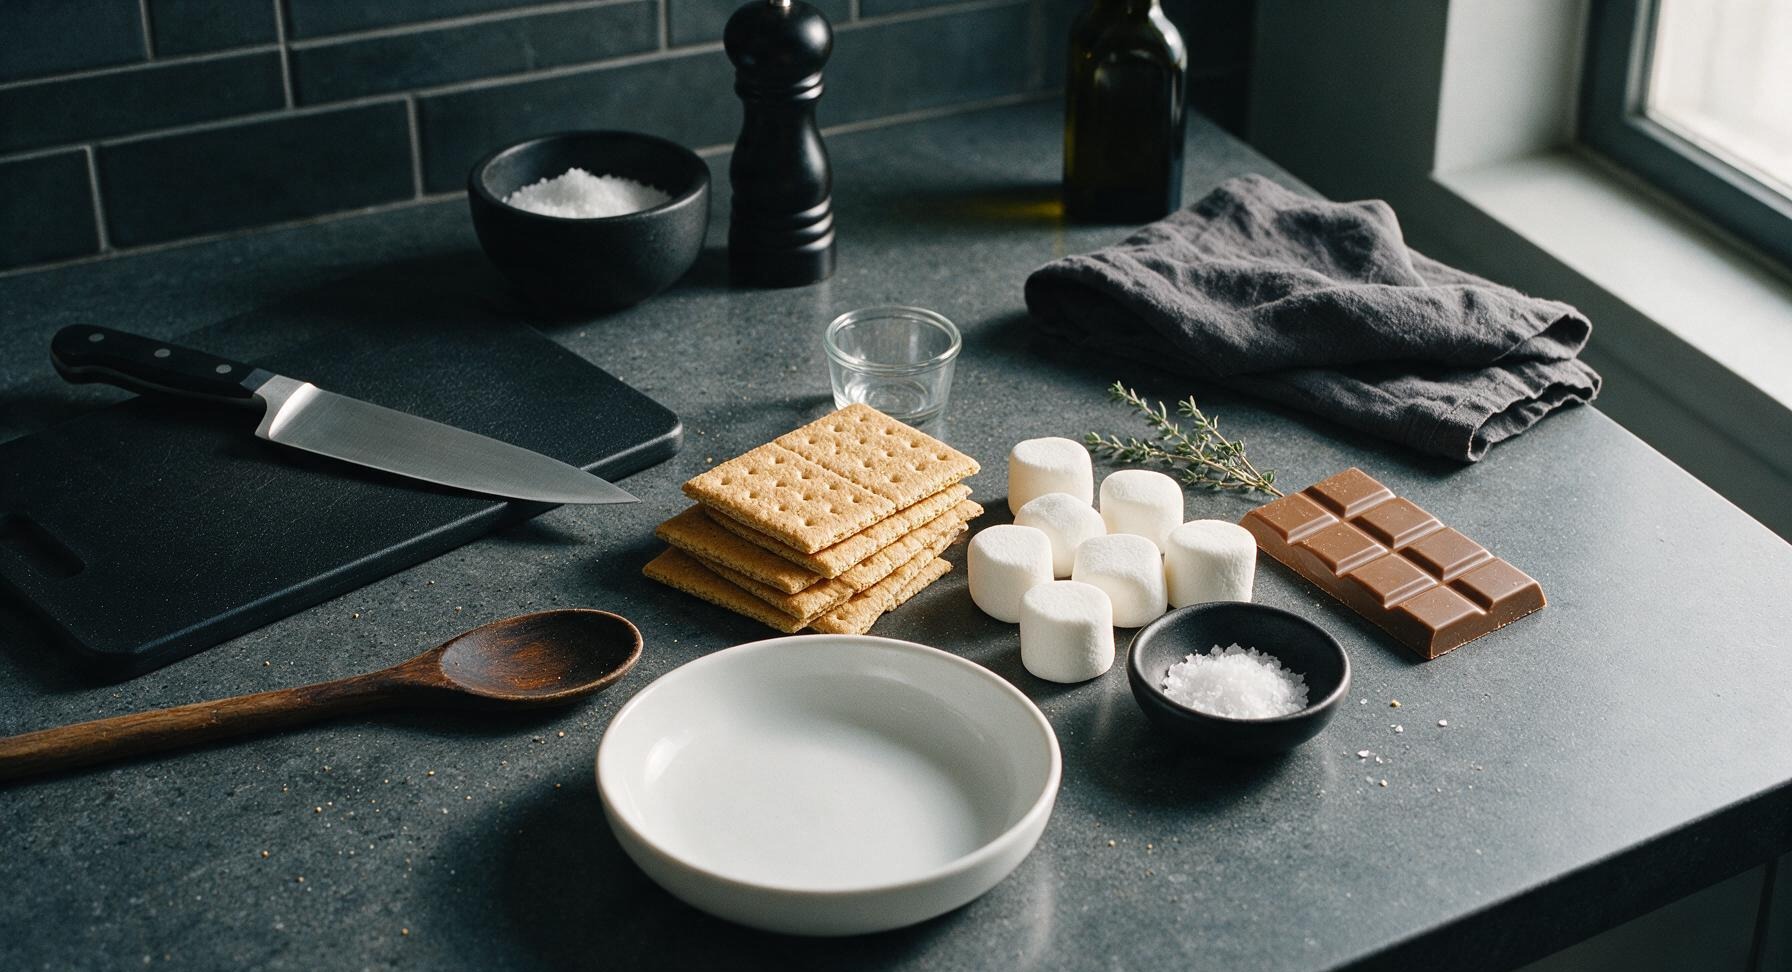
Ingredients
Steps
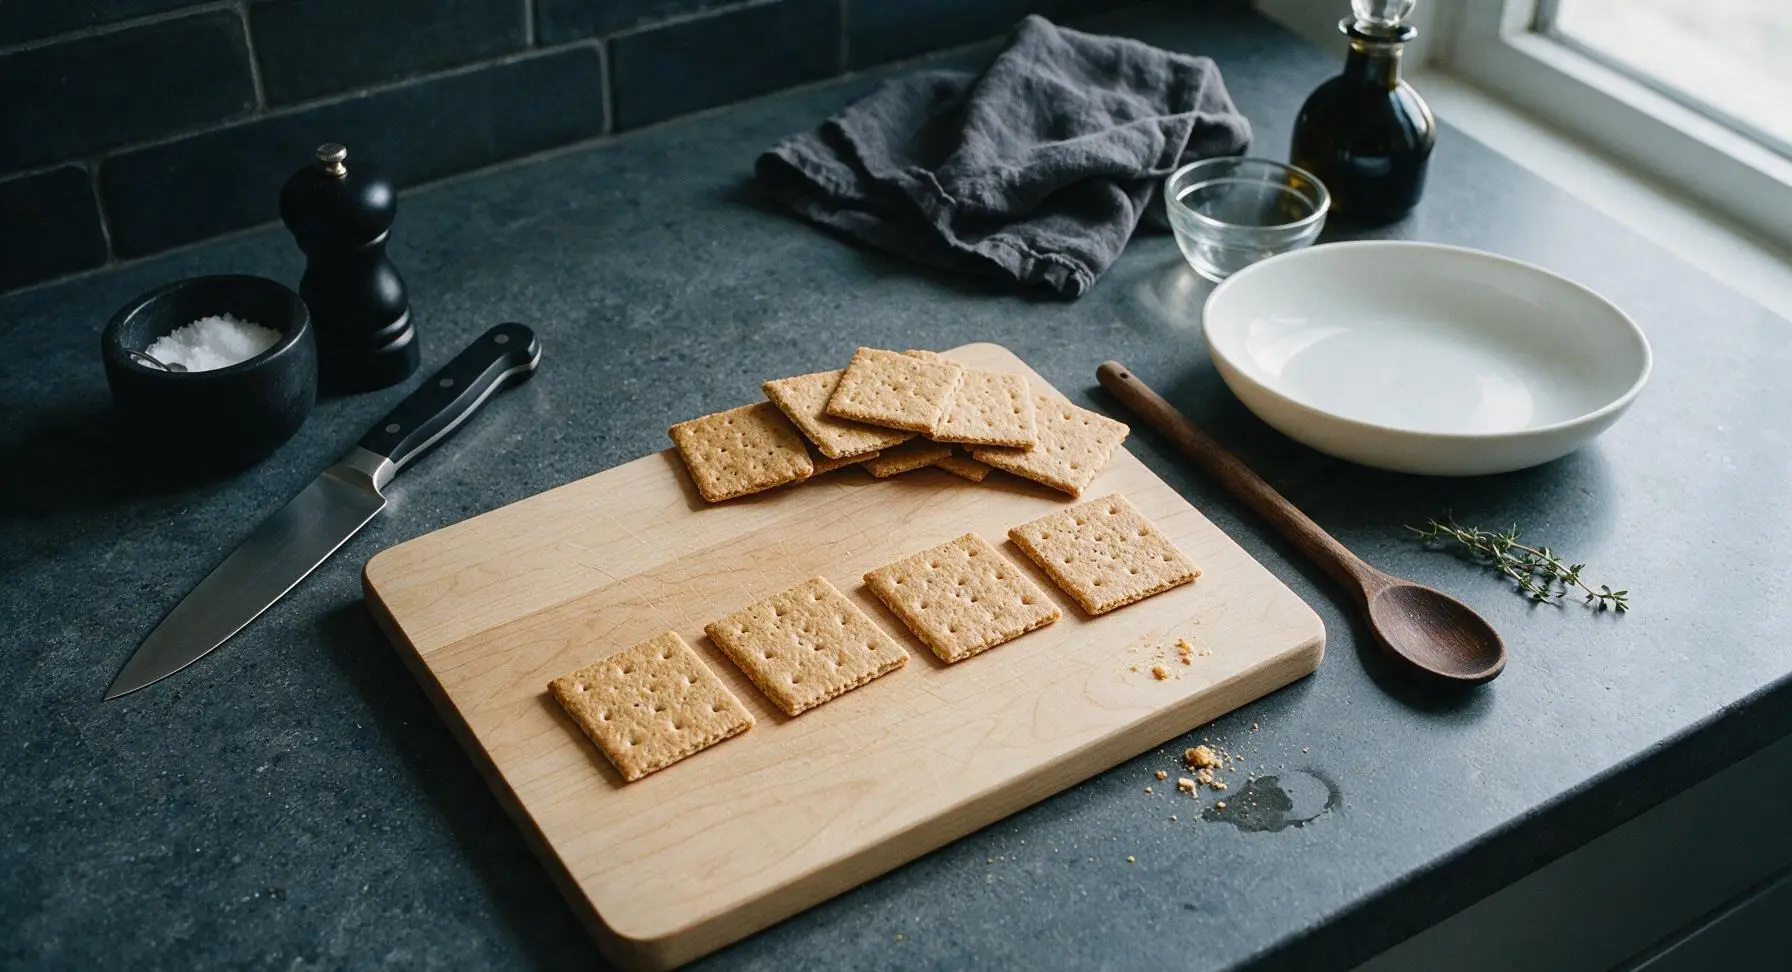
Prep Cracker Bases
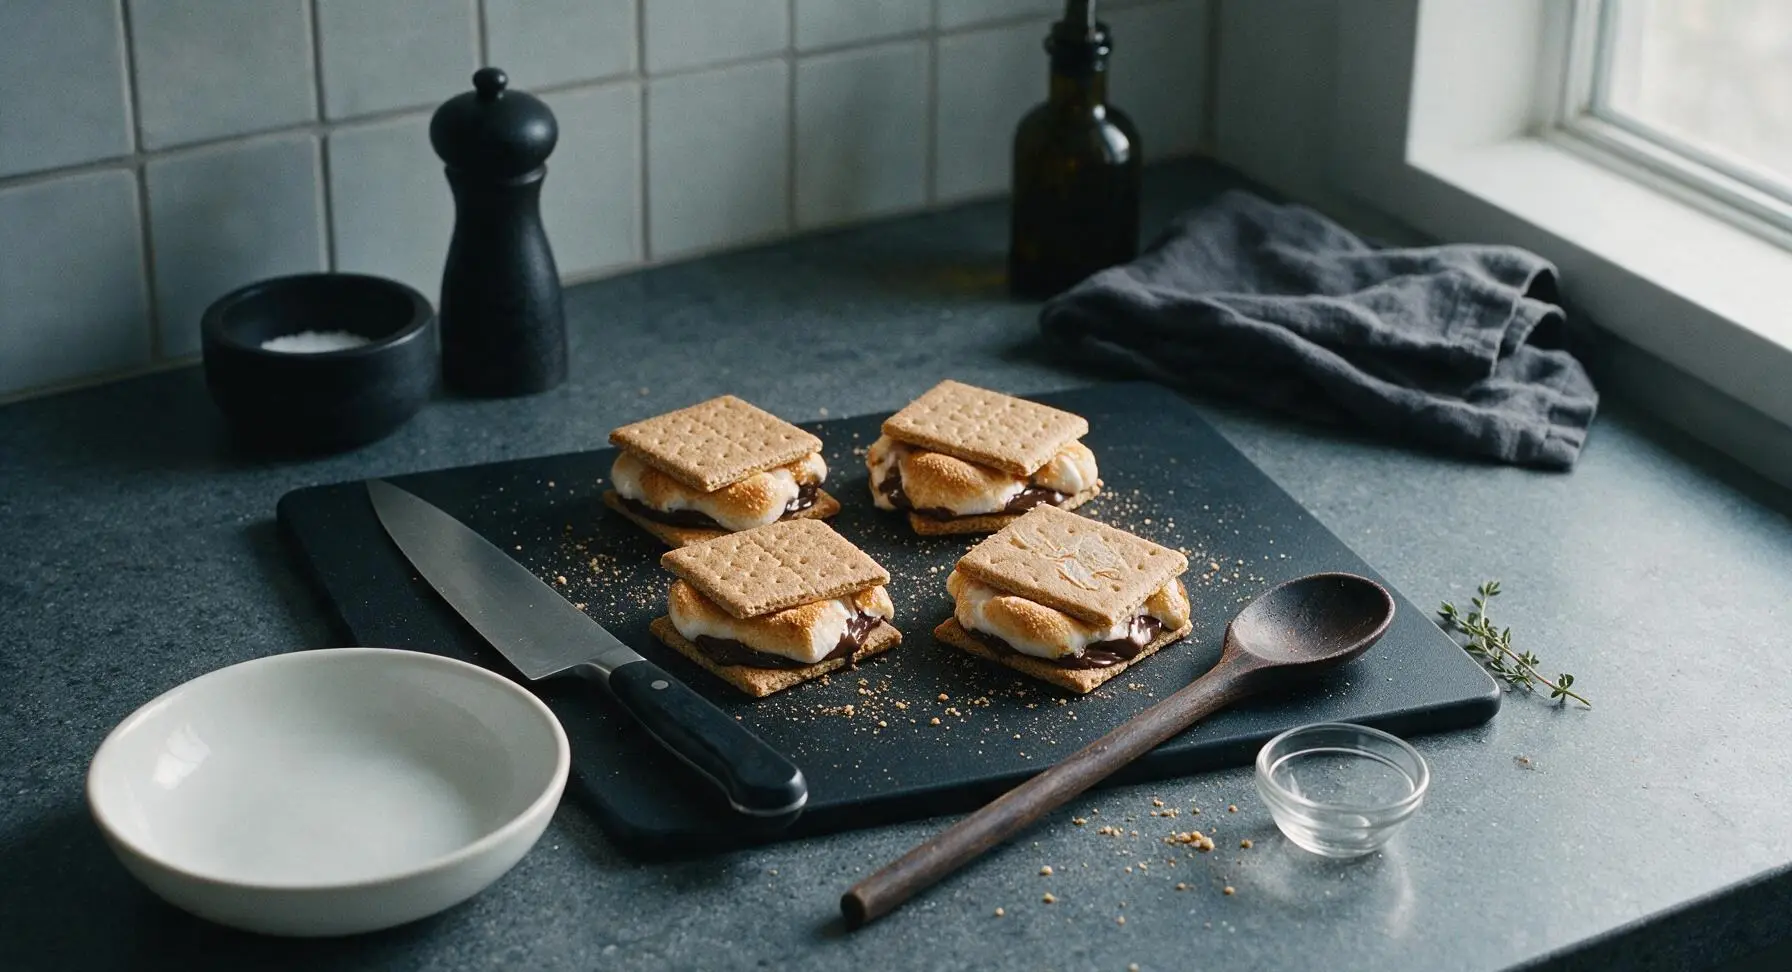
Split each of the 4 graham cracker sheets along its pre-scored center line to create 8 equal 2.5-inch square crackers. Arrange 4 of the squares in a single flat layer on the central maple cutting board to act as sandwich bottoms; set the remaining 4 squares aside on the edge of the board for sandwich tops. Brush any loose crumbs to the corner of the board for easy cleanup later.
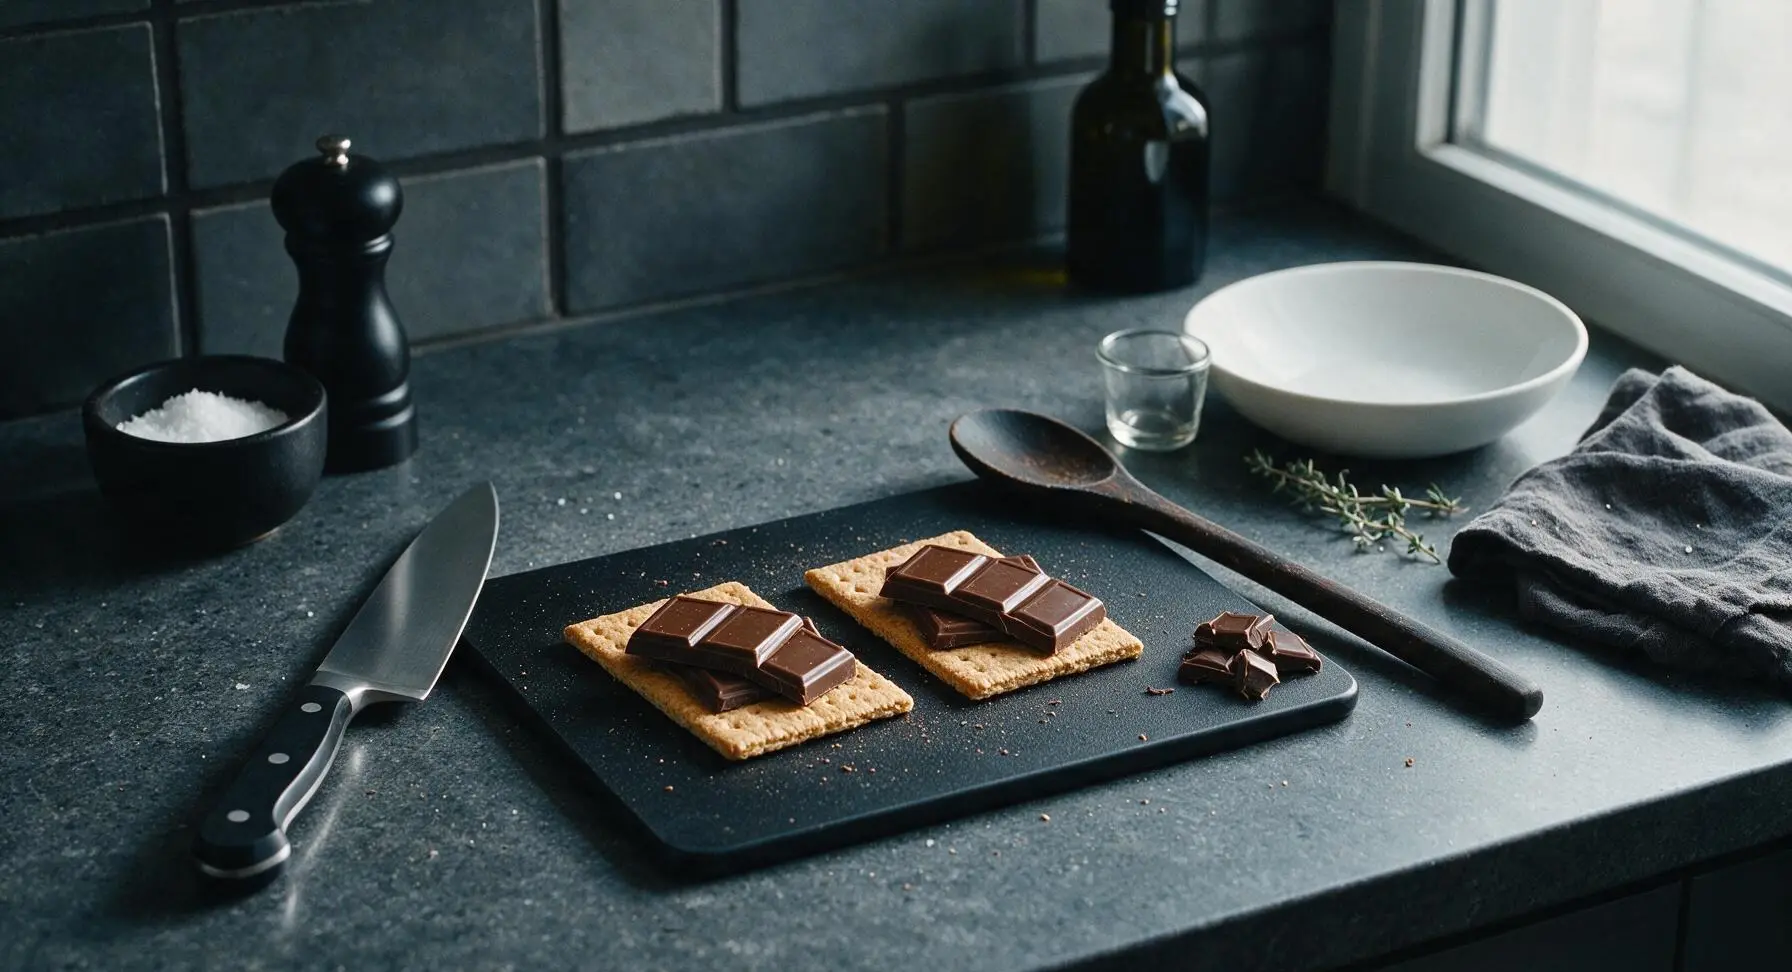
Add Chocolate Squares
Break the 100g milk chocolate bar into individual 10g squares along its pre-scored lines. Place 2 chocolate squares in a single overlapping layer on top of each graham cracker base, covering most of the cracker surface. Do not press the chocolate down firmly—leave it loose so it melts evenly when exposed to marshmallow heat.
Prep Marshmallow Toasting
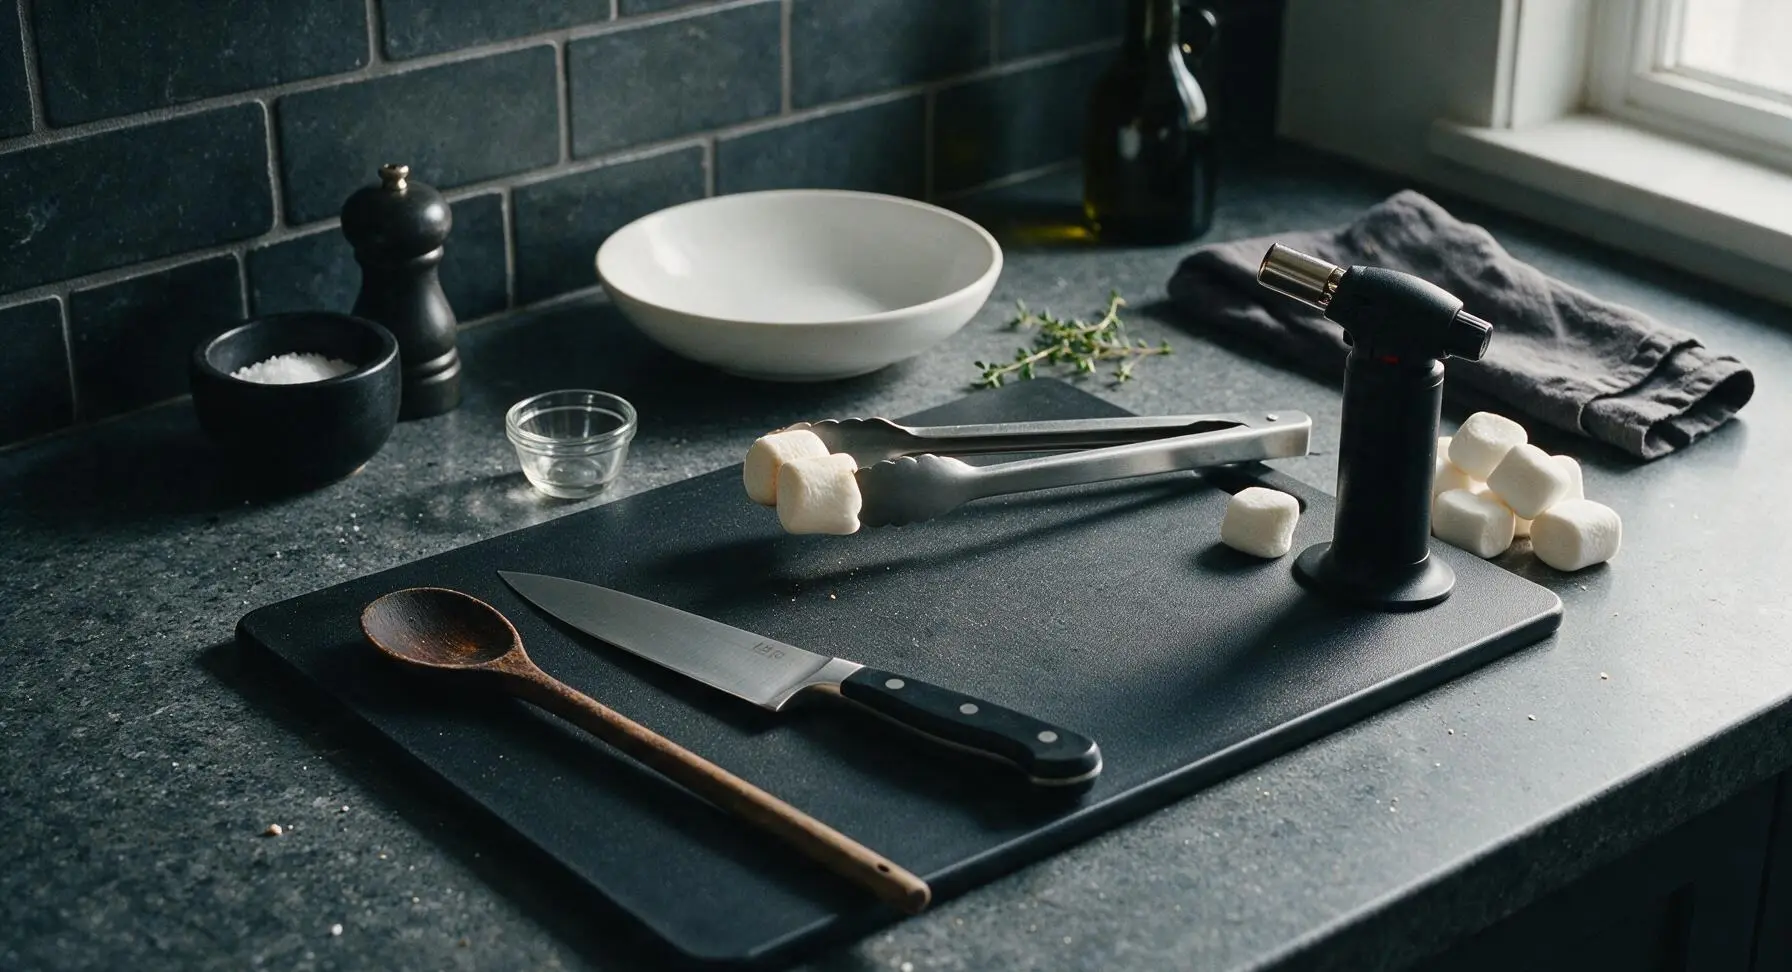
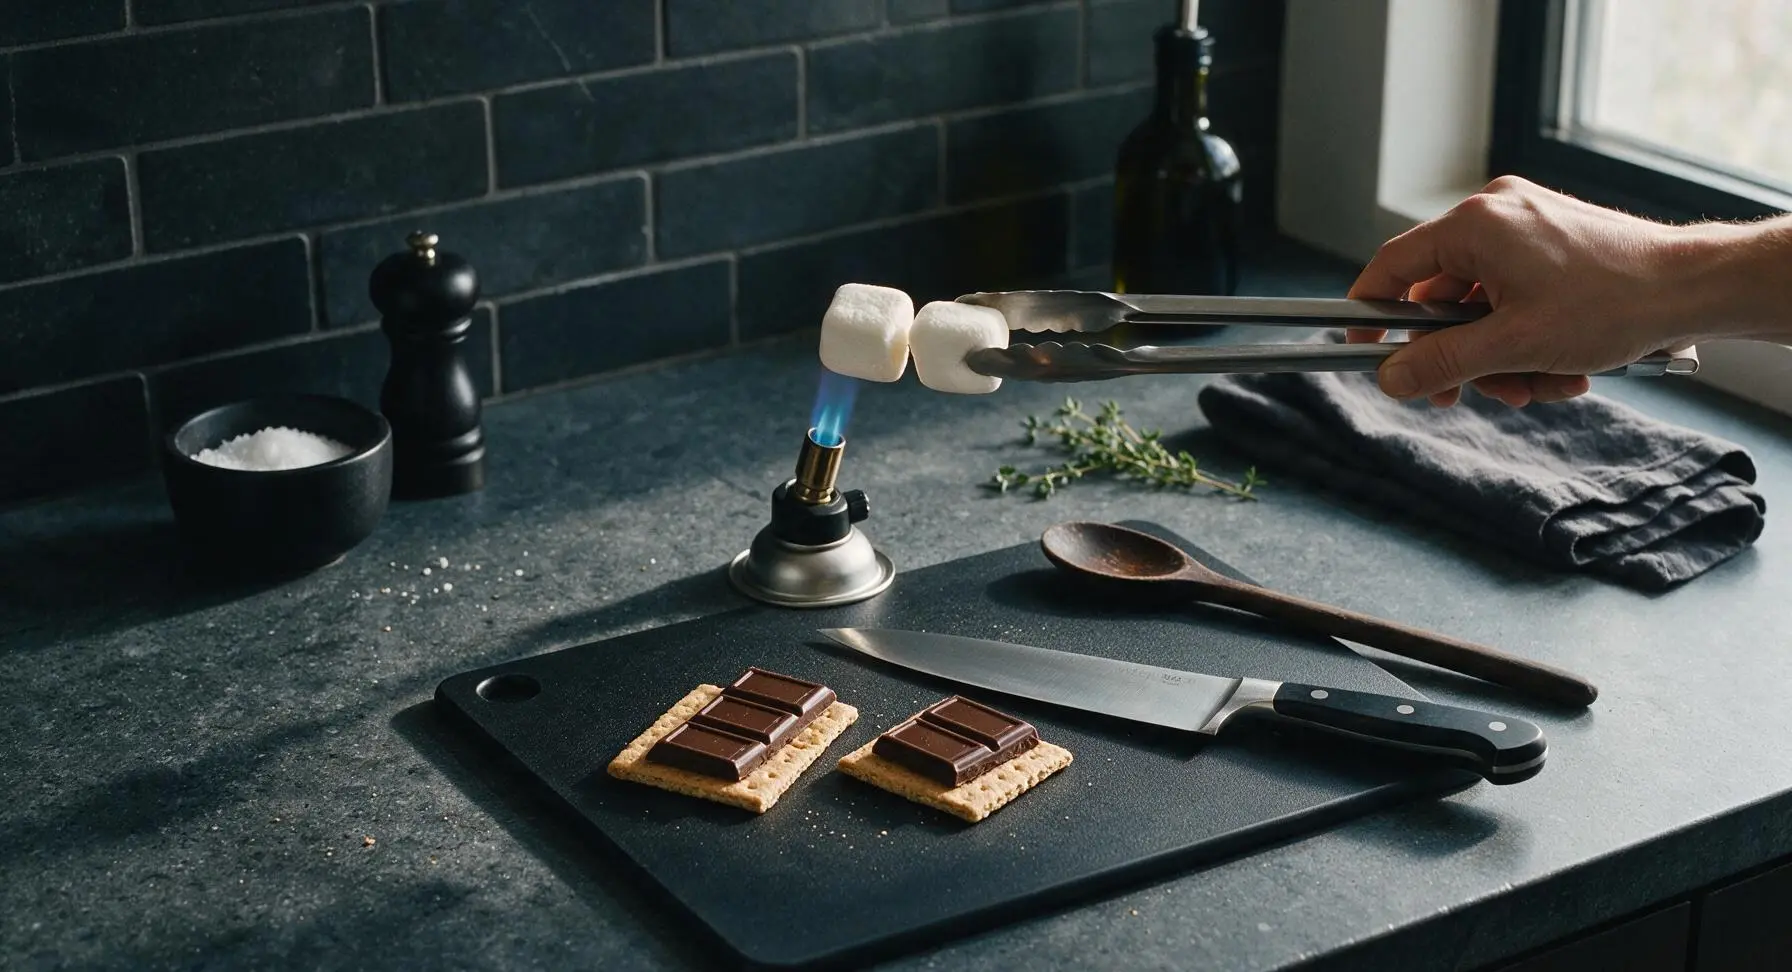
Hold the stainless steel tongs open, and nestle 2 marshmallows between the tong tips, clamping gently to hold them securely without squeezing (over-squeezed marshmallows will melt unevenly and drip). Adjust the matte black butane torch to a medium-low setting, producing a soft 1-inch blue flame—high, yellow flames will burn the marshmallow exterior before the interior melts.
Toast Marshmallows Evenly
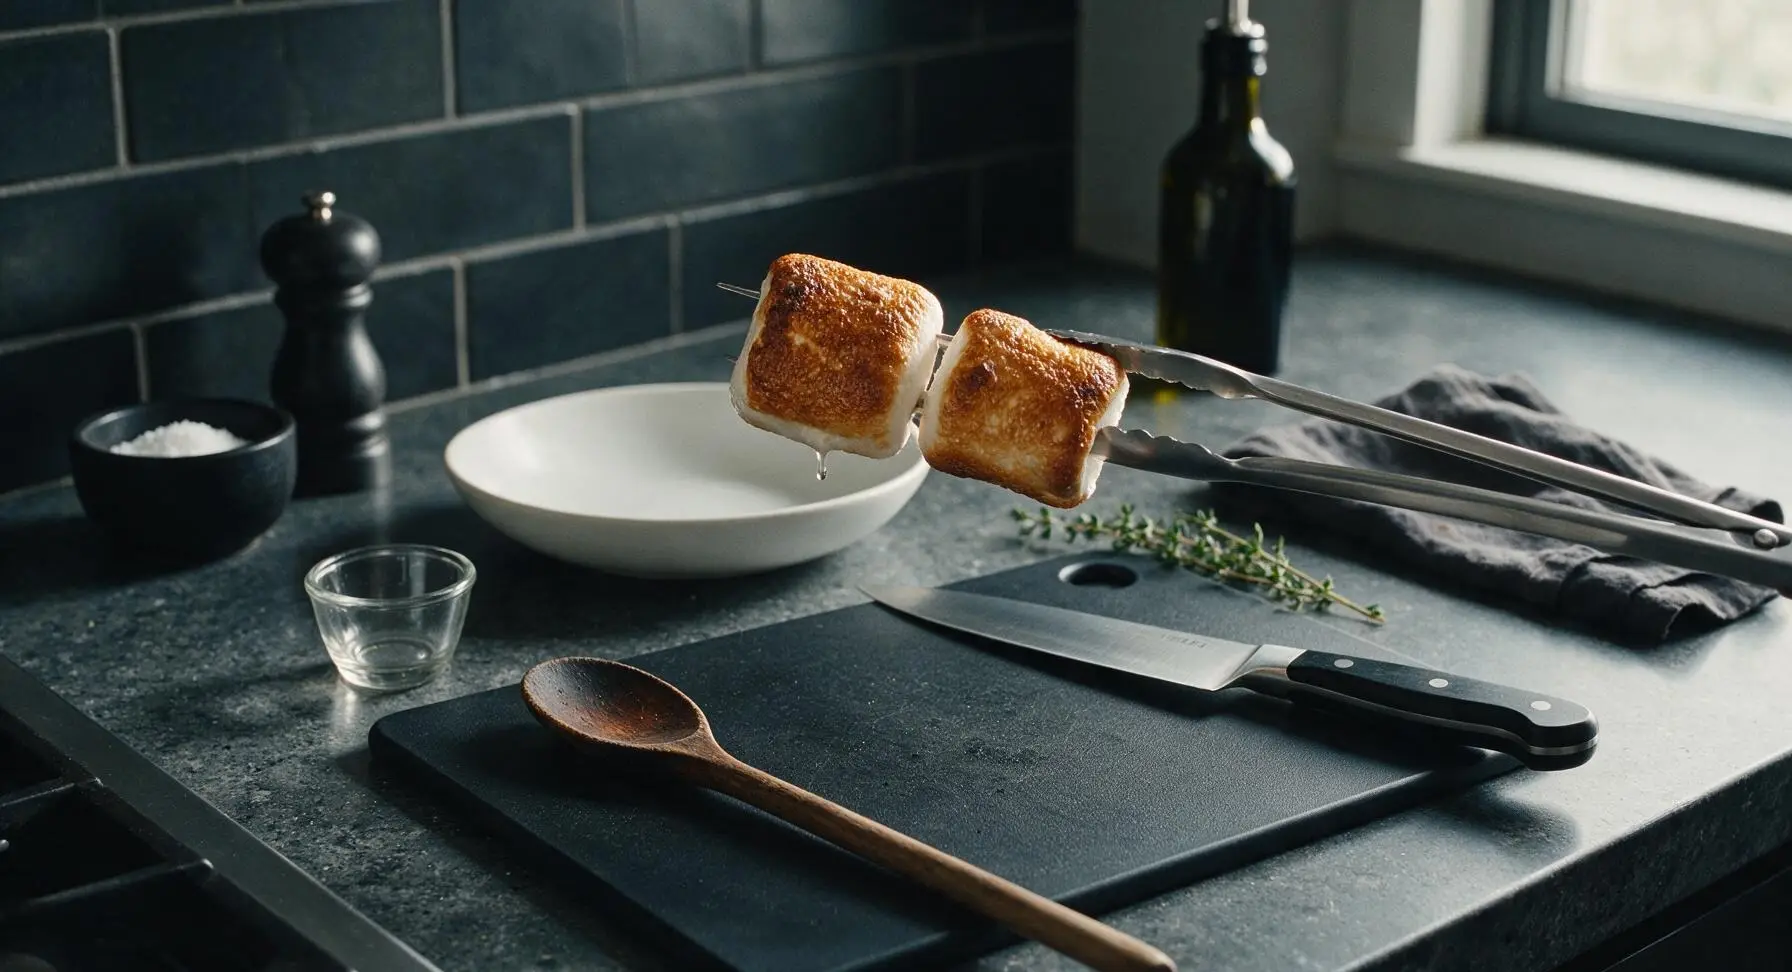
Hold the tongs with marshmallows 5-7cm above the torch flame, rotating slowly and constantly to toast all sides evenly. Toast for 45-60 seconds total per pair of marshmallows, until the exterior is deep golden brown, slightly blistered and puffed, with a tiny trickle of soft melted marshmallow at the edges. Do not hold marshmallows directly in the flame, as this will create a bitter burnt black crust. Repeat to toast all 8 marshmallows for the 4 sandwiches.
Layer Marshmallows on Chocolate
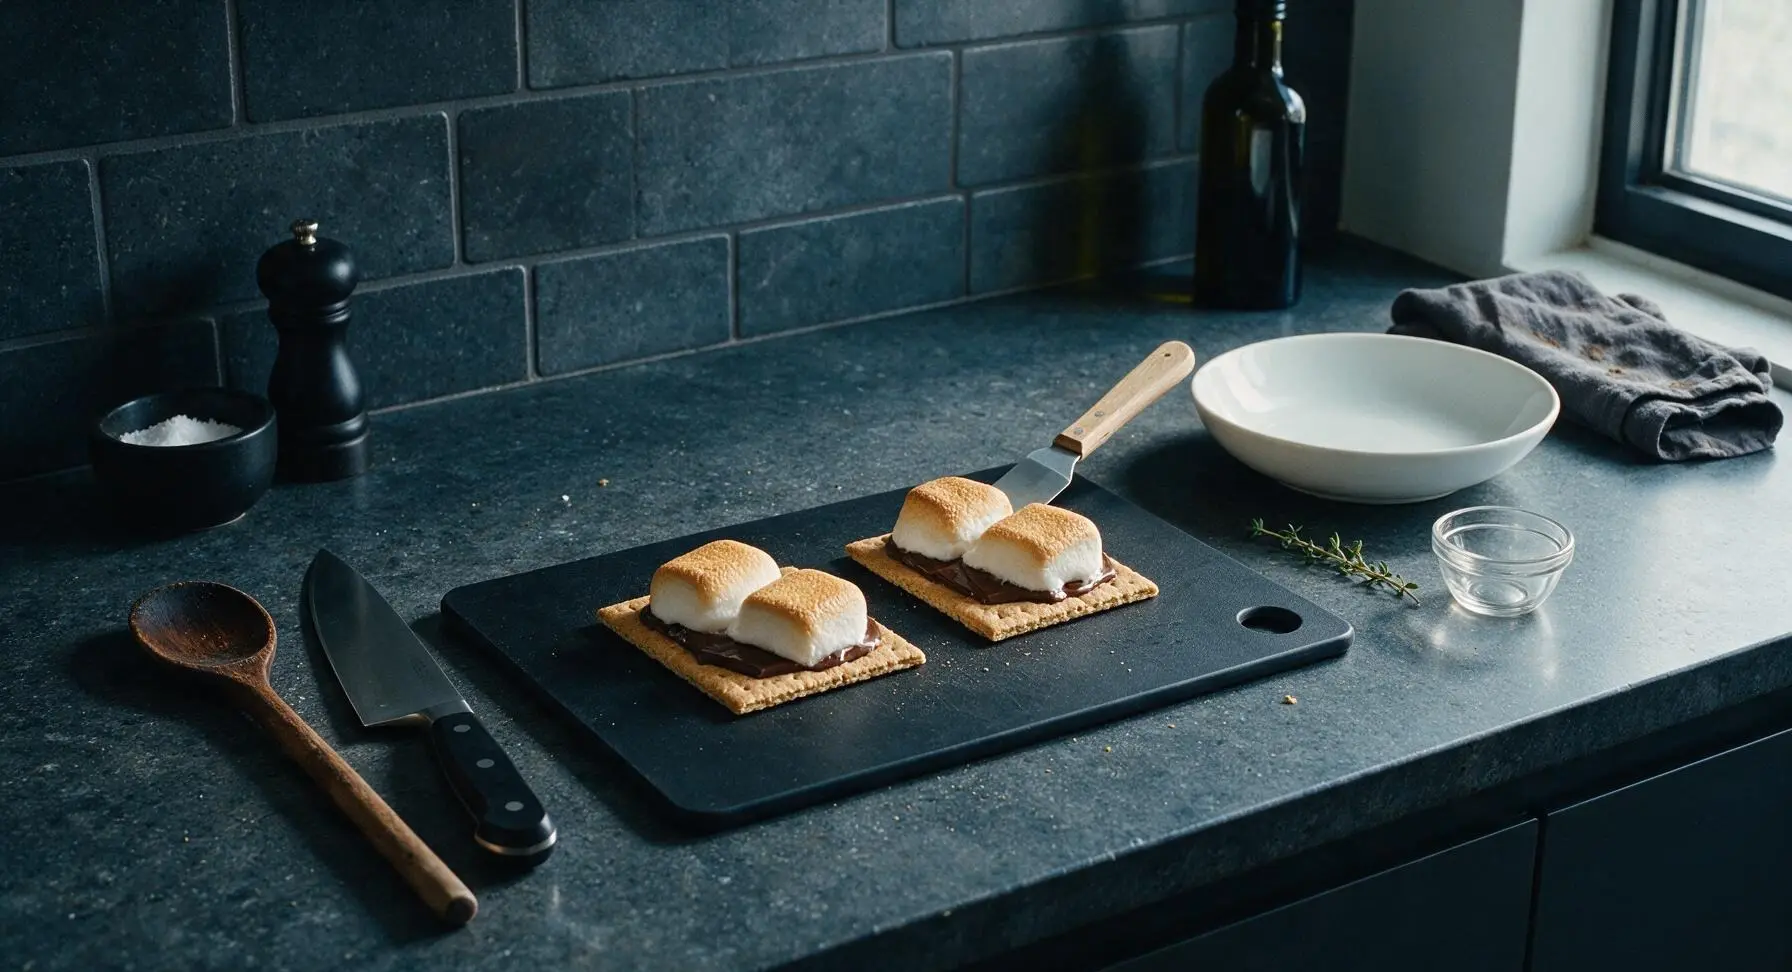
Once each pair of marshmallows is perfectly toasted, use the oak-handled offset spatula to slide them off the tongs directly on top of the chocolate layer on one graham cracker base. The residual heat from the 160°F+ toasted marshmallow will immediately start melting the chocolate below. Let the marshmallows rest for 10 seconds to allow the chocolate to soften slightly before adding the top cracker.
Press Top Cracker Layer
Place one reserved graham cracker square on top of each marshmallow mound. Press down very gently with the flat of your palm to compress the sandwich slightly, until the marshmallow and melted chocolate spread just to the edges of the crackers. Do not press too hard, or hot molten marshmallow will squirt out the sides and cause burns.
Finish with Flaky Salt
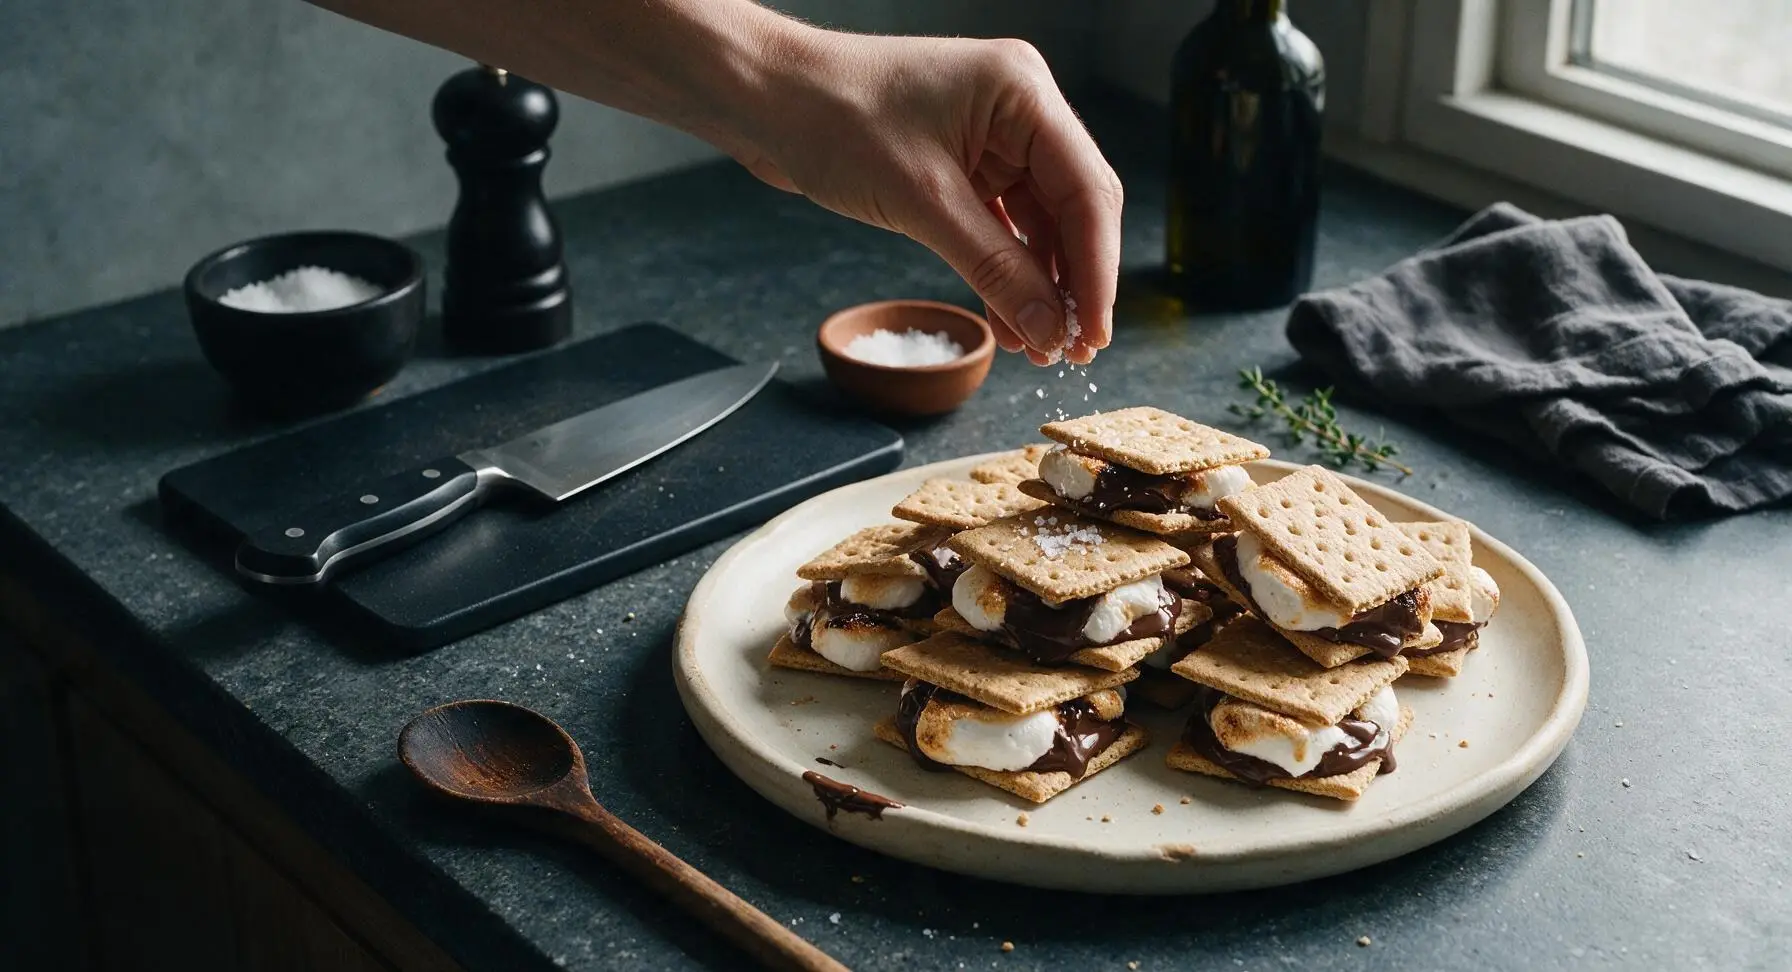
Move the assembled sandwiches to the matte cream stoneware serving platter, arranging them in a loose casual pile. Sprinkle a tiny pinch of flaky sea salt over the top of each sandwich, focusing on spots where chocolate and marshmallow peek out, to balance the sweet flavor. Let the sandwiches rest for 1 full minute to allow the chocolate to melt completely into a smooth layer before serving.
Tips
2.Always let assembled sandwiches rest for 1 minute before serving. This short wait lets the hot marshmallow heat fully melt the chocolate into a smooth, even layer, so you don’t end up with hard, unmelted chocolate chunks in the center of your sandwich.
3.If graham crackers are unavailable, substitute with crisp digestive biscuits or plain shortbread cookies. Avoid soft, cake-like cookies (such as soft sugar cookies or sponge cakes) as they will turn soggy within seconds from the moisture of the hot melted marshmallow.






OMG this is so easy and SO good! I made these for my kid’s after school snack yesterday and they begged for a second one before they even finished the first. I used dark chocolate instead of milk because that’s what we had in the pantry, and the toasted marshmallow got all perfectly gooey? Total game changer, 10/10.
Made these for our neighborhood potluck last weekend and they were gone in 10 minutes flat! People kept asking me for the recipe, I can’t believe how simple it is with such a short cook time. I added a tiny sprinkle of flaky sea salt on top of the chocolate before putting the marshmallow on, *chef’s kiss*.
Wait has anyone tried making these with gluten free graham crackers? My youngest has a gluten sensitivity and I want to make these for our family movie night this Friday, just want to make sure they hold up okay!
Dude this is the easiest late night snack ever. I’m a college student with basically zero cooking skills and I pulled this off in like 8 minutes total. Used the giant campfire marshmallows I had left over from a hiking trip last month and it was insane. 10/10 no notes.
I meal prepped the components for these for my teen’s sleepover this weekend and it was the perfect activity! The kids got to toast their own marshmallows with a countertop torch and assemble their own sandwiches, almost no mess, zero stress. Way better than ordering expensive takeout desserts for the group.
These tasted pretty good, but they were a little too sweet for my preference. Next time I’ll use 70% dark chocolate and a smaller marshmallow to tone down the sweetness a bit. The 10 minute cook time was totally accurate though, super quick to throw together when a sweet craving hits.
Wait can I make these on a regular stovetop if I don’t have a broiler or kitchen torch? My apartment oven is broken right now and I’m dying to try these!
Just made these for a last-minute date night in with my boyfriend and we both ate two each before we even finished our movie! I added a thin smear of creamy peanut butter under the chocolate on each sandwich and it was absolute perfection. SO good, these are going to be our go-to quick dessert from now on.