
mashed sweet potatoes with marshmallows
intro
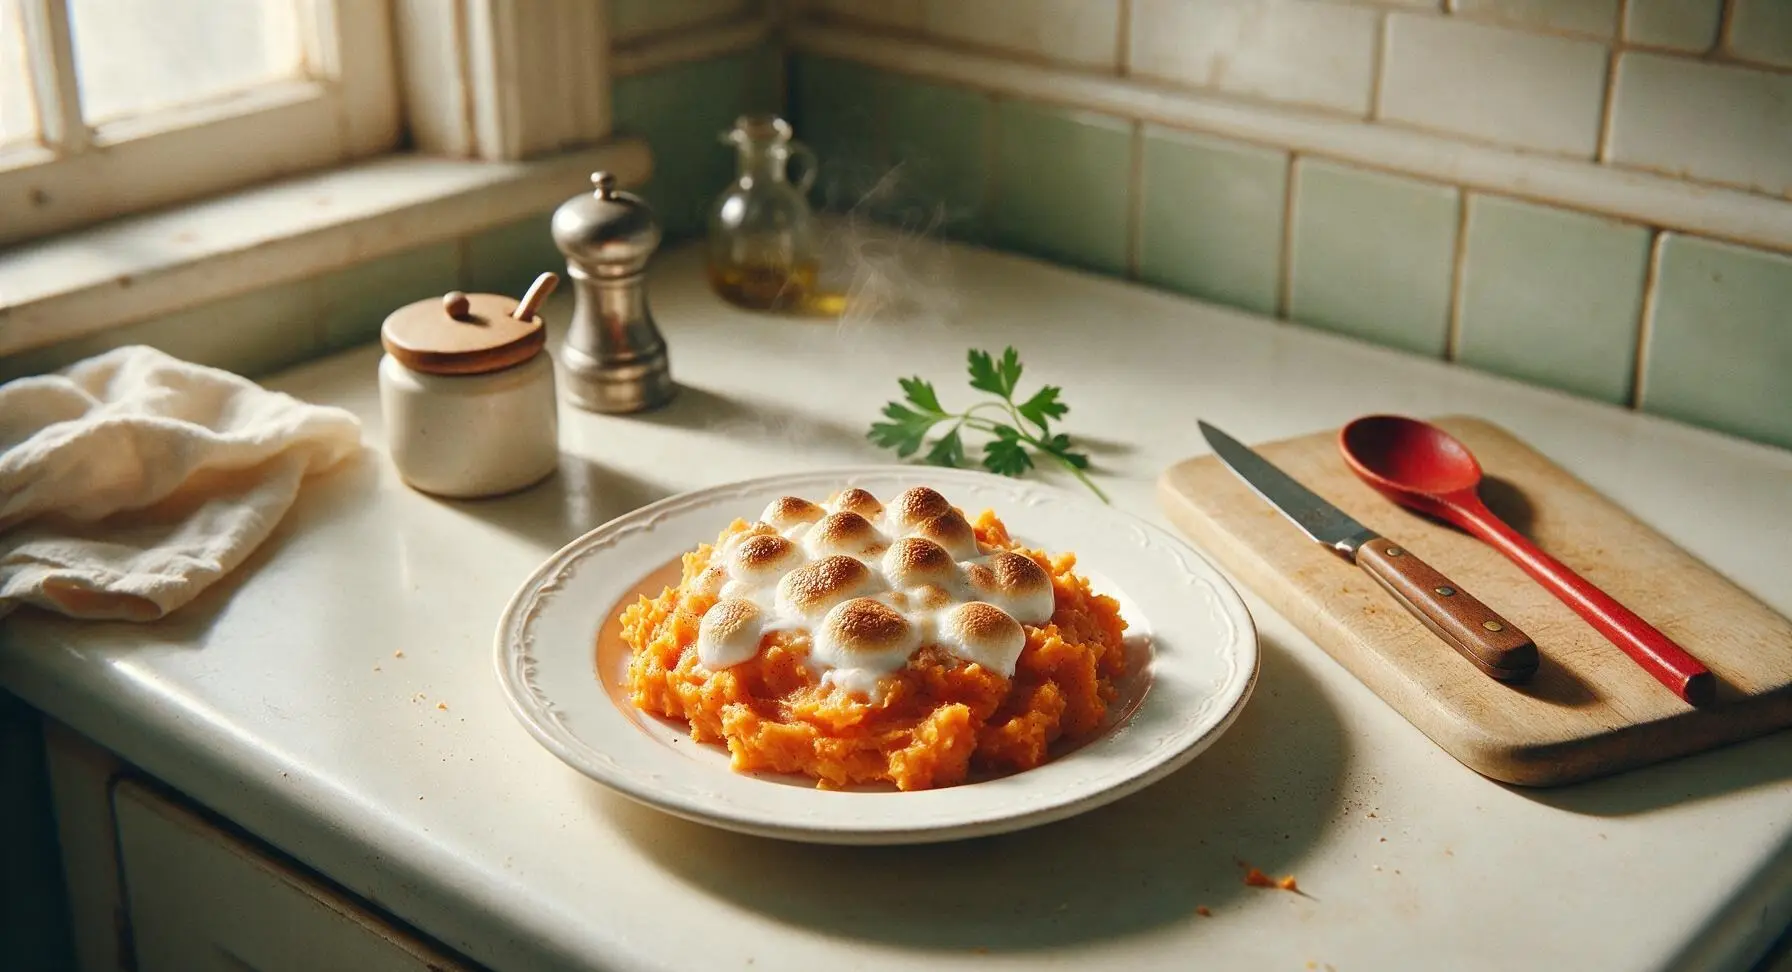
Velvety cinnamon-kissed mashed sweet potatoes topped with gooey, golden toasty marshmallows: the nostalgic, beloved Thanksgiving side that balances warm spice and melt-in-your-mouth comfort.
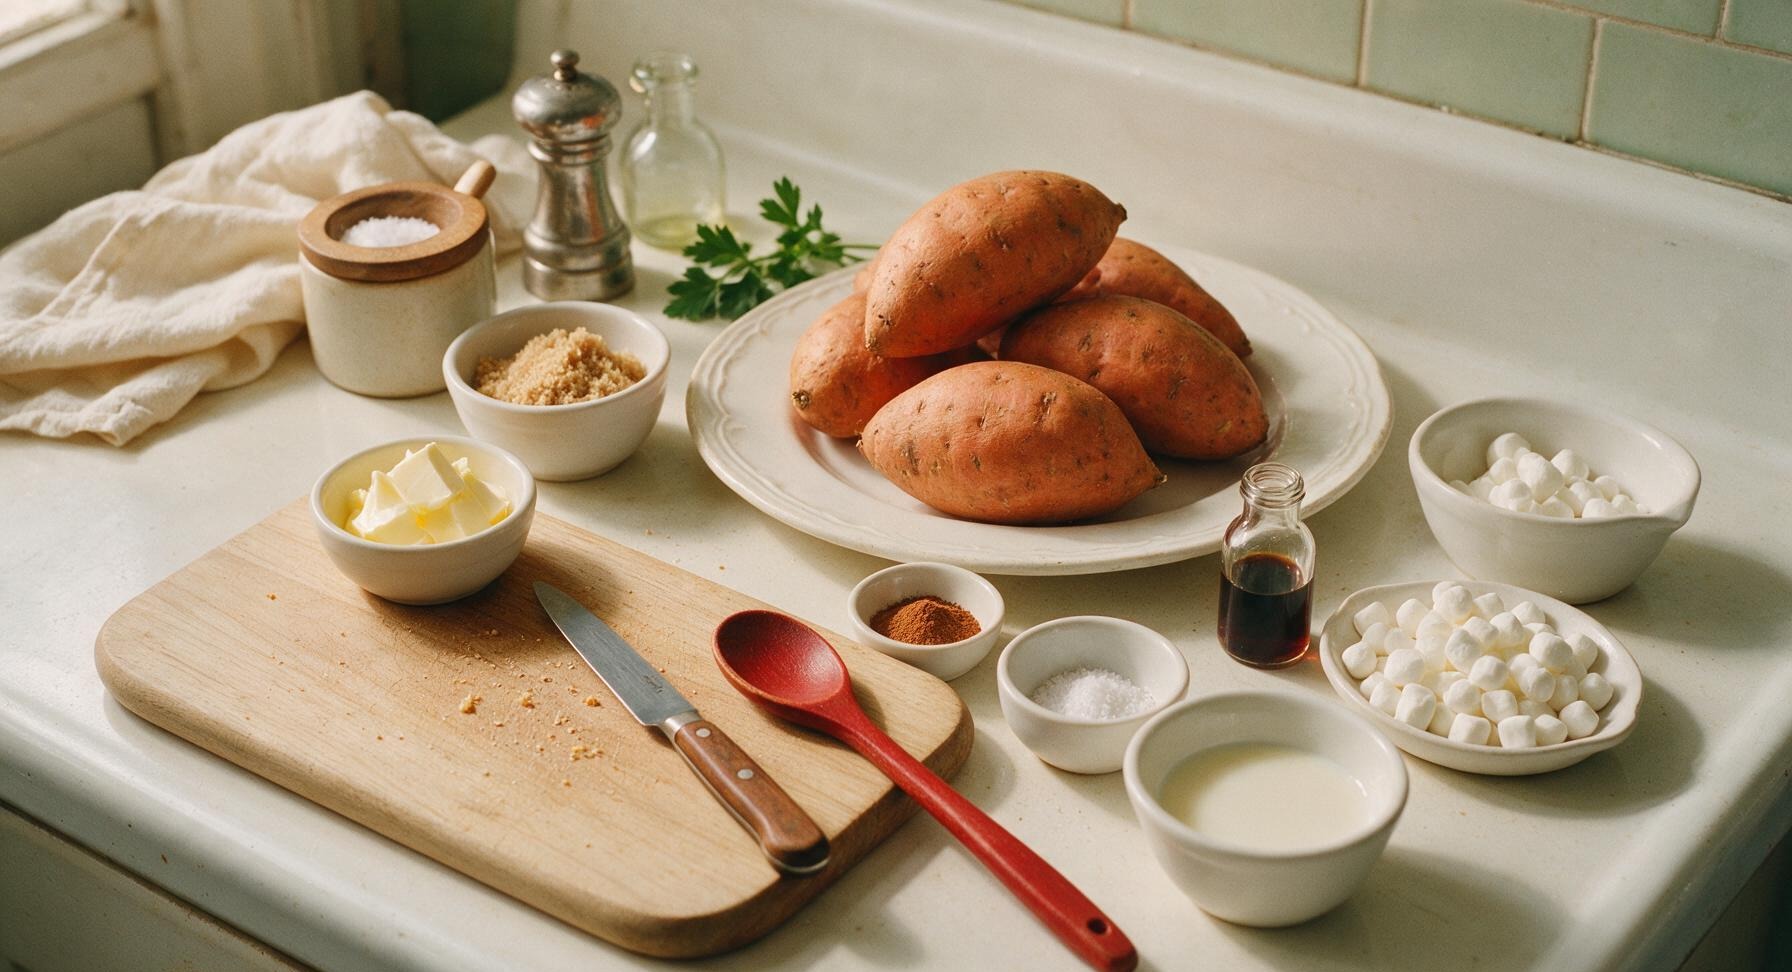
Ingredients
Steps
Peel and Cube Potatoes
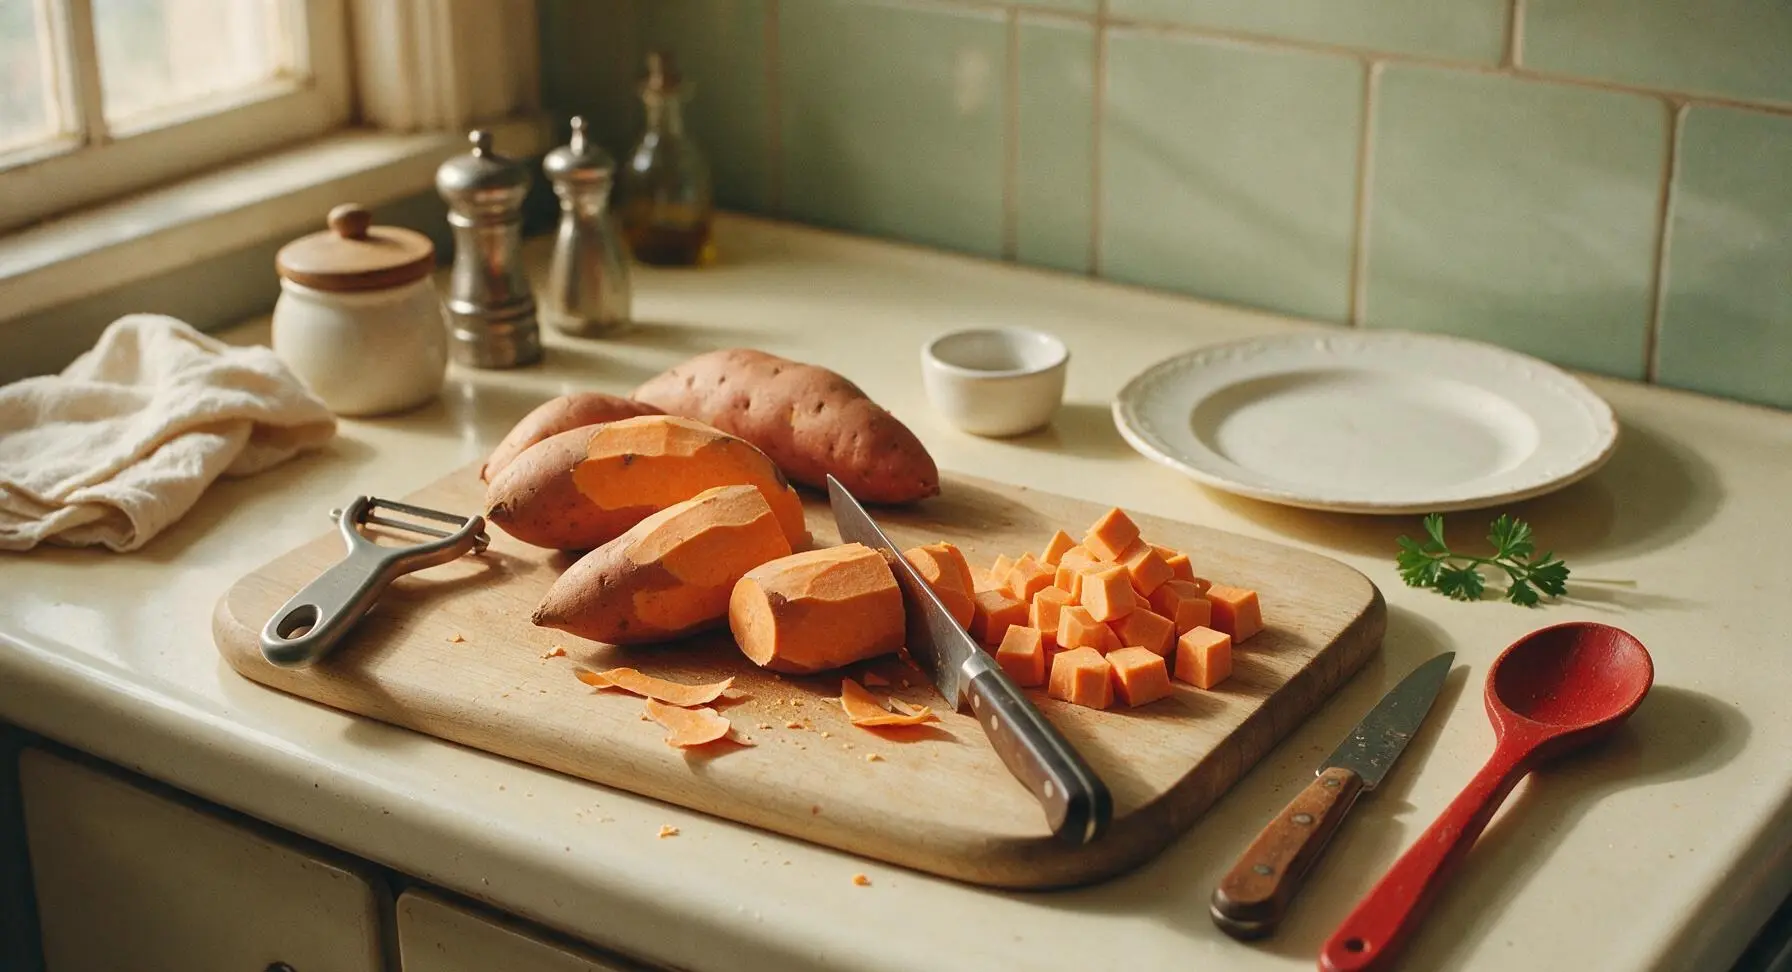
Scrub sweet potatoes clean under cool running water, then peel fully using the Y-shaped vegetable peeler. Place peeled sweet potatoes on the bamboo cutting board, and use the chef knife to cut them into uniform 1-inch cubes. Uniform sizing ensures even cooking so no chunks are undercooked or overly mushy.
Boil Until Tender
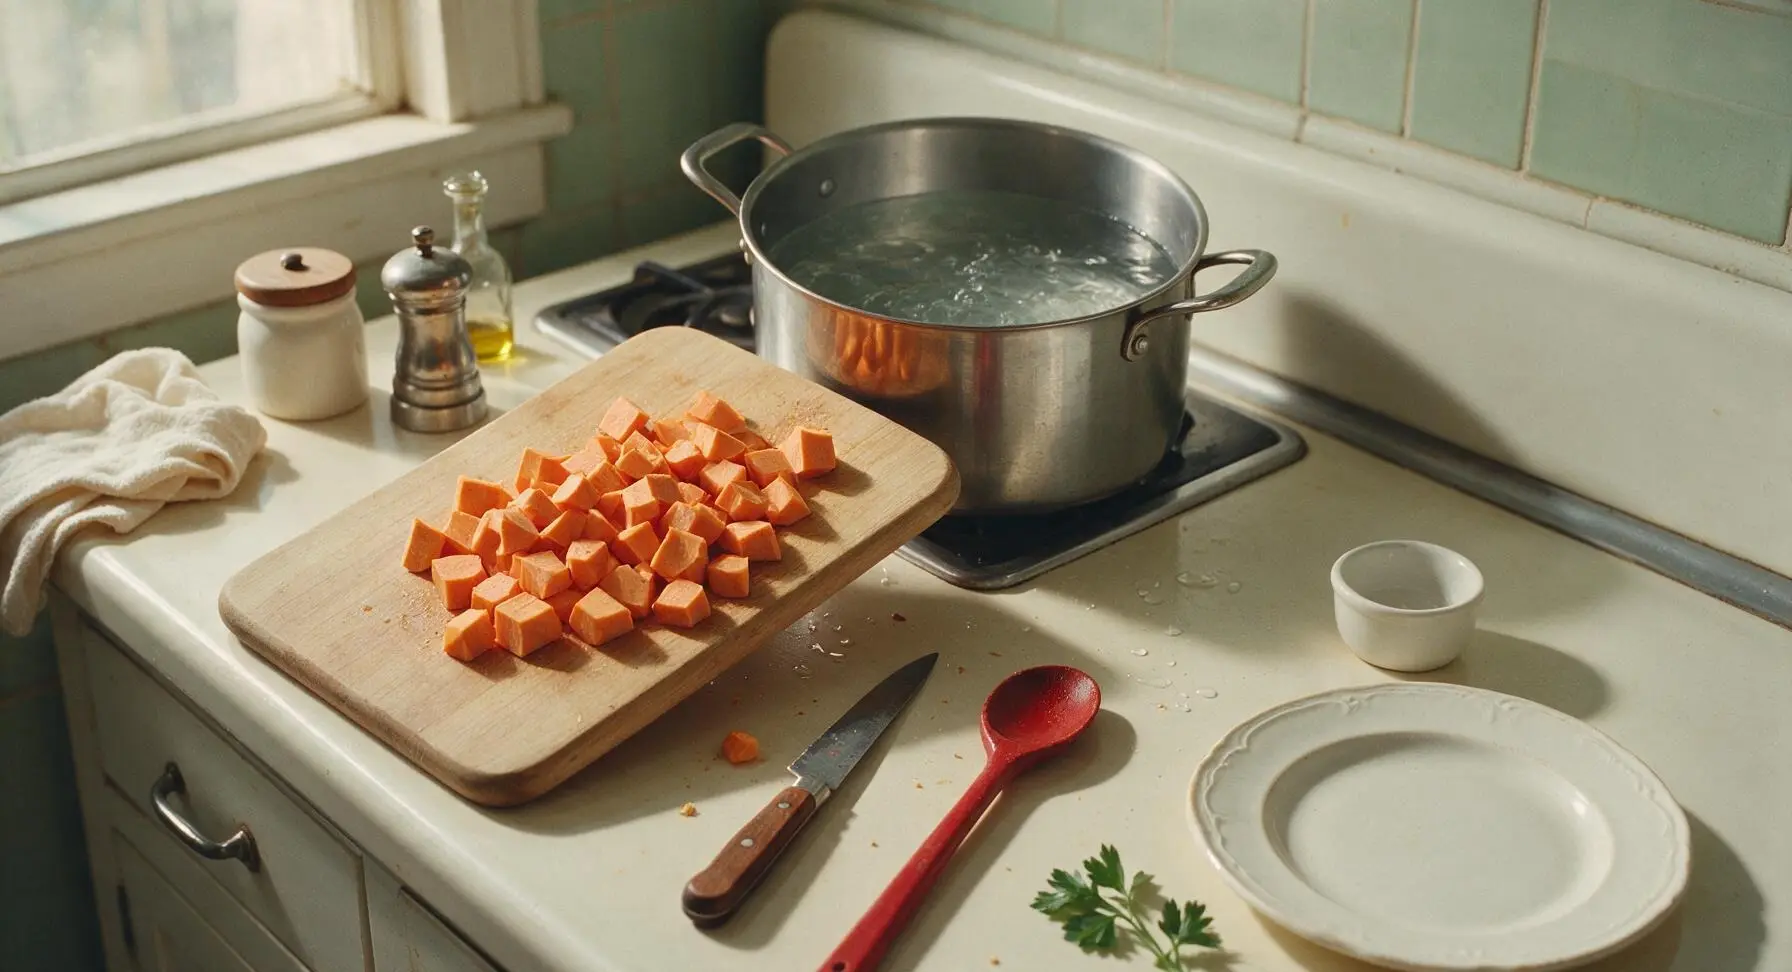
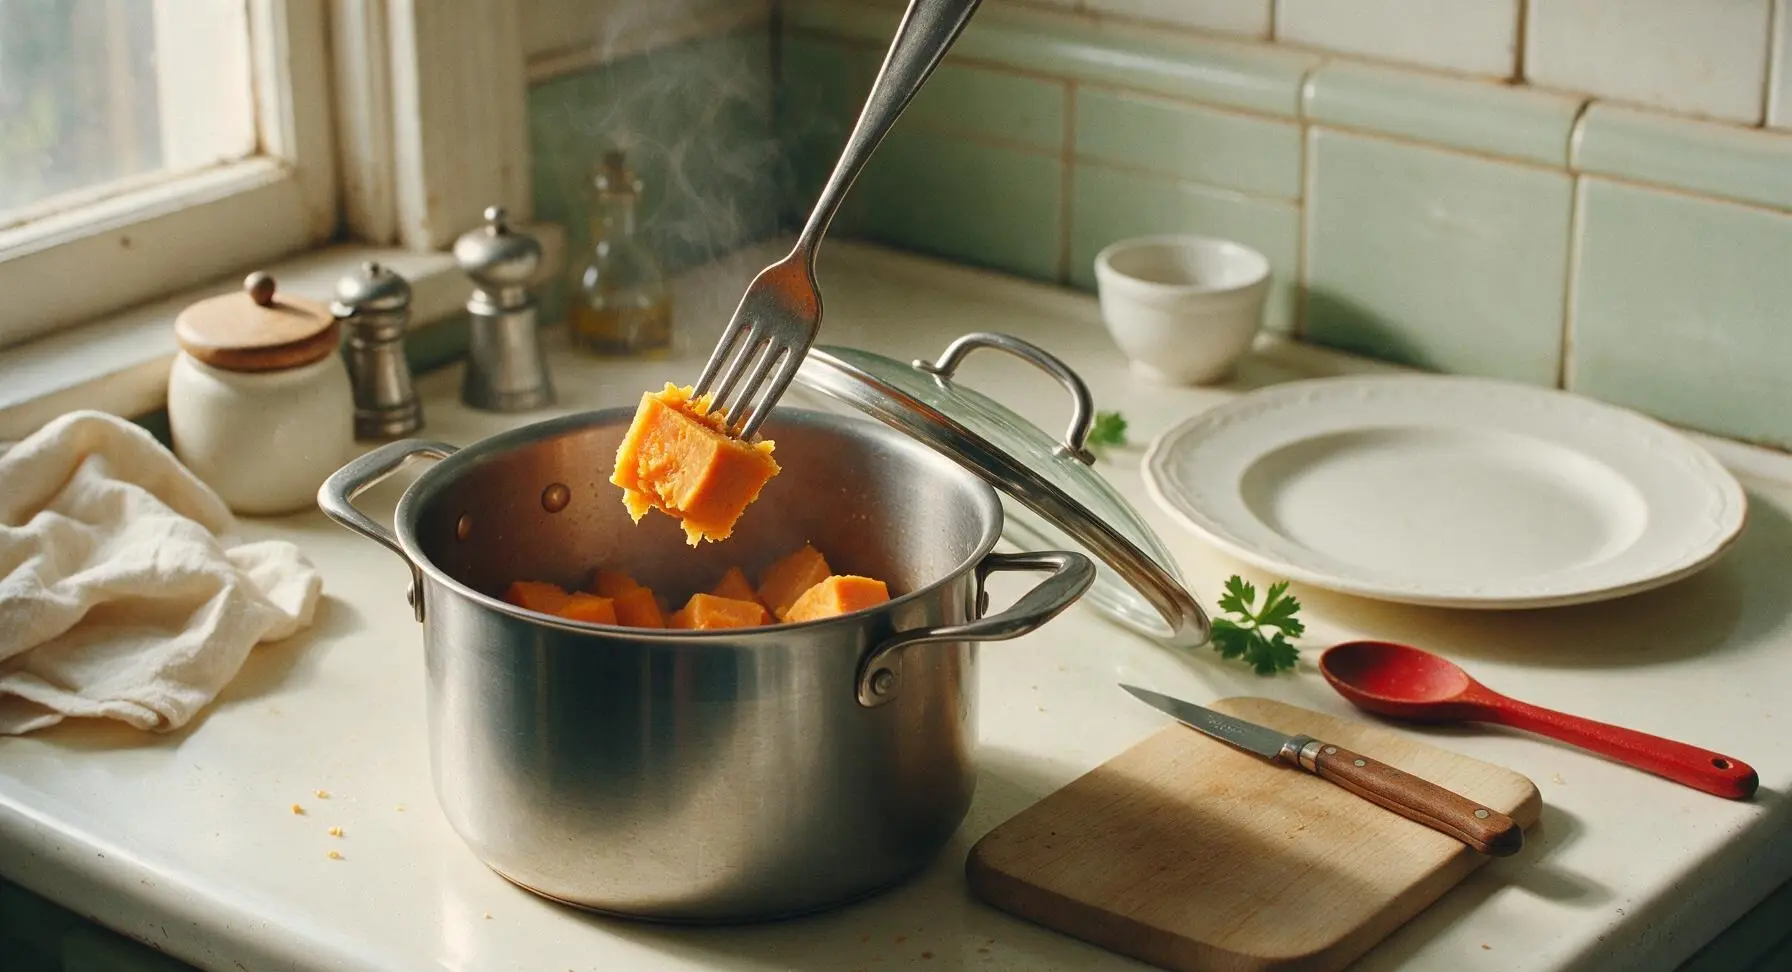
Fill the 6-quart stainless steel stock pot 2/3 full of cool water, add 1 tsp of the measured fine sea salt, and bring to a rolling boil over high heat. Carefully add the cubed sweet potatoes to the boiling water, reduce heat to medium-high to maintain a gentle boil, and cook for 15-18 minutes. Test for doneness by piercing a cube with a fork: it should slide in easily with no resistance, with the cube falling apart slightly when lifted.
Drain Cooked Potatoes
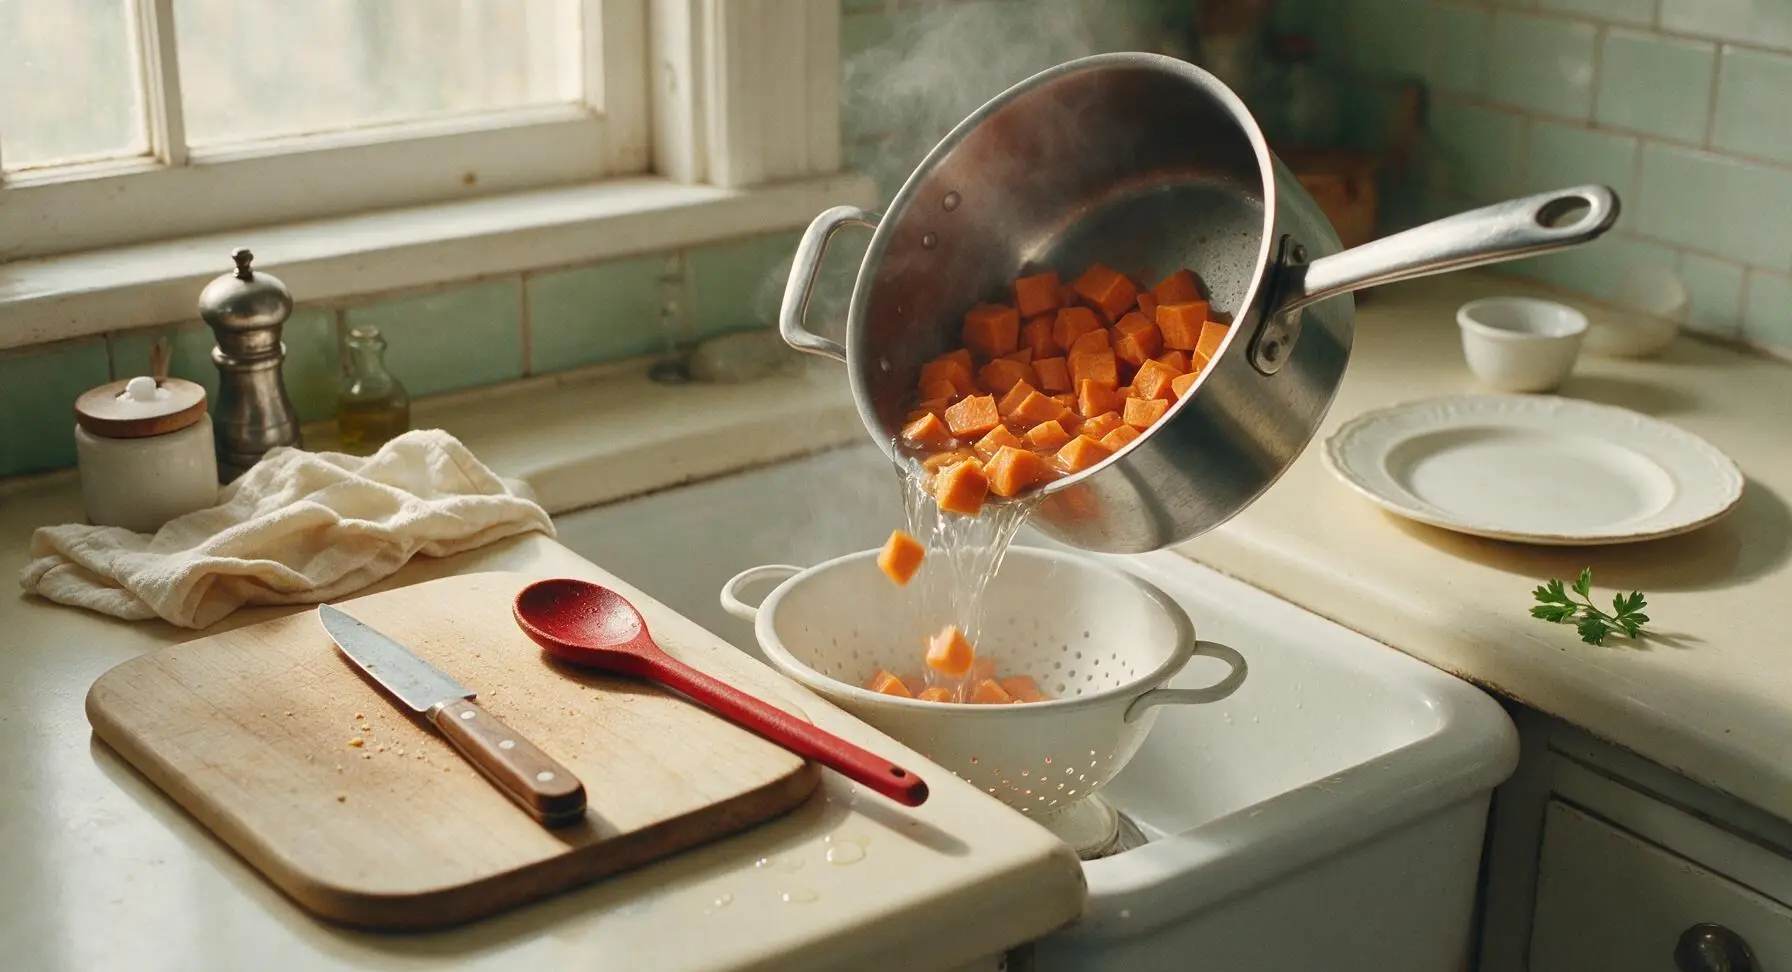
Once fully tender, turn off the heat, and carefully pour the sweet potato cubes into the white plastic colander positioned in the sink to drain fully. Shake the colander gently to remove all excess water—leftover water will make the mashed potatoes watery instead of rich and velvety. Let the potatoes rest in the colander for 2 minutes to steam off any remaining surface moisture.
Mash to Velvet Texture
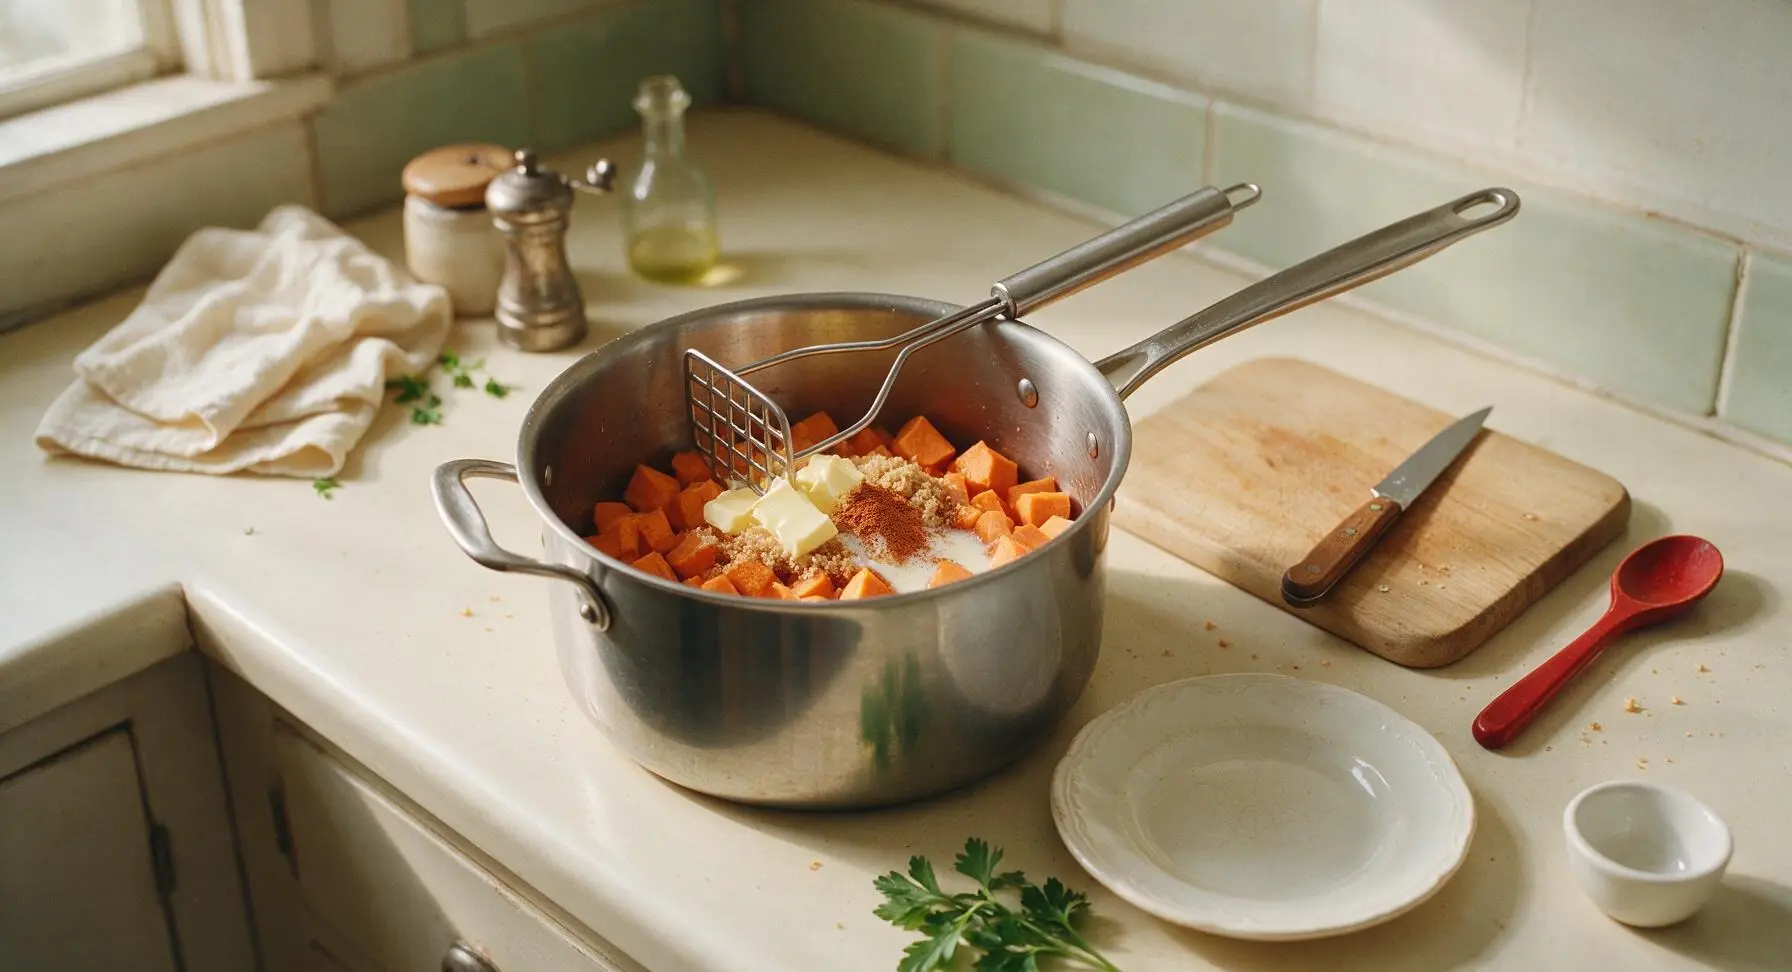
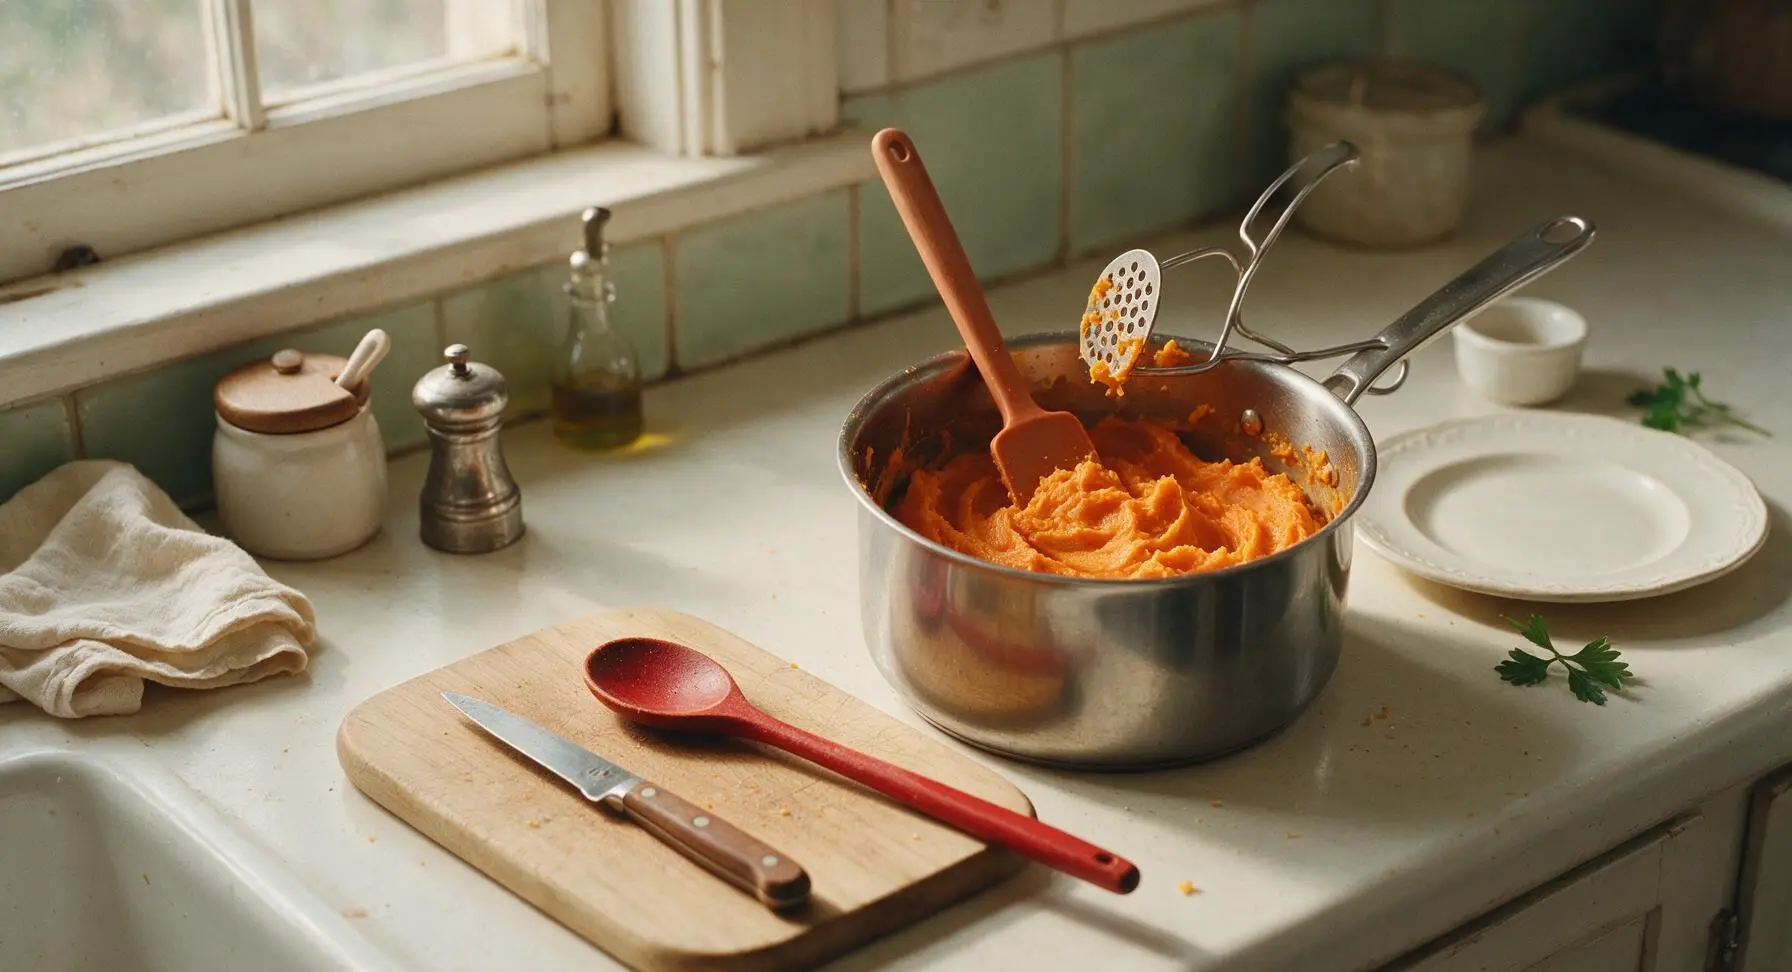
Transfer the drained, slightly dried sweet potato cubes back into the empty stock pot off heat. Add the softened unsalted butter, packed light brown sugar, remaining 1/2 tsp fine sea salt, ground cinnamon, warmed whole milk, and pure vanilla extract. Use the stainless steel potato masher to mash the mixture until completely smooth, with no remaining lumps. Stir with the terracotta silicone spatula to scrape the sides of the pot and ensure all ingredients are fully incorporated; the mash should be thick, creamy, and hold its shape slightly when stirred.
Layer in Baking Dish
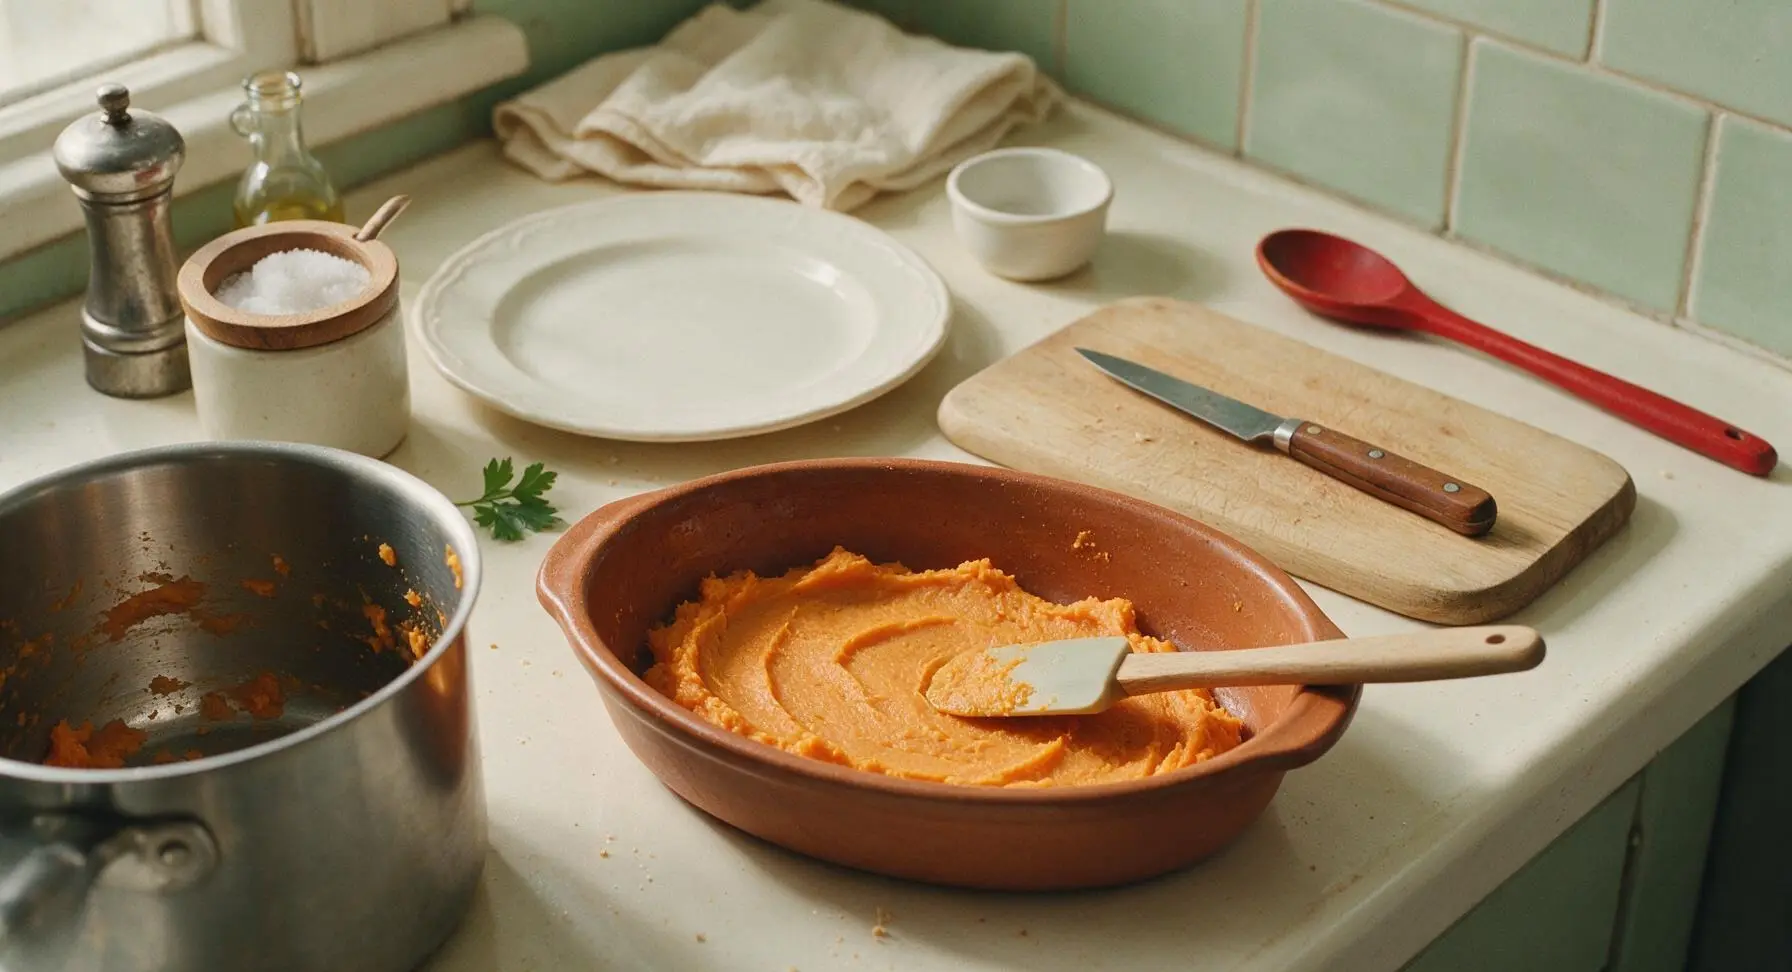
Scoop all of the smooth mashed sweet potato into the terracotta oval casserole dish, and use the silicone spatula to spread it into an even, flat layer across the bottom of the dish. There is no need to grease the dish, as the butter in the mash prevents sticking. Ensure the surface is relatively smooth so the marshmallow topping sits evenly during baking.
Add Marshmallow Topping
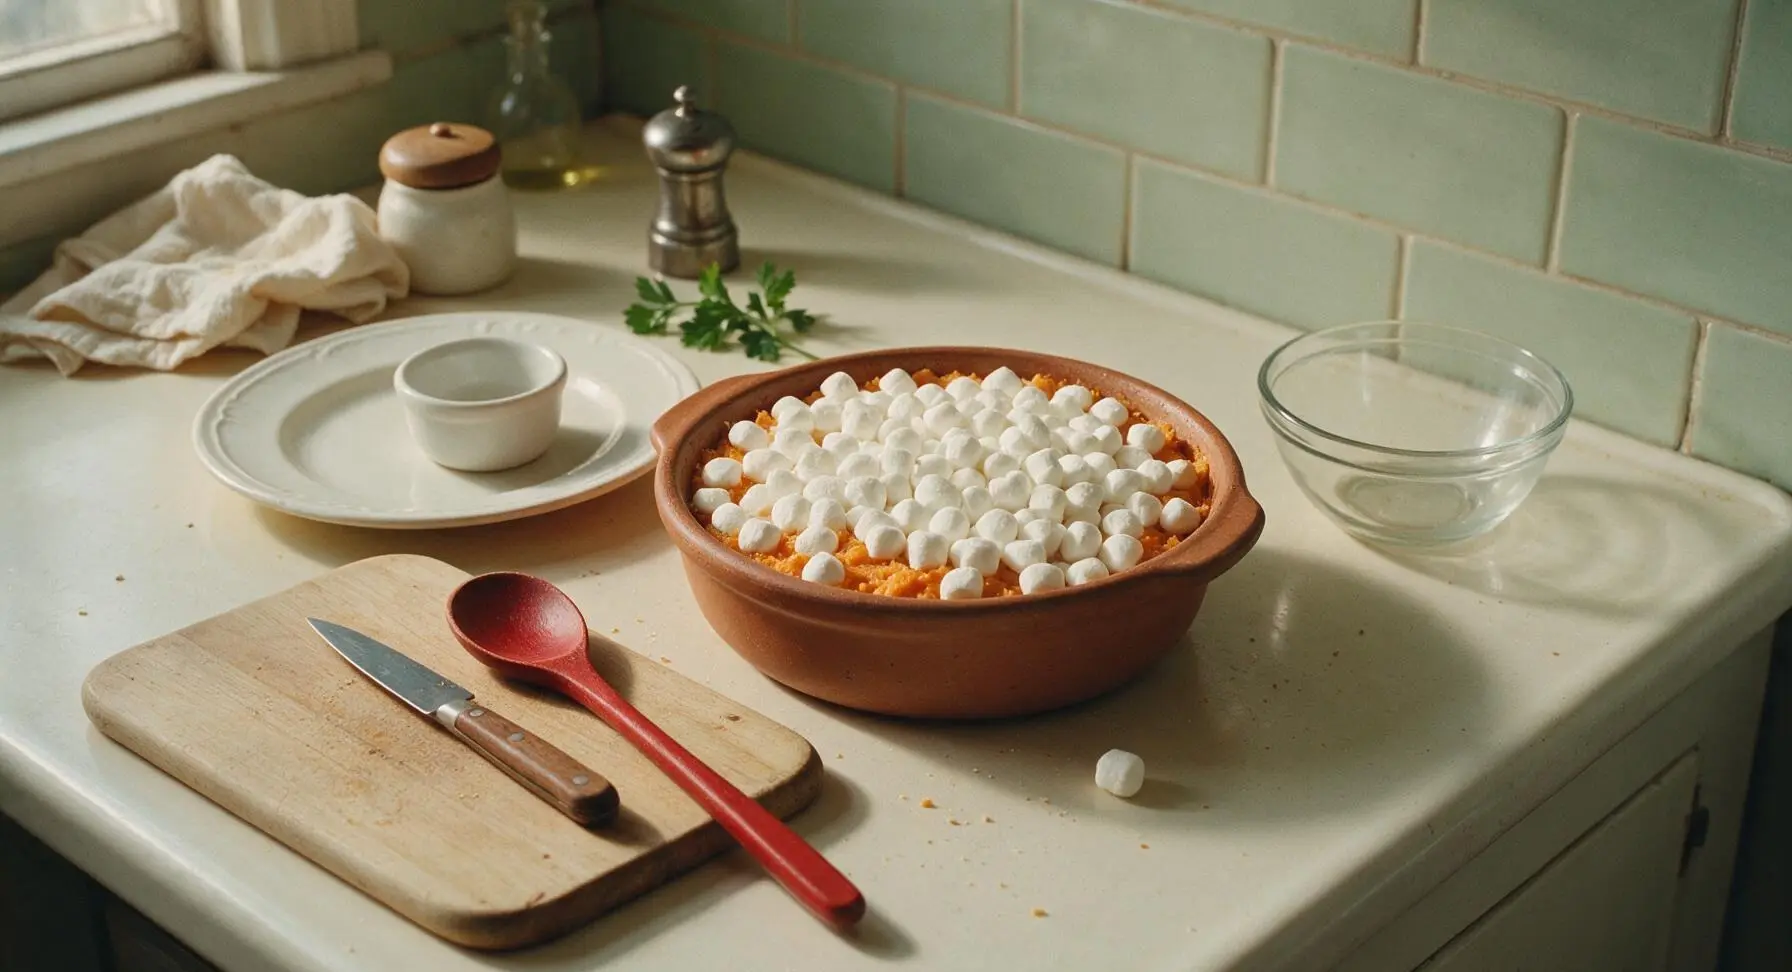
Sprinkle the mini marshmallows in a single, even layer across the entire surface of the mashed sweet potatoes, covering the mash completely from edge to edge. Leave no large gaps, but do not stack marshmallows more than one layer thick—stacking will cause uneven melting and burnt spots on top while marshmallows underneath stay fully raw.
Bake to Golden Perfection
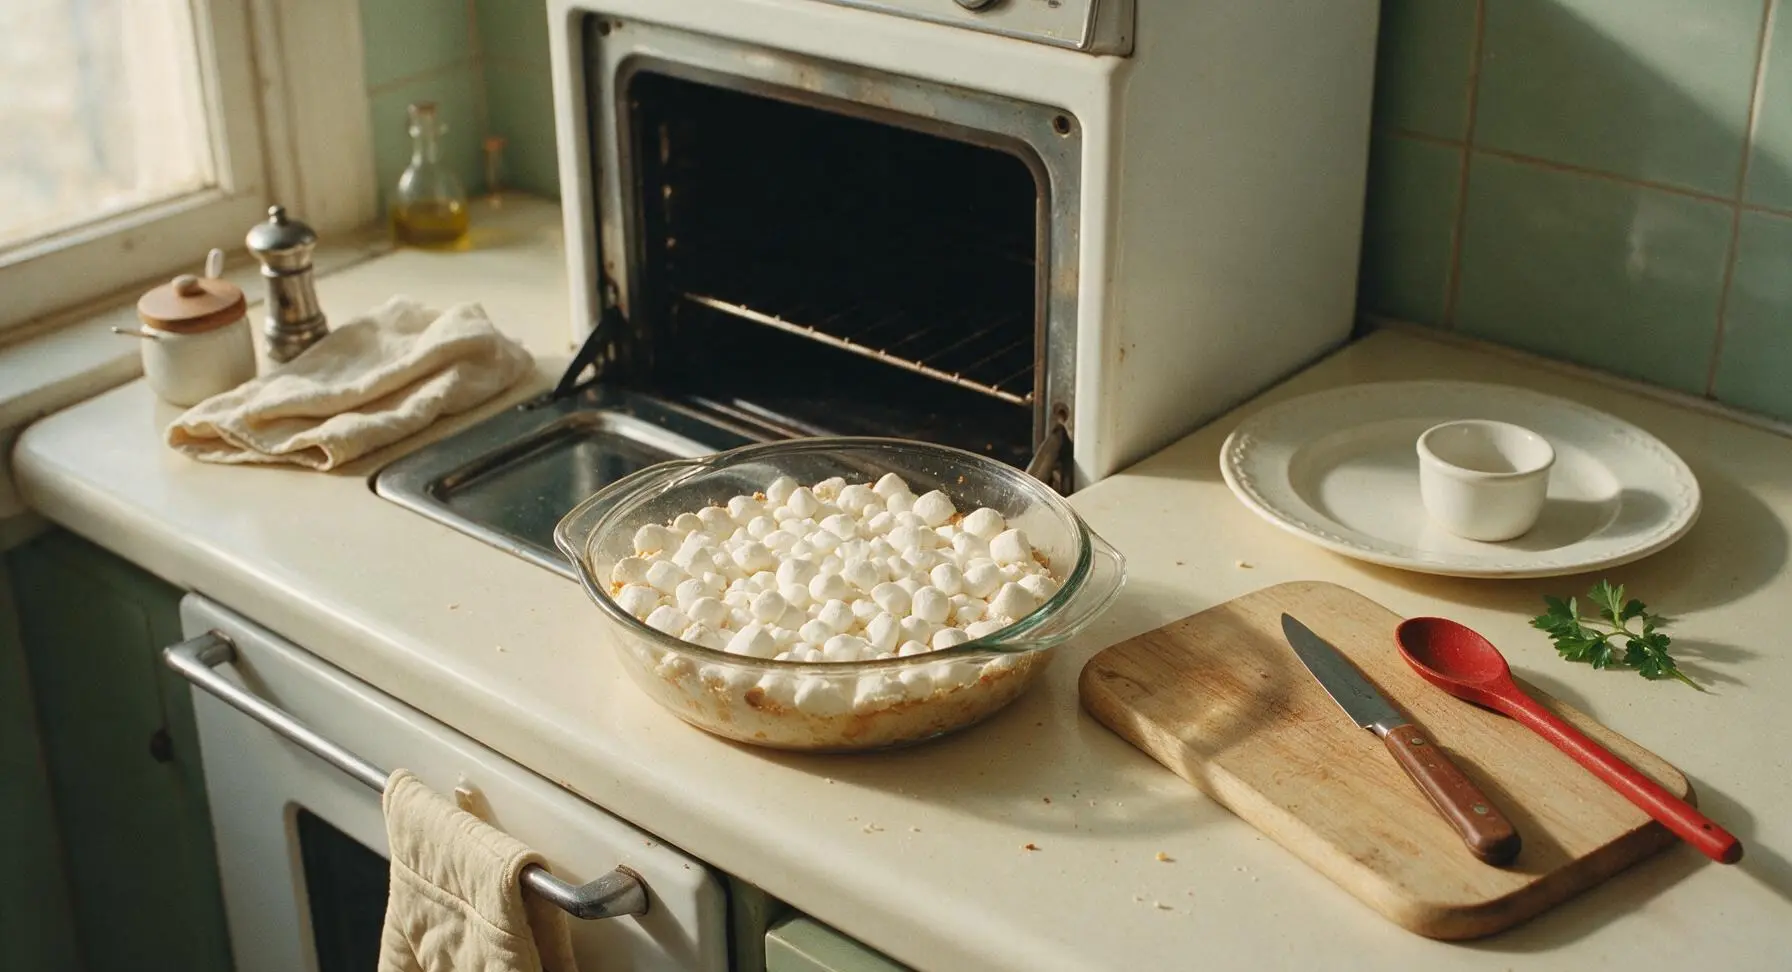
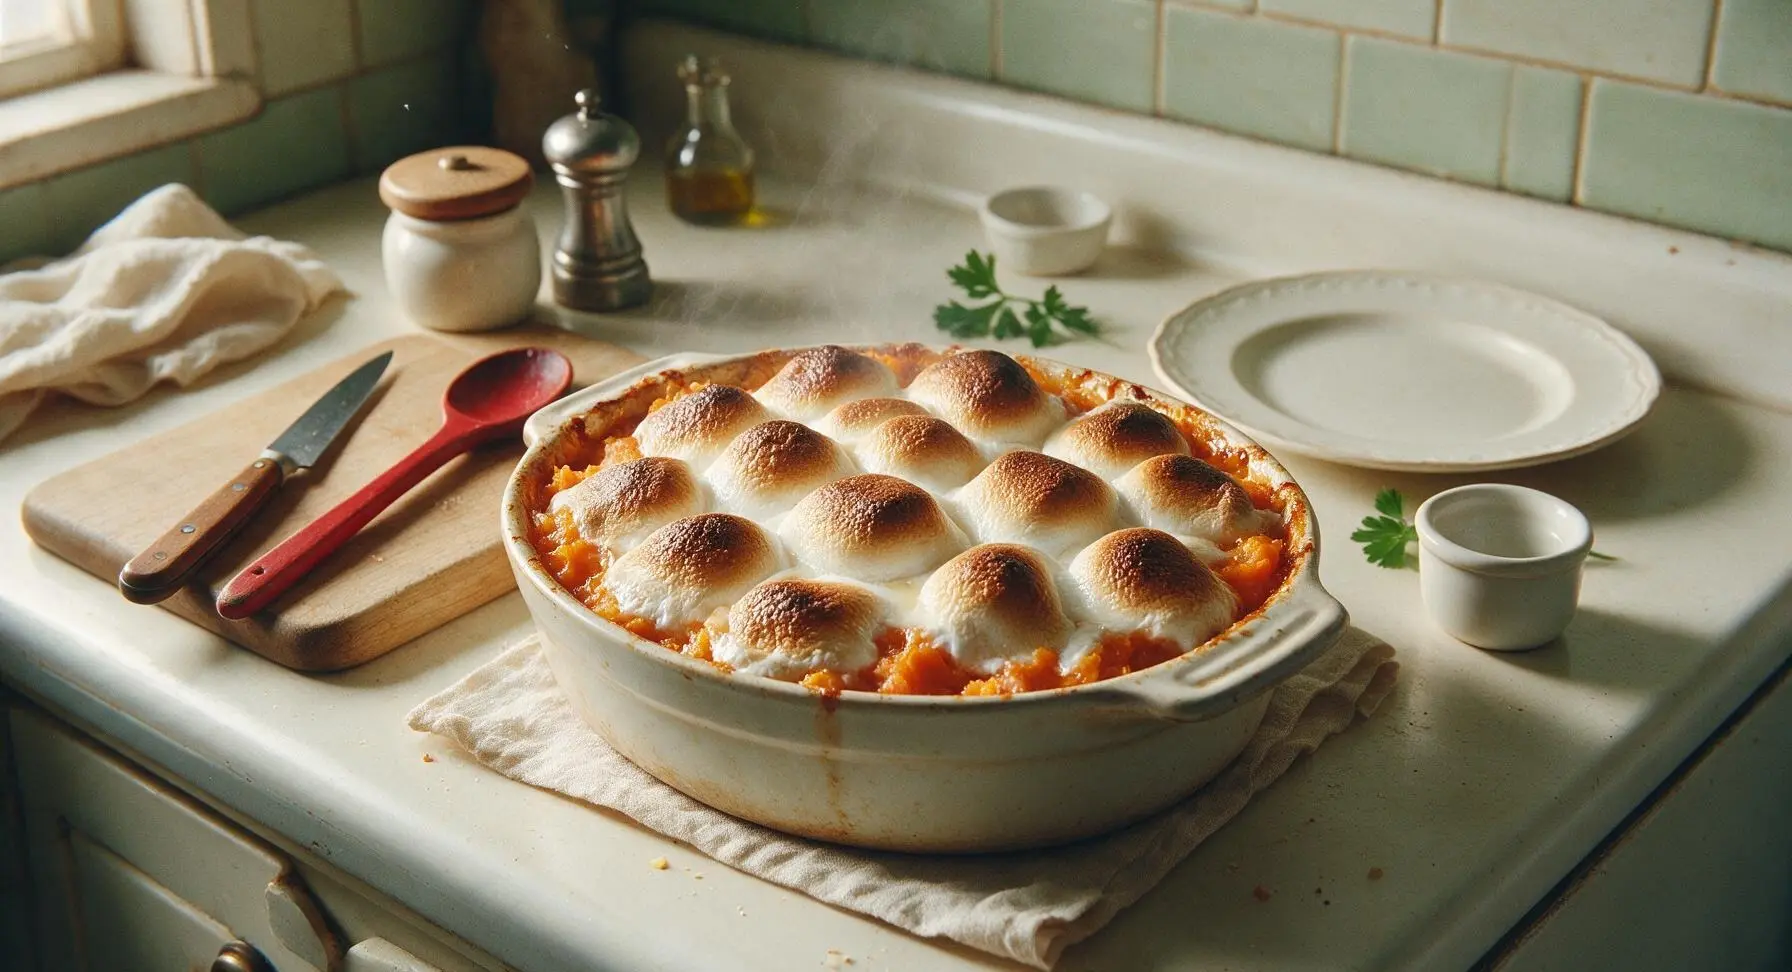
Place the assembled casserole in a preheated 375°F (190°C) oven, positioned on the middle rack. Bake for 7-9 minutes, watching closely after 5 minutes, until the marshmallows are puffed, golden brown on top, with slightly caramelized amber edges and fully melted and gooey underneath. Do not walk away during the last few minutes of baking, as marshmallows can burn in as little as 30 seconds. Remove from oven and serve warm.
Tips
2.Always let drained sweet potatoes steam for 2 minutes before mashing: this evaporates excess surface water that would otherwise make the mash watery and thin, rather than rich and thick enough to support the marshmallow topping.
3.Wait to add the marshmallow topping until right before baking if prepping ahead: marshmallows will absorb moisture from the sweet potato mash and turn soggy if left sitting on the uncooked casserole for more than 10 minutes, leading to a soggy, uneven topping instead of light, toasty marshmallows.






OMG this was such a hit at our Sunday family dinner! I’ve made mashed sweet potatoes for years but never thought to toast the marshmallows on top just enough to get that crispy, caramelized edge. My 3 kids practically fought over the last scoop, even my super picky 7 year old asked for seconds! 10/10 will be making this for our Friendsgiving potluck next month too, no question. Super easy to throw together even when I’m juggling after school soccer practice runs, zero stress.
Solid recipe, turned out great for our backyard cookout last weekend. Only note is I would’ve cooked the sweet potatoes a touch longer to get them extra creamy—mine were a little lumpy even after mashing for 5 straight minutes. The marshmallow top is a total game changer though, all my buddies were raving about how it tasted like fall in a bowl. Will definitely make again, just gonna adjust the boil time for my janky old stove.
SO good and perfect for weekly meal prep! I made a big batch on Sunday, skipped the marshmallow top for the weekday servings to reheat easier, then added a handful of mini marshmallows and broiled for a minute when I plated a serving with dinner each night. Held up perfectly all week in the fridge, no weird mushy texture change at all. Easy enough even for someone with my garbage cooking skills, lmao.
Wait y’all, is it normal for the marshmallows to get all bubbly and golden that fast under the broiler? I almost burned my first batch because I walked away for 30 seconds to grab a soda lmao. Other than that, this came out insane! I brought a test batch over to my next door neighbor and she texted me 10 minutes later begging for the recipe. So worth the tiny panic moment.
This base recipe is chef’s kiss! I swapped the regular marshmallows for vegan marshmallows and used a splash of oat milk instead of heavy cream, and it turned out so creamy and delicious even my non-vegan roommate stole half the pan before I could even put leftovers away. Only heads up is the vegan marshmallows don’t brown quite as fast as regular ones, so give them an extra minute or two under the broiler if you make that swap. Would love more dairy-free swap ideas for future recipes!